Tuesday, May 8, 2018

Wings, Outboard Leading Edge (Part 23)

Well, I called in reinforcements.....my stepdad Roger is back in town to help install RIVETS, RIVETS and more RIVETS.  We have about 2500 rivets to install, so here we go.....

Started today’s session by riveting the two K1000-08D nutplates to the W-1008-R Splice Rib as shown below.  Theses nutplates will eventually hold the Stall Warning Assembly to the Rib.
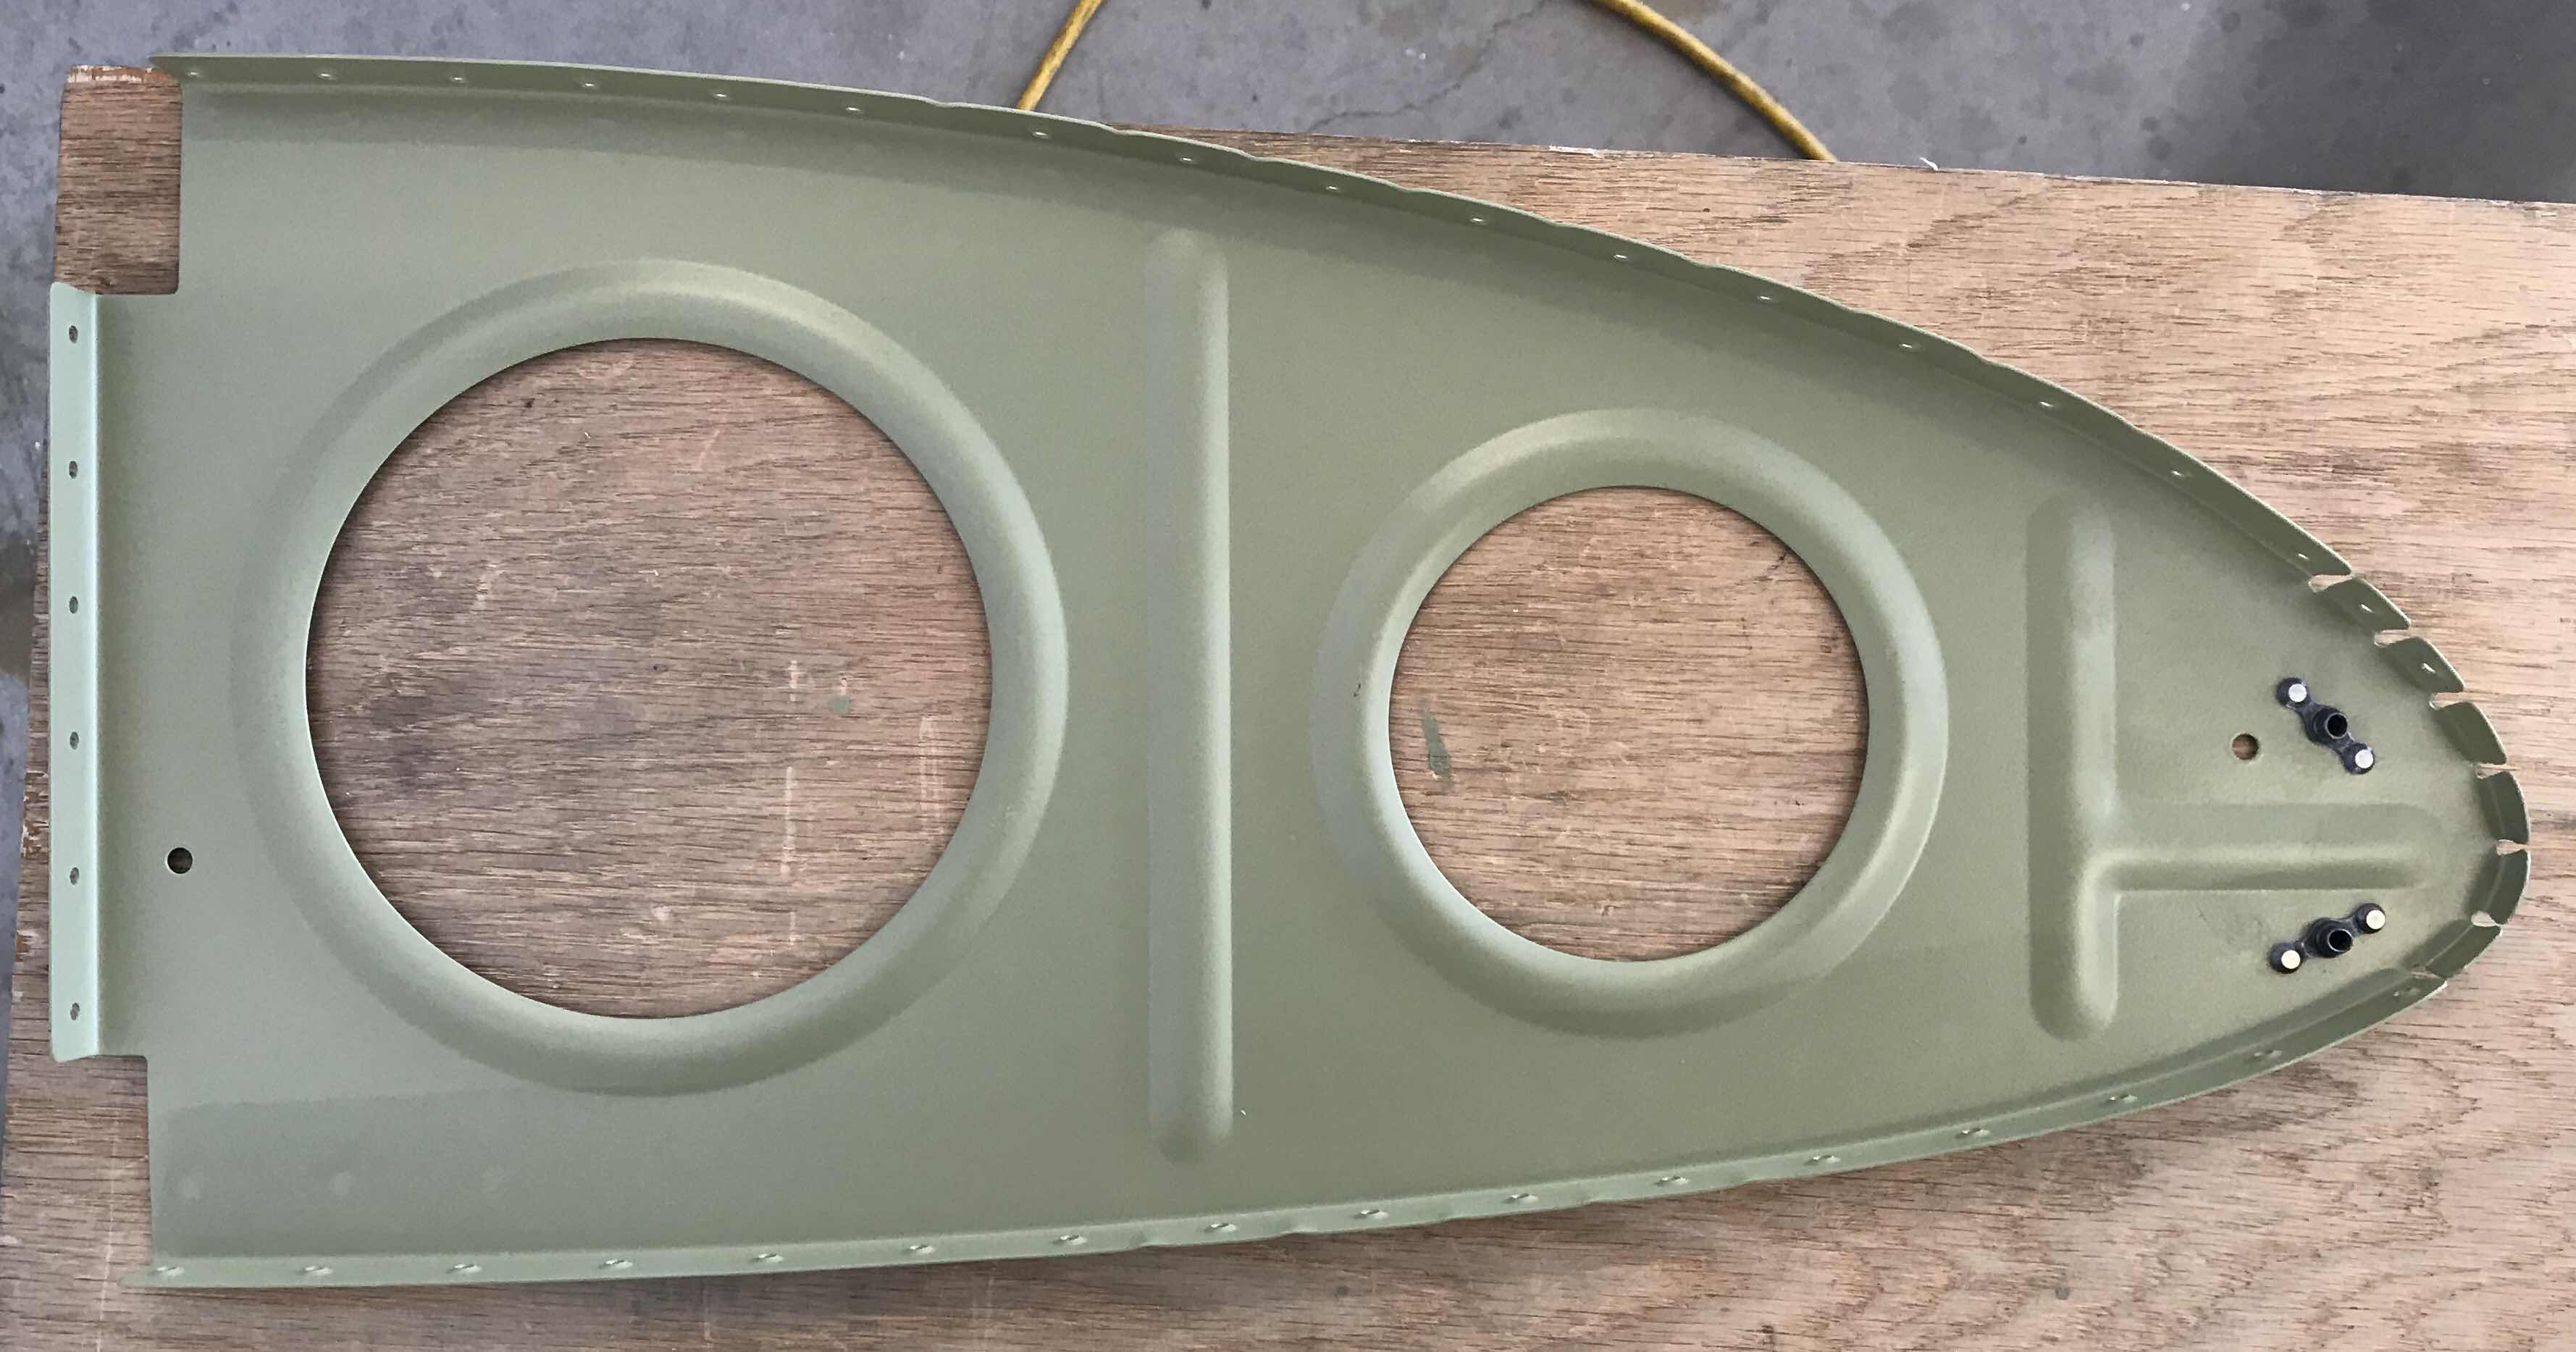
Next, we clecoed the VA-195C Access Hatch Doubler to the Left Outboard Leading Edge Skin as shown below.
Here is the outside (or bottom of the Wing).....


.....here is the inside of the Wing.

After the 16 rivets were installed on the outside of the Wing.....

.....and the inside.

The plans called for the Access Hatch Doubler rivets to be backriveted.  However, I was not pleased with an earlier attempt to backrivet a few pieces, so I chose to use my pneumatic squeezer to install these rivets.  I like the results much better.  Speaking of my pneumatic squeezer.....I use it on every rivet I can get it on.  The squeezer produces such a good (and repeatable) result that it has become my go to riveting technique.  I use a standard 3” yoke and 2” Longeron yoke.  

Here is a video from Cleaveland Aircraft Tool talking about standard yokes.....


.....and the Longeron Yoke (aka Flange Nose yoke).


Now, all the Ribs (seven of them) were clecoed to the Left Outboard Leading Edge Skin in their positions/locations that I previously numbered.  Here is a side view of the of Skin with the Ribs installed.....

.....the Landing Light bay that was painted flat black.....

.....and the entire Outboard Leading Edge with all the Ribs clecoed in place.

Once they everything was clecoed, we started setting rivets.  We almost finished with the Left Outboard Leading Edge....have about 50ish more rivets to go and will pick it up there tomorrow.  In the picture below, all the rivets for the bottom Skin are installed.  


*****221 Rivets Installed*****

Sunday, May 6, 2018

Wings, Outboard Leading Edge (Part 22)

It has been a few days since I updated the blog, but like I’ve said before, I have been working.  I will catch up all my work in this post.  

In a couple previous posts, I began the prep work on the Outboard Leading Edge Skins....edge work and dimpling.  Now, both Skins are ready to be treated with Alumiprep and Alodine.  Again, because the Skins are so large, I used a spray bottle and grey Scotchbrite to apply the Alumiprep and a spray bottle and 2” foam brush to apply the Alodine.  Below are a few pictures of the Skins handing up to dry after being treated.


Next up was the Akzo Epoxy Primer.  The first pieces to get primed were the two Splice Ribs.  The rib on the bottom in the picture below, will eventually get the stall warning assembly attached to it.

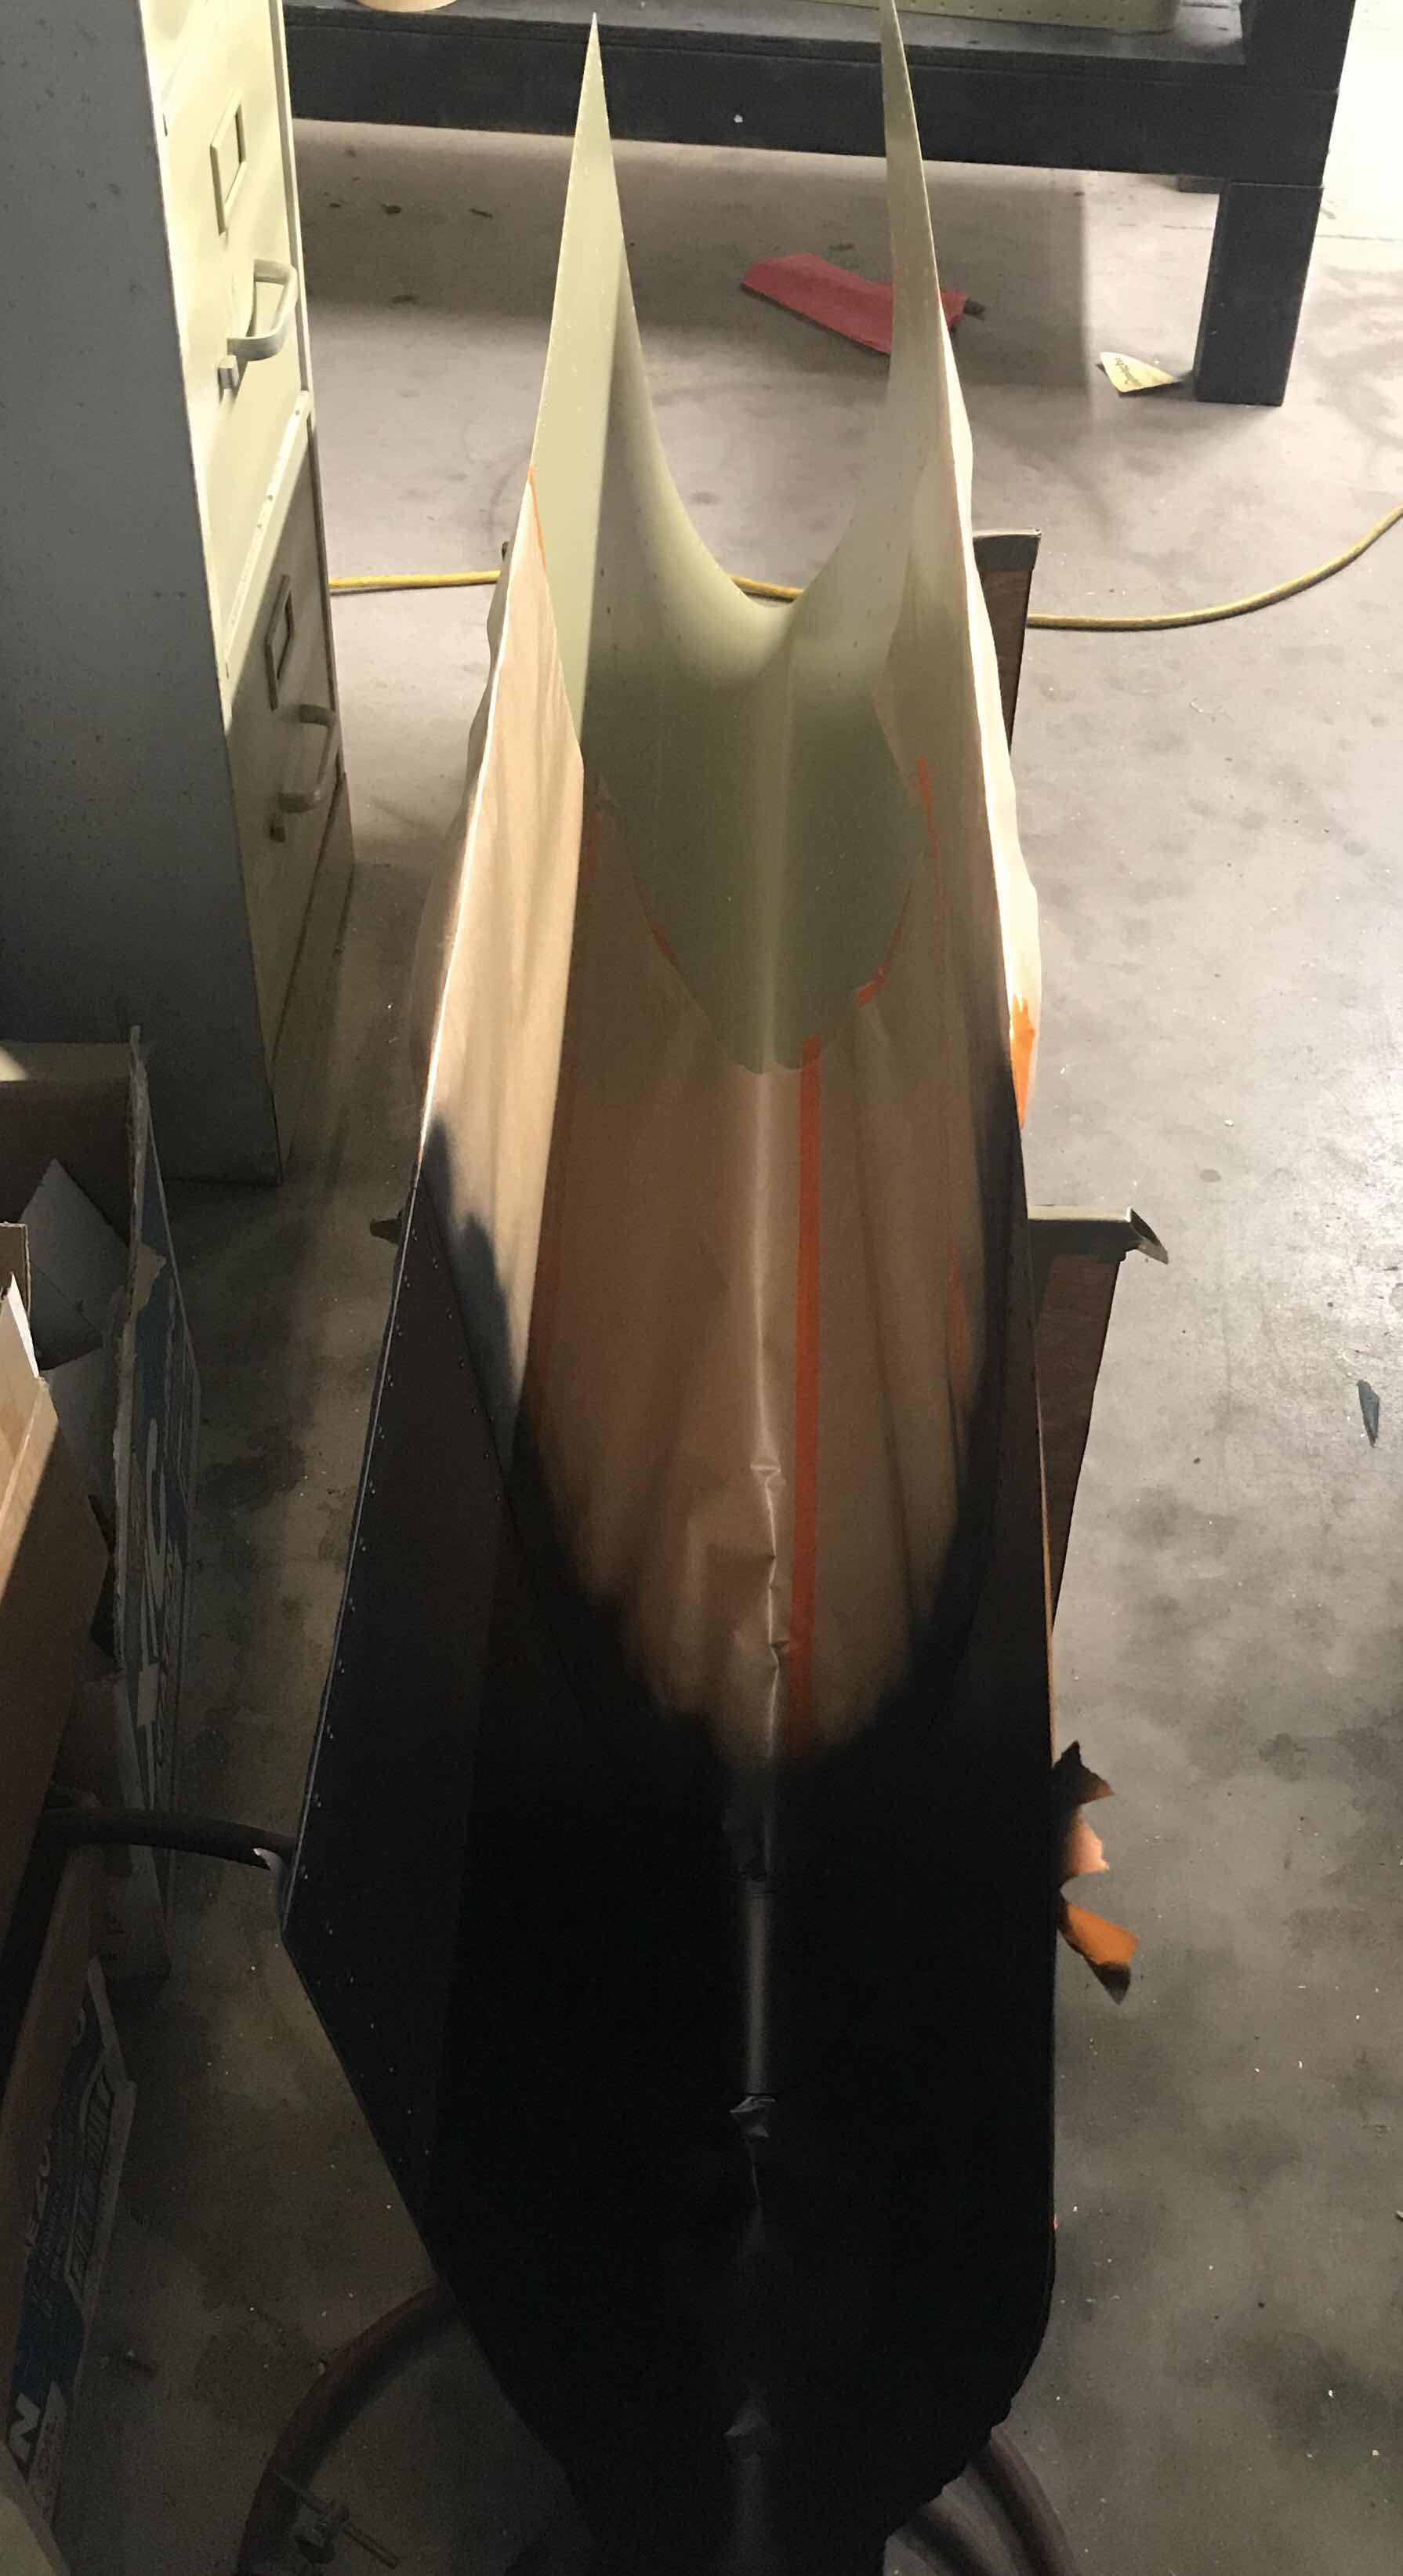
I’m going to arrange the next few pictures out of order.  After I primed the two Splice Ribs above, it was time to do the Skins.  In addition to the Akzo, the two landing light bays also needed to be sprayed with flat black as suggested in the plans.  The first picture below show the complete Left Outboard Leading Edge Skin sitting in the craddle.  The right side of the Skin has only the Akzo Epoxy Primer and the left side (landing light bay) was first sprayed with Akzo and then the flat black as a top coat. 

Below is the completed Right Outboard Leading Edge sitting on the work table.

Lastly, here are several pictures I took during the painting of both landing light bays.


One piece of advice for any builders who might be following my build.  Be sure to tape up the holes on the other side of the Skin.  That way the paint doesn’t make it through the holes and overspray on the Skin.  In the picture below, you can see where I put the tape and the little black dots of flat black on the inside of the tap that are created during the spraying process.

Sunday, April 29, 2018

Wings, Outboard Leading Edge (Part 21)

All of the Alumiprep and Alodine treatment was completed on the 12 Outboard Leading Edge Ribs during the last session.  So, today I primed the Ribs with Akzo.  Additionally, four of the Ribs (two on each Outboard Leading Edge) that will make up part of the Landing Light bay needed to be painted flat black.  The two pictures below show the before and after.

During the next session, I will finish the edge work on the Left Outboard Leading Edge Skin and complete the Alumiprep and Alodine treatment on both Outboard Leading Edge Skins.  Then, both Skins will get primed with Akzo and the Landing Light Bay will get painted with flat black.

Saturday, April 28, 2018

Wings, Outboard Leading Edge (Part 20)

The 12 Outboard Leading Edge Ribs were treated with Alumiprep and Alodine during today’s work session.  The six Ribs on the left are for the Left Outboard Leading Edge and the six on the right are for the Right Outboard Leading Edge.  I used the same dipping method as I have for all the Ribs up to this point and they are now hanging up to dry overnight.

I will begin Akzo priming during the next session.

Thursday, April 26, 2018

Wings, Outboard Leading Edge (Part 19)


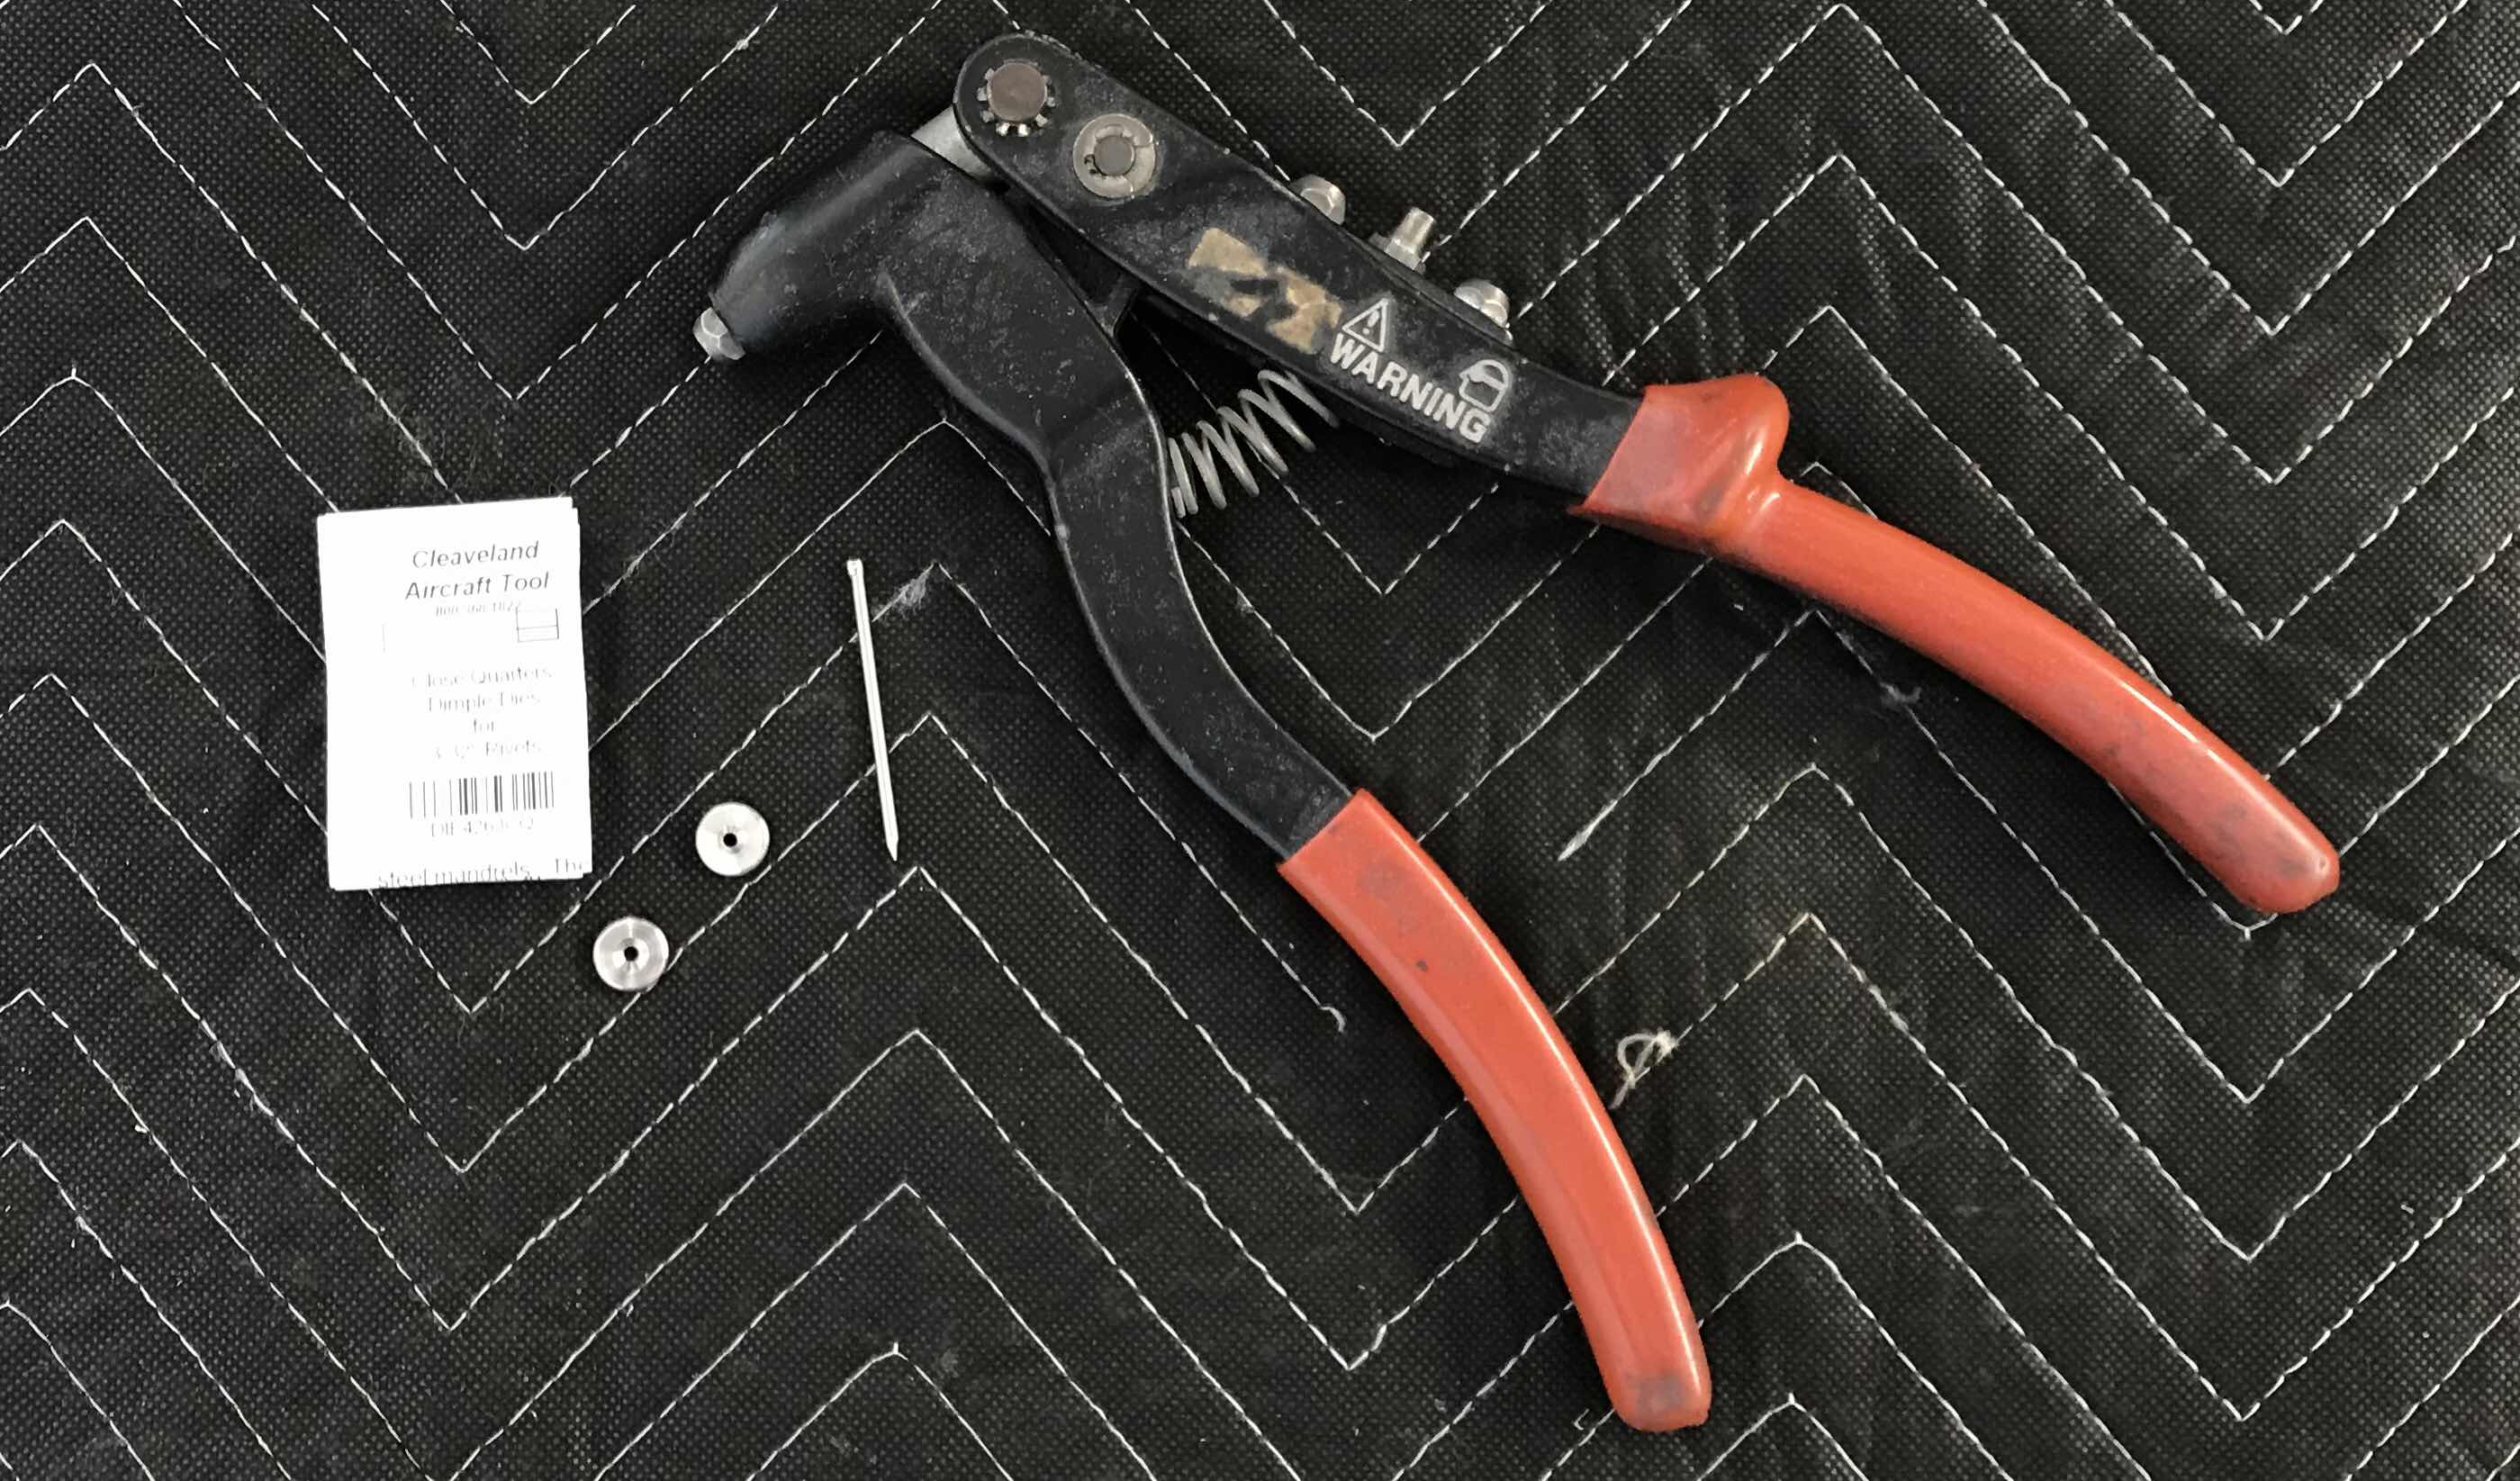
I finished dimpling the Right Outboard Leading Edge Skin during today’s session.  I used the DRDT-2 to dimple most of the holes; however, a few holes were to close to the leading edge bend to use the machine.  So, to dimple these holes, I used the Cleaveland Aircraft Tool Close Quarters Die Set.

Here is what I used.....

This is a short video from Mike at Cleaveland demonstrating how to use the tool correctly.....


Lastly, here is a couple of shots of the Right Outboard Leading Edge Skin after it was completely dimpled.  The last “process” is the clean the edges of the Skins..

Wednesday, April 25, 2018

Wings, Outboard Leading Edge (Part 18)

Very short session today.  I started dimpling the #40 holes in the Right Outboard Leading Edge Skin with the DRDT-2.  I was able to complete one side of the Skin and I’ll complete the other side during the next session.


Tuesday, April 24, 2018

Wings, Outboard Leading Edge (Part 17)

I started tonight by completing the dimpling of the #40 holes in the Left Outboard Leading Edge Skin.  As I mentioned previously, I used the pneumatic squeezer to dimple all the holes I could reach with a 3” yoke.  Today, I had to use the DRDT-2 to get all the remaining holes and was able to complete all the required dimpling.  Here is the Skin is the cradles.  Next, I cleaned all the edges.

Pictured below is the Landing Light opening that was pre-punched in the Skin by Van’s.  These edges also need to be cleaned and I used 220 grit sandpaper to complete all the required sanding on the Skin.

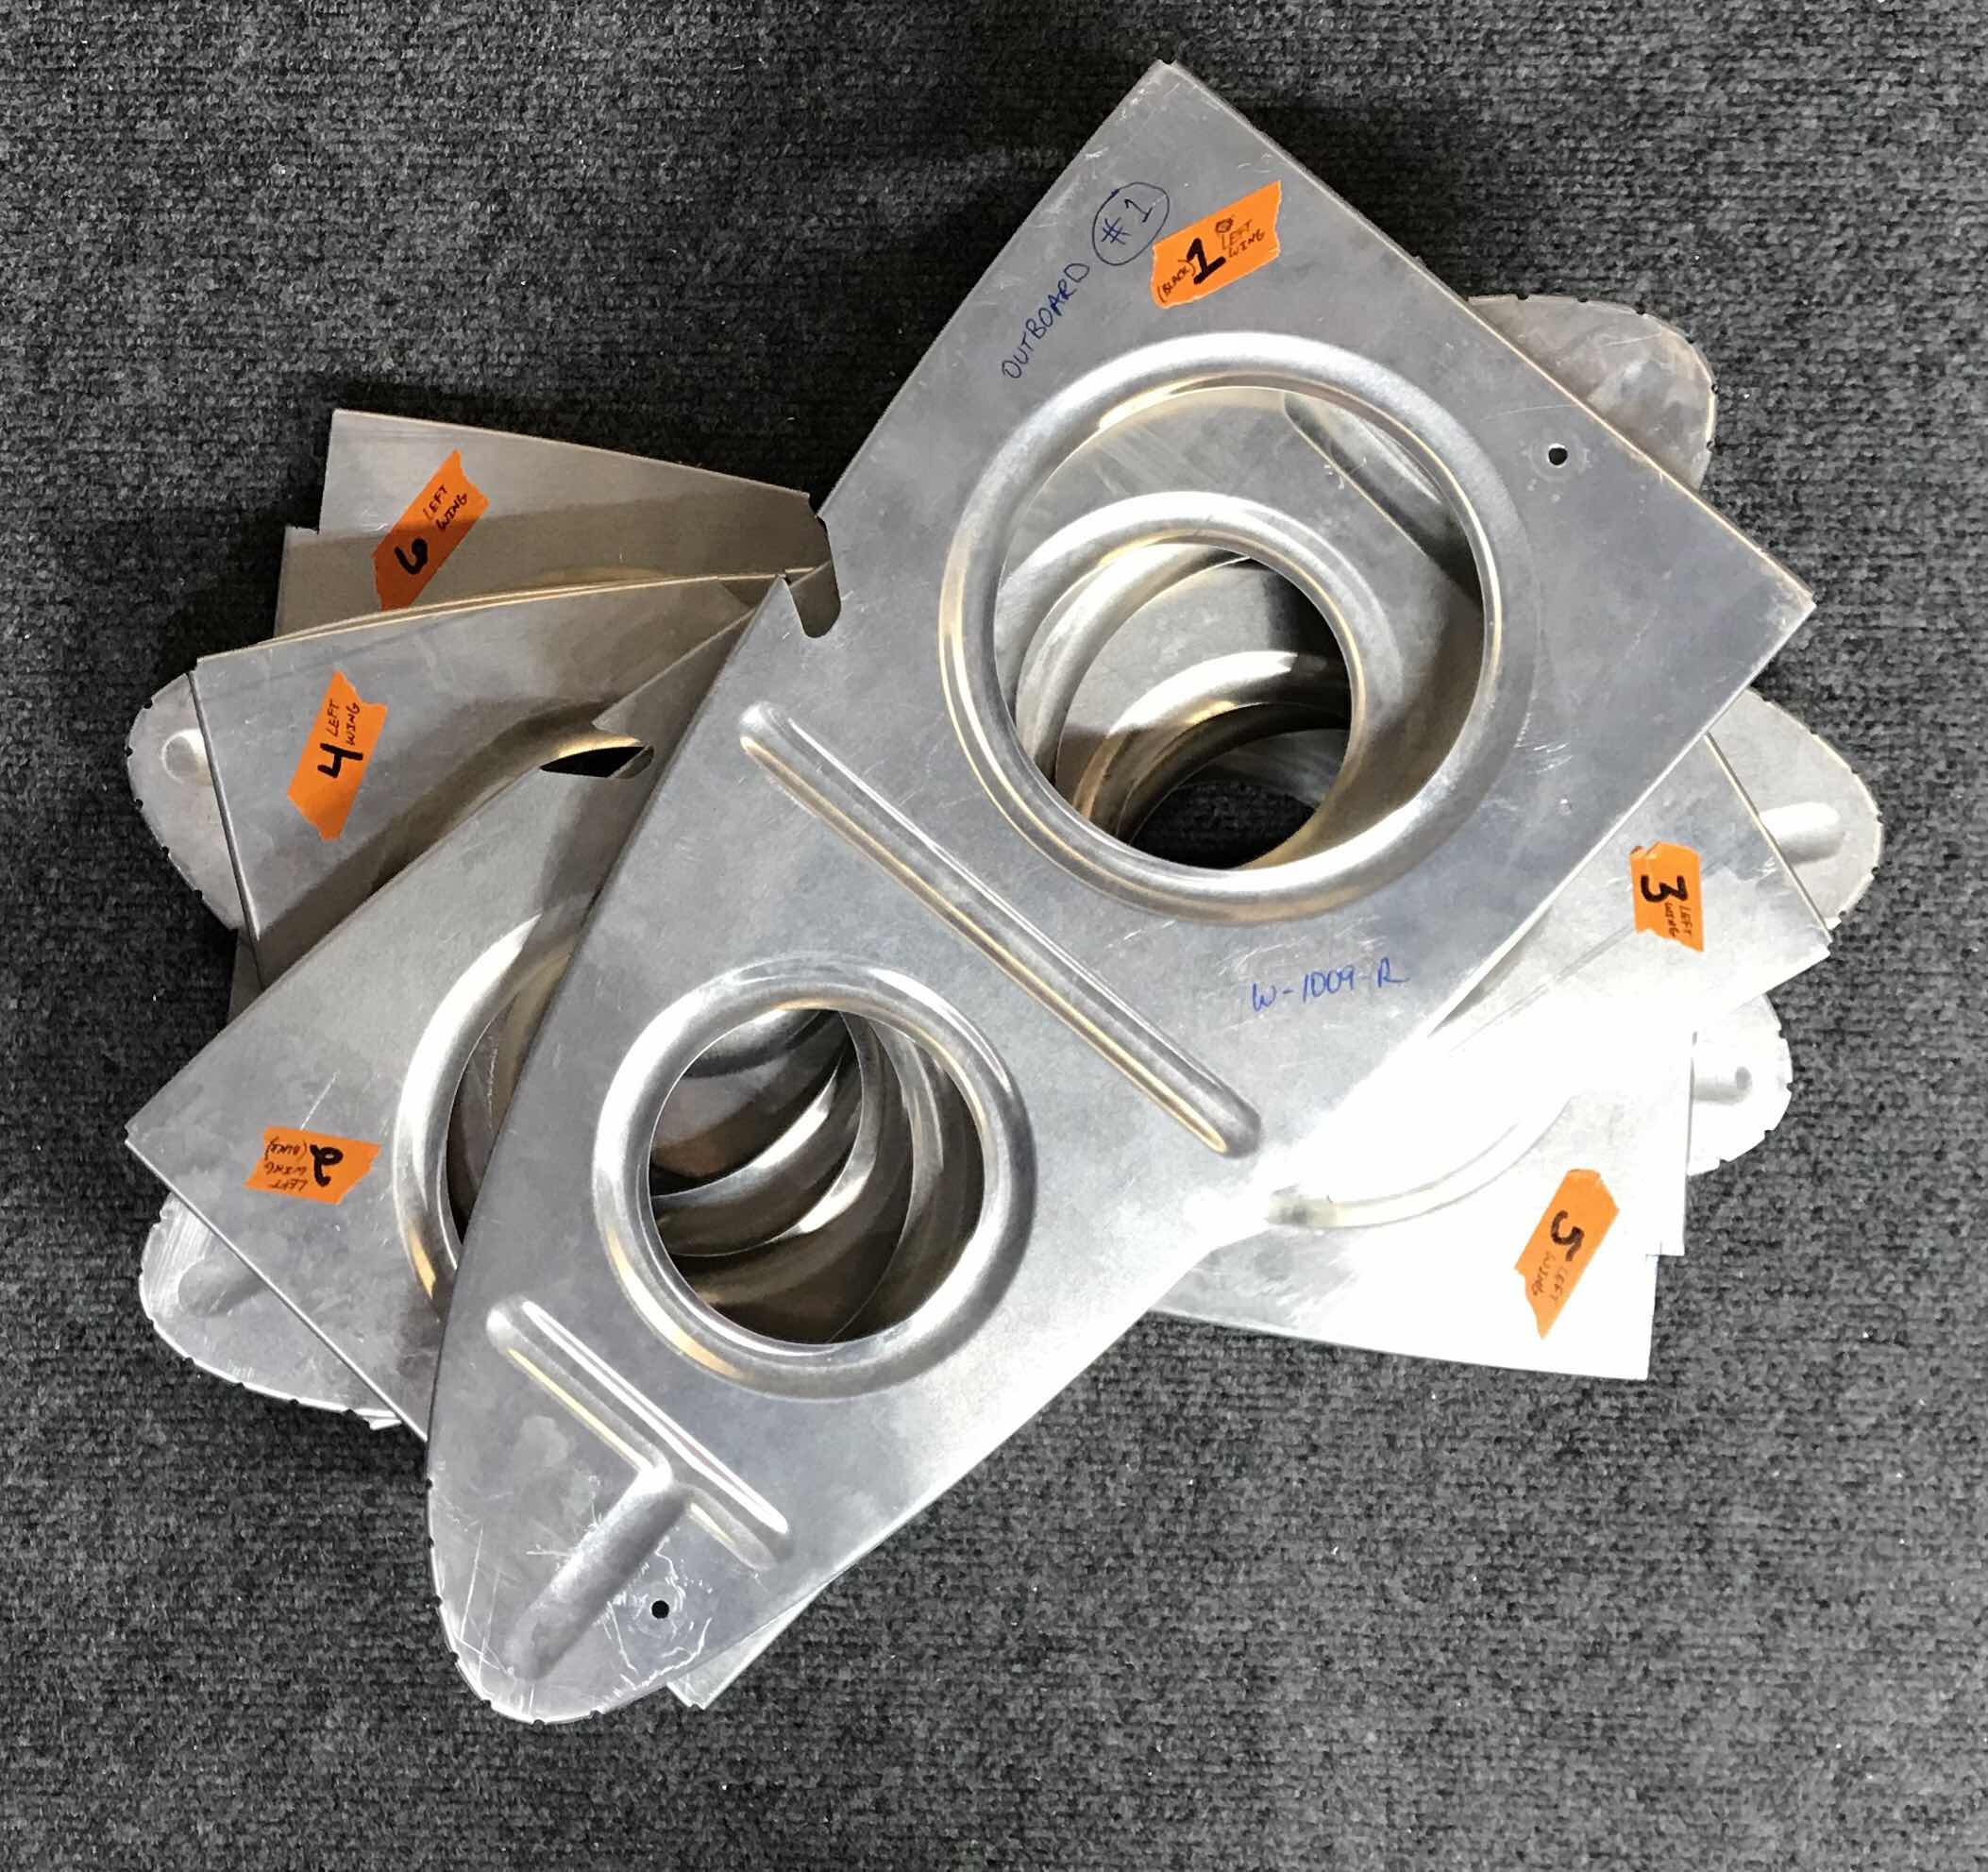
In the near future, I will be preparing the Outboard Leading Edge Ribs with Alumiprep, Alodine, and Akzo Primer.  Additionally, a few Ribs in each Landing Light bay will get sprayed with flat black paint.  Just like with the previous Wing ribs, I numbered and labeled each of these Ribs corresponding to where they were fit to the outer Skin.  Below are the Ribs for the Right Outboard Leading Edge.....

.....and the Ribs for the Left Outboard Leading Edge.


So, short of Alumiprep, Alodine, and Akzo Primer, the Left Outboard Leading Edge Skin is finished and prepped.  I will work on the Right Outboard Leading Edge Skin during the next session.


Monday, April 23, 2018

Wings, Outboard Leading Edge (Part 16)

After priming and painting the pieces yesterday, today’s session was all about riveting.  I started with the four Backing Plates and the Access Hatch Doubler as shown in the excerpt below.     


Each Backing Plates used four K-1000-06 nutplates and were attached with AN426AD3-3.5 rivets.  Pictured below are the four Backing Plates.....two on the front side and two on the rear side.

Because the Backing Plates will be installed with the landing assemblies (and be visible through the landing light lenses), I also wanted the rivets and nutplates to be black.  You can barely see, but the manufactured heads of the rivets and the nutplates have been painted flat black.

The Access Hatch Doubler 10 K1100-06 nutplates and AN426AD3-3.5 rivets.  This Doubler will ultimately be painted when the entire airplane gets painted, so it will remain the green Akzo primer color.  Here is the front side of the Doubler showing the manufactured heads installed on the nutplates.....

.....and the rear side.

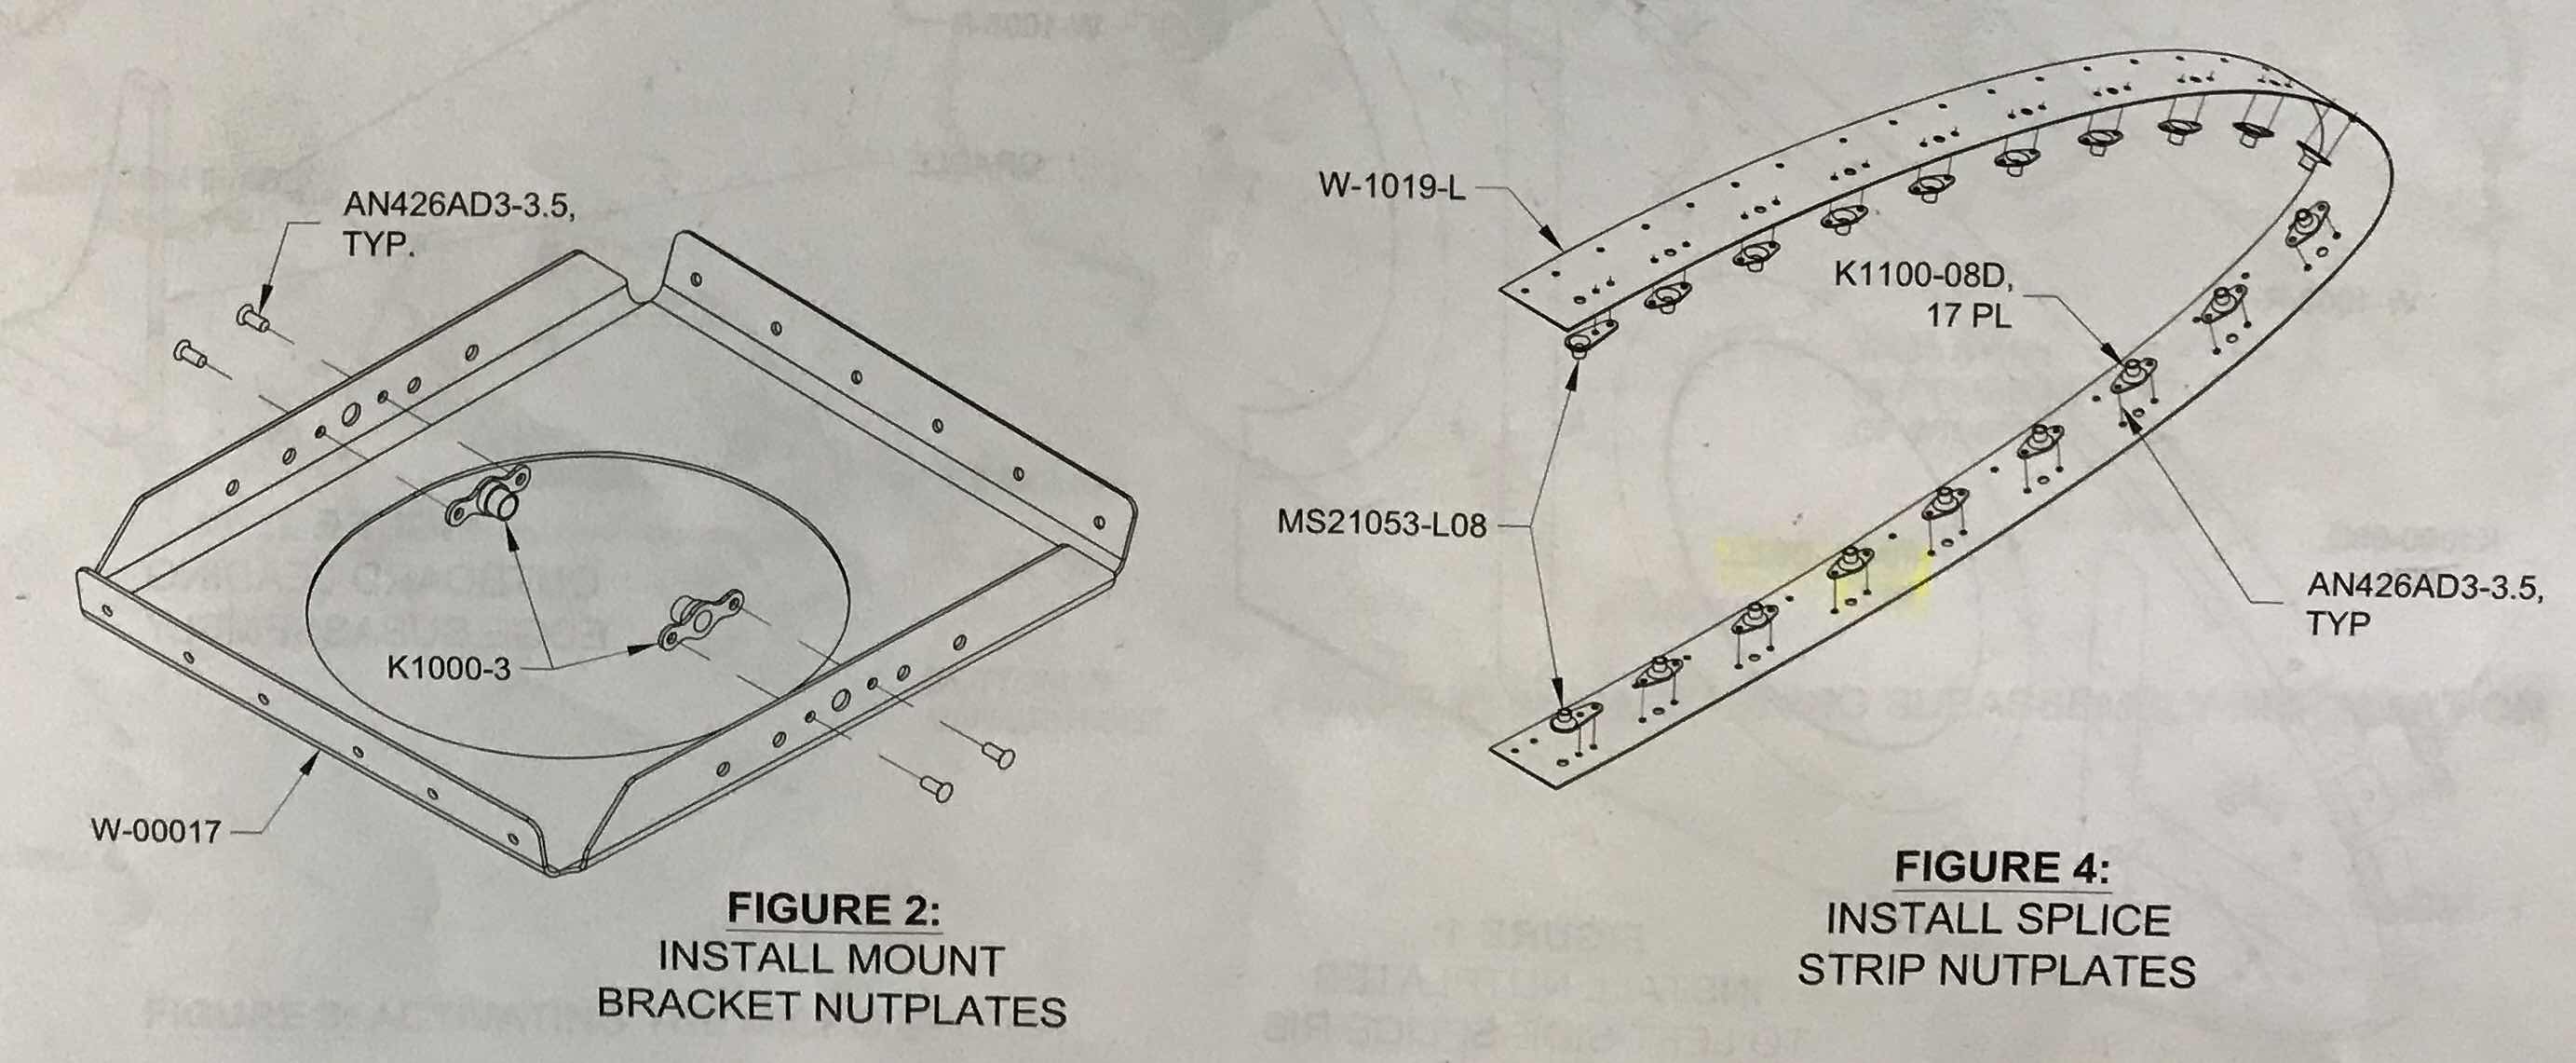
Next to receive rivets were the two Mount Brackets and the two Splice Strips as indicated in the excerpt below.

The Mount Brackets only had two K-1000-3 nutplates (each) and were installed with AN426AD3-3.5 rivets.  Just like with the Backing Plates, I painted the manufactured head of the rivets and the nutplates flat black.....for the same reason.


The Splice Strips each received 19 nutplates.....(17) K1100-08D and (2) MS21053-L08.  Both types of nutplates used the same AN426AD3-3.5 rivets.  Here is a picture of both sides of the Splice Strips.

With all the nutplates installed on the nine pieces, I shifted work back on the Leading Edge Skins.....specifically, the Leading Edge Skins.  Just like on the Right Outboard Leading Edge Skin, I dimpled all the holes I could reach with the pneumatic squeezer.  I will dimple the remaining holes with the DRDT-2 machine.  


Sunday, April 22, 2018

Wings, Outboard Leading Edge (Part 15)

Today, I primed all 10 pieces mentioned in my previous post.  Below, are the two Splice Strips with the 19 nutplates clecoed into place to each one.

Here is the Access Hatch (right) and Access Hatch Doubler (left).  The Access Hatch Doubler also has the 10 required nutplates clecoed in place.

Lastly, the plans suggest to paint the Wing bay that will house the landing light on each Wing.  Below are six of these pieces.  On the left, are the Mounting Brackets (landing lights will eventually be mounted to them.....one for each Wing).  On the right, are the four Backing Plates that will hold the Landing Light Lenses to the inside of the Wing.  I initially primed the six pieces with Akzo Epoxy Primer and then used a flat black spray paint for the black color.  There are still a couple more pieces associated with this Wing bay that will need to be painted flat black, to include the corresponding section of the Outboard Leading Edge Skins.

Saturday, April 21, 2018

Wings, Outboard Leading Edge (Part 14)

Today, I added the two Splice Strips to the Access Hatch, Access Hatch Doubler, two Mount Brackets, and four Backing Plates and they all received Alumiprep and Alodine treatments.

Here are 10 pieces hanging up to dry.

Wednesday, April 18, 2018

Wings, Outboard Leading Edge (Part 13)

During today’s session, I completed the hole deburring and edge work on the remaining Backing Plate and dimpled the #40 holes on all four pieces. 

The #40 holes in the Access Hatch Doubler were dimpled and the screw holes in the Access Hatch and Access Hatch Doubler were dimpled for #6 screws.

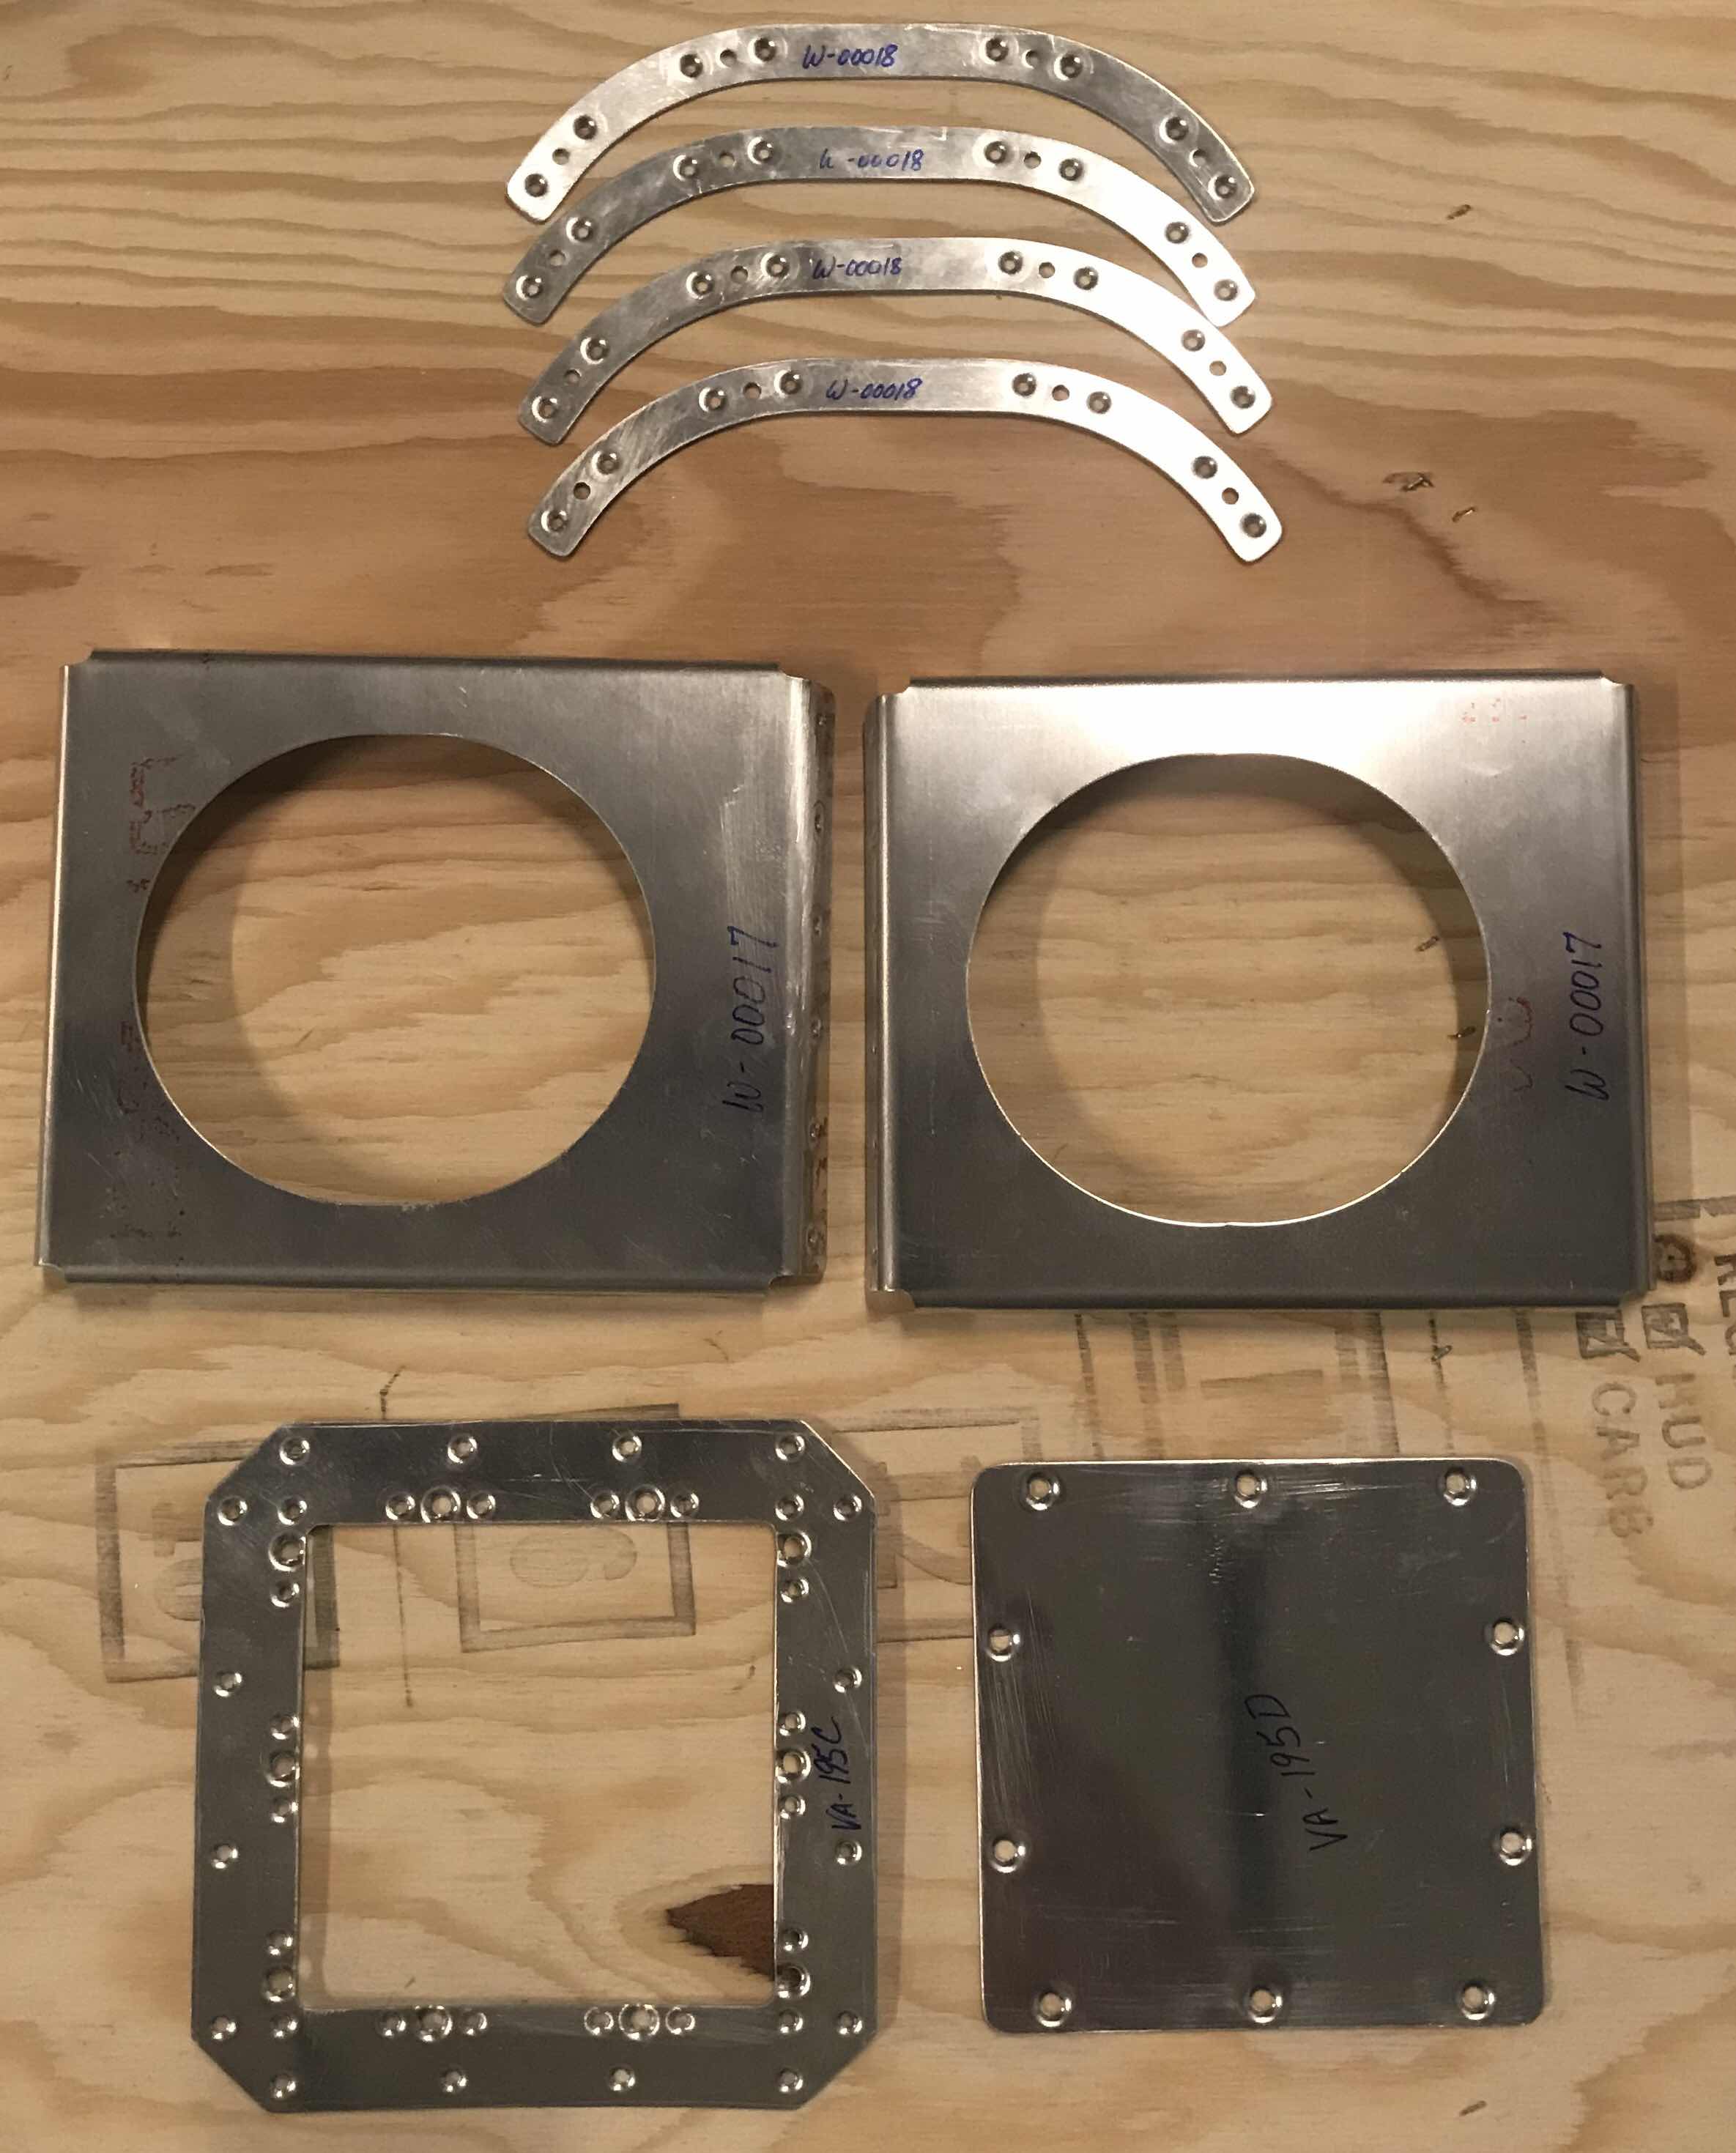
Additionally, I completed the hole deburring and edge work on the two W-00017 Mount Brackets and dimpled the #40 holes.

Monday, April 16, 2018

Wings, Outboard Leading Edge (Part 12)

Tonight was a relatively short night, but I was able to prepare a couple of pieces.  


To start, I removed the reference tabs from the VA-195C Access Hatch Doubler as shown in the plans excerpt above.  Next, the holes in the Access Hatch Doubler and the VA-195D Access Hatch were deburred and the edge work was completed.

Lastly, I completed the edge work and hole deburring on three of the four W-00018 Backing Plates.  These Backing Plates will be used to hold the Landing Light Lenses to the Left and Right Wings.  (Later in this Section).


Wednesday, April 11, 2018

Wings, Outboard Leading Edge (Party 11)

Another short session today, but like I said in my previous post.....I’m still making forward progress.  The next step in the plans is to dimple the Outboard Leading Edge Skins.  I started the process today on the Right Outboard Leading Edge Skin.  I still have to complete the dimpling process for the whole Skin, but I started by dimpling the holes I could reach with my pneumatic squeezer and a 3” yoke (I will do the same thing on the Left Outboard Skin).  I was able to get all the holes near the edge of the Skins and a few on the Rib seams.  I will use the DRDT-2 for the remainer of the holes, as the pneumatic squeezer won’t reach them. 

Here is just a few shots of each end of the Right Skin and an example of some of the holes I was able to squeeze.


Tuesday, April 10, 2018

Wings, Outboard Leading Edge (Part 10)

Not a lot of progress tonight, but progress none-the-less.  I deburred all the holes I previously Match-Drilled in the Flanges, dimpled them with sub-structure dimple dies, and completed the edge work on the two Outboard Leading Edge J-Channels.  They are now ready for Alumiprep, Alodine, and Akzo Primer.


Monday, April 9, 2018

Wings, Outboard Leading Edge (Part 9)

Tonight, I prepare the Right Wing’s Outboard Leading Edge in the same manner as I did in Parts 6 and 7 for the Left Outboard Leading Edge.  The J-Stiffener was Match-Drilled to the Skins and the final hole in the Wing Ribs were also Match-Drilled to the Skins.

Both Outboard Leading Edges have been disassembled and I will start the process of deburring all the holes I drilled during the last several sessions.  The Left and Right Outboard Leading Edge Skins will be dimpled in the next few sessions.