Showing posts with label Panel Build. Show all posts

Thursday, January 25, 2024

Panel Build (Part 11)

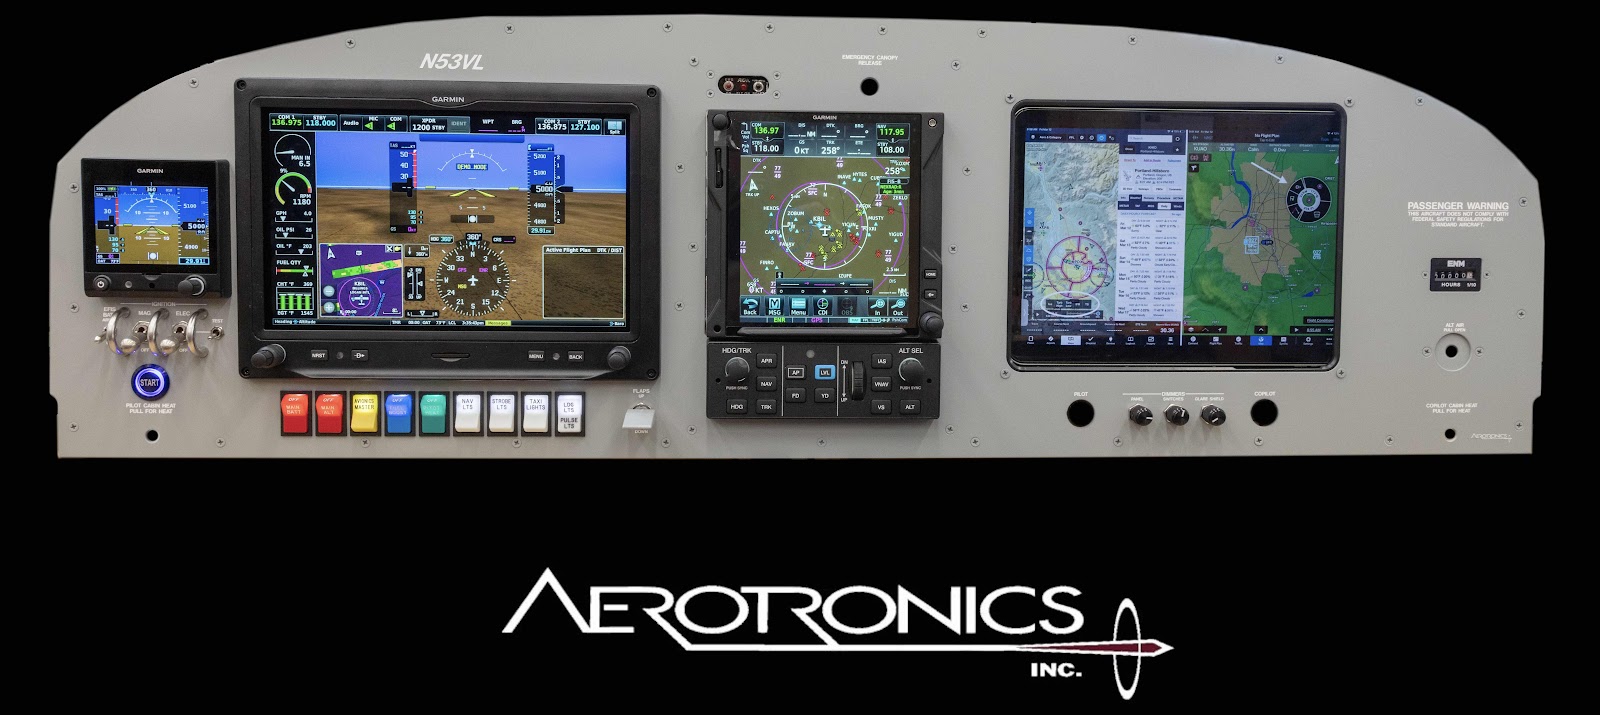
Here is the COMPLETED panel!!  We love it!!


I will create a section in the blog for the panel installation.

*****This picture above is from Jason at Aerotronics on May 12, 2022*****

Wednesday, January 24, 2024

Panel Build (Part 10)

My panel is 99.9%!  The analog HOBBS meter on the right side of the panel is the last item Jason needs to mount (that I know of).  The G3X has a HOBBS meter function, but I decided I wanted an analog one mounted on the panel.  I would say you could call me old school, but that is the only thing on the panel that could be considered old school….so, that won’t work!  Additionally, the two open holes on either side of the dimmer switches will be for the seat heater (pilot and copilot) switches.  I will install those in the future when I install the seats and interior.  

I think the panel looks AMAZING!  With the unbelievable capabilities of ForeFlight, I will use my IPad to complete the panel.  ForeFlight and the GTN 750Xi will be able to communicate with each other for traffic, weather, flight plans, etc. This will be an awesome combination of capabilities.


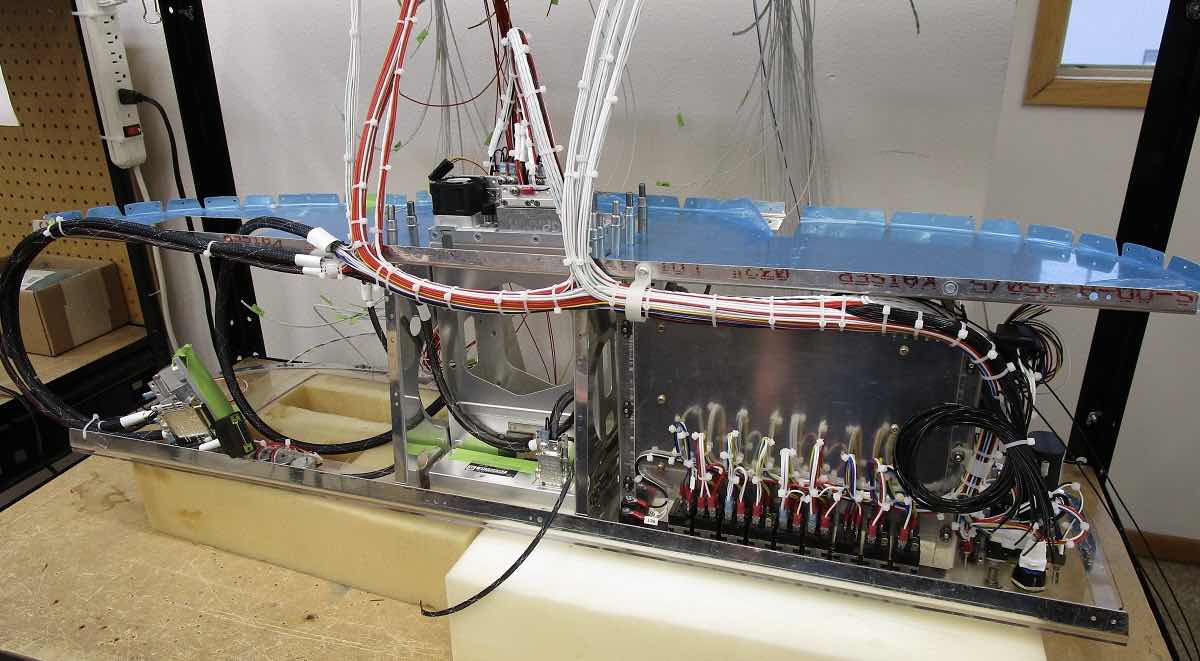
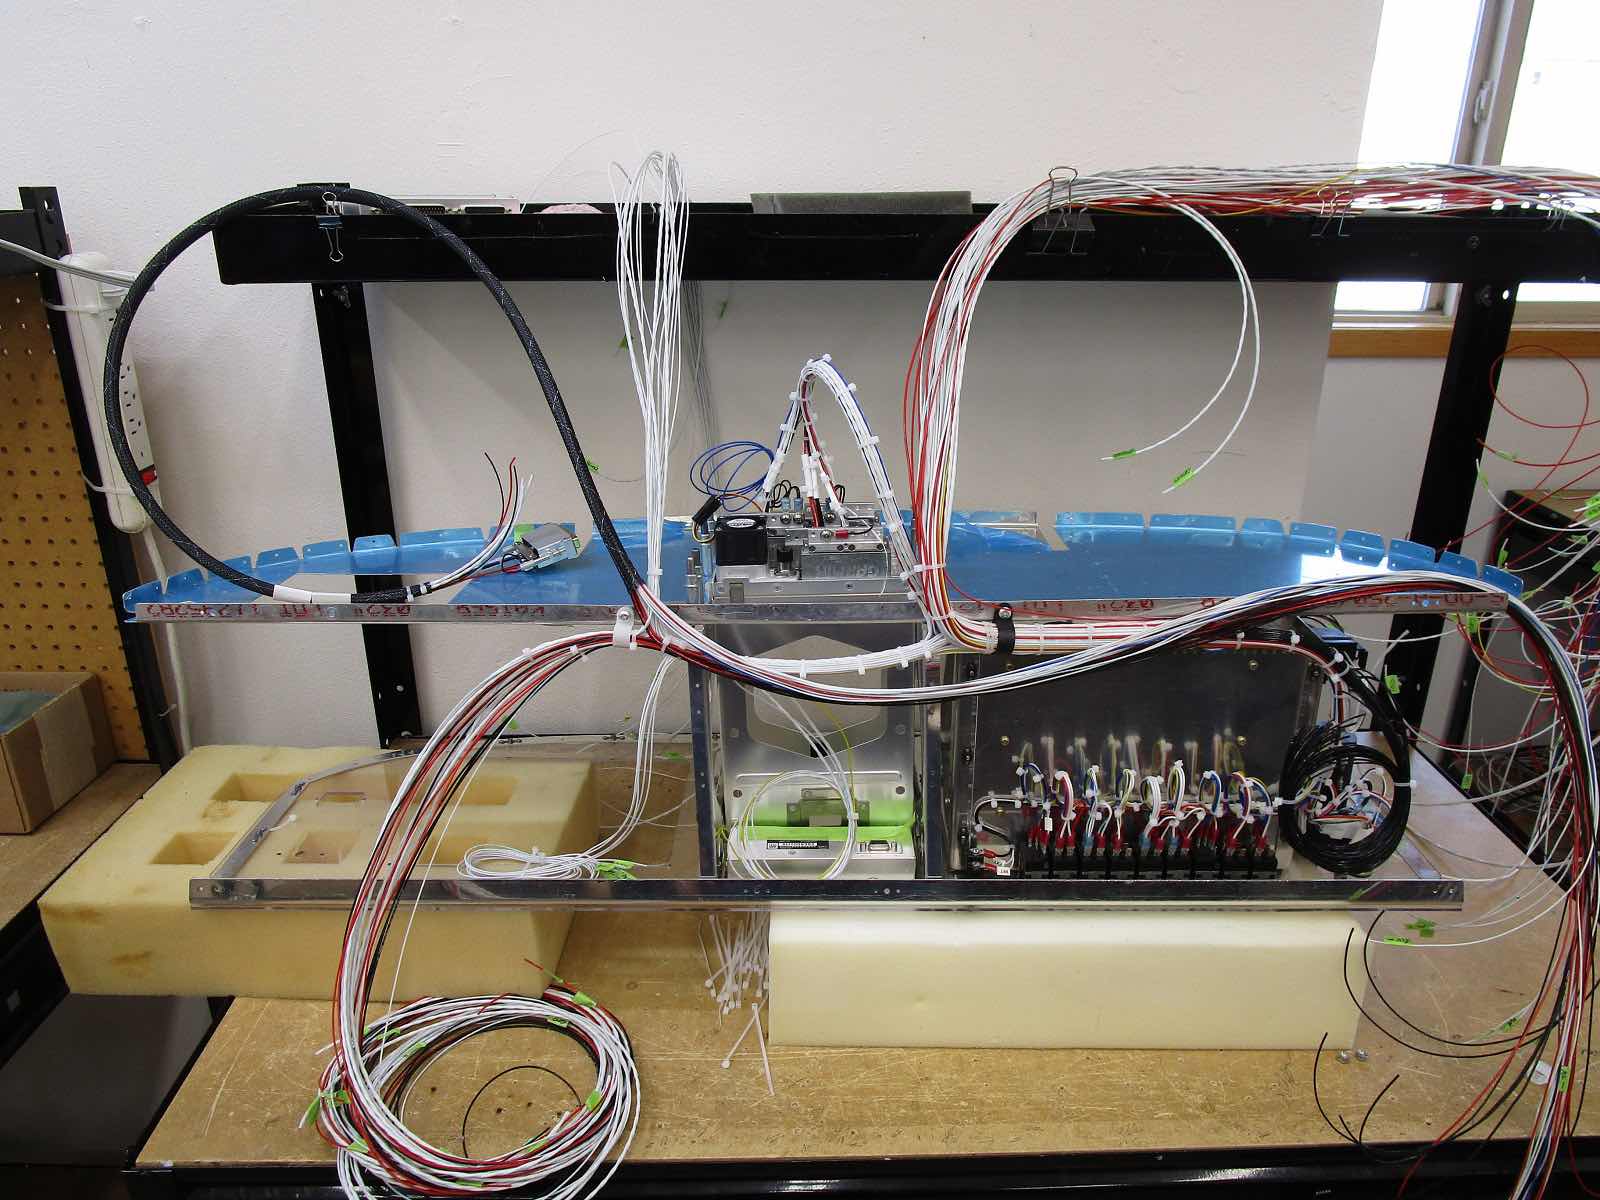
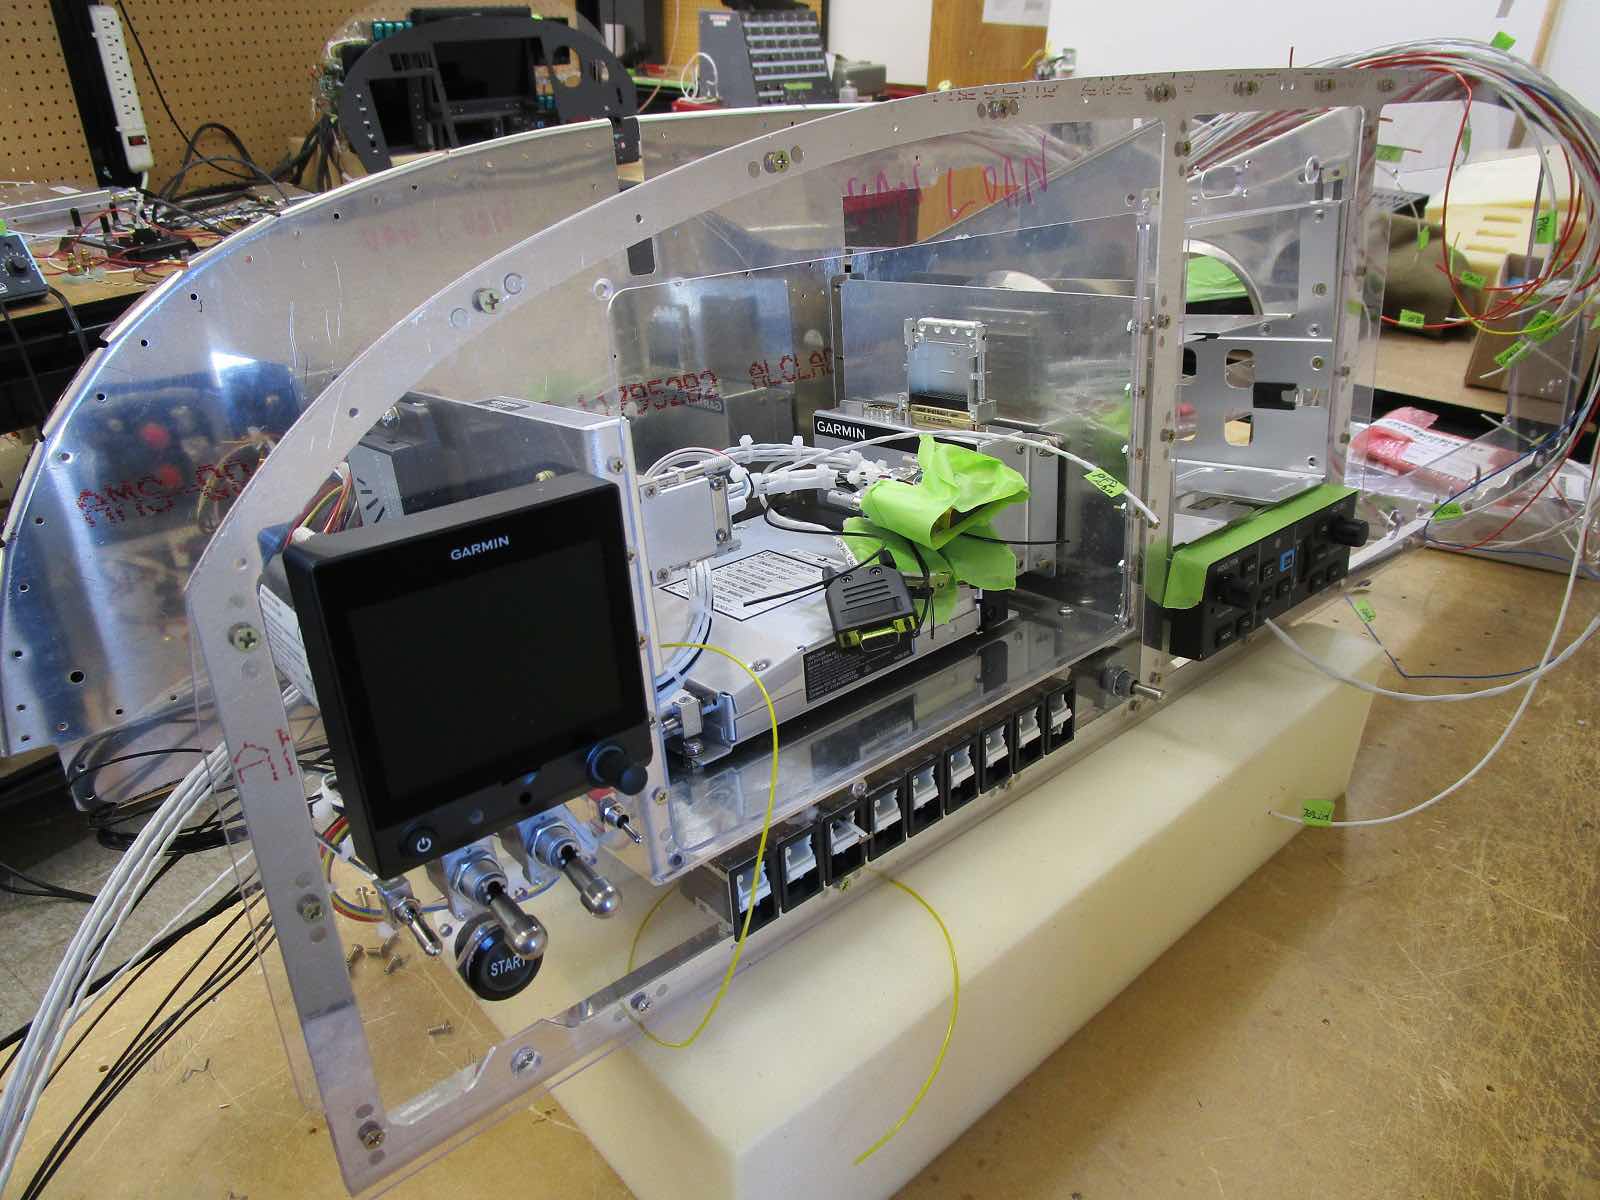
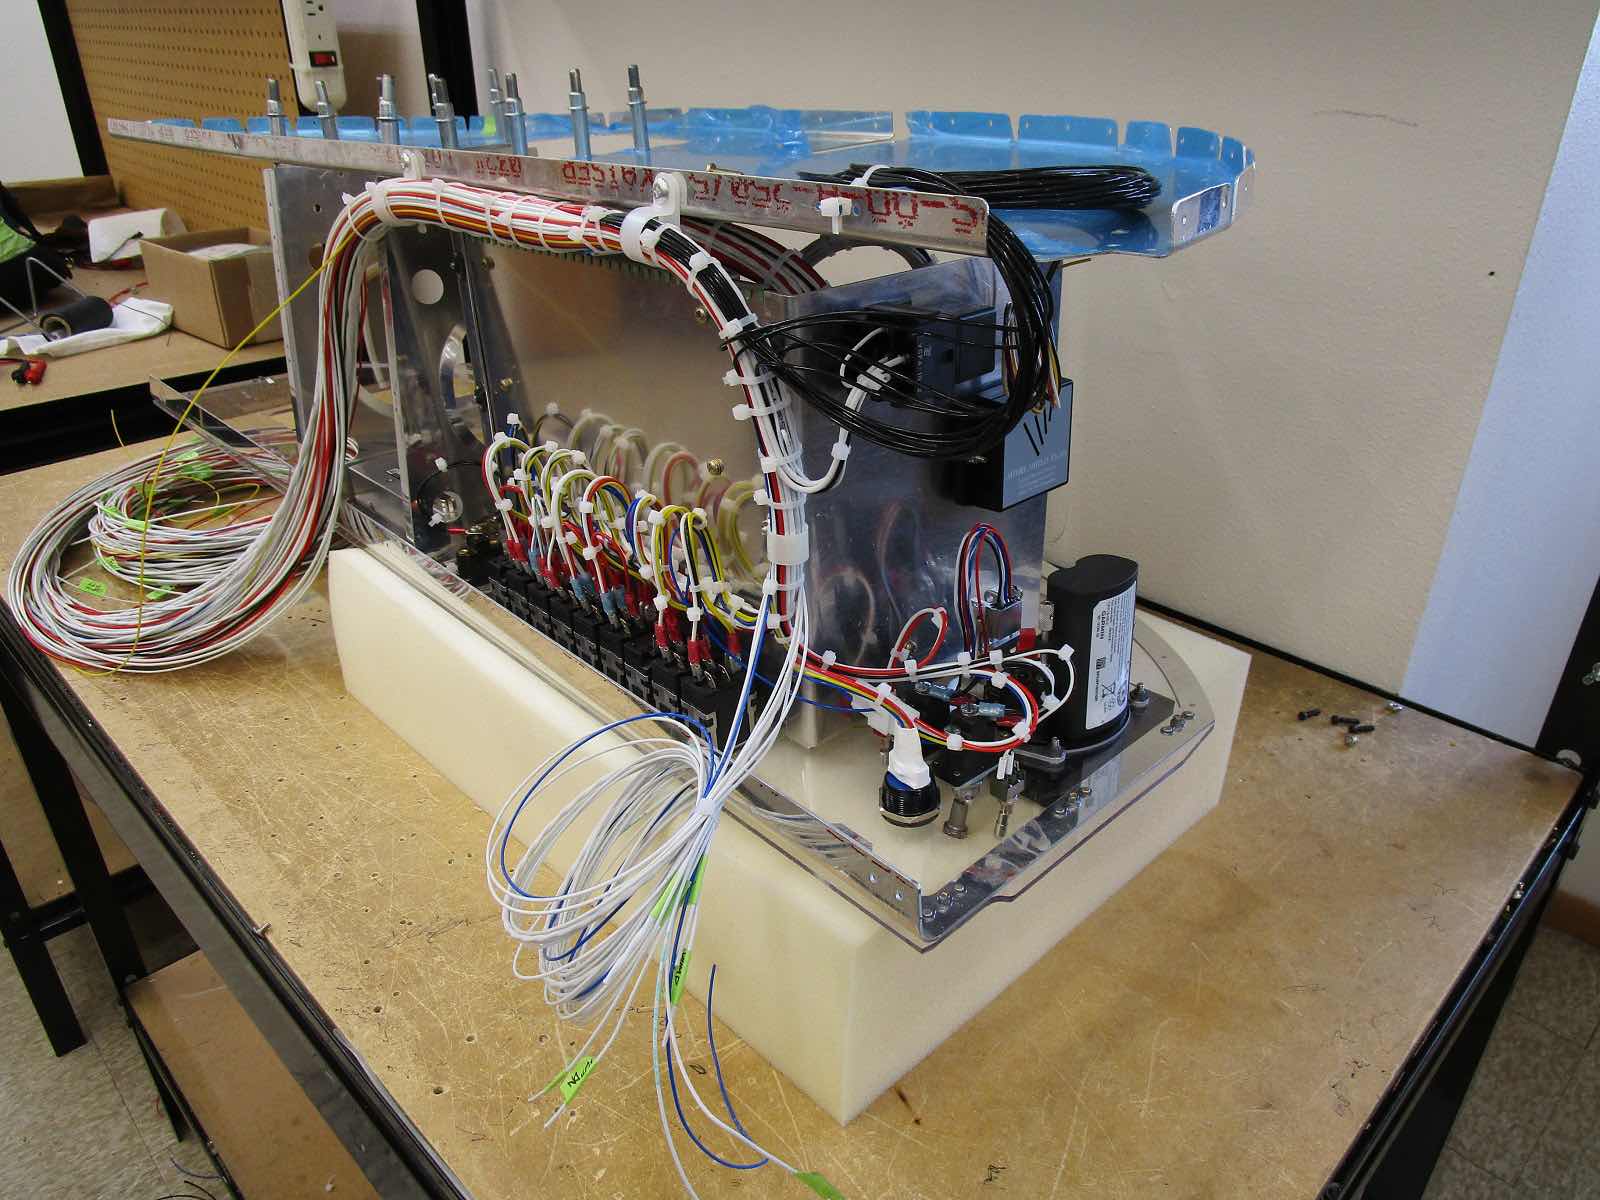
Here is a picture behind what will be the sub panel…..

…..and behind the G3X PFD.

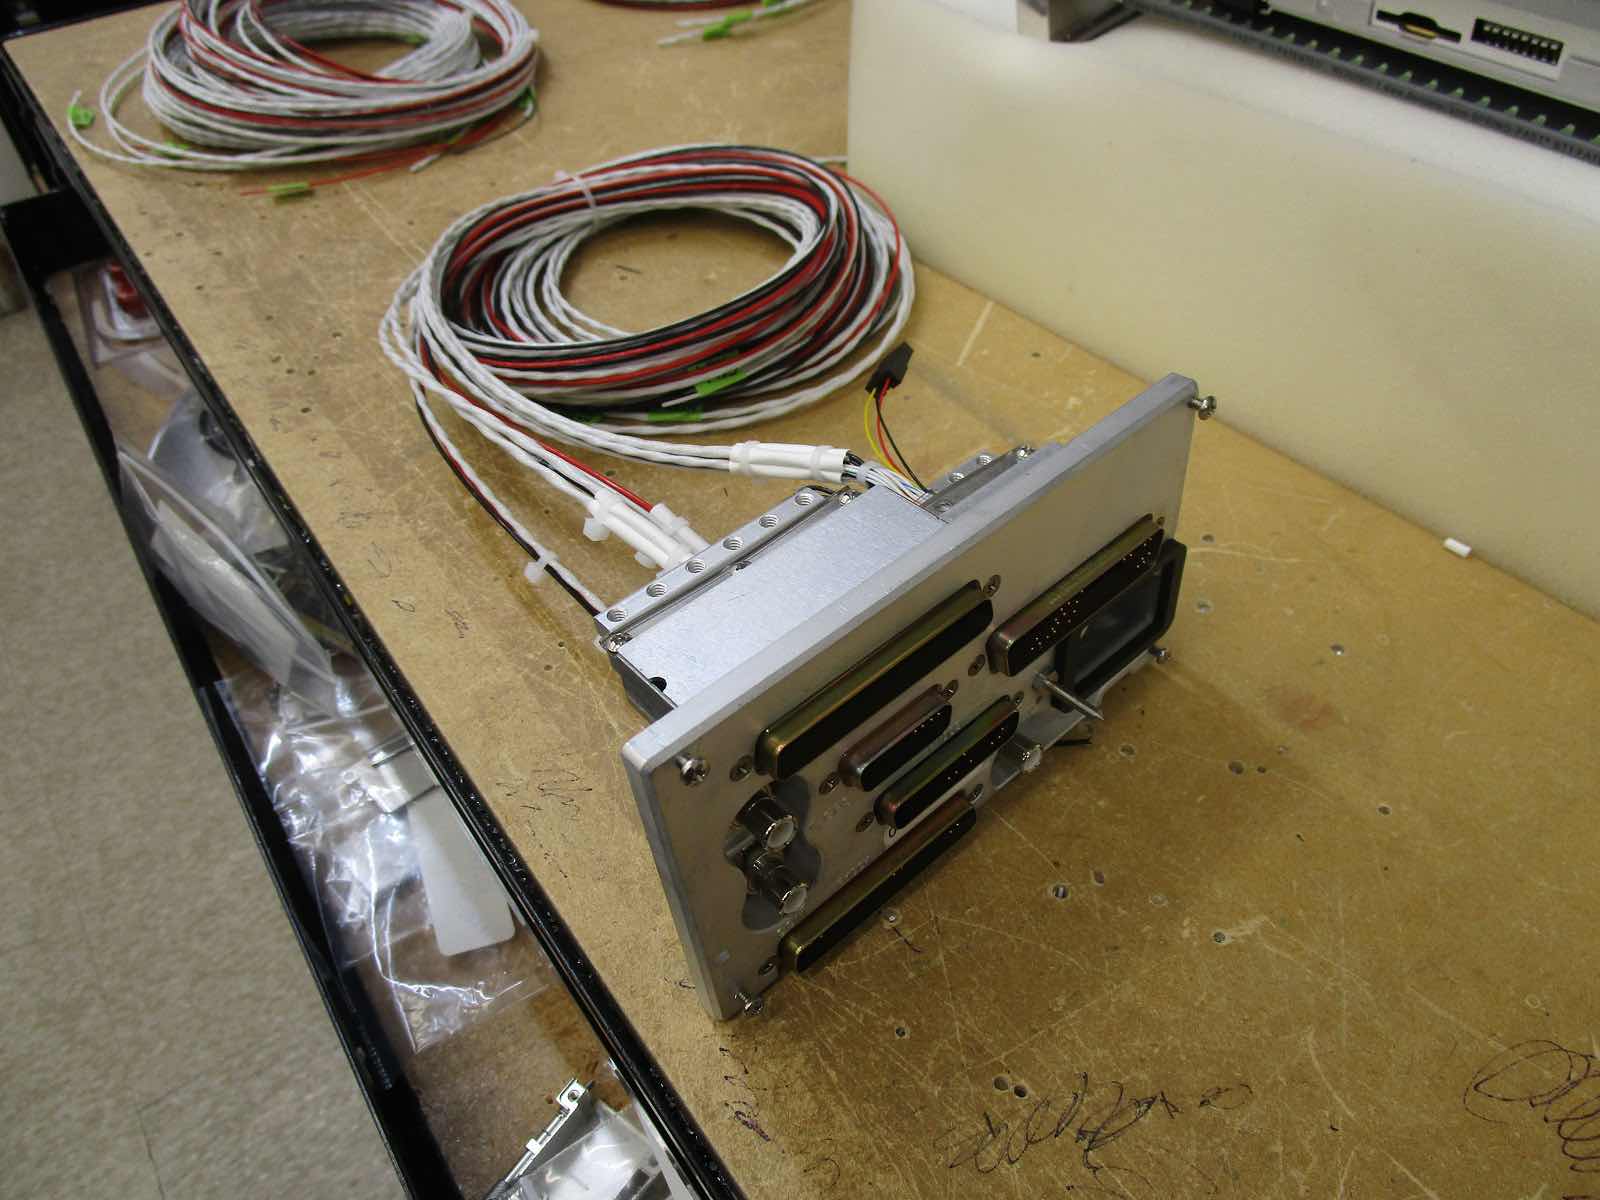
This picture shows the remote mounted transponder and comm radio and their associated plugs.  Jason just set them here for the picture (and to make everything work), as this is not where they will be mounted in the plane.  I have fabricated a bracket system to mount them behind the sub panel on the right side utilizing the “glove box” cutout in the sub panel.  I’ll do a section showing how I fabricated and mounted that bracket and avionics.

*****The pictures above are from Jason at Aerotronics on May 6, 2022*****

Panel Build (Part 9)

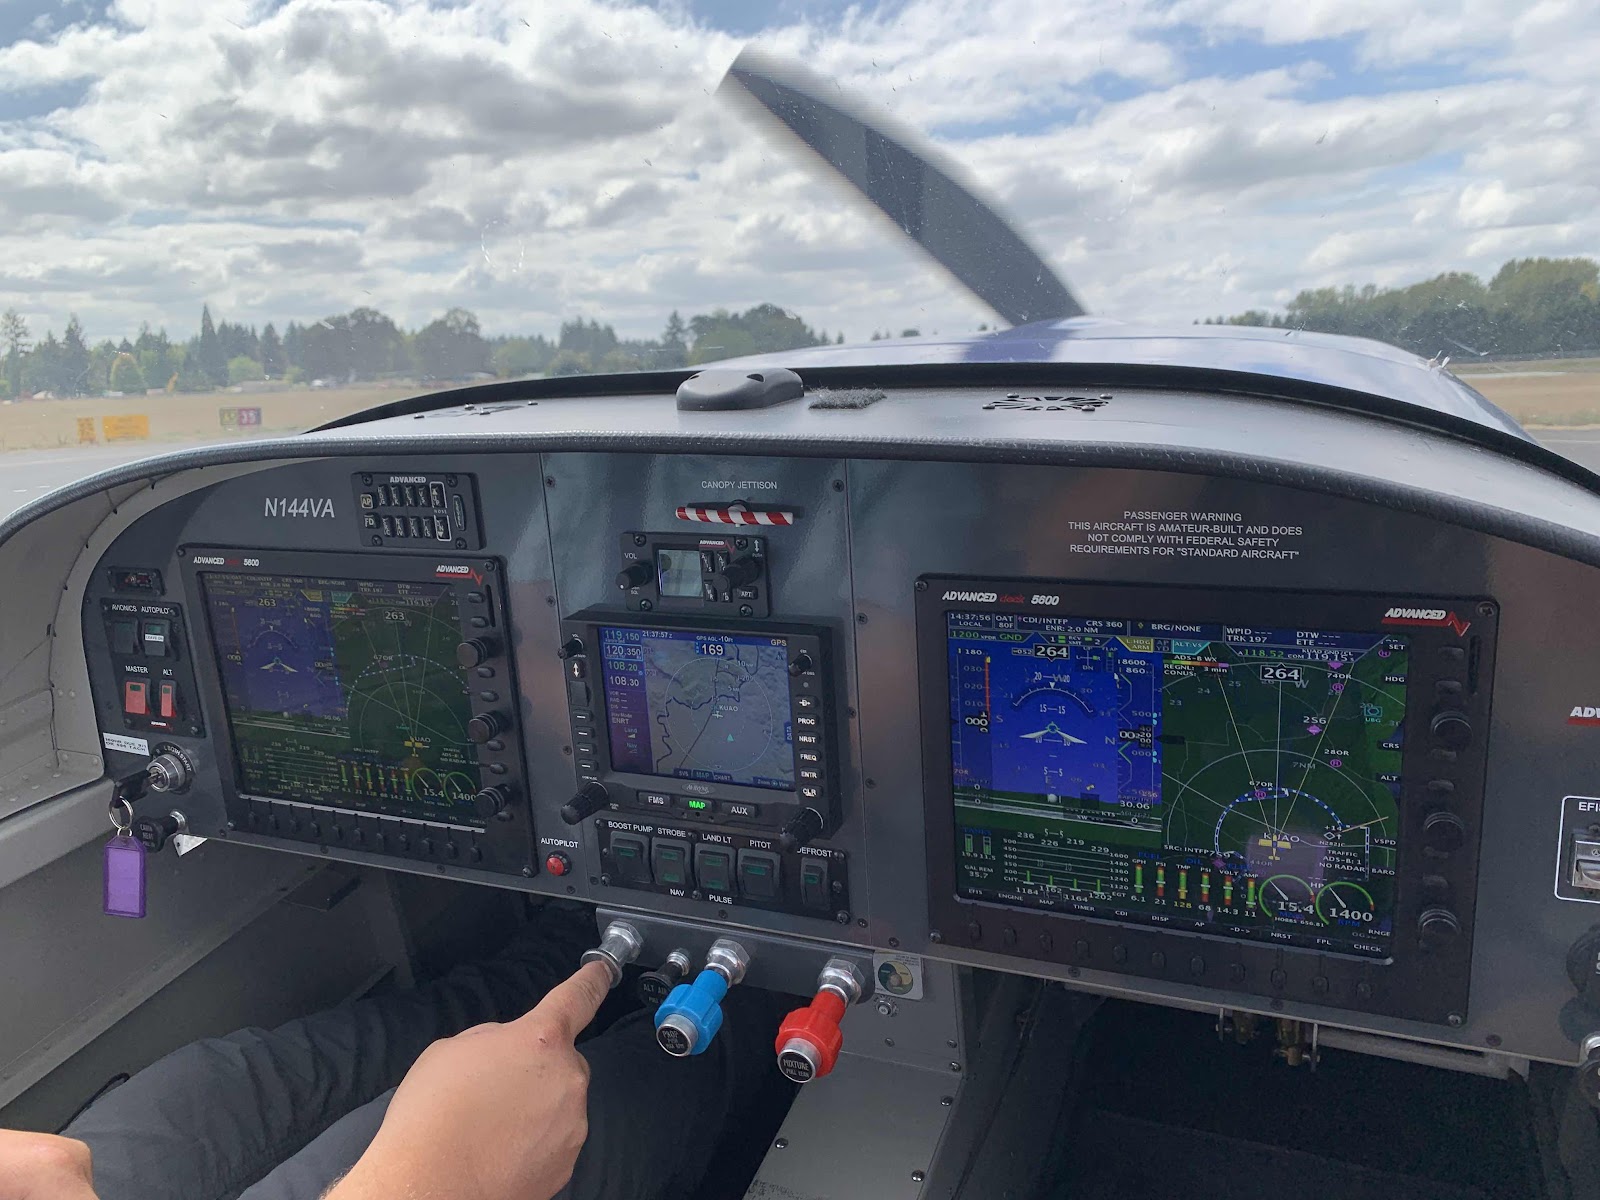
The panel for the RV-14, as designed by Van’s, calls for a modular panel (pilot side, center stack, copilot side).  I took this picture from inside N144VA, Van’s RV-14 demonstrator, when I got a ride following the factory tour in August 2019 (linked at the top right of the blog).  You can easily see the “separation” of each modular section.  There is absolutely nothing wrong with this setup and lots of people use this……not just in RV’s.

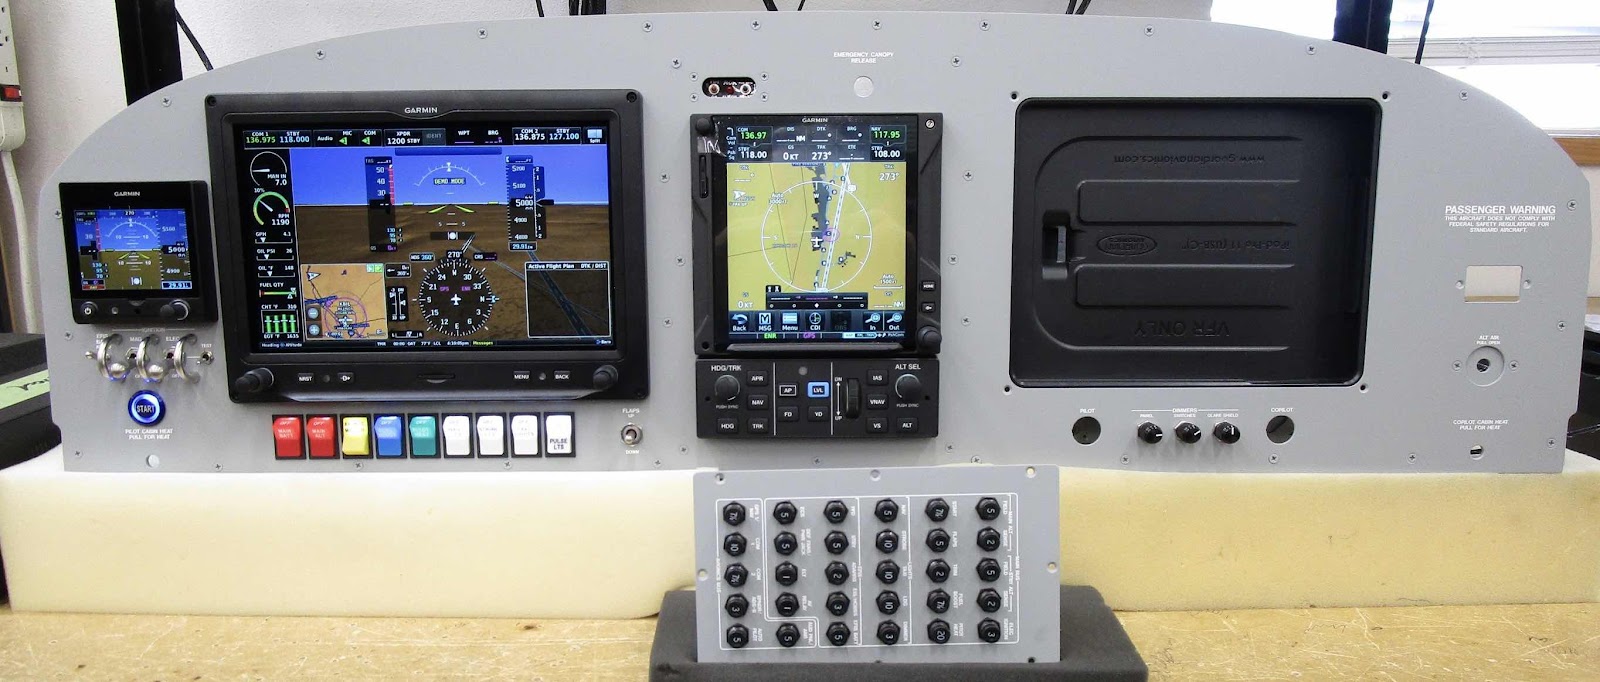
However, I wanted a “single panel” design without the “modular lines”.  I feel like it’s a cleaner and more finished look…..just my preference.  So, after a fair amount of back and forth with Aerotronics on what I wanted exactly, here is the end result and the finished panel the designed for me.  All of the panel labeling is etched and paint filled.  The tail number will be added later with some sort of white color matched sticker.  I’m going to see if my wife can come up with something better.  For the panel color:  Andre from Aerotronics contacted Classic Aero Design and got the paint codes that will match this color in our interior.  (The interior from Classic Aero Design will be captured in a separate section of the blog).


*****The picture above is from Jason at Aerotronics on April 27, 2022*****

Panel Build (Part 8)

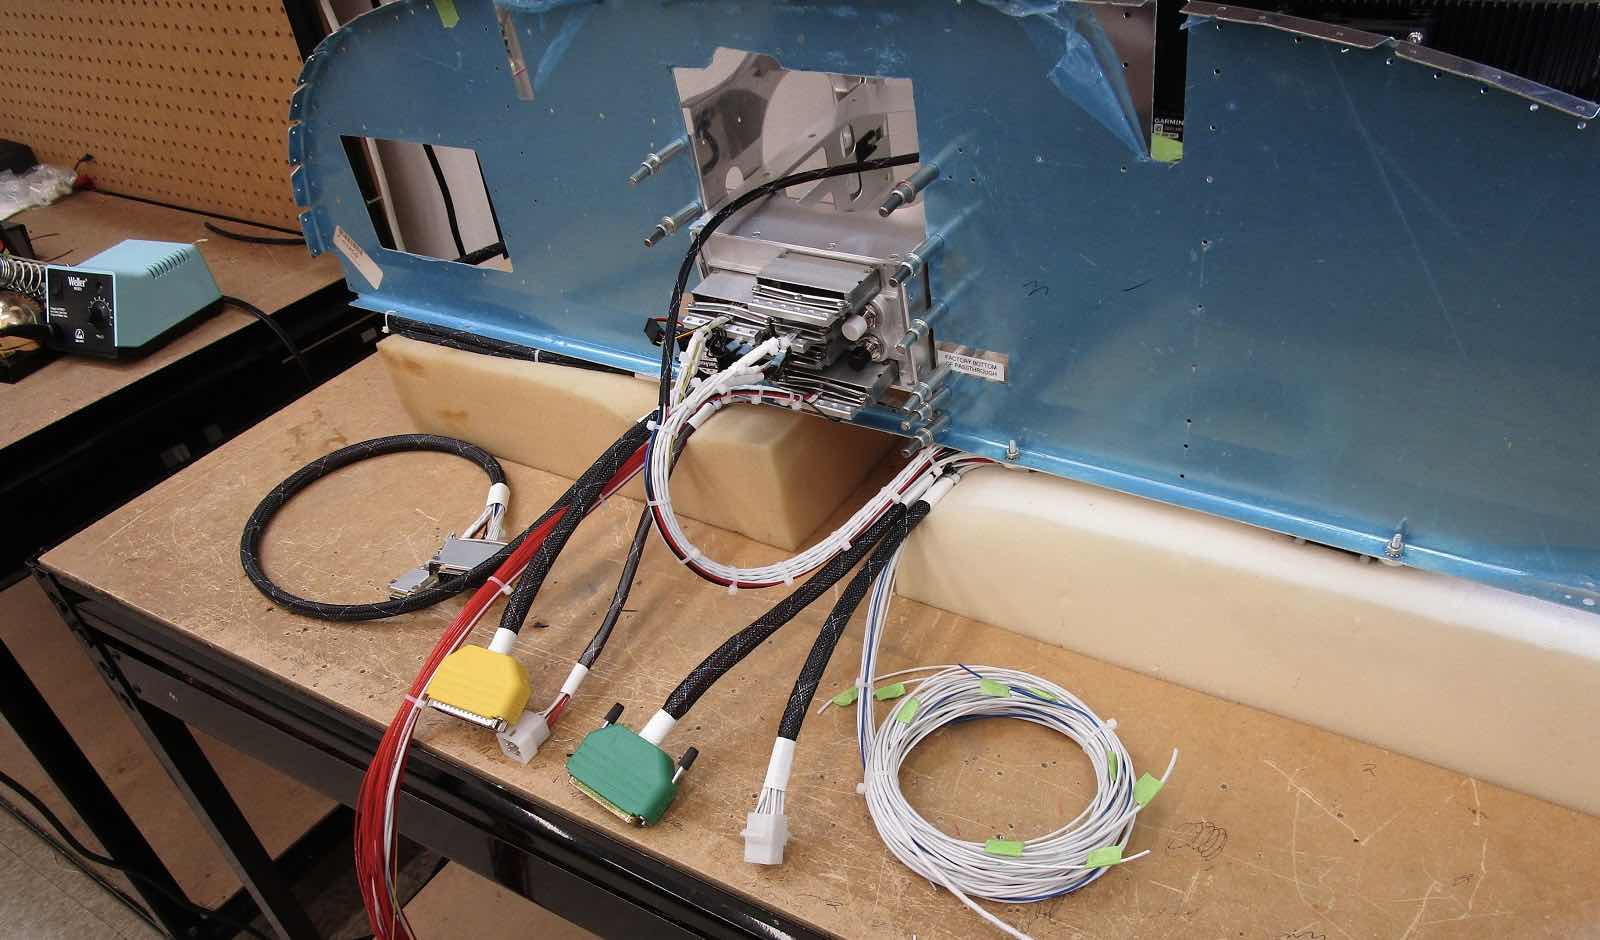
The following picture was sent to me on March 9, 2022.  

Getting close to the end!!!!!  Almost there!!!!!  Jason just needs to wire the circuit breaker panel (mostly the bundle of red wires on the bottom left).  These wires will go into a plug that can be detached from the circuit breaker panel itself.  The last thing to do is cut off the zip ties and replace them with avionics string (which will be done when the painting and etching is completed on the final panel).

After the circuit breaker panel is wired….she has power!


Demo mode on the G3X PFD.


*****Pictures are from Jason at Aerotronics*****

Panel Build (Part 7)

Here are some updated build pictures from March 4, 2022.

Jason says the panel itself still needs molex connectors for the canopy and CO detector, but the wires are already run for those.  He has separated the wires that will run to the left common fuselage harness, the right common fuselage harness and the power wires that will run to the circuit breaker panel.


*****Pictures from Jason at Aerotronics*****

Panel Build (Part 6)

These two photos are from March 2, 2022.

More progress on the panel!  If this is how much wire that is going into my panel, just one panel…..can you imagine how much wire they have in stock at the shop???  Jason believes this is about the bulk of the wires that will go into my panel.  He’s guessing, but maybe less than 10 more wires to be complete everything.

The fascinating thing to me is that every wire has a purpose…..remove one of the wires and something does work properly!  Amazing!!!!

*****Pictures from Jason at Aerotronics*****

Panel Build (Part 5)

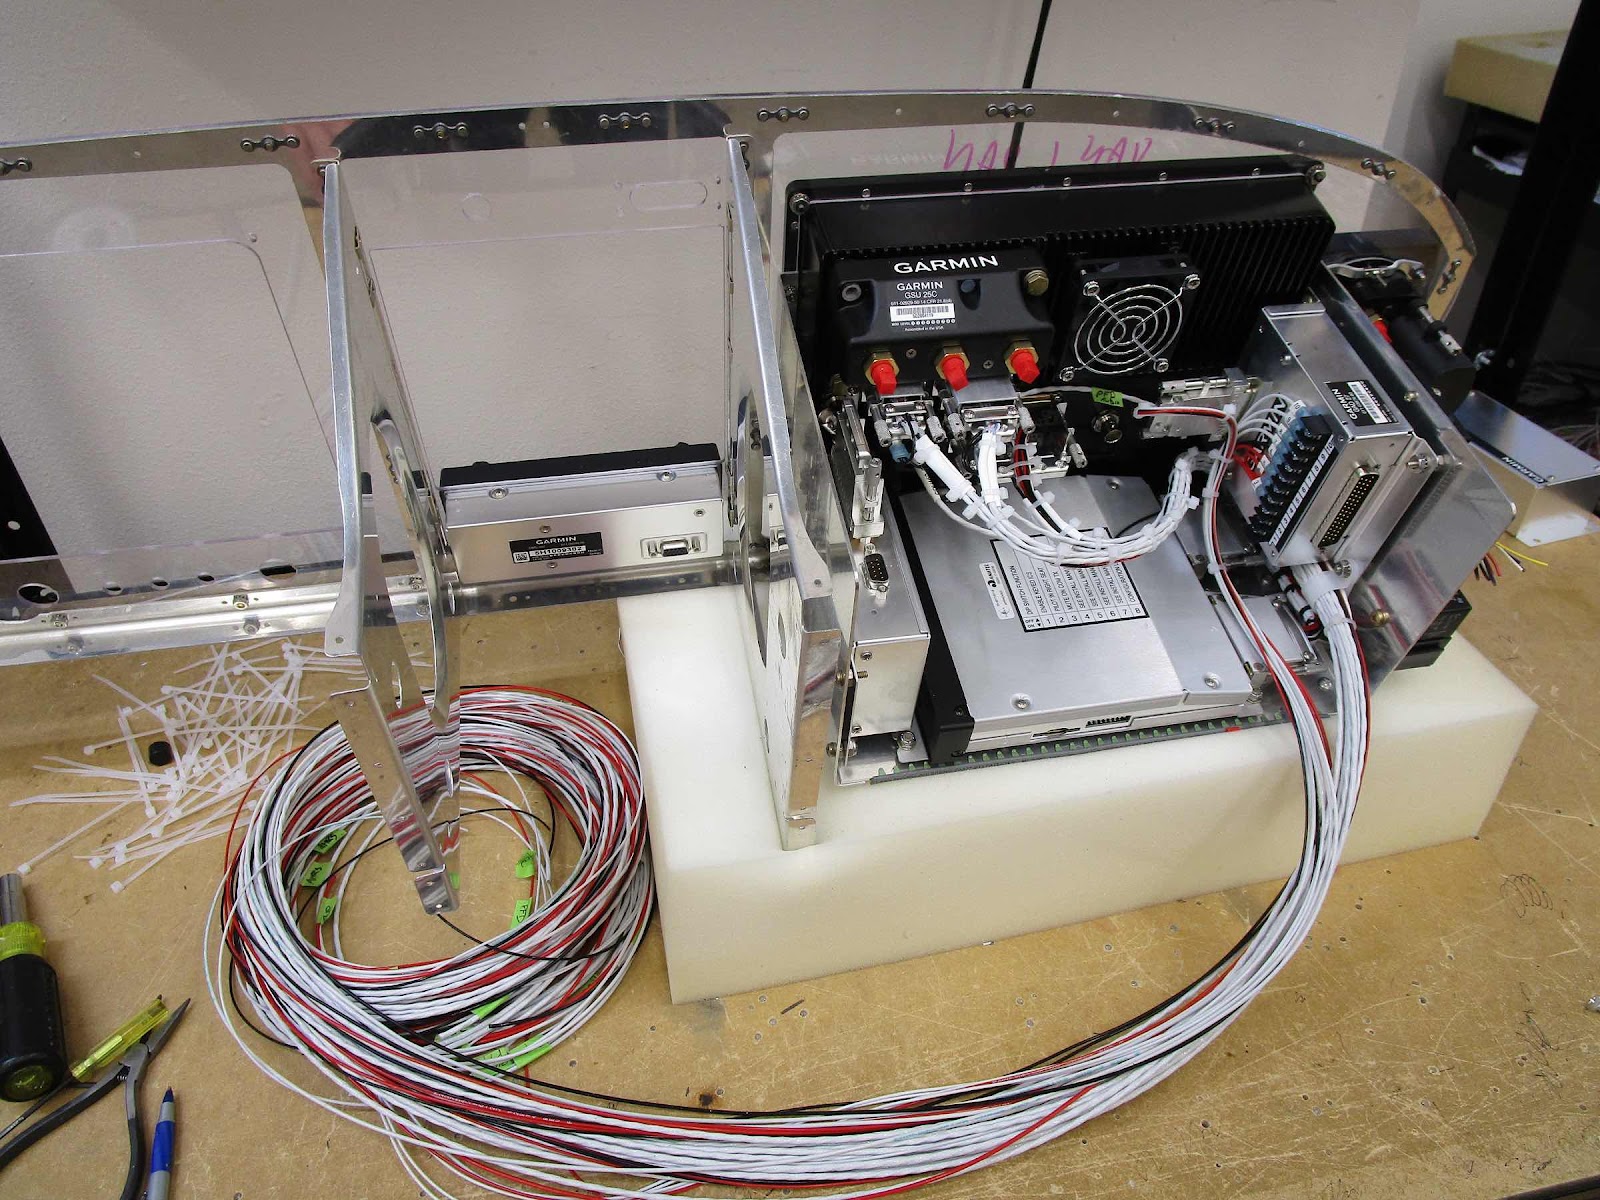
These two pictures are from February 23, 2022.  The first one shows the G5 and associated switches in/around it (backup battery power, magneto switches, test switch, push to start).

This pictures just shows the back of the panel and amount of wires that are starting to show up…..

*****Pictures from Jason at Aerotronics*****

Panel Build (Part 4)

The four pictures attached to this post are from February 22, 2022.  Lots of wires…..lots of them.  The panel is starting to come together.  Jason said almost everything on the panel is wired.  He will have that completed in the next couple of days and move on to the mating connectors for everything that will be off the panel.


*****Picures from Jason at Aerotronics*****

Panel Build (Part 3)

This picture is from February 2, 2022 and show the ADAHRS and Audio Panel fully wired, the PFD and GAD 27 partially wired and the various wire runs.

*****Pictures from Jason at Aerotronics*****

Panel Build (Part 2)

The two pictures are from January 20, 2022.  This shows most of the wiring for the GTN750Xi.


*****Pictures from Jason at Aerotronics*****

Monday, January 22, 2024

Panel Build (Part 1)

Now that the panel design has been finished/approved in Part #7, its build was assigned to Jason Springstead at Aerotronics.

First of all, I must lead this post by saying Jason was awesome to work with during the process.  To say that his customer service was good is an understatement!  He responded to all my questions (which he has probably heard the same questions a million times), on the phone and via email, within a day (usually within hours).  He was always honest with the answers to my questions and gave great advice on things that worked well together and things that did not (in terms of avionics).  During the build, if he had a question for me regarding the panel, he contacted me to see what I wanted…..instead of just guessing.  

I also asked him to occasionally send me some pictures of the panel build to post in this blog (finally getting around to doing that).  Jason sent me all of the panel pictures that you will see in the next several posts that will be published.

*****These pictures are from January 12, 2022*****

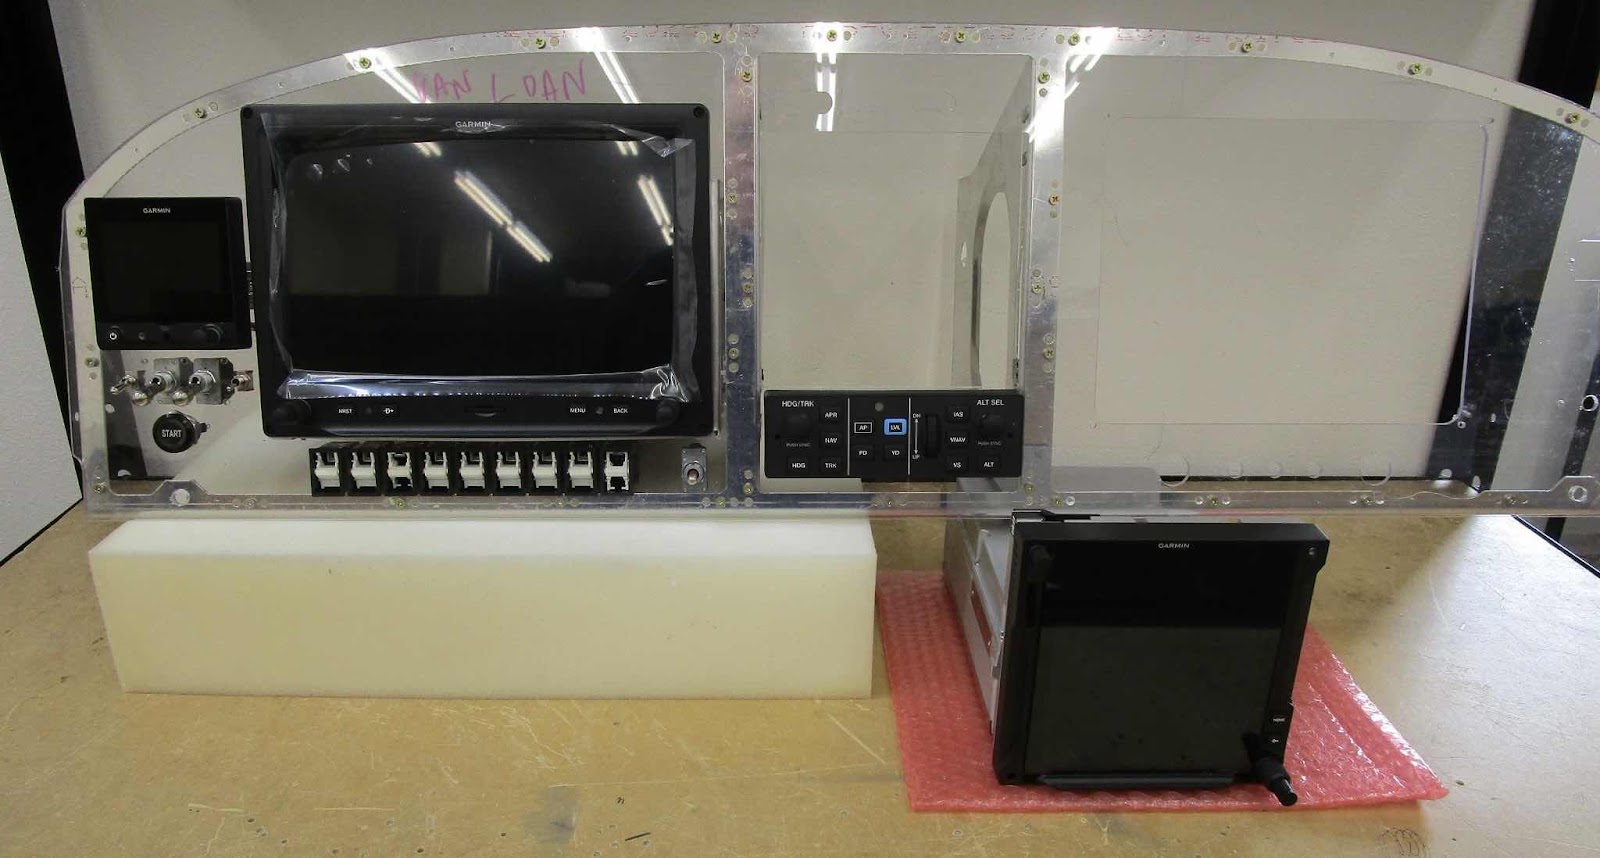
Jason said he tries to get as many items on the mounting tray as he can (second picture below)…..which leaves less items for me to have to mount somewhere off panel.  This is the front view of the panel with most of the items mounted in the panel templete:

G3X Touch 10.6” GDU 460 Display Unit
G5 EFIS
GMC 507 A/P Control Panel
GTN 750Xi GPS/Nav/Com/Map (I will have to install it when the panel is delivered)

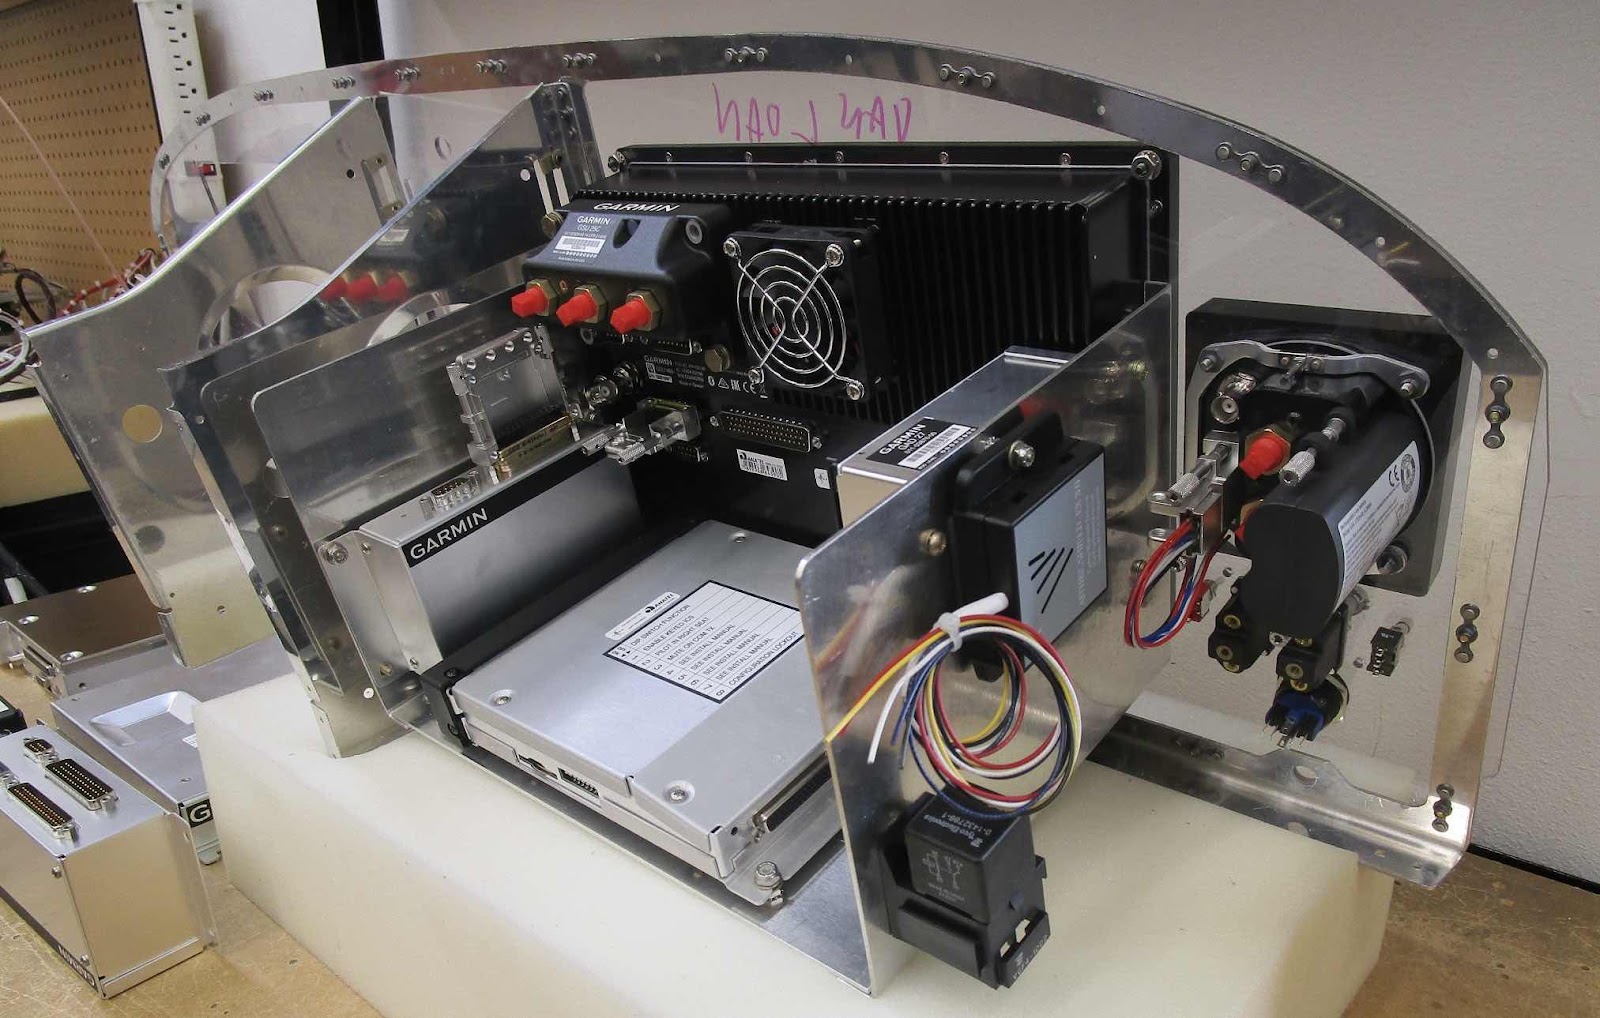
This is the backside of the panel showing the “mounting tray” he uses for a majority of the equipment.  In this picture, you can see the:

GAD 27 Integrated Controller
GMA 245R Remote Audio Panel
GSU 25C ADAHRS
GAD 29 ARINC 429 Interface
Aithre Shield 3.0 CO Detector

Lastly, shown below are the items I will have mount off panel somewhere when I receive the finished product:

GEA 24 EIS Interface Module
GTR 20 Remote Comm
GTX 45 Remote Transponder ADS-B In & Out
TCW Intergrated Back-up Battery System 6 amp-hour

More to follow…..