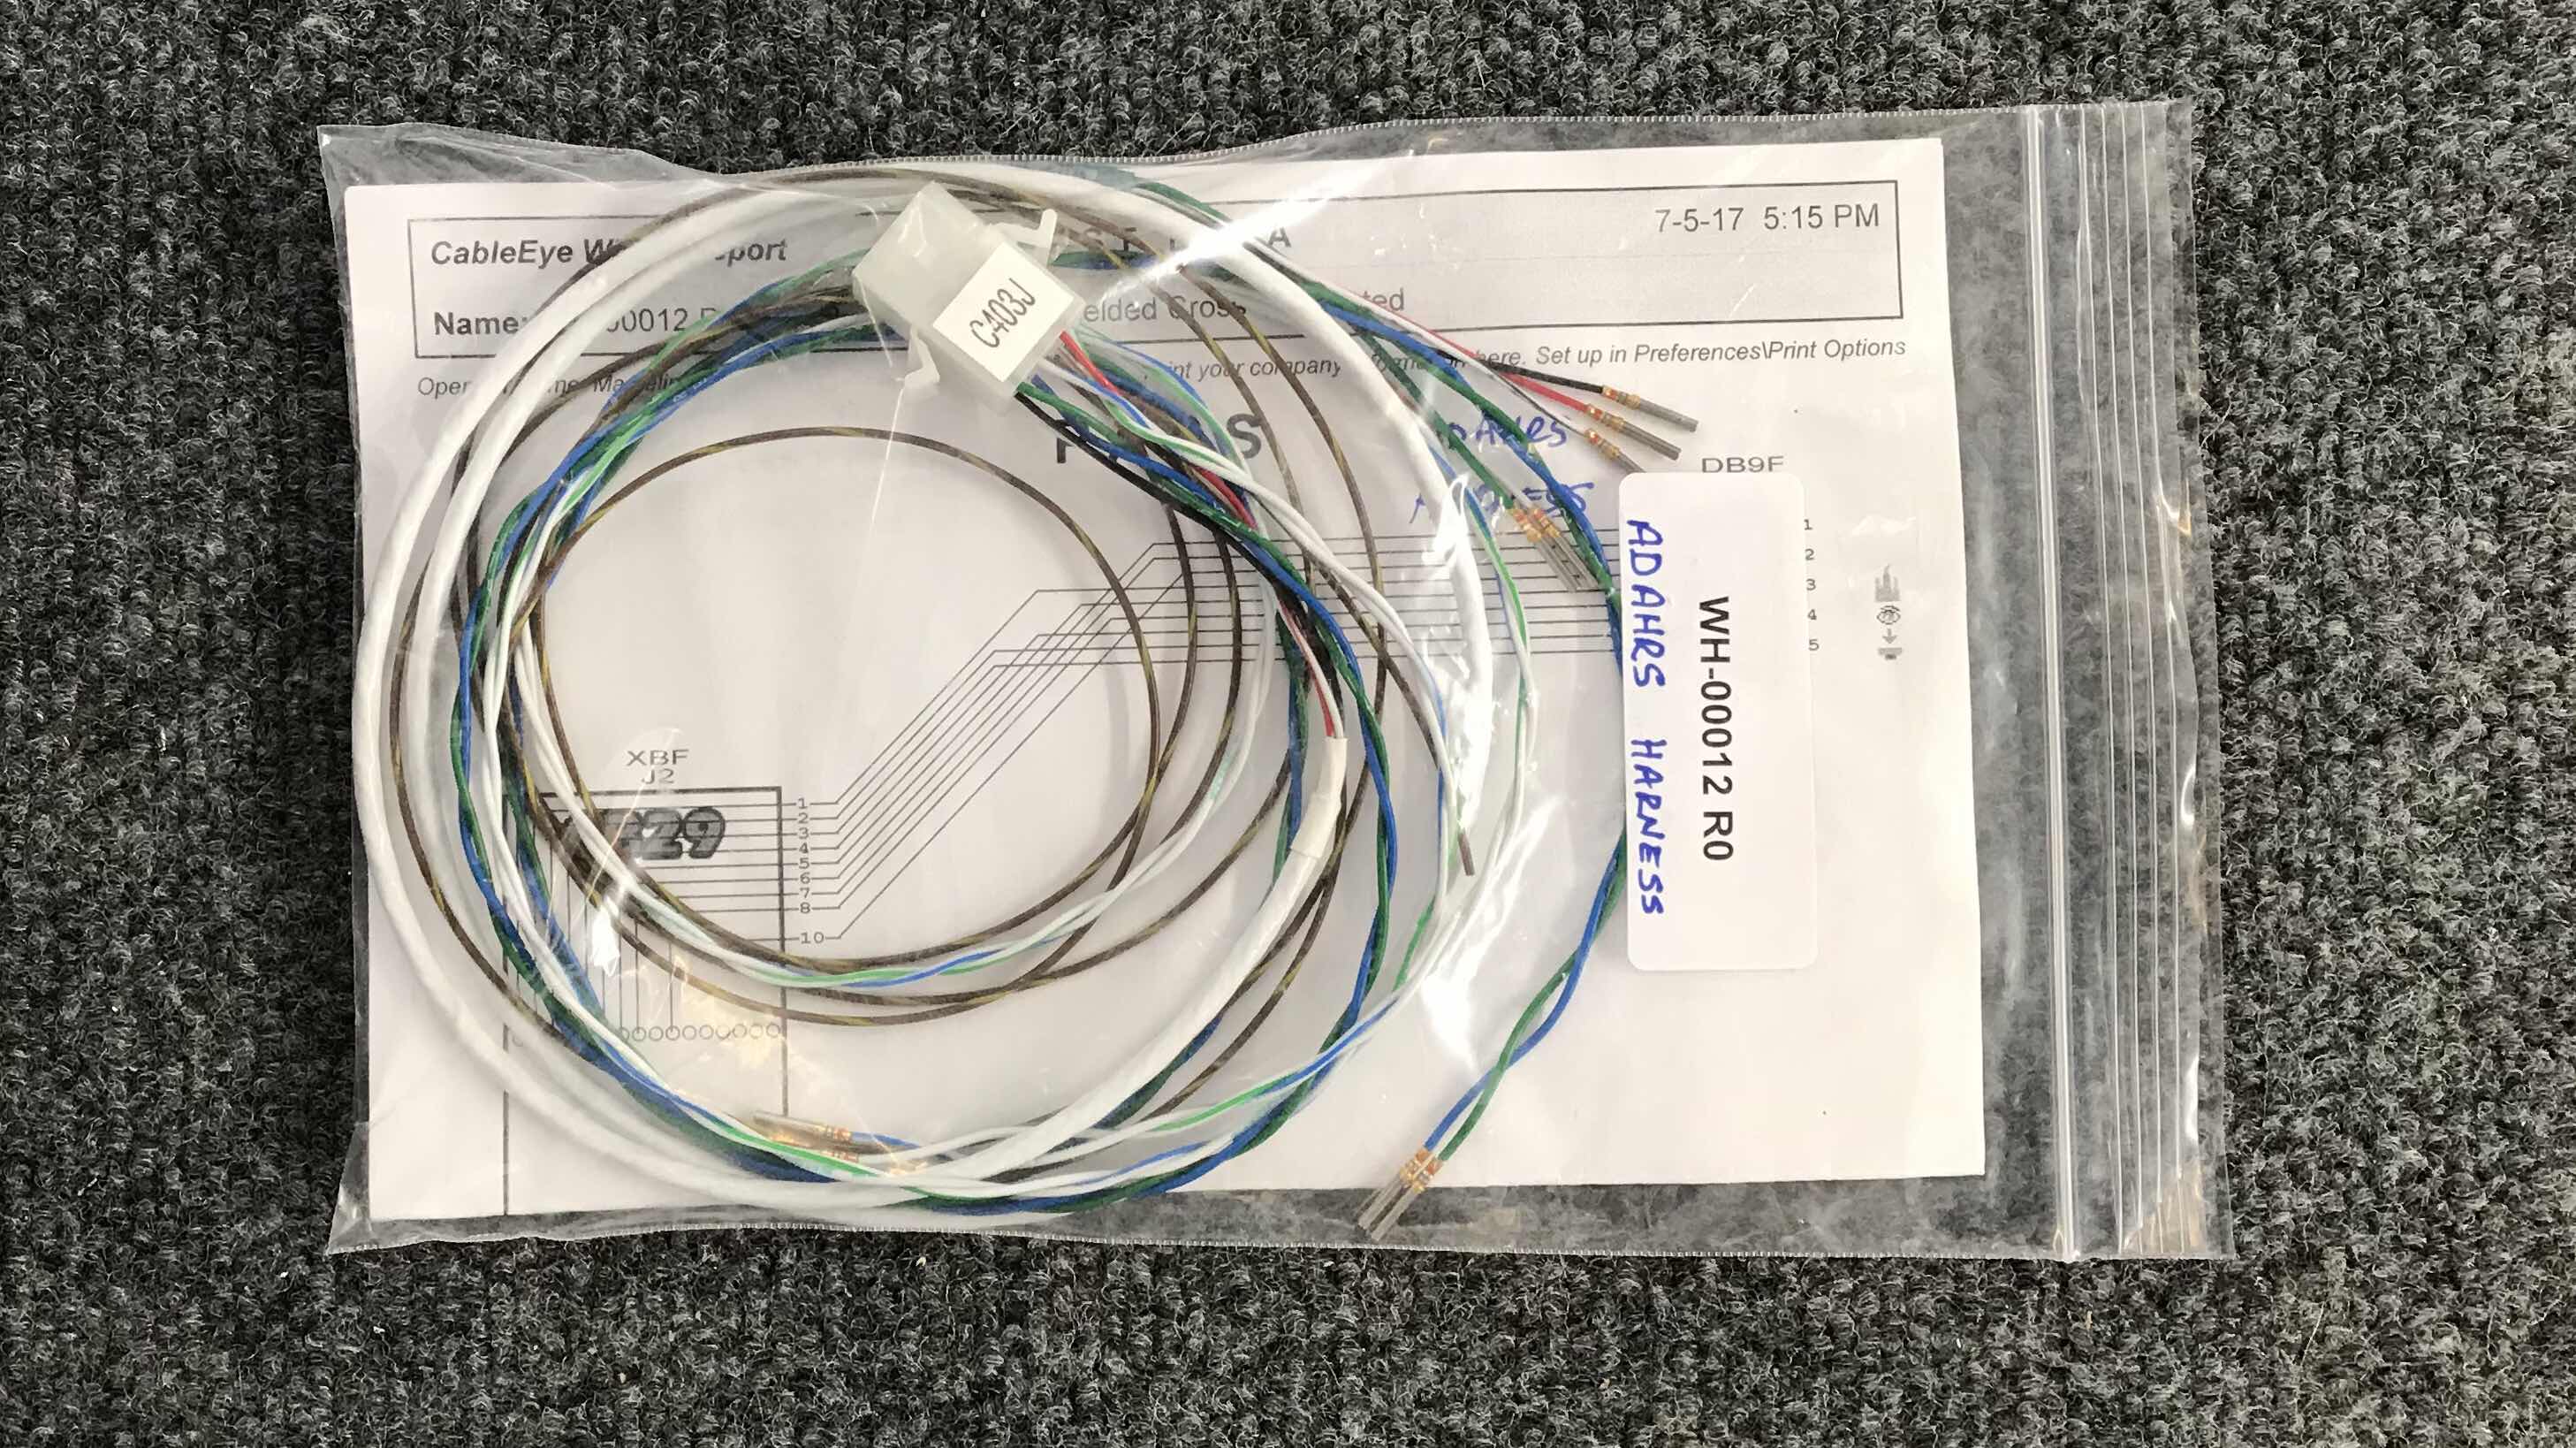
During today’s session, I focused on the last two “routings”.....the Wing Tip landing lights and the static lines for the Dynon Pitot Tube (heated with AOA).
To begin, pictured below are the Aeroled’s Aerosun VX landing/taxi/recognition lights designed for the RV line of aircraft. These lights draw 60 watts of power and generate a combined 13,300 lumens of light. The lights include a built-in wig-wag controller for a synchronized recognition light mode. These are additional/optional lights that I have chosen to add to the my lighting system. These lights will work in conjunction with the Aeroled Sunspot 36’s that will be installed in the outboard leading edge of each wing.

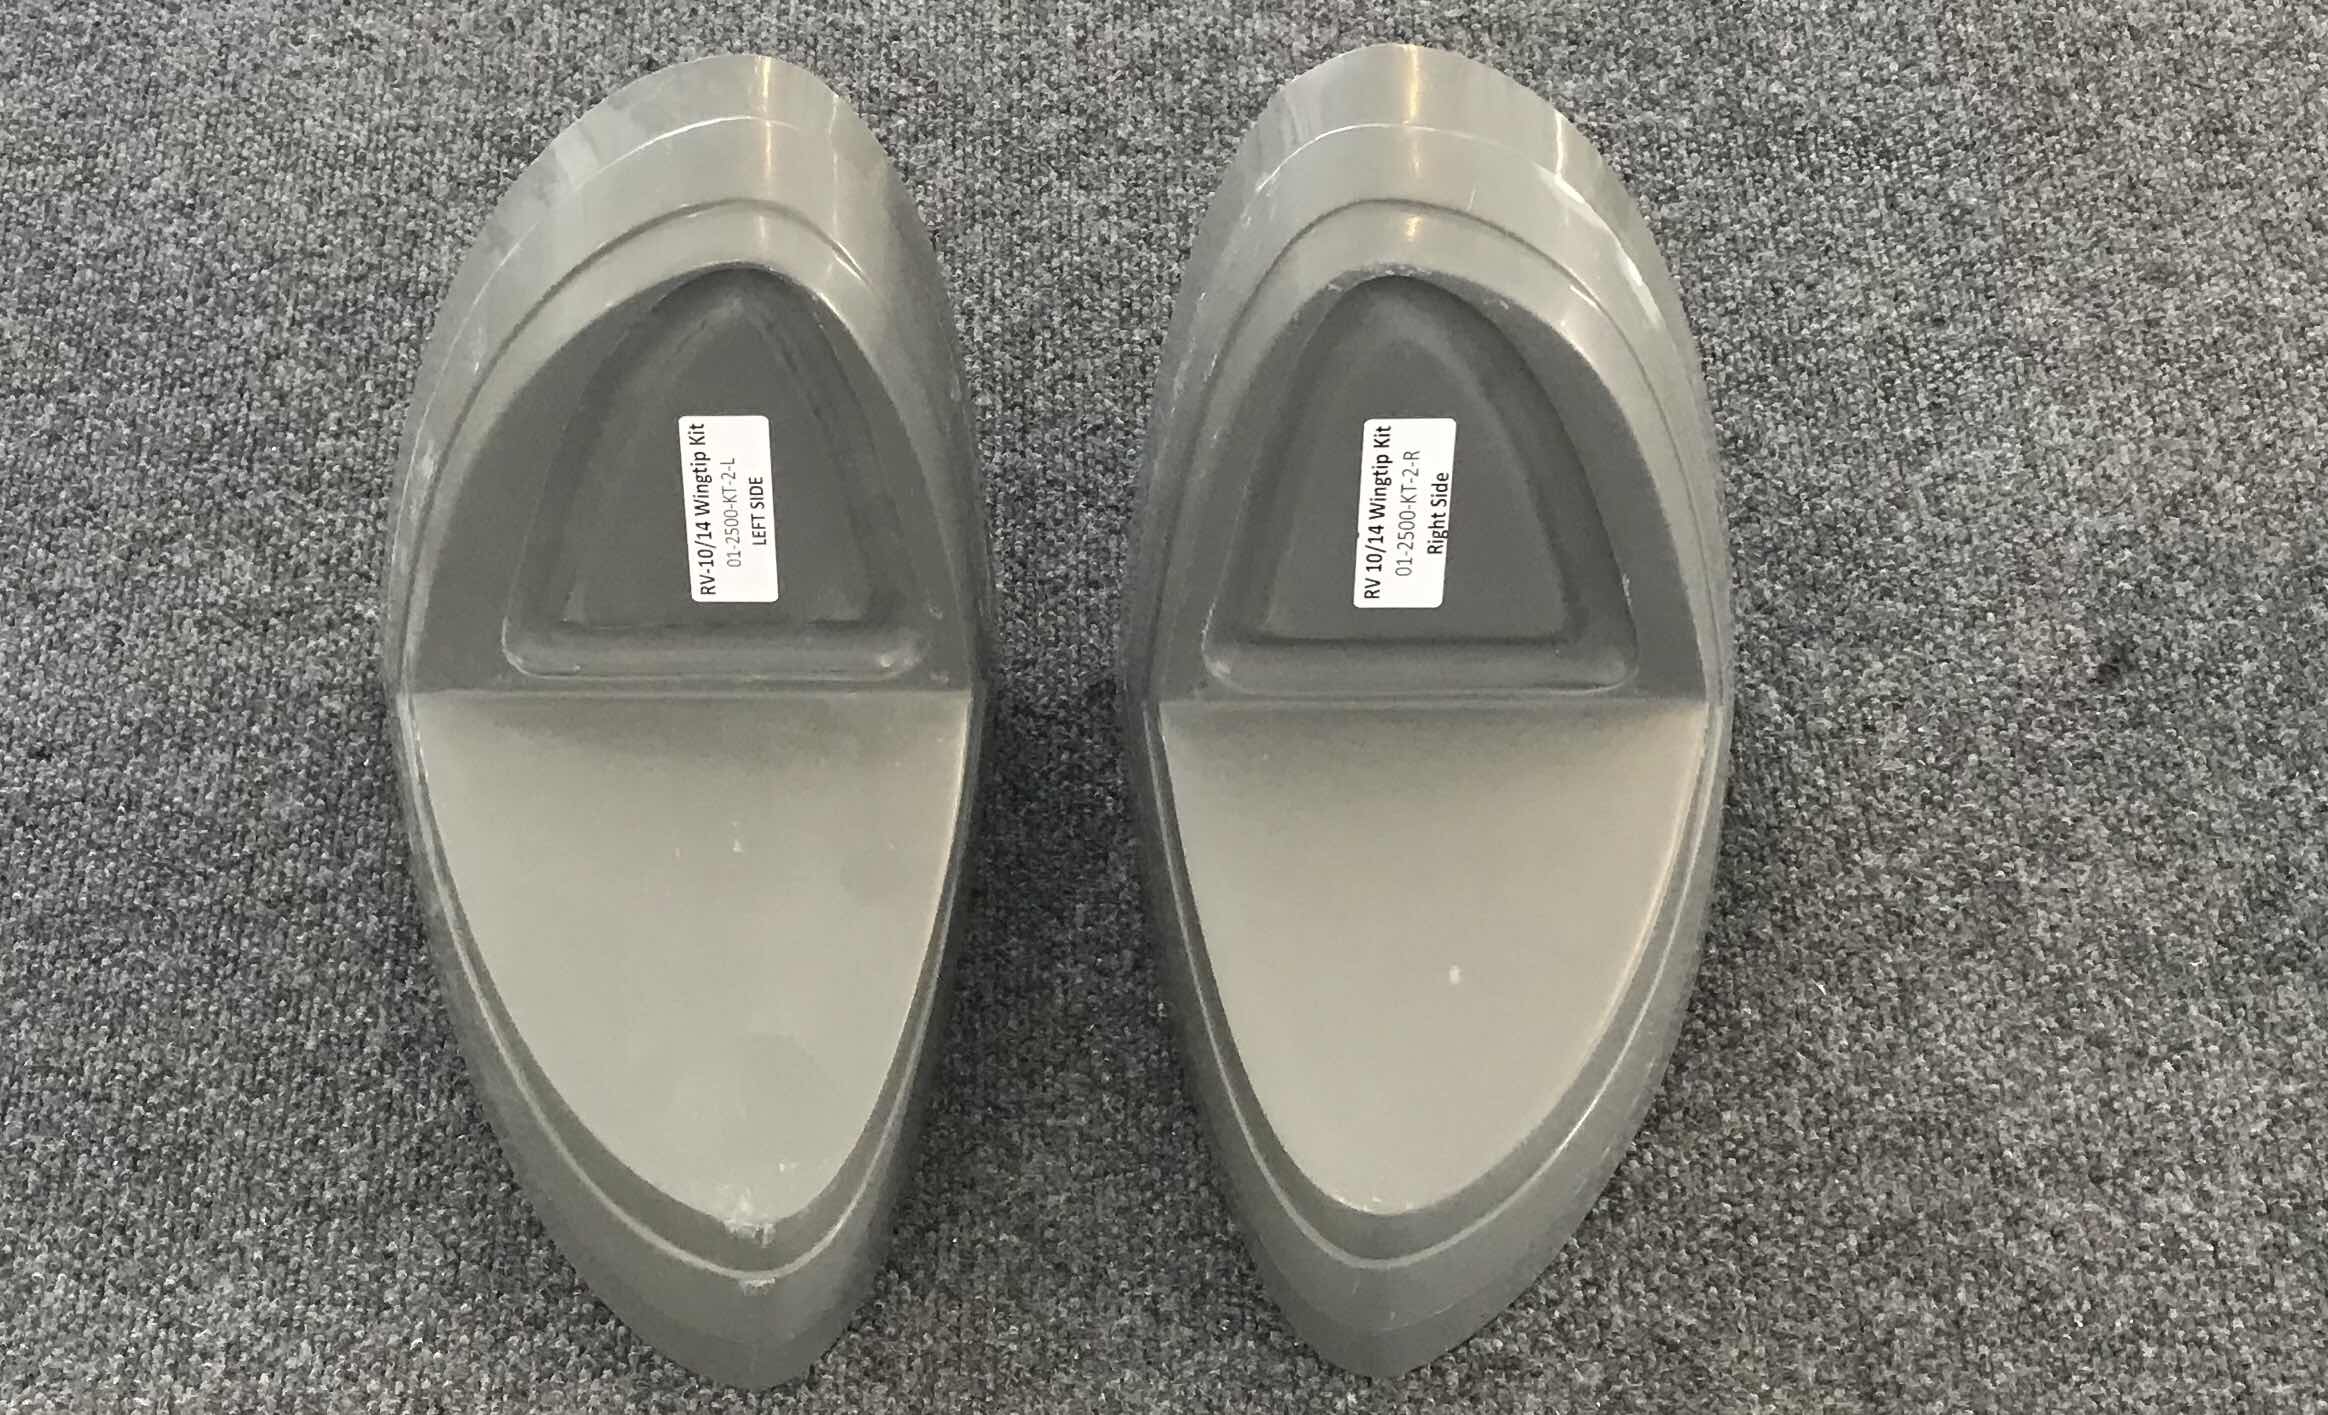
The fairings (known as a conversion kit) shown below were also ordered with the lights. This conversion kit is required to enlarge the lighting cove to accept the Aerosun VX lights. This conversion kit is required for the RV-10 and RV-14 if the Aerosun VX will be used. (This installation will be covered at some point later when I complete the fairing work).
Here’s a video of the “extra” landing light wire run in the Right Wing. (I will show the Left Wing static sine runs further down the post).
With the additional landing light wires run and completed, I started working on the Static Line runs. My airplane will need/use three static lines.....
Blue tubing: Airspeed (Dynon Pitot Tube)
White tubing: Angle of Attach (AOA) (Dynon Pitot Tube)
Red tubing: Static Ports
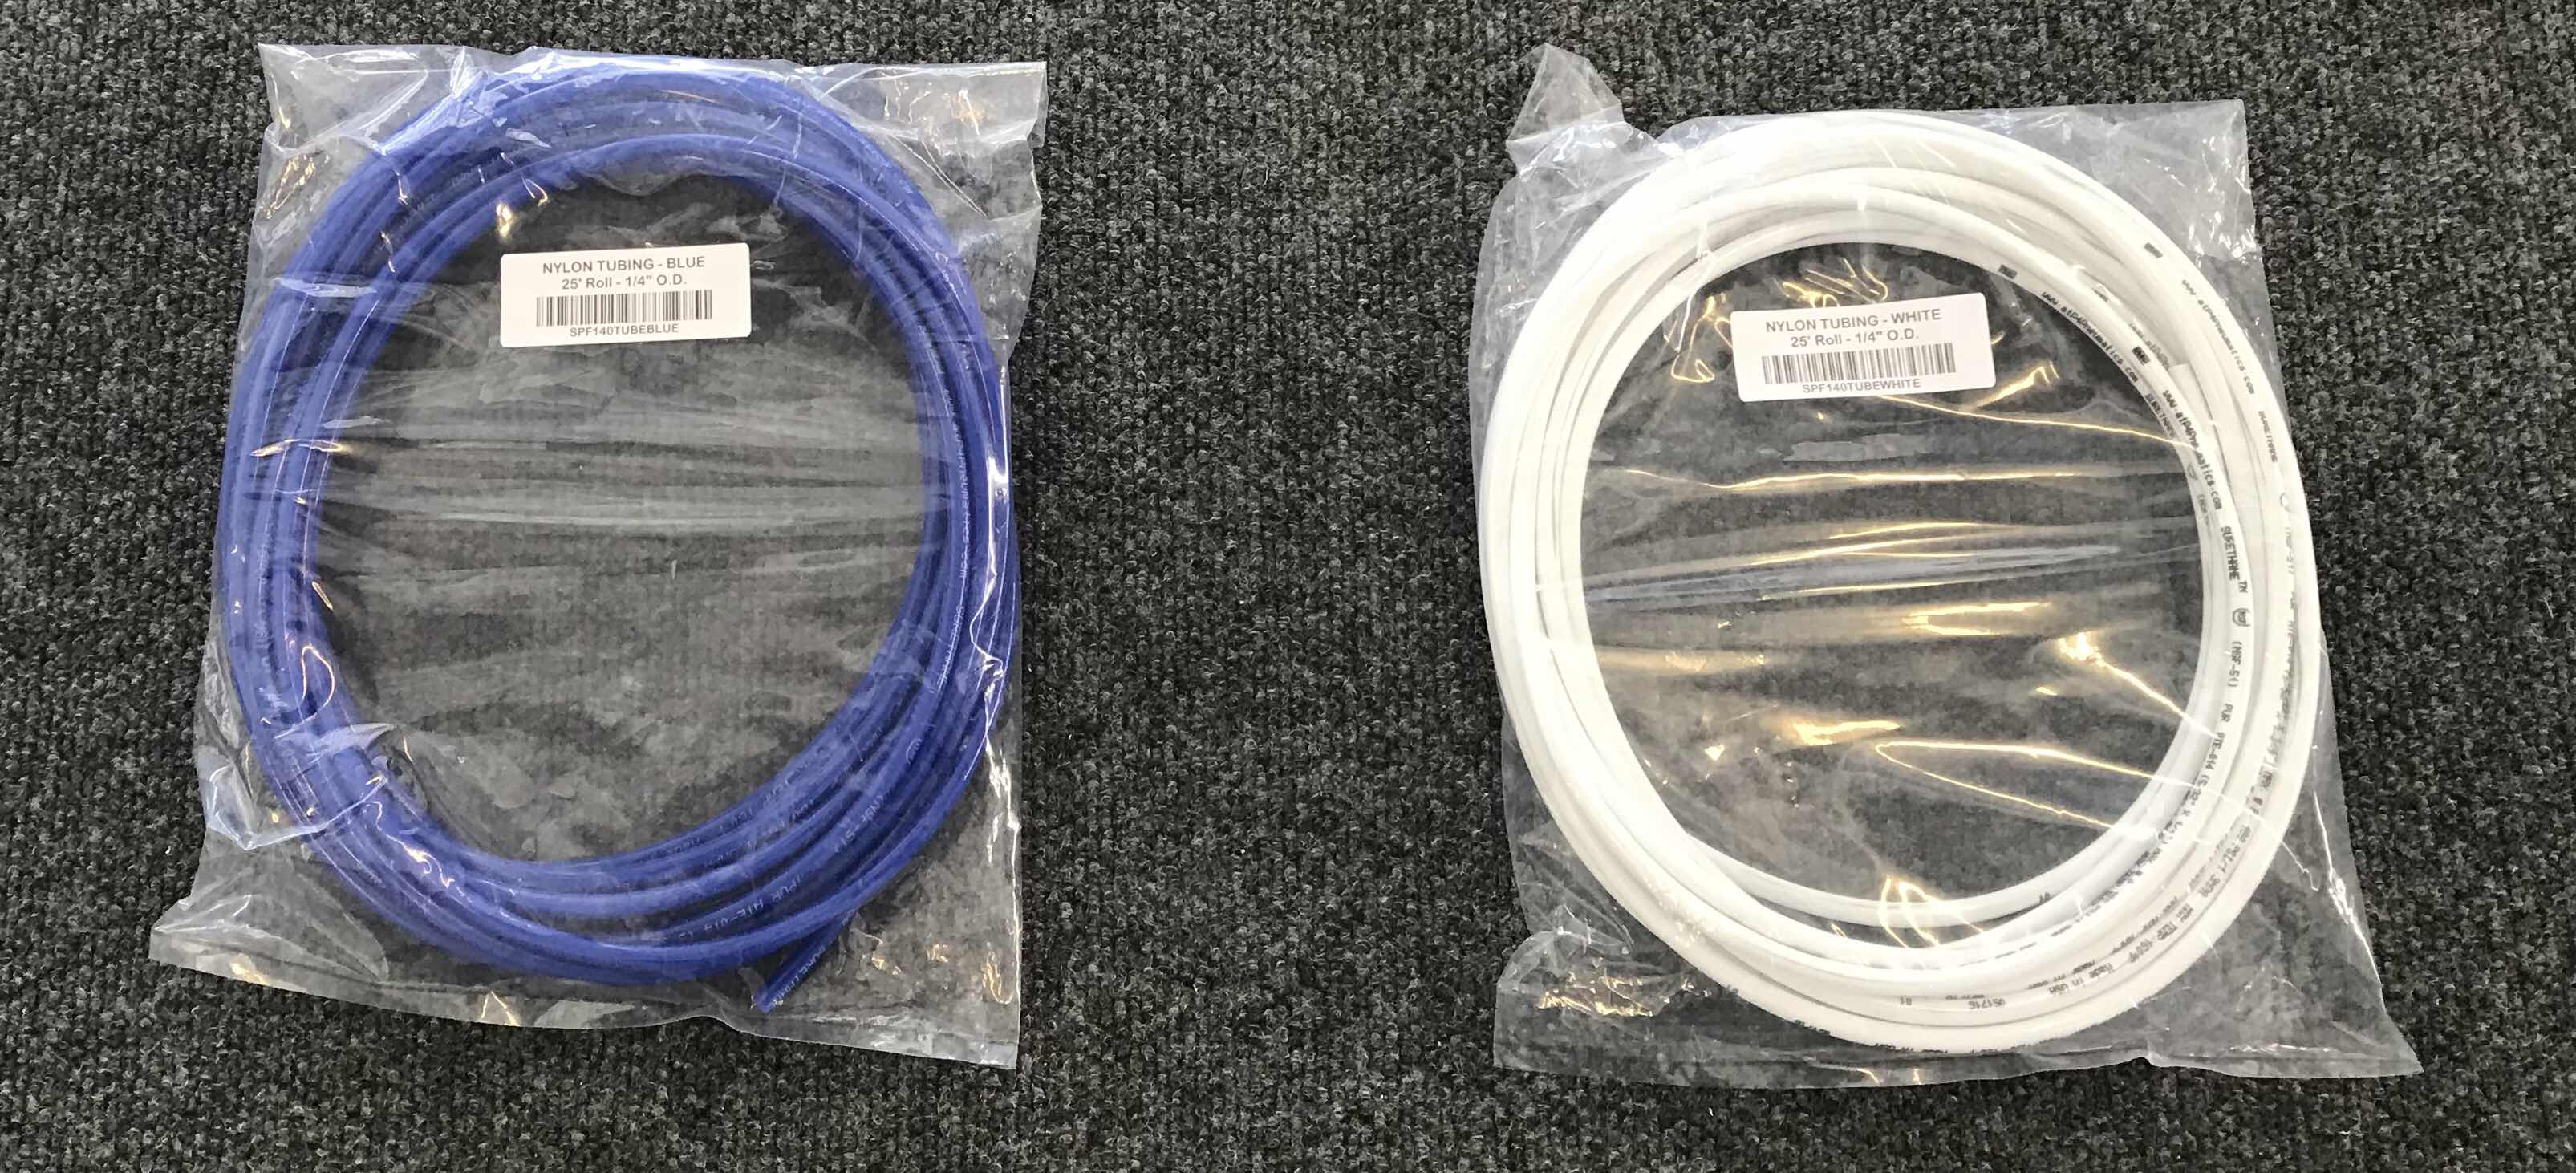
The blue and white nylon 1/4” O.D. tubing is shown in the packaging and the red is already installed in the Aft Fuselage (as shown below). All three were ordered from Cleaveland Aircraft Tool.

Because I am adding the additional Wing Tip Lights and two Static Lines (Pitot and AOA), I had to “modify” four of the Left Wing Ribs. When I was preparing the Ribs in an earlier section, I drilled 1/2” holes in them to allow for wire and tubing runs. In the picture below, two of these holes are circled and have plastic grommets installed. The bottom bundle of wires are for the leading edge landing light (Sunspot 36) and the position/strobe light (Pulsar NS90). The two white wires are for the optional Aerosun VX landing lights. The two holes that are circled are to be used for the Pitot static lines. Since I’m using the Dynon Pitot tube with AOA, I will need to use two static lines.....and two static lines WILL NOT fit through the 1/2 hole. I debated several different options, but ultimately decided to enlarge the holes on the four associated ribs.

The original holes were drilled to 1/2” and needed to be enlarged two steps on the unibit to 5/8”. Shown here are the four holes I enlarged. The holes were then deburred and treated with Alumiprep, Alodine, and Akzo Primer.

After the Akzo Primer dried, I installed these MS-35489-13 rubber grommets.....

.....and “tested” to ensure the proper fit.

After the “test” fit I ran the tubing. Here is a close up of the tubing installed in the Left Wing with showing the rubber grommets.

This picture shows the final installation of the static tubing. The plans called for the tubing to be cut to 8’ lengths. I cut them to a little over 9’ just to make sure there is enough extra if it’s needed.
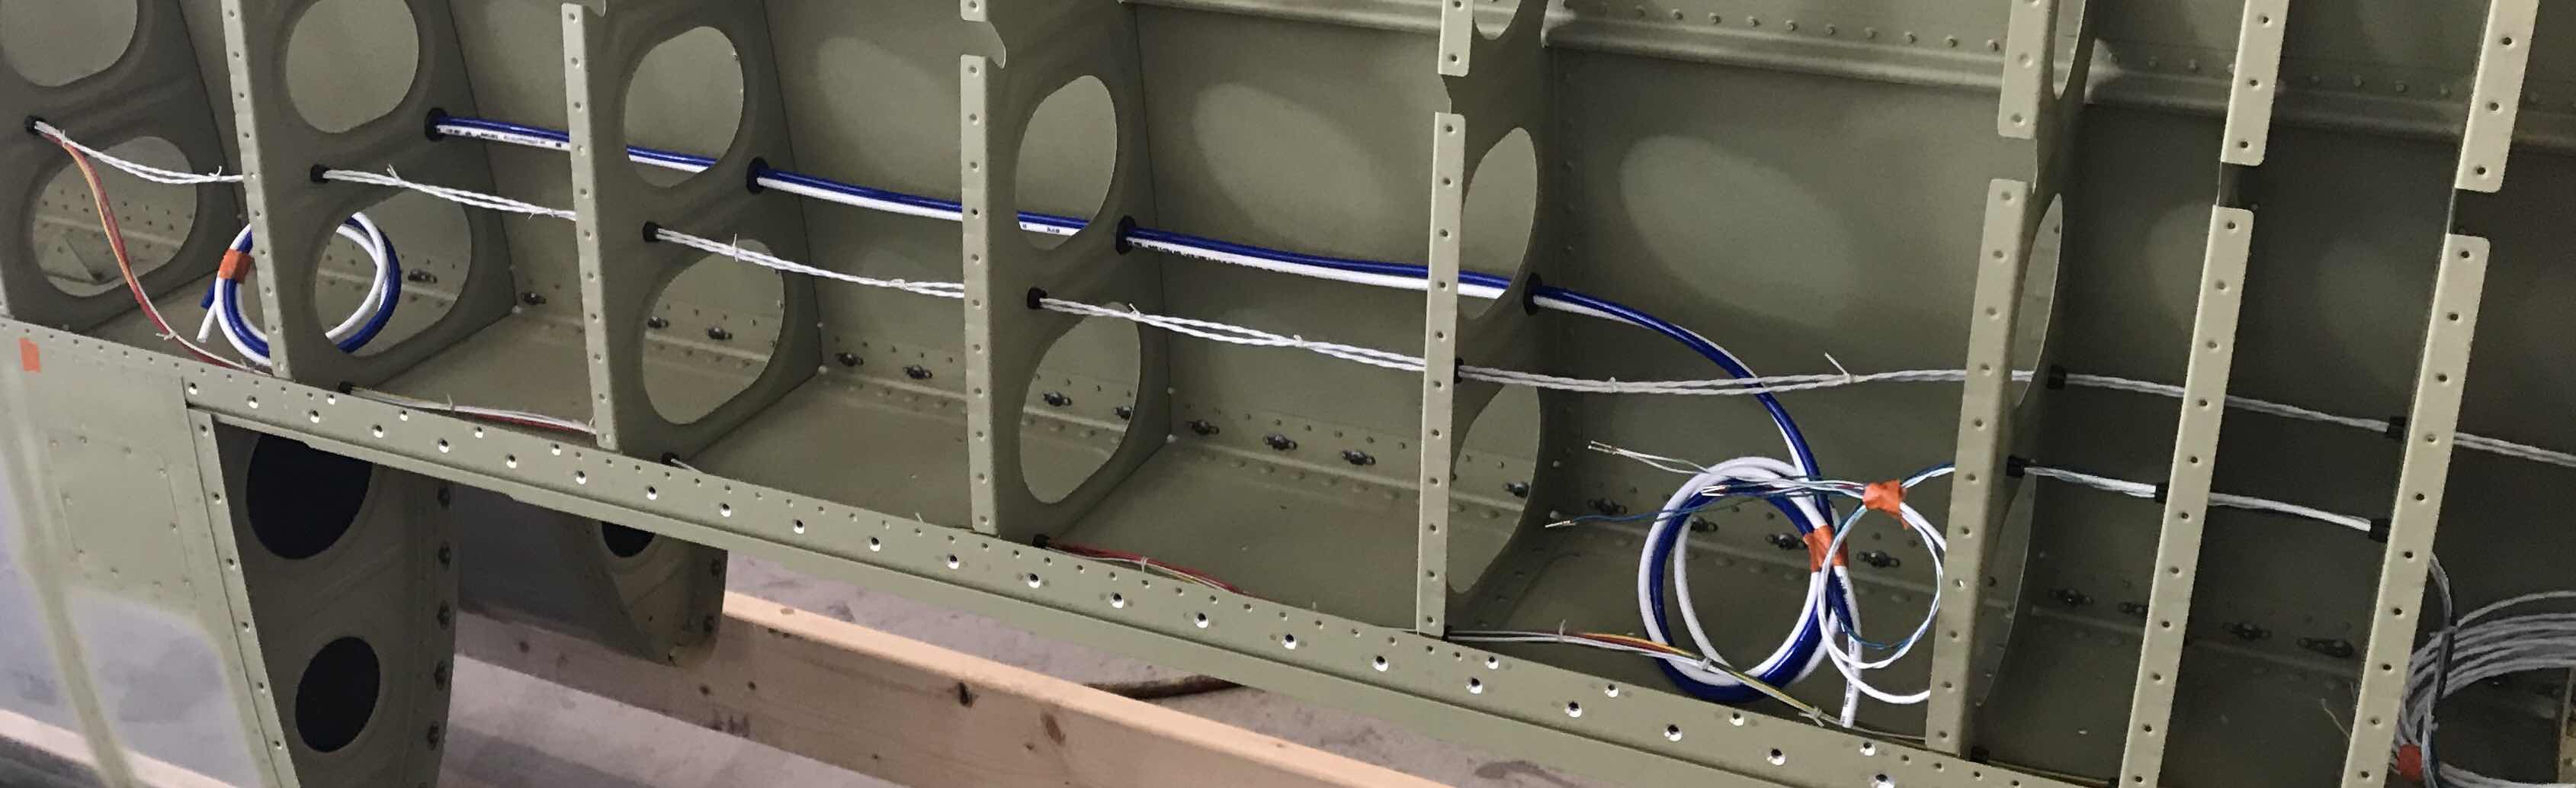
Lastly, here is a video showing the installed Aerosun VX wiring and blue/white static tubing. You can also see the wiring for the ADAHRS, Sunspot 36, and NS90.
Section Complete