Showing posts with label RV Max Flap Actuator. Show all posts

Thursday, December 19, 2024

RV Max Flap Actuator - PH Aviation Services (Part 4)

In the previous post, the actuator was installed in the RV - minus the electrical connections.  In this work session, I completed all the appropriate electrical connections and test ran the flaps using the switch on the panel.  The switch, actuator and flaps worked correctly and the whole assembly is very solid.  I’m glad I switched to this actuator.

This picture shows the wires pinned with Molex pins and inserted into the Molex connectors.  There are five wires that make the appropriate connections, so I used a six pin Molex connector.  I decided to install the Molex connector (instead of hard wiring), just in case I need to remove the actuator in the future for any reason.  Next, I slid the heat shrink down over the wire bundle and shrunk it into position.
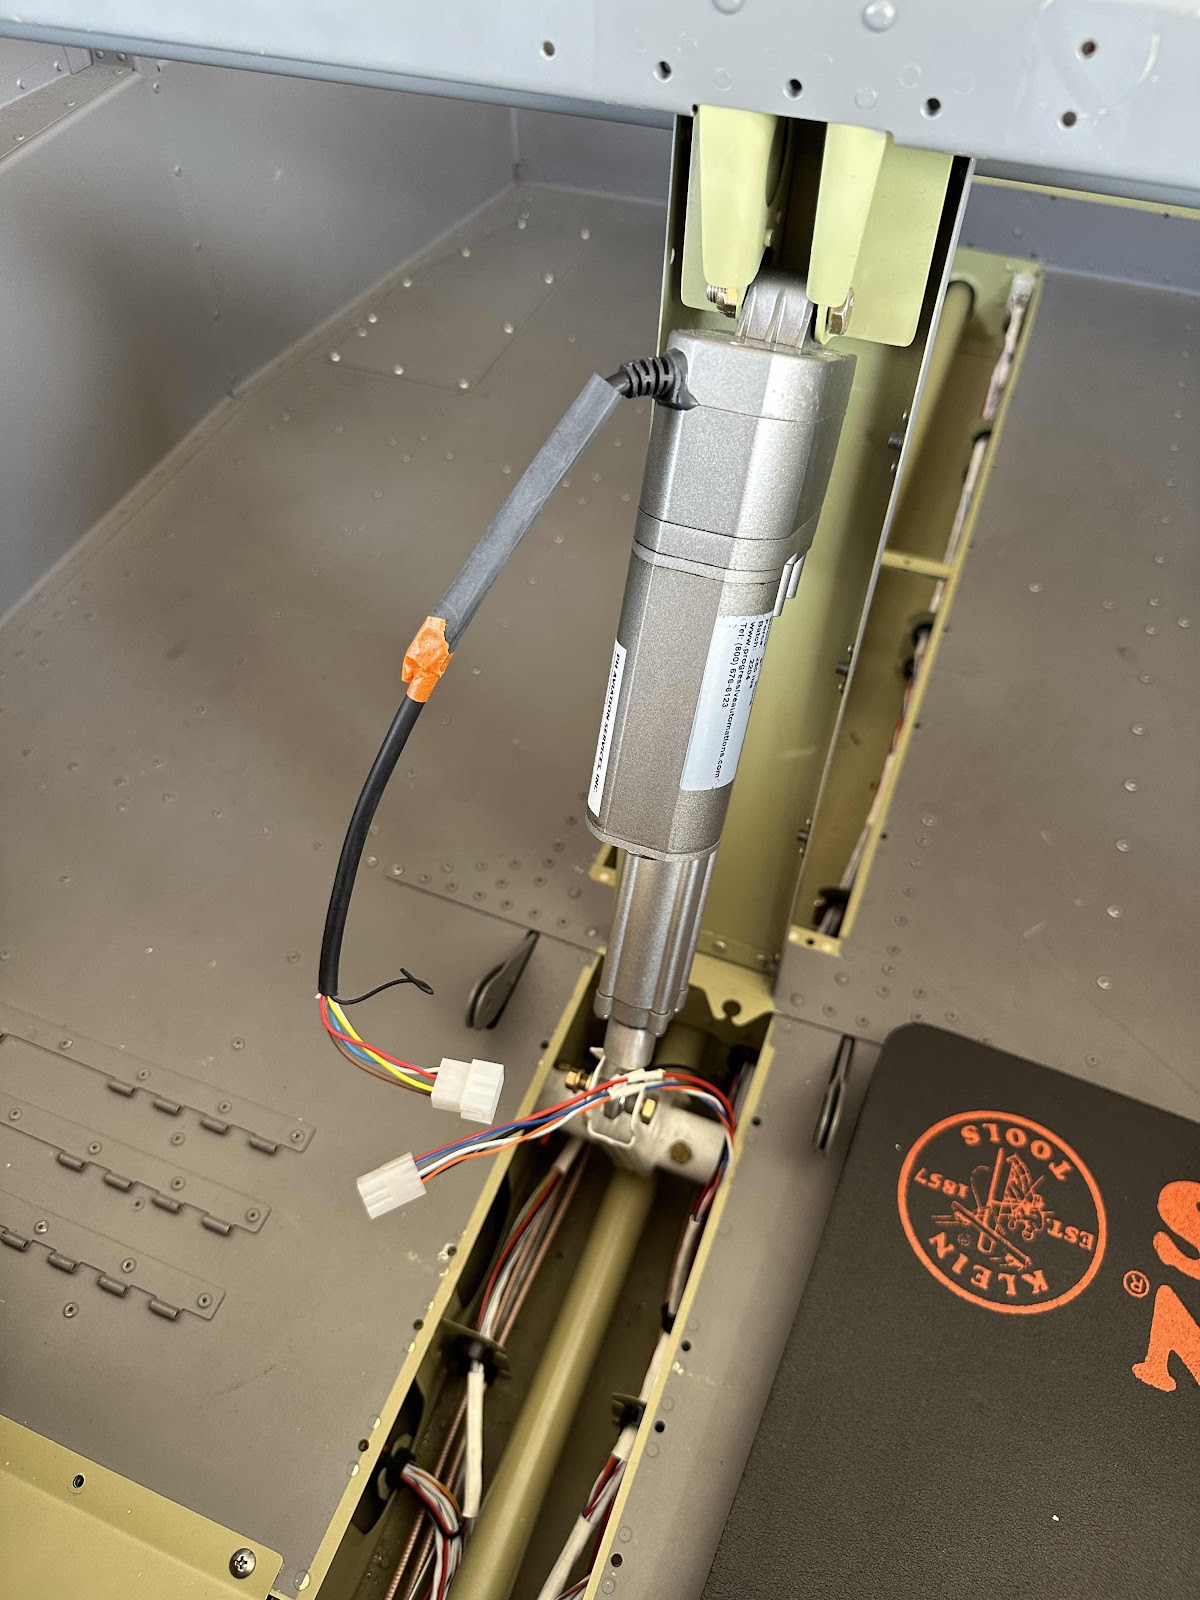
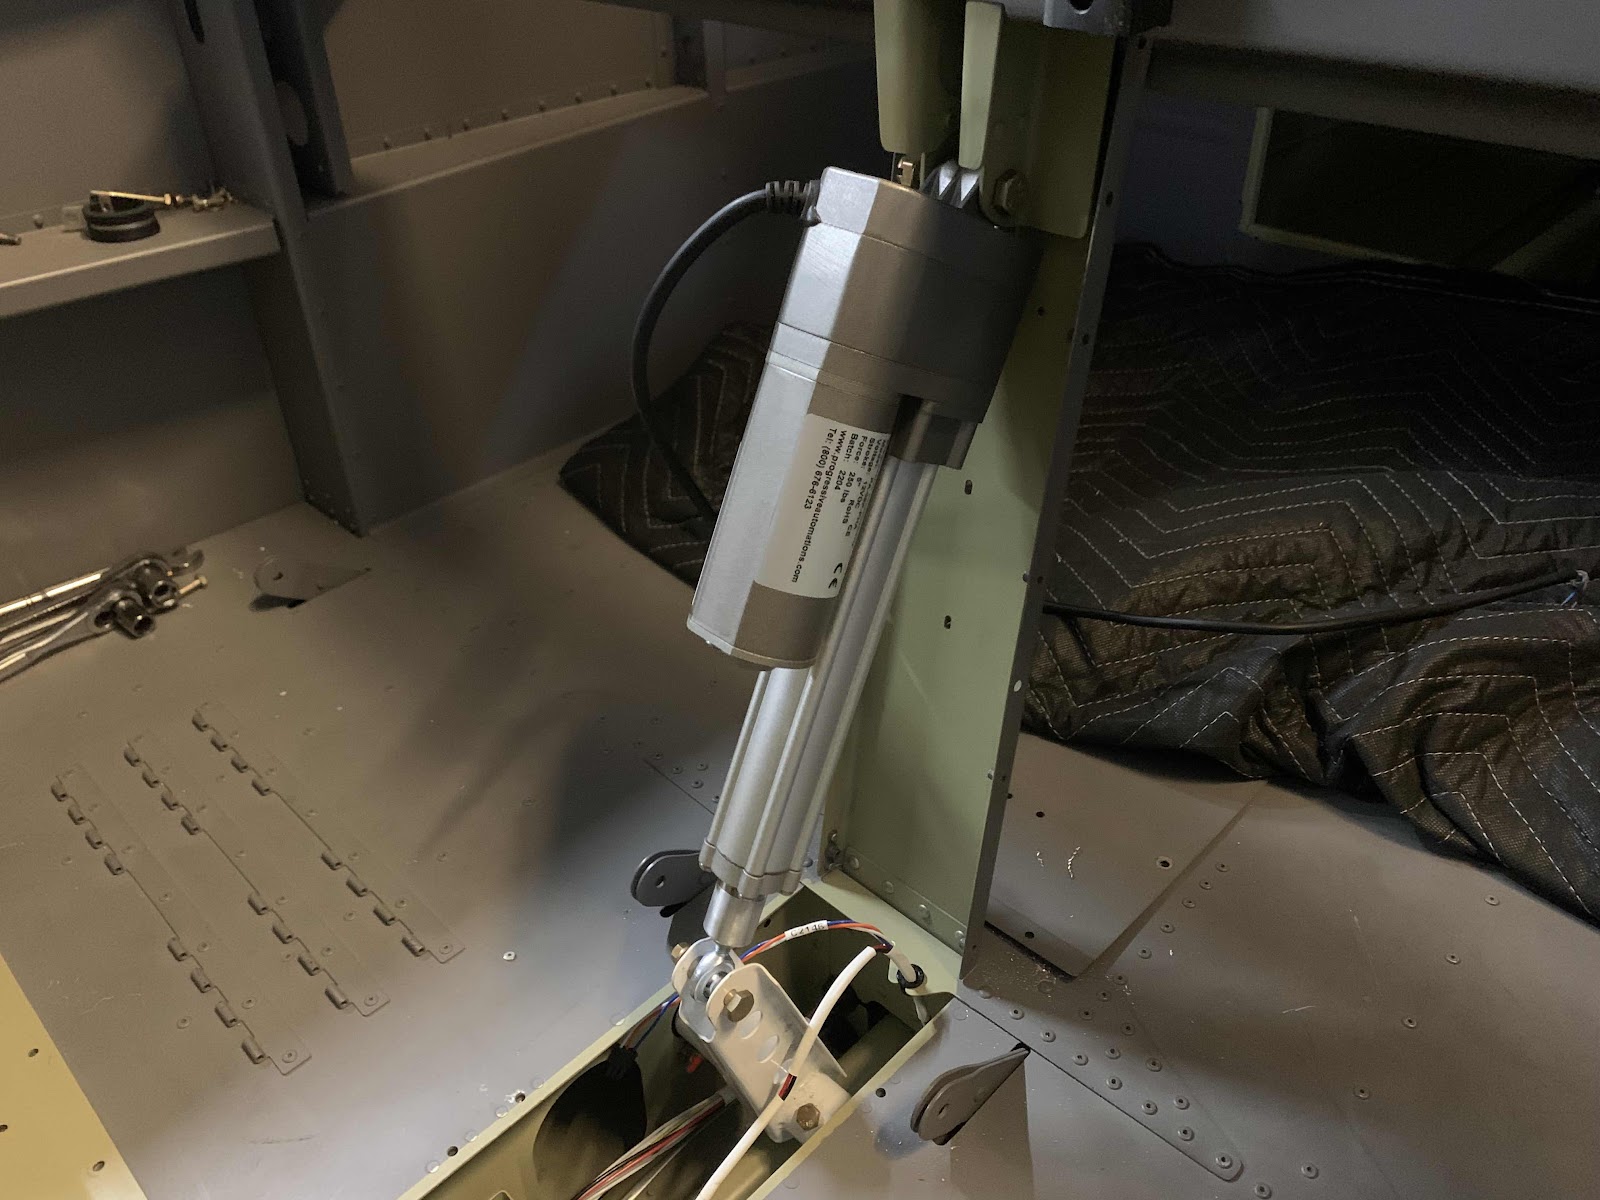
The next two pictures show the completed install of the actuator.  I also secured the wire bundle to the flap motor channel with an adel clamp.  I will need to make a “notch” on the flap motor front cover to clear the bolt head, as the “notch” from manufacturing is on the other side.  (I installed the missing cotter pin and tightened the bottom nut, right after I took this picture).
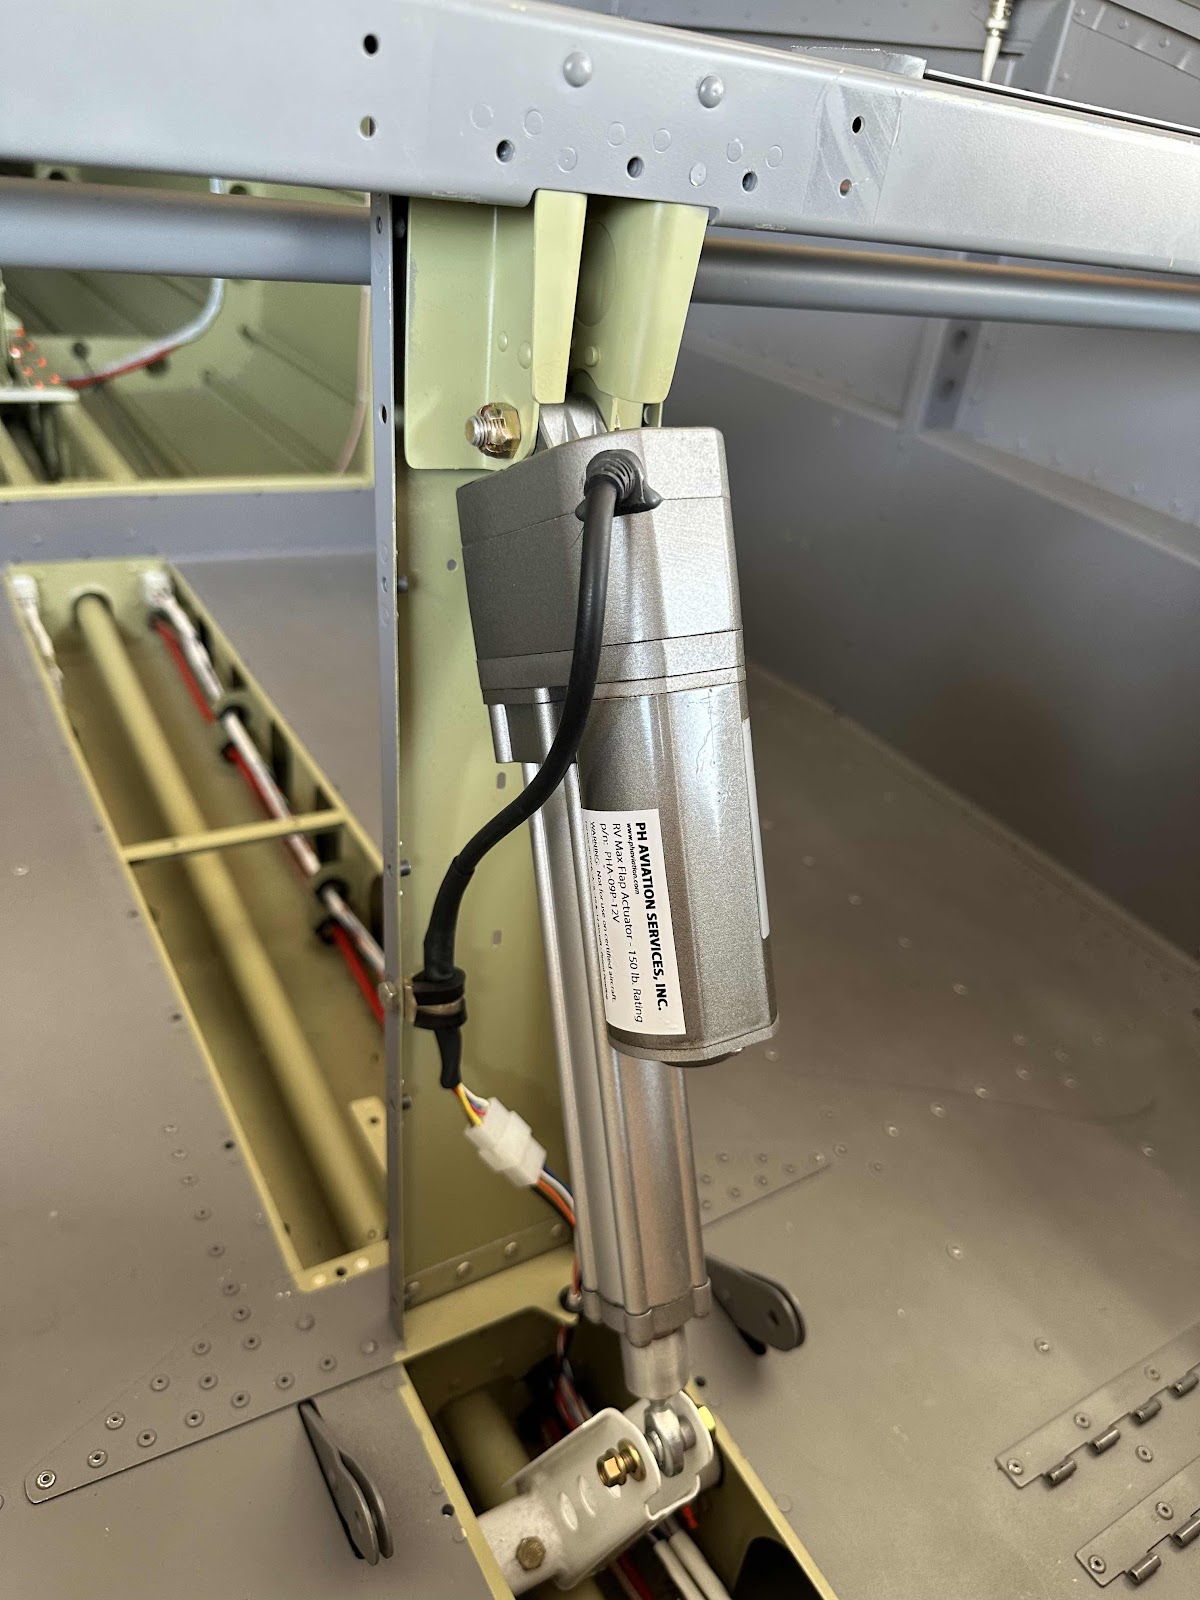
 

View of the actuator from the pilot side.


Install Complete
Sunday, January 28, 2024

RV Max Flap Actuator - PH Aviation Services (Part 3)

The work and pictures from this post are from November 12, 2022.

Finally, here is the completely installed RV Max Flap Actuator.  Upper portion of the Actuator is attached to the modified Flap Motor Brackets with the following hardware:

(1) AN5-13 bolt
(2) NAS1149F0563P washers (AN960-516)
(4) NAS1149F0532P washers (AN960-516L)
(1) AN310-5 Castle Nut
(1) MS24665-134 Cotter Pin

The bottom portion of the Actuator is attached to the WD-1013A Flap Crank using the stock hardware called out in the build plans page 34-05.  This includes:

(1) AN4-12A Bolt
(2) Bushing-AL .259x.375x.168
(1) NAS1149F0463P
(1) MS21042-4


The upgraded PH Aviation Services RV Max Flap Actuator is now completely installed.  The only remaining step is to make the electrical connections.  I will do that later when I start making the electrical connections for the entire plane.

RV Max Flap Actuator - PH Aviation Services (Part 2)

The work and pictures from this post are from November 11, 2022.

As the previous post mentioned, there are some modifications that need to be made to the stock parts in order for the RV Max Flap Actuator to work properly.  

The PH Aviation website publishes installation instructions titled Installation of PH Aviation Flap Actuator in RV-14.  These are the instructions that I followed for these modifications and installation.

The first page of the instructions says the F-01466-L & -R Flap Motor Brackets will need to be modified and that this should be done PRIOR to installing them as instructed in the build plans on page 32-07.  Since I found out about the Actuator after I completed Section 32, I will have to remove the previously installed Flap Motor Brackets.  As a result, I also decided to order two new Flap Motor Brackets from Van’s…..I just wanted new stuff since I had to drill out all the rivets in the original Brackets.

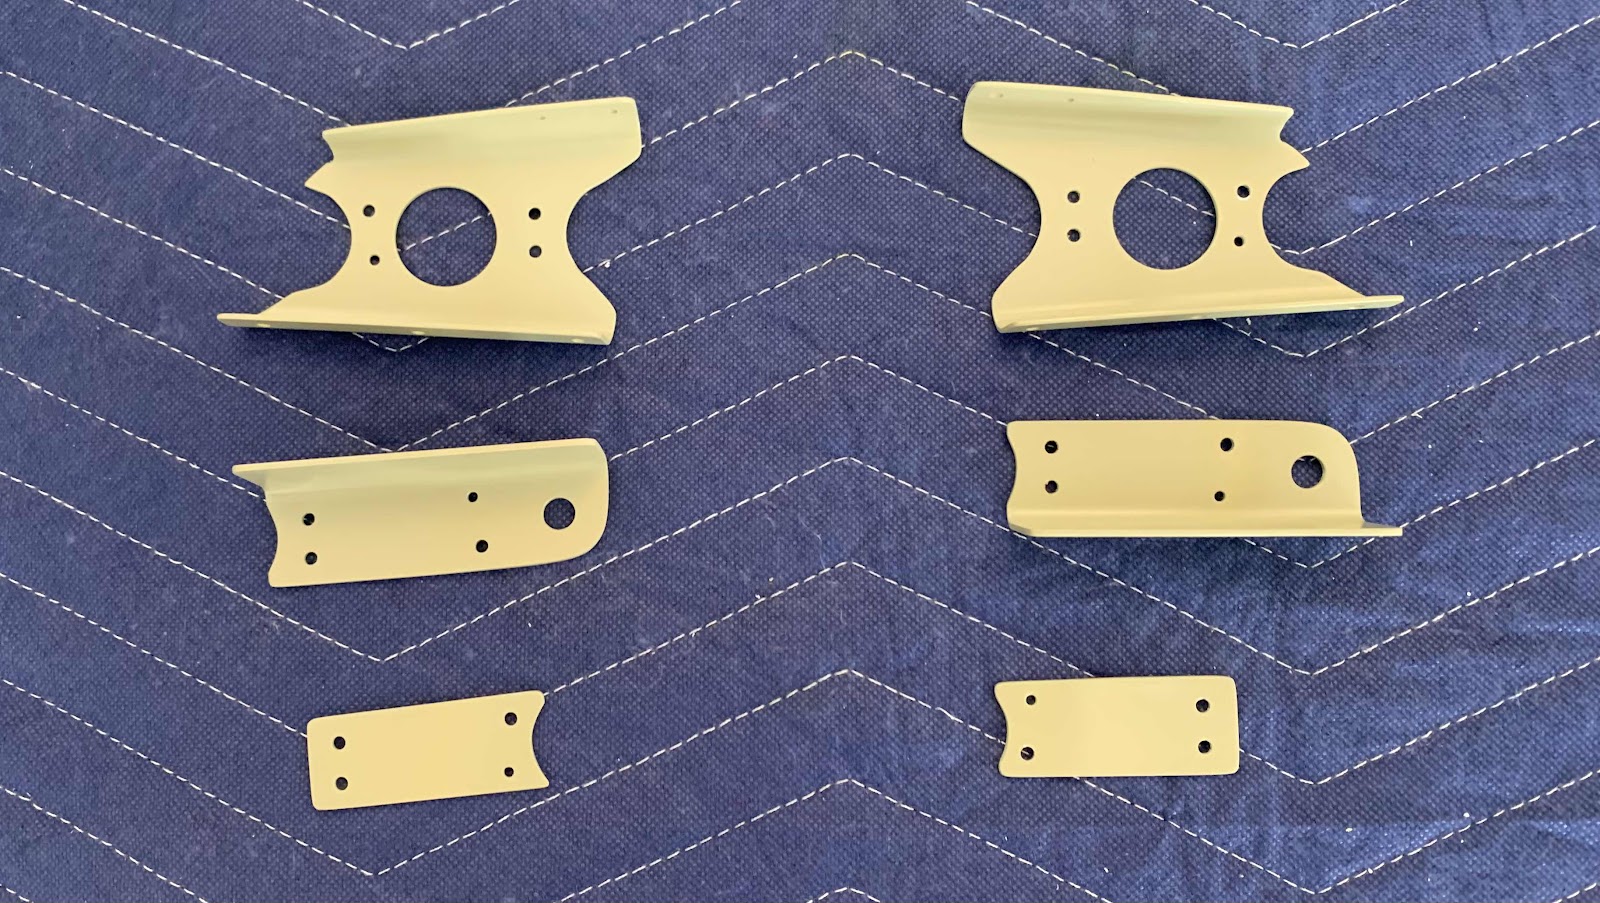
Now, the picture below shows the progress of the modifications starting at step #19 of the instructions.  I didn’t feel the need to post all of the same fabrication pictures that are included in the instructions in step #1 through steps #18.  The top two pieces are the modified stock Flap Motor Brackets from Van’s (the new ones I ordered).  The middle two pieces are the 1” x 1” x 0.063” aluminum angles after being fabricated.  The last two pictures are the 0.063” Shims after being fabricated.

The Angles and Shims for each “side” were clecoed and riveted to the modified F-01466-L & -R Flap Motor Brackets using (3) AN470AD4-5 and (1) AN470AD3-5 rivets.

Next, the modified Flap Motor Brackets are riveted to the front to the F-01405F Mid Fuse Brace using (2) AN470AD4-4 and (2) AN426AD3-4 rivets.


The back of the modified Flap Motor Brackets are riveted to the F-01405G Flap Motor Channel using six CR3213-4-2 CherryMax rivets (two of the rivets are hidden behind the C-01438 Canopy Latch Torque Tube).  The bottom two holes were used with the old, longer Brackets and will be left open for the new, shorter Brackets.  You can see a little scraped paint on the Torque Tube from removing the previous rivets in the old Brackets…..

…..so, obviously, I had to clean that up and re-paint those areas.  This is why I like using the SEM paint products…..look how nicely the new paint blends with the old paint.


I also cleaned up the re-painted the areas the front side.

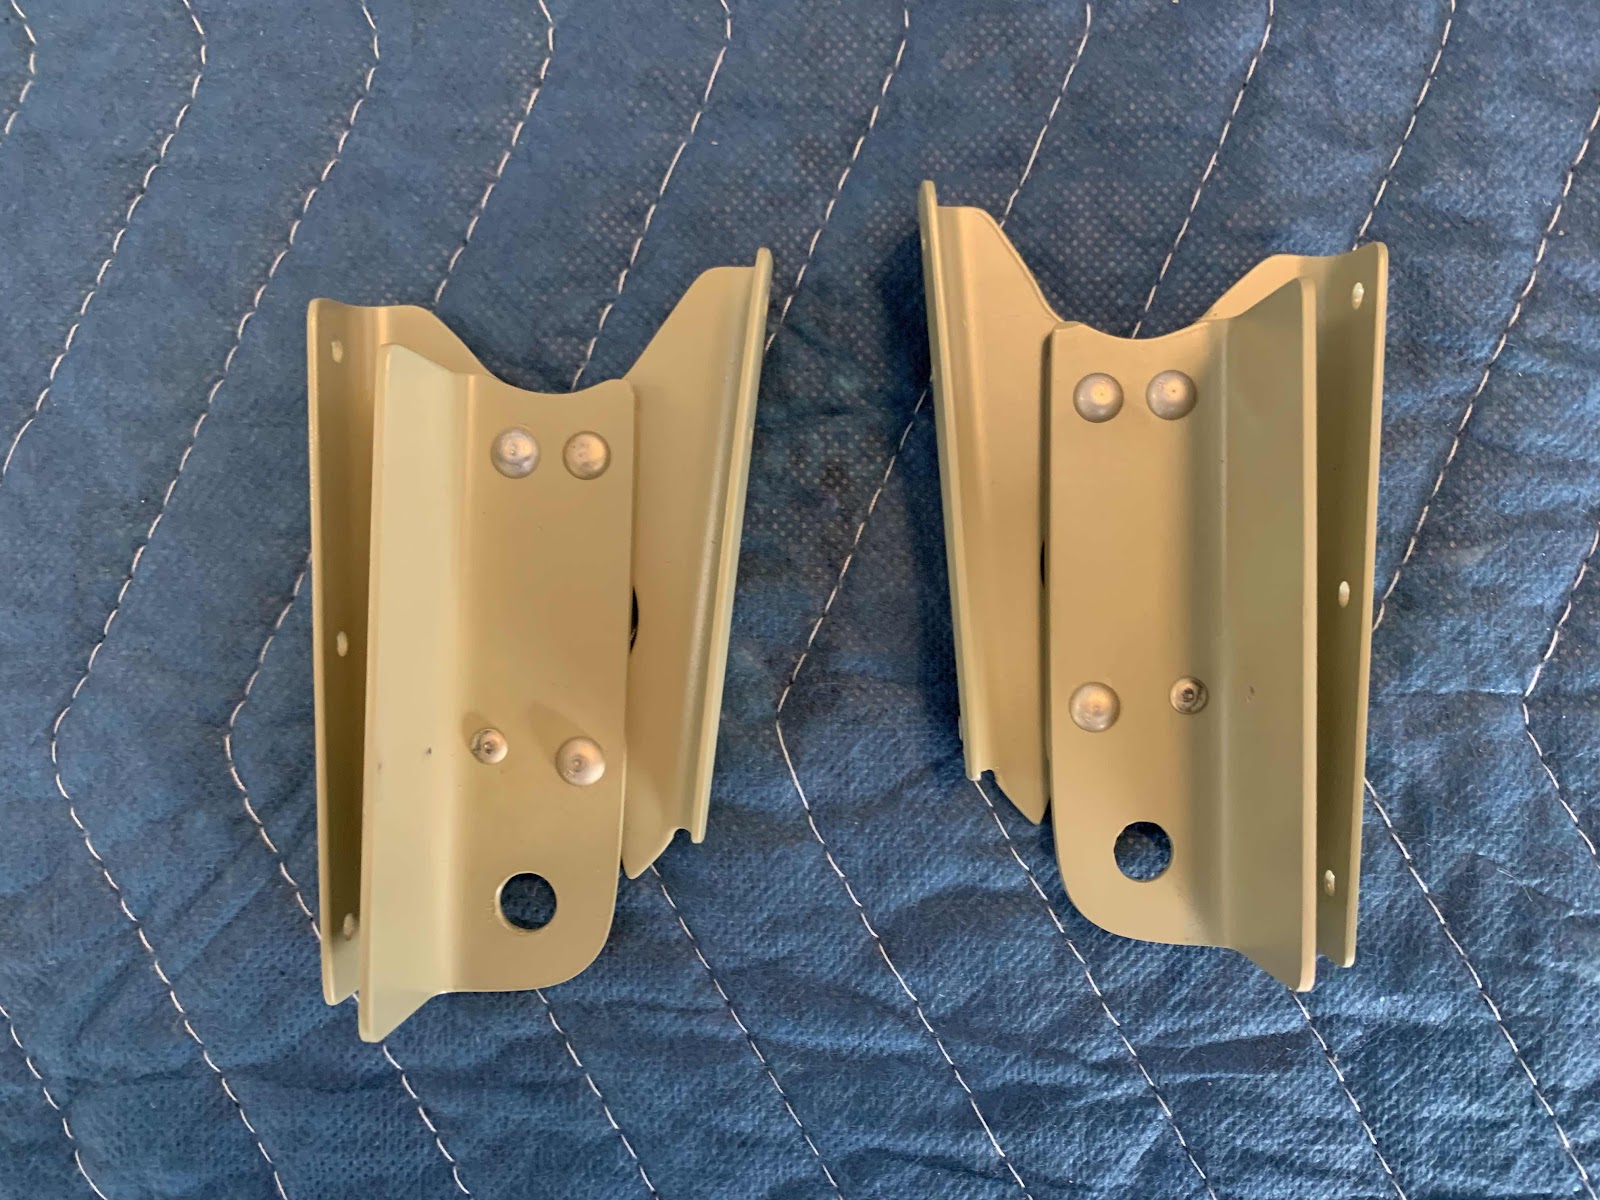
And that finishes the modifications to the plane for the new RV Max Flap Actuator.  Here are a couple pictures showing the completed install.


I will install the Actuator during the next work session.

Friday, January 26, 2024

RV Max Flap Actuator - PH Aviation Services (Part 1)

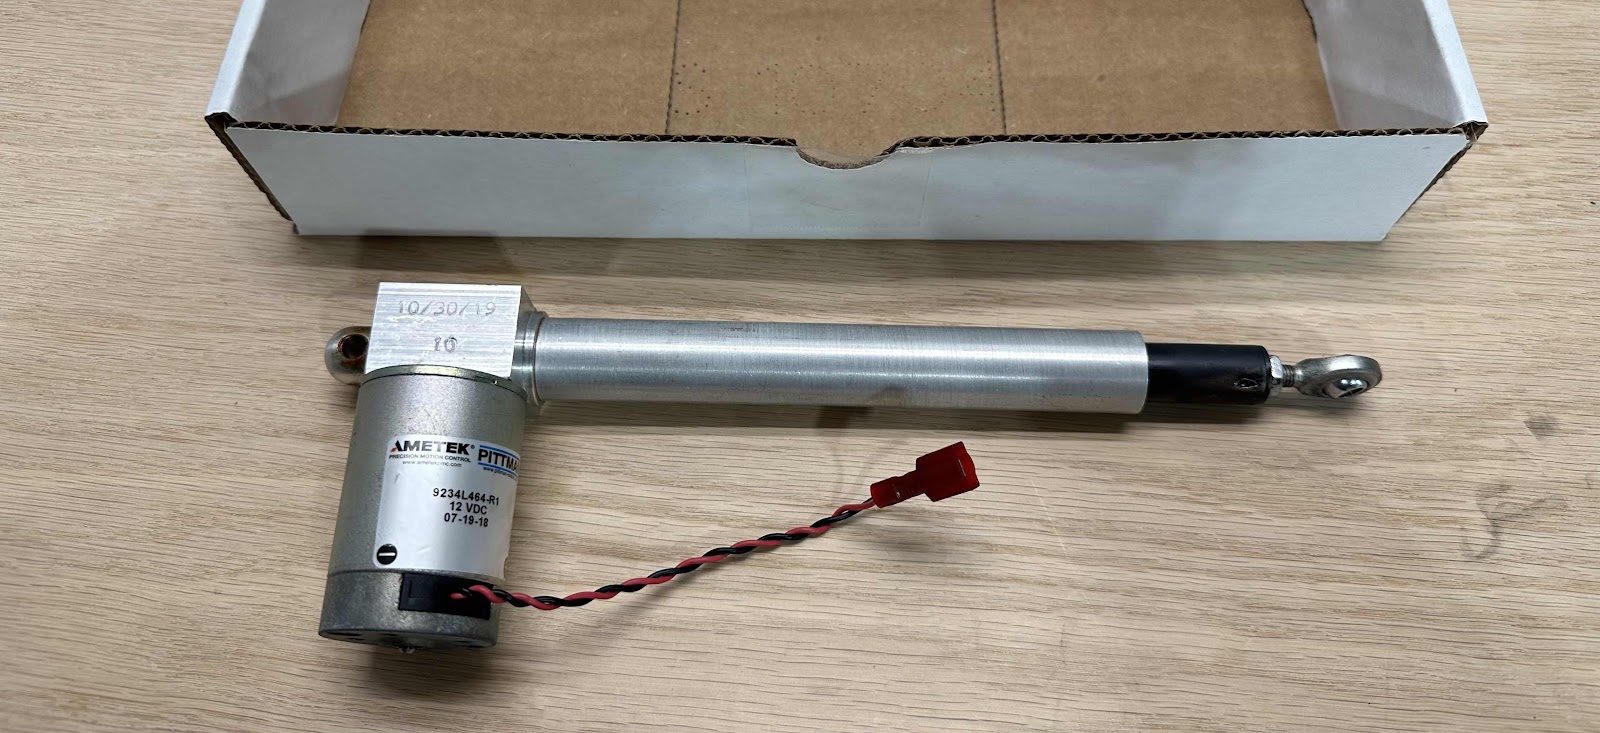
Previously, I completed Section 34 (Flap Actuation System).  In completing that section, I installed the stock Van’s ES 85615-10 Linear Actuator (Flap Motor) as directed in the plans.  Here is what the Flap Motor looked like before I installed it in the plane.


Now, fast forward to Section 54 (Flap Position Sensor) of the build plans.  This section has you install The Ray Allen Company ES MSTS POS-12 Flap Position Sensor.   As the only Post for Section 54 says, I wasn’t the biggest fan of that setup.  (See Section 54).  Like I said, there is nothing wrong with the factory setup, I just wanted something more “all in one” and more robust.

As I also mentioned in Section 54, I began to do some research to see what options existed in the aviation market.  Based on my research, and a recommendation from Aerotronics, I decided on the RV Max Flap Actuator from PH Aviation Services in March of 2022.  This Actuator has internal limits, internal position sensing and is very robust.  This setup does away with the two piece setup (separate flap motor and position sensor), did away with the safety wire that was required to be installed on the factory actuator and combined everything into one robust setup.  That pretty much meet the requirements I was looking for in a replacement flap motor.  I didn’t get any pictures of the actuator prior to installing it, so if you click on the link I provided above, it takes you right to the page.  On that page, it gives you the specs and price for the actuator.

As the PH Aviation Services website says, this is not a drop in replacement for the stock actuator.  So, some minor modifying was required, but was pretty easy to do.  I will use this section to show you the modifications and what it looks like installed.