Showing posts with label Interior Paint. Show all posts

Monday, April 13, 2020

Interior Paint (Part 8)

Well, I thought I was finished painting the interior in Part 7.  However, I decided to cover a little more area in the footwell to ensure all the “seen” areas will be painted gray when the carpet and side panels are installed.  So, I painted the areas (on both sides) shown below identified by the arrows:

Once the paint dried, I cleaned up most of the areas that received a little bit of overspray.  So....NOW....I’m finished.

Sunday, April 12, 2020

Interior Paint (Part 7)

Alright!  I started painting using the SEM 15393 Medium Gray paint.  Below are a couple of pictures following the application of the first coat of paint.  Here is the right copilot side looking aft.....

.....from above the Firewall looking aft.....

.....and the left pilot side.

After applying the second coat (and allowing it to dry), it was time to remove all the paper and tape and see how it turned out.  This is the overall look from above the Firewall area.....

.....left pilot side.....

.....and the right copilot side.

This is where the Baggage Bulkhead Corrugation will be installed with screws.  Now, you can see where we put the tape and lined out the opening.  I decided not to paint the areas we left green around the openings for a couple of reason:

1.  It was easier and less time consuming
2.  The panels and covers associated with the openings will cover the areas we left in green

We did the same thing on the Baggage Floor that will be covered with the “Baggage Floor Cover”.  From this view, you can also see where the Step Access Covers will be installed on either side of here Baggage Floor.

The area that will be covered by the Seat Ramp Cover was also taped off the same way.

Because we decided to stop the paint forward of the Seatback Hinges, we also decided to stop the paint at the same area on the sides.  This is the right copilot side.....

.....and the left pilot side.

Lastly, these are the areas that we applied the SEM paint to ensure there would be no “green” areas showing after the carpet and side panels are installed. Here is the right copilot side.....

.....and the left pilot side.

That’s it.  I think it turned out pretty damn good.  I am extremely please with the results.  Excluding any touch up that may be required, that completes the Interior Painting.  The areas that were left green are areas that will be covered by the carpet or side panels we will be purchasing from Classic Aero.  There is also several covers that will be installed in later sections and will be painted with gray SEM prior to being installed.  I think this was a 15 hours well spent!

Saturday, April 11, 2020

Interior Paint (Part 6)

Now that the Instrument Panel Frame has been sprayed with the medium gray SEM paint, I’m moving on the baggage compartment area.  However, prior to painting, I need to tape off some stuff and cover some stuff up.  Below are a couple views looking aft showing the areas that we taped off not he Baggage and seating areas.....complete with the “EXPERIMENTAL” lettering on the PAPER “Baggage Bulkhead Corrugation!!!!


The Flap Motor is under the painters plastic.

I also covered all the areas up front to prevent overspray from getting all over everything.

Once everything was taped off, I needed to prepare the areas to be painted.  First, I used gray Scotchbrite and scuff the surfaces.  Secondly, I vacuumed the entire areas to remove debris and dust created from the scuff job.  Lastly, I wiped all the area with a paint prep that removes any grease or other substances from the surfaces.  I will start spraying some paint during the next session. 

Friday, April 10, 2020

Interior Paint (Part 5)

After riveting the Instrument Panel Frame Assembly together, it was sprayed with two coats of the medium gray SEM Paint.  Looks pretty good.  Here is the forward and aft sides of the Frame. 


Wednesday, April 8, 2020

Interior Paint (Part 4)

I was originally leaning toward painting the entire inside of the cabin area with the SEM medium gray paint.  After further consideration, I have decided NOT to do that afterall.  There are several reason I changed my mind:

- - - - - - - - - - - - - - - - - - - - - - - - - - - - - -
1.  Since I am planning on installing the carpet, seats and side panels from Classic Aero Designs, I will only paint the areas that will not be covered by these products.  My thinking was “why paint areas that are going to be covered and can’t be seen?”

2.  Adds time to the build by spending additional time taping off and painting areas that aren’t going to be seen

3.  Adds weight to the plane (although a small consideration since I’ve already primed EVERYTHING)

4.  All the areas that will be covered and out of sight have already been primed with Akzo primer, so from a corrosion perspective are already protected
- - - - - - - - - - - - - - - - - - - - - - - - - - - - - -

So, that’s my thinking going forward with the SEM medium gray paint.  Now, I contacted Classic Aero Designs to ensure I paint the areas the WILL be seen.  Their customer service has been absolutely terrific. We have been working with Jeremiah and he has been very responsive to our questions and requests.  He provided several reference pictures that helped me determine where I would paint.  Based on the information from those photos, I started taping off the areas of the plane that I think will need the SEM paint.  Here is a couple pictures of the start of that process.


More to follow…..

Interior Paint (Part 3)

I let the paint dry overnight on the Sub Panel (according to the SEM website, it takes 24 hours for the paint to fully cure).  Yesterday, I removed the paper and tape to see how my paint job turned out.  I have to say, I think it turned out pretty damn good.  There are a few areas that I will need to touch up, but all-in-all....very happy with the results.

Here is the view looking forward from the cockpit.....

.....the pilot left side.....

.....and far left side.  As I mentioned in the previous post, the Forward Top Skin will cover the areas forward of the Sub Panel and overlap where I have the paint strip on the upper flange.

Here is the copilot right side.....

.....and the far right side.  Again, the areas forward of the Sub Panel will be covered by the Forward Top Skin and be out of sight.

Pretty pleased with the results and the SEM paint.  Now, I will move on to painting the baggage area.

Monday, April 6, 2020

Interior Paint (Part 2)

In Part 1, I talked about which interior paint I chose and why.  Afterwards, I applied that paint to several of the parts that I had previously prepared and primed.  I was very, very happy with the way they turned out.  So, I moved on to painting the Instrument Sub Panel.  Now, I will admit it would have been unbelievably easier to paint the assembly BEORE riveting it to the plane.  However, I did not.  Anyway, I taped off the Sub Panel and sprayed it with the SEM paint.  Here is what it looked like after I applied the two coats.  

This view looks from the cockpit forward at the assembly.....

.....the right side of the assembly.....

.....and the left side of the assembly.

So far, I’m very please with how it turned out.  Eventually, the Instrument Panel Frame will attach to the two Ribs in the center of the Sub Panel and to the Longerons with additional brackets.  I painted this area specifically because.....when the Canopy is attached and in the up/open position, you will be able to see this area.  This area will also be open to access the rear of the installed Avionics.  So, since it will be visible, I wanted the color to match the rest of the plane scheme.  The areas forward of the Sub Panel will be covered with a Forward Skin and will not be visible.....so, the Akzo green primer will be sufficient.

Saturday, April 4, 2020

Interior Paint (Part 1)

It’s time we make some final decision regarding paint color.....at least for the interior (that can later be complemented by exterior paint and colors).  

My decision process for interior paint:

To Start:  We have already begun the initial stages of coordination with Classic Aero Designs for the interior carpet, seats, and side panels for the airplane (only for material type and color selections at this point which will be covered in later blog postings).  That initial coordination will/did help with the interior paint color selections.  After researching many options, we have decided to go with SEM Products.  I originally had no knowledge of the product, but they were recommended by my A&P buddy.....so, I tried them out.

Some Information about SEM Products:

If you look under the Aerospace Tab on their website, they show several products.  I decided to go with the Color Coat Aerosols.  Now, when you initially look at the Color Coat product it says it’s designed to paint vinyl surfaces, flexible and rigid plastics, carpet and velour.  However, the 
Color Coat Technical Data Sheet also lists “properly prepped and primed metals” as suitable substrates.  Now, maybe I missed it, but I couldn’t find on their website what they consider a “properly prepped” metal.  So, I looked at several automotive blogs (since this product is use heavily in the automotive industry) that utilize the Color Coat product.  The predominate recommendation for metal prep was to scuff the metal surface’s original paint or primer with grey Scotchbrite and clean with a wax/grease remover.  Then, it’s ready for the paint.  Seems easy enough.  We will see how it goes.

We initially decided on four different colors from the Color Coat Color Card to sample:

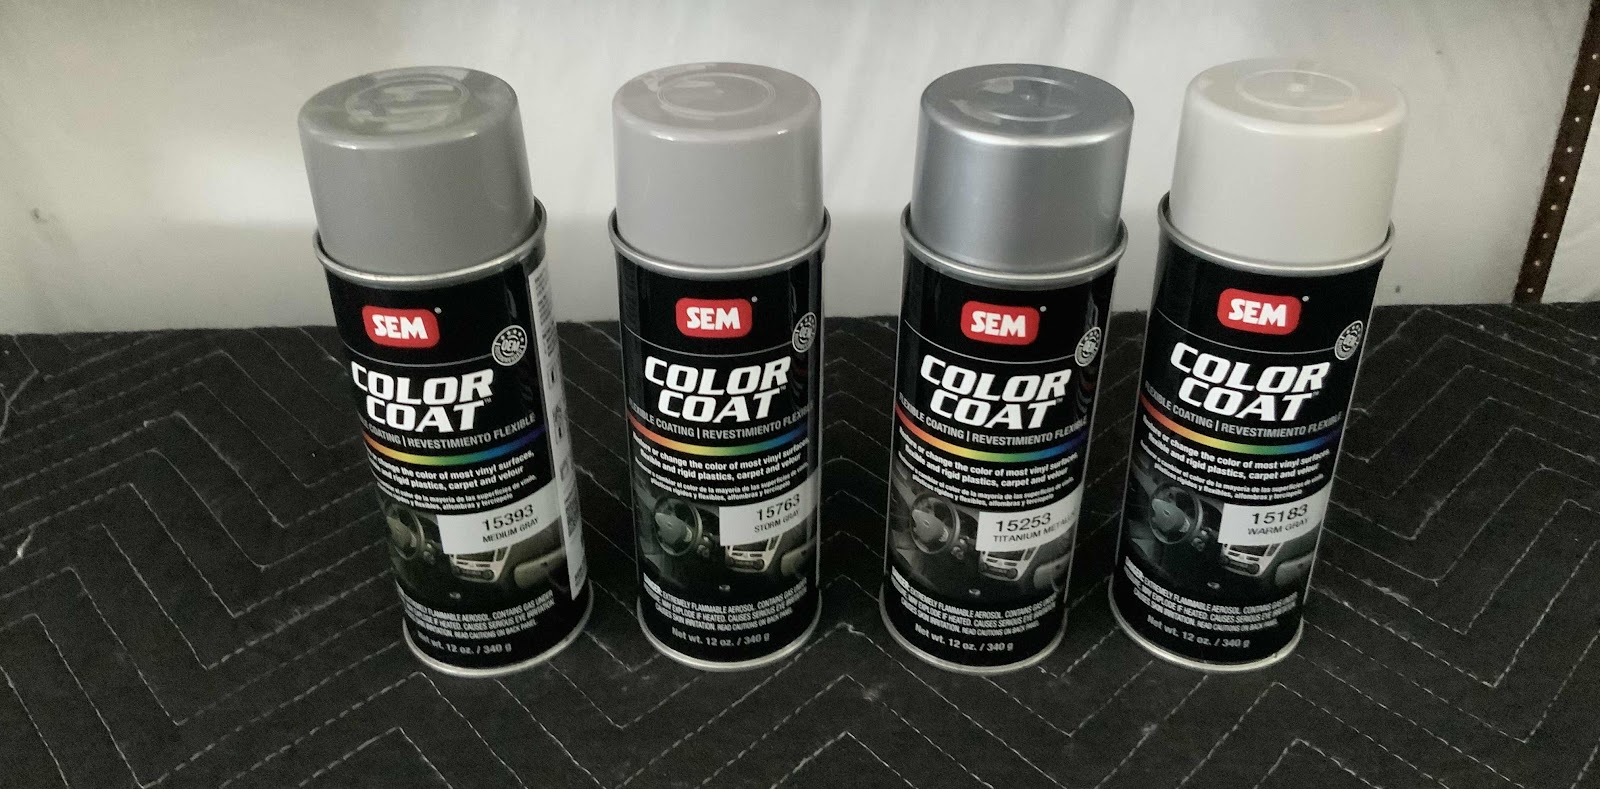
1.  15393 - Medium Gray
2.  15763 - Storm Gray
3.  15253 - Titanium Metallic
4.  15183 - Warm Grey

These four particular color come in 12oz spray cans and here they are.

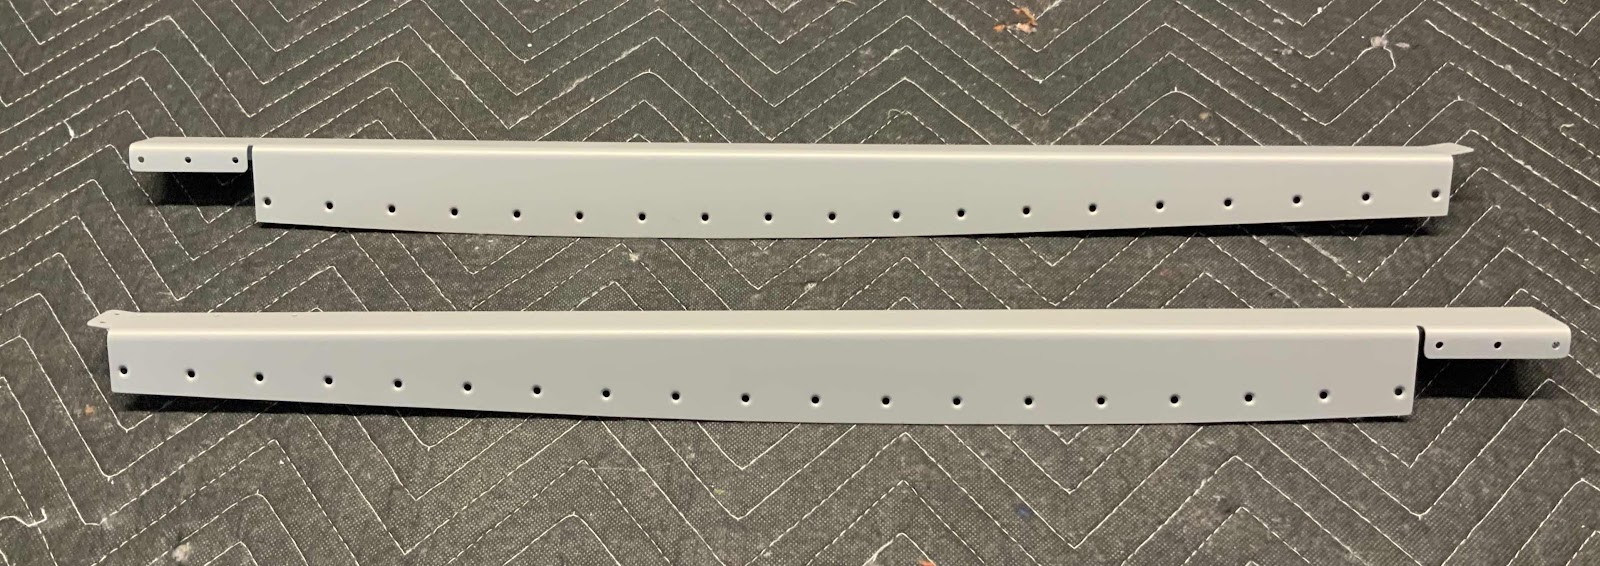
I had an old Flap Skin that I replaced while building Section 21.  The “scrap” Flap Skin had already been treated with Alumiprep, Alodine and Akzo primer, so it was the perfect test piece to use.  I cleaned up the Flap Skin and sprayed each color on a section of the Skin.  In the picture below, you can see the results from each of the four colors (in the same order as listed above marked #1 - #4).  Due to the green Akzo primer underneath it, each one of the paints had to have a second coat applied to “hid” the green tint of the primer.  Colors #1, #2, and #4 went on very smoothly and uniformly.  I guess because of the metallic in #3, it seems to streak and the tip splattered a little.....maybe I just didn’t do it right.   Anyway, #2 and #4 we thought were a little to light and #3 was eliminated due to the reasons I mentioned above.  Sooooo, #1 - Medium Gray it is......

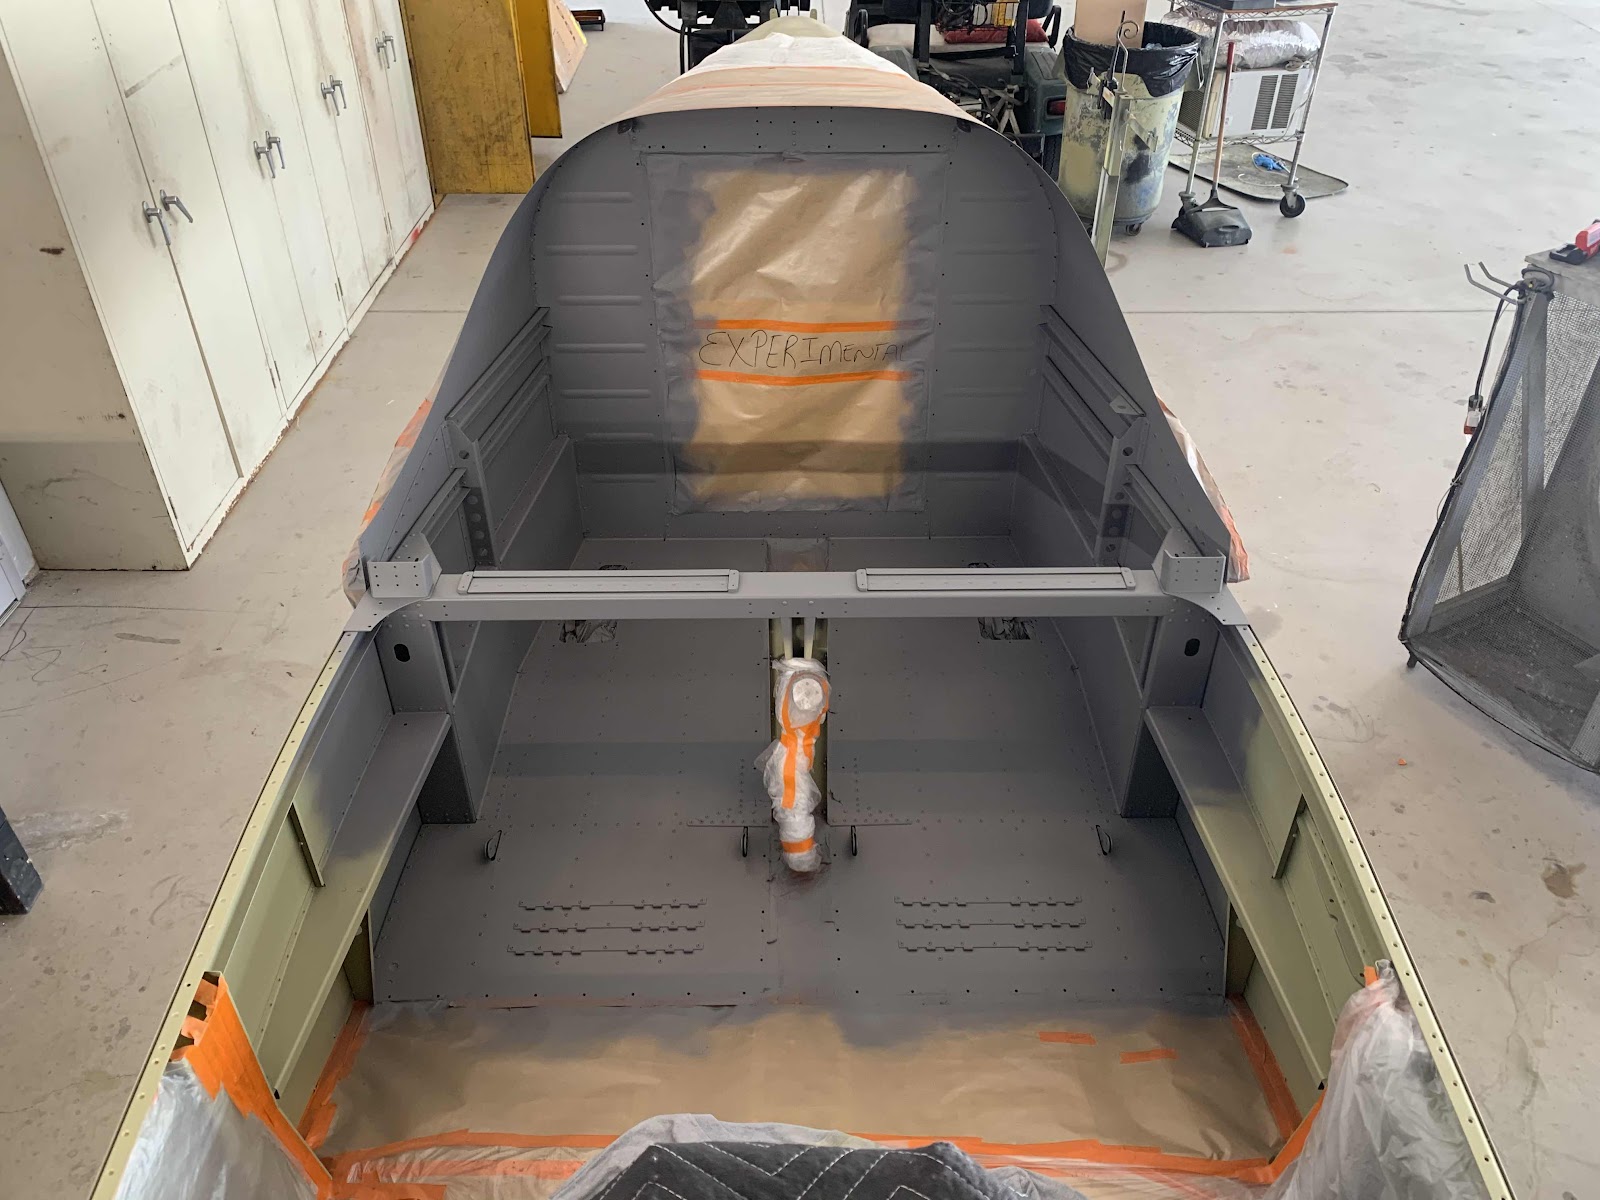
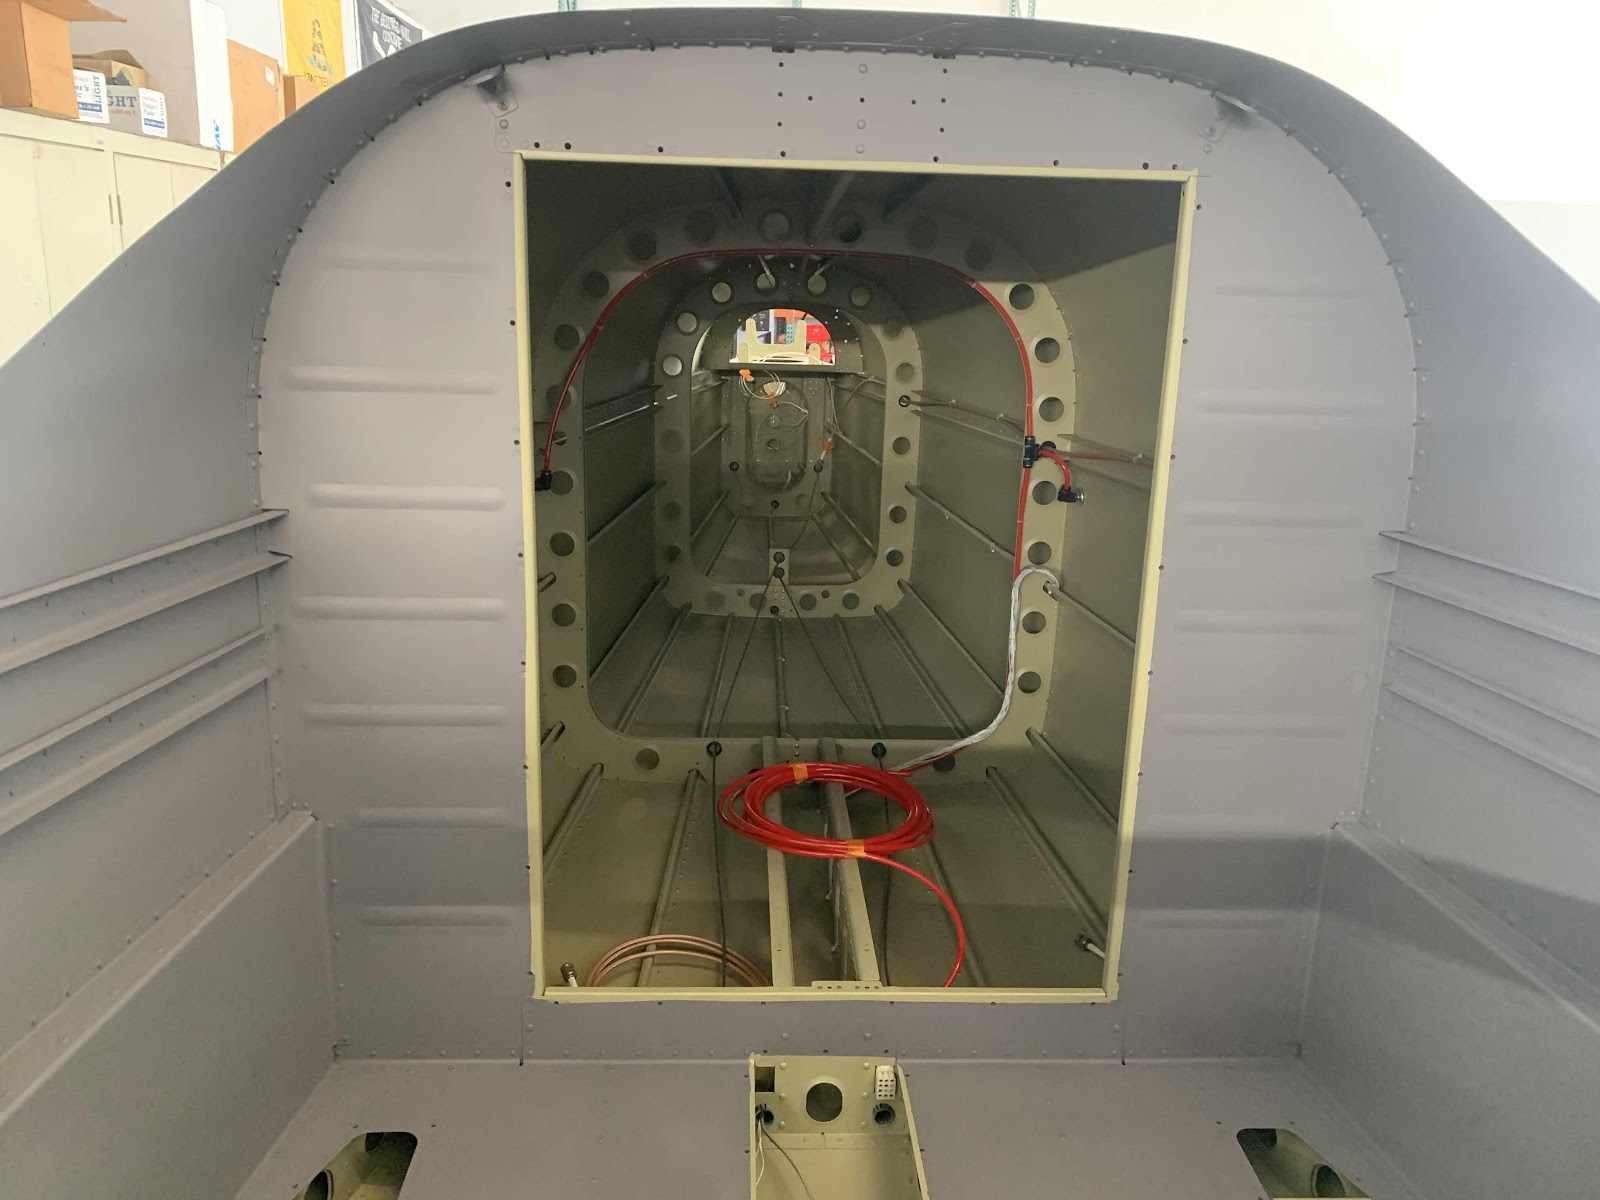
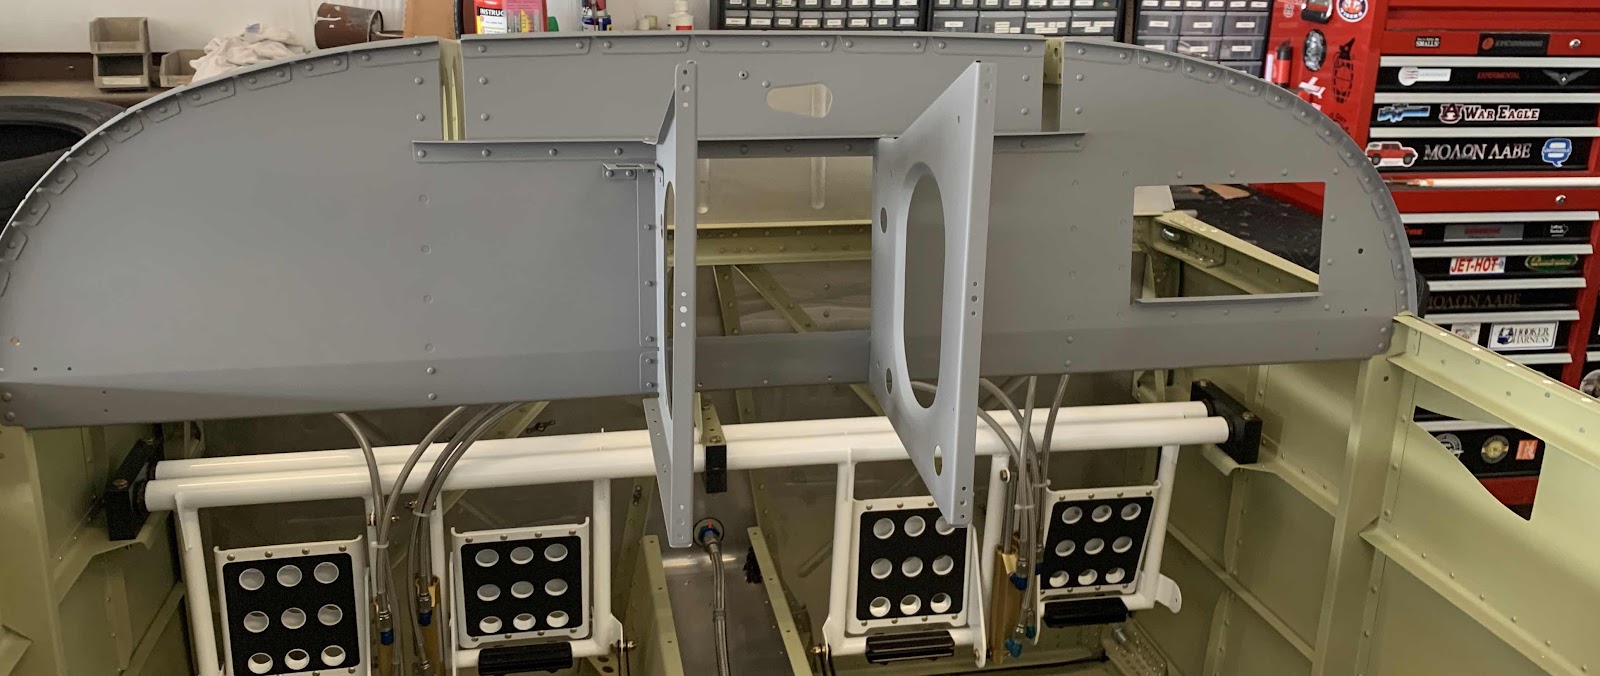
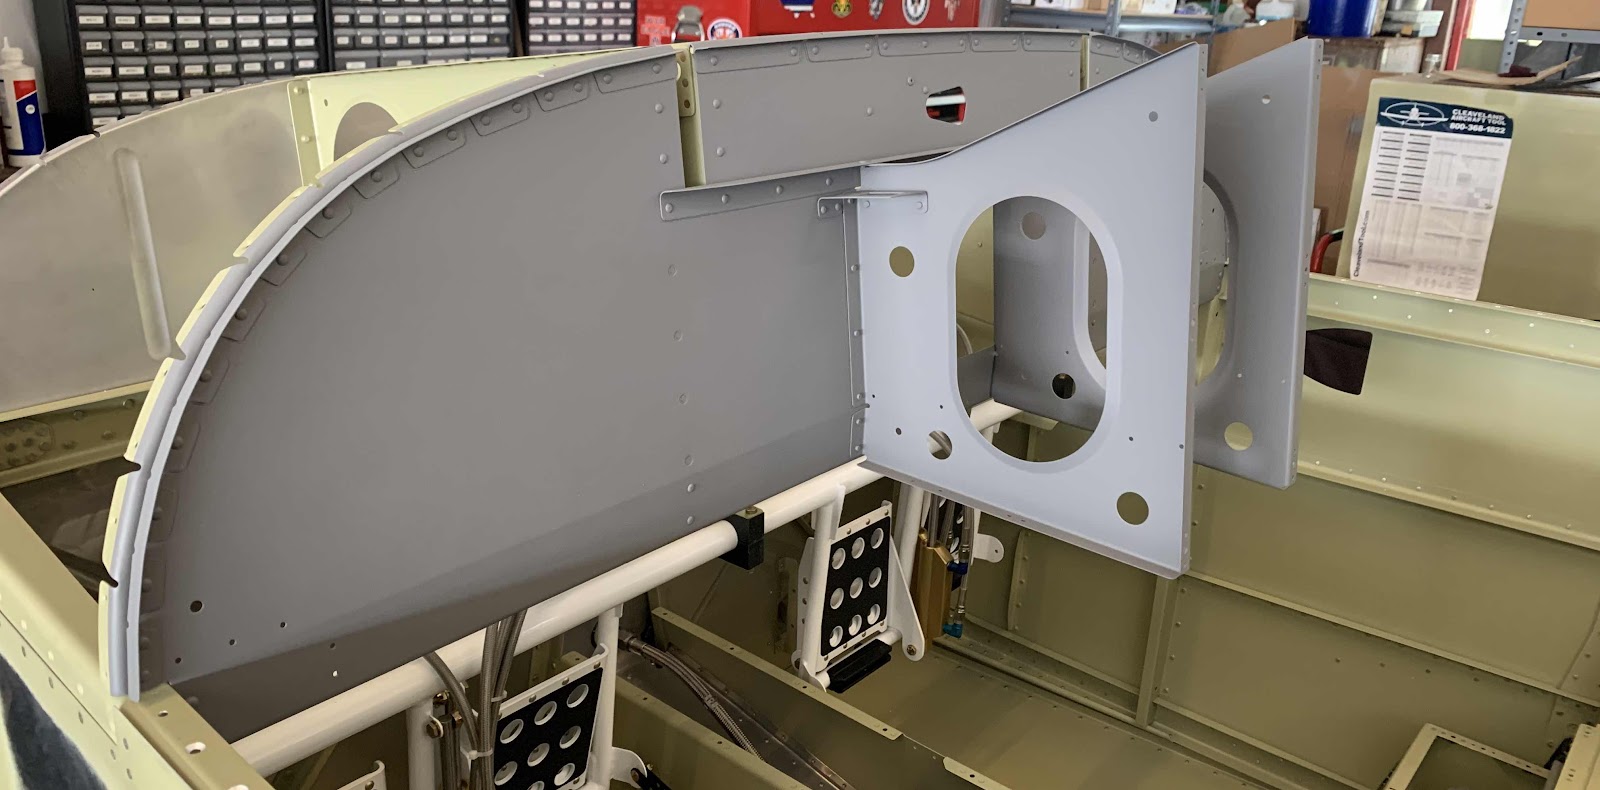
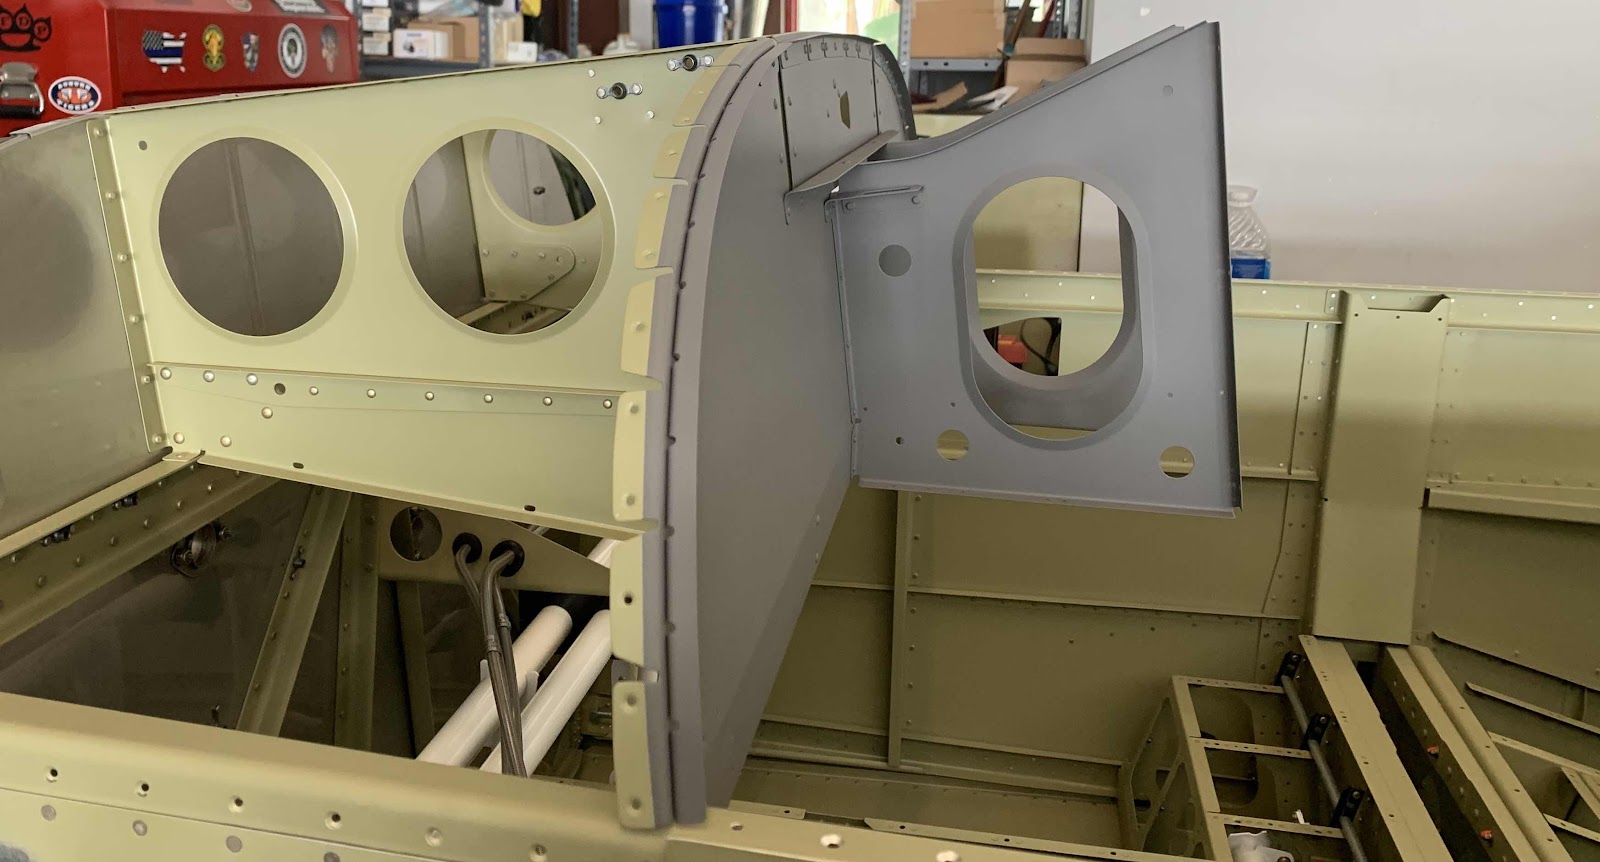
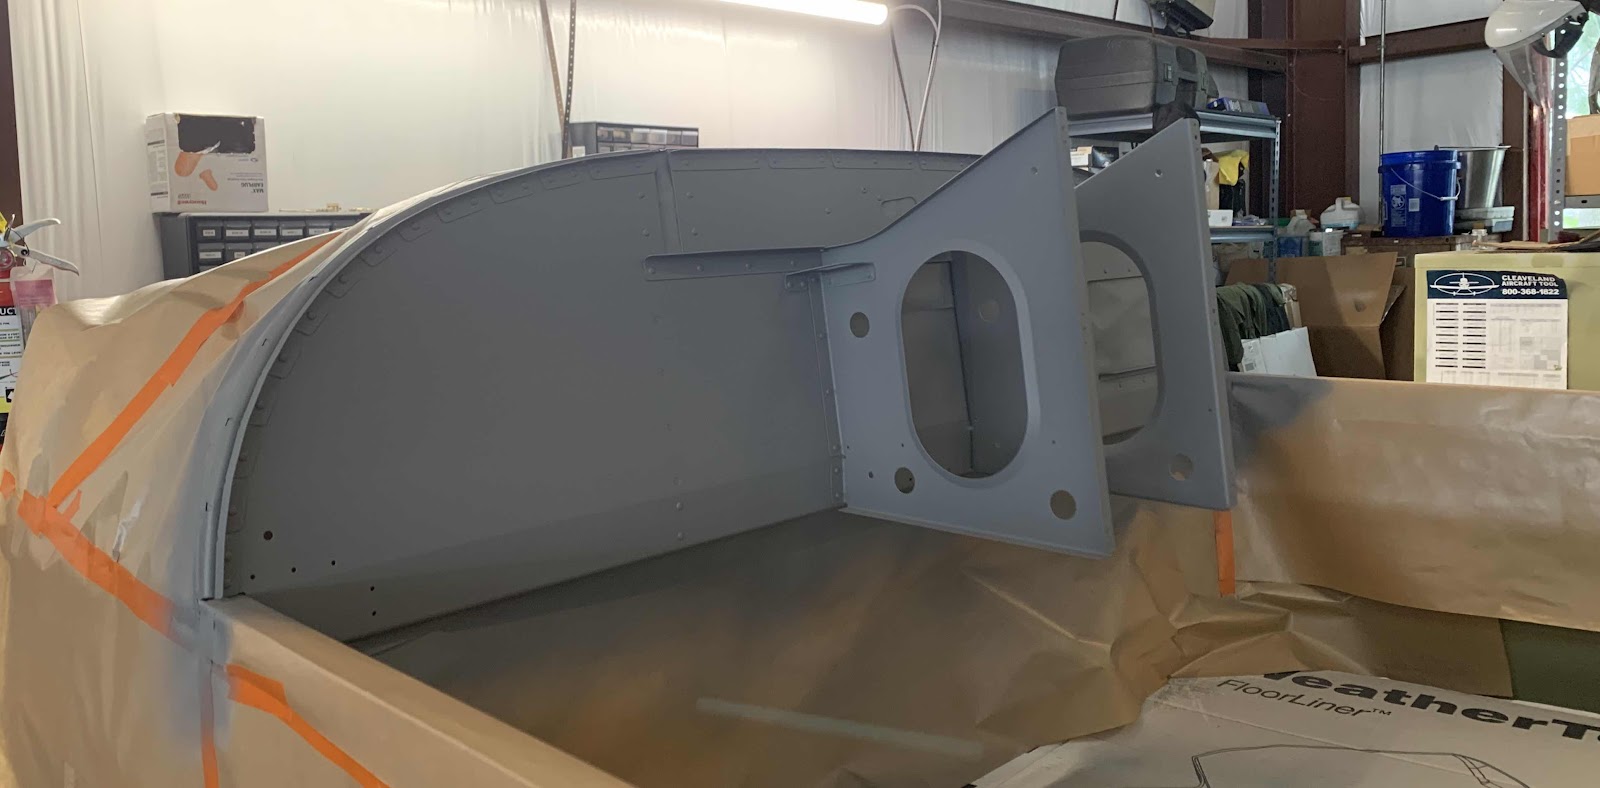
As I mentioned, each piece needed two coats because of the green Akzo primer under it.  Here are the left and right Aft Canopy Decks after getting sprayed with the SEM paint.....

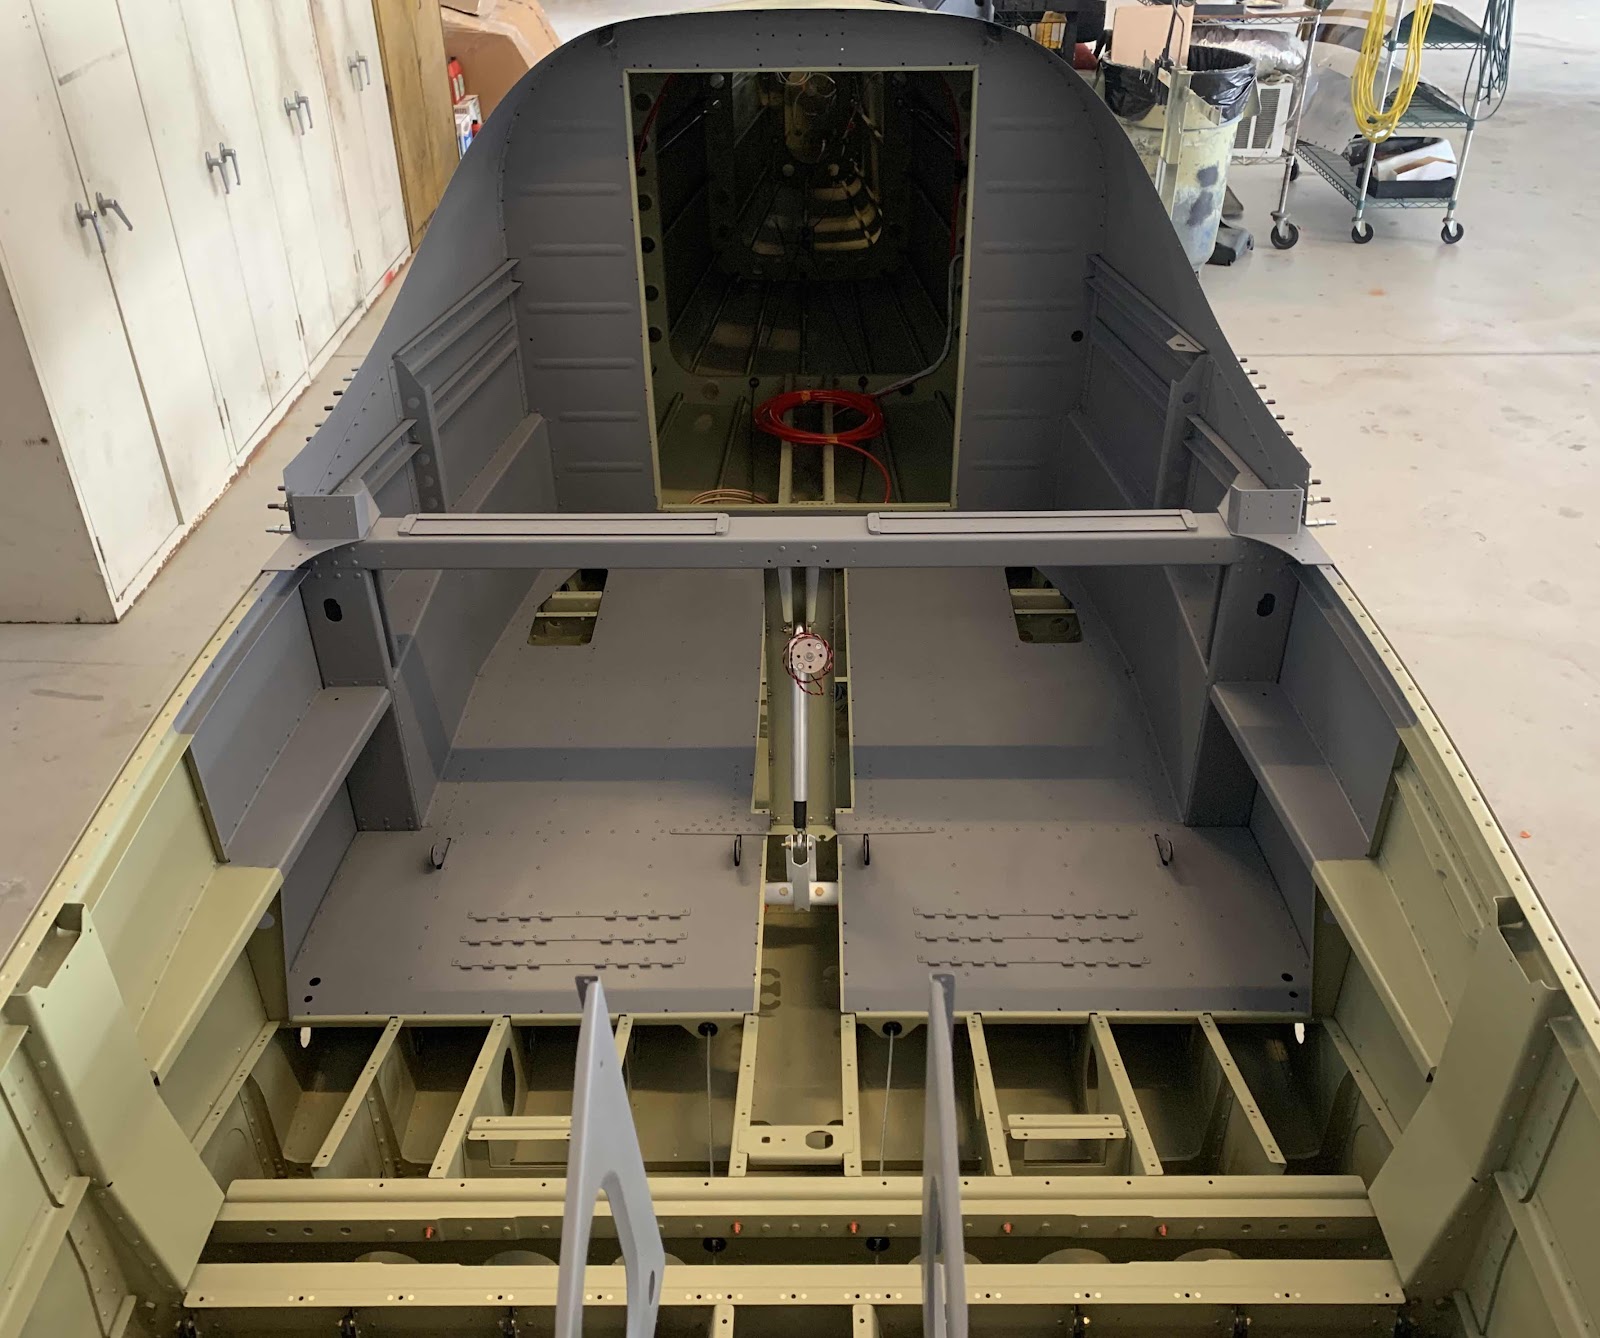
.....the left and right Forward Canopy Decks.....

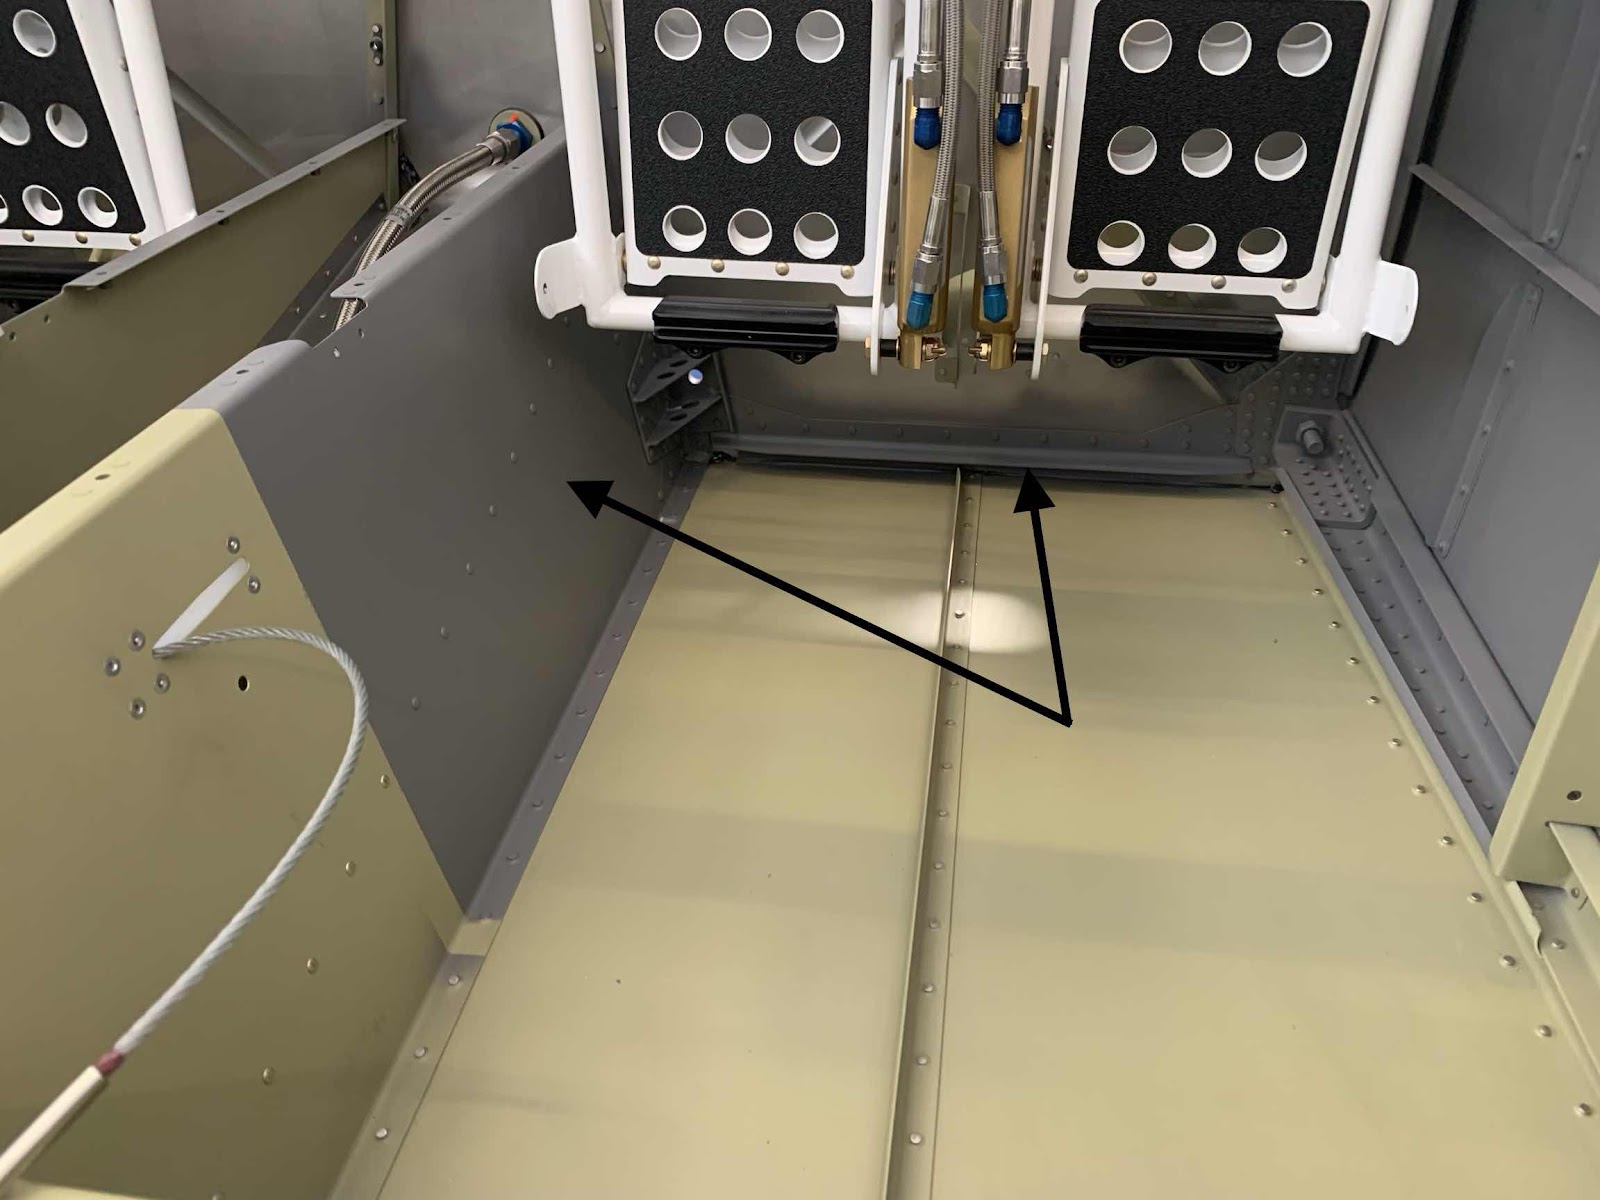
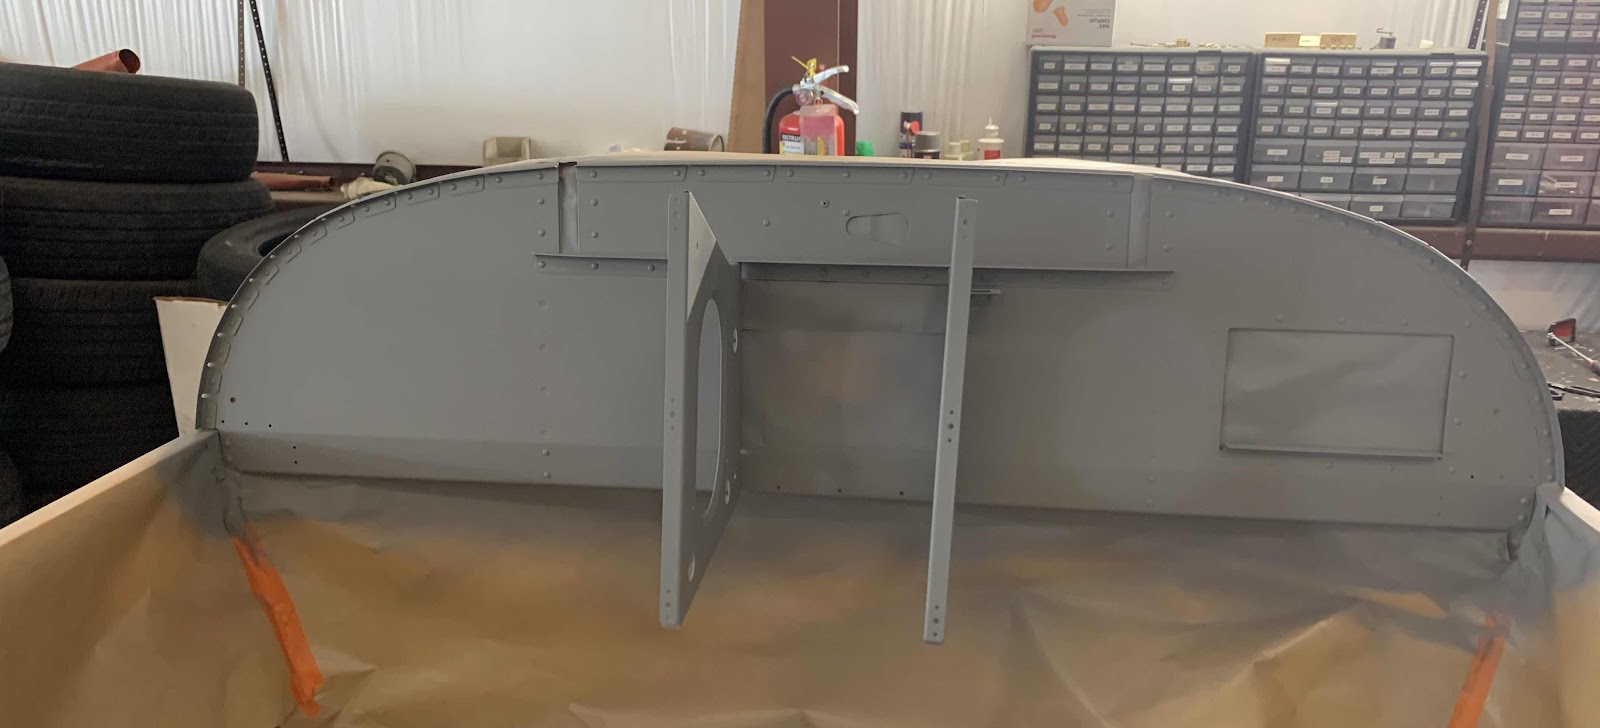
.....Instrument Panel Attach Brackets (top center), Cable Support Bracket (center), Wiring Channel (bottom center) and the two Instrument Panel Attach Plates.

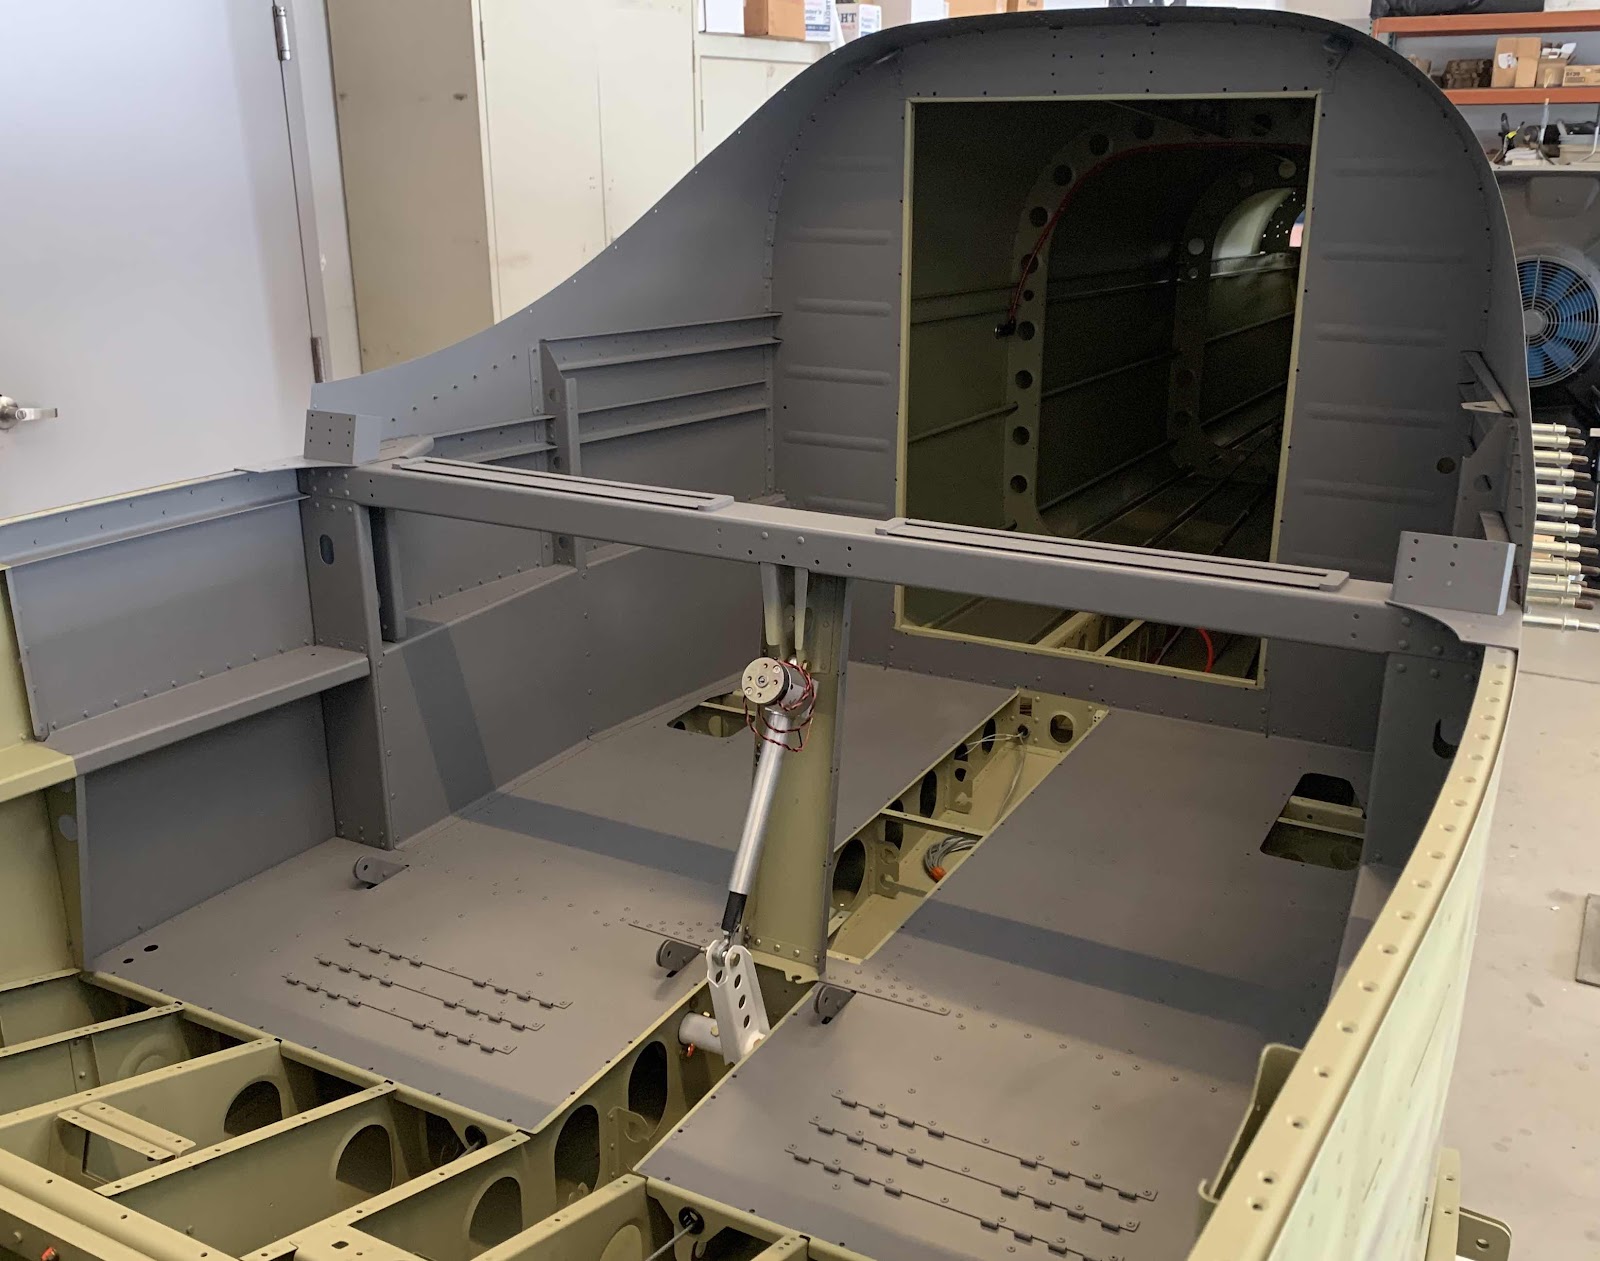
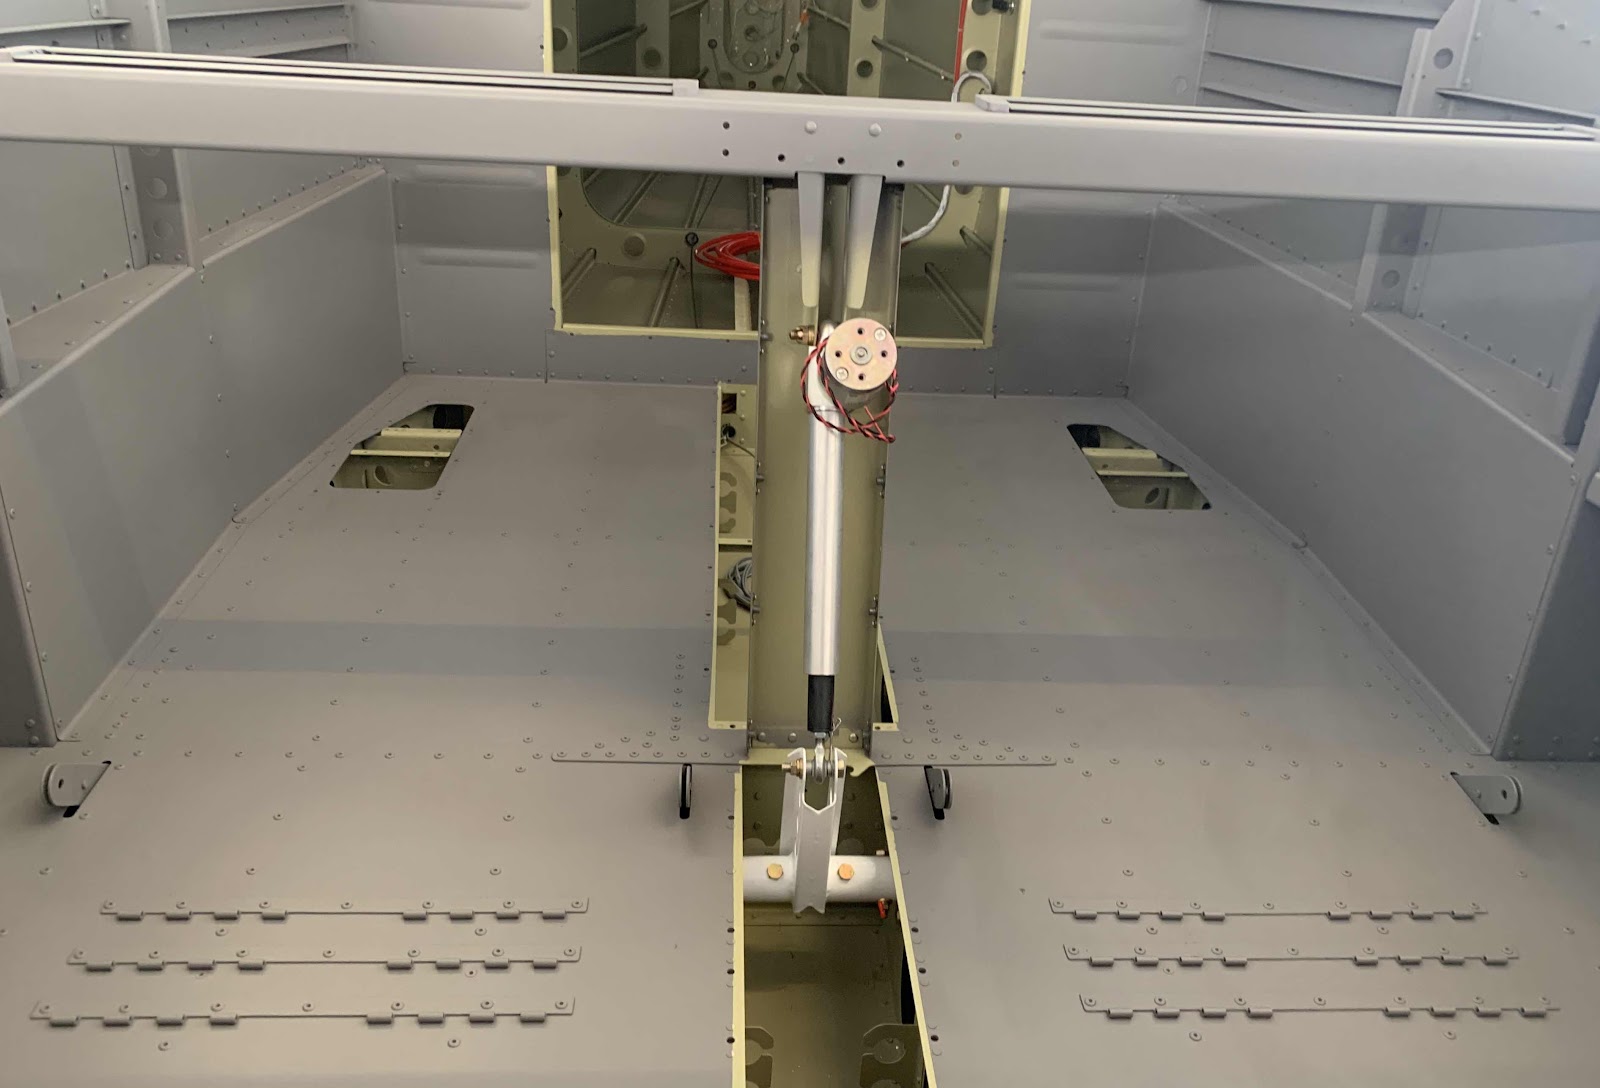
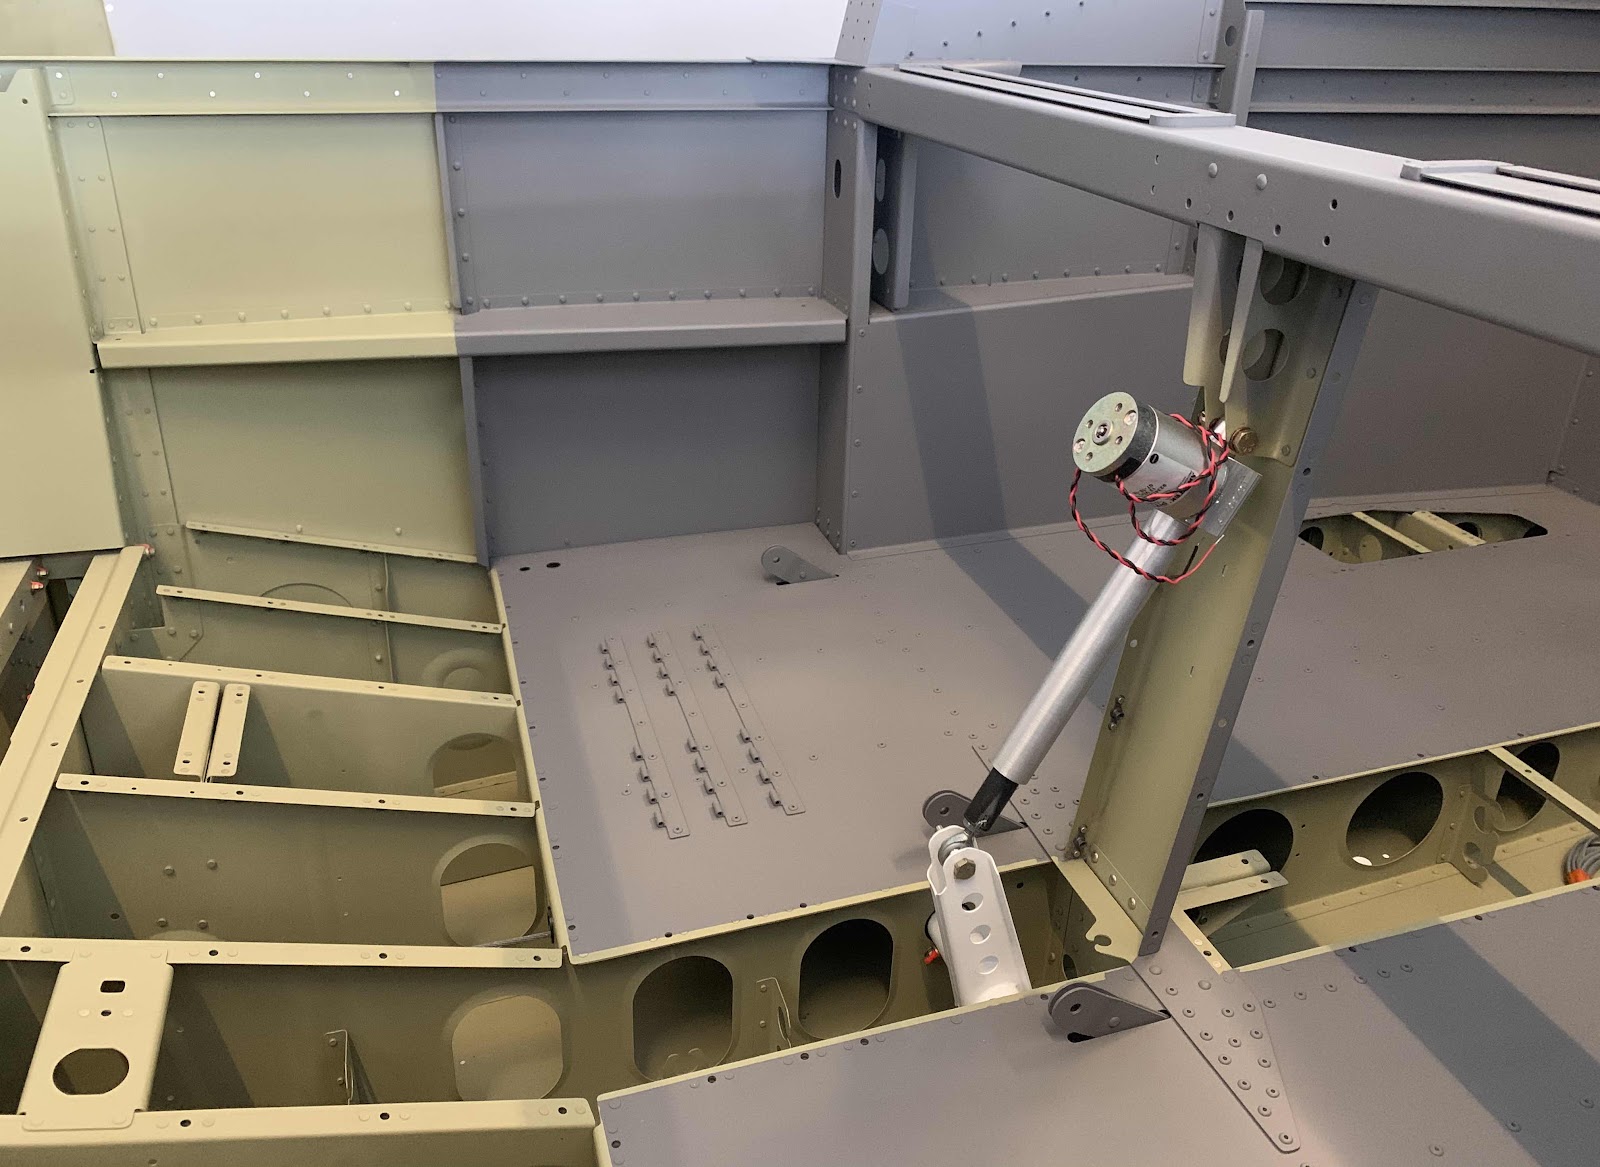
Now, another ongoing debate with myself.  Since I am going to install carpet, seats (obviously), and side panels how much of the interior do I paint.