Showing posts with label Section 25-FWD/MID Bulkheads. Show all posts

Tuesday, May 7, 2019

Fuselage, FWD/MID Bulkheads (Part 6)

The last step remaining to complete Section 25 is to ream the 22 holes in the F-01404 (14 holes) and F-01403 (8) Bulkhead Assemblies.  Of the 22 holes, 16 are reamed .375 and six are reamed at .311.  Here is the excerpt from the plans showing the hole locations in the two Bulkheads.

Section Complete

Wednesday, April 3, 2019

Fuselage, FWD/MID Bulkheads (Part 3)

I spent a few minutes during today’s work session treating some parts with Alumiprep and Alodine.  Pictured below is the F-1403D-R & -L Forward Center Section Side Angle.  The edges have been cleaned and the holes deburred.....now waiting to be Akzo primed.

These are the F-01441-L & -R Bearing Bracket Braces and associated Bearing Bracket Angles that were prepared in Part 3.  After separating the parts, cleaning the edges, and deburring the holes, the parts were treated with Alumiprep and Alodine.  They are now hanging up to dry prior to being Akzo primed.

While I was treating stuff with Alumiprep and Alodine, I decided to treat the two CS-00012 Torque Tube to Bellcrank Pushrods.  They are shown below hanging up to dry.

Wednesday, March 27, 2019

Fuselage, FWD/MID Bulkheads (Part 2)

*****Work during this session was completed on Friday, March 22, 2019*****

Today’s session was spent working on the F-01404 Aft Center Section Bulkhead.  To start, the #30 and #40 holes in the bottom flange had to be machined countersunk to fit a dimpled .032 Skin.  I used my .032 thick template with a dimpled #40 hole as a guide for the correct countersink depth. To hold the Bulkhead in place while I countersunk the holes, I clamped the Upper Flange to my workbench as shown below.  This allowed a somewhat steady base to complete the countersinking.

Here are examples of the #30 and #40 holes after being countersunk.  I put the orange tape on the Bulkhead to prevent pieces of aluminum shavings from getting in the seam.  I learned this lesson earlier when working on the Wing Spar.  Some of the little shavings are very difficult to remove once they are in the seam.  The tape keeps this from happening.

The next step was to countersink the #40 holes in the Upper Flange of the Bulkhead to fit the head of an AN426AD3 rivet.  These rivets will be attaching nutplates to the flange.  Here are three of the nutplates locations with the countersunk #40 holes.

The last step for today’s session, was to countersink the two #40 holes in the F-01404D-L & -R Side Angles.  Here are both of the Angles (-L on top and -R on the bottom).....

.....and a close up of the two countersunk holes on the -R Side Angle.


Tuesday, March 26, 2019

Fuselage, FWD/MID Bulkheads (Part 1)


*****Work during this session was completed on Thursday, March 21, 2019*****

I still have some work to complete on the Left and Right Ailerons, but decided to make a change of pace and start on Section 25-FWD MID FUSE Bulkheads.  I’ll go back to the Ailerons after this section, but needed a break from them!  Anyone who has ever built an RV, will know what I’m talking about.

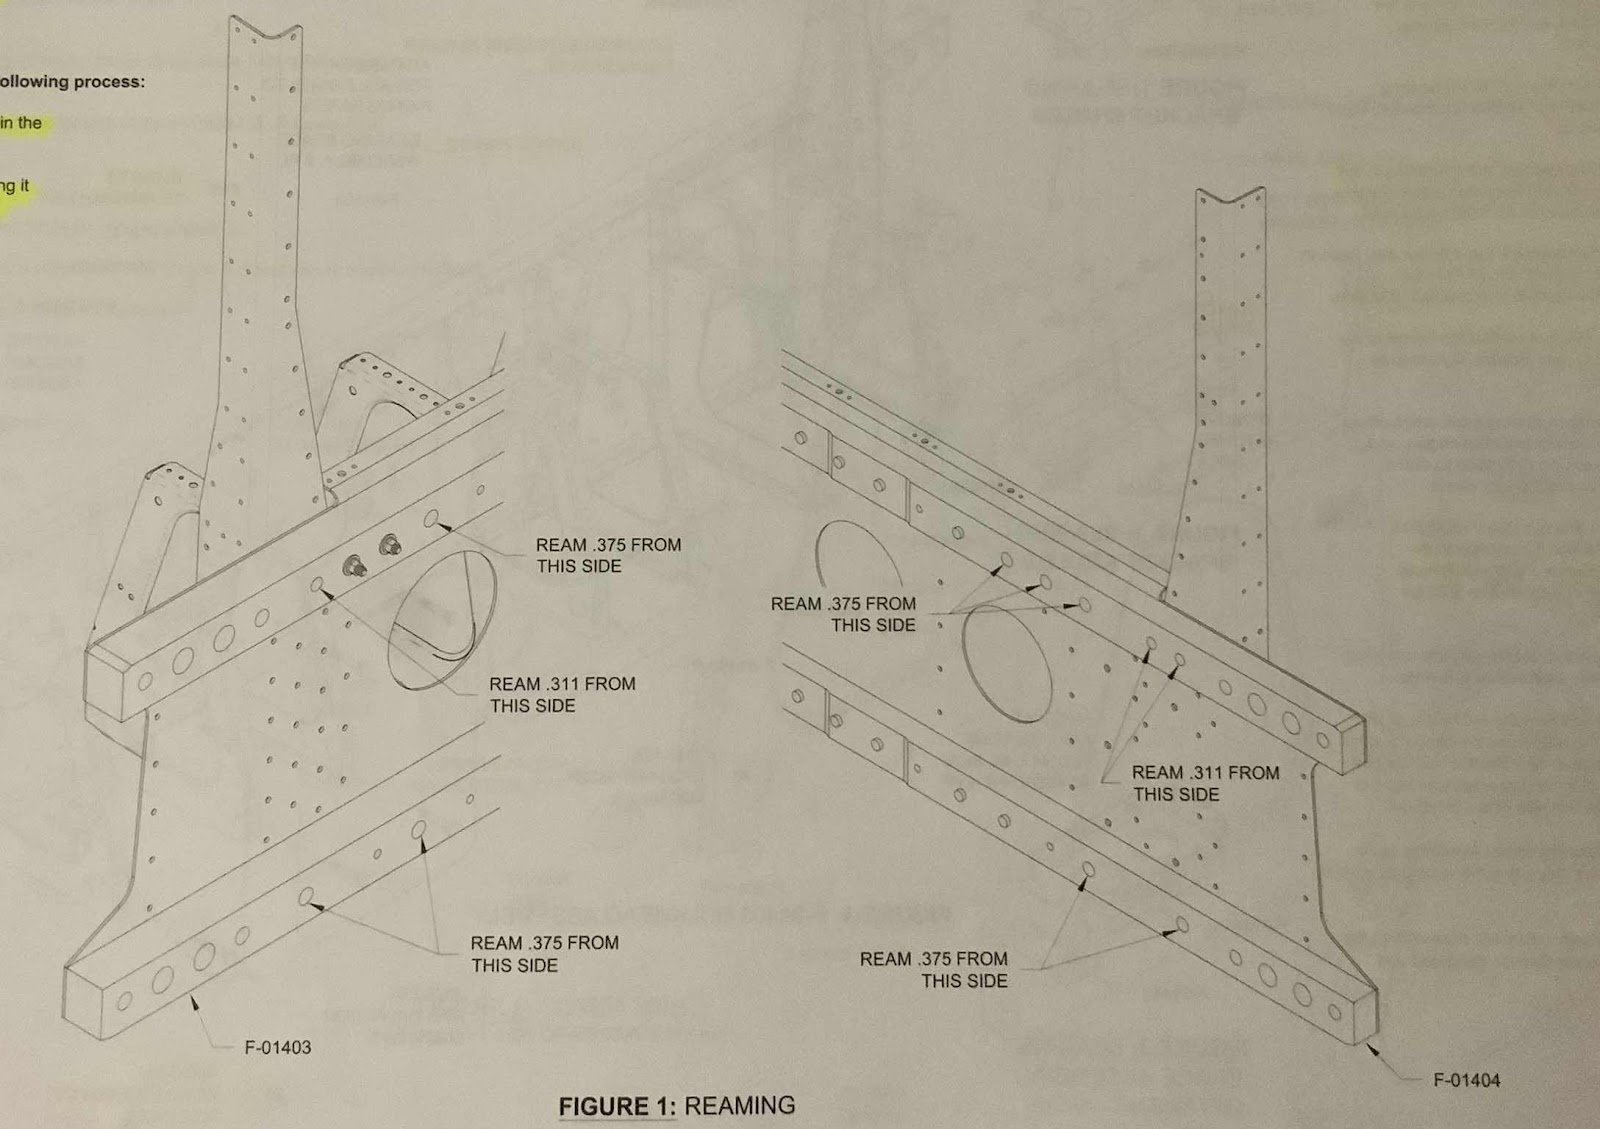
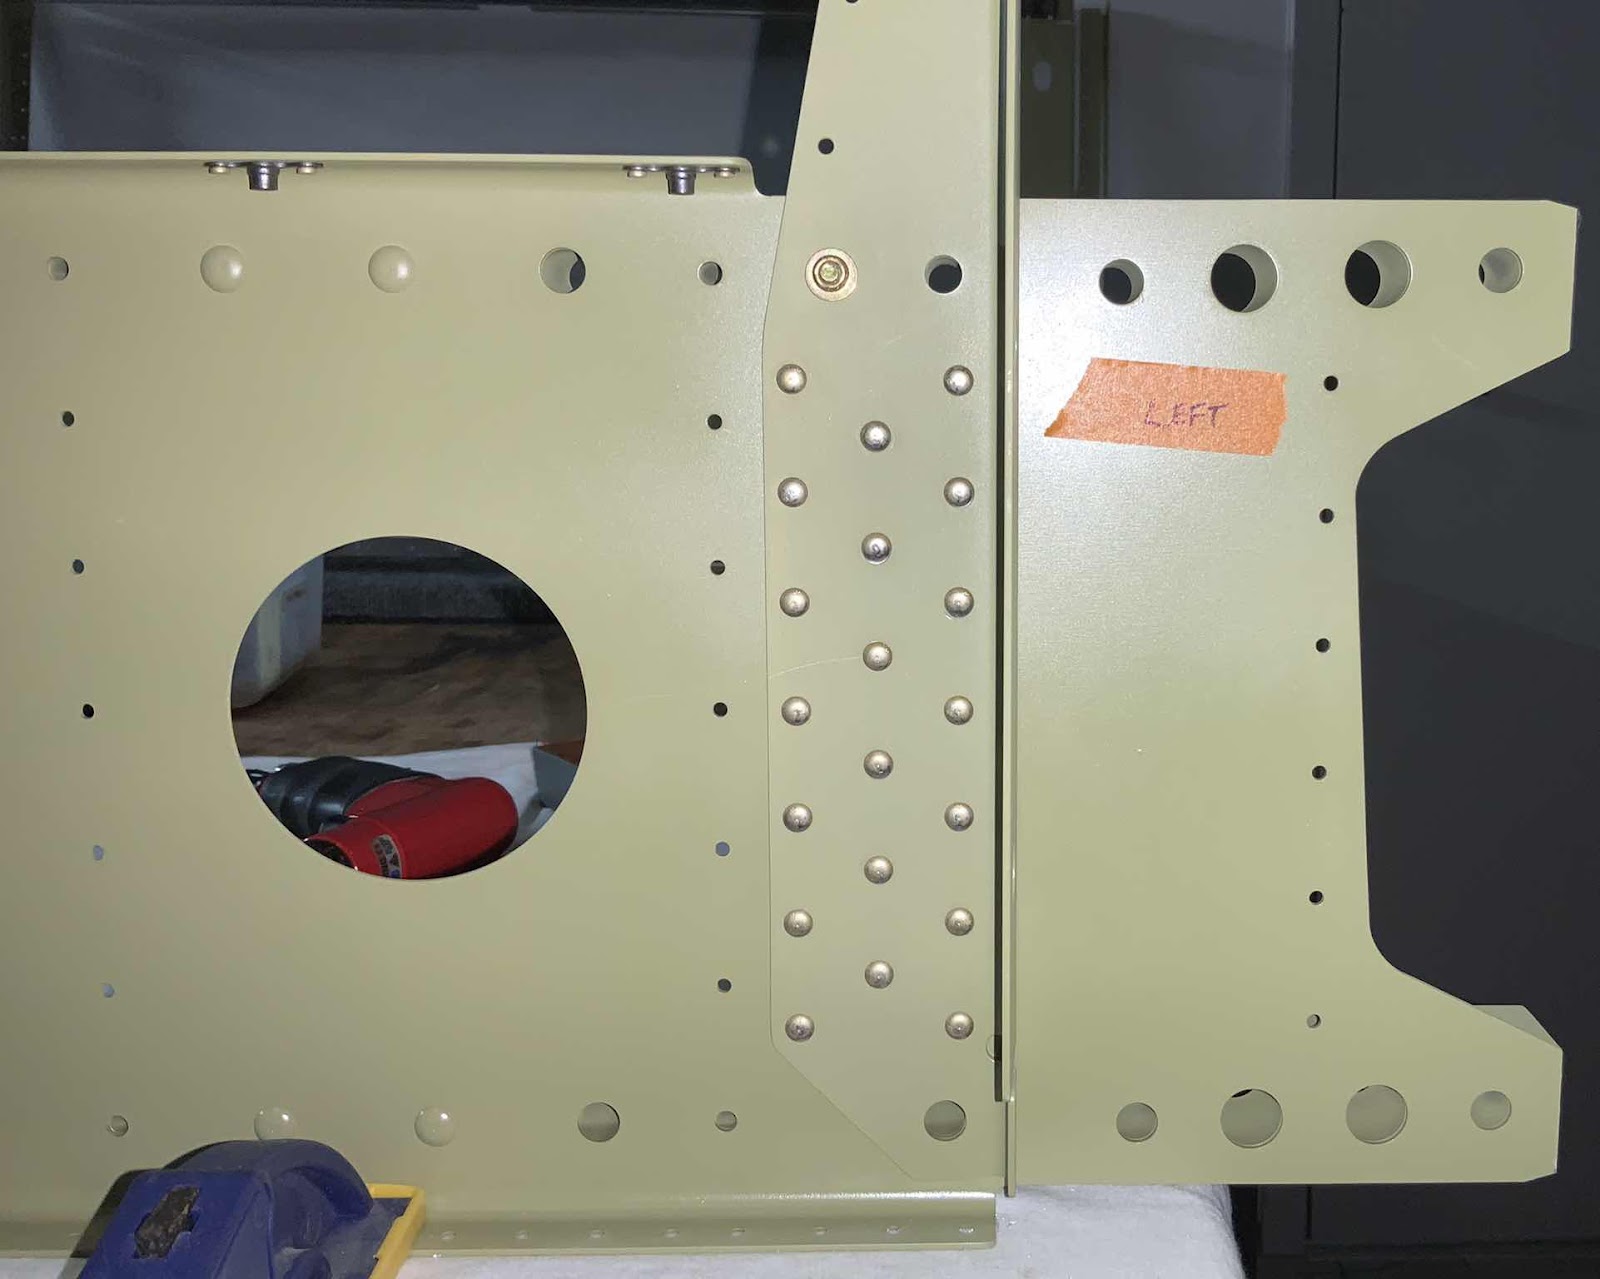
Anyway, this section starts with separating the F-01405B Bulkhead Bars.   Here is what they plans excerpt look like.....

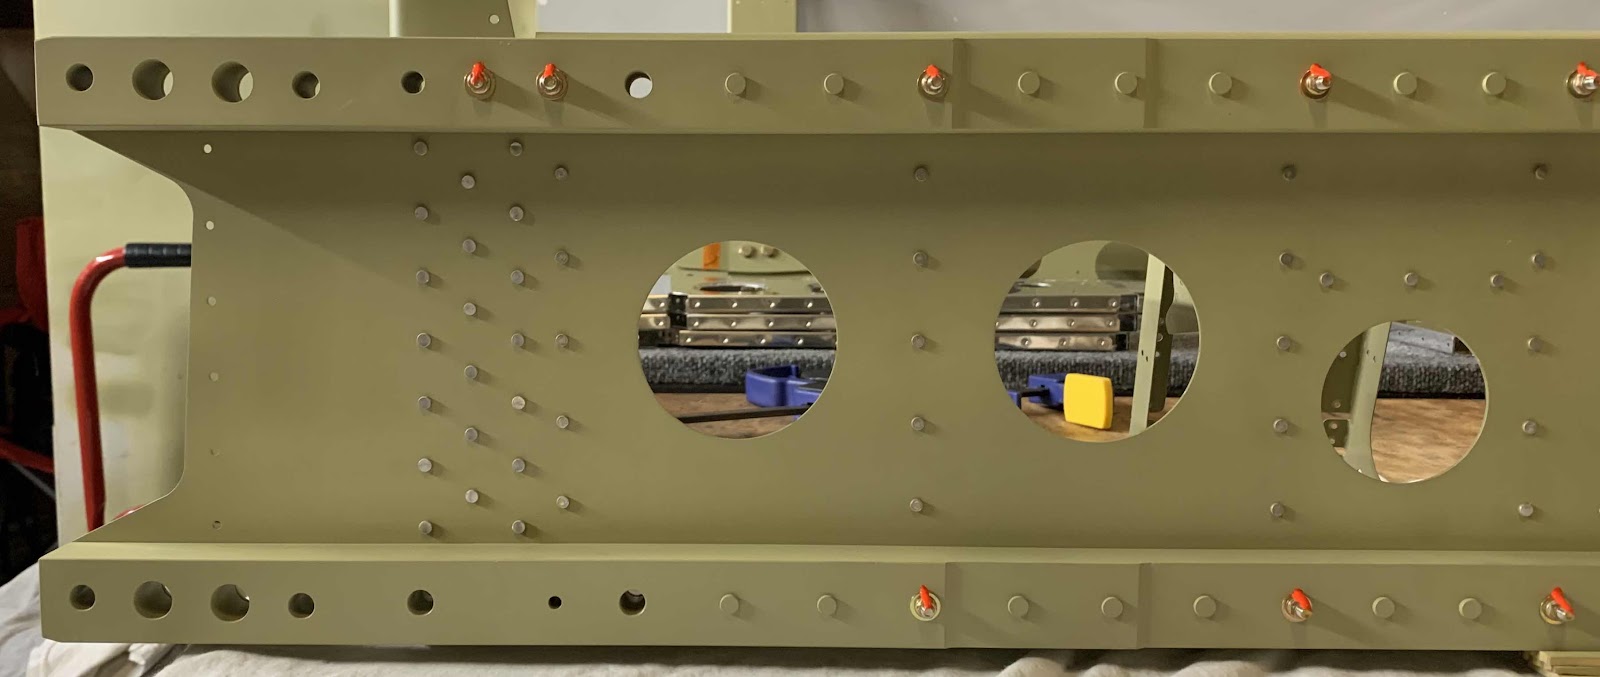
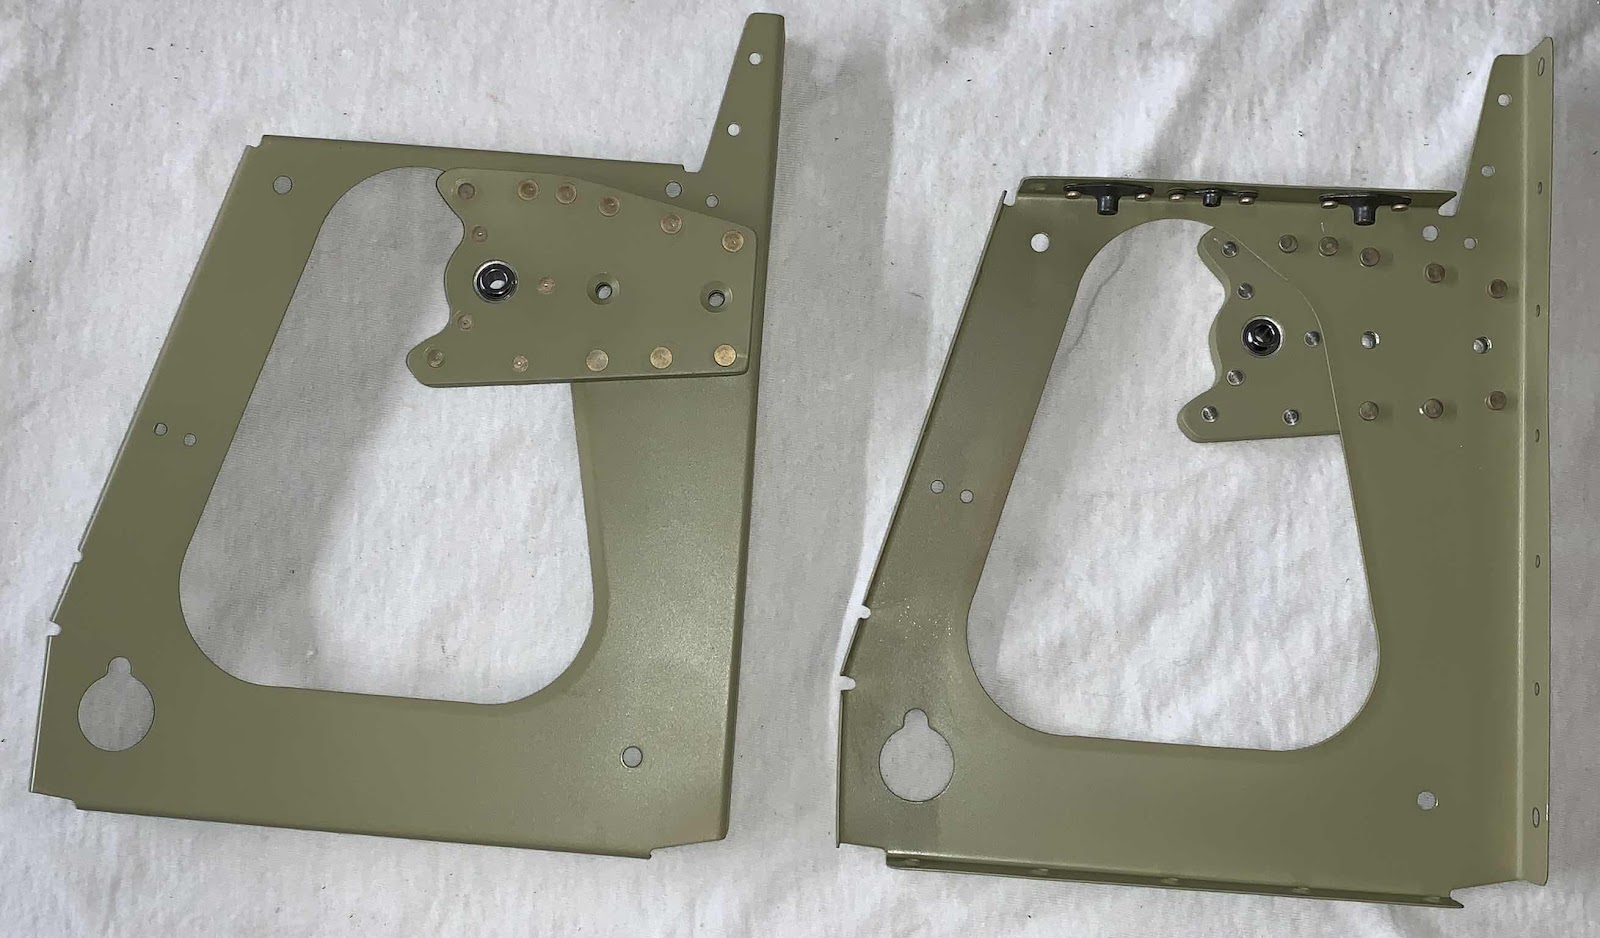
.....and there is what the final product looks like.  I used my Milwaukee Rotary Tool to separate the four Bulkhead Bars.  Next, I used the 6” Scotchbrite Wheel to remove the excess material and make the edges as smooth as possible.  Lastly, I used 220 grit sand paper to complete edge work.

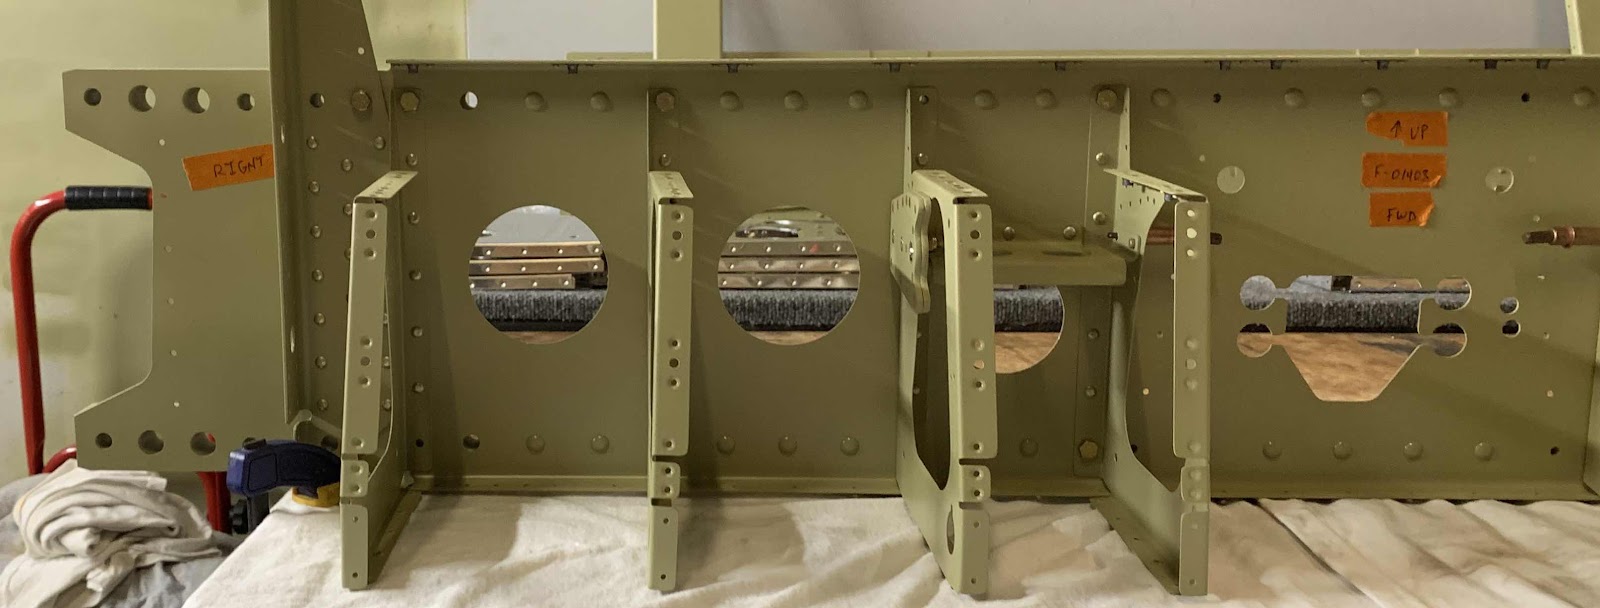
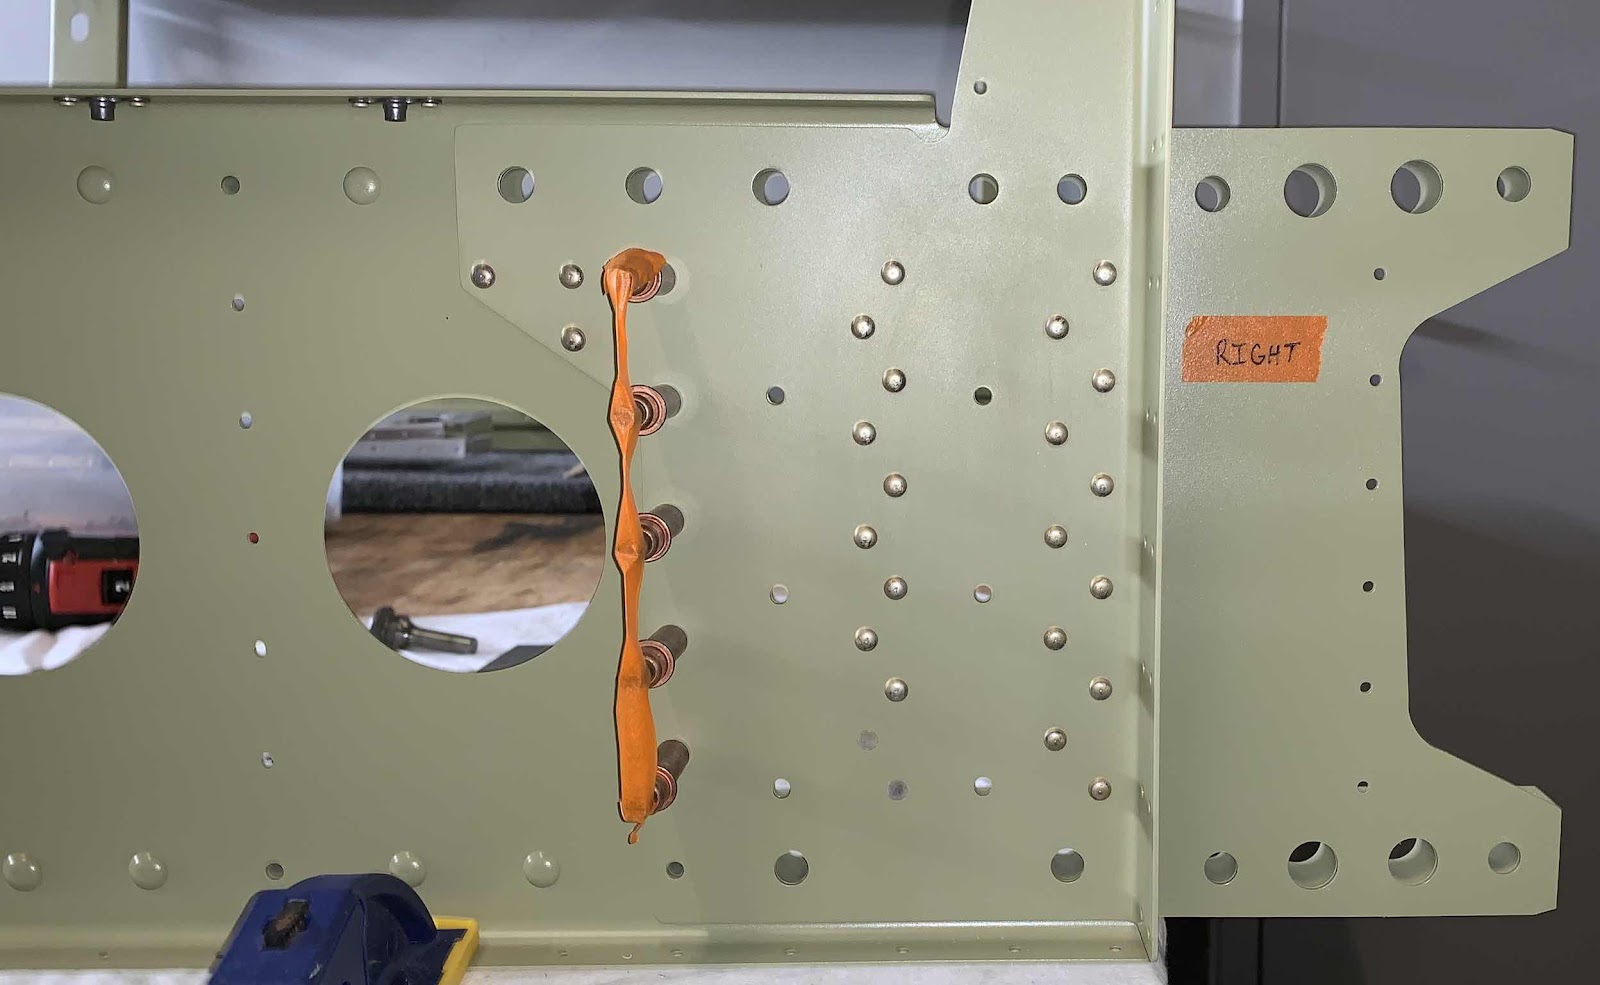
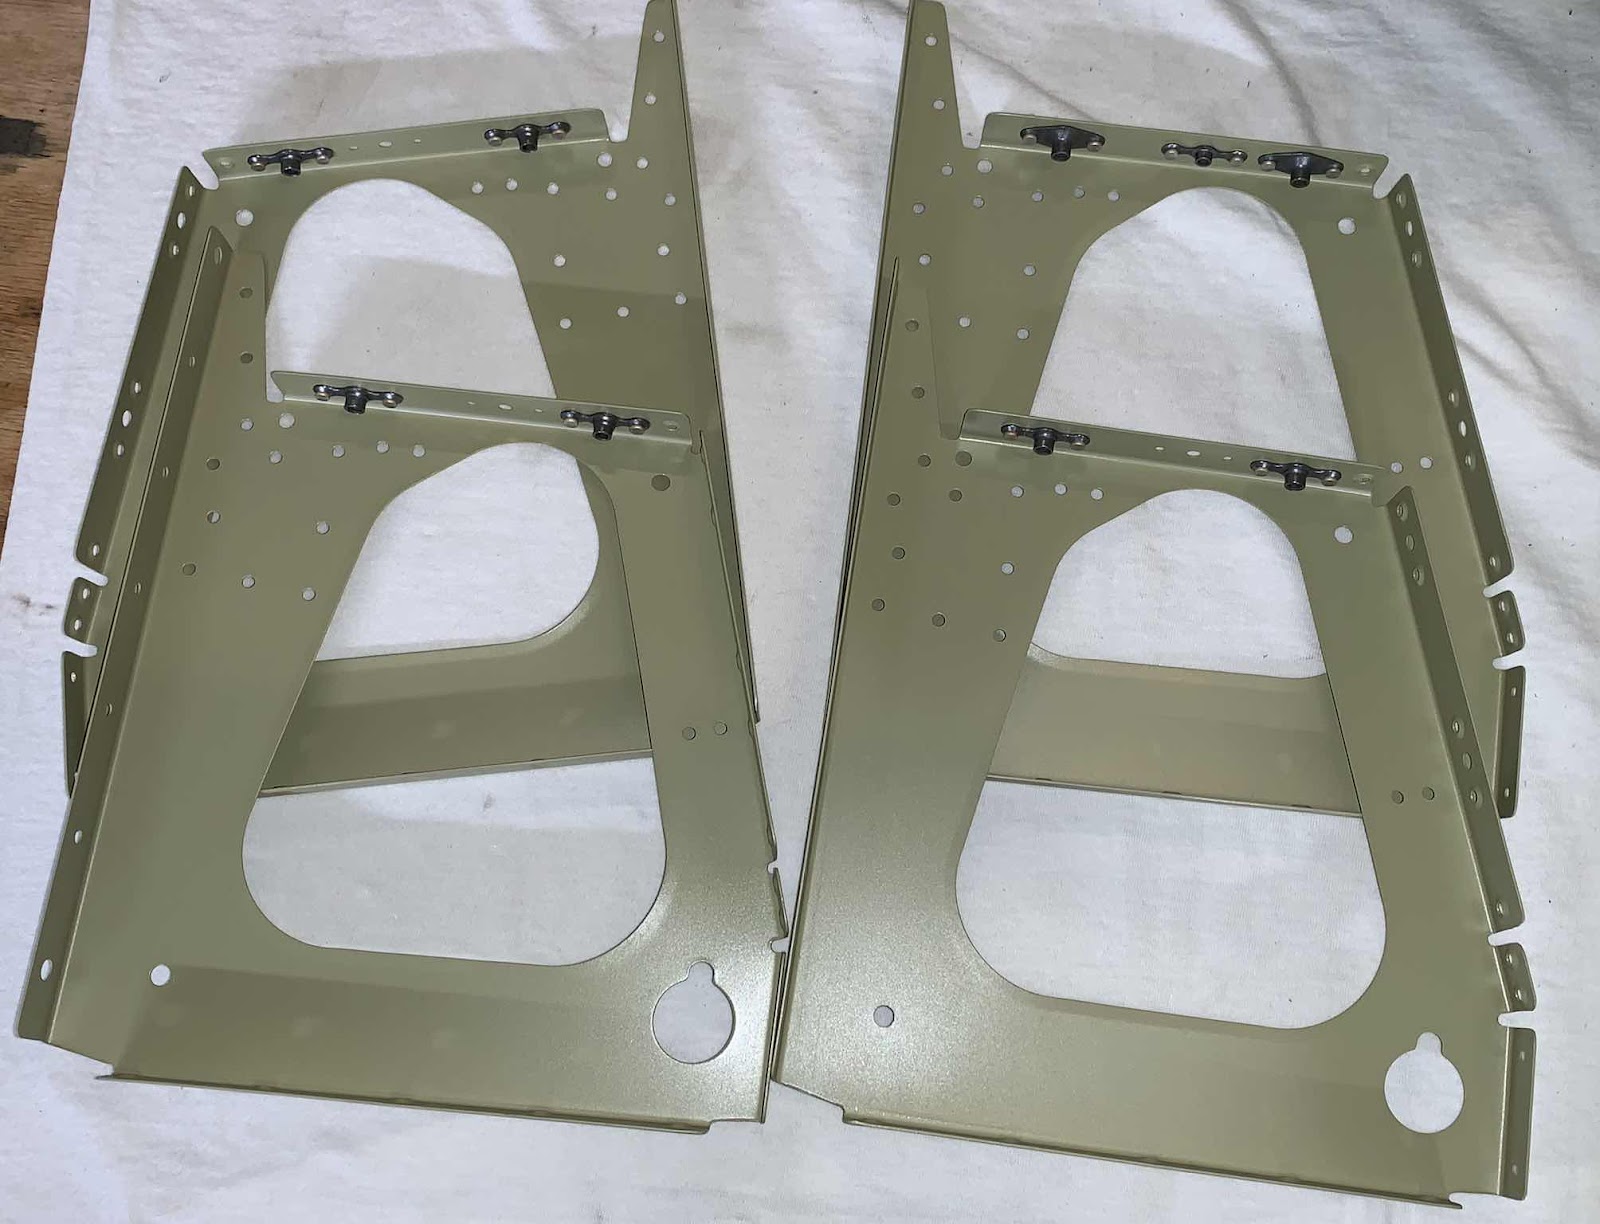
Moving on.....the next step was to dimple the #30 and #40 holes in the F-01405D-L & -R Bulkhead Side Channel flanges (with a few exceptions).  Pictured below are the two pieces with the appropriate holes dimpled.  Kind of hard to see the dimples in this picture, but they are there.  I also completed the edge work after all the holes were dimpled.

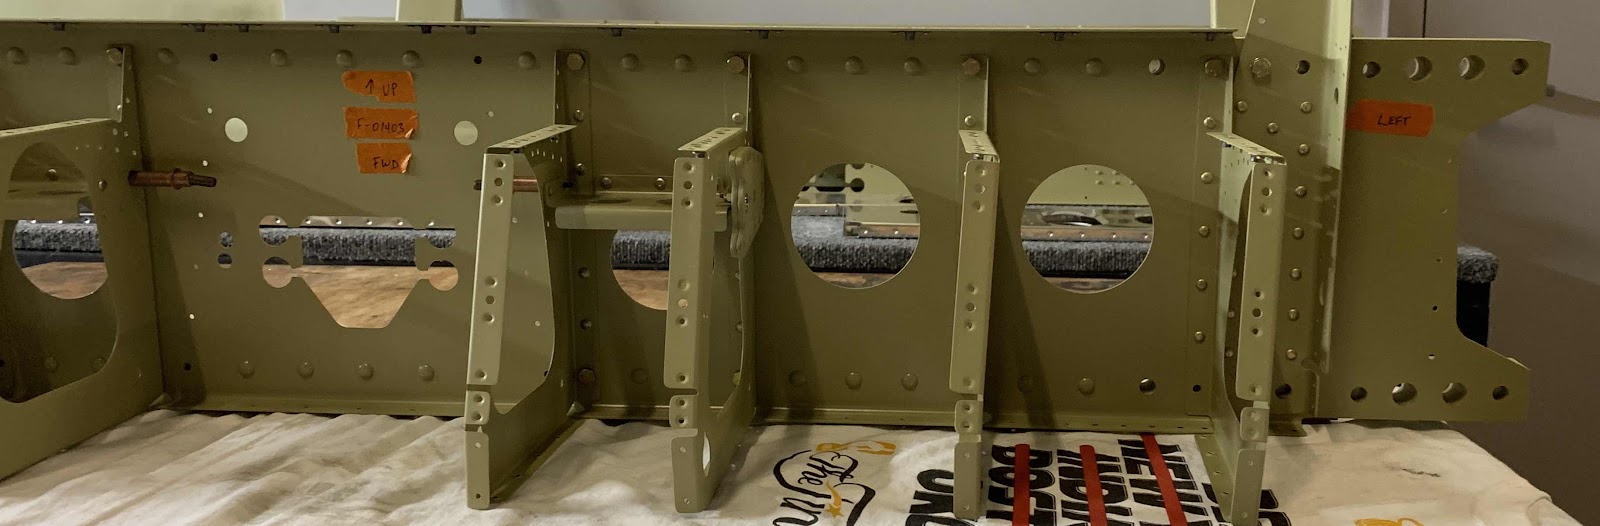
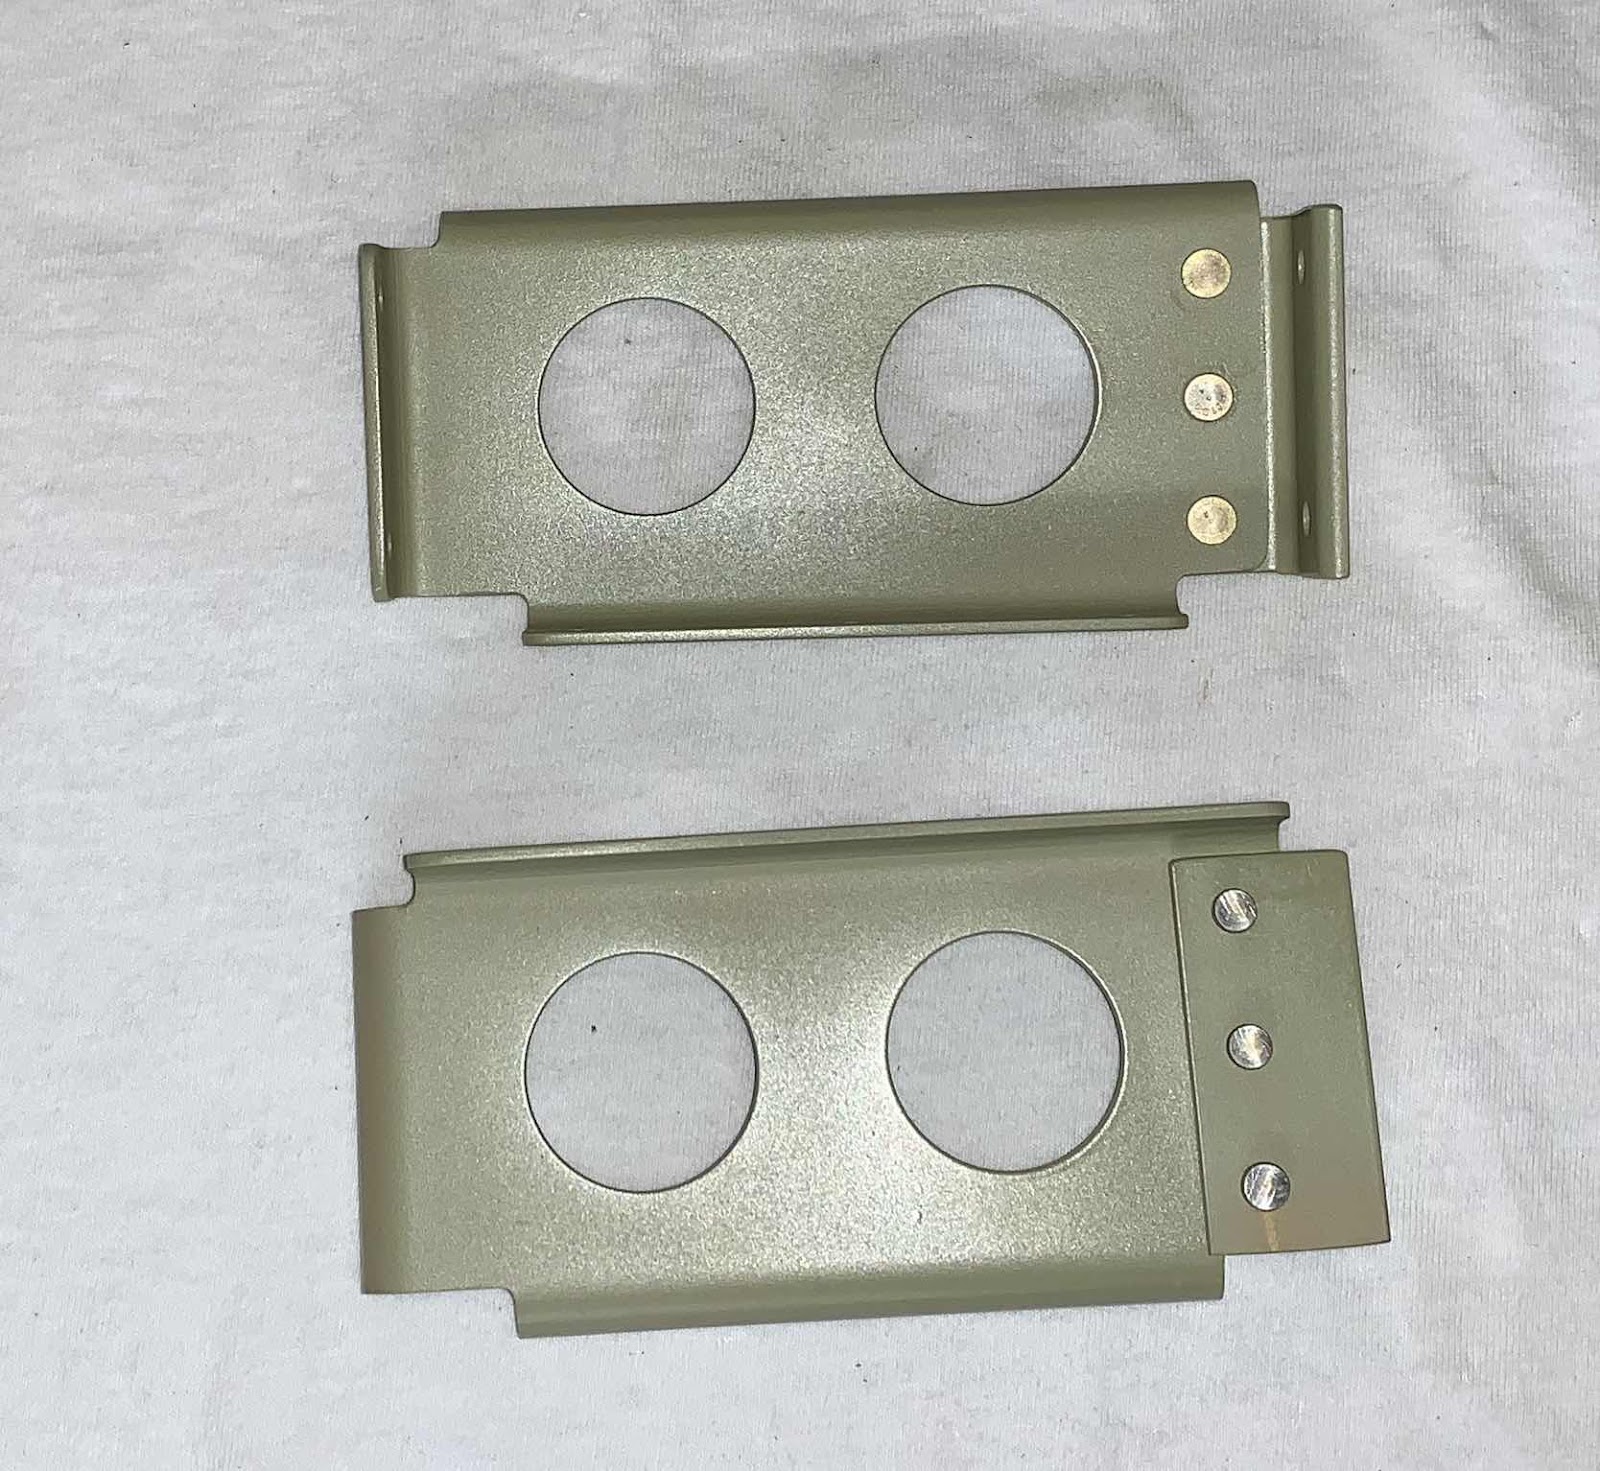
Lastly, for today’s session, the #40 holes were dimpled in the bottom flange of the F-01405A Bulkhead Bottom Channel.  Here is the Bottom Channel after all the holes were dimpled.  I also completed all the edge work after the holes were dimpled.

That’s it for the first session on the 3rd Kit (Fuselage).   I’ll pick it up from here tomorrow.