Friday, February 8, 2019

Wings, Flaps (Part 28)

The aft two rivets on the Top Skin/Ribs that were marked with orange tap during the last session, now had to be backriveted.  To prepare for the backriveting, I have inserted the AN426AD3-3.5 rivets in the holes and taped them into place as shown below.  

Then, I put the Flap on the 6’ backriveting plate I purchased a few week ago to complete the riveting.....similar to the excerpt in the plans.  During the construction of the Left Flap, I took several photos of this process and included a short video of how I set the double flush rivets on the Trailing Edge (Part 16).

Moving along, the Flap was put back in the cradle to allow the Bottom Skin to be inserted between the Nose Skin and Spar (just like the Top Skin).  Then the rivets common to the Spar were set.  Just like with the Left Flap, you have to slightly pull back the Bottom Skin.  This allowed access to get the bucking bar to the rear of the rivet for setting.  The four pictures below show all the rivets set in the Nose Skin to Bottom Skin to Spar.  Additionally, you can see the 22 MK-319-BS blind rivets set on Nose Skin to Ribs (and four to the Spar).


The two pictures below show the Inboard and Outboard ends of the Flap with the rivets installed and set.  I have a little bit of a confession to make here.  In the first picture, the three rivets circled on the Nose Rib are actually NAS1097AD4-3.5 “Oops rivets”.  To install the MK-319-BS blind rivets, you first have to final-drill the holes to #33 (the 22 locations shown above).  YOU DO NOT FINAL DRILL THE INBOARD AND OUTBOARD RIBS ENDS because you can squeeze them and install solid rivets.  Well, I final-drilled them to #33.....oops!  I decided a AN426AD3-3.5 designed for a #40 hole would not be sufficient for a #33 hole....as the rivet would expand in the hole and NOT set properly.  So, I final-drilled the hole to #30 and installed the NAS1097AD4-3.5 rivets in these locations.....much better option.


During the next session, I will attach the Bottom Skin and Trailing Edge....and that should finish the Right Flap.

Thursday, February 7, 2019

Wings, Flaps (Part 27)

The Nose and Top Skin were clecoed to the skeleton assembly during the last session.  Tonight, I started putting in the rivets.  Following the plans, the Nose Skin to Top Skin to Spar locations get riveted first (just like on the Left Flap).  Once that is complete, the Main Ribs and Modified Rib get riveted to the Top Skin.  (The most aft two rivets will not get set at this time and I marked these locations off with orange tape to remind me to leave them alone).

I installed 107 rivets during the session using my Sioux 2X rivet gun and tungsten bucking bars.  Due to the orientation of the rivet locations, it was very, very easy to set the rivets by myself.  The four pictures below show the “internal” area of the Right Flap.  In these pictures, you can see the rivets set in the Spar and Ribs (as described above).


Here is the external side (in this case, the Top Skin) of the Right Flap.  The two pictures below show the rivets set in the Top Skin.  (You can also see the rivet locations I marked off with orange tape).


During the next session, I will install the remaining rivets in the Right Flap.


Tuesday, February 5, 2019

Wings, Flaps (Part 26)

Last night, I clecoed the Right Flap “skeleton” together as illustrated in this plans excerpt:

Tonight’s session concentrated on turning those clecos into RIVETS.  All of the rivets installed tonight were AN470AD4-4 and set with my hand squeezer.  Here are some examples:

The Inboard and Outboard Rod End Rib Subassemblies.....

.....Inboard Hinge Pair Subassemblies.....

.....a couple of the Main Ribs.....

.....and the Outboard Hinge Pair Subassemblies.

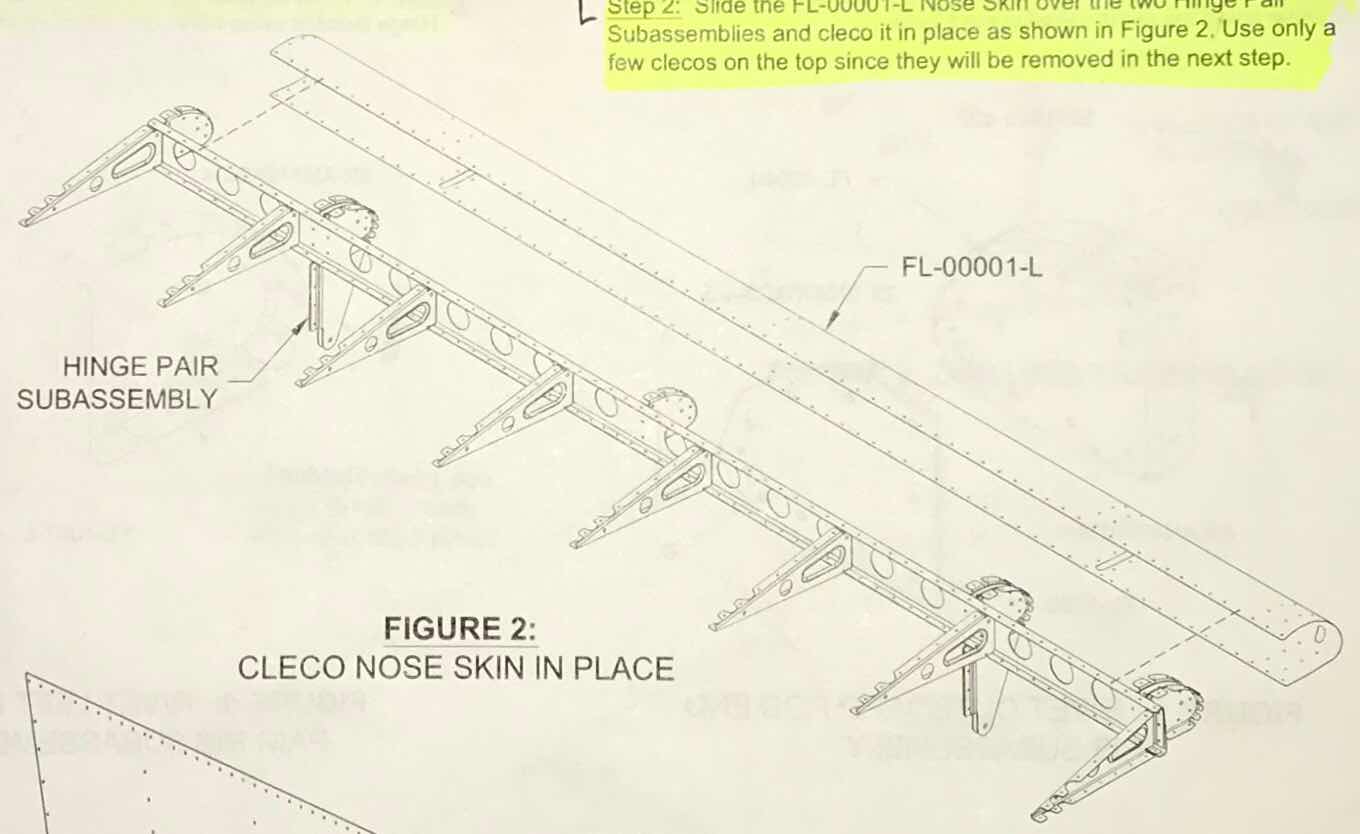
Once that was done, it was time to cleco the Nose and Top Skin into place in preparation for rivet installation.  Van’s says do it like this:


Here are a few pictures of the Nose and Top Skins rivets to the Flap “skeleton”.


Here is a view of the Nose and Top Skins clecoed into place.  You can’t really tell from the picture, but the Top Skin gets installed BETWEEN the Spar and Nose Skin.

This is the opposite side (of the picture above) where the Bottom Skin will eventually be installed.

Wings, Flaps (Part 25)

This session was completed on Monday, February 4, 2019

I let the Akzo Primer dry overnight and the parts of the Right Flap are now ready to be assembled.  Below, are the Nose Ribs, Doublers, and Hinge Brackets.

Here are the Hinge Brackets and Nose Ribs riveted together using AN470AD4-4 universal rivets.  Also shown below are Nose Ribs and Doublers riveted together....also using AN470AD4-4 universal rivets.

After the Nose Ribs and Hinge Brackets were riveted together, the two halves now need to be riveted together.  The eight rivets in the middle of the Brackets are set double flush.

Lastly, the Nose Ribs, Main Ribs, Modified Main Rib, Inboard and Outboard Rod End Ribs, and Hinge Pair Subassemblies were clecoed to the Spar.  I will start riveting the assembly together during the next session.

Sunday, February 3, 2019

Wings, Flaps (Flaps 24)

Today’s session was spent Akzo priming all the parts that were treated yesterday.  I did, however, make a small little mistake.  Below is a picture of the Top and Bottom Skins.....can you see the mistake?

The aft portion of the Skins (where the Trailing Edge V-Channel will go) should have been taped off and NOT primed to allow for adhesion of the  3M F9460PC Adhesive Transfer Tape.  I don’t “think” this is that big of a deal and I will use grey Scotchbrite to scuff the area.....that should help with the adhesion.

Here is the Nose Skin.....

.....the Spar.....

.....small Ribs, Doublers, Hinge Brackets.....

.....and the eight Ribs.

Saturday, February 2, 2019

Wings, Ailerons (Part 1)


The first step in the plans is to separate the A-1006-1 Outboard Hinge Brackets into parts A and B.  Next, separate A-1007-1 Inboard Hinge Brackets into parts A, B, and C.  There are two of each, so presumably one fore each aileron.  The pieces on the left are how they were shipped from Van’s and the pieces on the right have been separated.  

After separating the parts, I used a 6” 3M Light Deburring Wheel on my bench grinder to remove the large burrs where the parts were joined together.  Finally, for the fine sanding work, I took my 220 grit sandpaper and stuck it to the workbench.  It was a lot easier to move the piece across the sandpaper than the other way around.  This worked perfectly.  Additionally, the grinder I used to separate the pieces is shown in the picture below.

Here are all the pieces.  They have all been edge cleaned and marked for the next step.


Wings, Flaps (Part 23)

Nothing to really show today, but the session was devoted to treating all the parts with Alumiprep and Alodine.  

Here is the Top Skin, Bottom Skin, Nose Skin, and Spar.....

.....and everything else.

I will let these pieces dry overnight and Akzo prime them tomorrow.  Once the primer is dry, I’ll start the assembly process.

Friday, February 1, 2019

Wings, Flaps (Part 22)

As I said in my previous post, I continued countersinking the Trailing Edge “V-Channel”.  To start, tried to complete the countersinking like I did in Part 7 for the Left Flap using a deburring bit in my cordless dril.  Although I was happy with the results THEN, I was not so happy NOW.  The holes were not really round and I didn’t like it at all.  So, I thought of other ways to complete the countersinks.  The obvious choice is a countersink cutter with cage.  I tried that, but the pilot hole didn’t fit correctly in the hole.  I could have enlarged the holes a little and used the cage, but I didn’t want to do that.

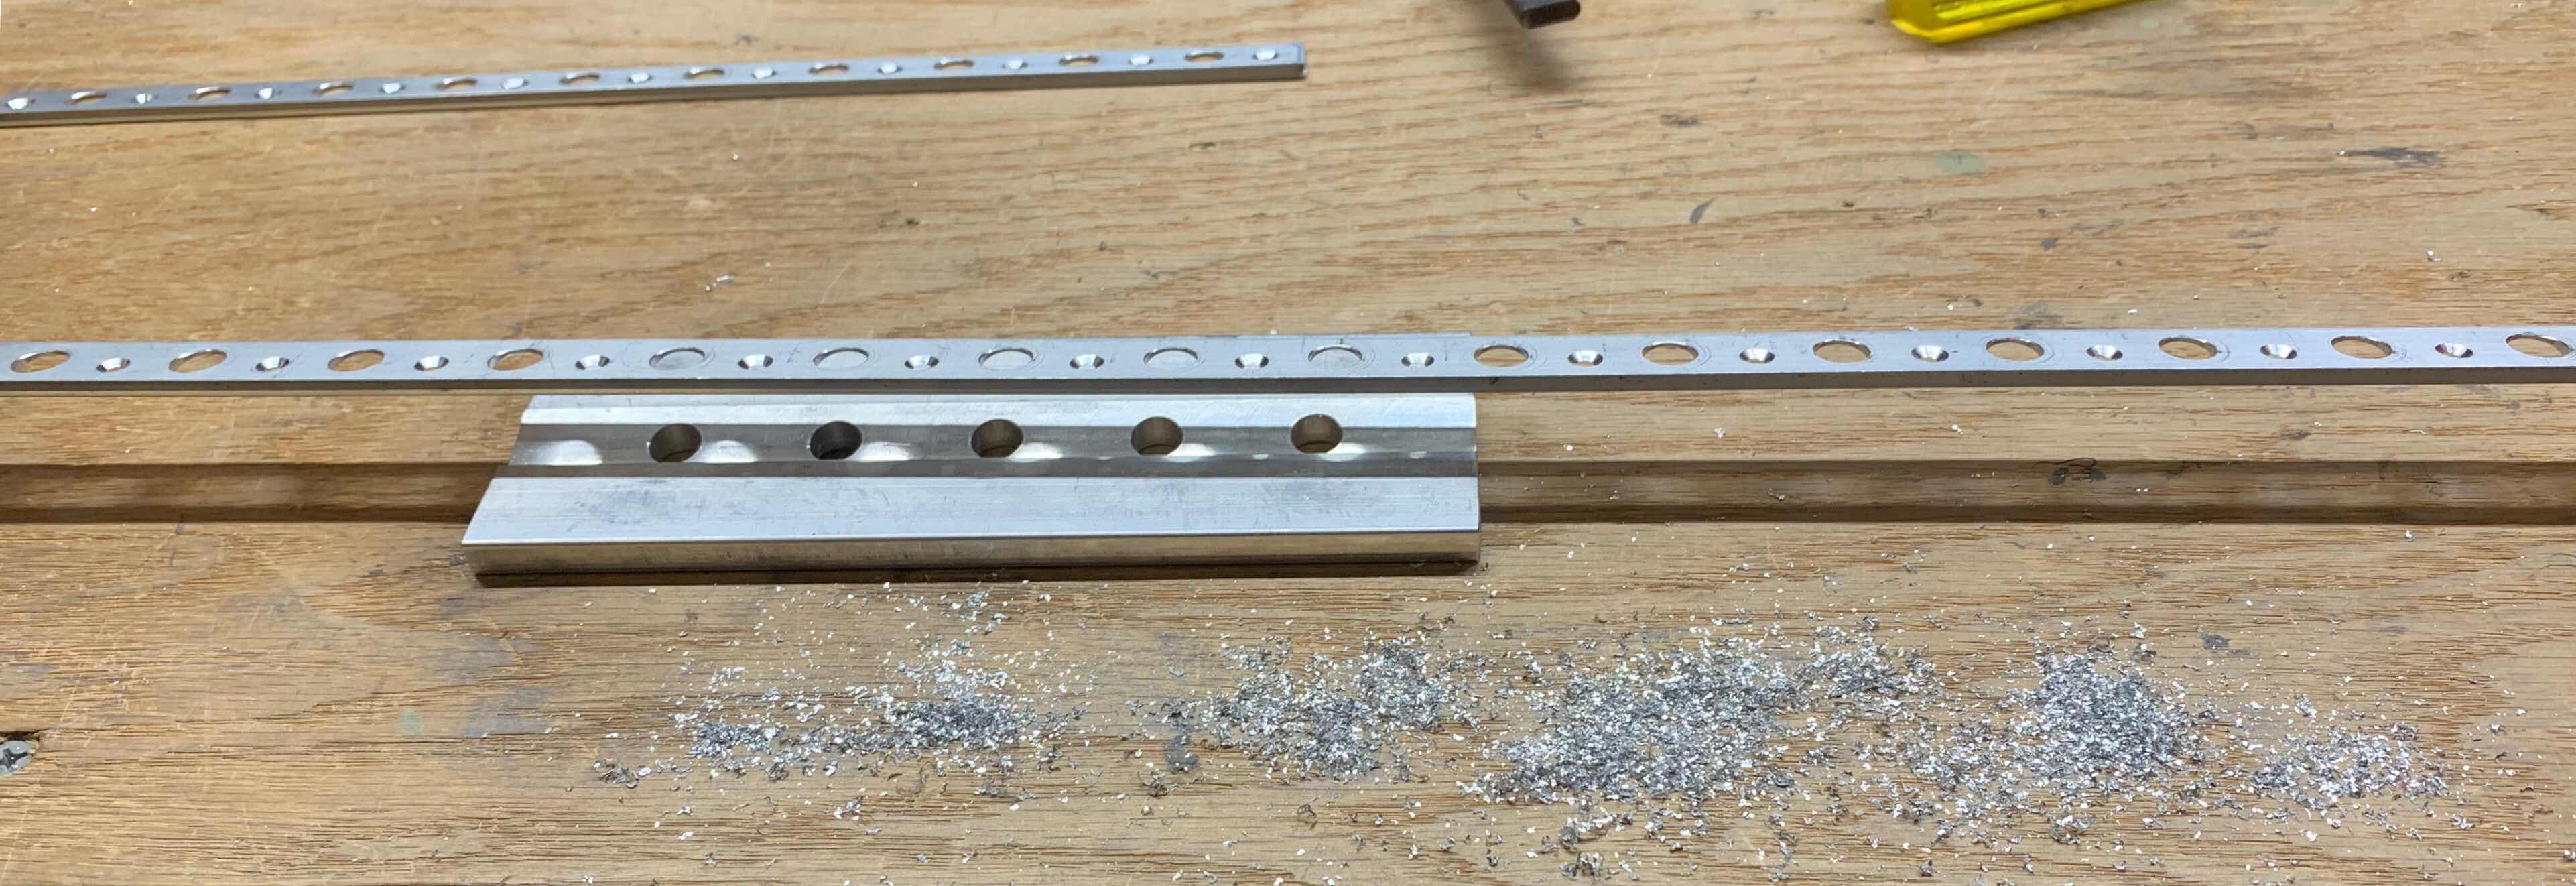
So, I decided on this solution.  I continued to use the Countersink Jig for RV Trailing Edge Wedges, just “vertically”, along with my Avery Deburring Tool and two blocks of wood (one on either end) as shown below.  This turned out to be the most time consuming (and hand cramp inducing) option, but I was MUCH, MUCH happier with the resulting countersinks.  It took 100 rotations of the deburring tool (in case you were wondering) to make each countersink.  The long portion of the Trailing Edge Wedge has 120 holes (60 per side for double flush rivets) x 100 rotations of the deburring tool = 12,000 rotations.  This method SUCKED!  However, the countersinks were very, very good and I’m very, very happy.....guess it was worth it!

Here is kind of an after shot of the resulting shavings.....whatever!

I also used the same deburring method to countersink the 16 holes (eight for each pair) on the Hinge Brackets for double flush rivets.

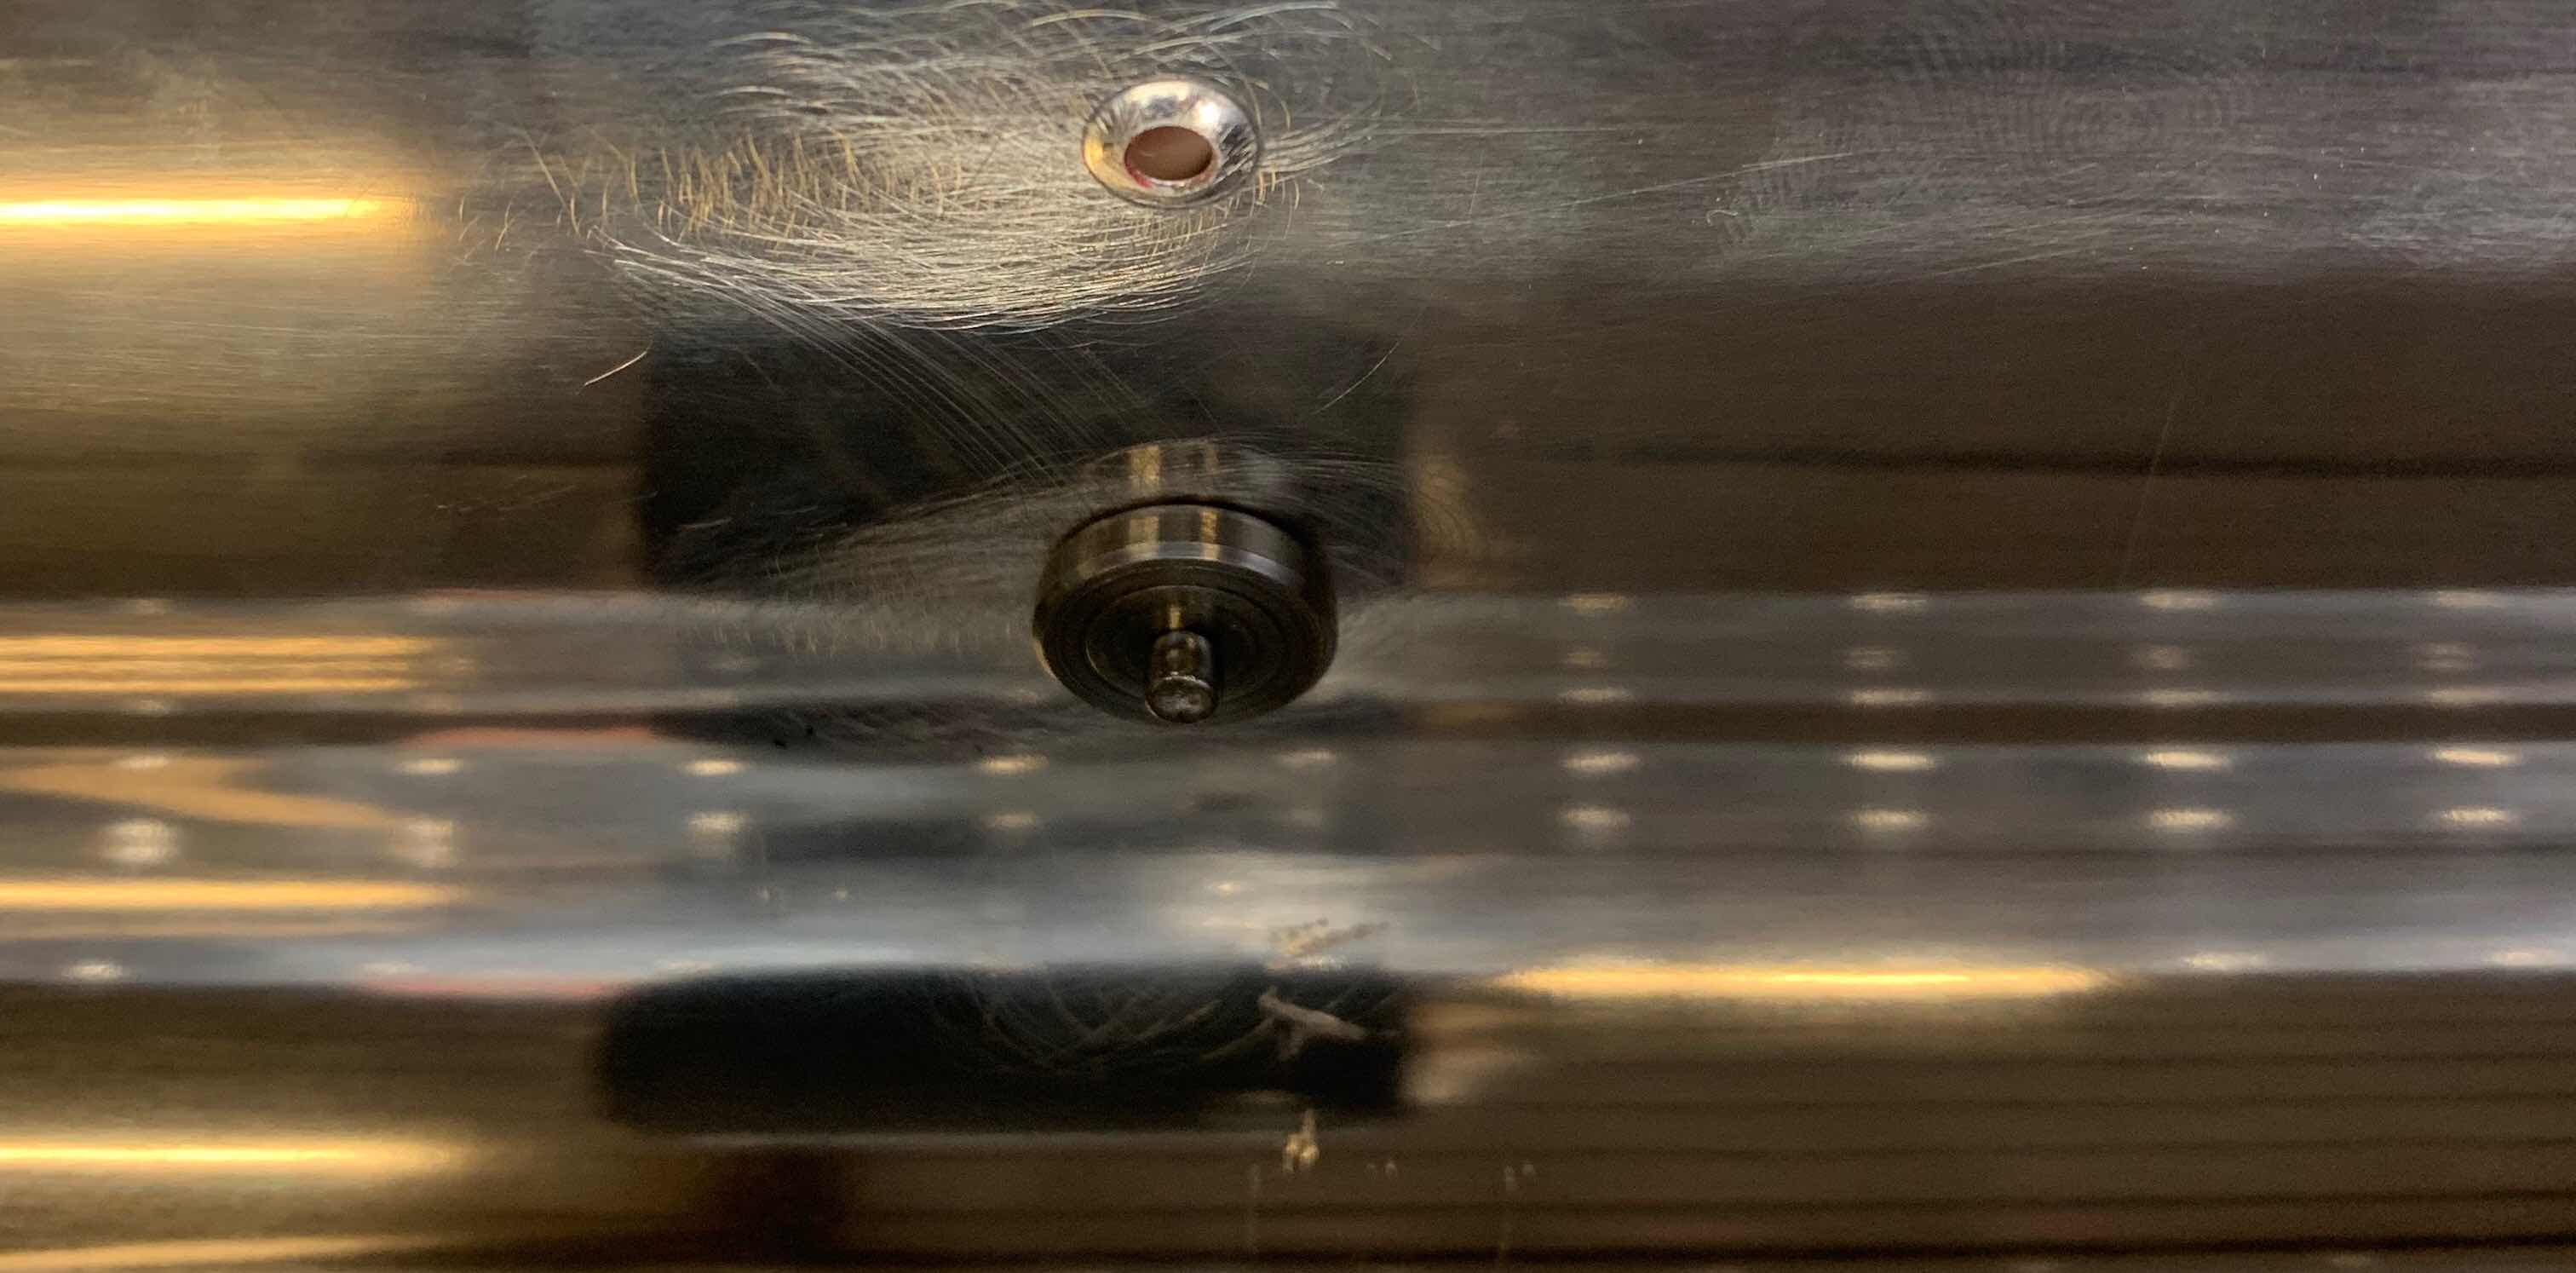
Now that that was finished, it was time to move on to dimpling.  I started with dimpling the #40 holes in the Nose Skin.  To get to the rivet holes on the leading edge of the Skin, I used my 3/32 (#40) Close Quarters Die Set to dimple these holes.  Mike from Cleaveland Aircraft Tool demonstrates how to use the Close Quarters Die in this video.  The picture below shows the “inside” of the Skin.....

.....and this picture shows the “outside” of the Skin with the Die installed.

Here is the completed “long” and “short” Trailing Edge V-Channels and the Spar.  I described the process I used to countersink the V-Channels above, but used my pneumatic squeezer to dimple the Spar.

Here are most of the guts of the Right Flap.  All of these pieces that needed to be dimpled (the Ribs) I used my hand squeezer and the Close Quarters Dimple Die Set to get the holes near the aft end of the eight Main Ribs.

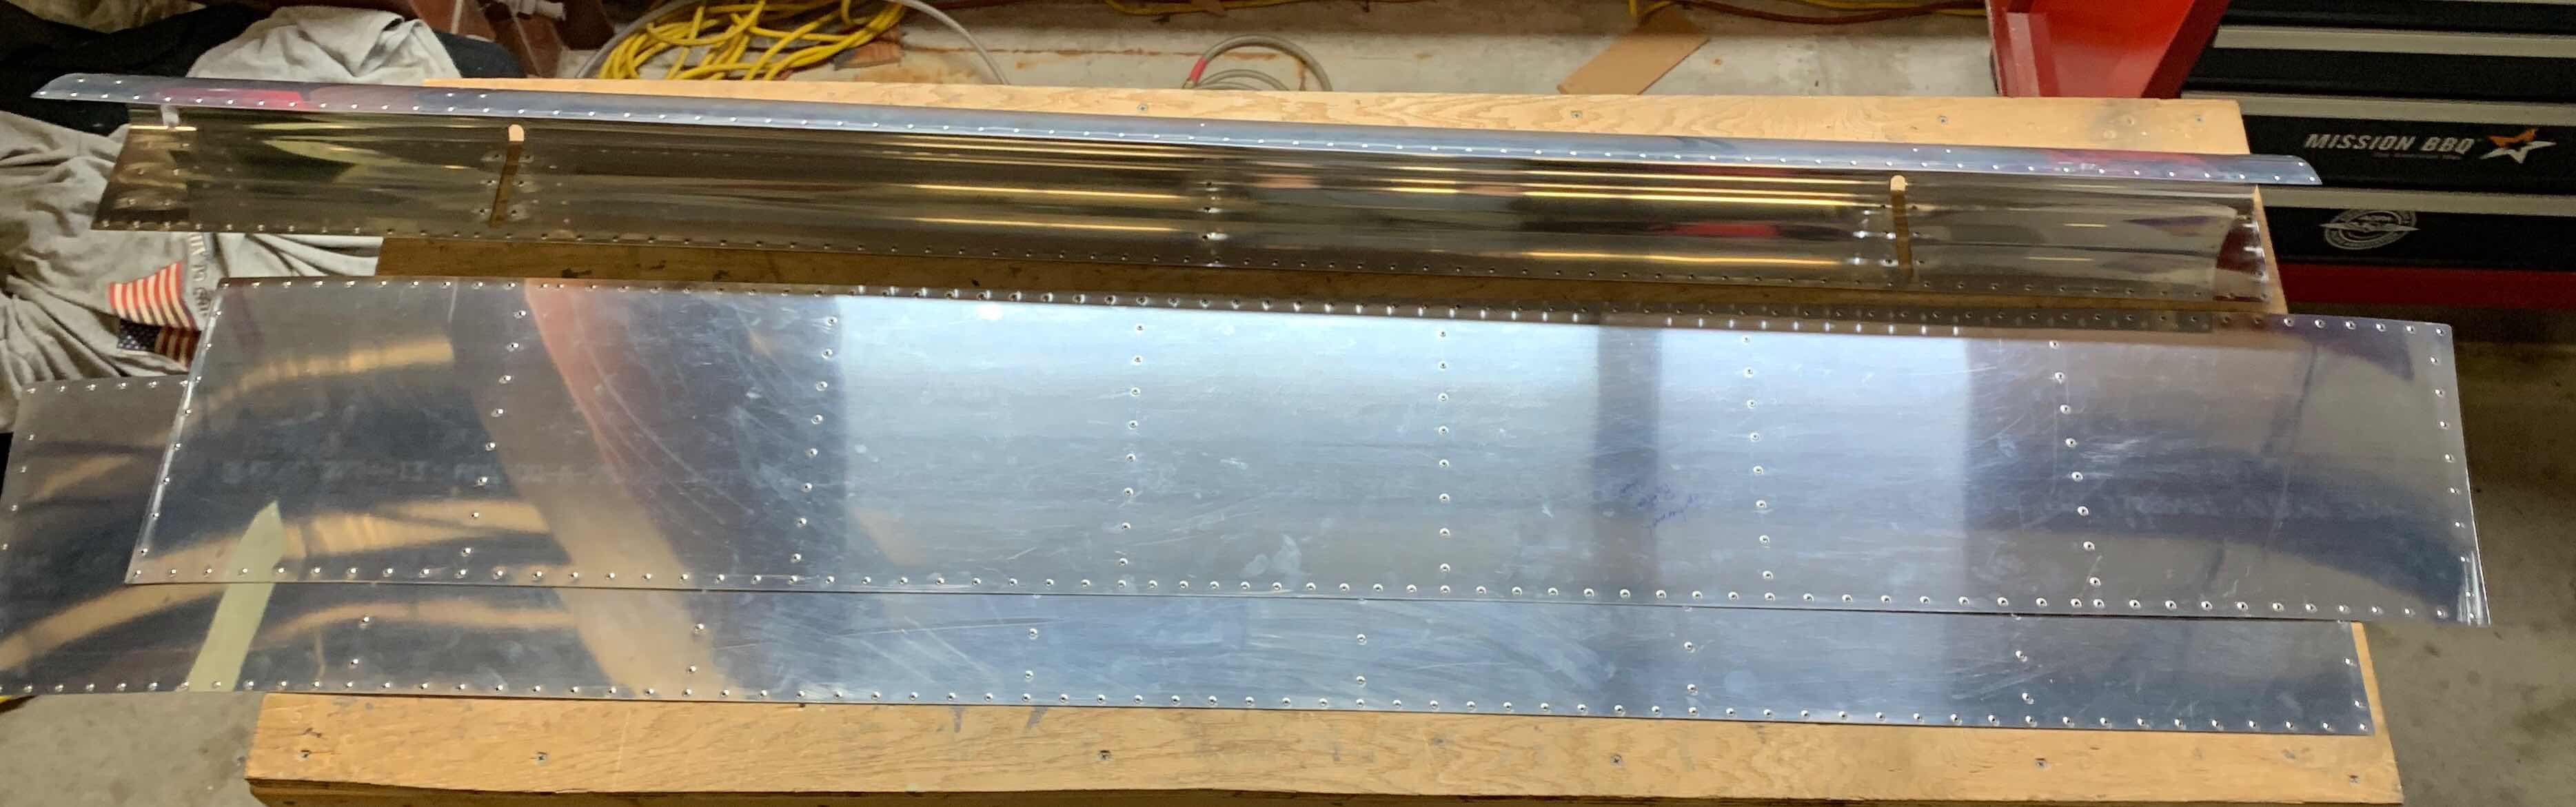
Here is the completed Top, Bottom, and Nose Skins.  I used the DRDT-2 to dimple the Top and Bottom Skins and a combination of the DRDT-2, hand squeezer, and Close Quarters Die Set to complete the dimples on the Nose Skin.

All of the parts for the Right Flap are now completed and prepared.  Next up.....Alumiprep, Alodine, Akzo prime and assembly!!!!

Thursday, January 31, 2019

Wings, Flaps (Part 21)

Today, I completed the remaining preparation and deburring work for all the parts of the Right Flap.  After the previous couple of sessions, the Spar was the last piece that needed attention.  You can’t really tell in the picture below, but all the parts have been prepared.  These parts will get treated with Alumiprep, Alodine, and Akzo primer in the next few sessions.

After completing the Spar preparation, I started the process of countersinking the Trailing Edge V-Channel.  I will provide more details of this process tomorrow when I complete the countersinking.


During the next session, I will finish countersinking the Trailing Edge “V-Channel” and dimple the Top, Bottom, and Nose Skins.