Tuesday, December 8, 2020

Finishing, Canopy and Window (Part 7)


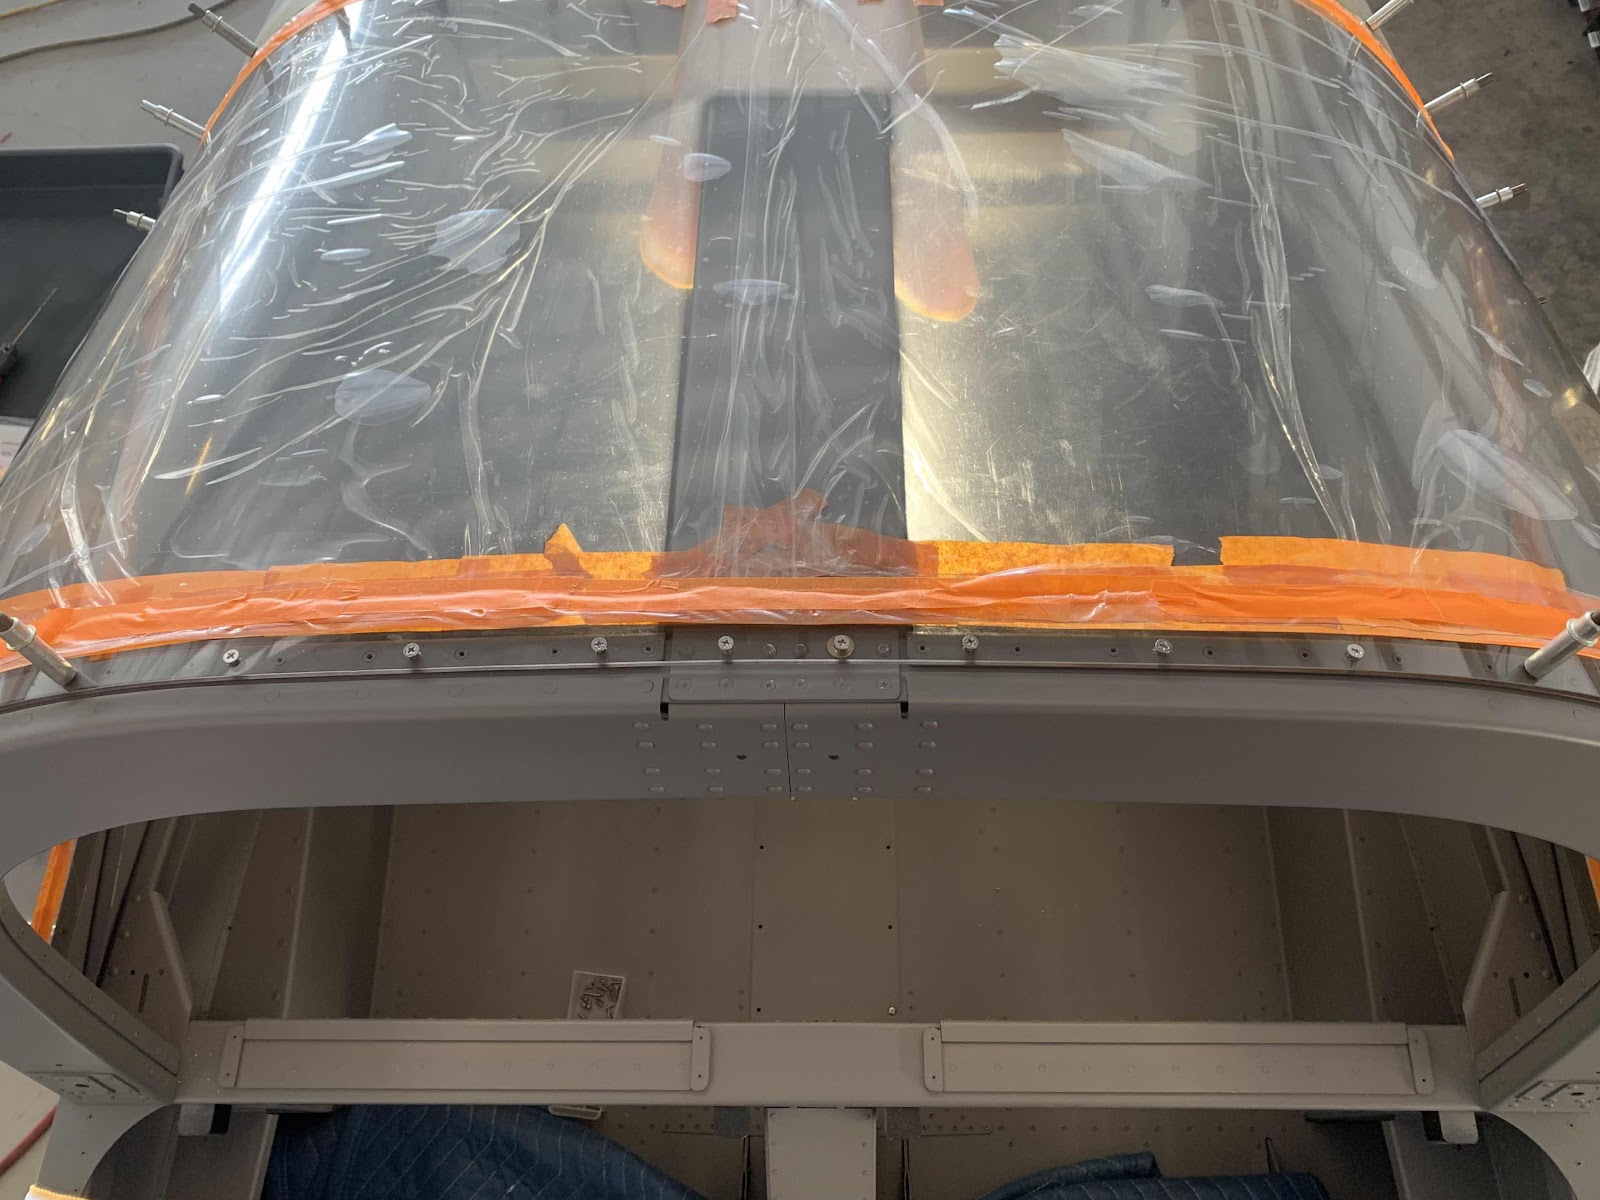
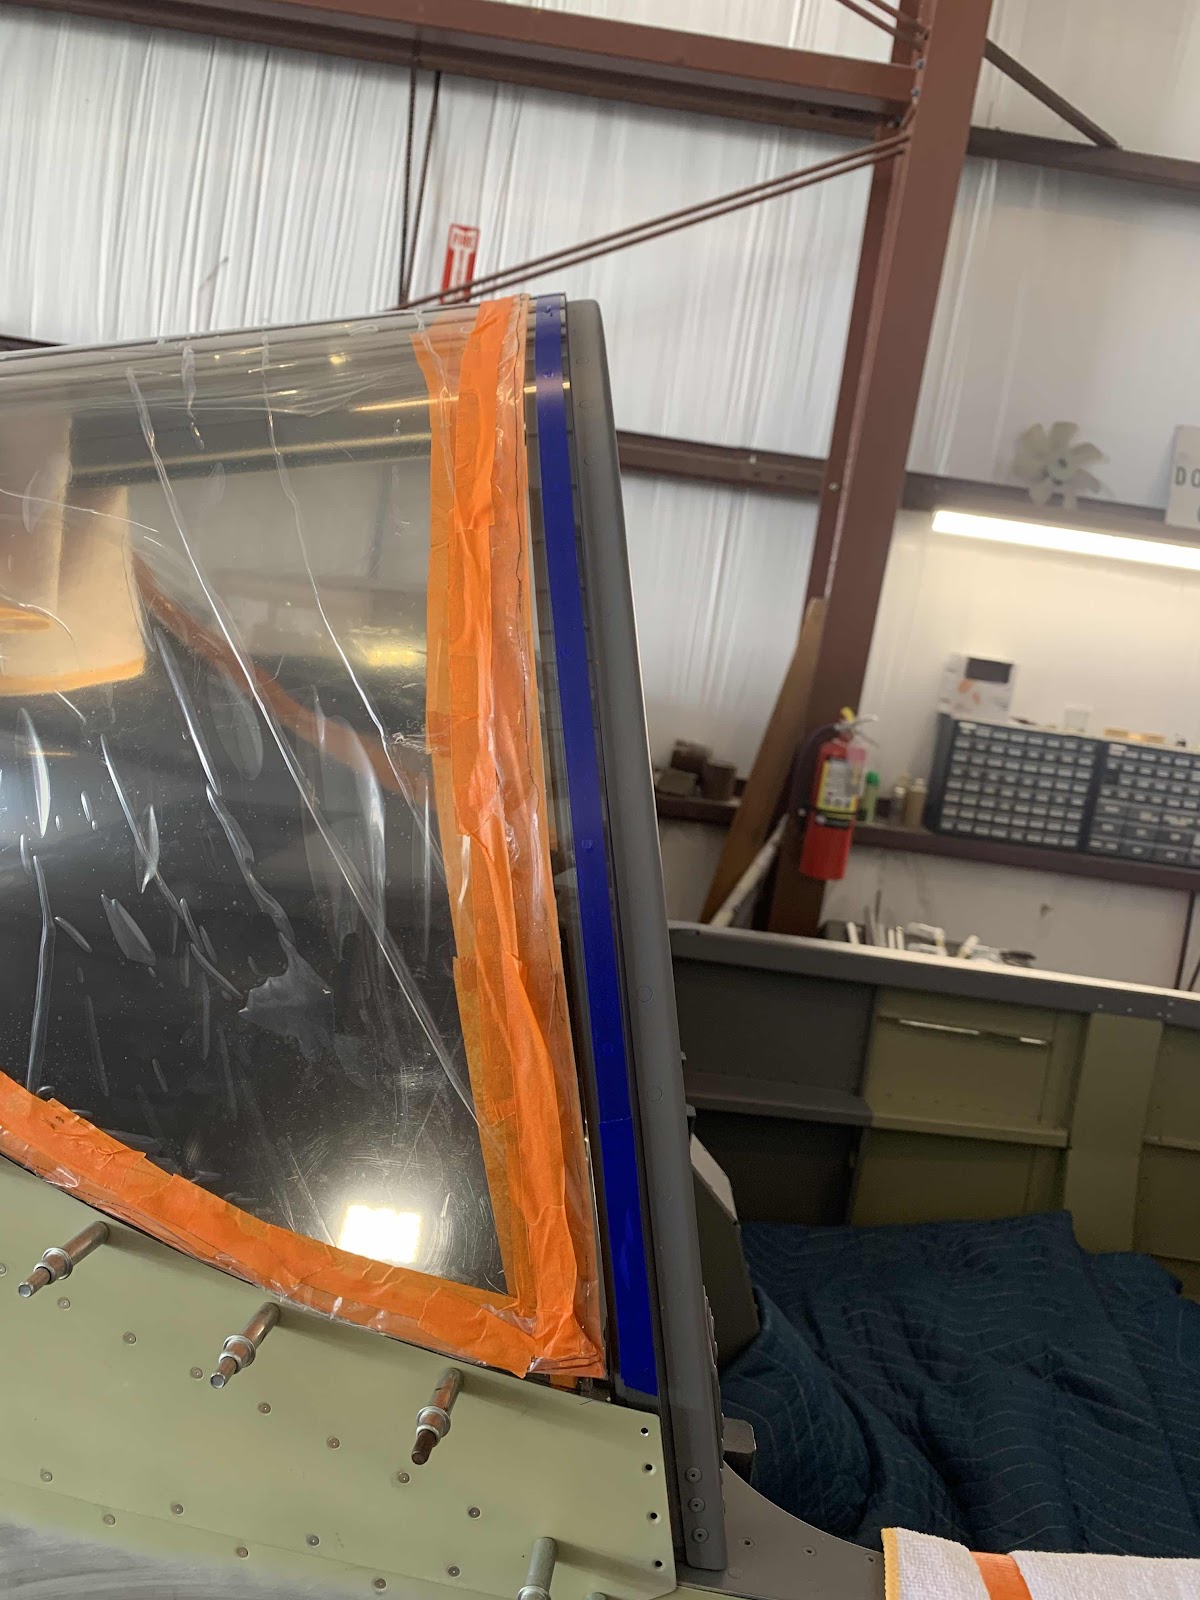
Roger and I started the session by sanding a few additional places on the Window.....for just a little bit better fit.  Once we were satisfied, we moved on to the next step in plans.  

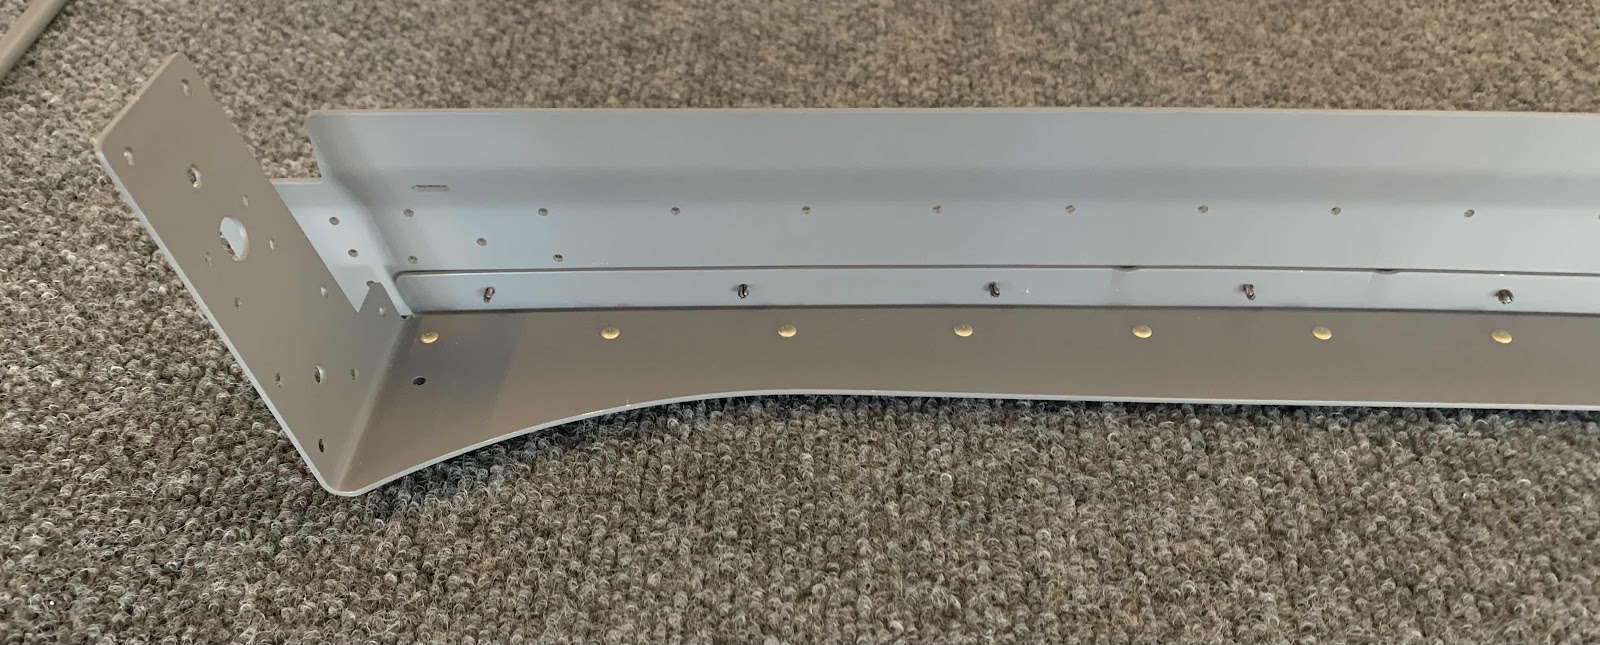
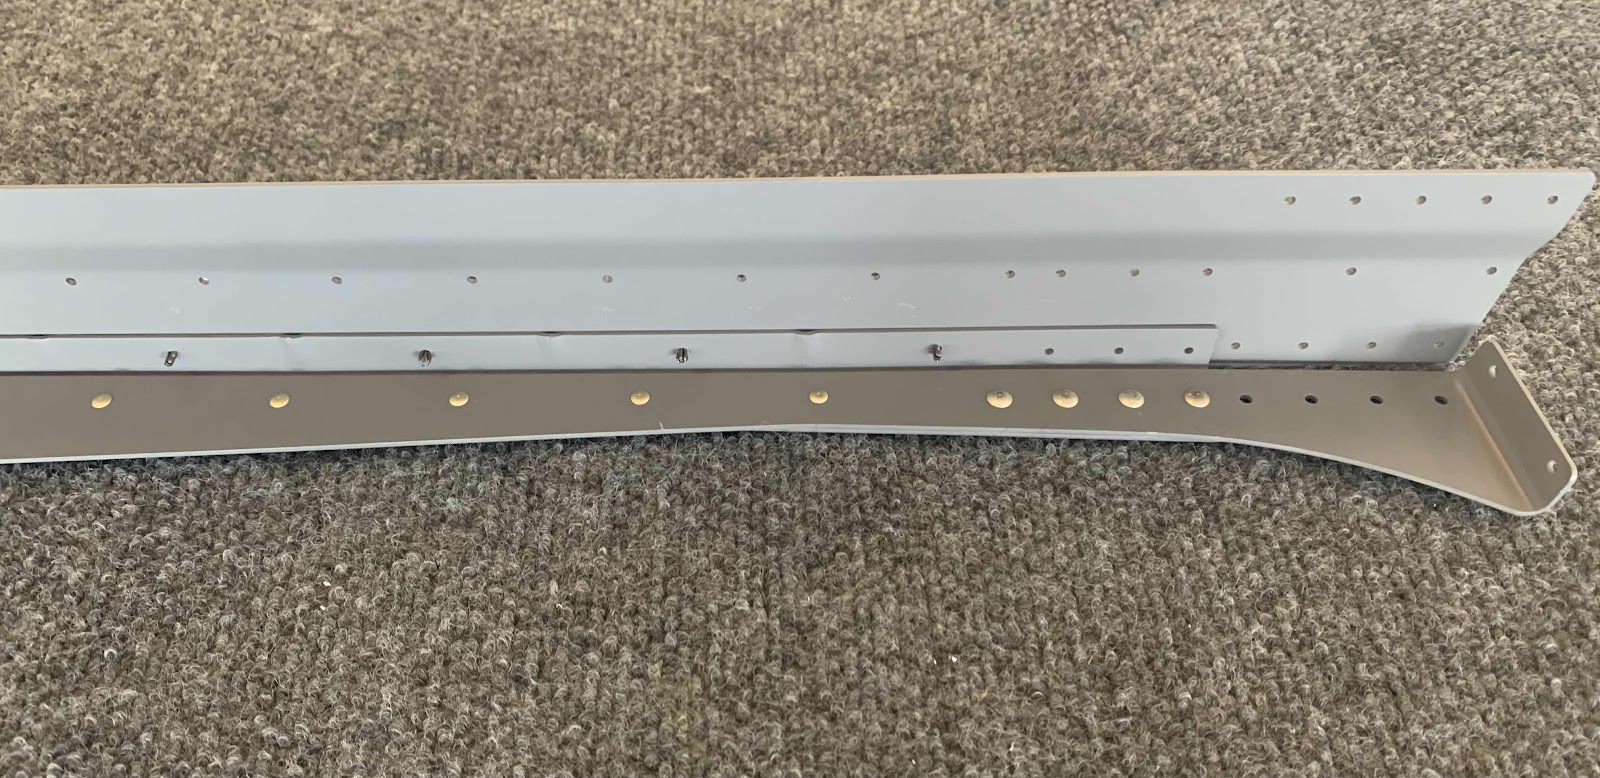
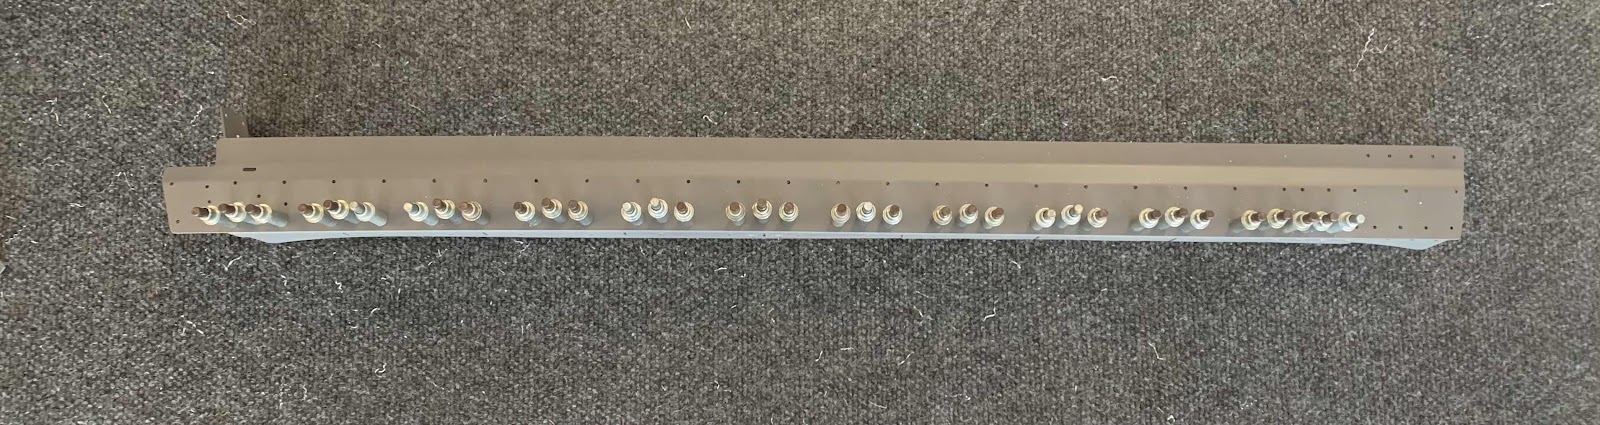
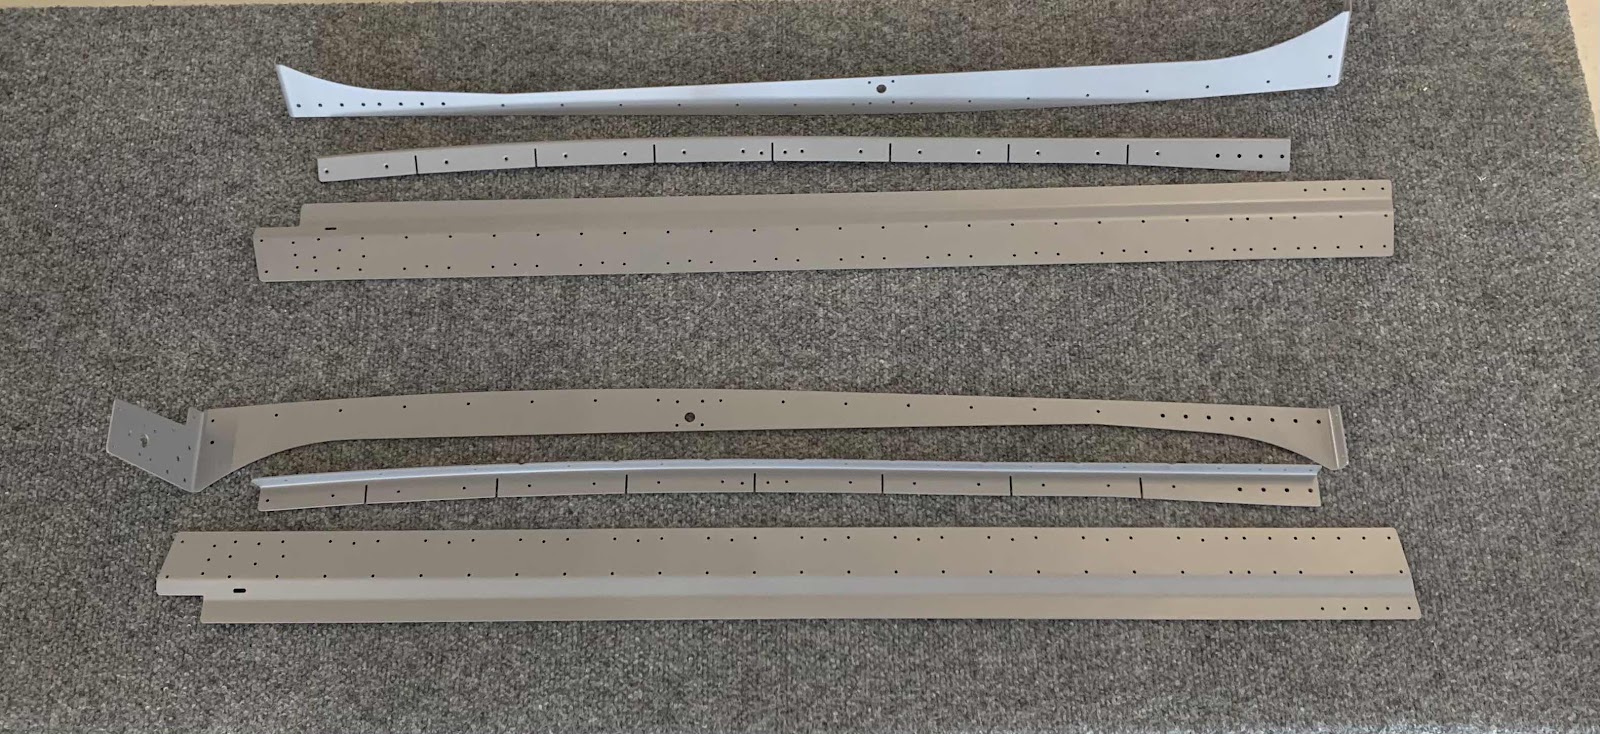
The F-01474A-L & -R Stiffener Angles completed in Part 4 were now riveted to the Side Skins and Rollbar.  Since the pictures I took are kind of hard to see, here is the excerpt from the plans showing the install location and hardware used.

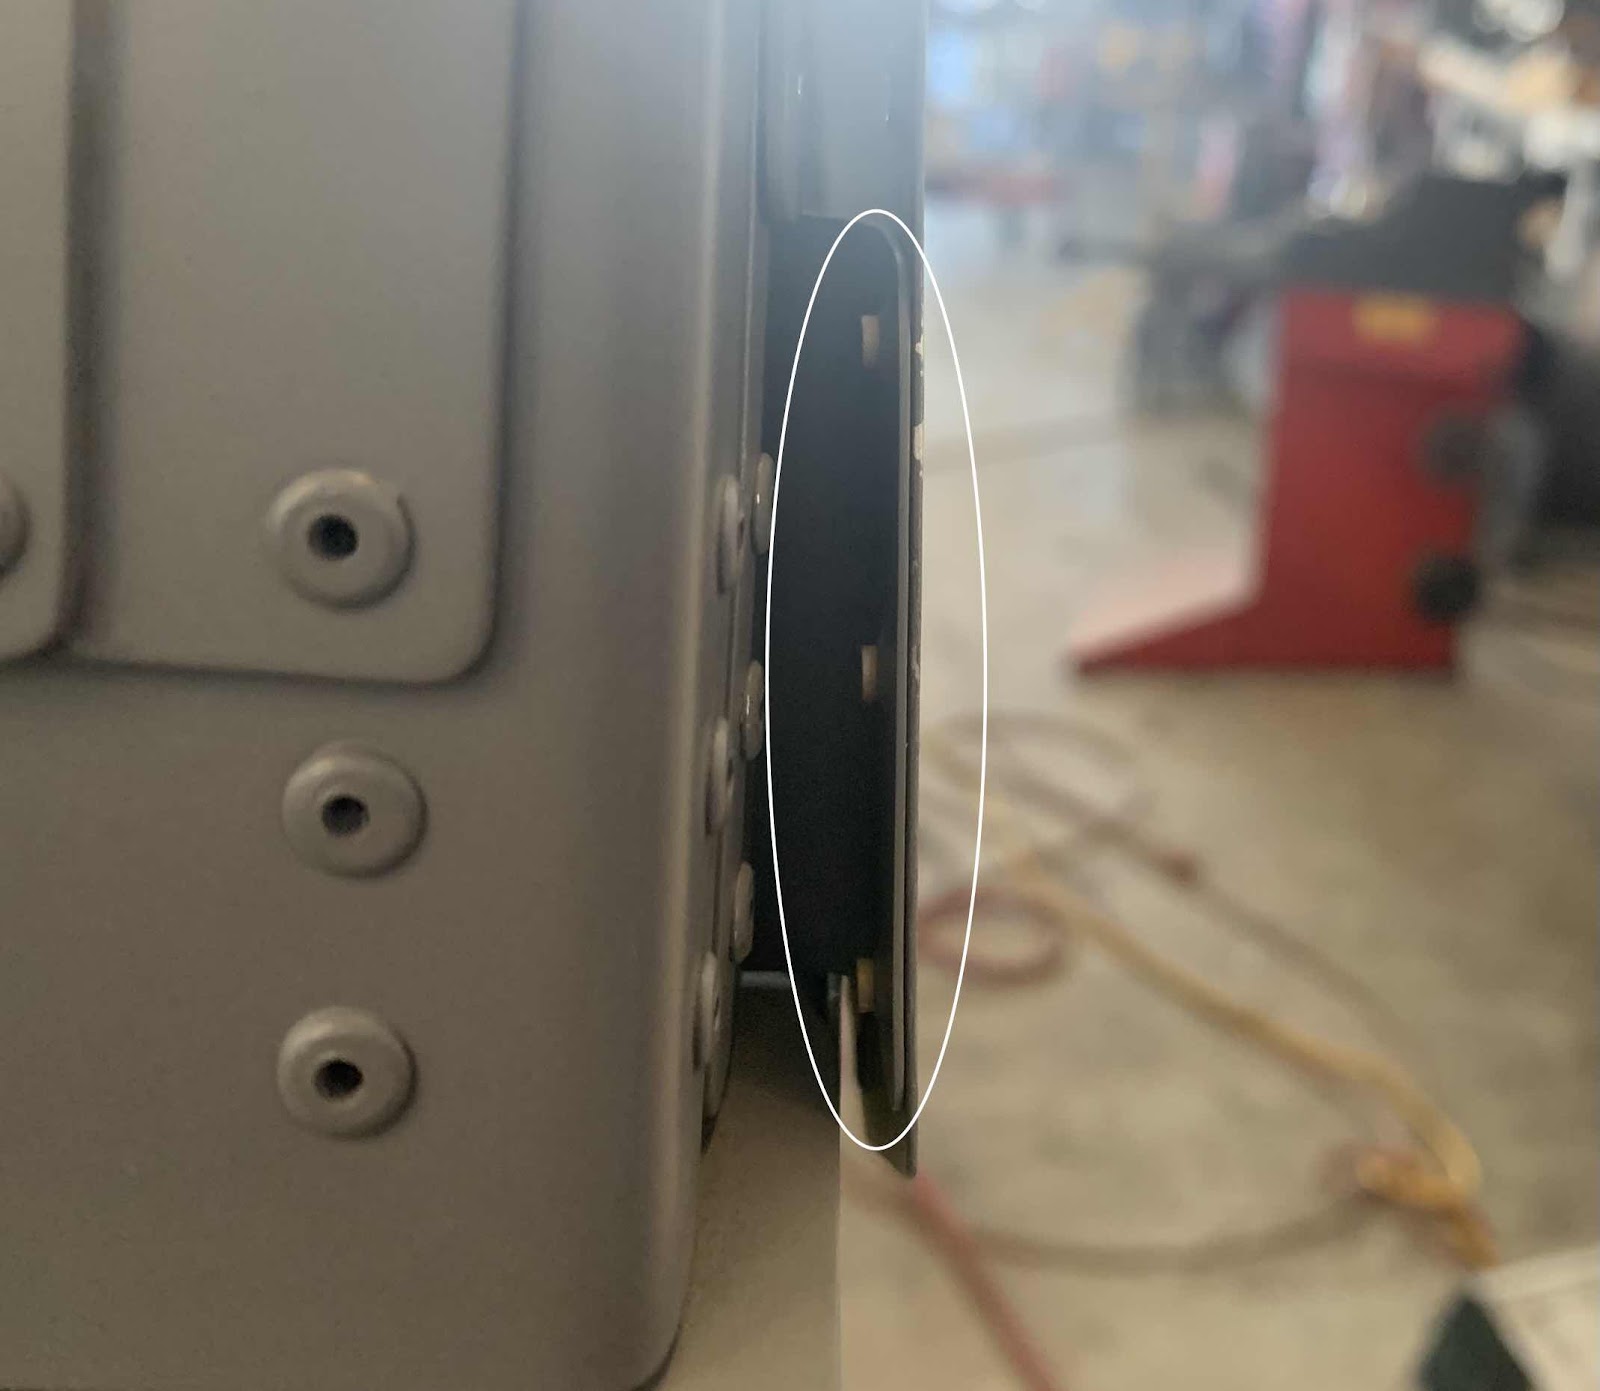
These are the three AN426AD3-3 rivets attaching the Stiffener to the left Side Skin (the right side is done the exact same way).  I doesn’t look it, but there was plenty of room to get the yoke of the hand squeezer on the shop head side.....carefully pulling the Side Skin out a little.

These are the two LP4-3 blind rivets attaching the Stiffener to the left Side Skin (again, the right is done the exact same way).

Next, the C-01429 Latch Bellcrank Angles were installed using the hardware shown below in the plans excerpt.


Here are two of the Angles attached to the F-01457 Gusset on the left side (the right side is done the exact same way).....
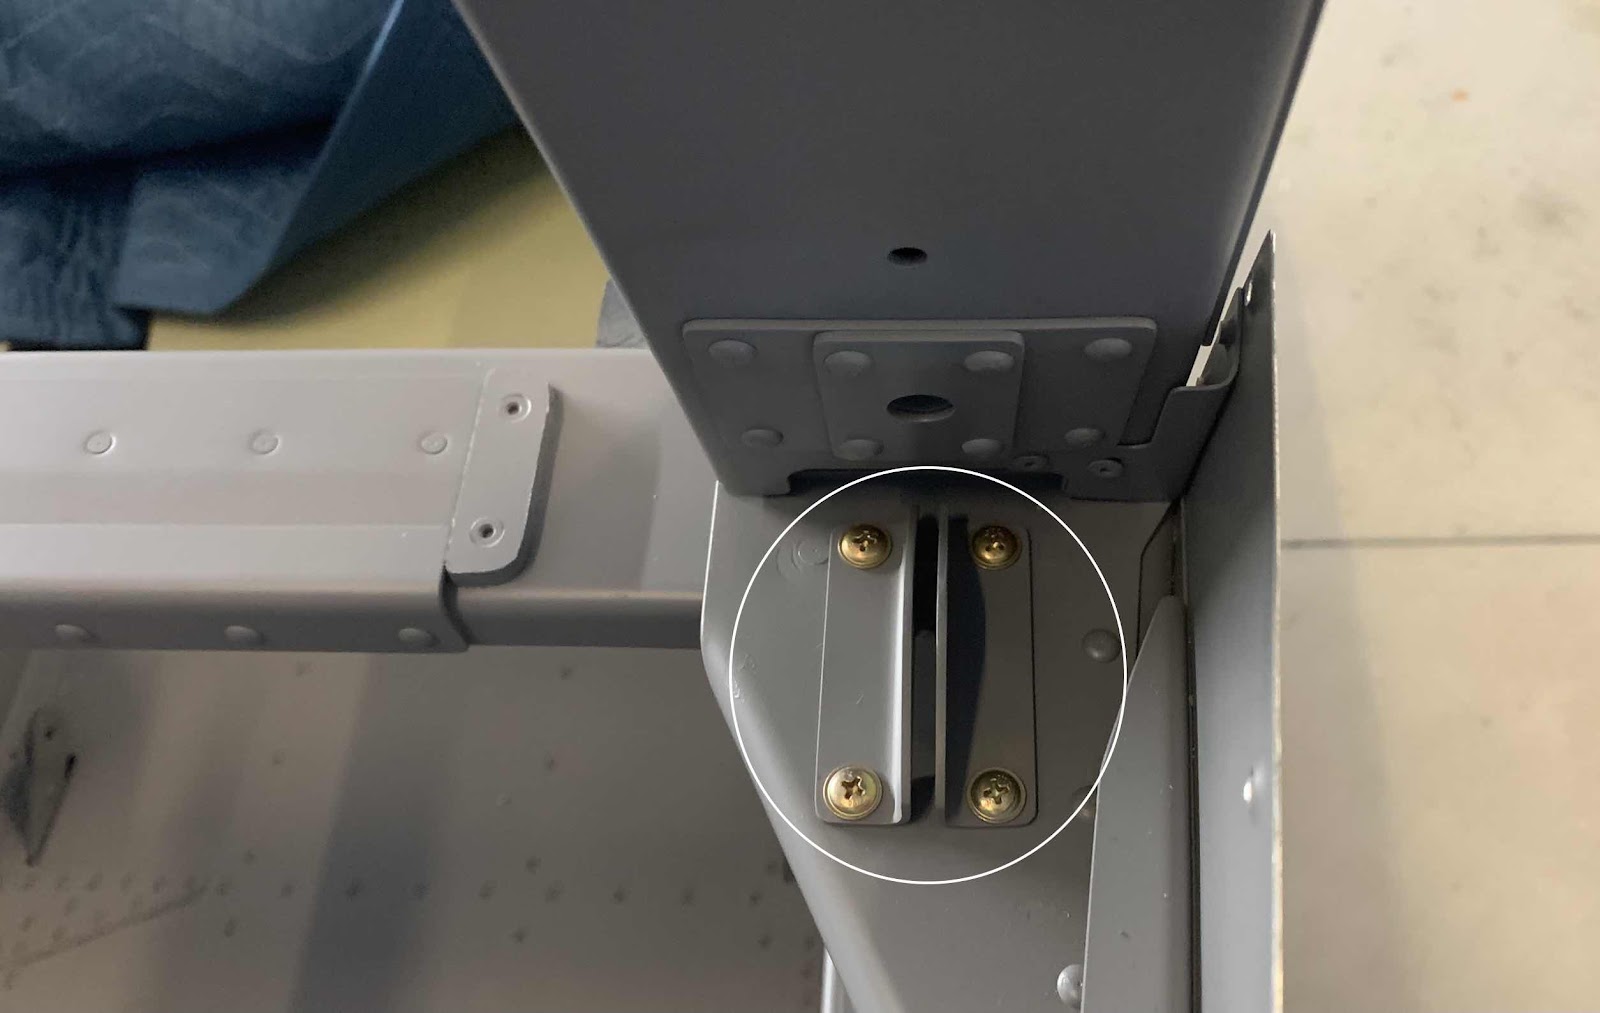
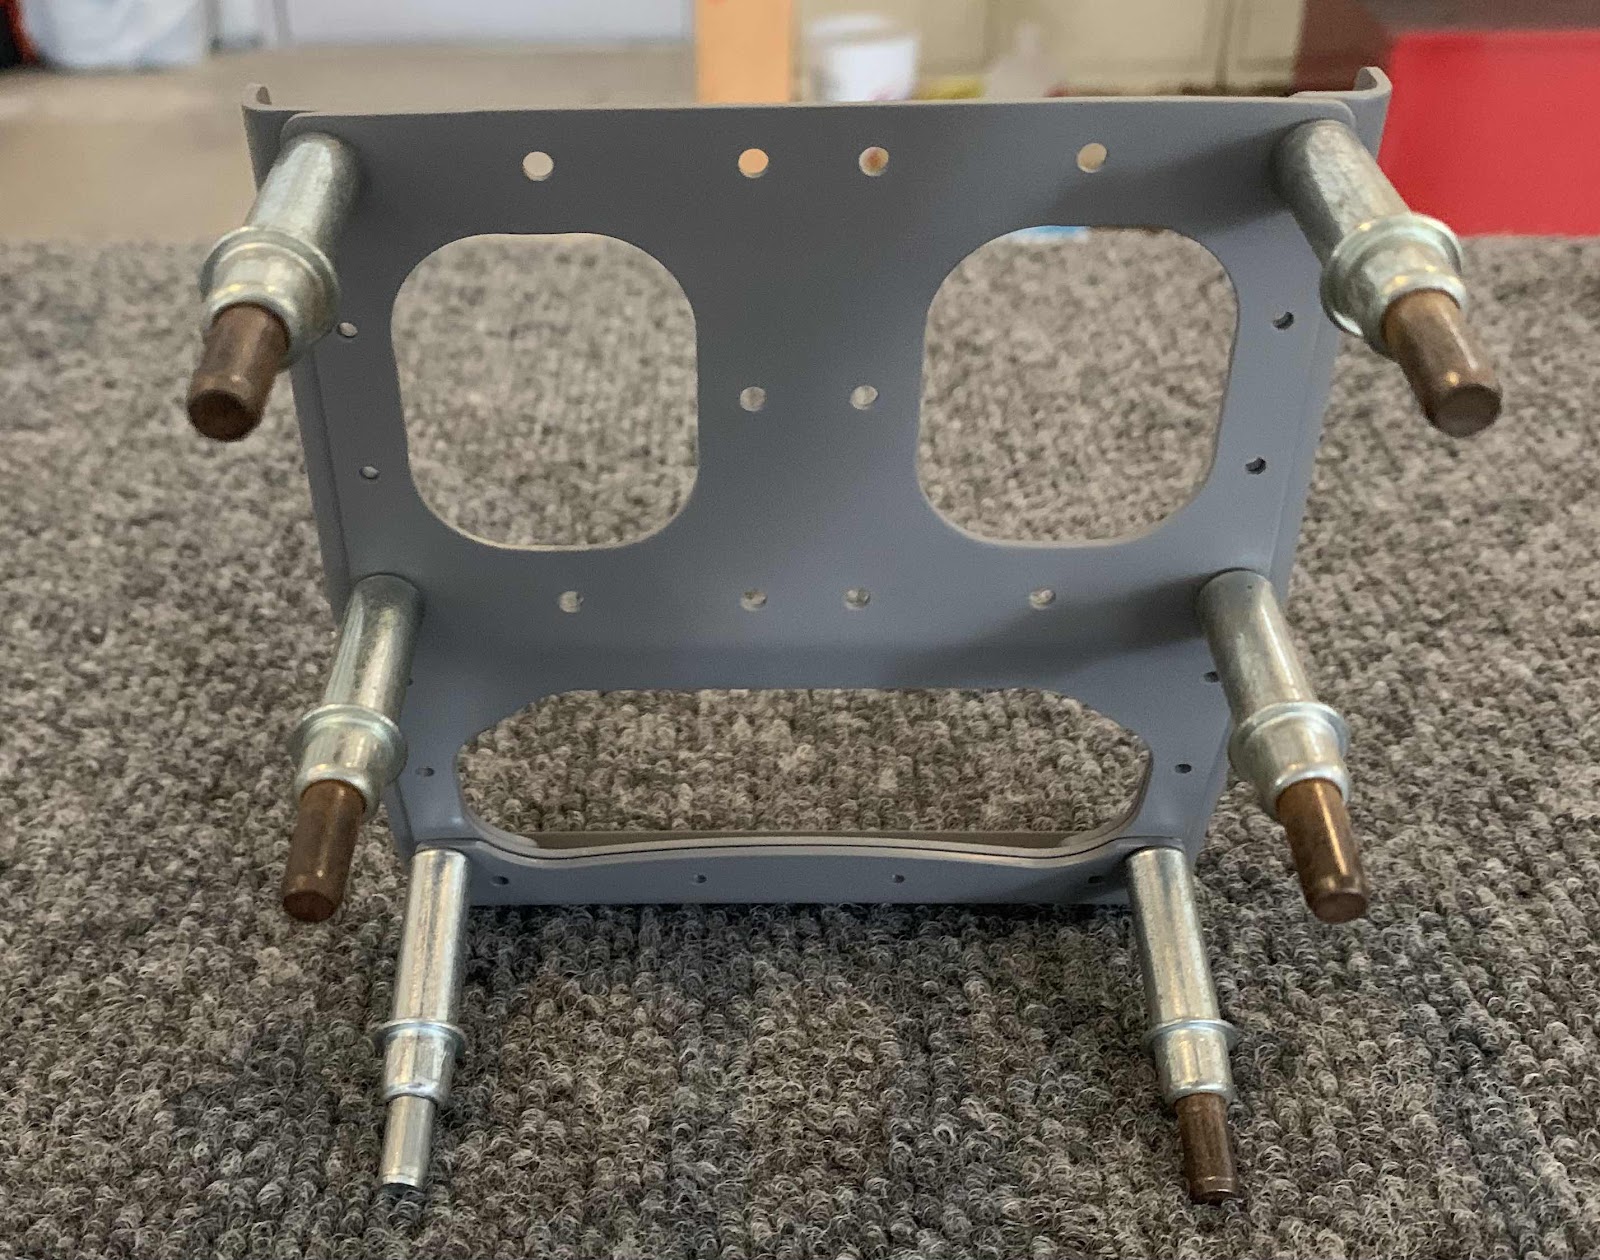
.....and what it looks like on the underside.

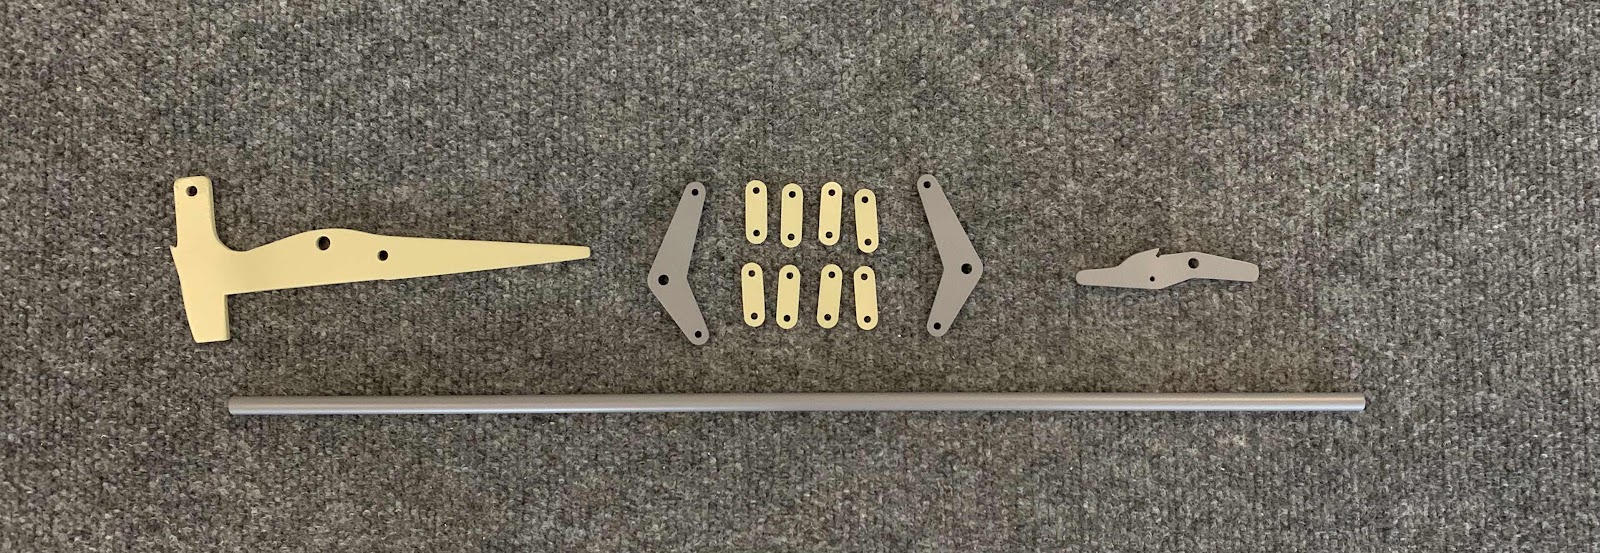
Moving on to the installation of the F-01438 Canopy Latch Torque Tube.  Here is the plans excerpt showing the installation.


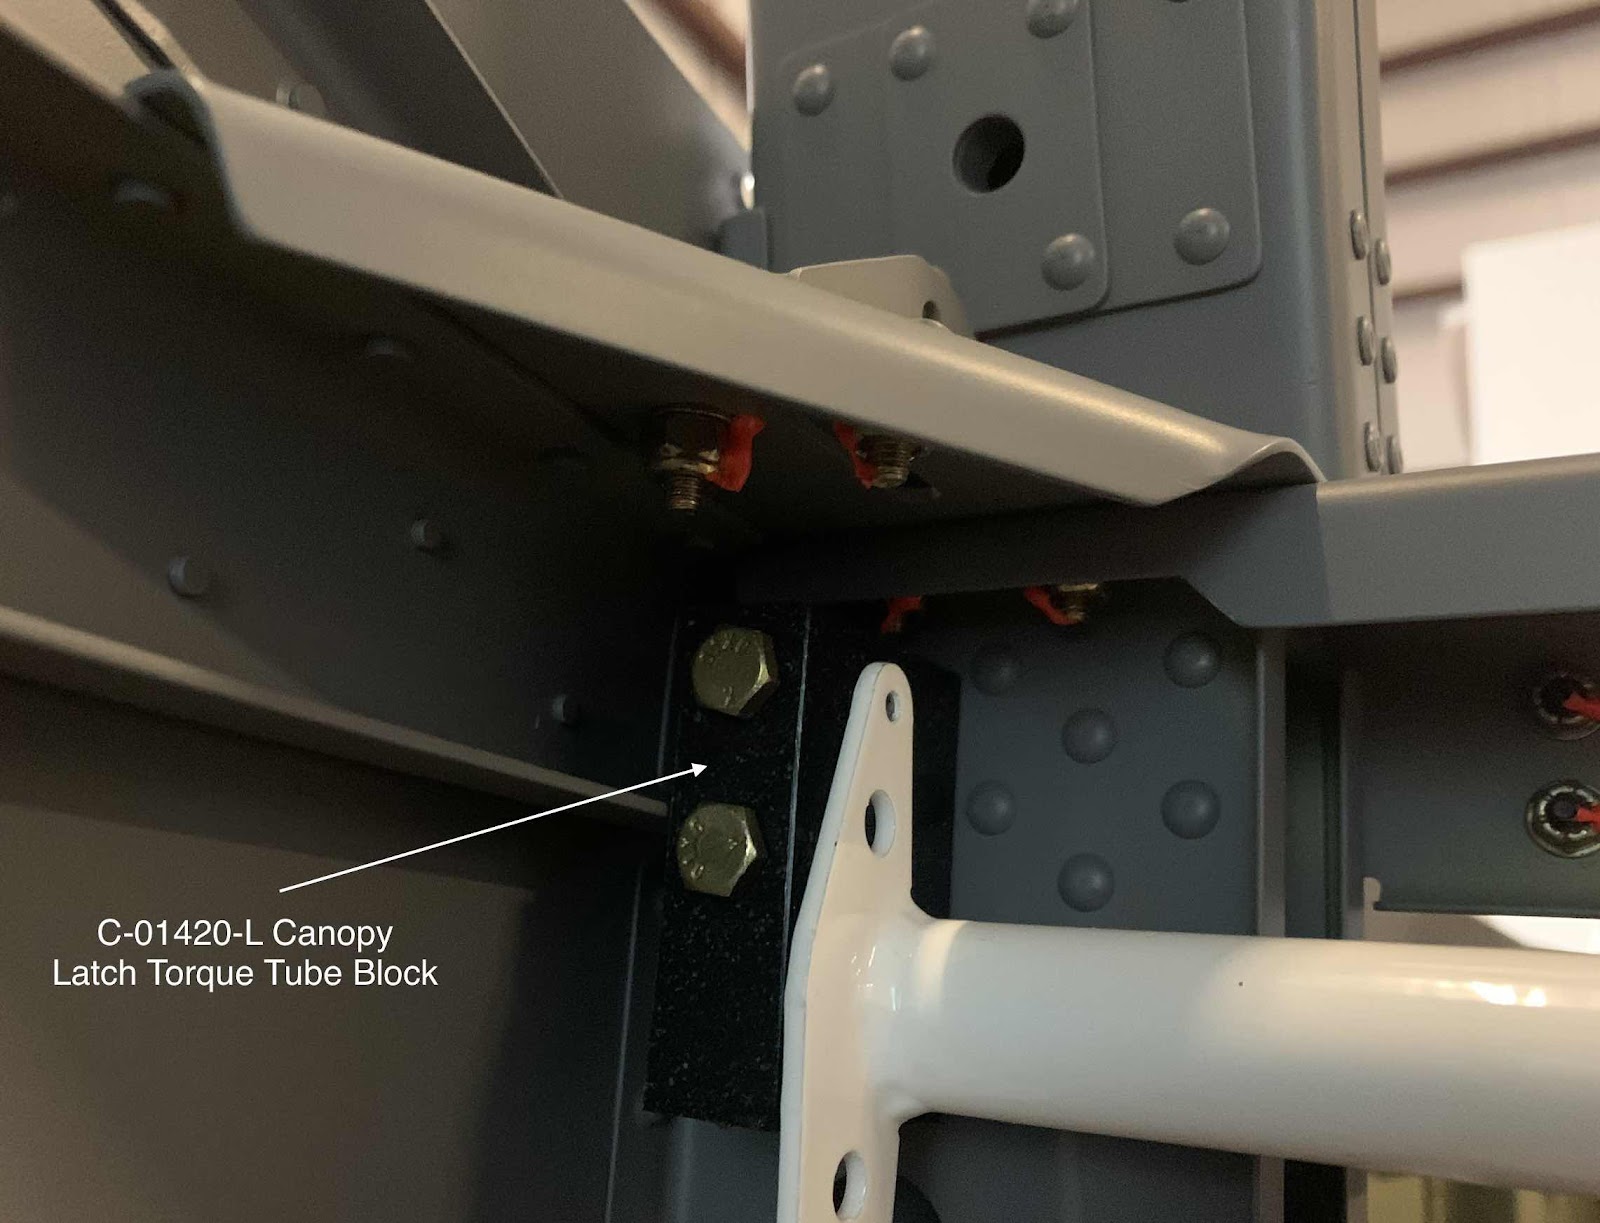
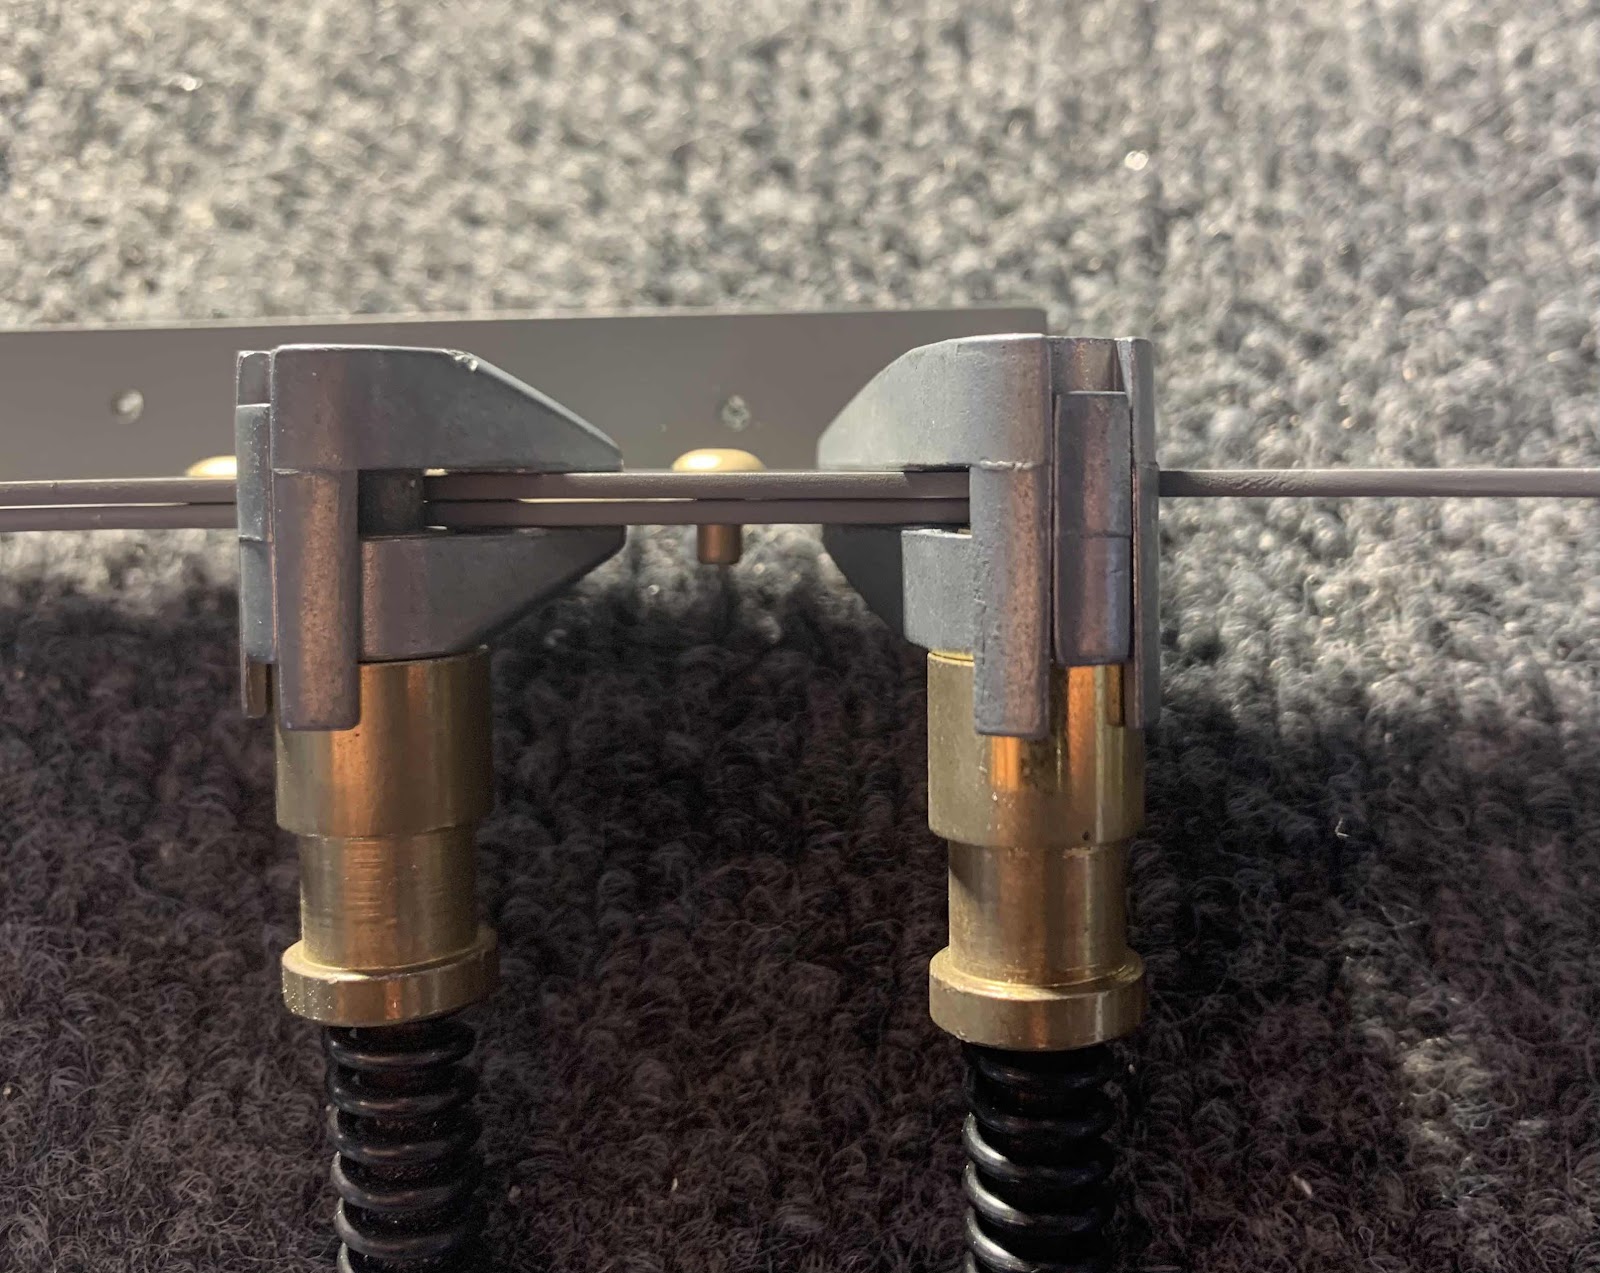
This picture shows the left Block attached.....

.....the right Block attached....

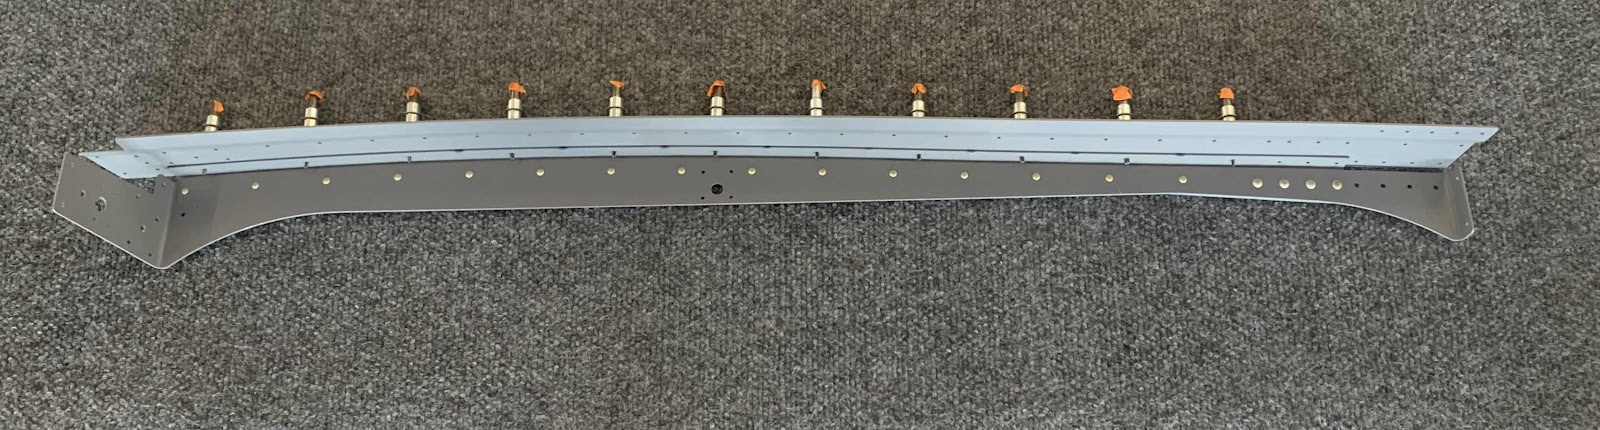
.....and the overall installation of the Canopy Latch Torque Tube.
Monday, December 7, 2020

Finishing, Canopy and Window (Part 6)

The work complete during this work session(s) covers Saturday (Dec 5th) and Sunday (Dec 6th) and was consolidated into one post.  


Sunday, December 6, 2020

Finishing, Canopy and Window (Part 5)

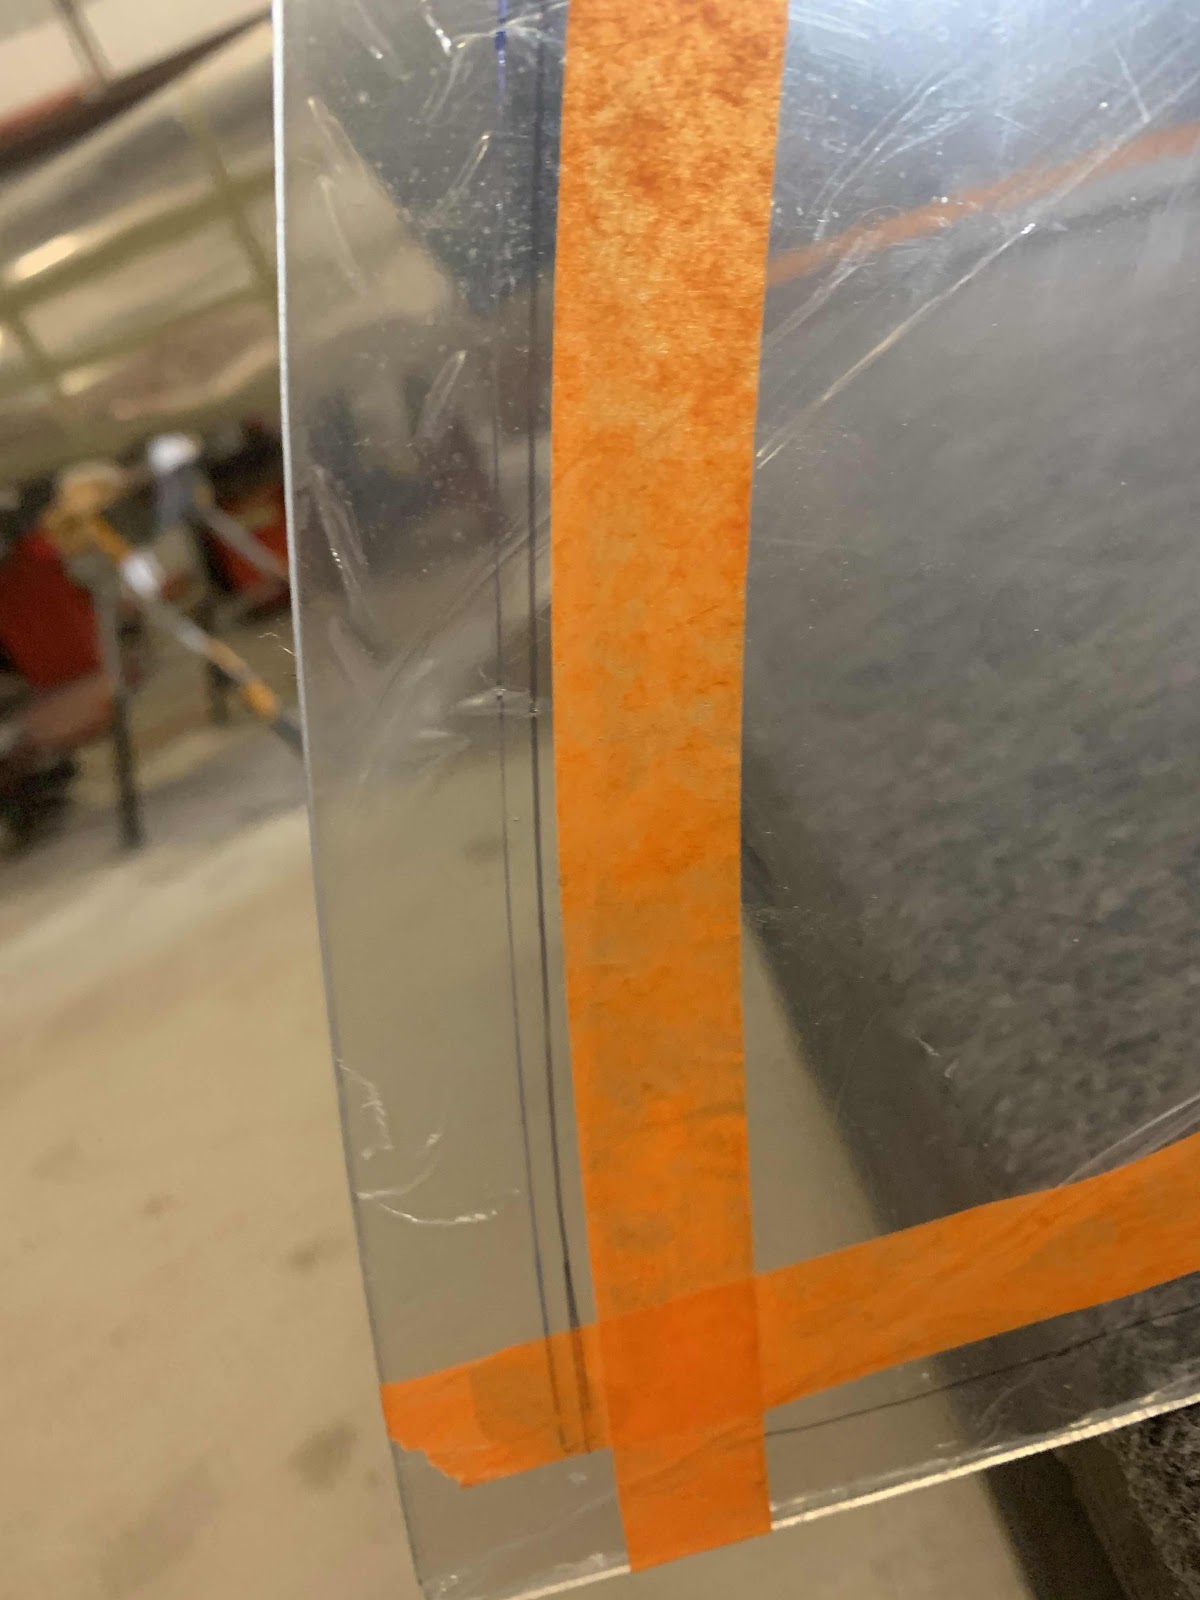
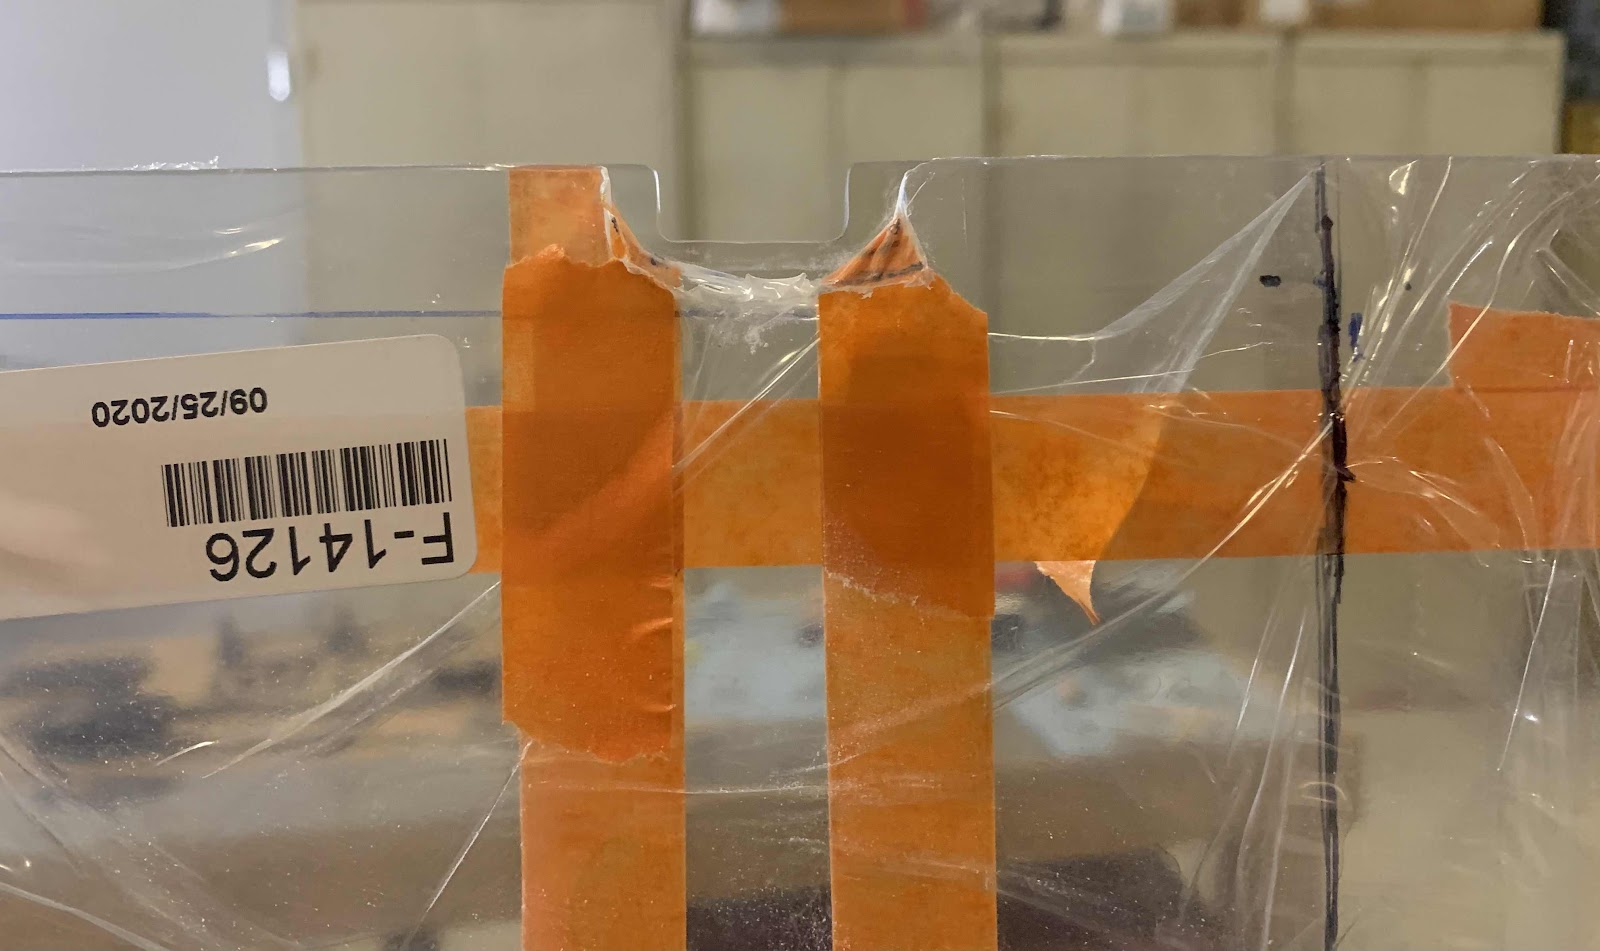
As I mentioned in Part 4, we traced the inside of the baggage area Side Skins onto the protective plastic on the Window.  The red line shown below is the correct line and the one we used as a “guide” for the tape.  This is how our tape looked installed.
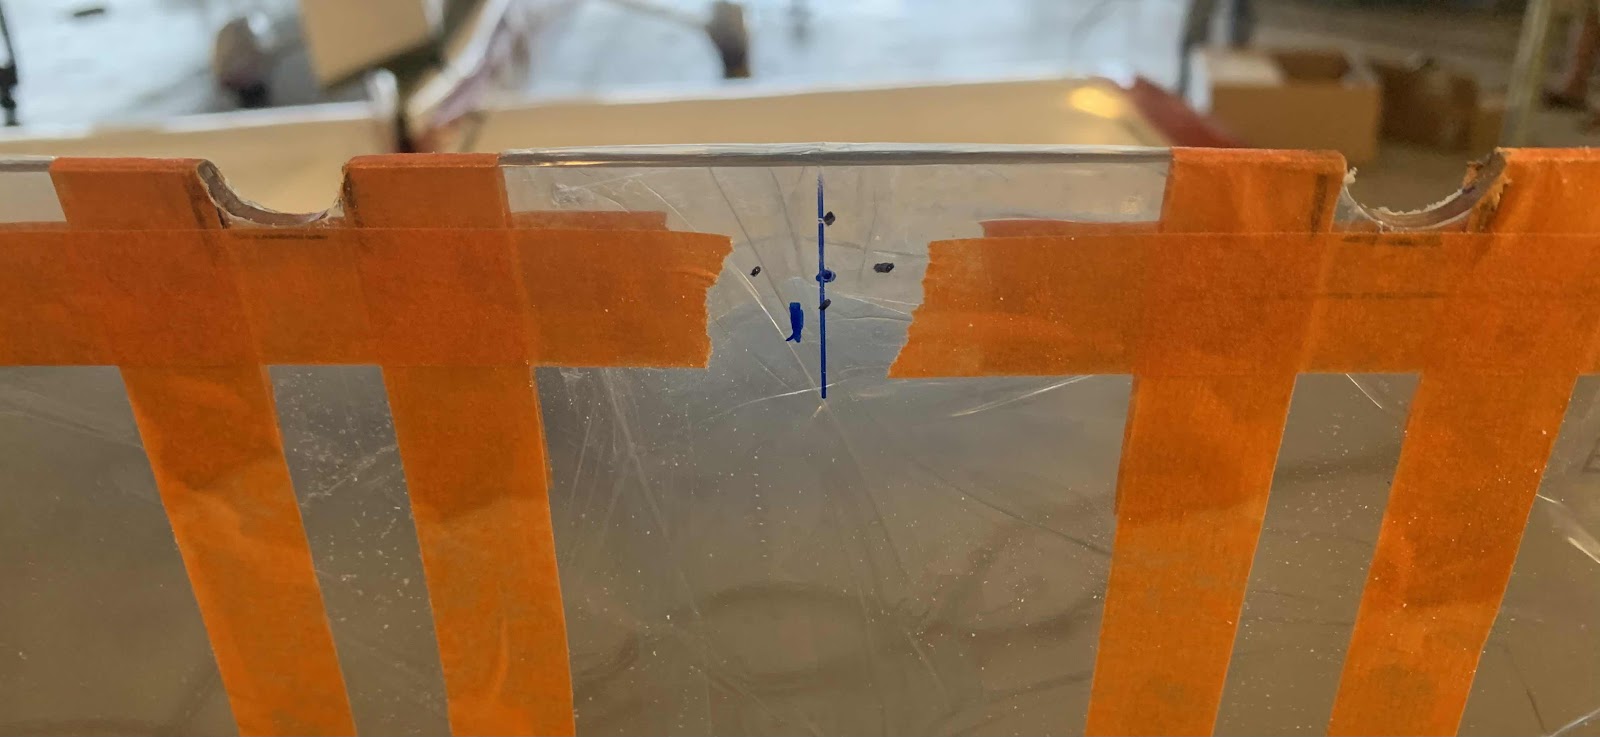
Below are the notches that were described in Part 4.  Here, you can see the marks we made on the Window around the Roll Bar Brace Brackets. The area within our marks has to be removed from the Window.  Until this point, the only thing we have done with the Window was put in on the plane and use a sharpie to make some marks.....stress free!  NOW, it’s time to remove material from the Window.....NERVOUSNESS!  (Turned out not to be that bad)

To make the initial cut (round cut shown below), I used the Dremel Sanding Band with my Milwaukee Rotary Tool.  As it turns out, the sanding band was exactly the right size to fit between the marks and remove the initial material from the Window.  This is the outside of the Window.....

.....and the inside of the Window.

We used my carpeted table set up like this to “stand up” the Window and work on the two notches.

Next, we used a small set of files to file away the reminder of the material.  Lastly, we used 320 grit sandpaper wrapped around a popsicle stick to sand for the final shape.  Here is the right side.....

.....and the left side.

Here are a couple of additional pictures of both sides of the Window.