This blog was created to memorialize the building process of my Van's Aircraft RV-14 and to satisfy the requirements for certification in the Experimental Amateur Built Aircraft category. It will also serve as a central location for ME to reference in the future on processes and techniques I used during the build. Additionally, it will allow my family, friends, and other interested builders the opportunity to follow along during my build…..and might be helpful to someone along the way.
We ordered a 72” (recommended for tailwheel RV’s) Hartzell Constant Speed Propeller: C2YR-1BFP/F7497-2 which will be installed on a Lycoming IO-390 (210 hp) engine. According to the Hartzell Propeller order form on the Van’s website, this is the only prop available for the RV-14 (several other options for the RV-14A though).
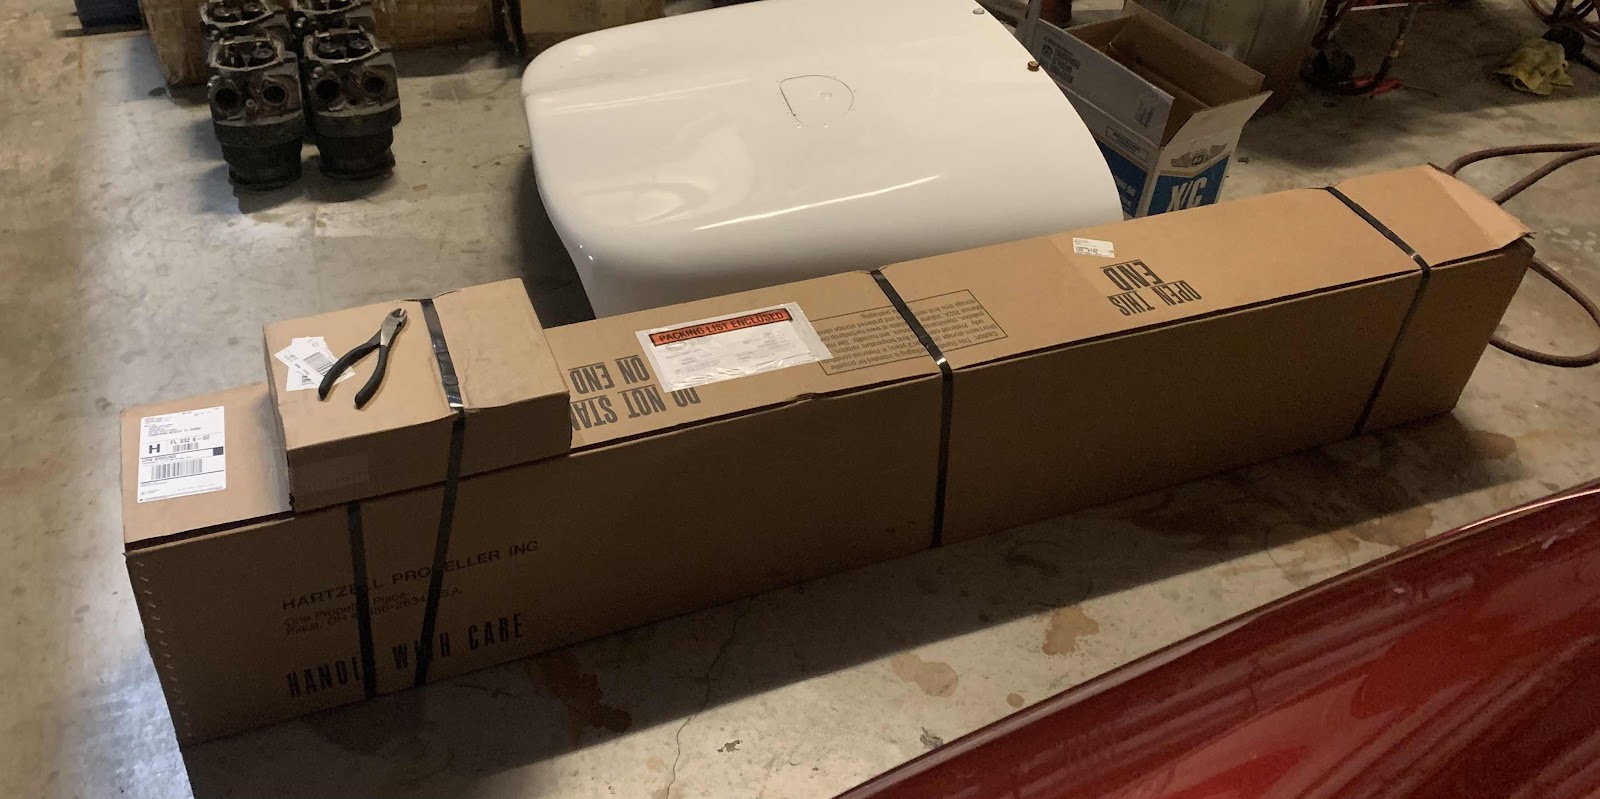
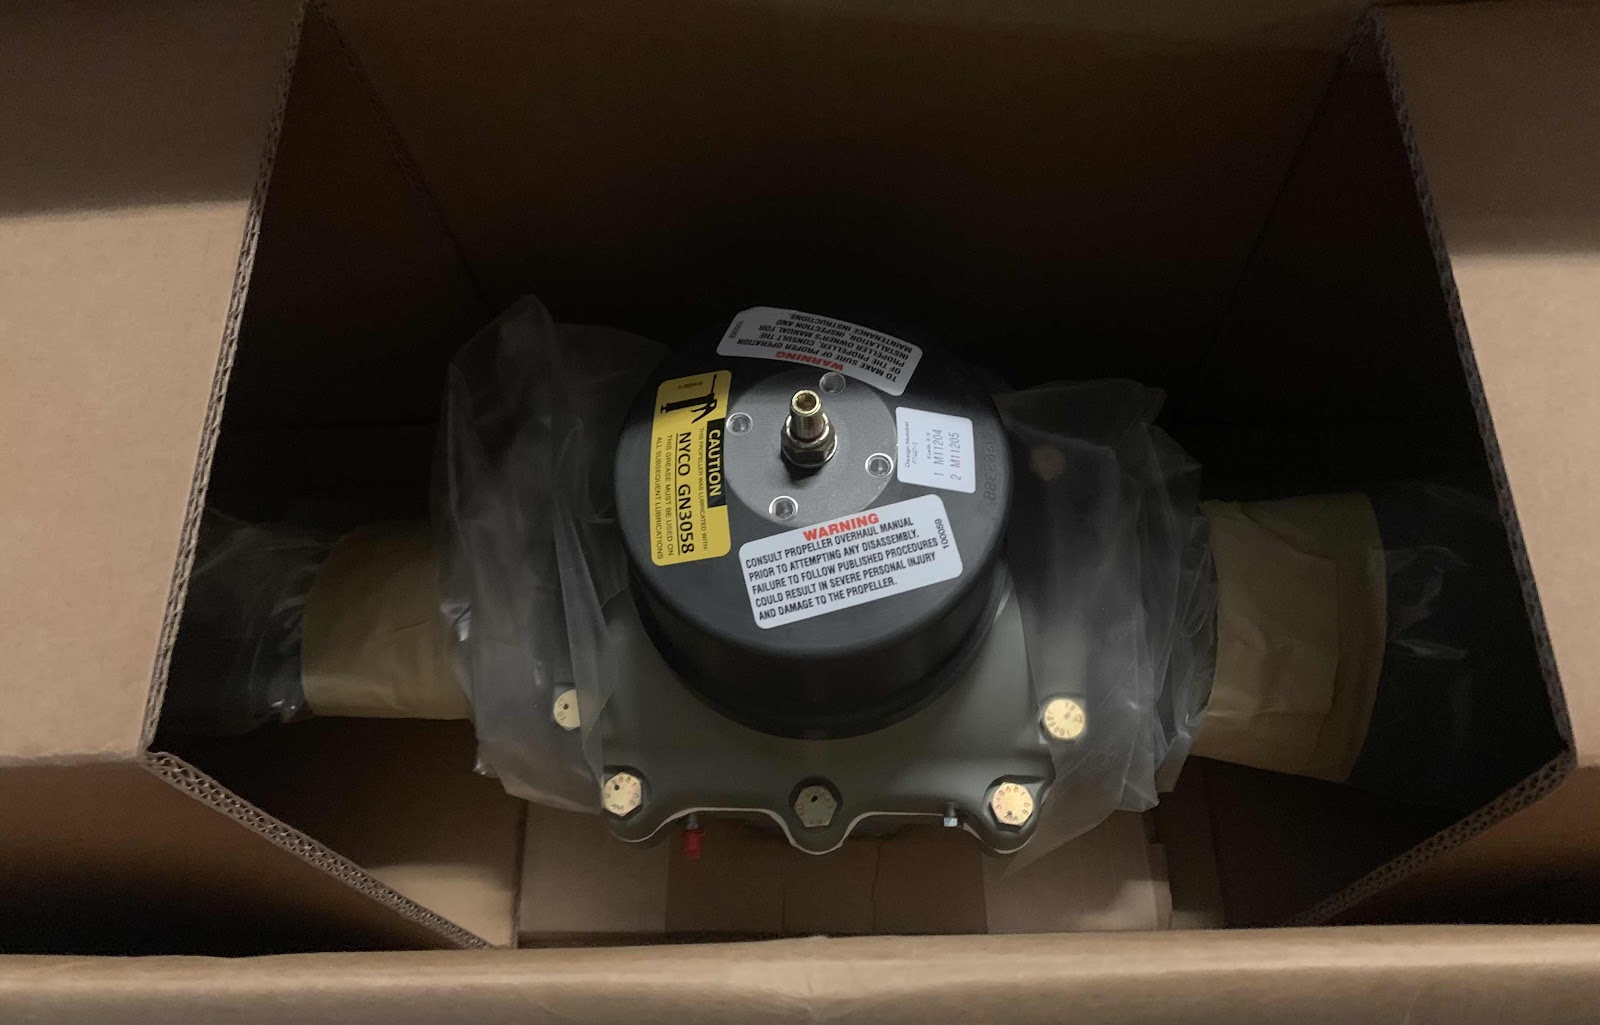
Here it is right off the UPS truck! The little box on top contained the Owner’s Manual (pictured at the bottom of the post) and some documentation. There was no damage to the shipping box and it seemed pretty well protected.
I will take the prop completely out of the box in the next few days to make sure there was no damage during shipping (should be fine, but I’ll check anyway). In the mean time, we removed the banding straps and opened the box to review the prop hub.....
.....one of the blade tips.....
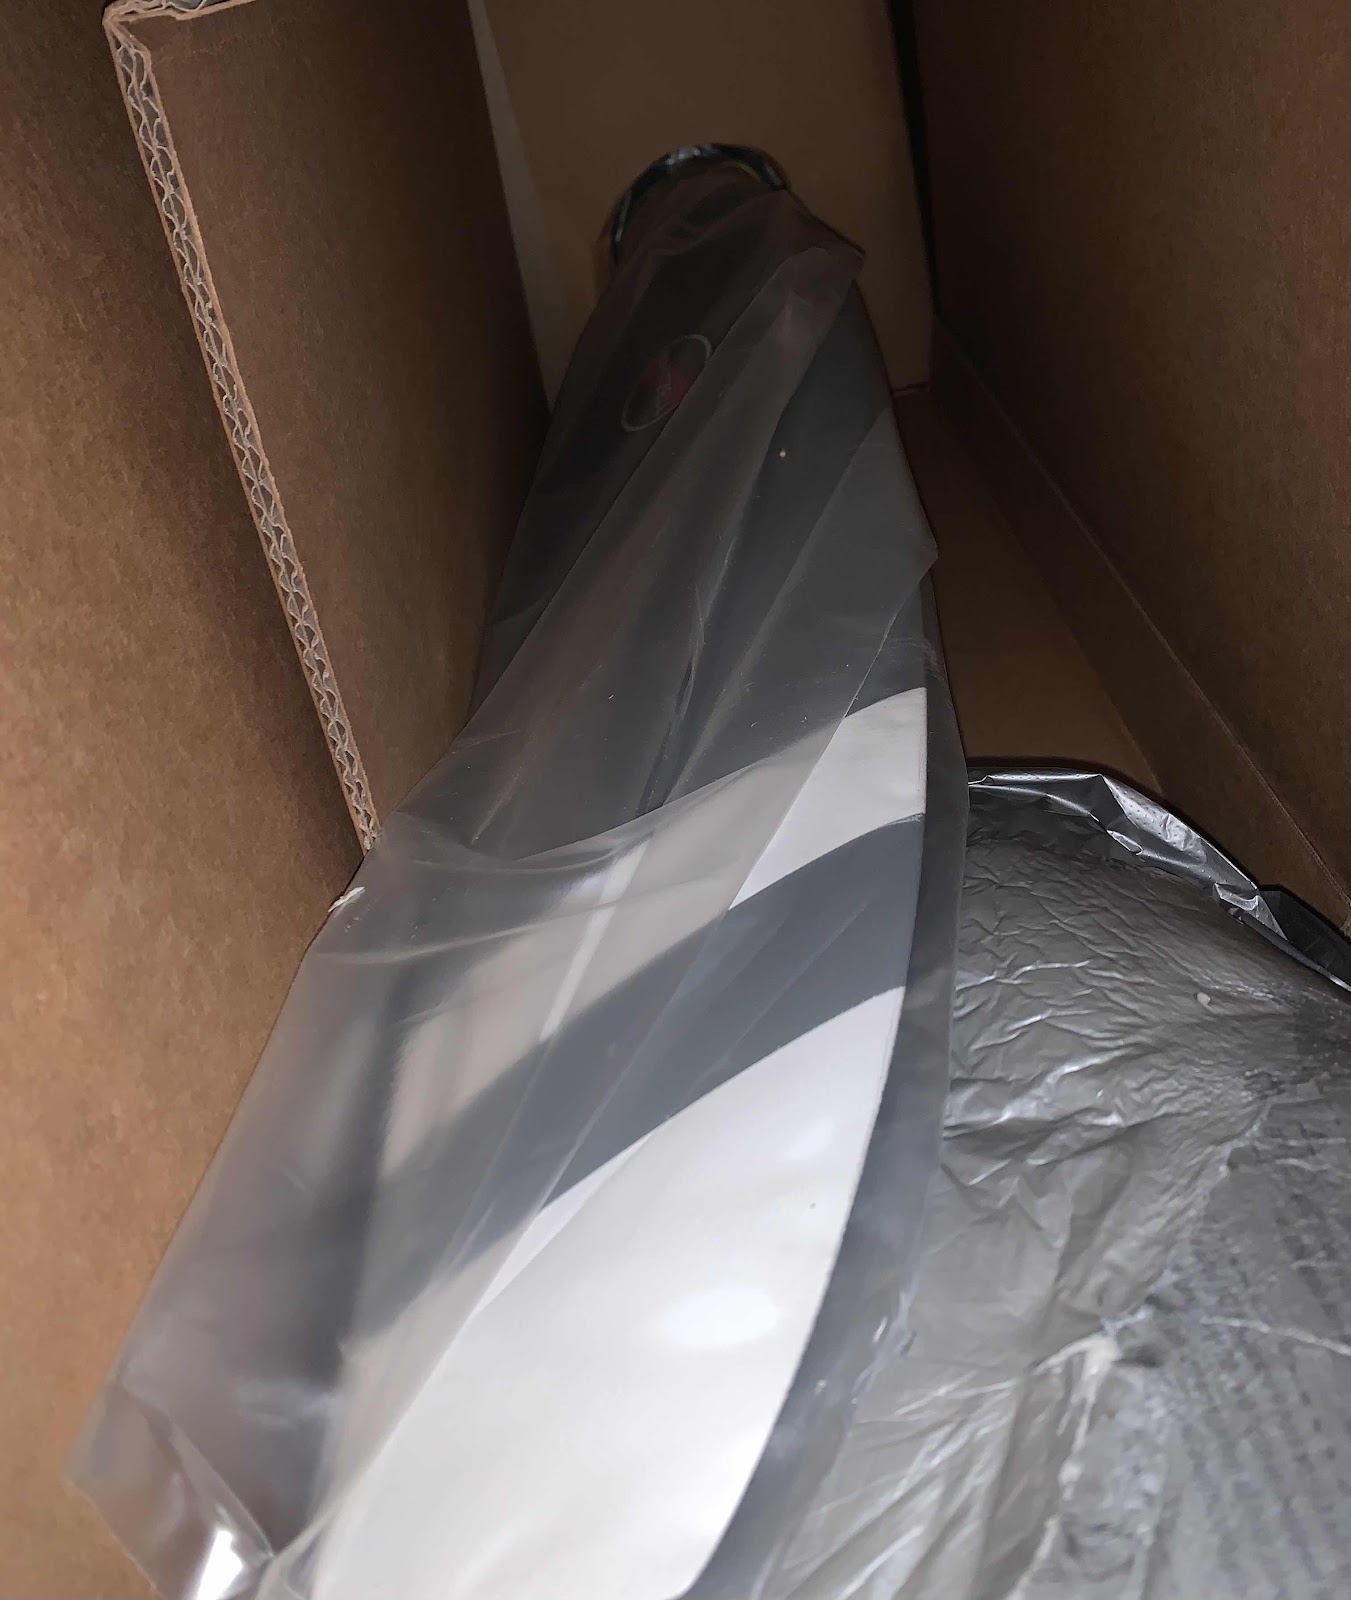
.....and one of the blades.
Here is the Owner’s Manual that came with the propeller.
The engine was ordered prior to the Lycoming price increase and should be delivered around the end of March/first of April. Until then, the prop is all by itself.
The work sessions/posts regarding the installation of the propeller will be covered in Section 44, Spinner & Propeller
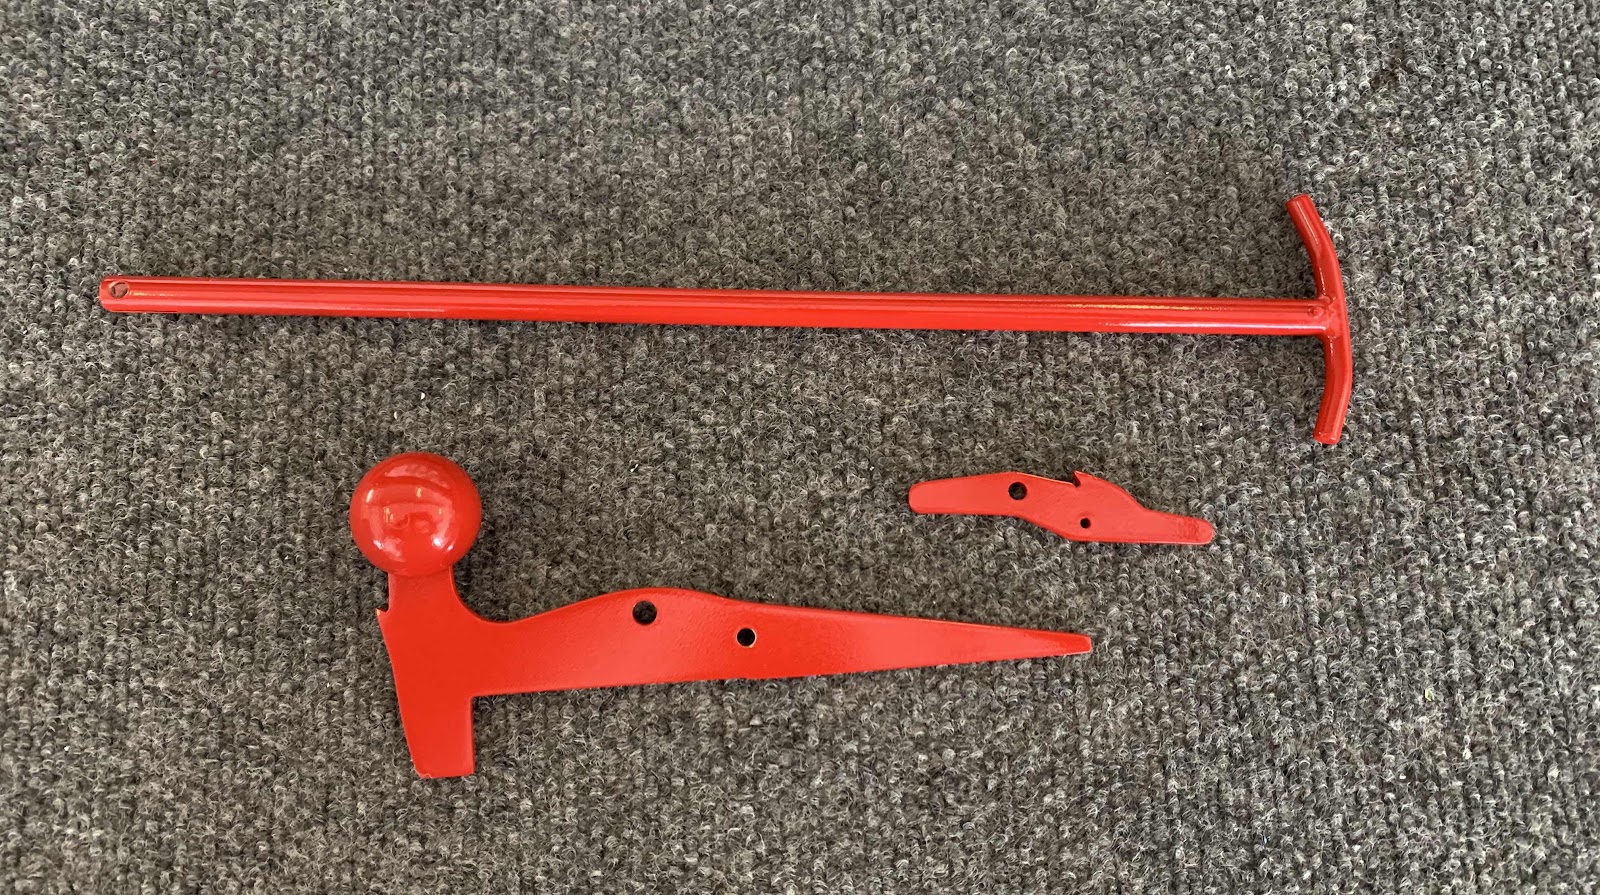
We decided we want all the “important” parts in the cockpit to be red....the mixture knob (will eventually be installed with the engine),
- - the C-609 Canopy Latch (middle), treated with alumiprep/alodine, primed, and painted with two coats of single stage red paint
- - the C-607 Latch Handle (bottom), treated with alumiprep/alodine, primed, and painted with two coats of single stage red paint
- - VA-104-1A knob (bottom), sanded smooth, primed, and painted with two coats of single stage red paint (came yellow from Van’s)
- - C-014444 Canopy Jettison Handle, scuffed up with grey Scotchbrite, primed and painted with two coats of single stage red paint (came powedercoated from Van’s)
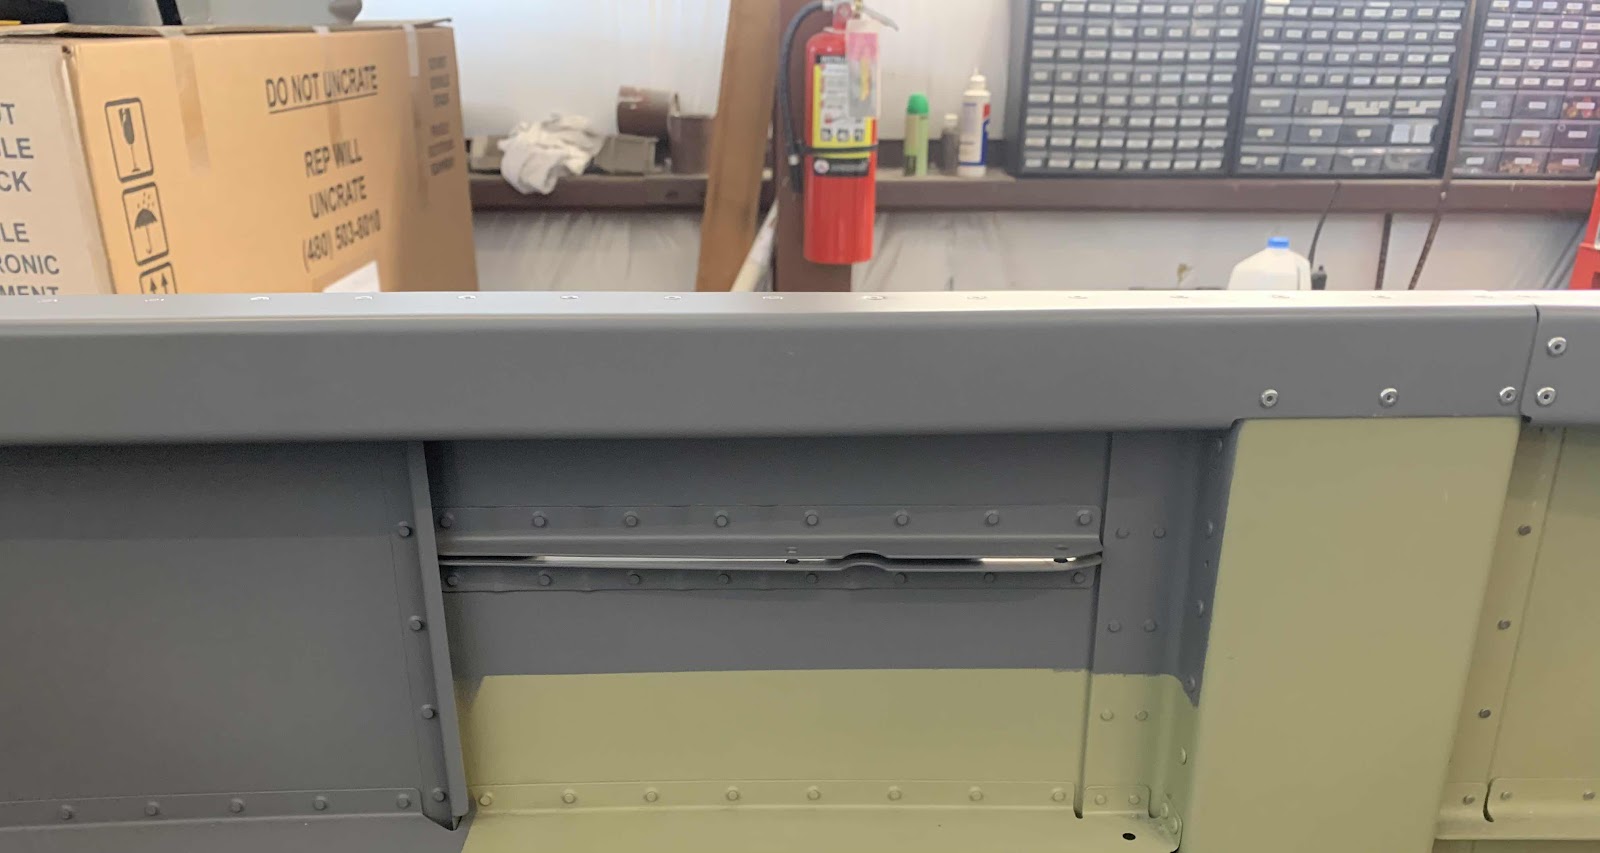
I looked at several additional pictures of the side panels from Classic Aero Designs. Just to make sure none of the green primer will be seen after the panels are installed, I painted the area around the brackets. Figured it would would be much easier now.
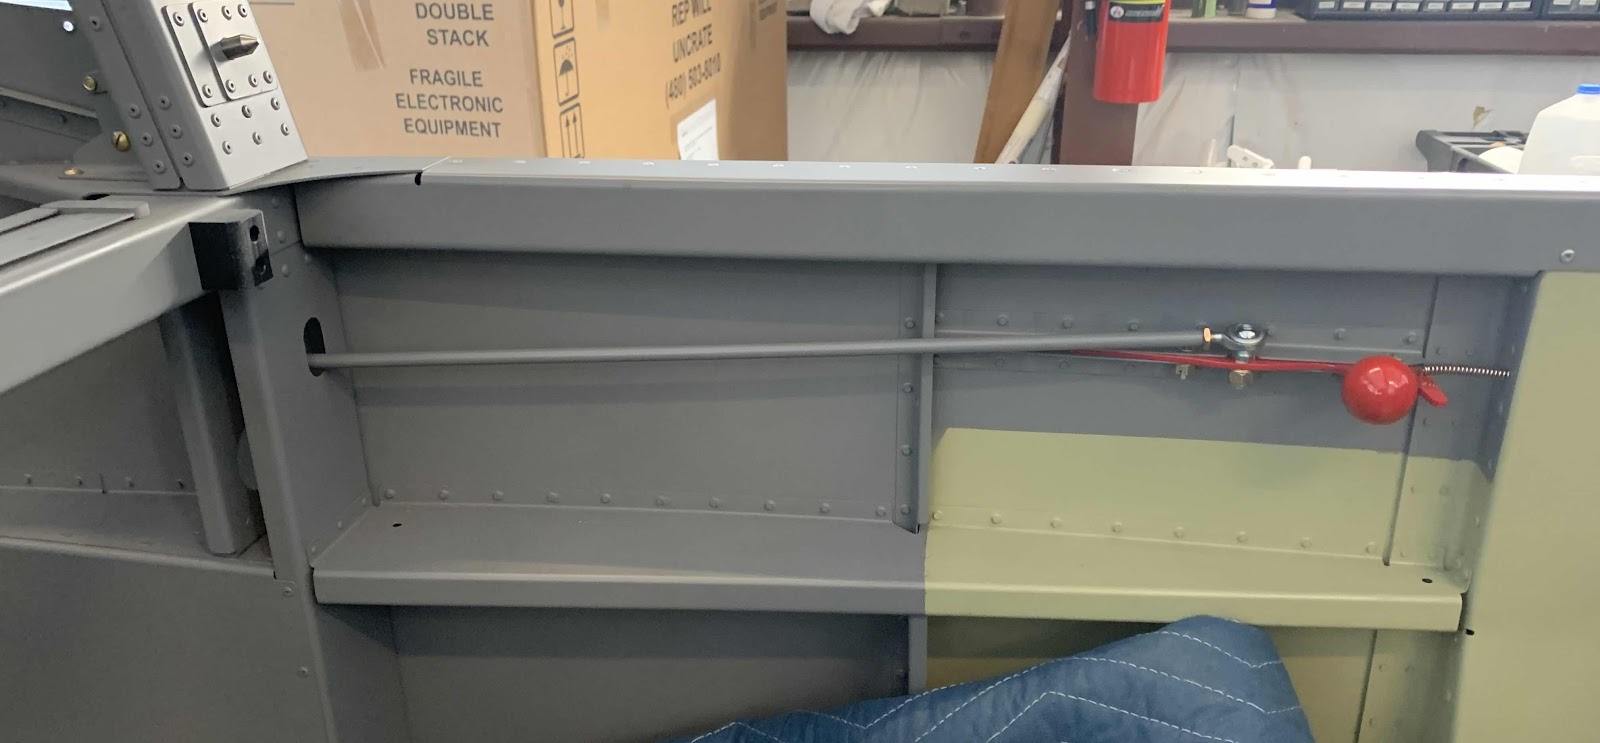
Once all the paint was dry, I installed the parts on the Fuselage. Previously, I completed the assembly of the Canopy Latch Pushrod Assembly.....it is shown where attached to the Latch Handle.
Here is a close up.
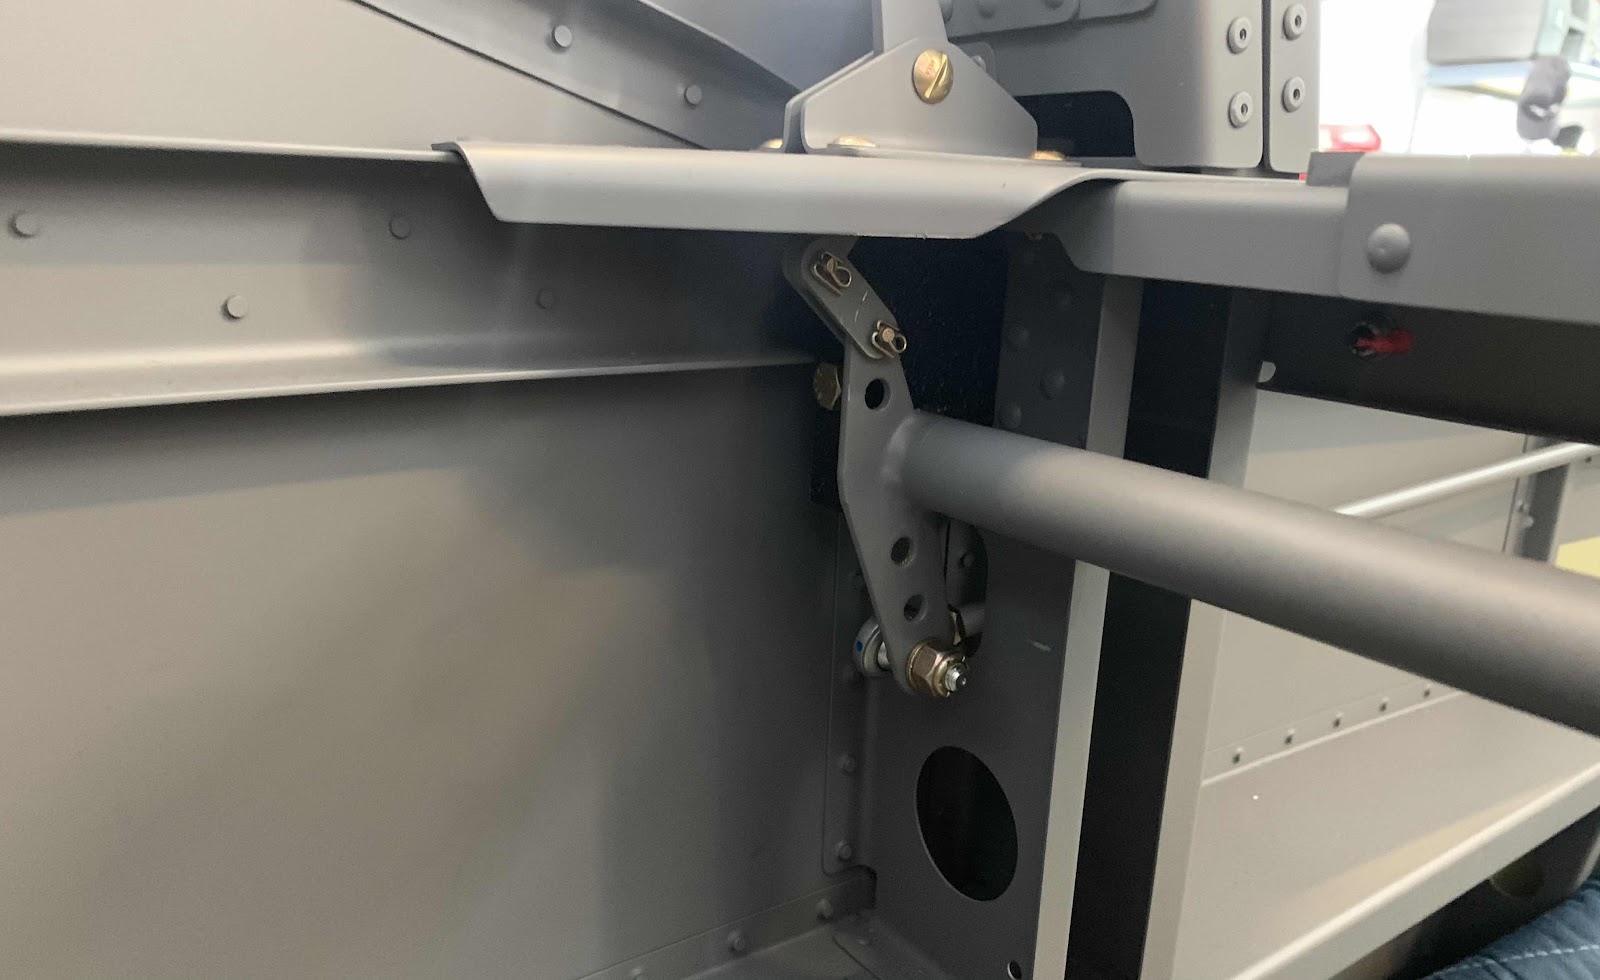
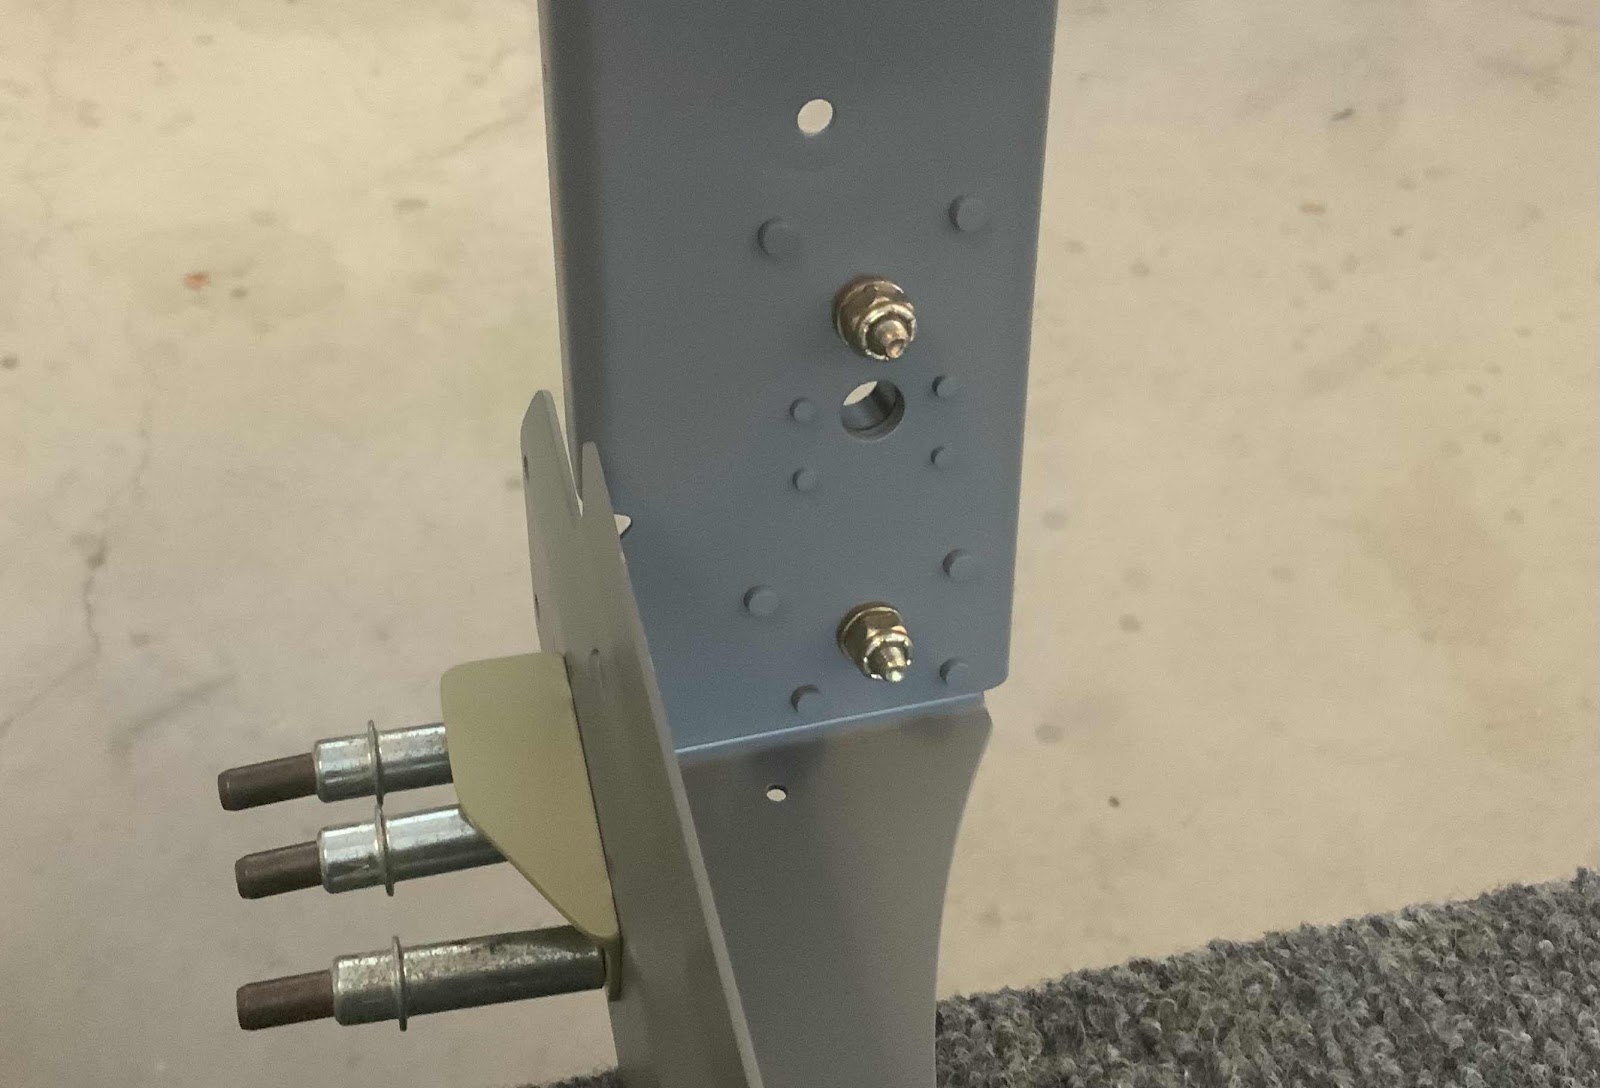
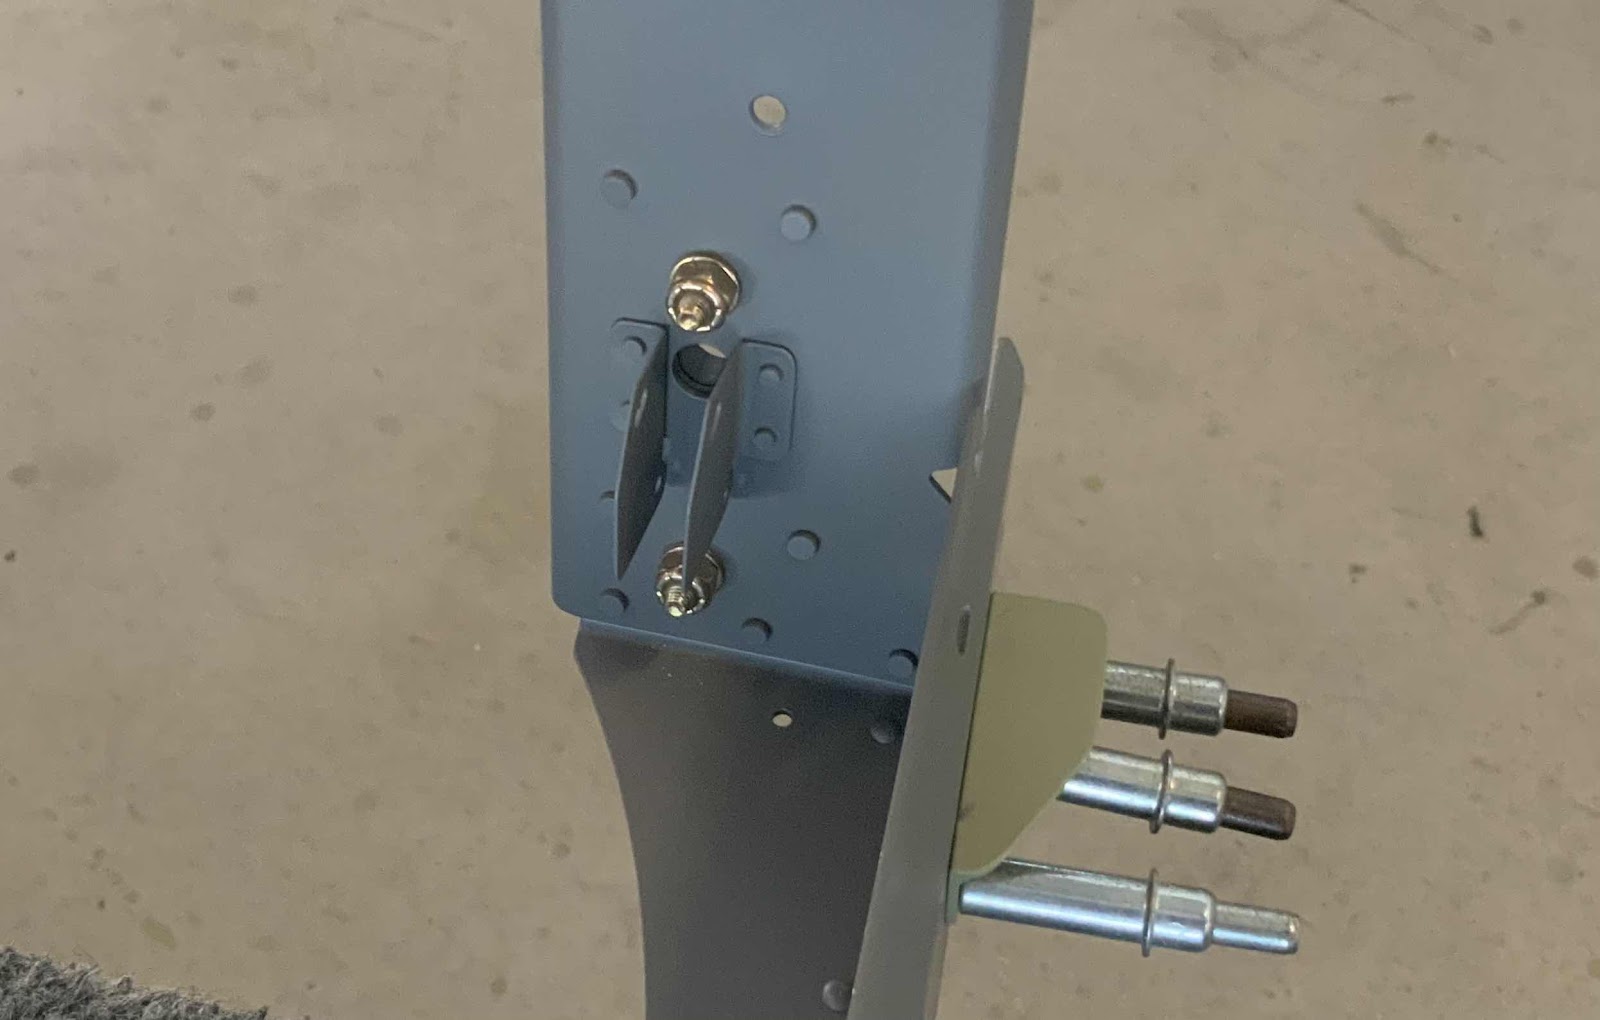
This is the view from the rear side showing the Canopy Latch Pushrod Assembly attached to the C-01438 Canopy Latch Torque Tube (hardware at the bottom).
I previously final installed the C-01438 Canopy Latch Torque Tube (arrow below). However, it was still the white powder coat color.....it looked NO good!l. So, I removed the tube.....scuffed it, Akzo primed it, and sprayed it with grey interior paint. Looks WAY better and matches everything else.
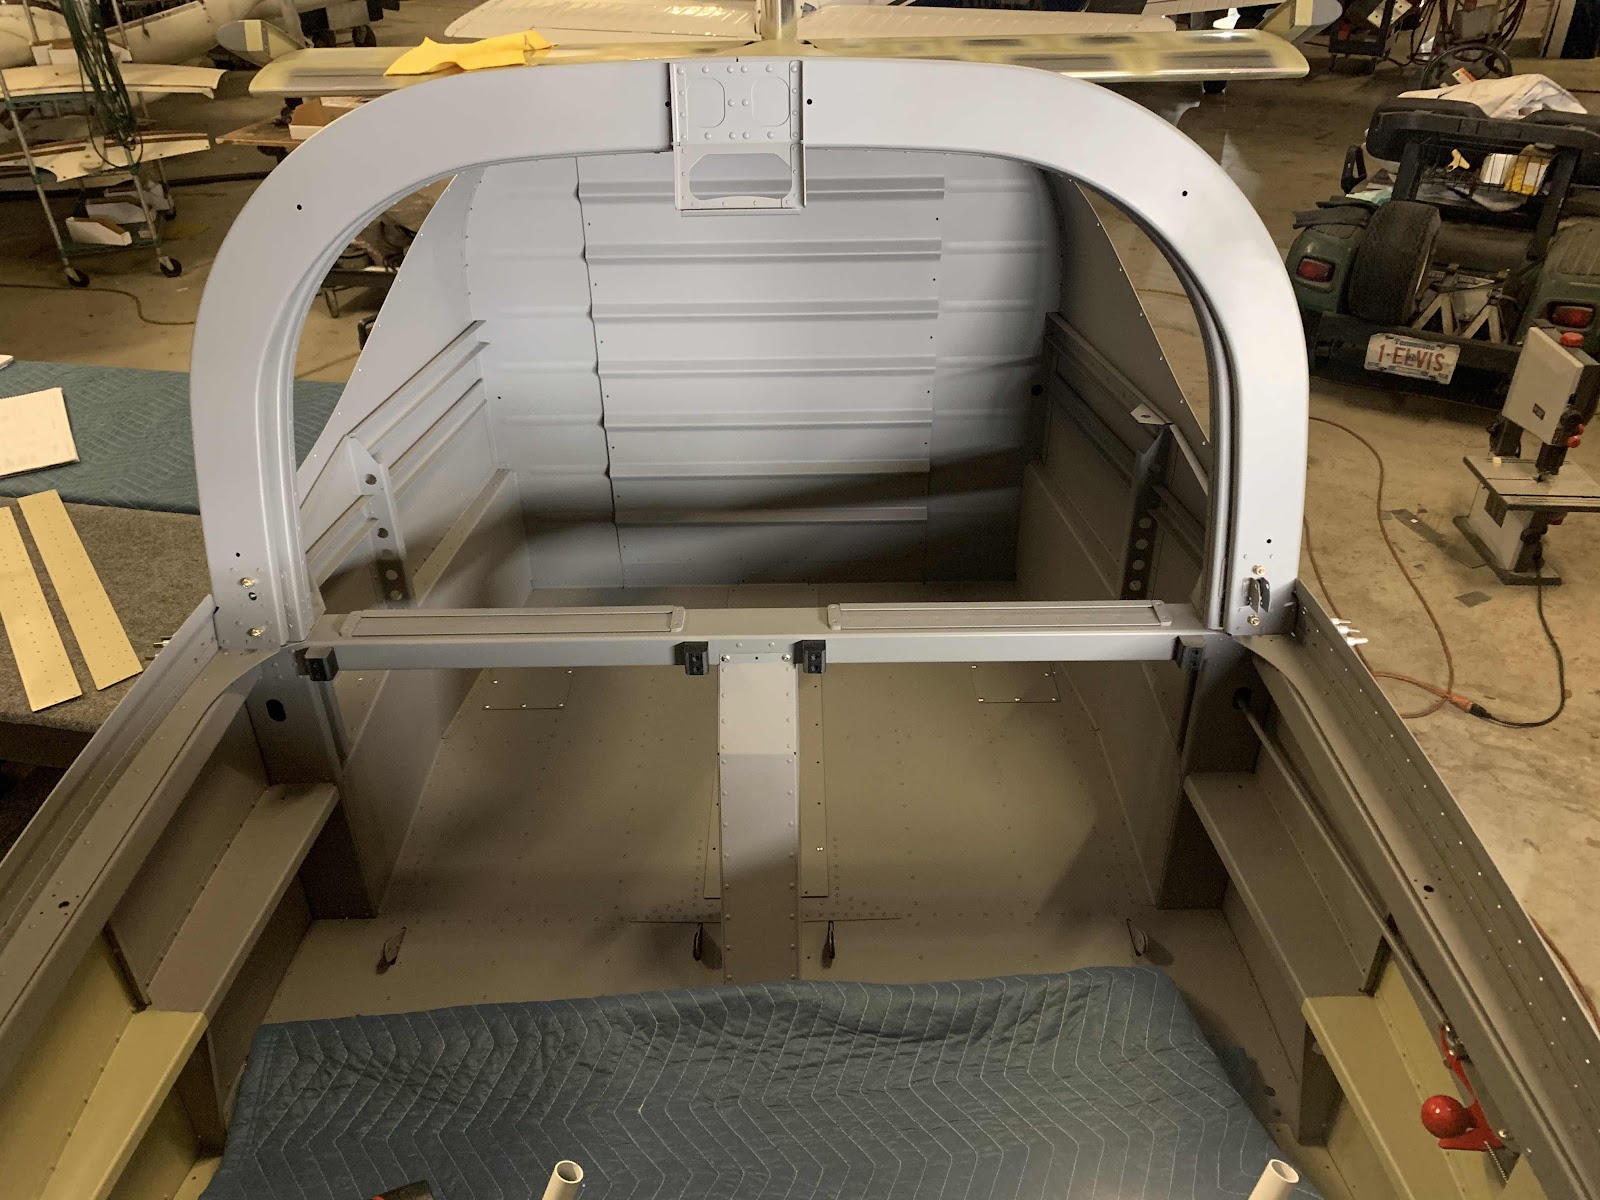
This view shows the aft portion of the Canopy Latch System behind the Roll Bar Frame. This is the left side.....
.....and the right side.
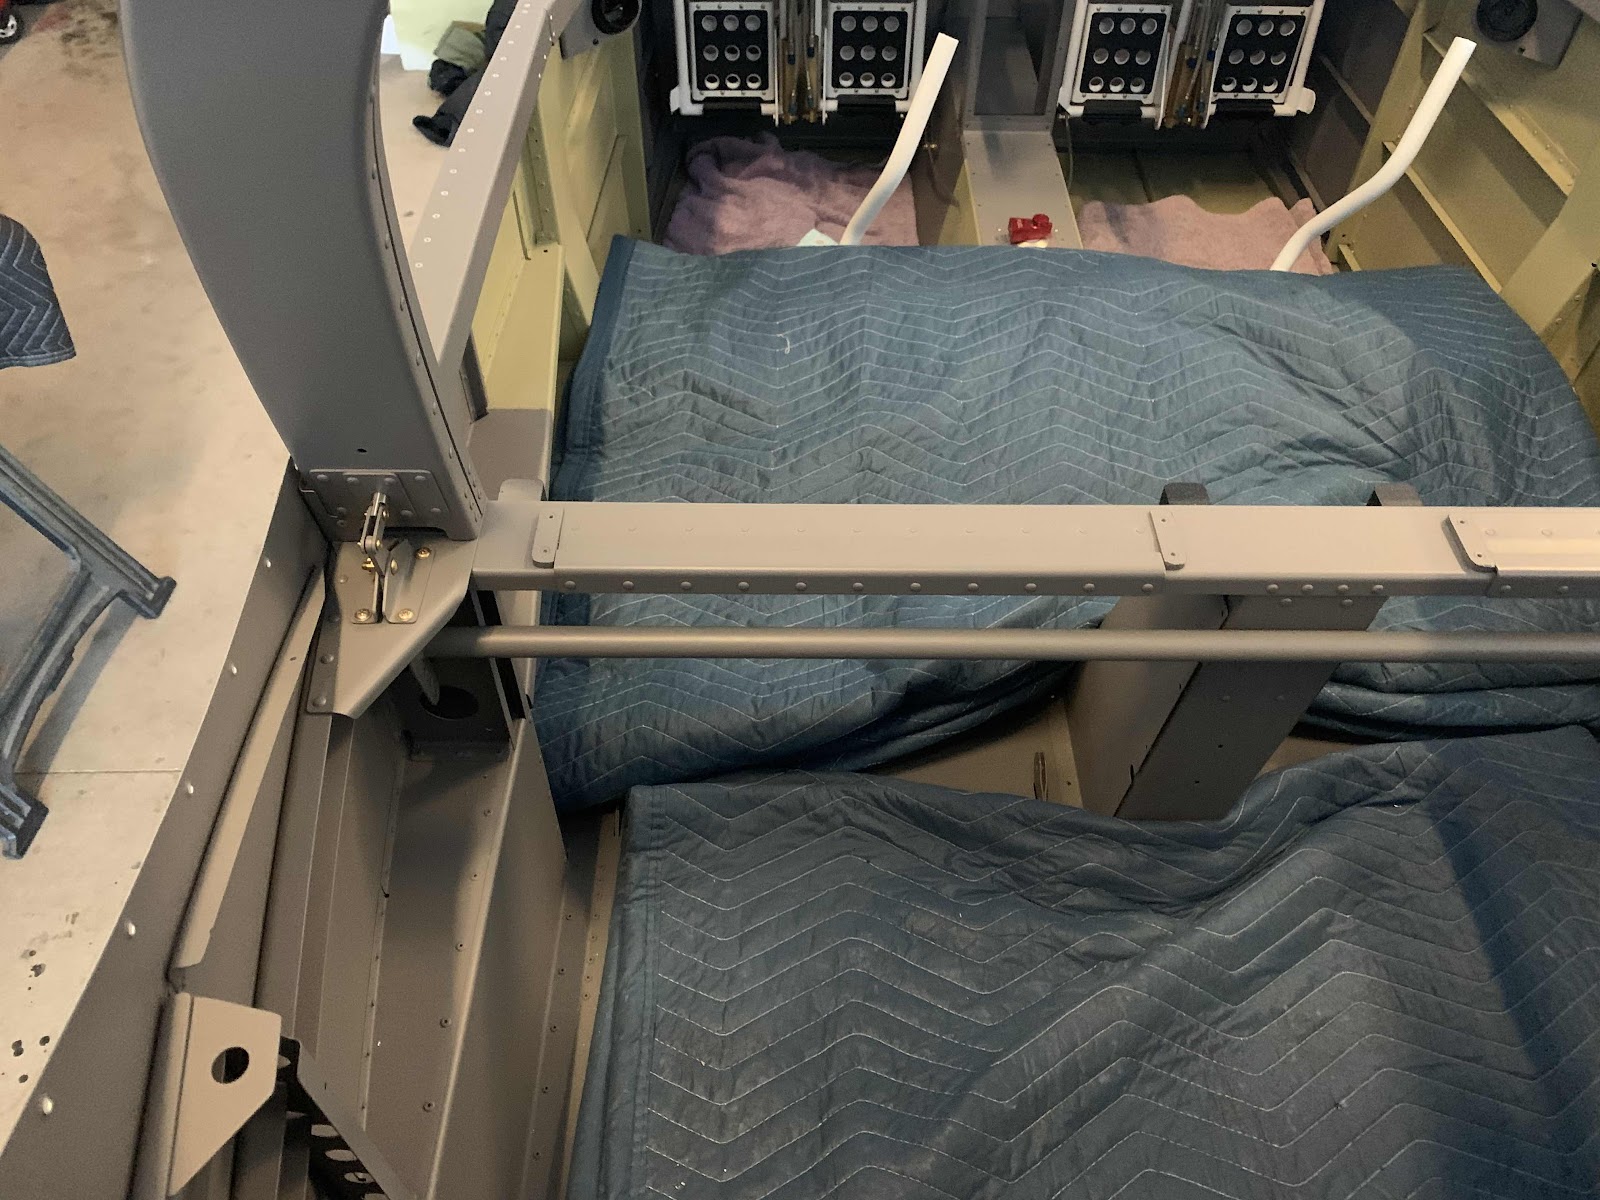
This angle shows a looking down view of the Canopy Latch System and how the bar looks installed in the baggage area. This is the left side.....
.....and the right side.
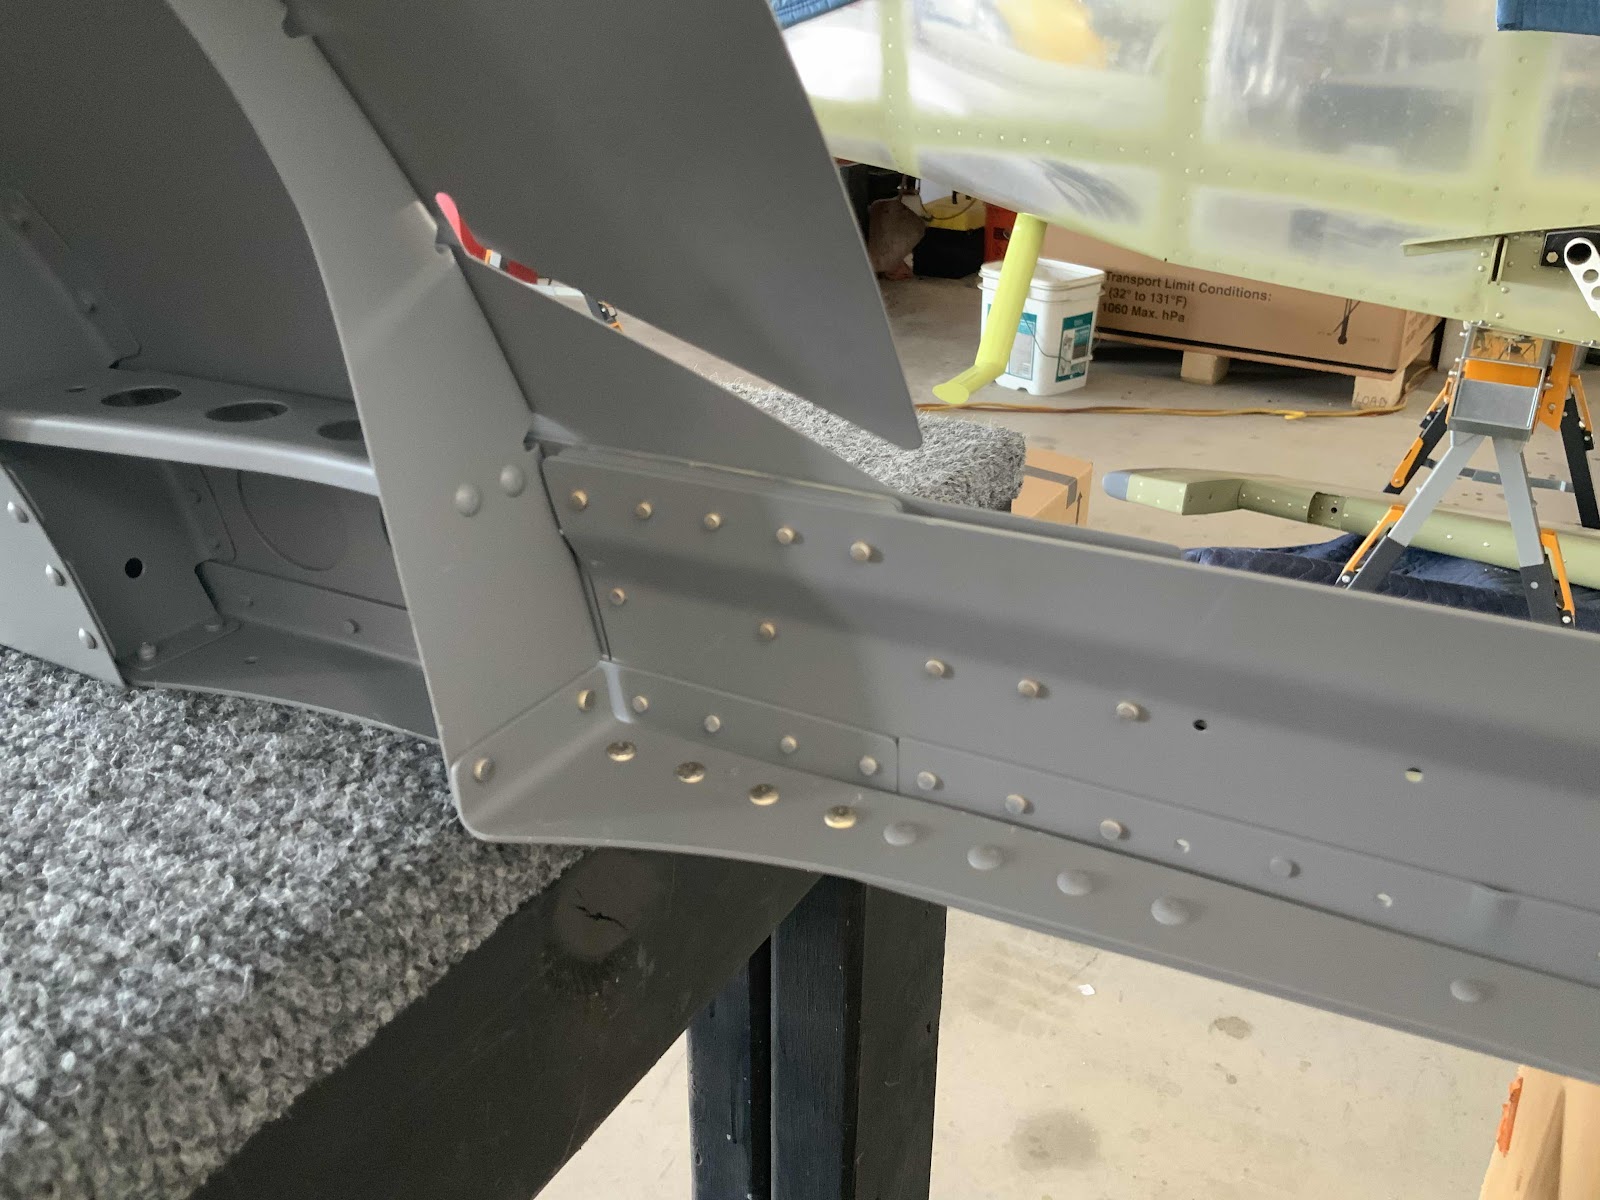
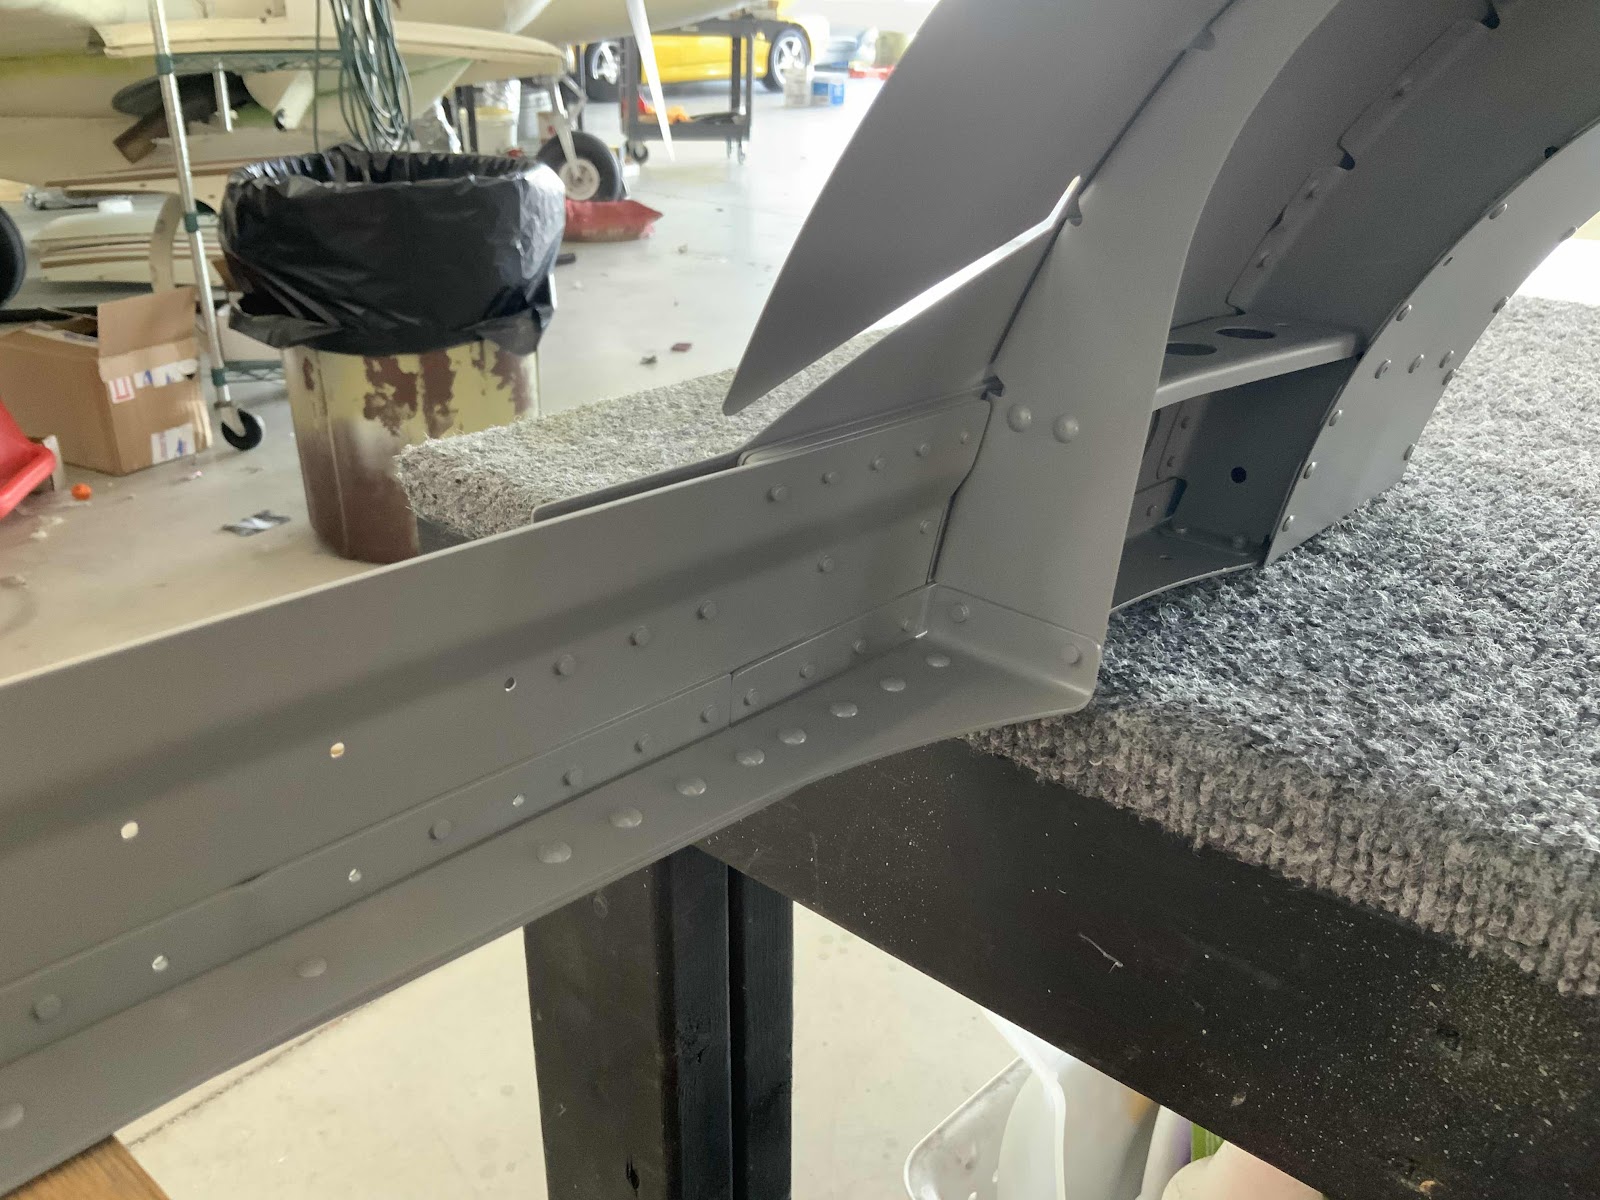
I also installed the rivets that attach the left Forward Canopy Rail, left Aft Intercoastal, left Forward Intercoastal, Canopy Rail Shim and the Canopy Skin. There was enough space to use the pneumatic squeezer on about half the rivets.....the rest I shot with the gun and bar.
This is the interior side showing the shop heads of the rivets just installed.....
.....and after sprayed with the grey interior paint.
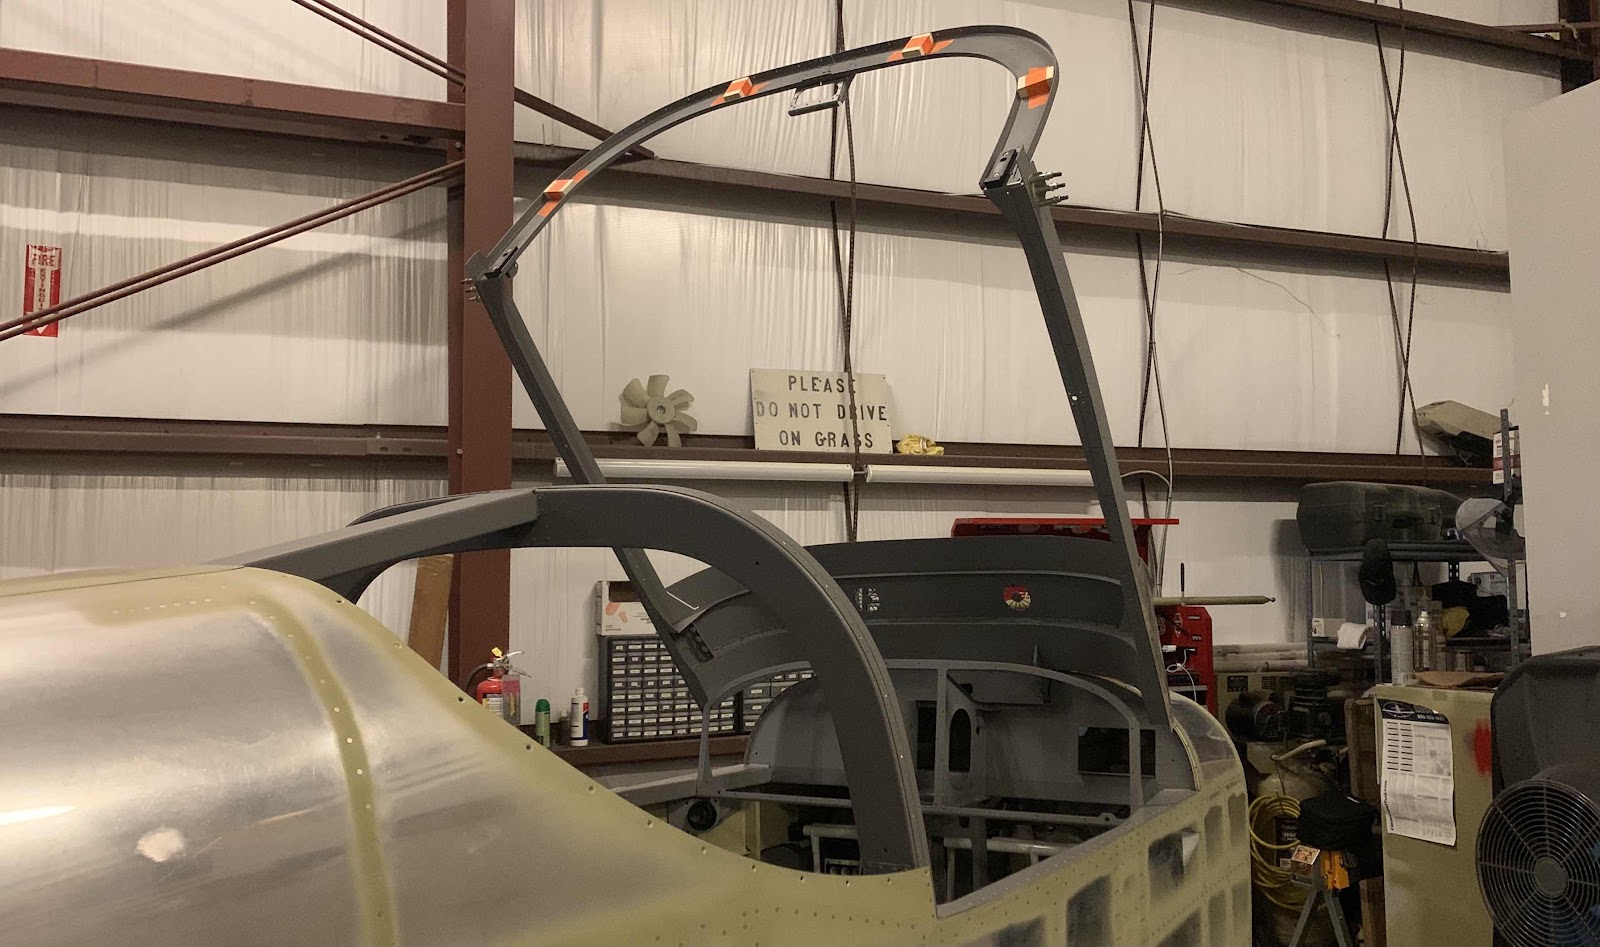
This is the left side of the Canopy Frame showing the installation of the same parts.....
.....the shop head side of the installed rivets.....
.....and after being sprayed with the grey interior paint.