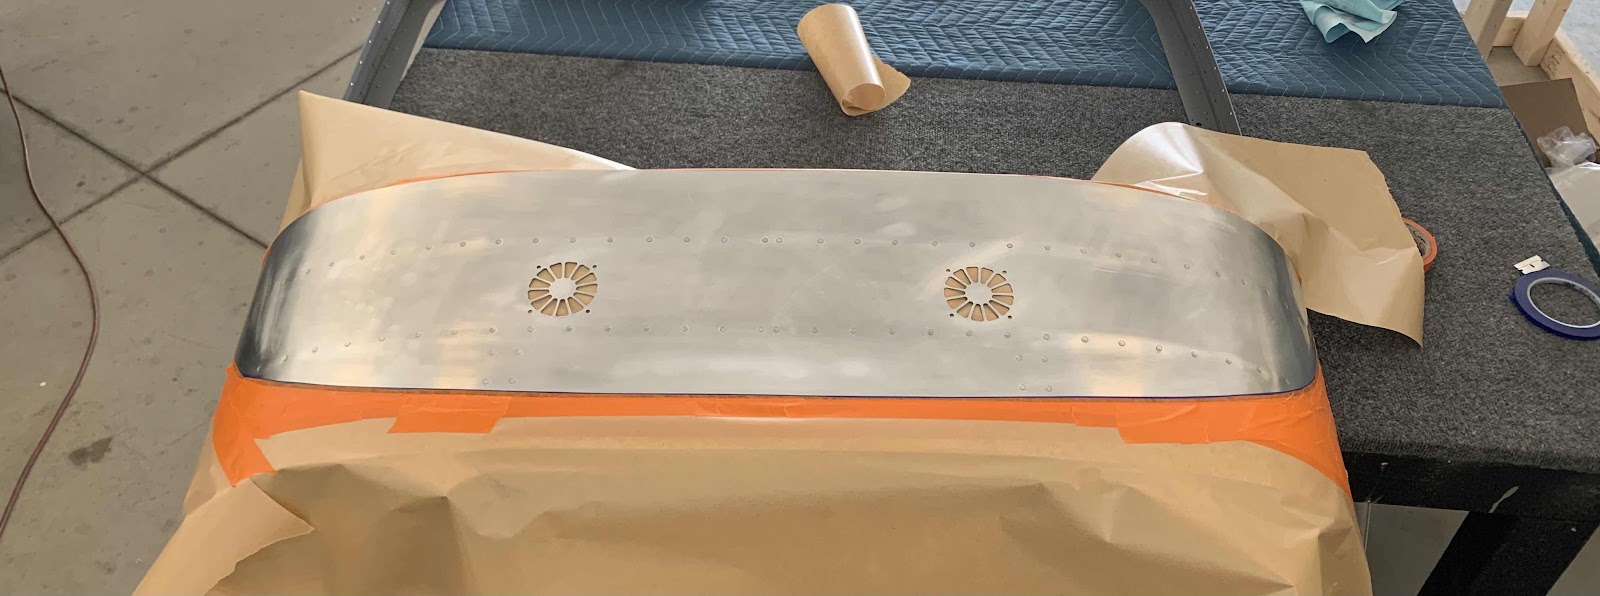
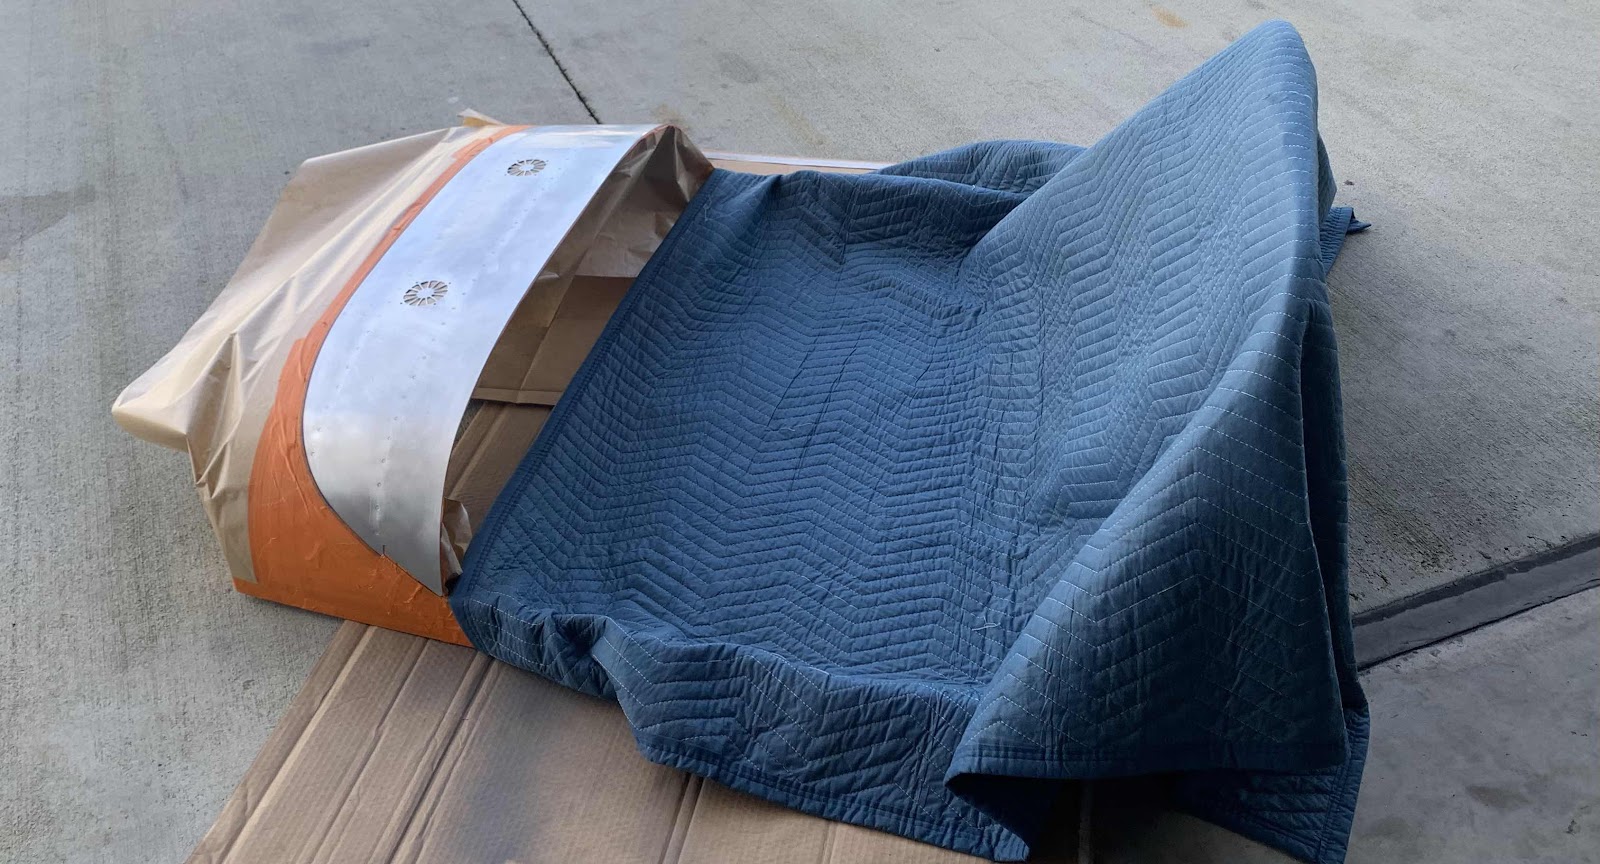
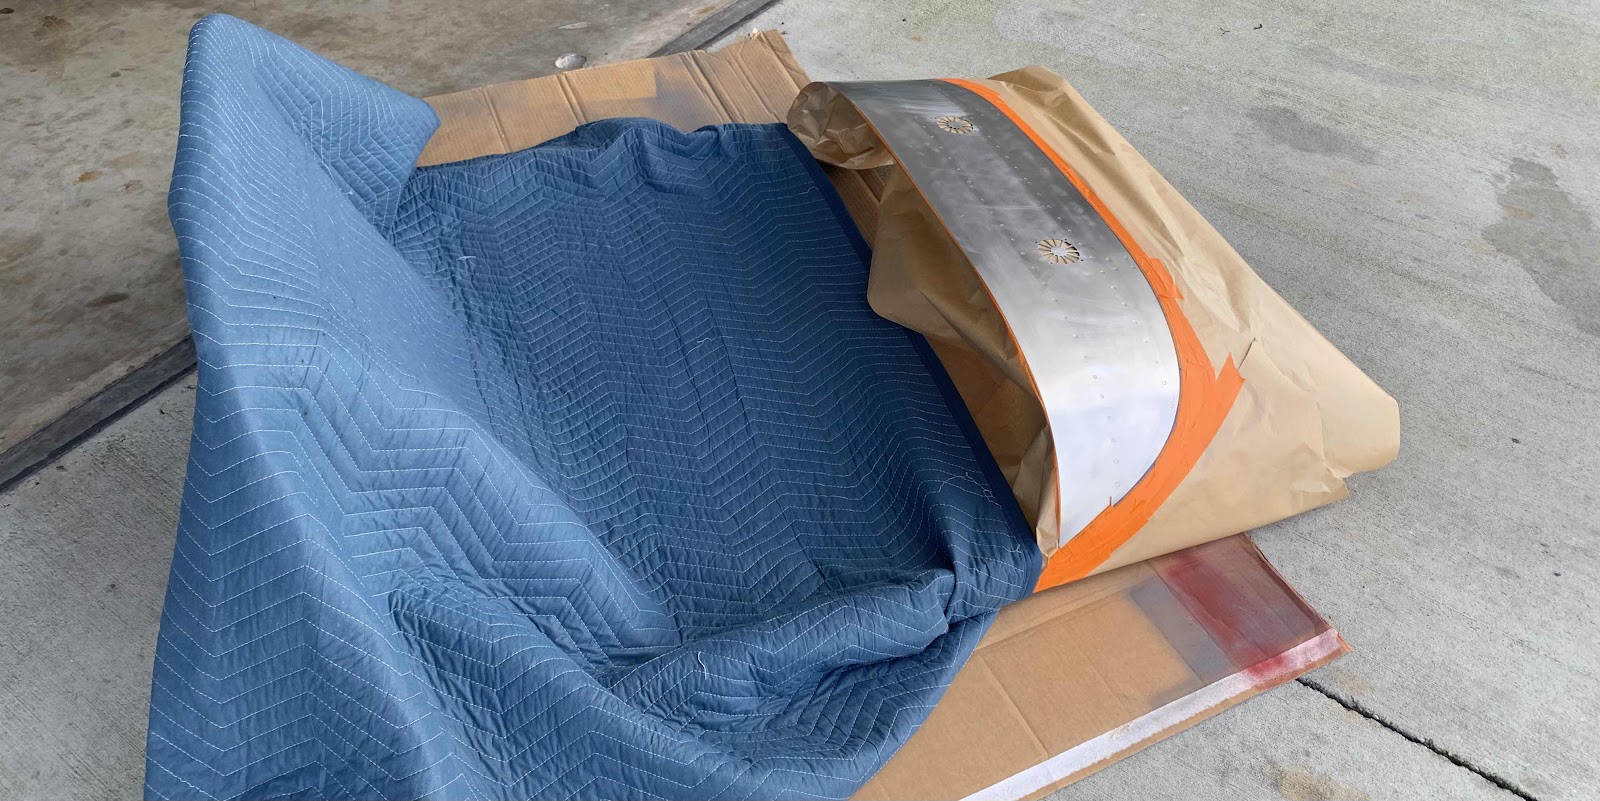
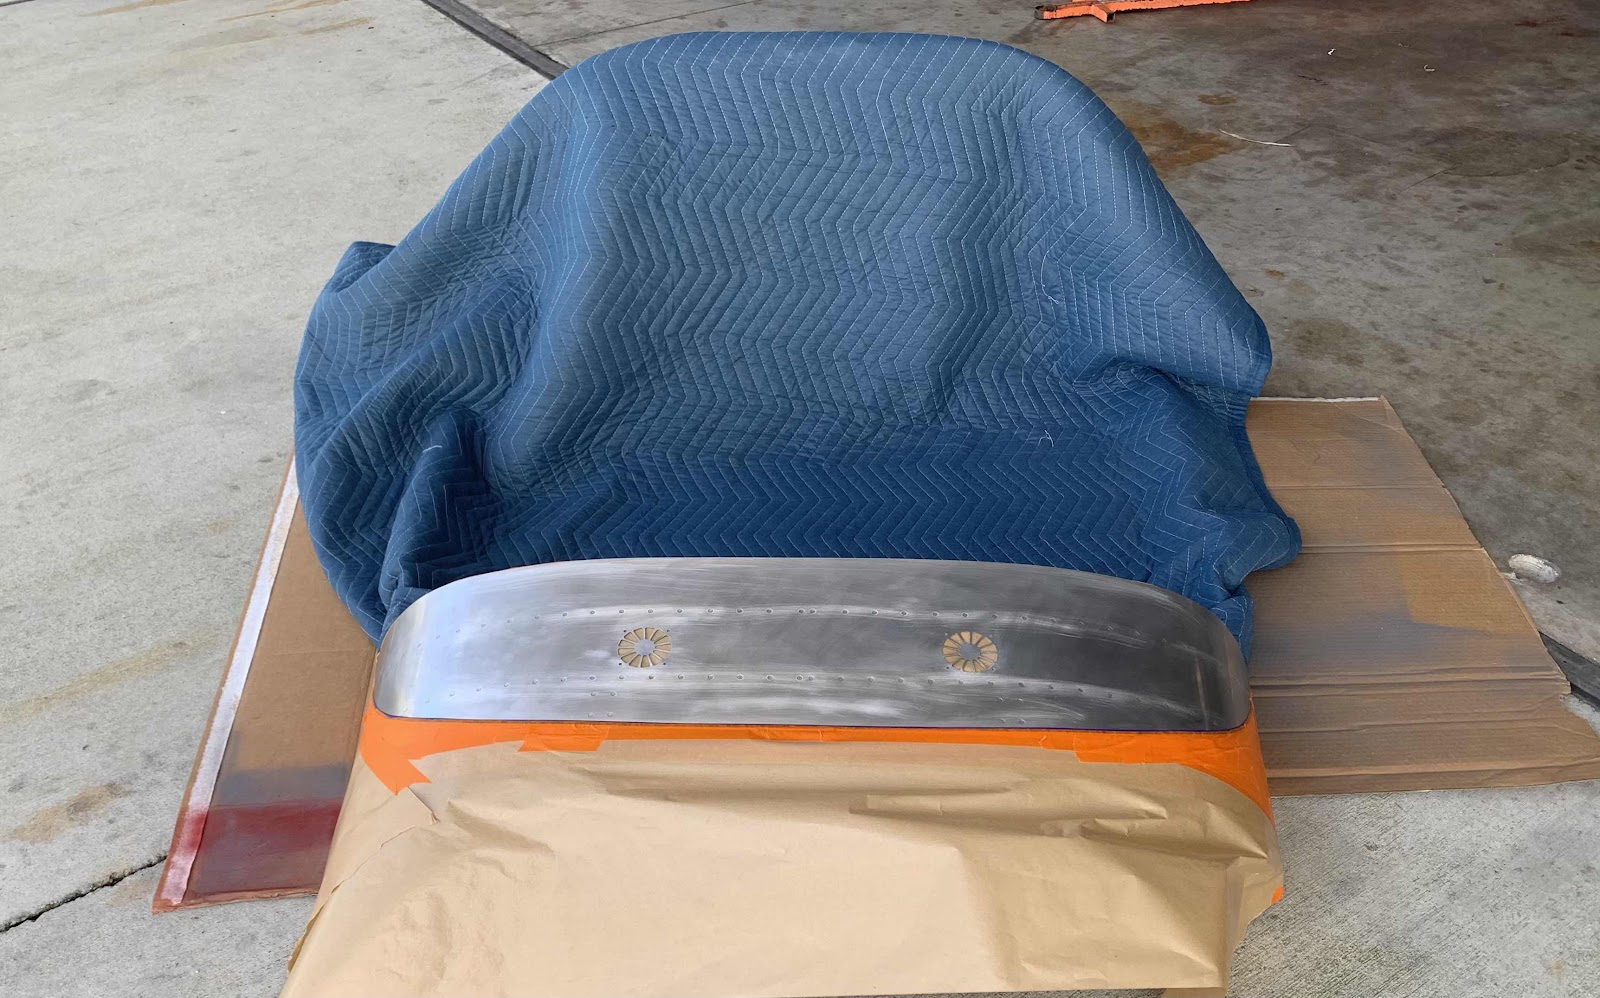
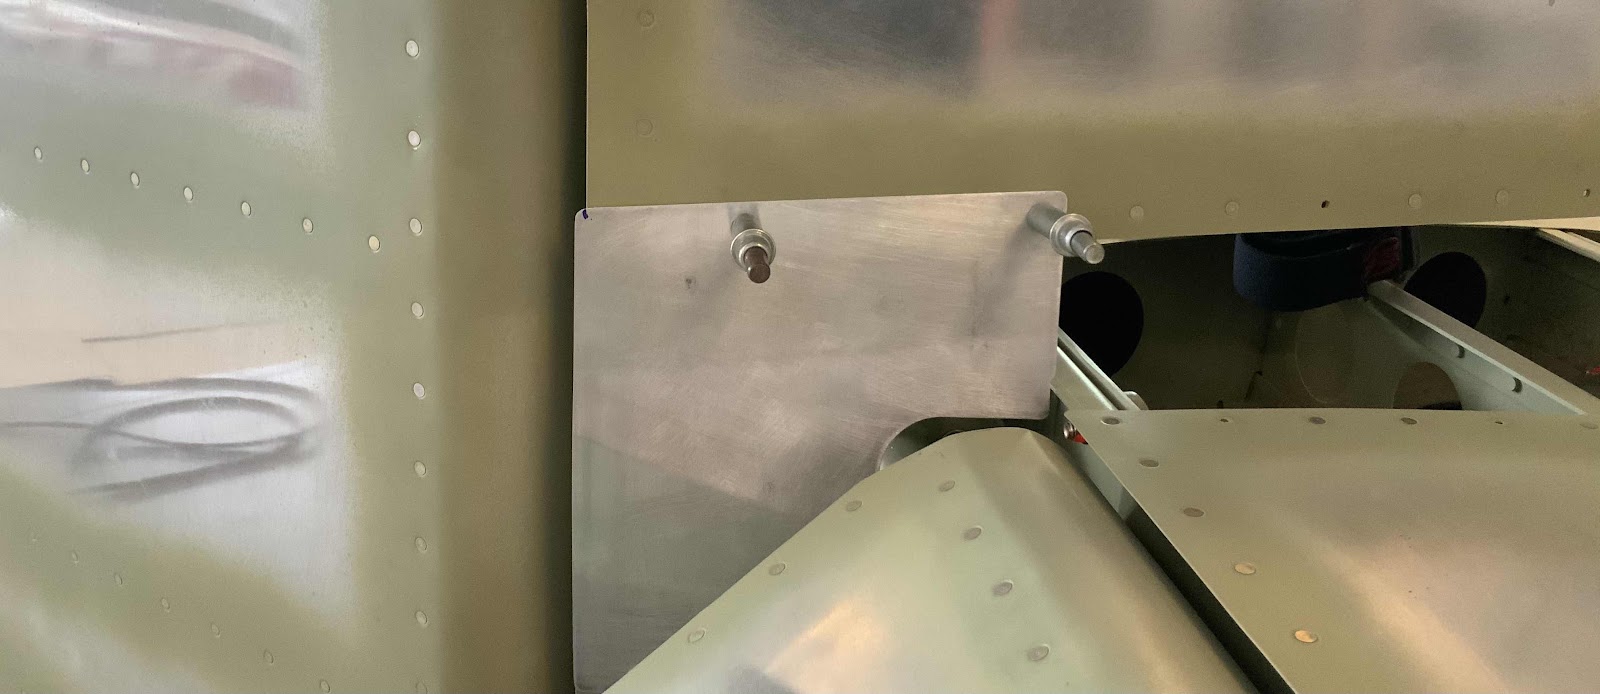
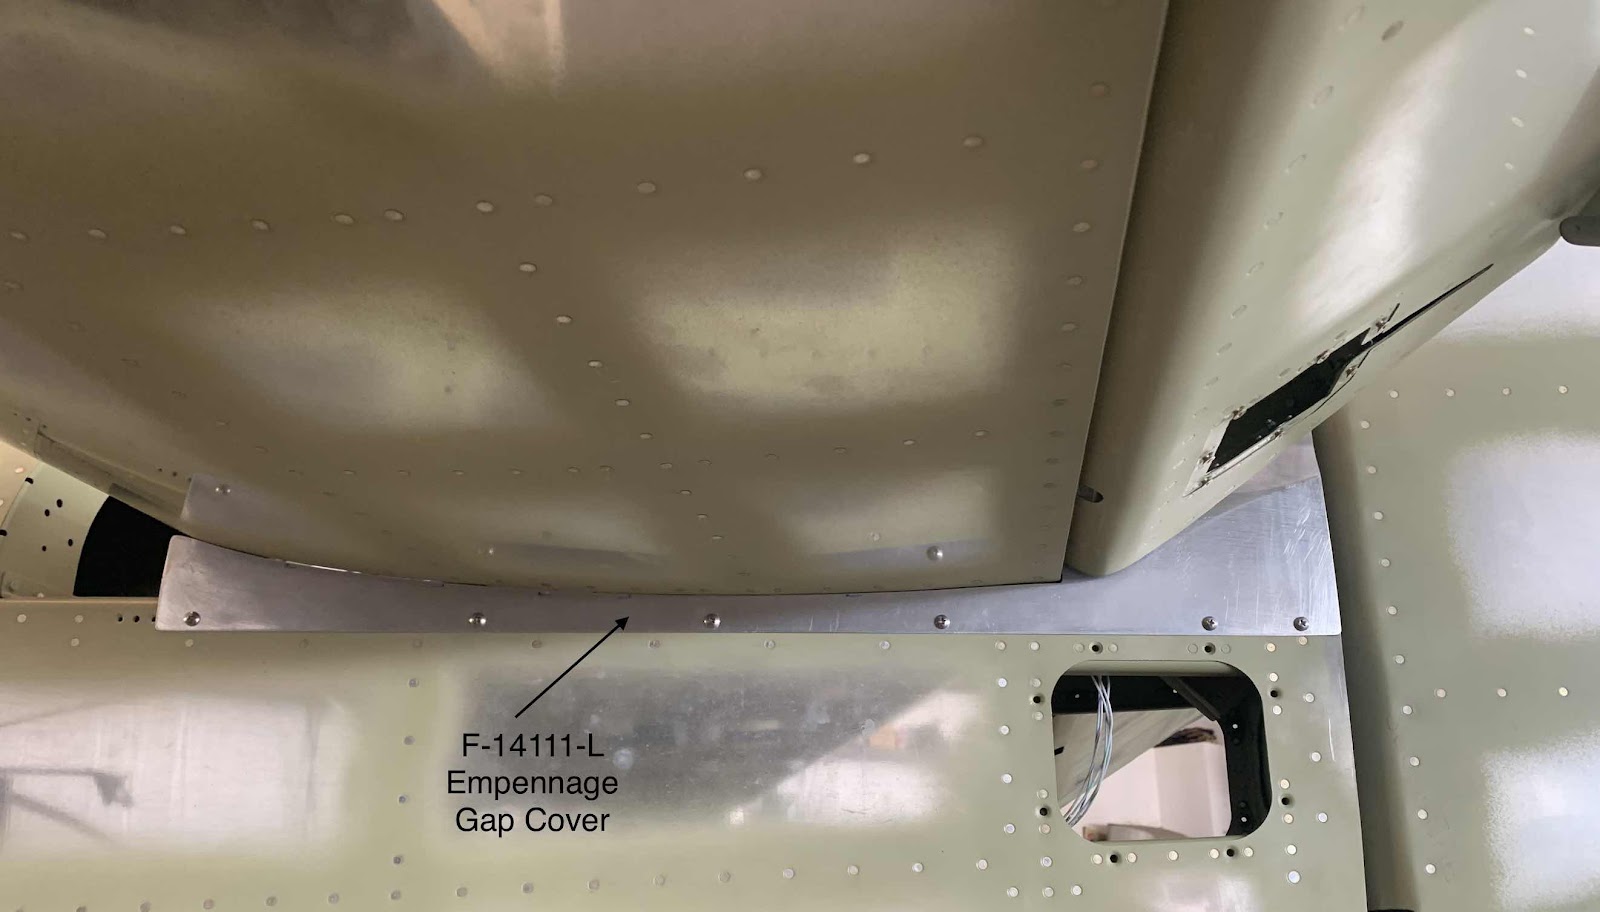
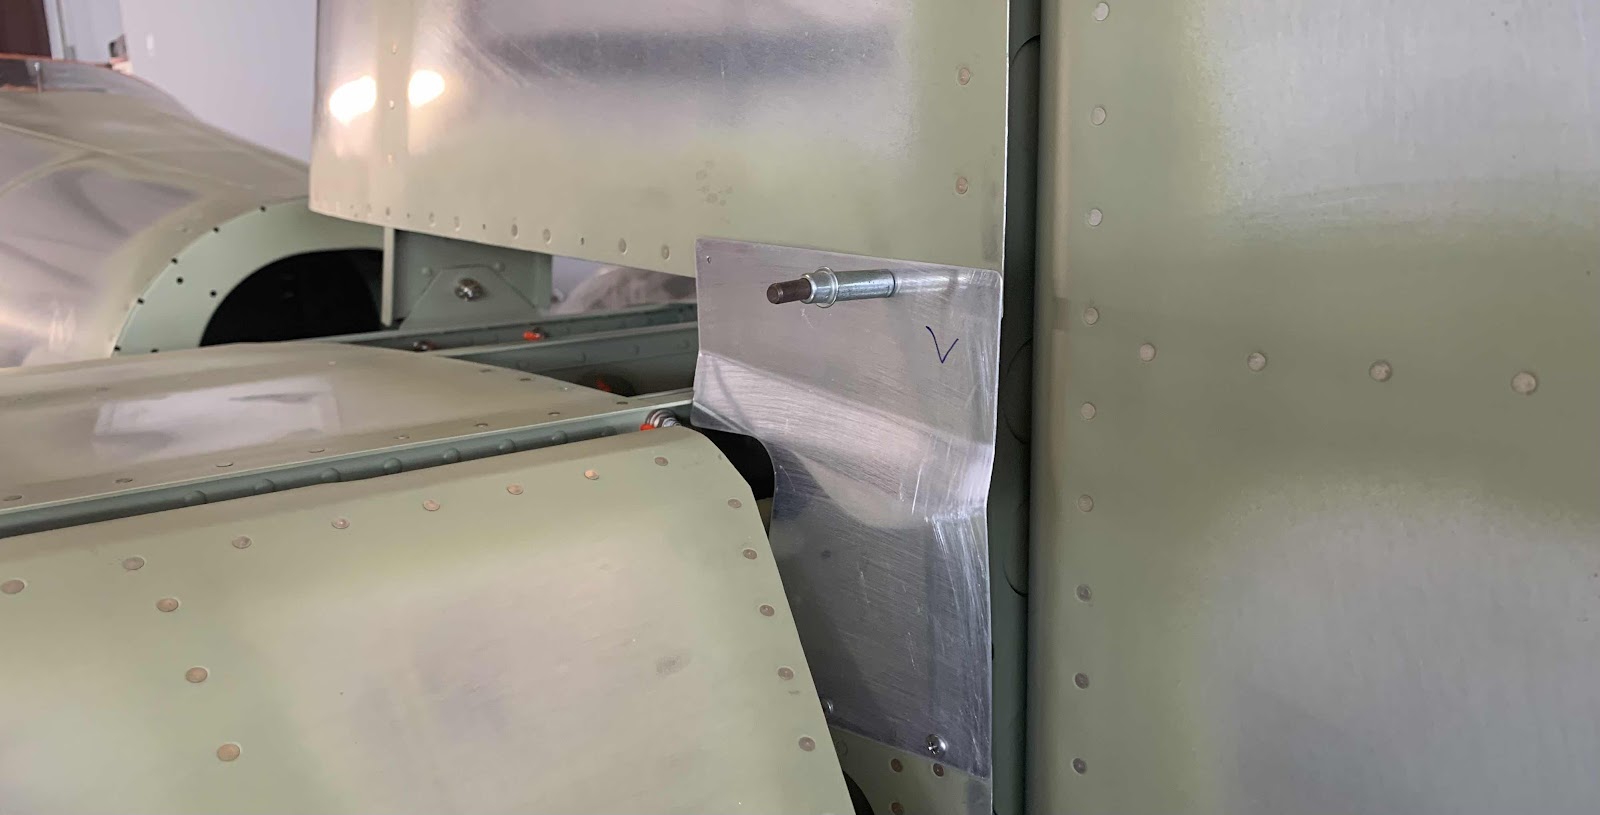
The work covered in this entry was completed over the course of three works sessions between March 20 - 26, 2021.
In Part 4, we had to modify the R-912 Bottom Rudder Fairing in order for it to clear the tail spring (tail wheel aircraft only). After we cut a huge hole in the bottom of the Fairing, it now needs a patch. So, we coated a piece of scrap aluminum with candle wax, layed up two layers of fiberglass fabric and waited overnight for it cure.
After the patch cured, it was trimmed just slightly bigger than the hole in the Bottom Rudder Fairing.....as shown in the next pictures. The edges of the hole in the Fairing were coated with a small amount of epoxy resin, the patch was placed in position over the hole and I put a heavy bucking bar on top of the patch to hold it in place (to allow the epoxy to cure). This will allow the two pieces to be bonded together.
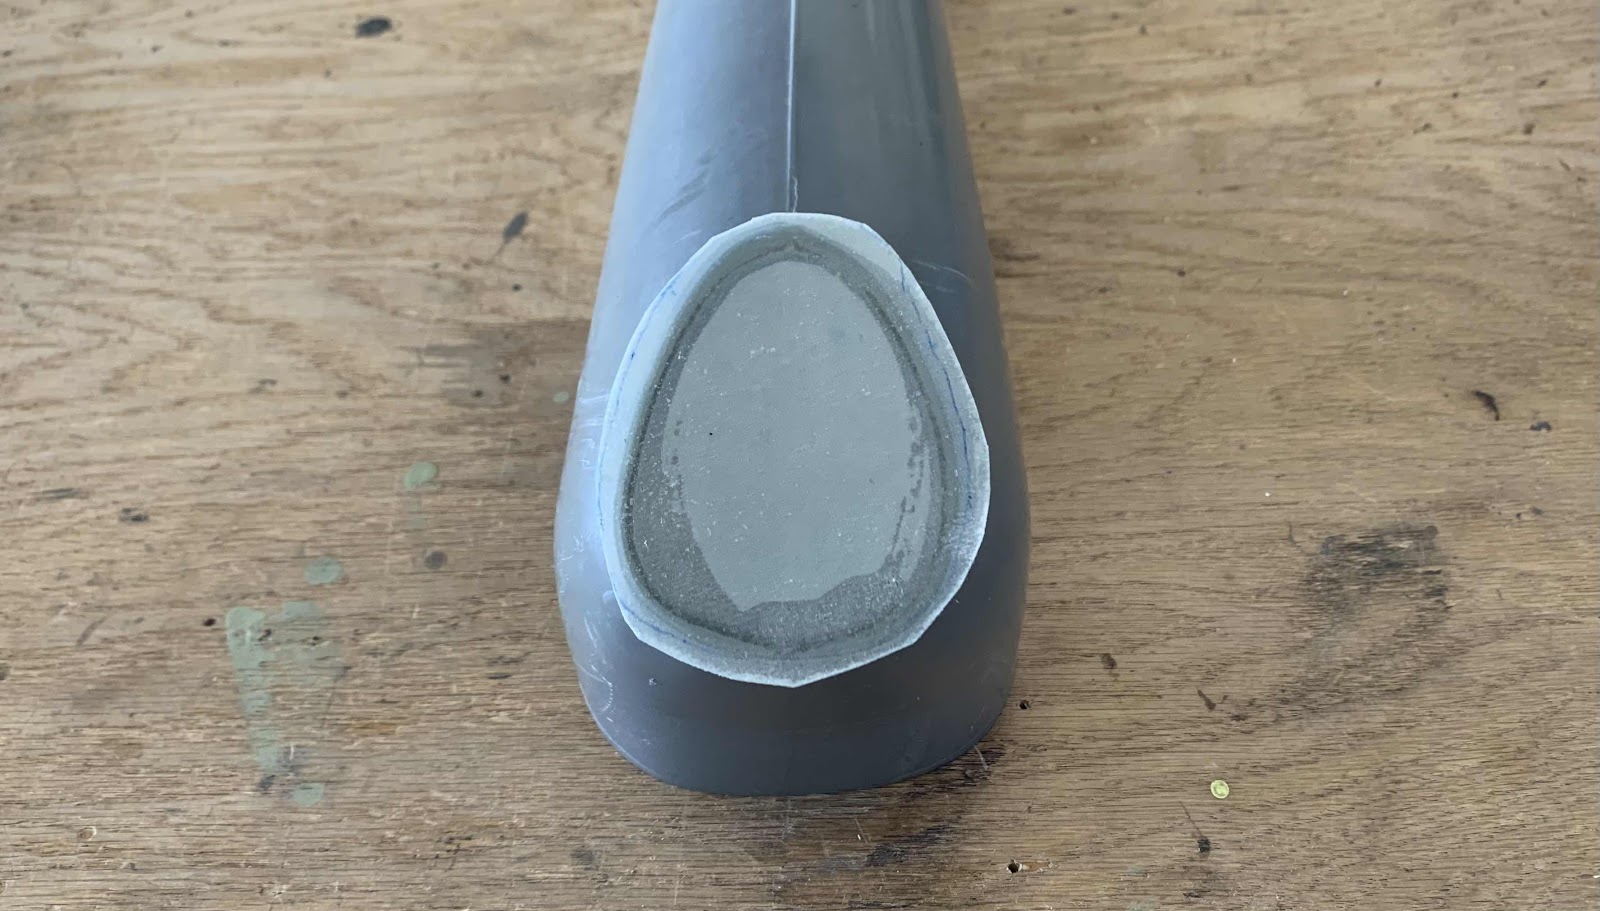
In this picture, you can see the “ring” created between the patch and the Fairing where the epoxy was applied and has cured.
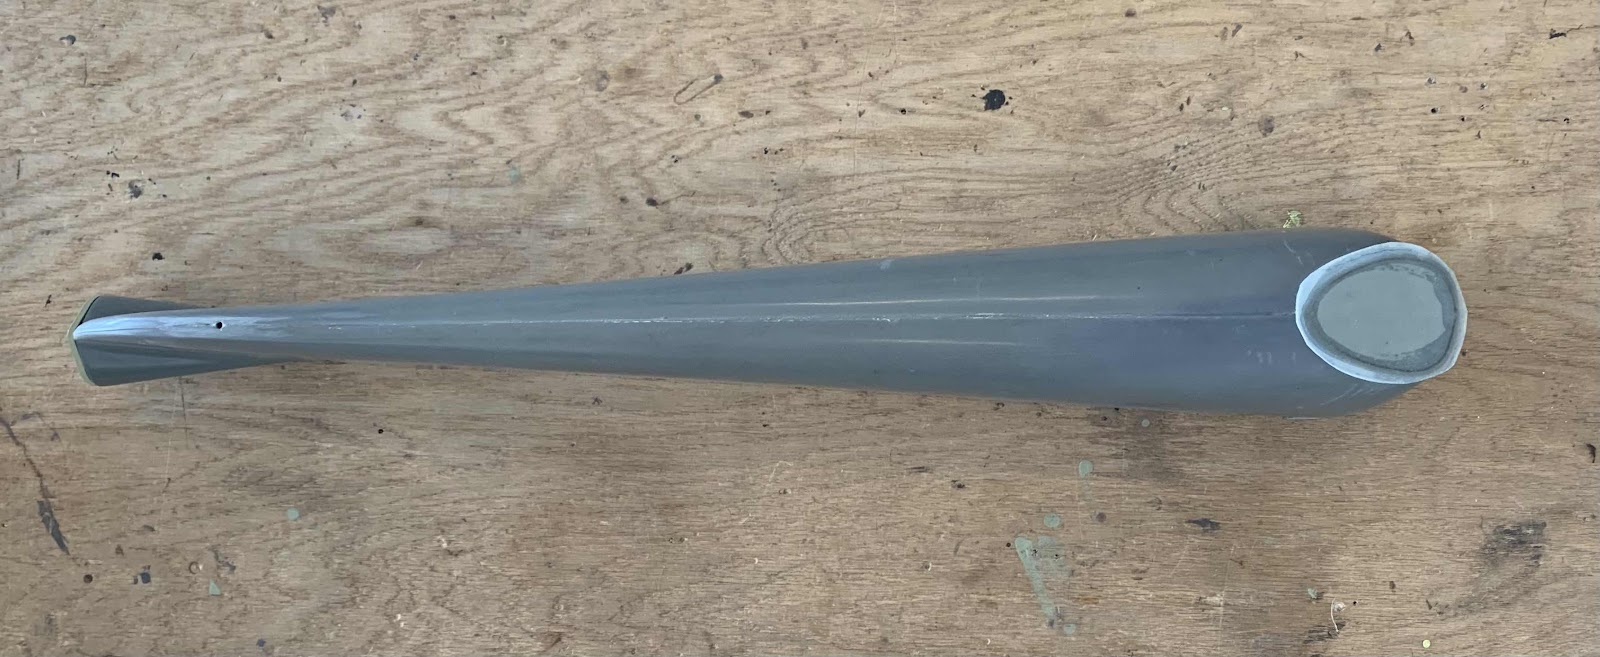
After the parts were bonded together, I flipped the Fairing over and used a popsicle stick to apply a filet of flox mixture to the inside where the patch and Fairing met each other.....

.....and then placed a precut piece of fiberglass cloth over the patch. The fiberglass cloth was saturated with epoxy resin and put into place as shown in the picture below. (You have to look closely, but you can see the fiberglass cloth.....just slightly larger than the patch).

After everything was bonded and cured, we started sanding to get the final shape of the patch on the Fairing. The next two pictures show the initial sanding of the Fairing.
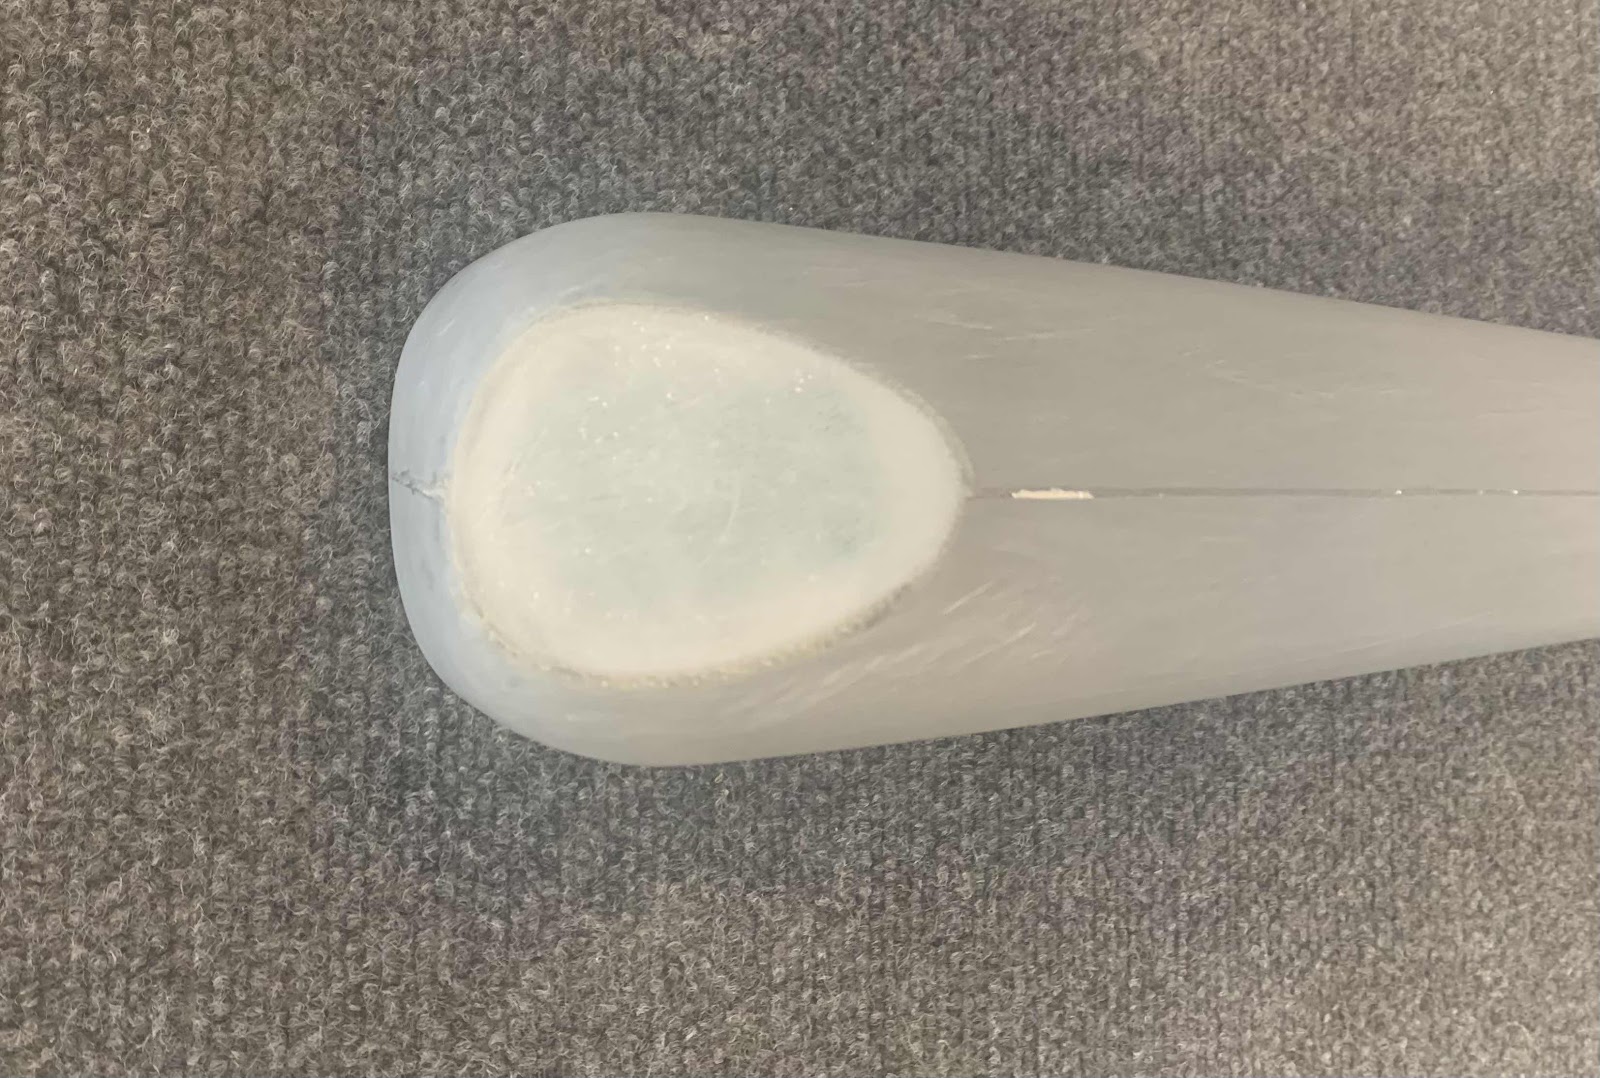
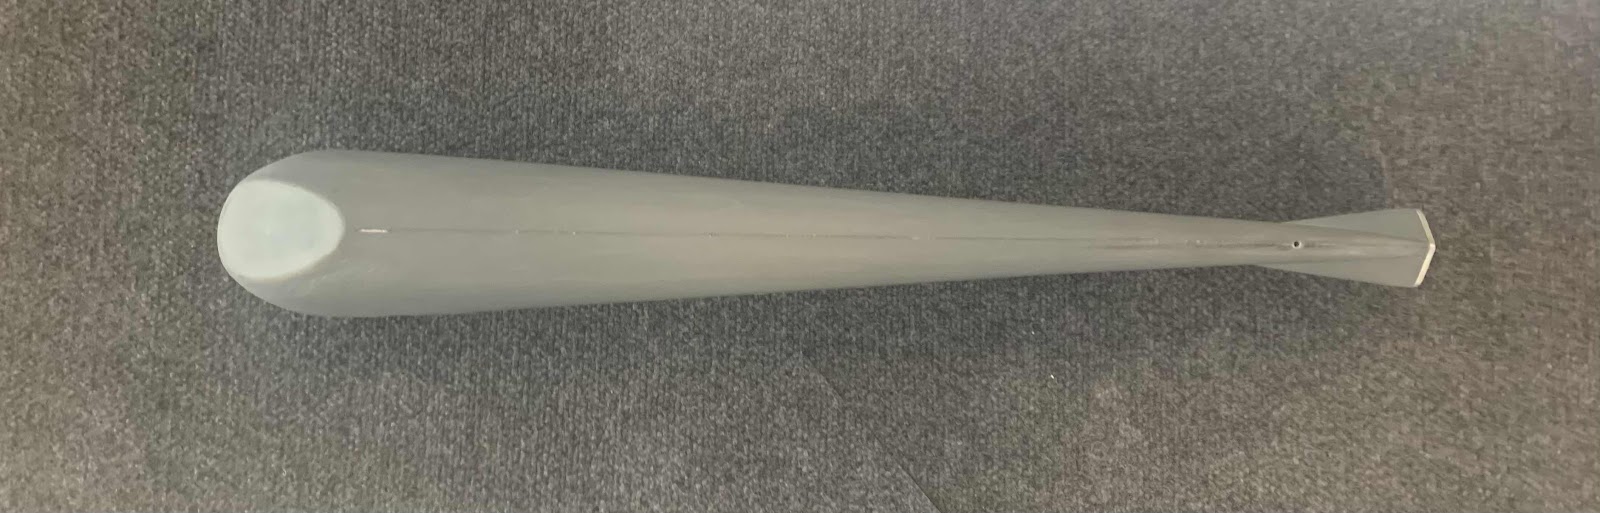
After applying several coats of primer filler, here is the finished product.
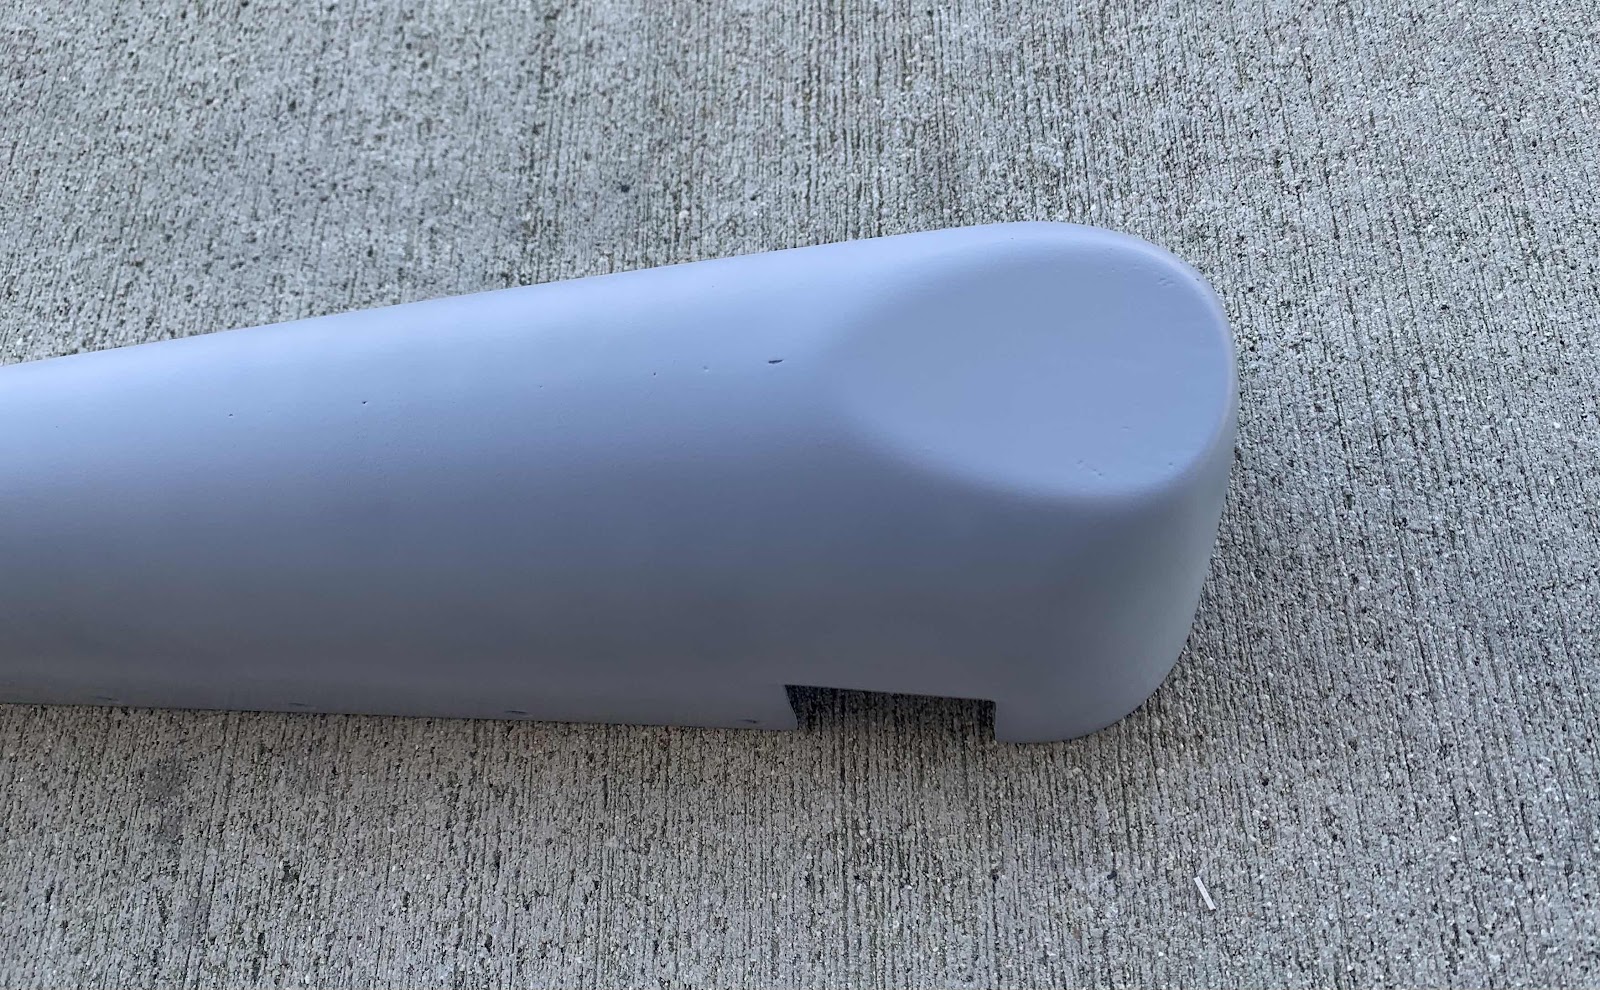


Not to bad considering this was my FIRST attempt at using fiberglass.....I’ll take it.