Today’s session was started by dimpling the F-01471 Forward Top Skin. As shown in the picture below, I used my DRDT-2 to dimple all the holes in the Skin.....except for the ones marked with the orange tape. They will get dimpled and/or countersunk in a later step.
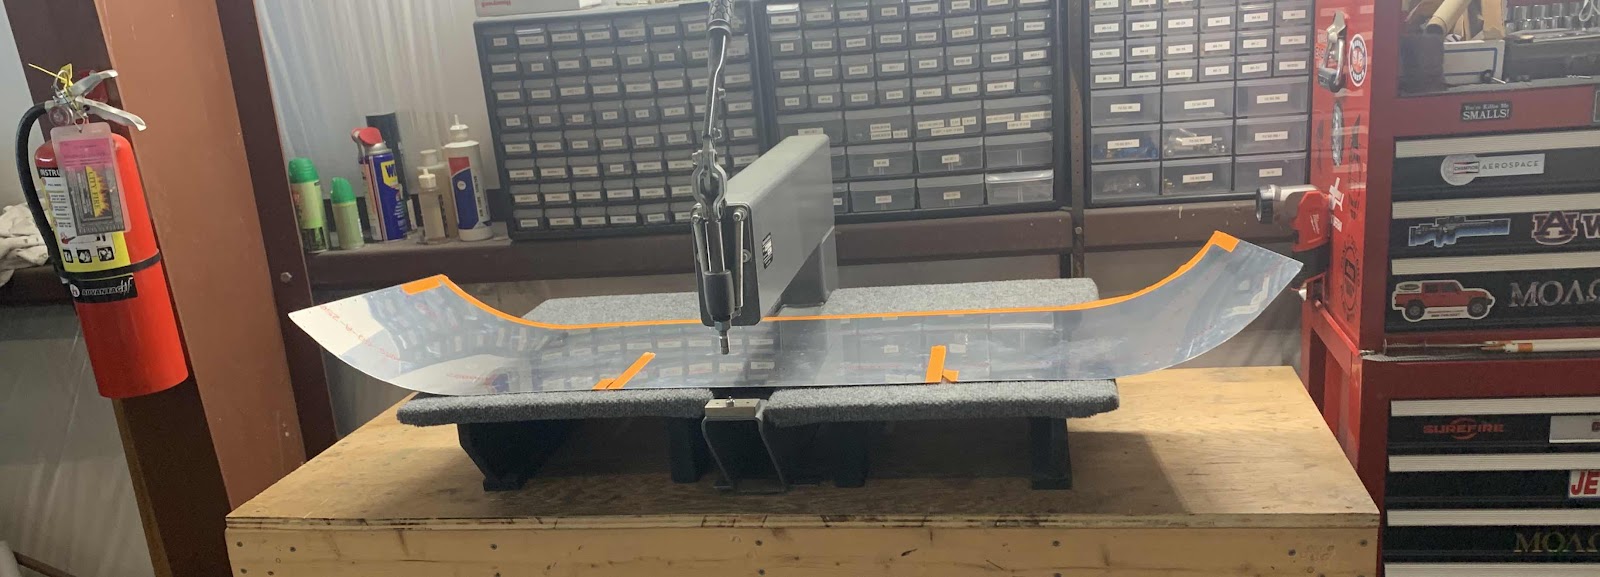
Not the best picture, but the Skin below has been completely dimpled.....except for the holes marked with the orange tape in the picture above.

Next on the list is to match-drill the holes in the F-14134A-R (short) and F-14134A-L (long) Cowling Hinge Shims, the FF-00006A (long) and FF-00006C (short) Cowling Attach Piano Hinges and the F-01471 Forward Top Skin.

It goes like this:
1. The Forward Top Skin and Cowling Hinge Shims were clecoed to every hole in the Firewall flange.....then to all the remaining holes in the Forward Top Skin to the Substructure (starting from the center of the Skin working outward).
2. The Cowling Hinge Shims were gently bent to approximately match the curvature of the Forward Top Skin forward edge
3. The three clecos (per side) directly outboard of the the reference holes on the Cowing Attach Piano hinges were removed. (Index holes are located in the center of the assembly).
The plans have the following note in BOLD:
NOTE: Verify that the reference line on the hinge remains parallel to the forward edge of the side skin during drilling.
Work from the skin centerline outbd, clamp and cleco along the way.
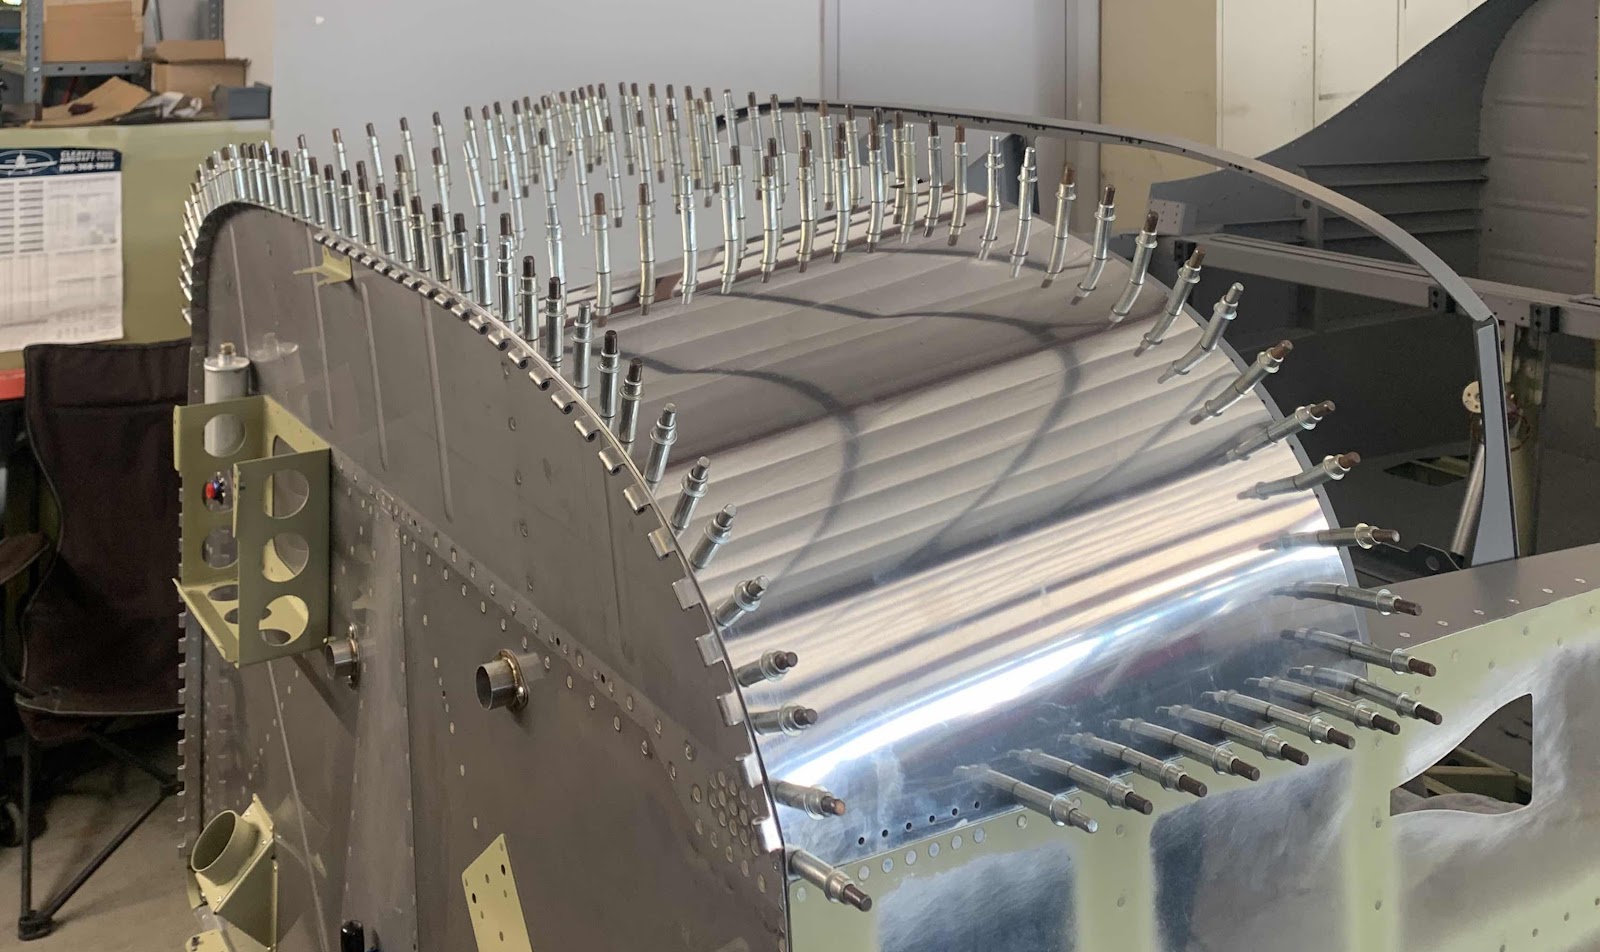
Once all that was done, it’s time to start match-drilling. The process starts at the top center and progressing moves outward using the holes in the skin, firewall flange, and shims as guides to match the holes in the Cowling Attach Piano Hinges. I used a small 1” clamp next to each hole as it is drilled and installed a cleco into each hole. I continued this method and match-drilled the remaining hole around the Firewall.
Here is a couple pictures of the completed Hinge on the left side (right as you look at it).