This blog was created to memorialize the building process of my Van's Aircraft RV-14 and to satisfy the requirements for certification in the Experimental Amateur Built Aircraft category. It will also serve as a central location for ME to reference in the future on processes and techniques I used during the build. Additionally, it will allow my family, friends, and other interested builders the opportunity to follow along during my build…..and might be helpful to someone along the way.
Sunday, February 28, 2021
Thursday, February 25, 2021
Wednesday, February 24, 2021
Thursday, February 18, 2021
Finishing, Canopy and Window (Part 23)
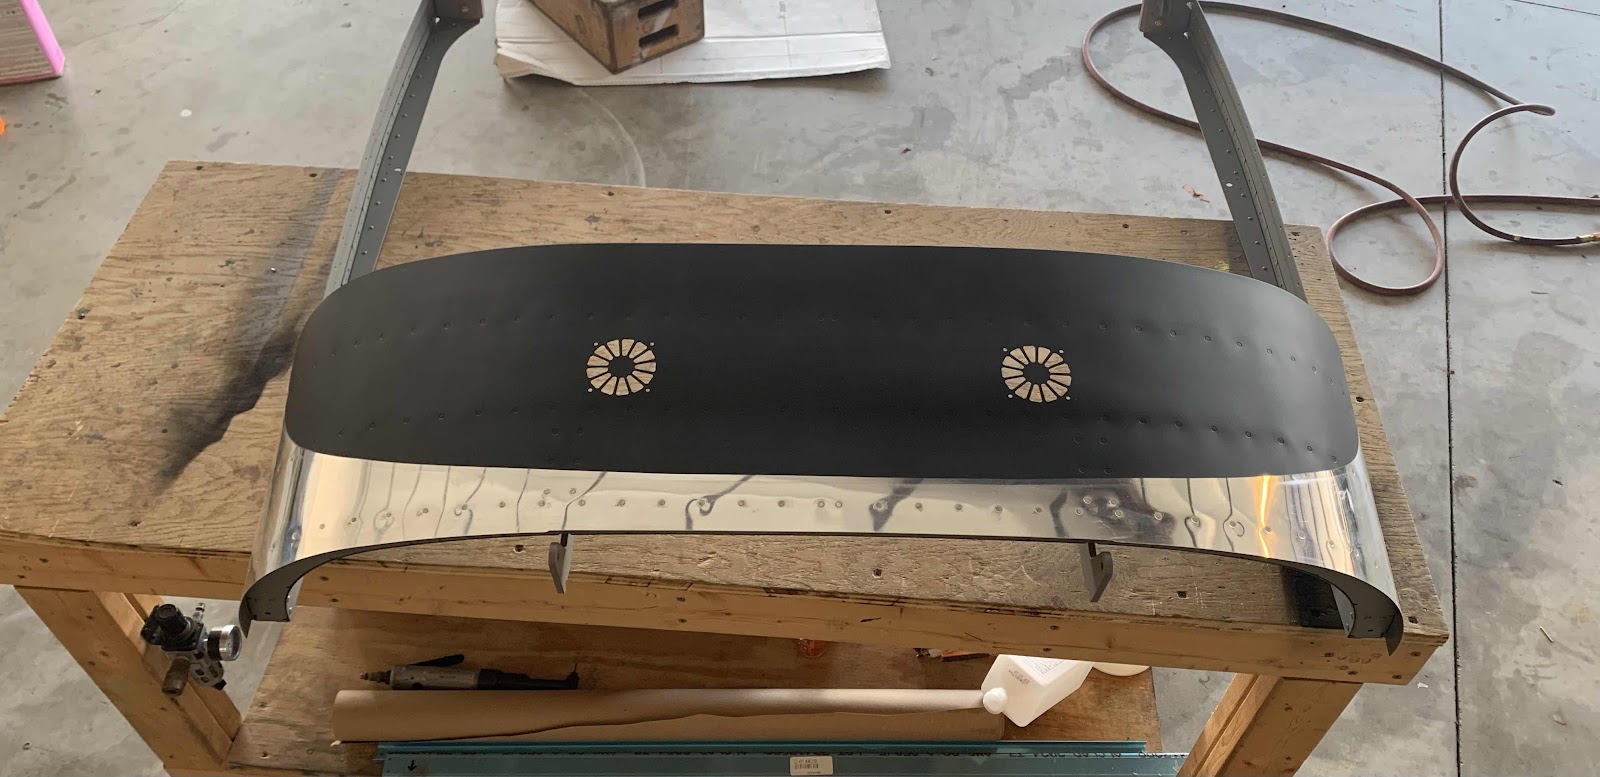
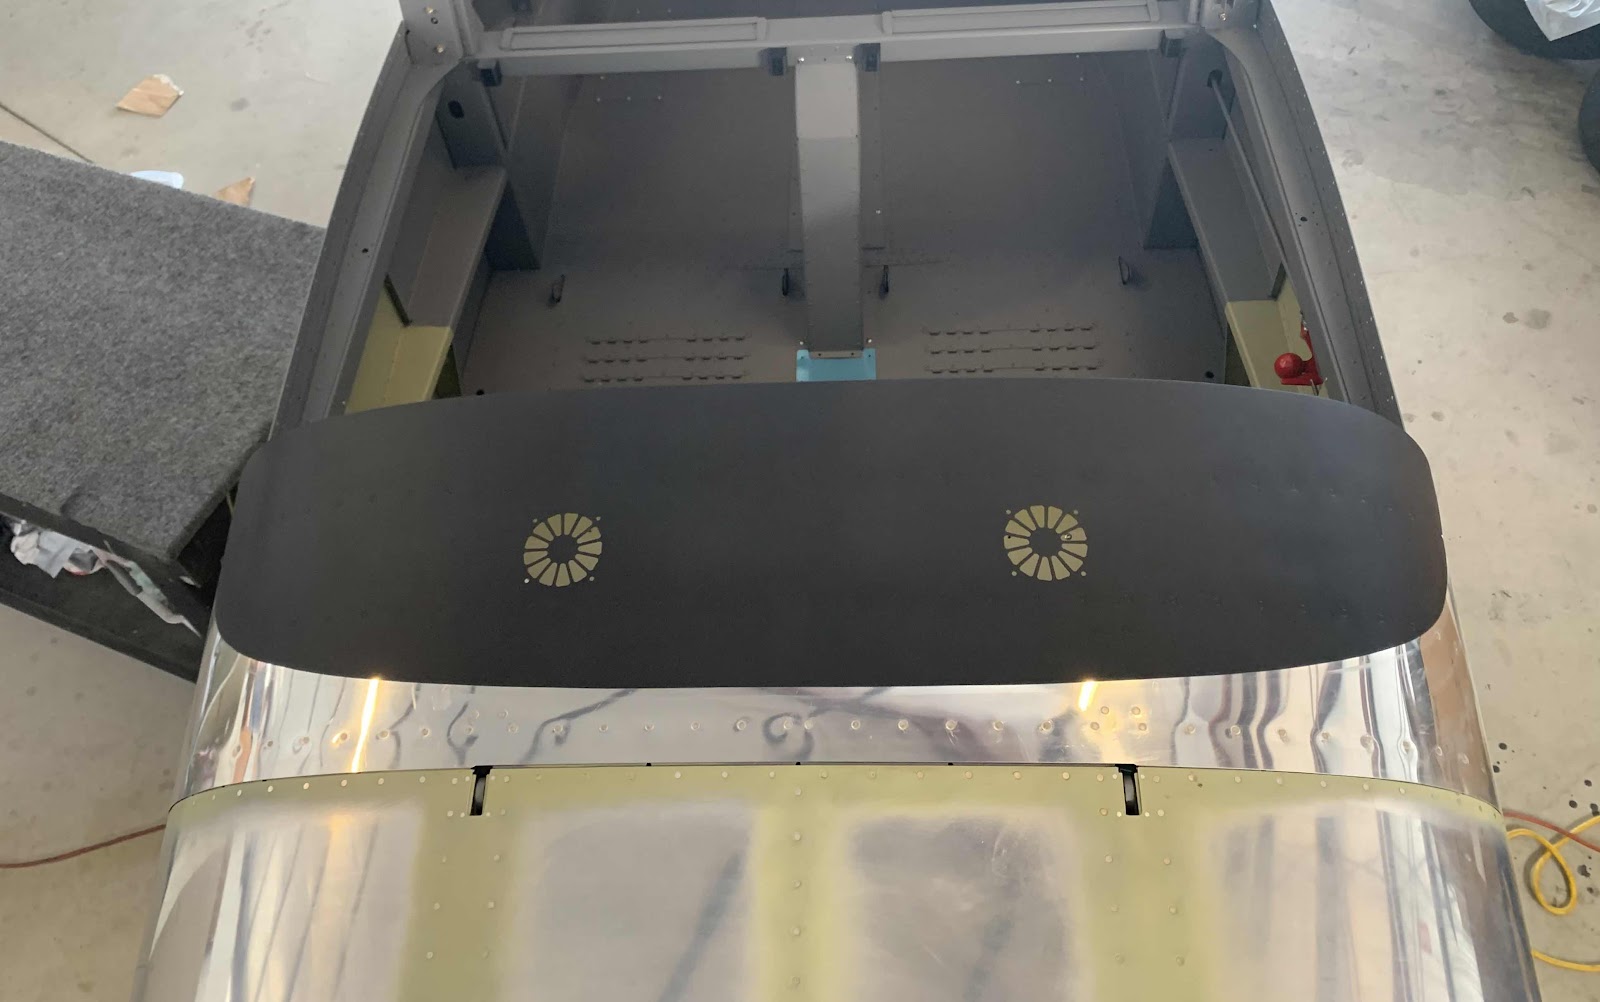
Previously, while the canopy was installed, I used a sharpie to trace the forward edge of the canopy onto the Canopy Skin to mark the glare shield area. The orange tape in the pictures below indicate where the traced sharpie line was made on the Canopy Skin. The plans indicate this is an excellent time to scuff and paint this area flat black. To prep the area, I used grey Scotch-Brite (07448) to initially scratch the surface, followed it up with 220 grit sandpaper and final sanded with 400 grit sandpaper. Here are a few pictures showing the glare shield area prepped prior to painting.
I debated for a little bit on what type of primer and paint to use on the glare shield.....sprayed from my HVLP spray gun or rattle cans. Ultimately, I chose spray cans. So, I used:
Primer: Transtar Autobody Technologies, Inc 2 in 1 primer (black)
Paint: Seymour Spruce Flat Black enamel
I used two coats of primer (sanding with 400 grit sandpaper between applications) and three coats of paint. Here is the result after one coat of paint.....
.....after two coats of paint.....

.....and after the third and final coat of paint.

After allowing the paint to completely dry, I removed all the tape and paper.....here is the final result. I think it turned out great.


Tuesday, February 16, 2021
Empennage, Fairings (Part 8)
During this session, I fitted the Empennage Gap Covers that cover the gaps between the horizontal stablilizer and fuselage.
After I was satisfied with how they fit, I treated the covers with alumiprep, alodine and primer.

Subscribe to:
Comments (Atom)