The work covered in this entry was completed over the course of three work sessions between March 23 - 29, 2021.
The VS-909 Vertical Stabilizer Tip came from Van’s without a “back” on the aft facing opening.....so, we had to make a fiberglass patch. To start, we coated a scrap piece of aluminum with generic candle wax (we used one of the the small white ones that came in a pack of 9.....worked great). As the plans state, this will prevent the fiberglass layups from sticking to the aluminum.
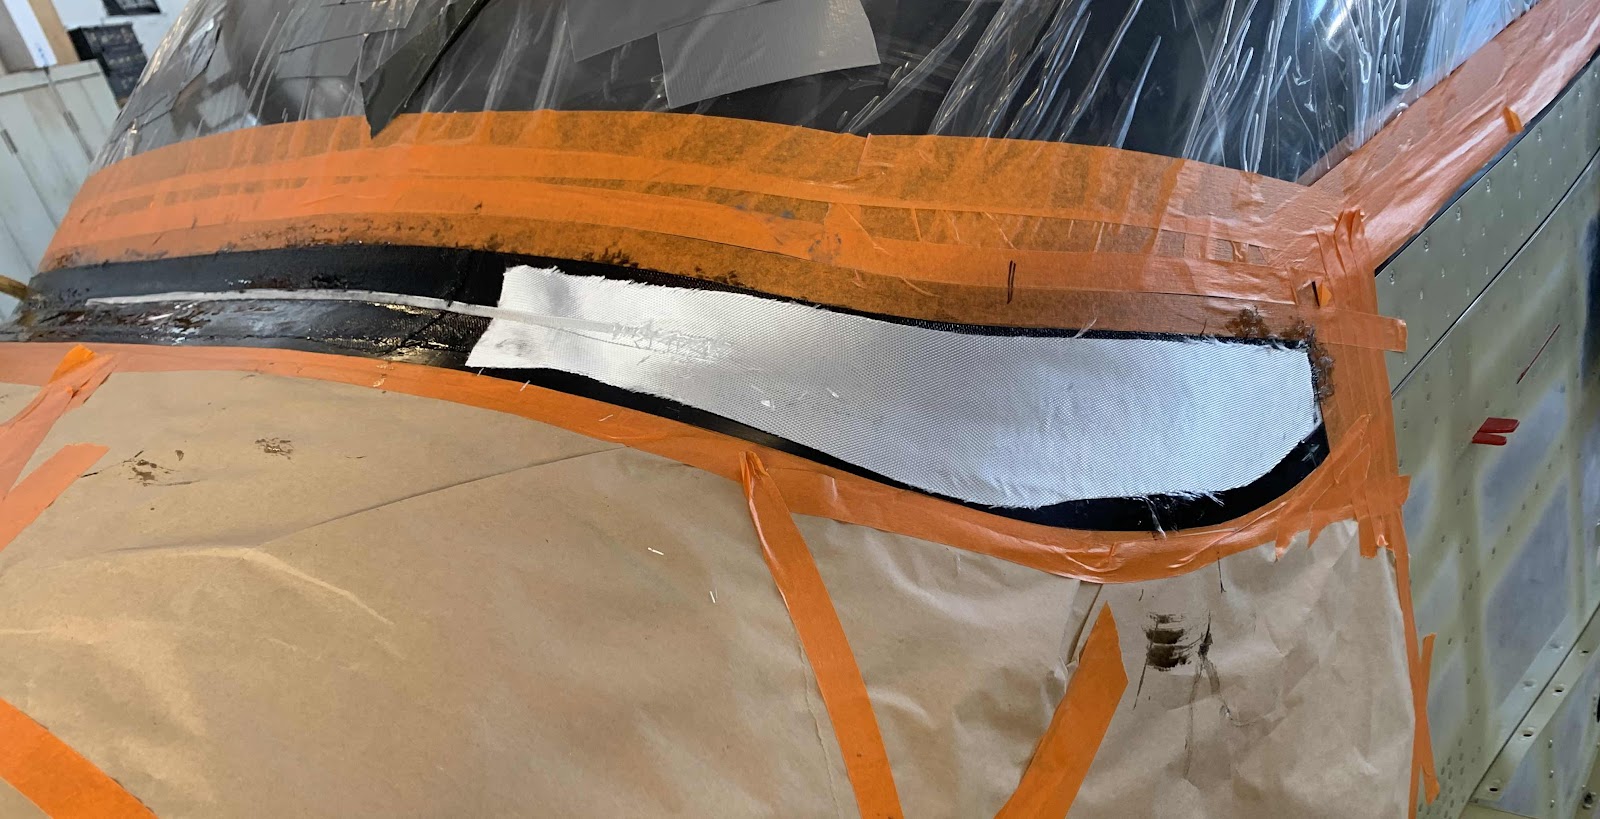
We layed up two layers of fiberglass sheet and let it cure over night. The next day, we trimmed the cured fiberglass to a size just a little wider and LONGER (important) than the Vertical Stabilizer Tip (as shown in the picture below).....and traced the actual size of the Tip onto the fiberglass.
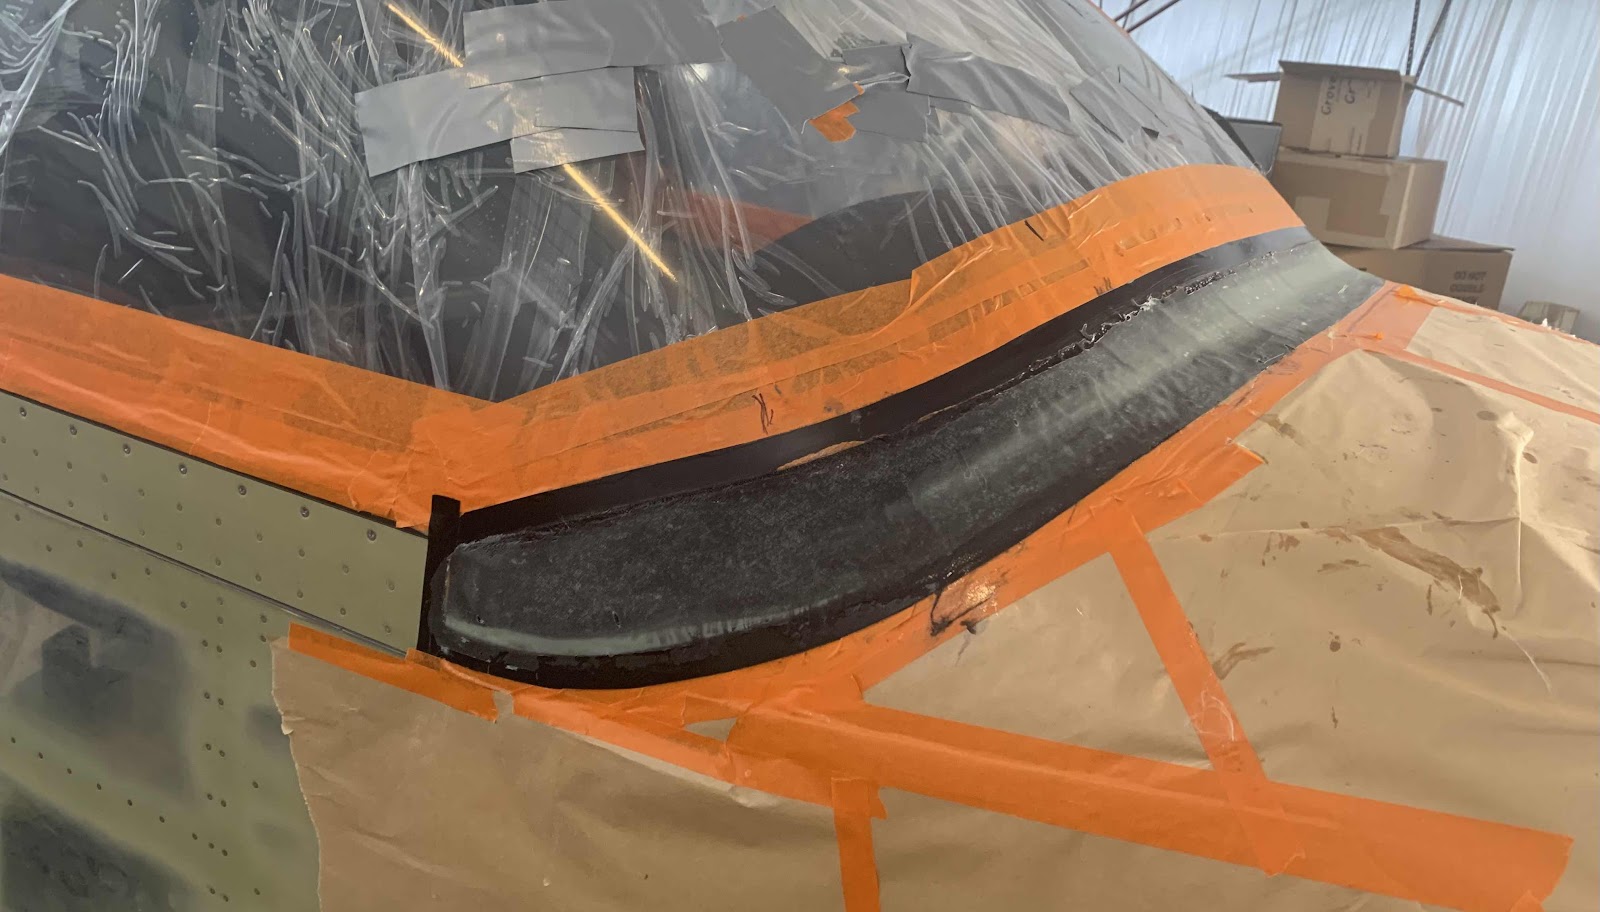
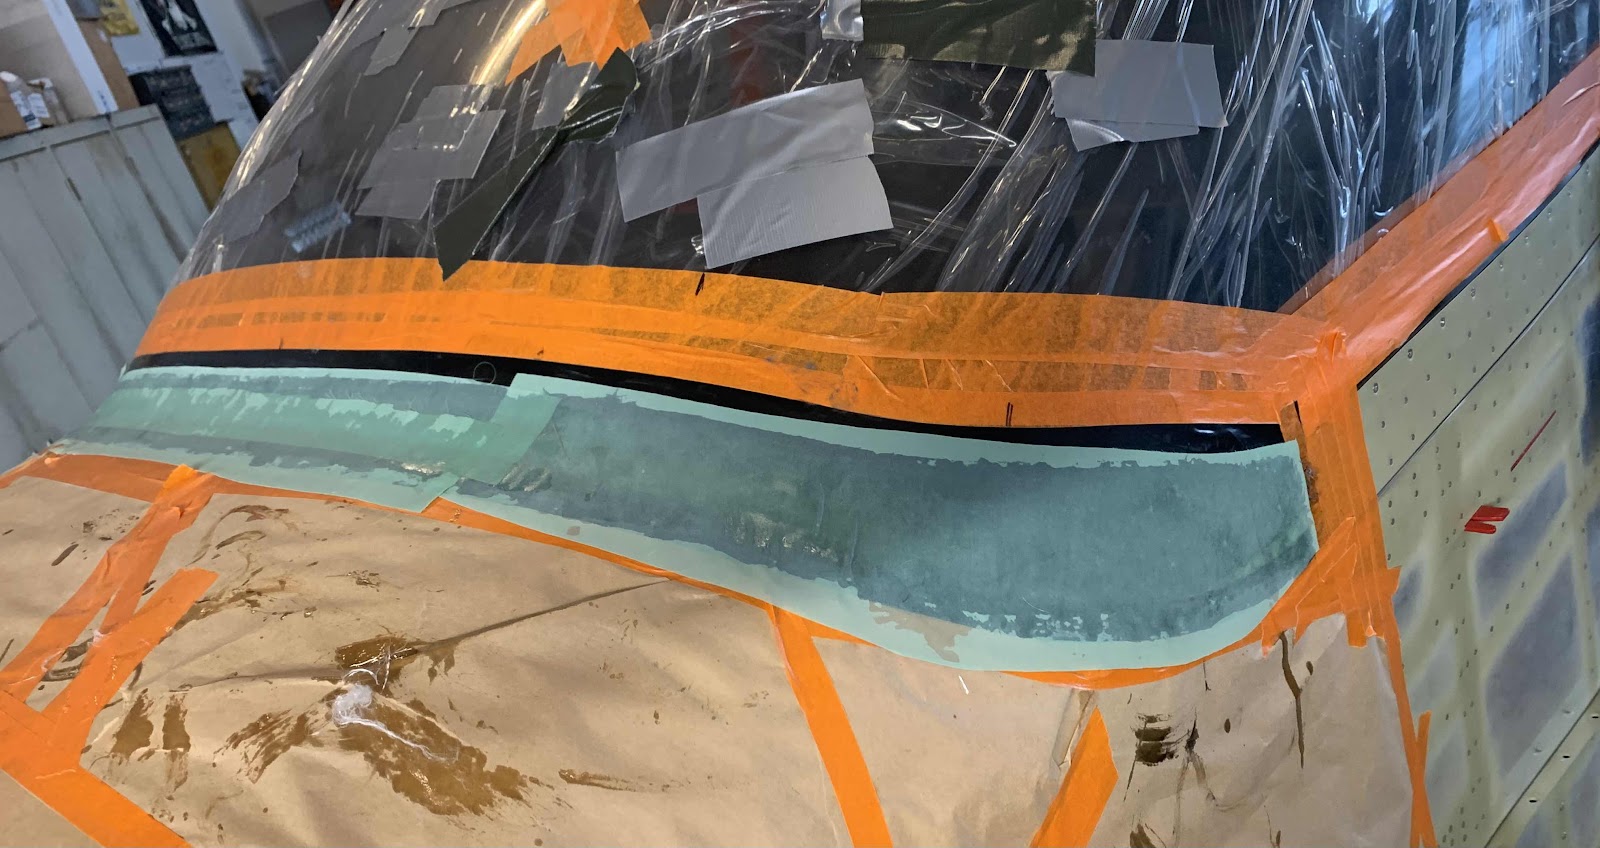
With the fiberglass patch trimmed and in place under the Tip, I used a popsicle stick to apply the flox mixture to the inside of the Tip where it meets the fiberglass patch.
The Tip had a little bit of “inward spring” to it, so I installed this little block of wood to keep the sides of the Tip in the correct place.
*****Make sure the wood block is not touching the flox or it will be “glued” to it.....almost happened to me!!
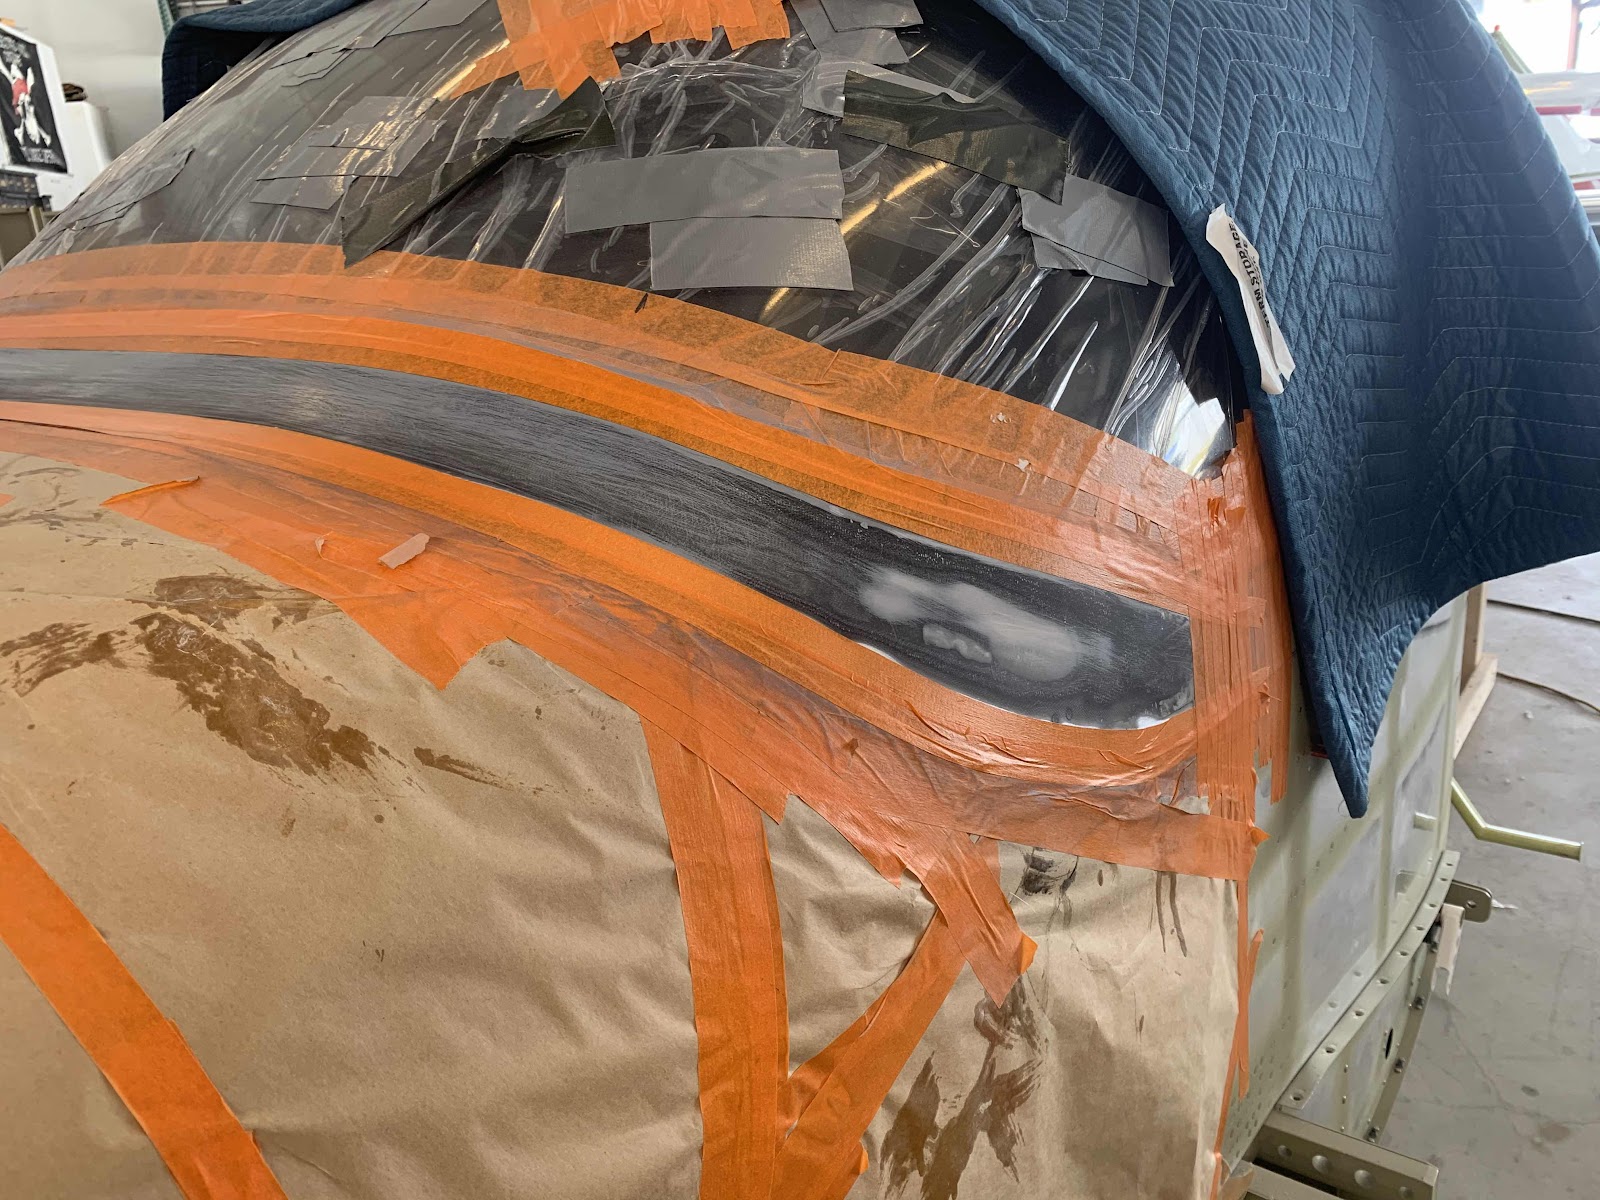
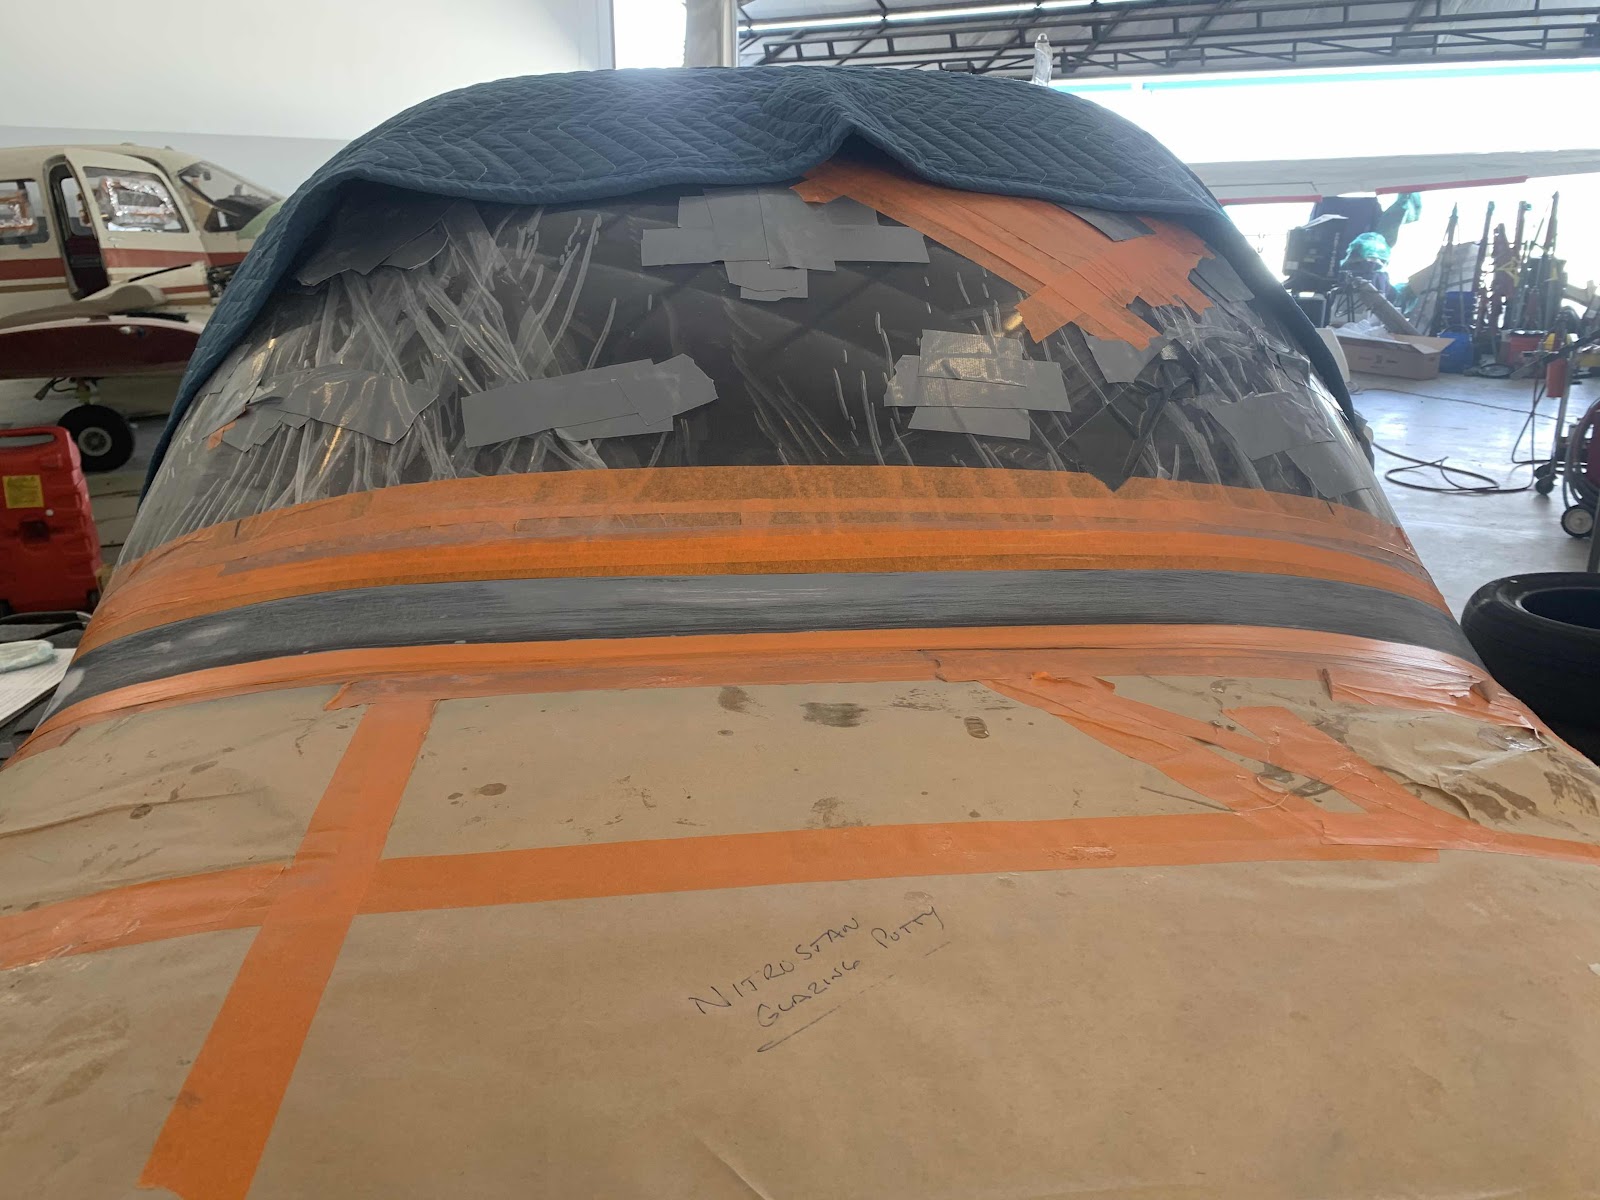
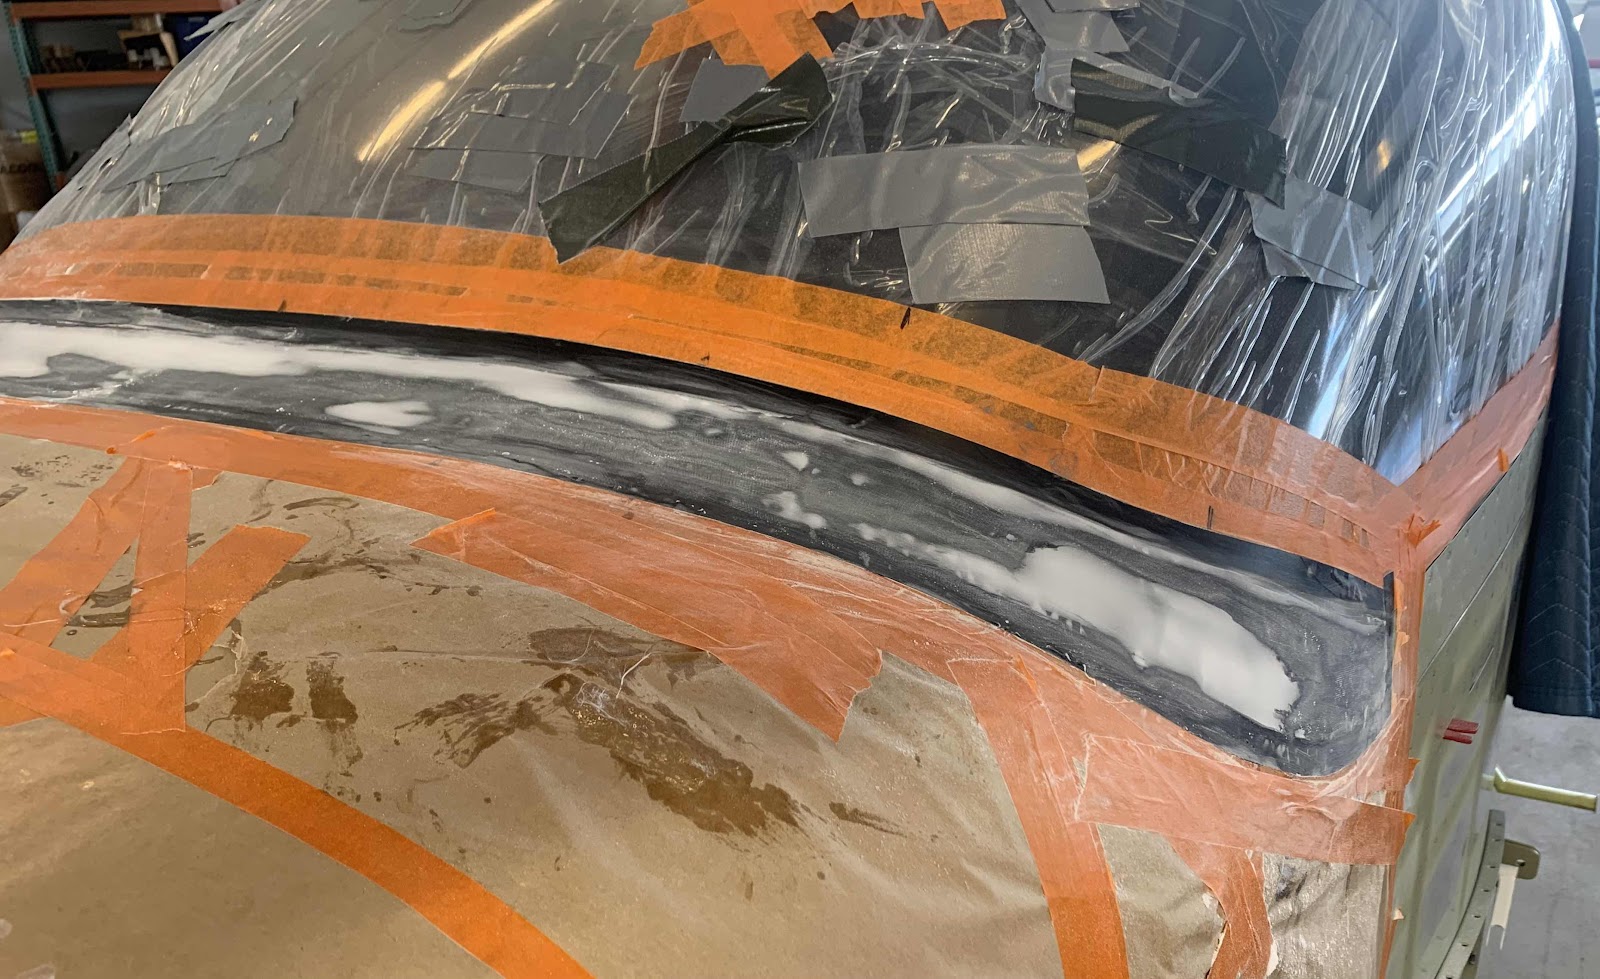
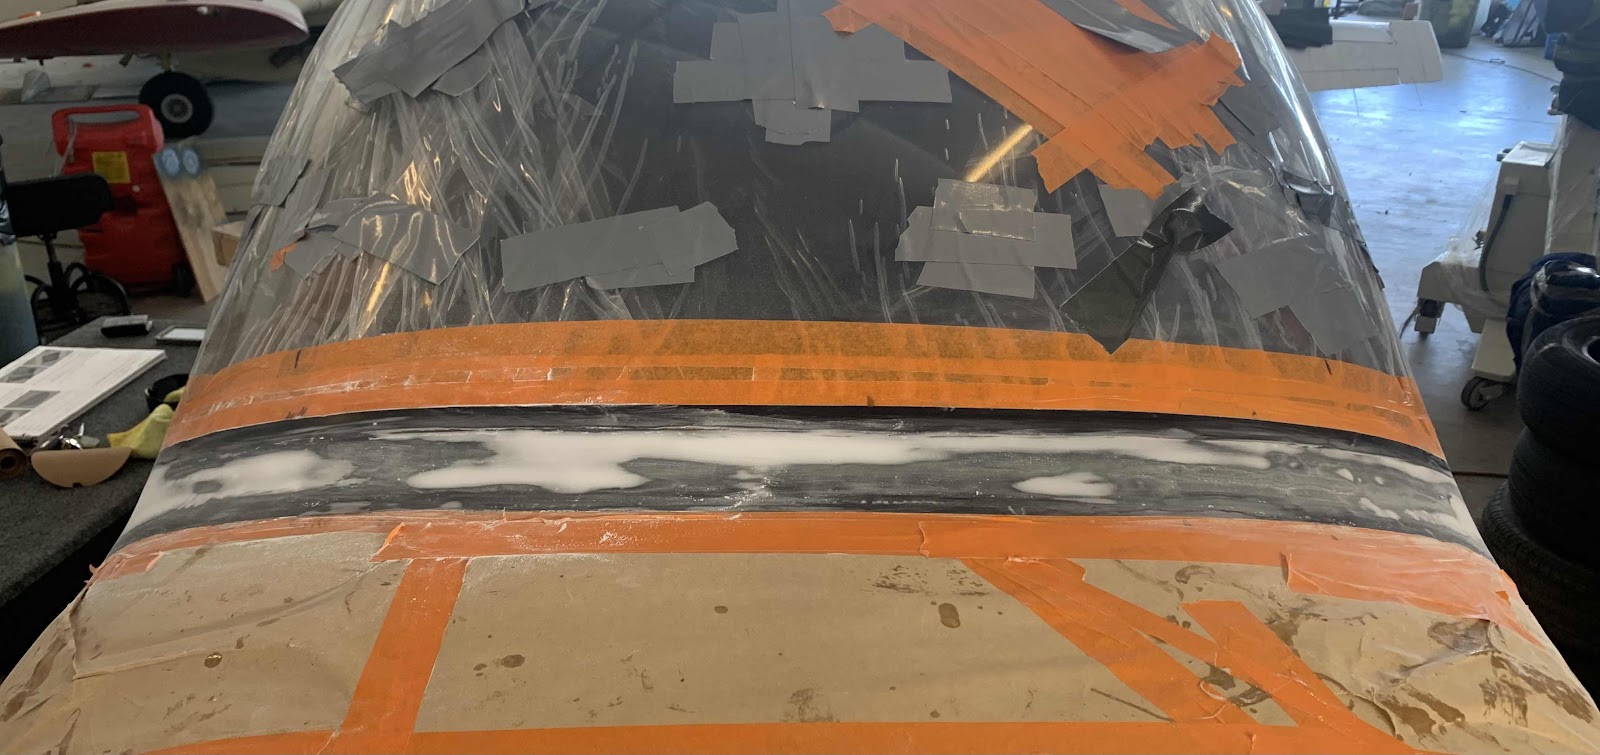
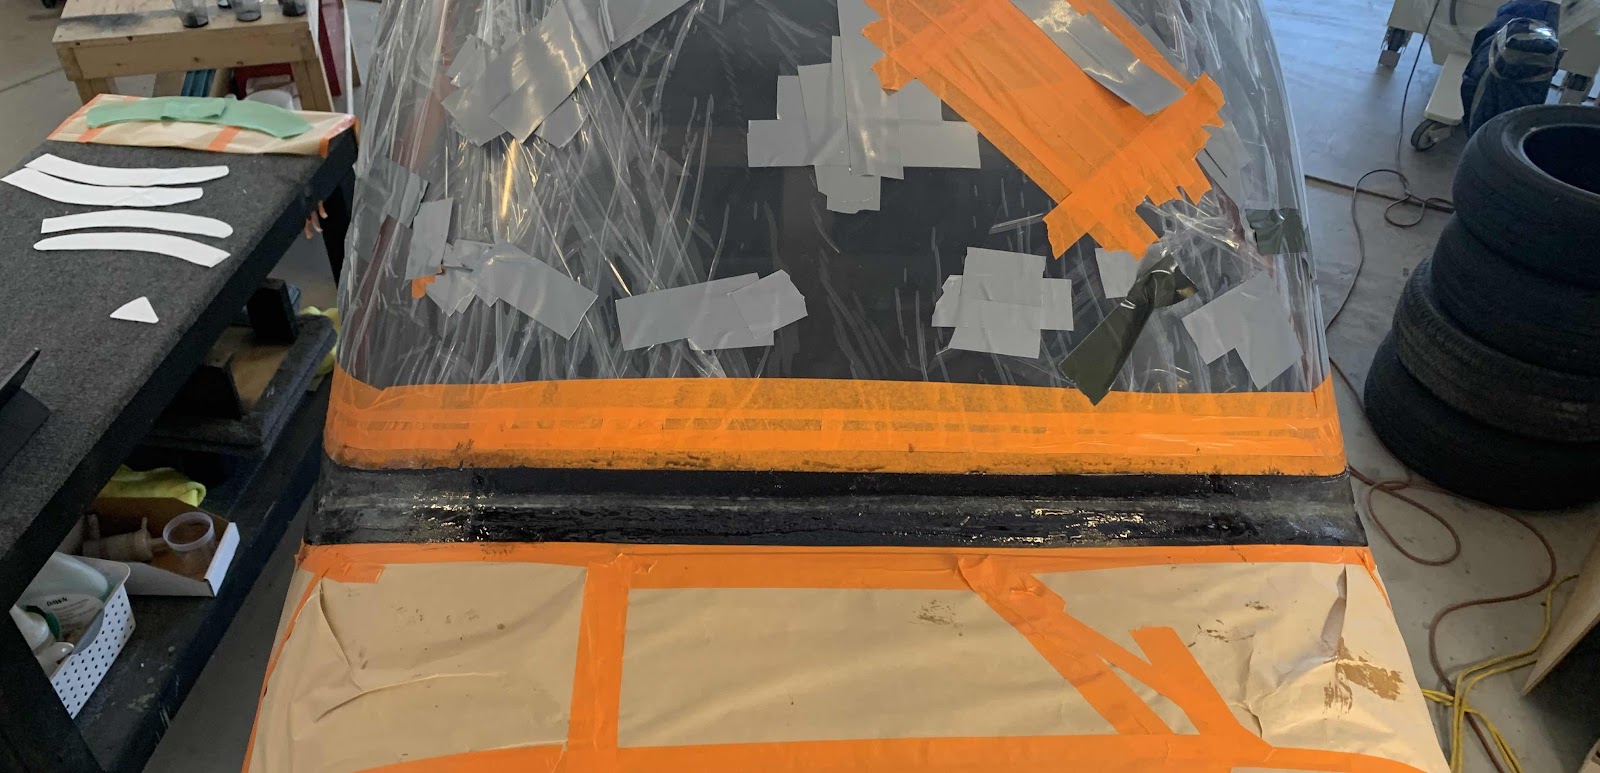
Then, we applied a bunch of orange tape to hold the two pieces together and allow the flox to cure overnight.
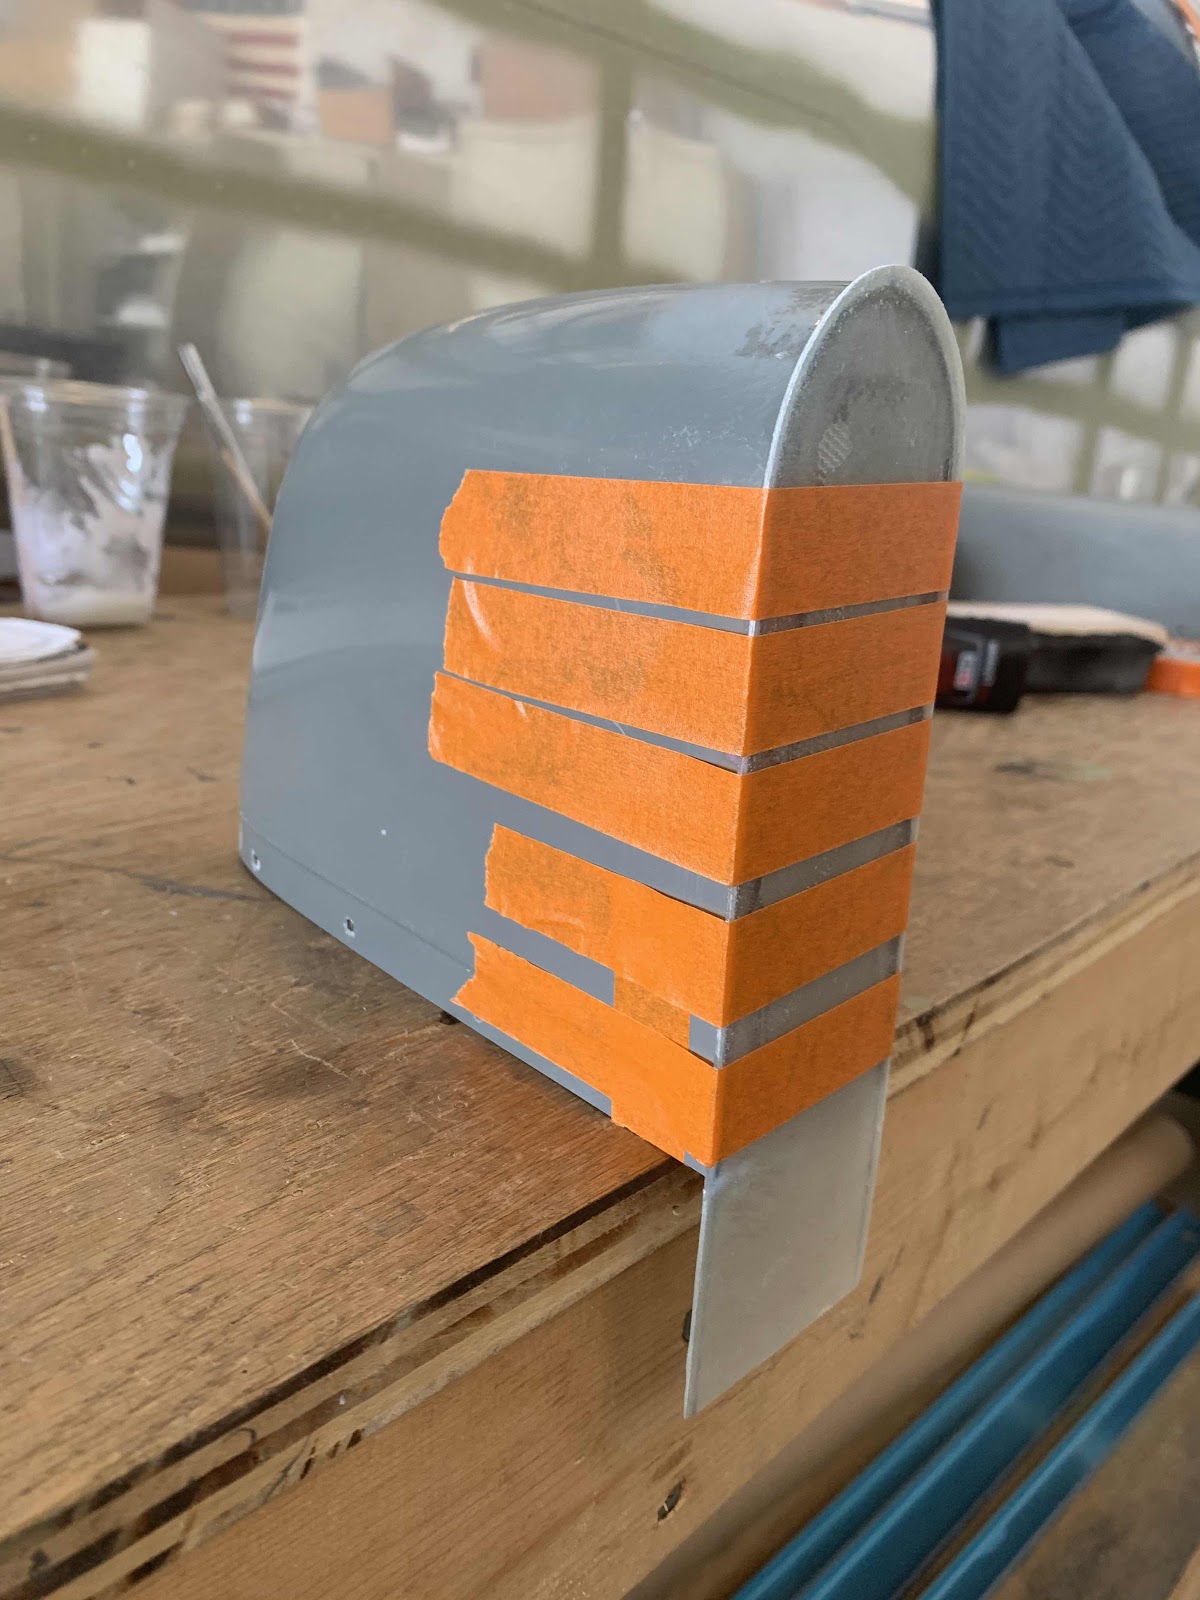
Here are a couple of different angles. From this angle, you can see the patch is just slightly wider then the actual Tip.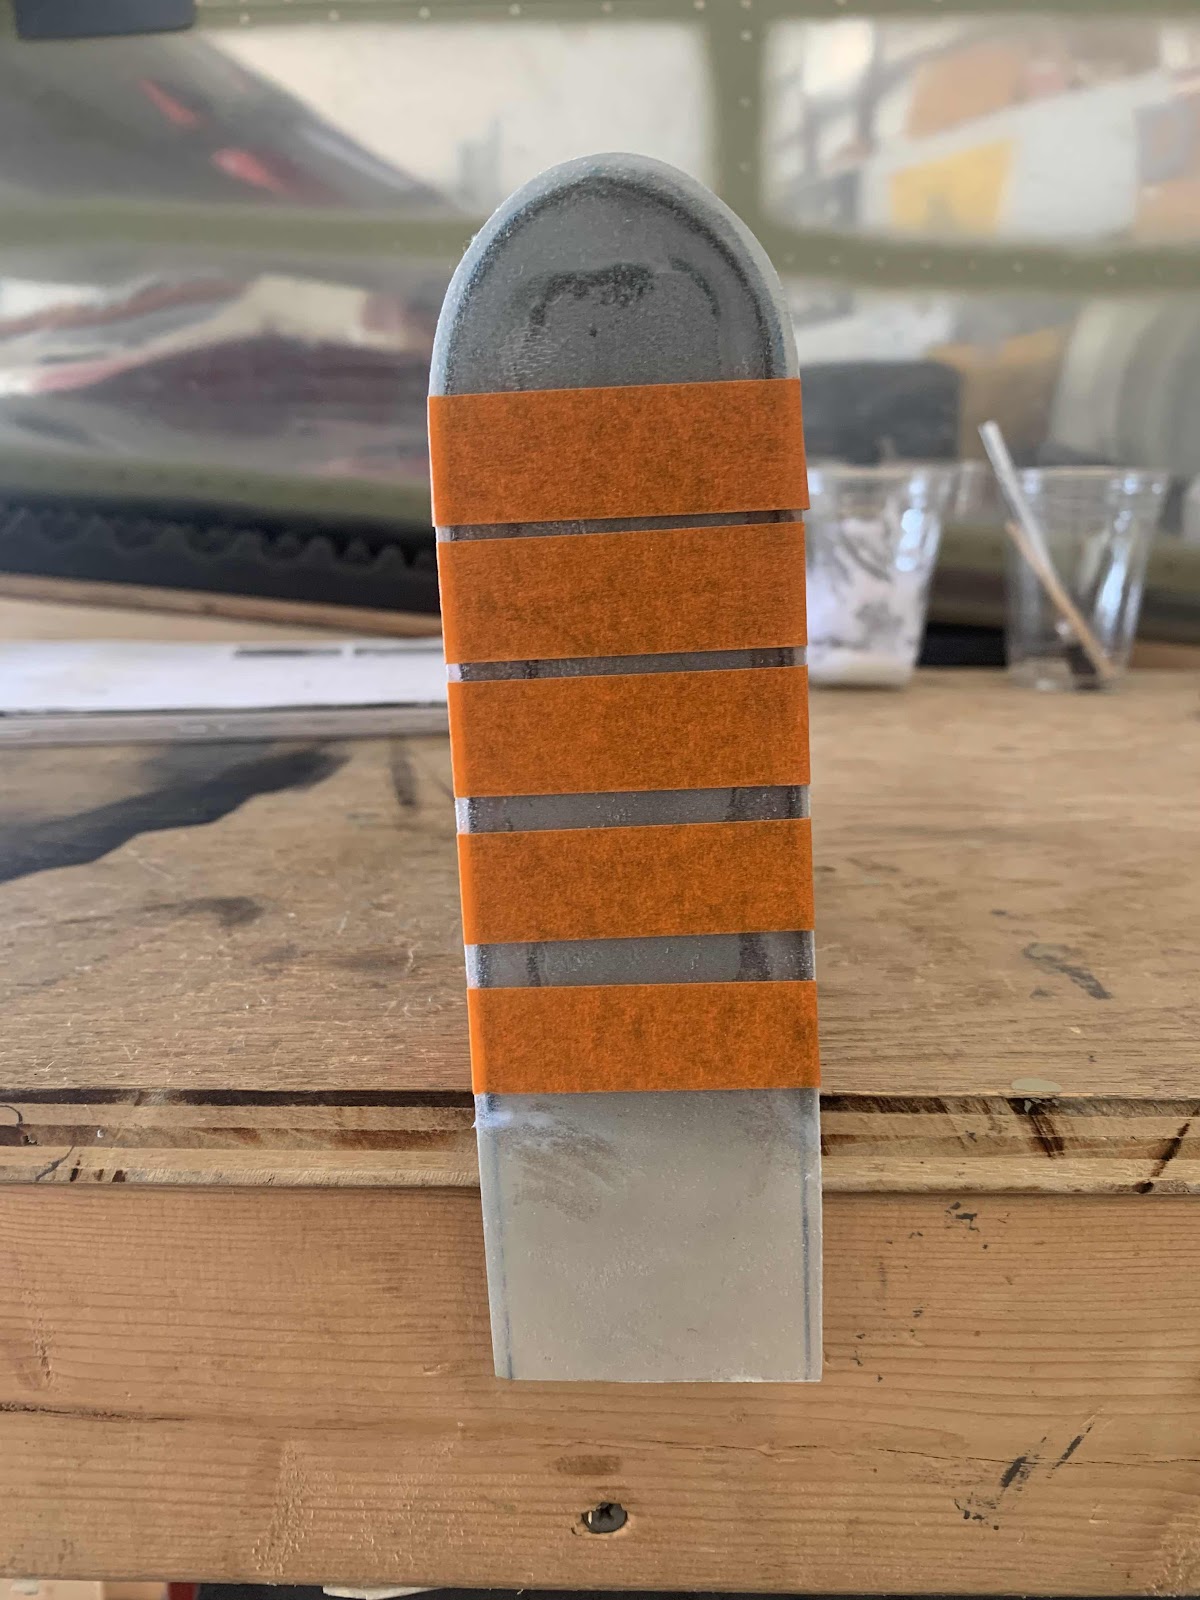
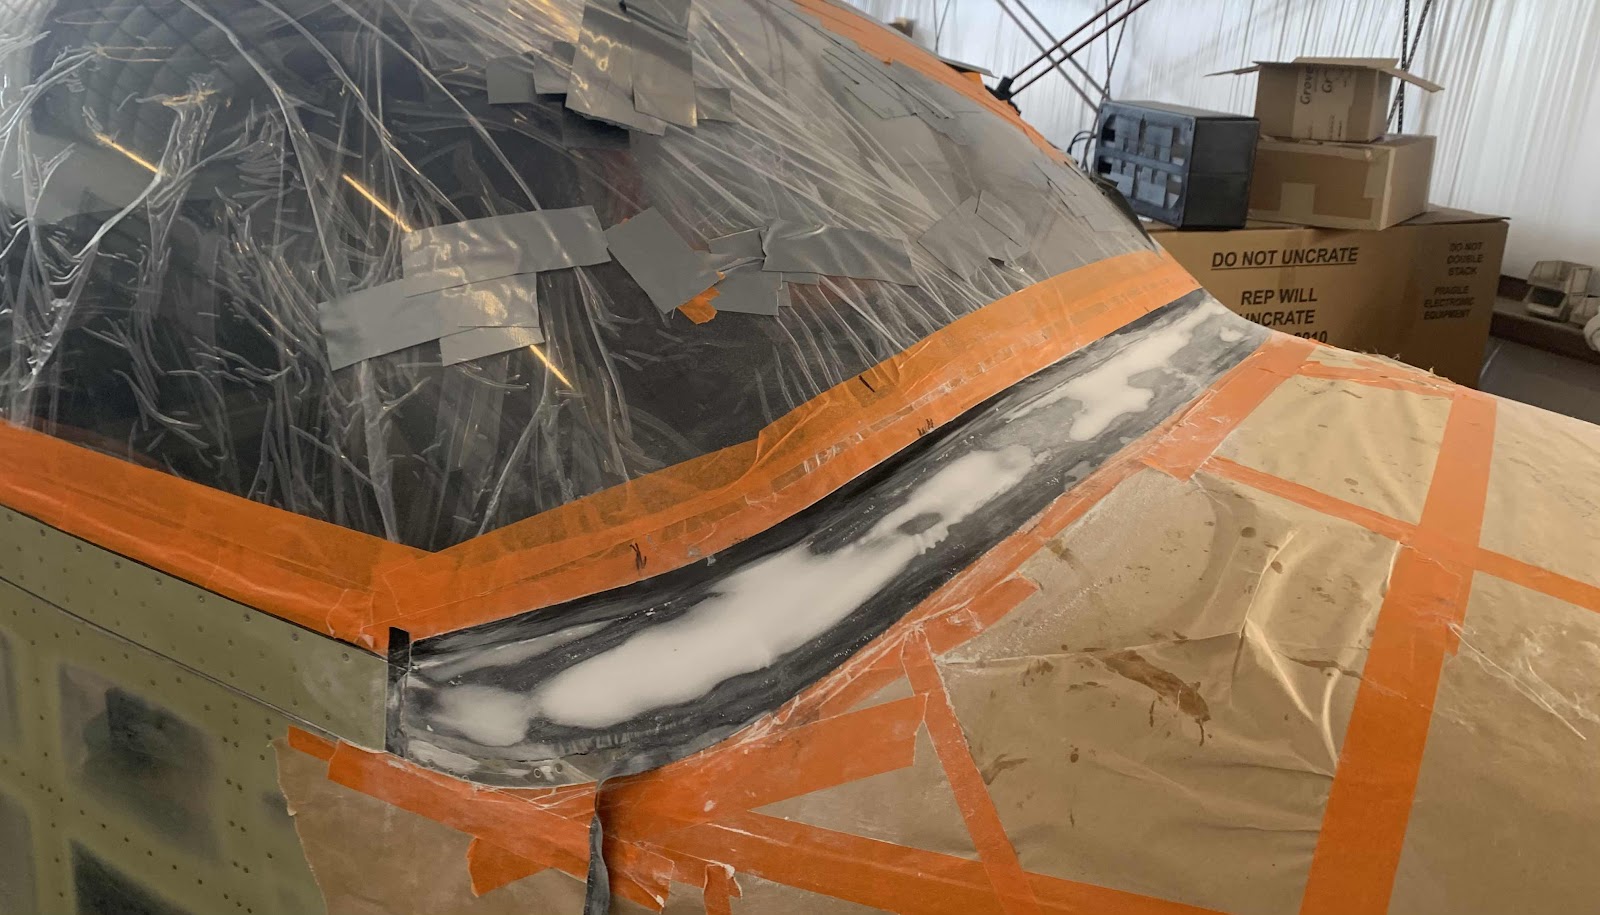
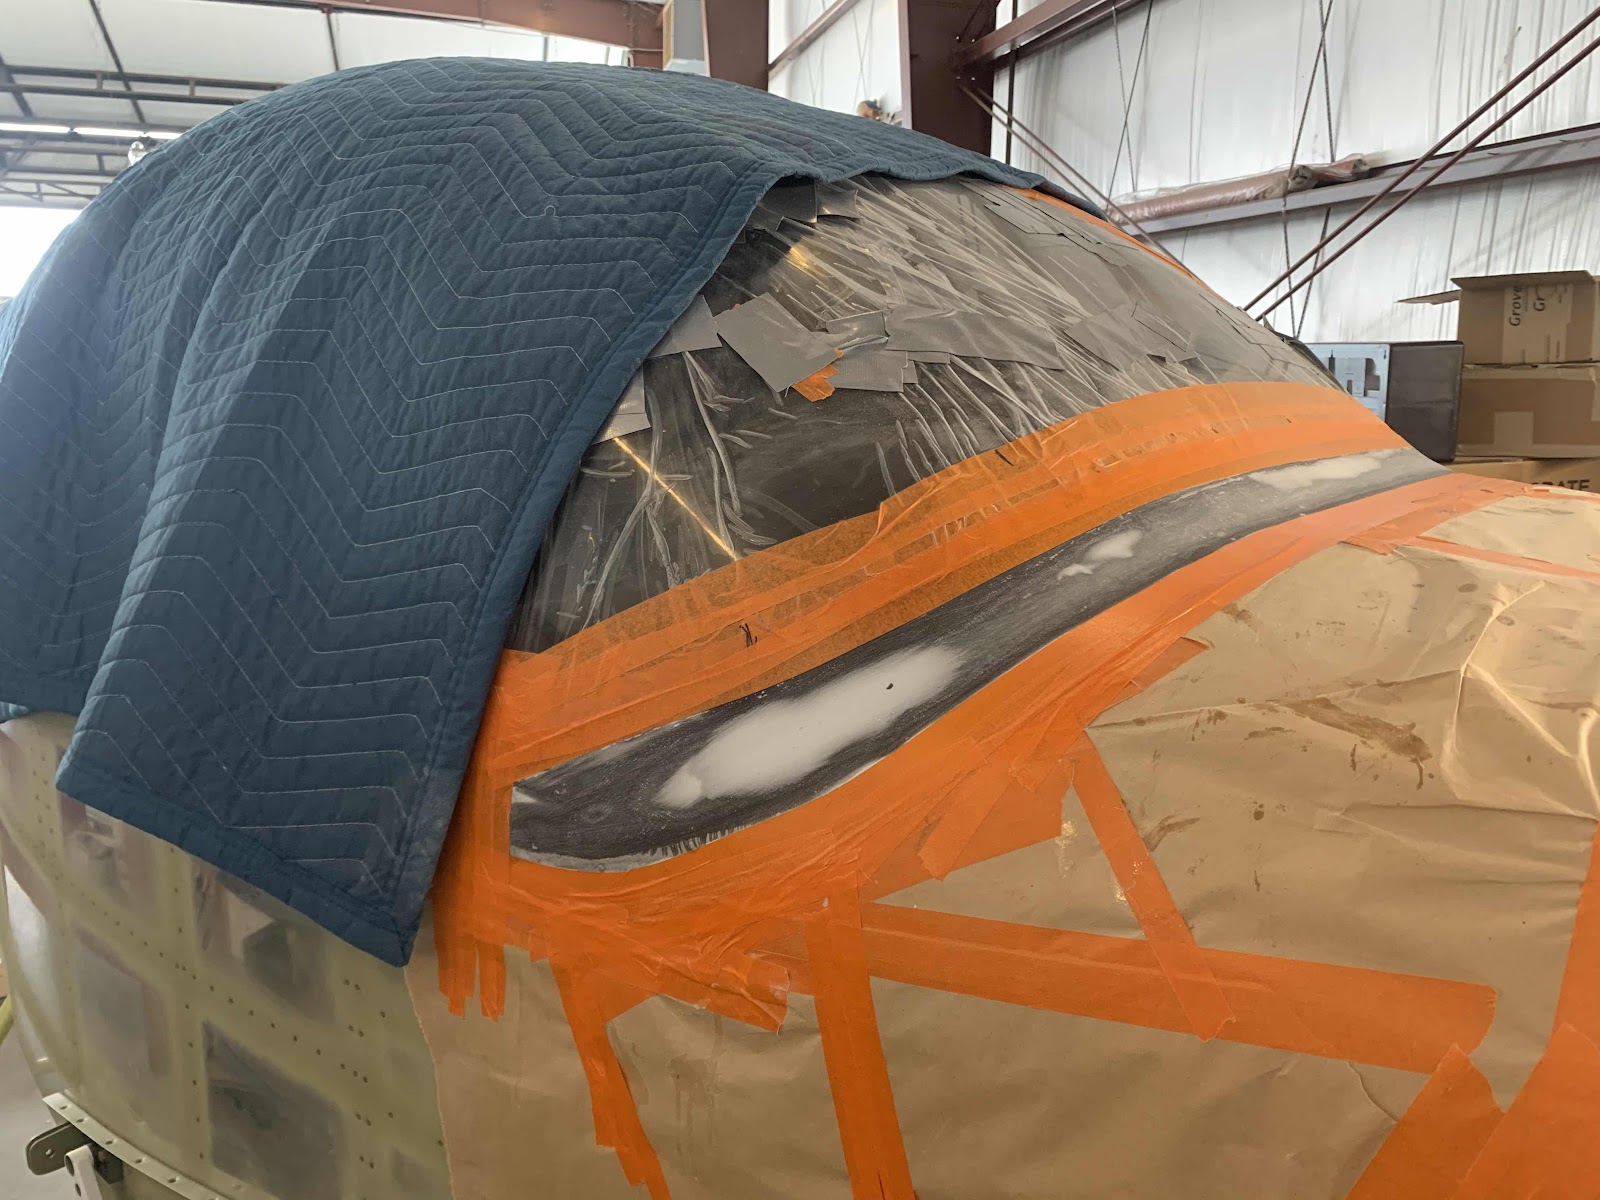
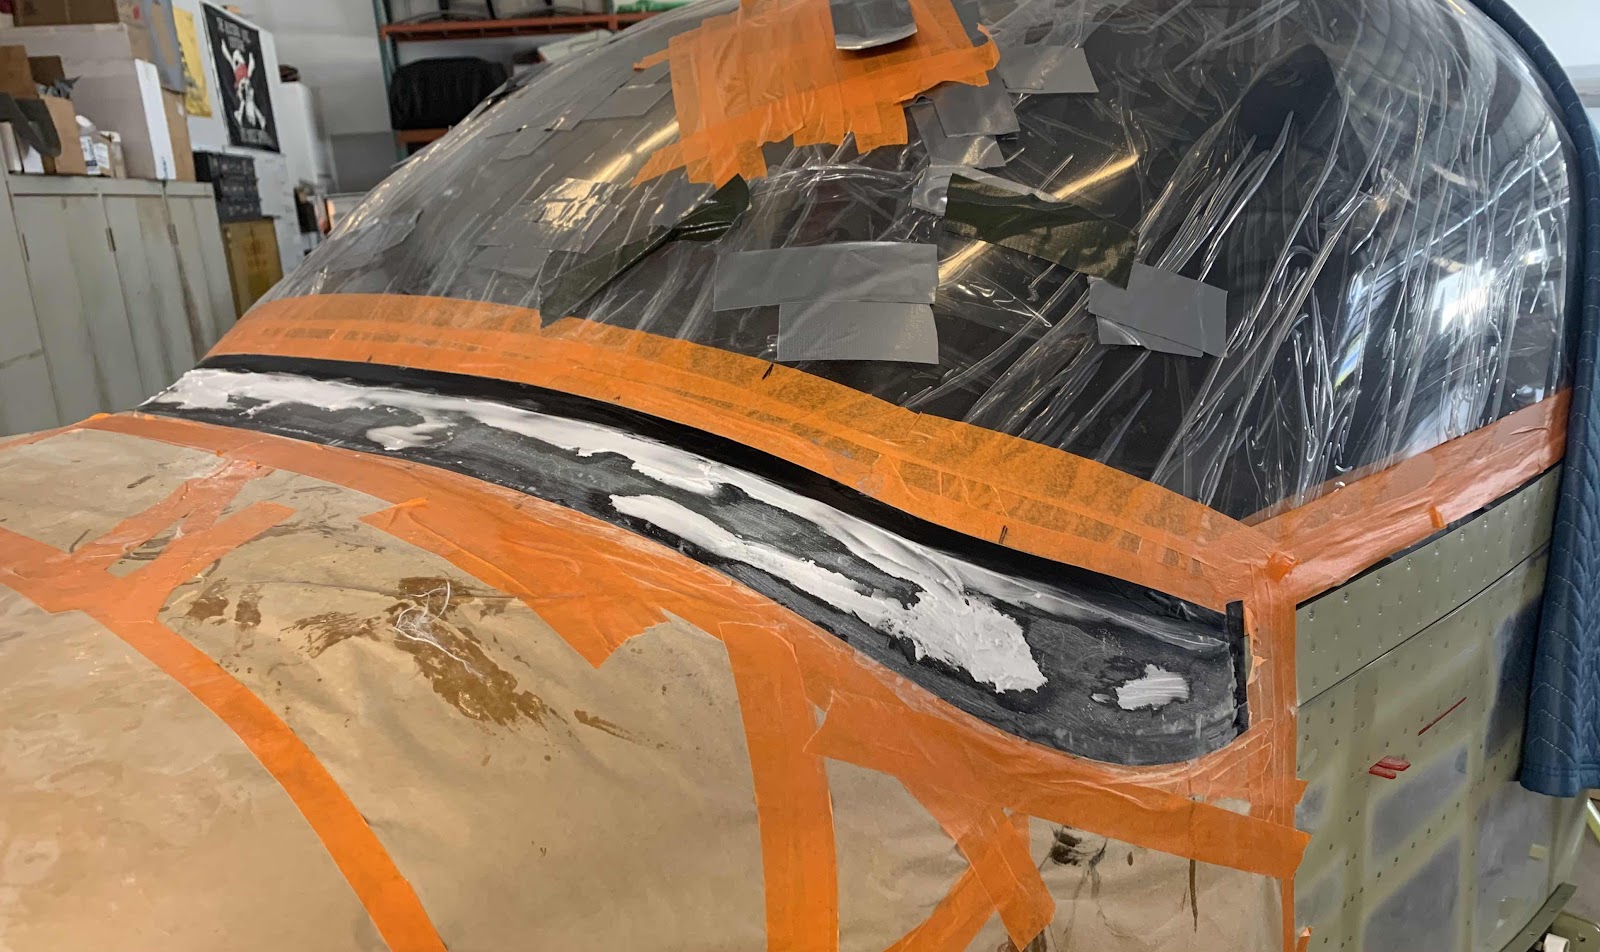
After the flox mixture cured overnight, we removed the tape. This picture shows some work already completed on the bottom of the fiberglass patch. The bottom side of the Tip was sanded to fit into the upper portion of the Vertical Stabilizer. The next few pictures will show the finished product after several “fitting” installations were done.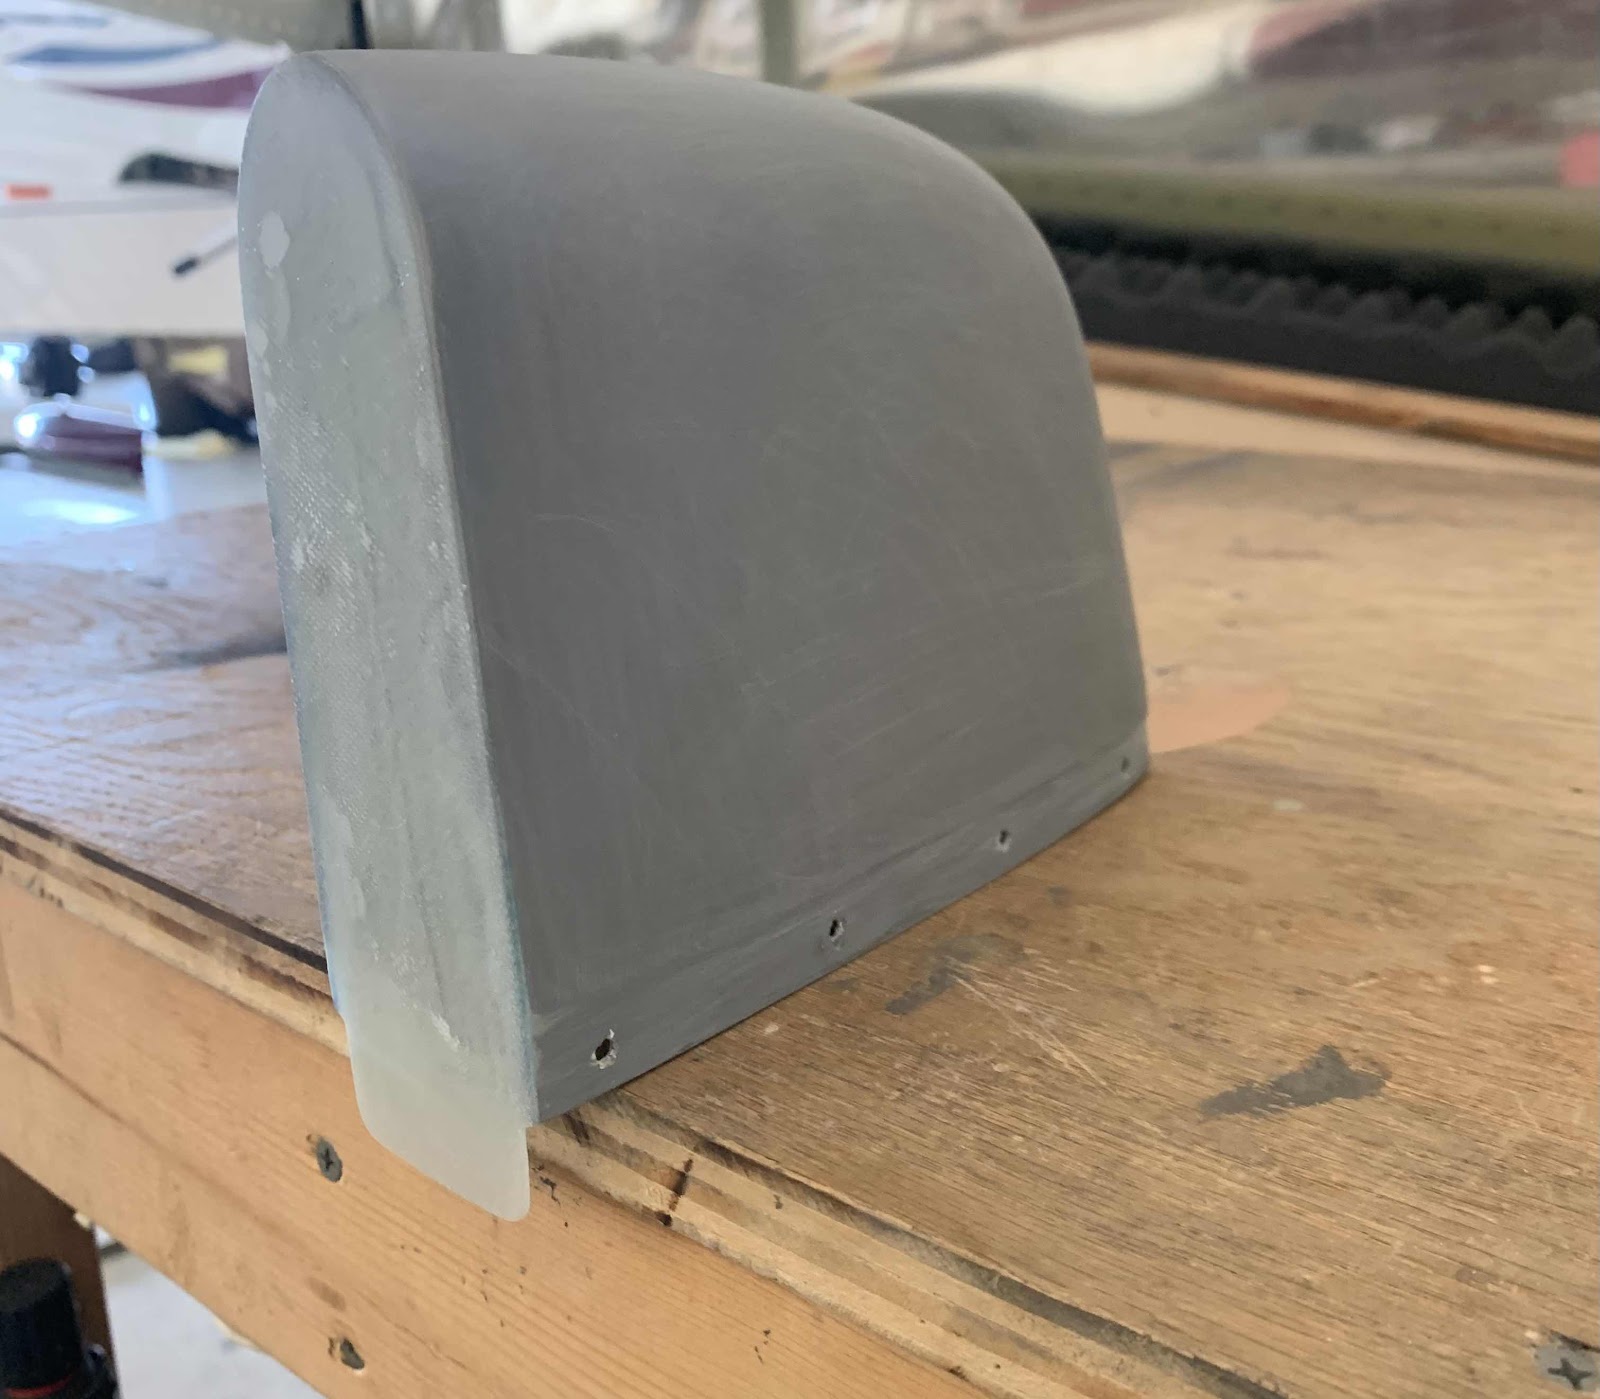


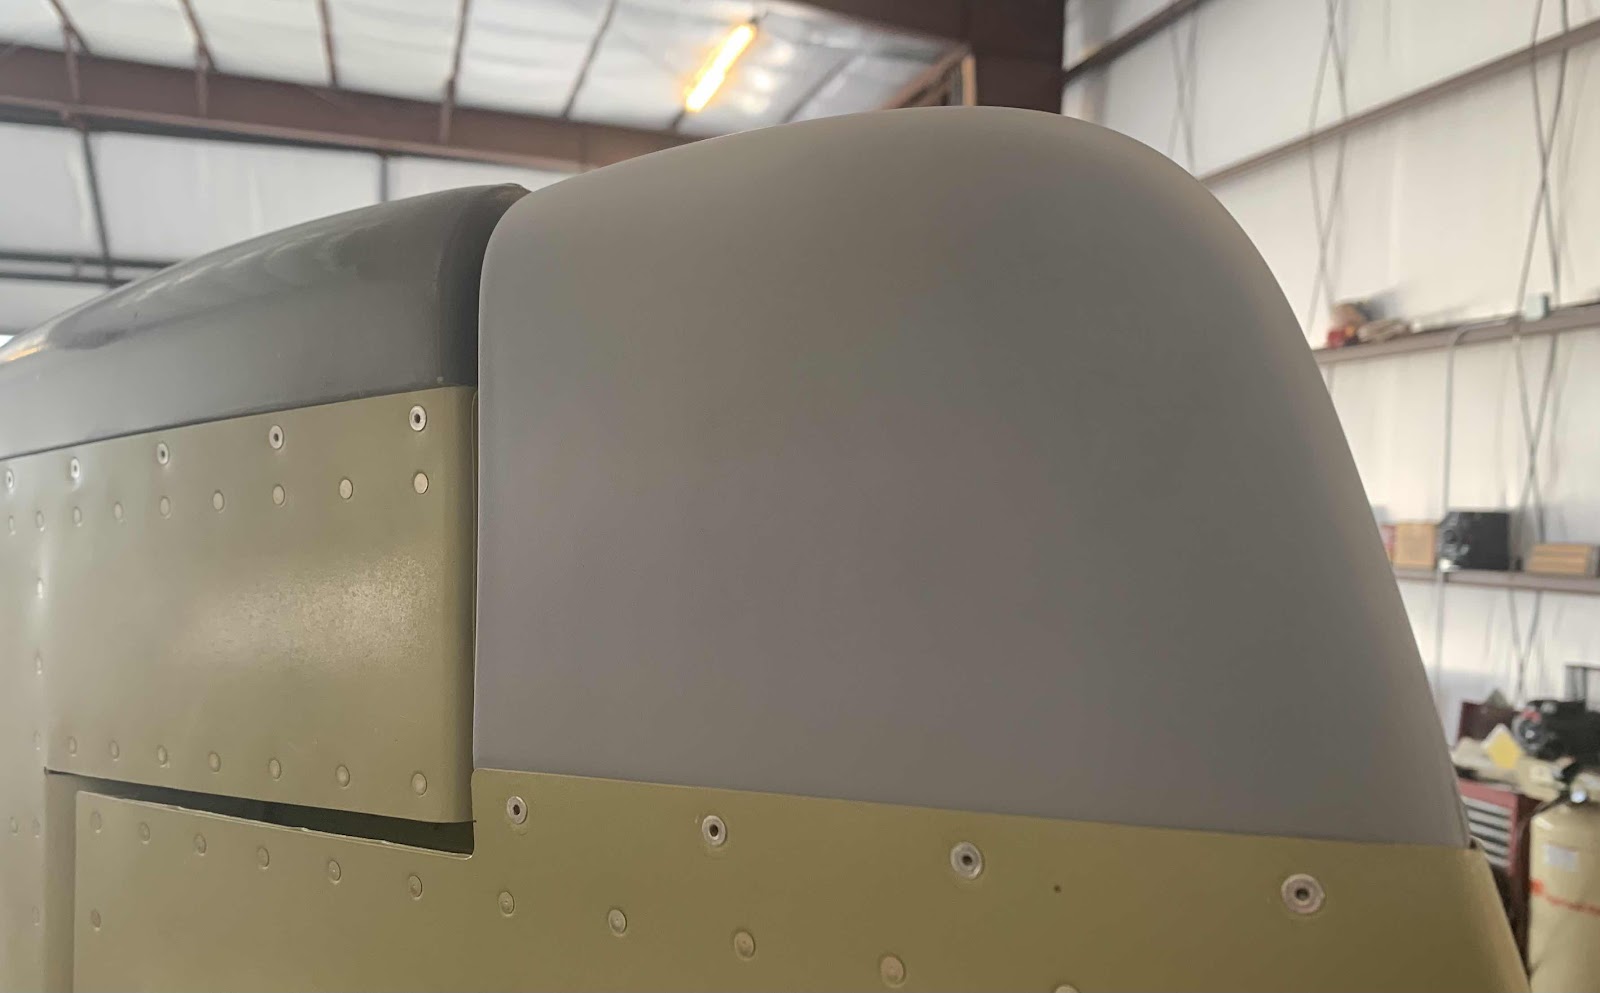
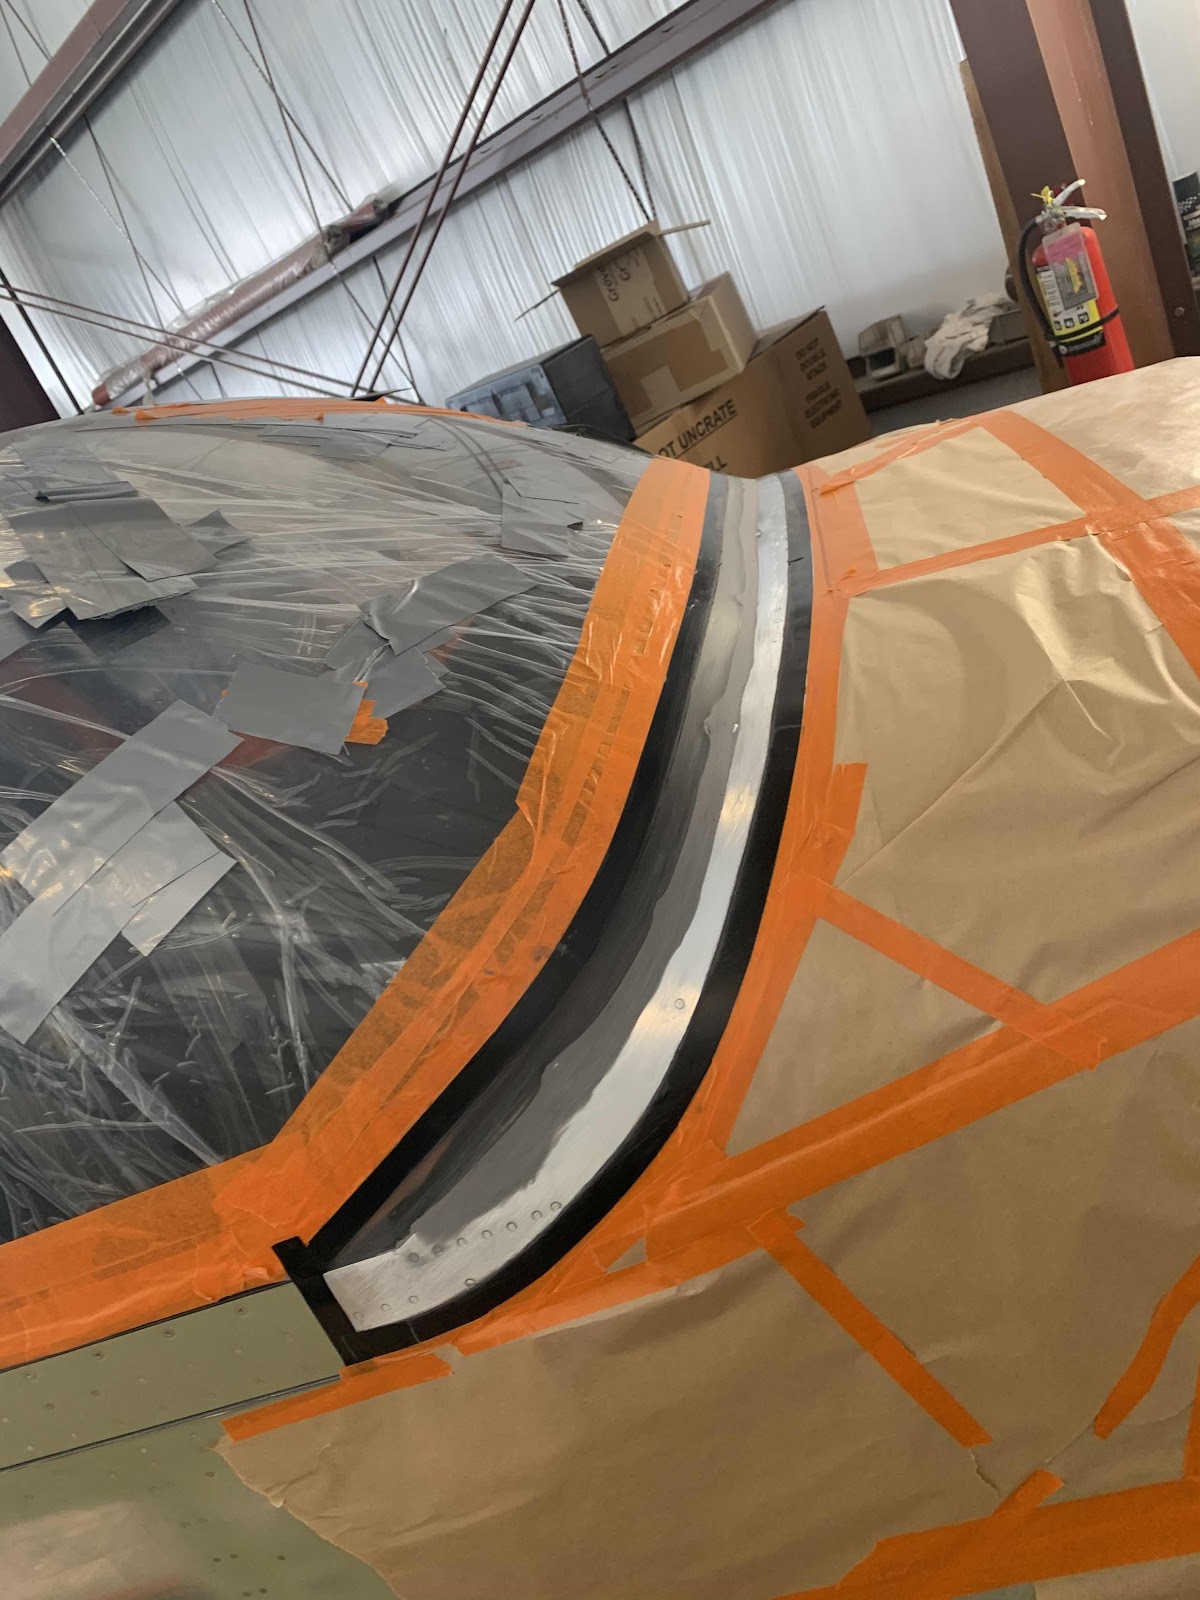
Here is the final shape of the Vertical Stabilizer Tip installed on the Vertical Stabilizer. From this angle, you can see the completed “fitting” on the bottom of the patch.
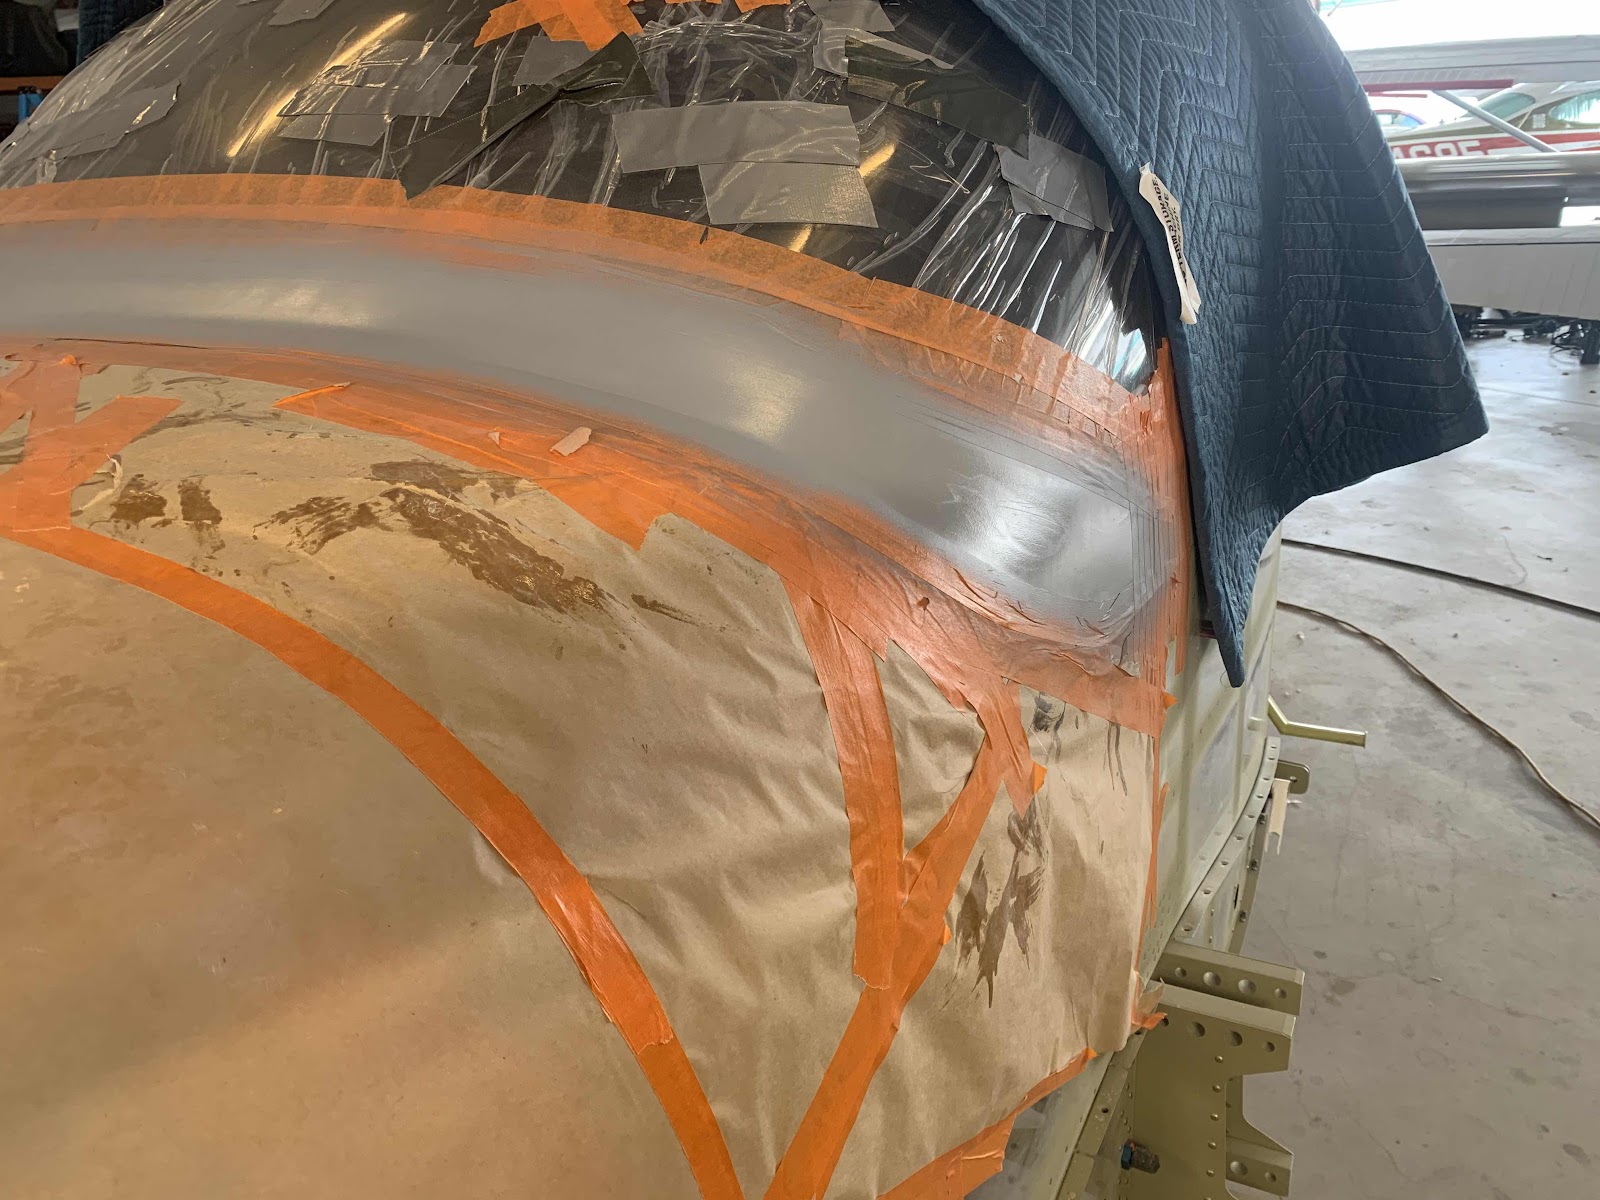
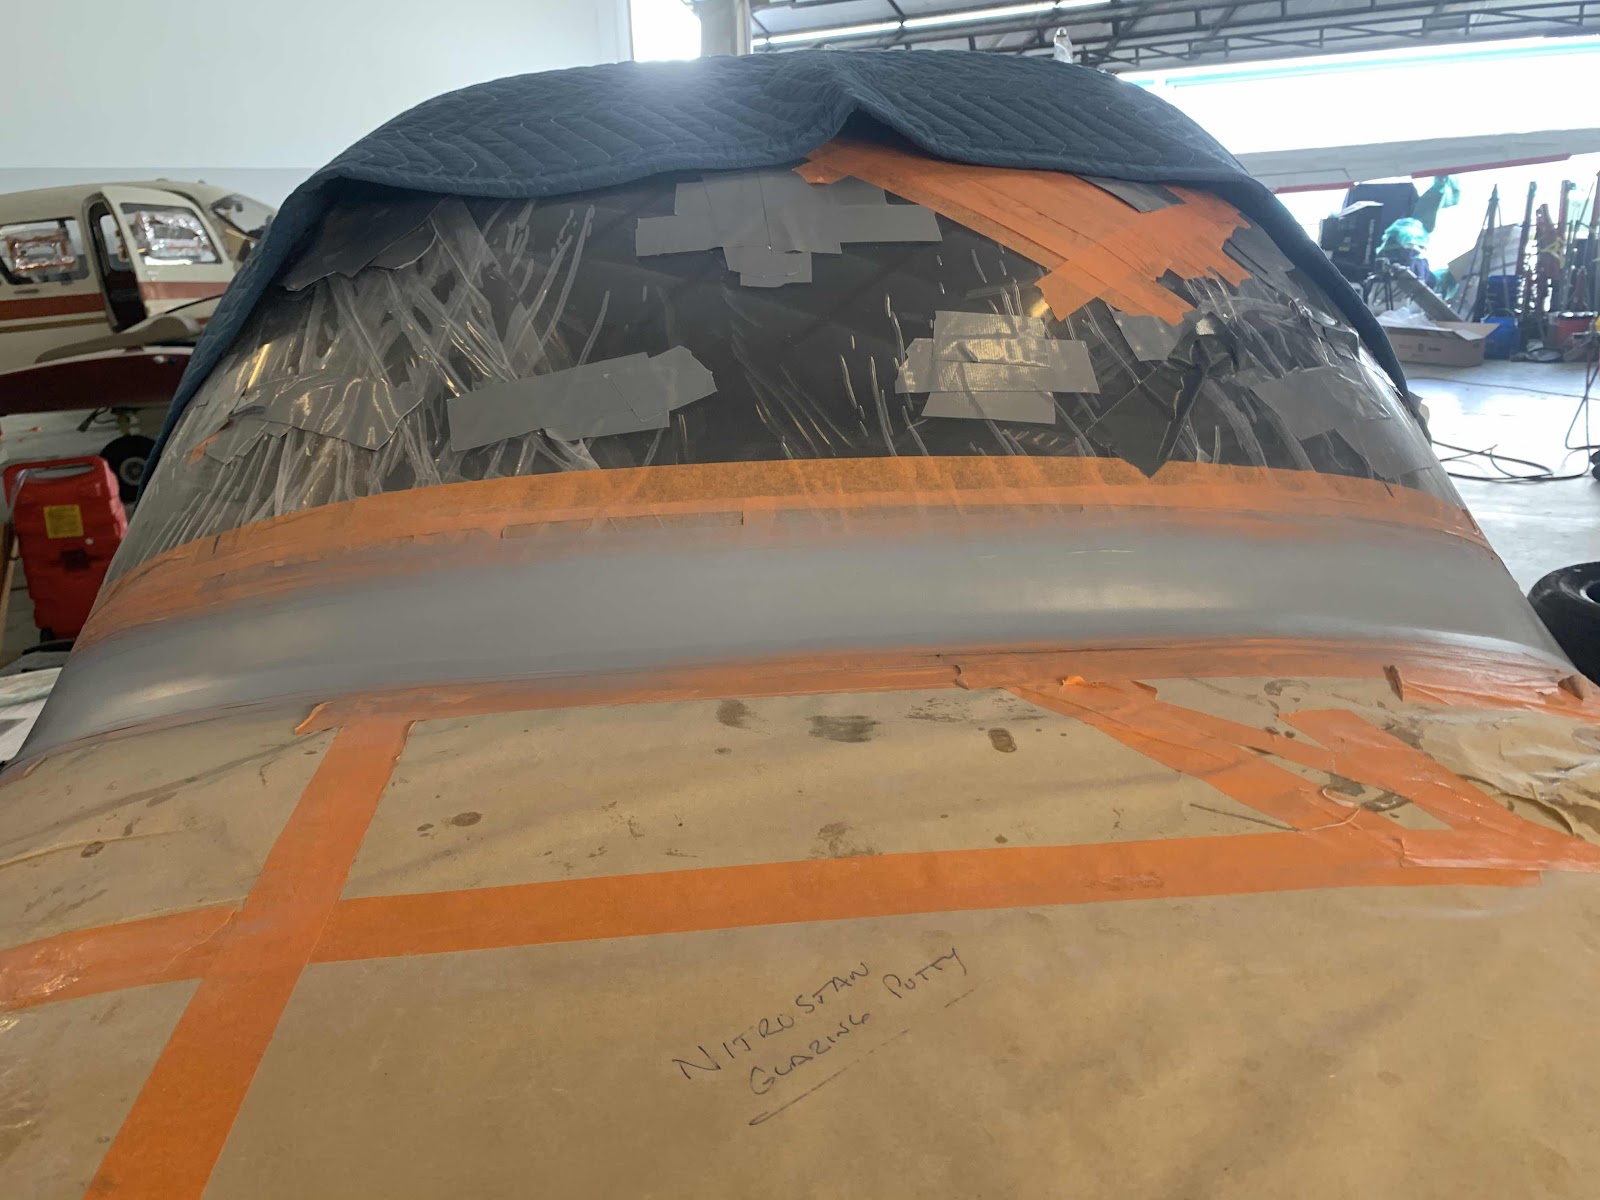
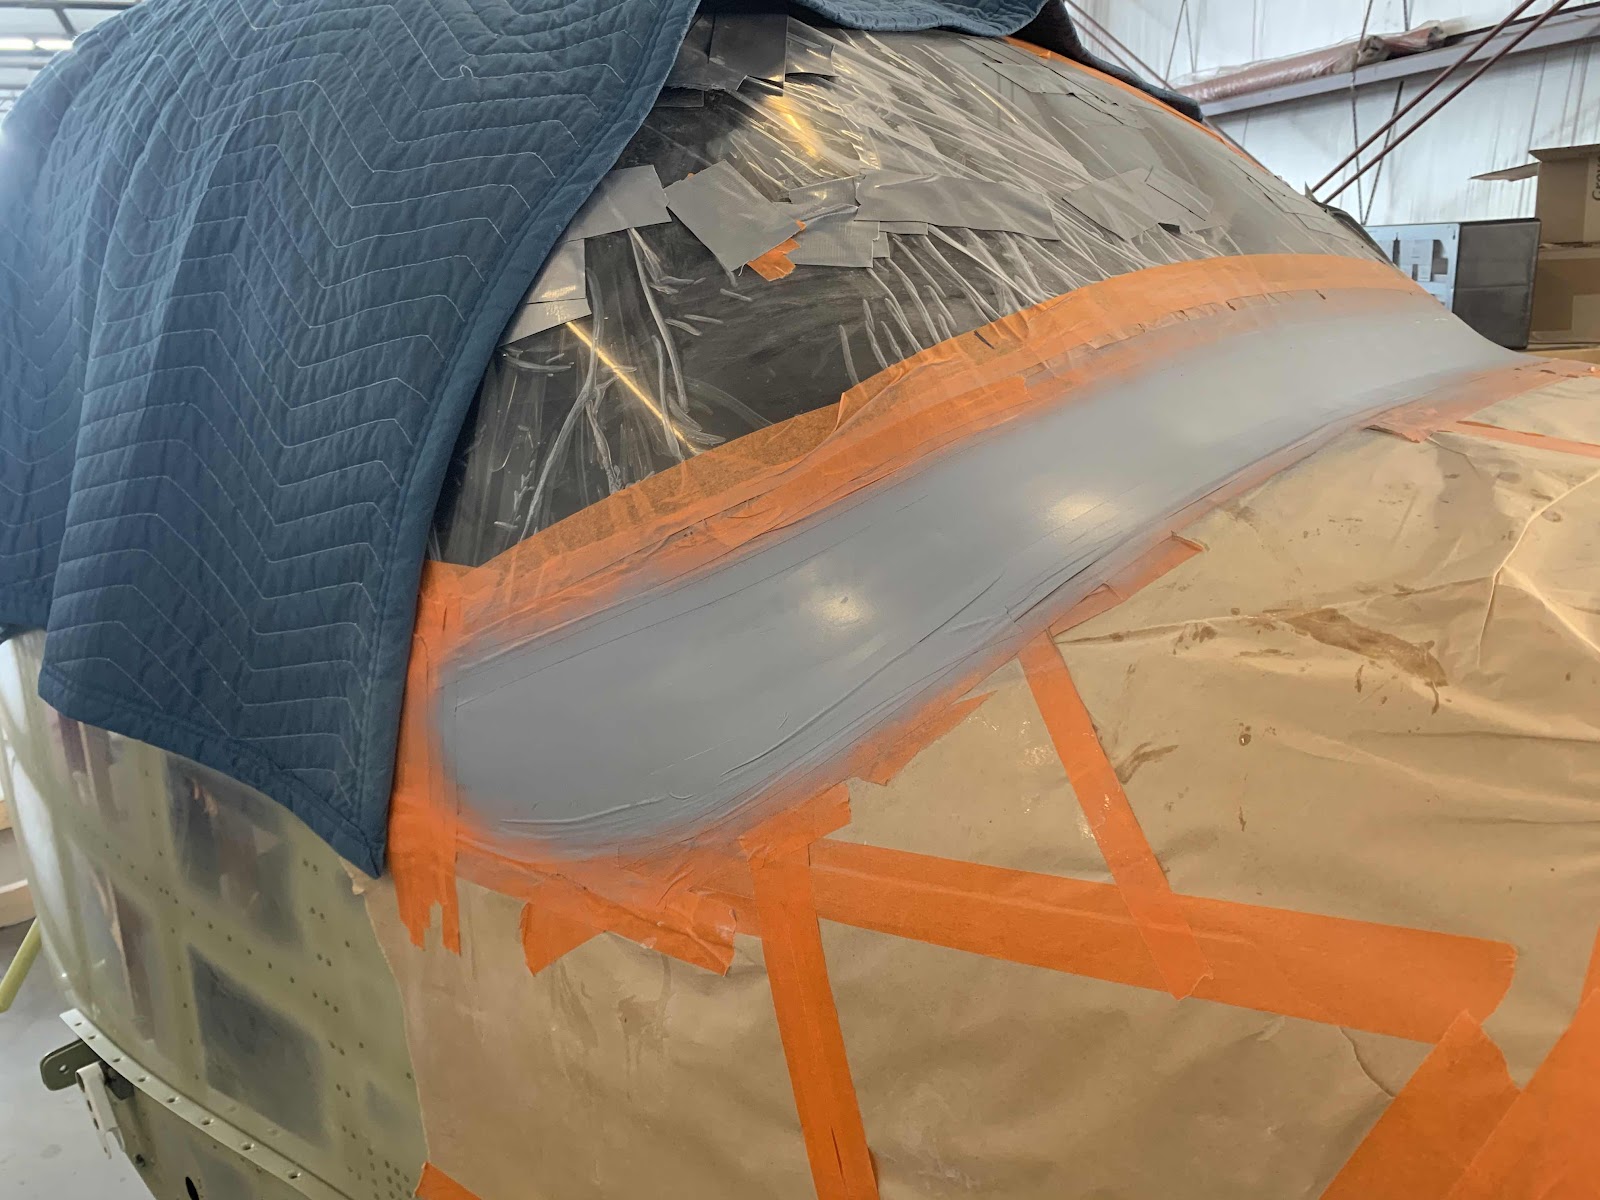
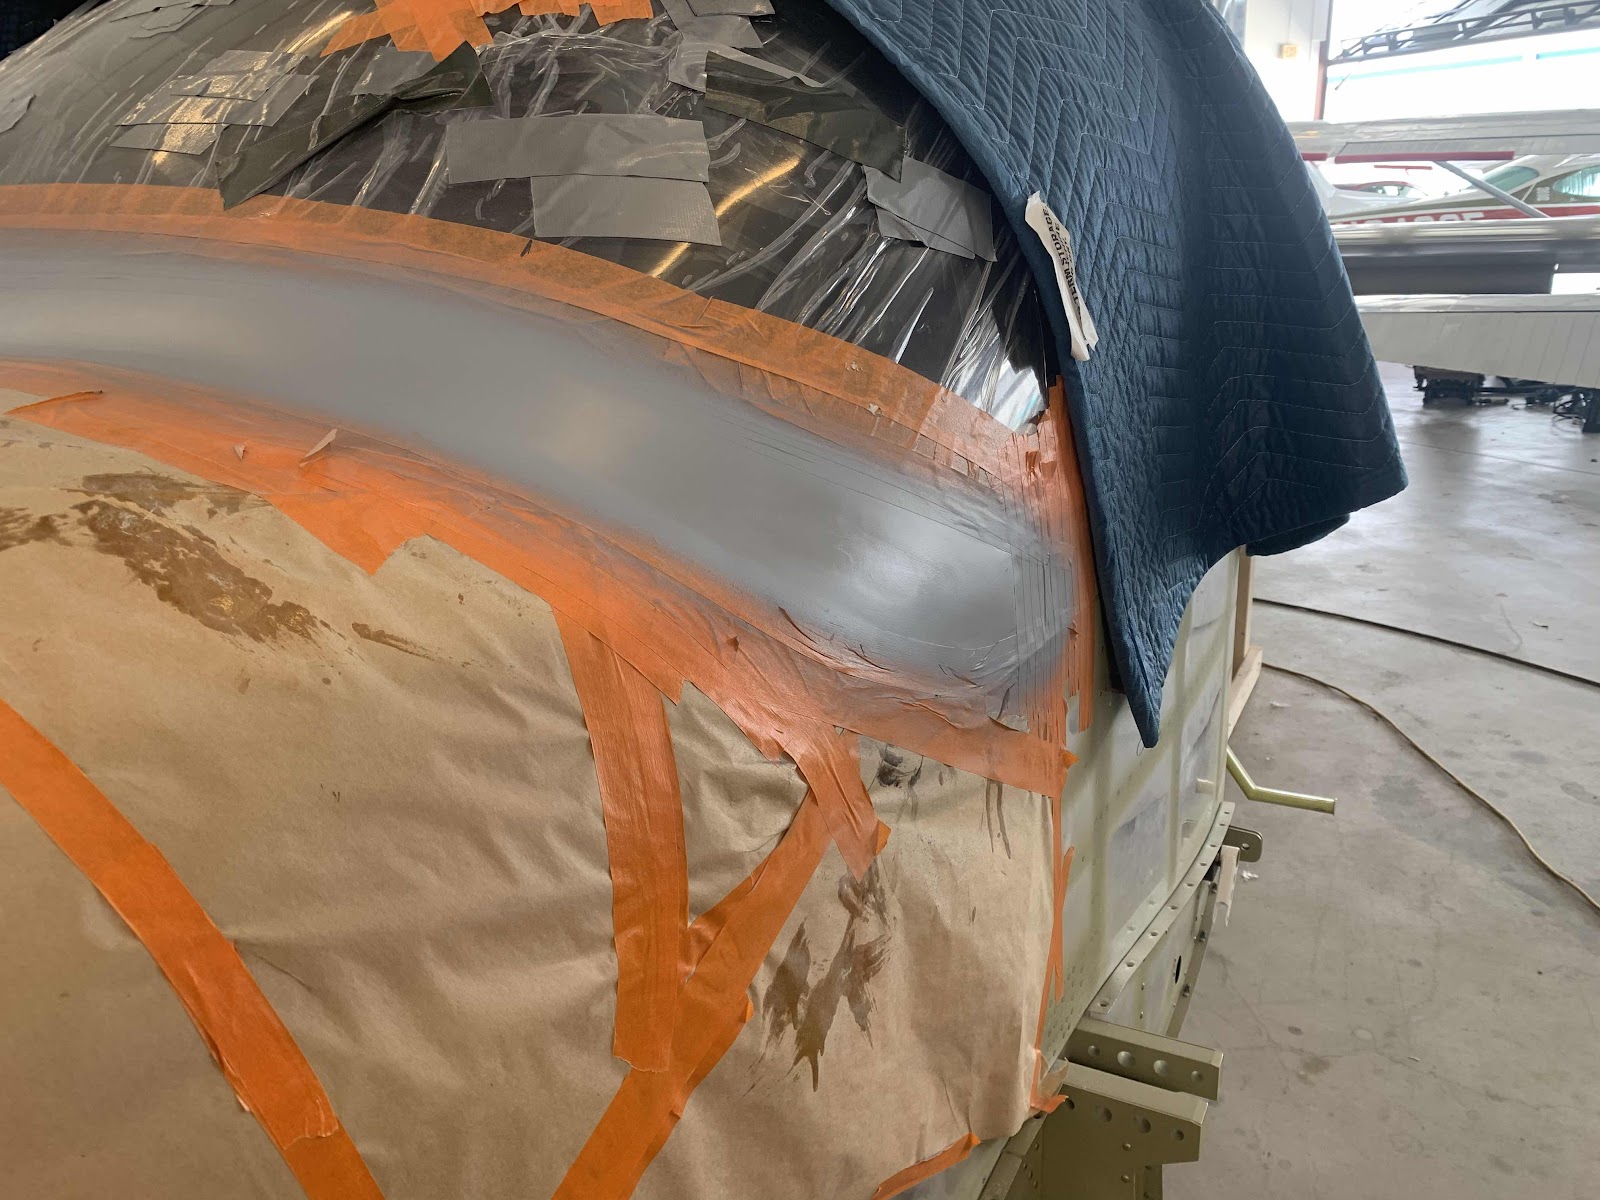
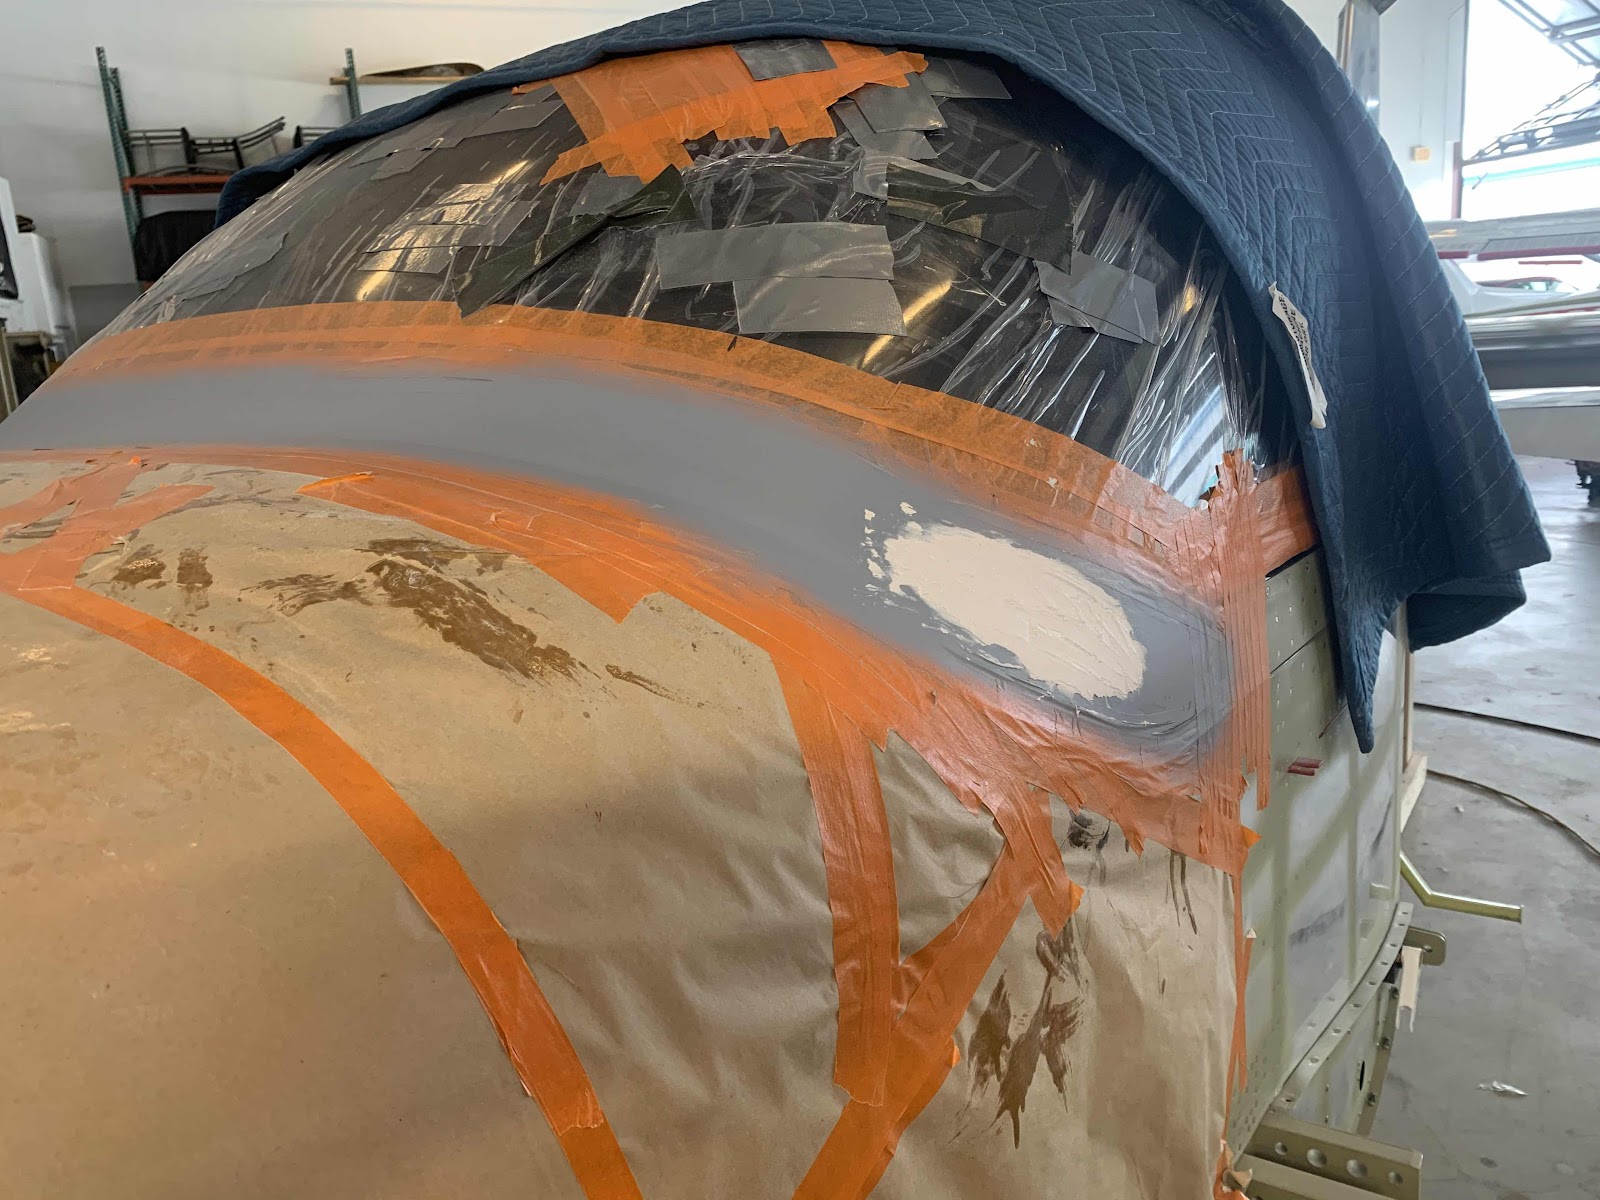
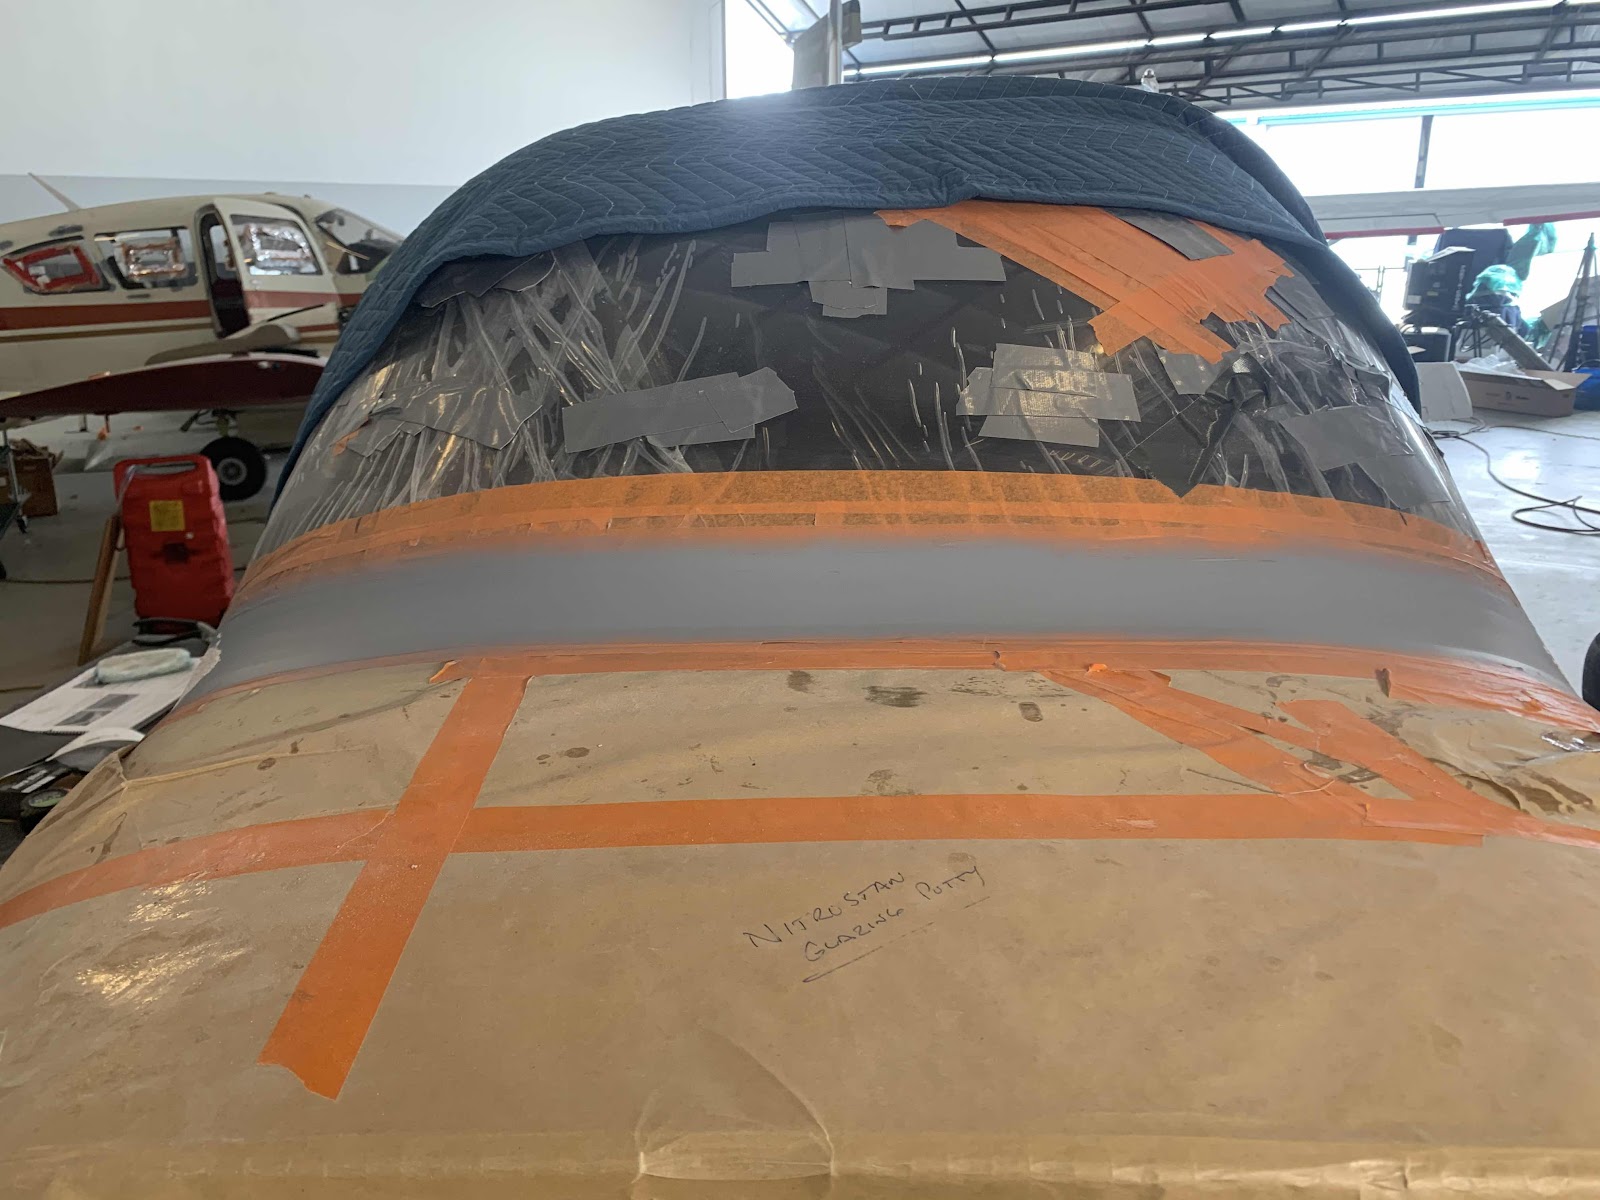
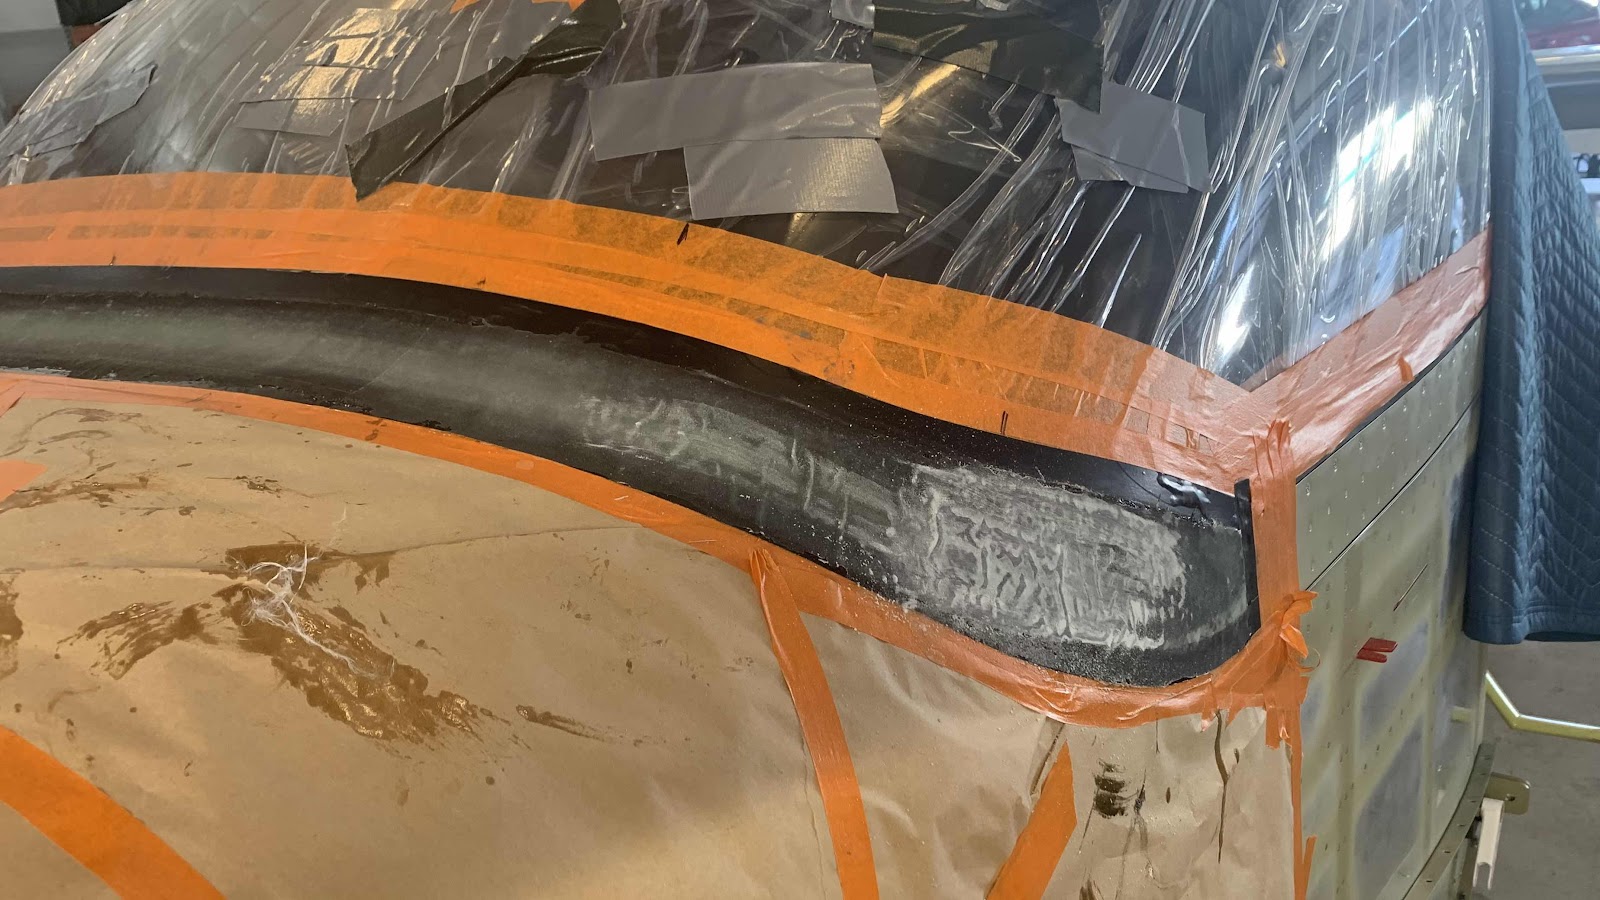
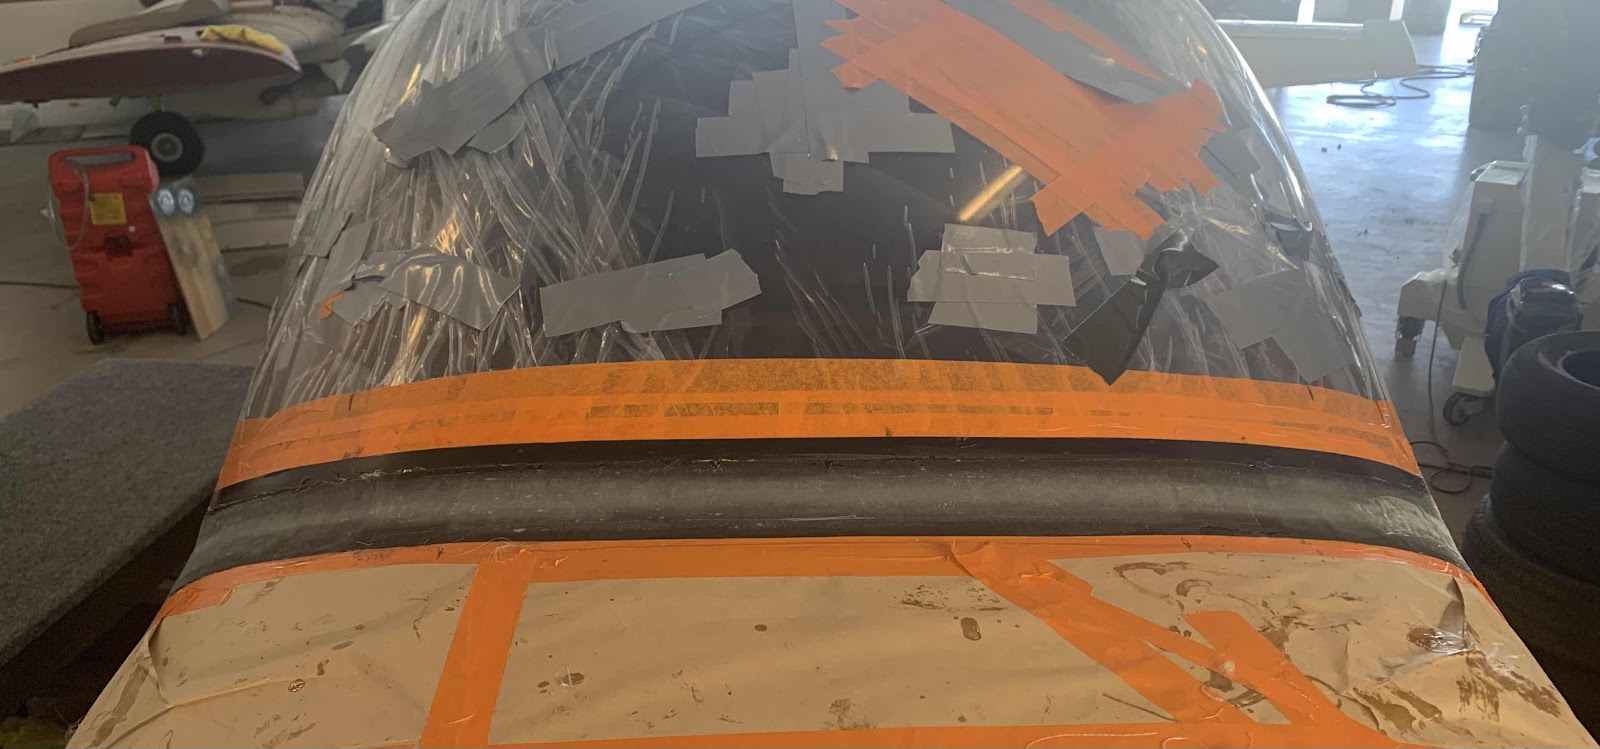
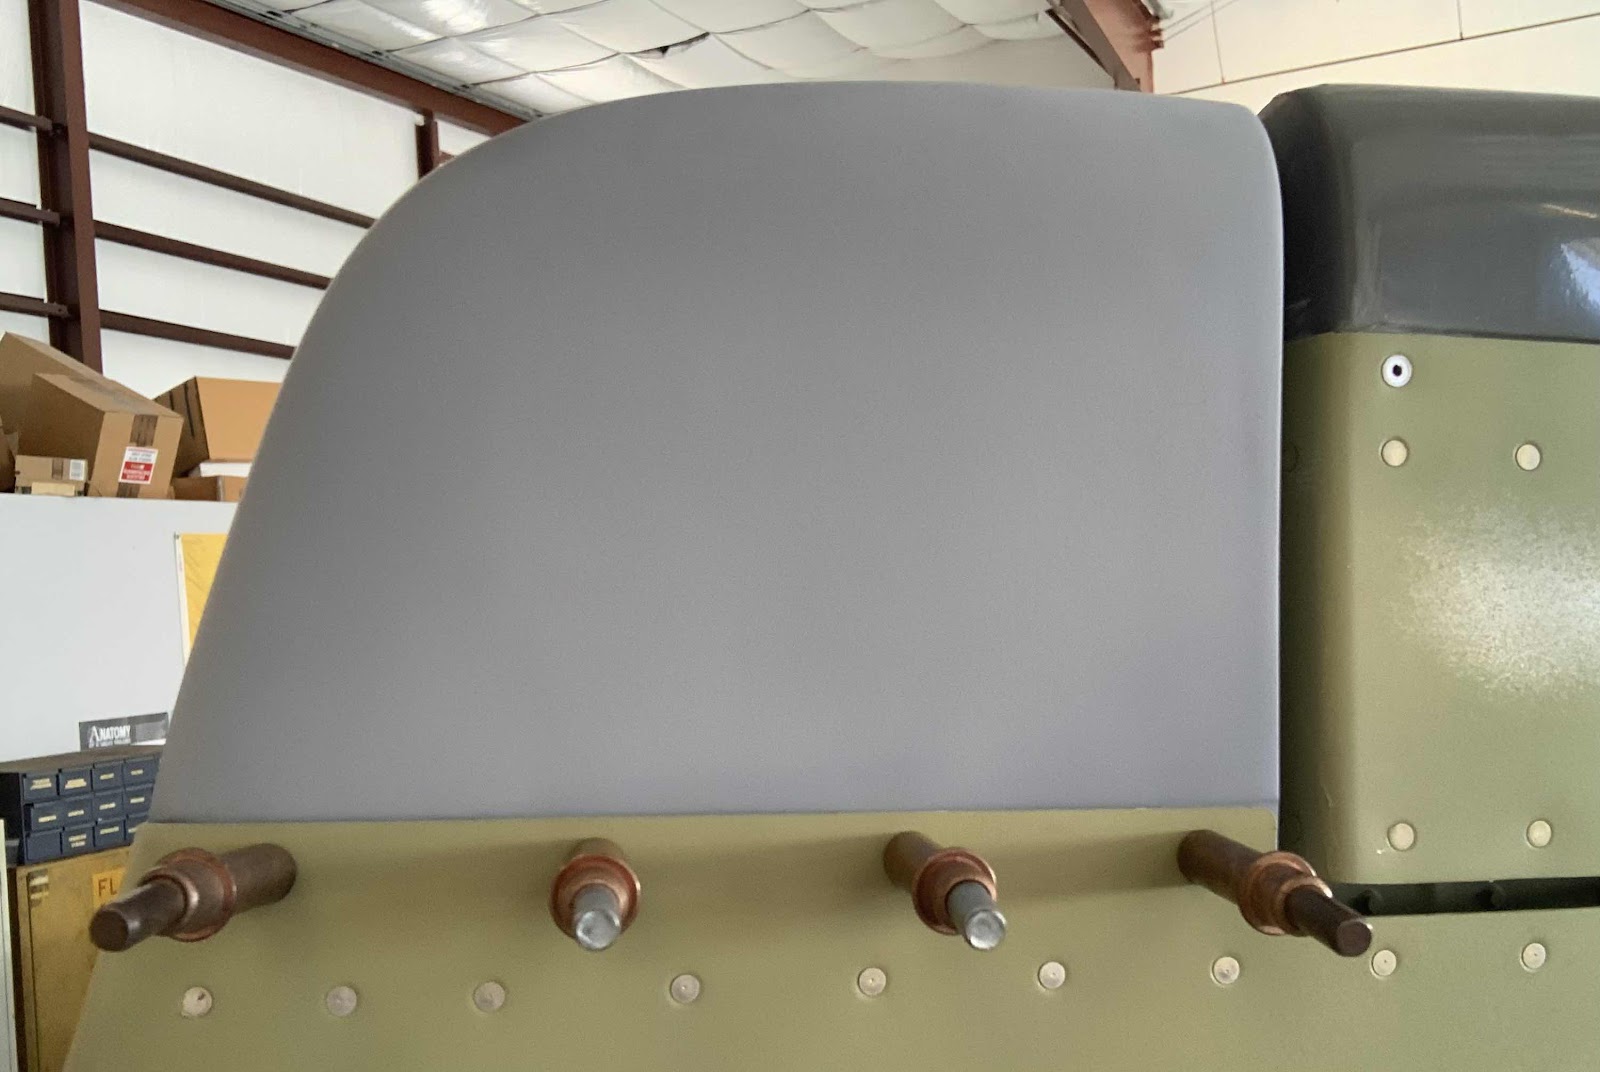
With the patch’s shape completed, we removed the Tip and sprayed several coats of filler primer on it (sanding the entire piece smooth between each application of primer). This picture shows some pin holes in the patch after a couple coats of primer.
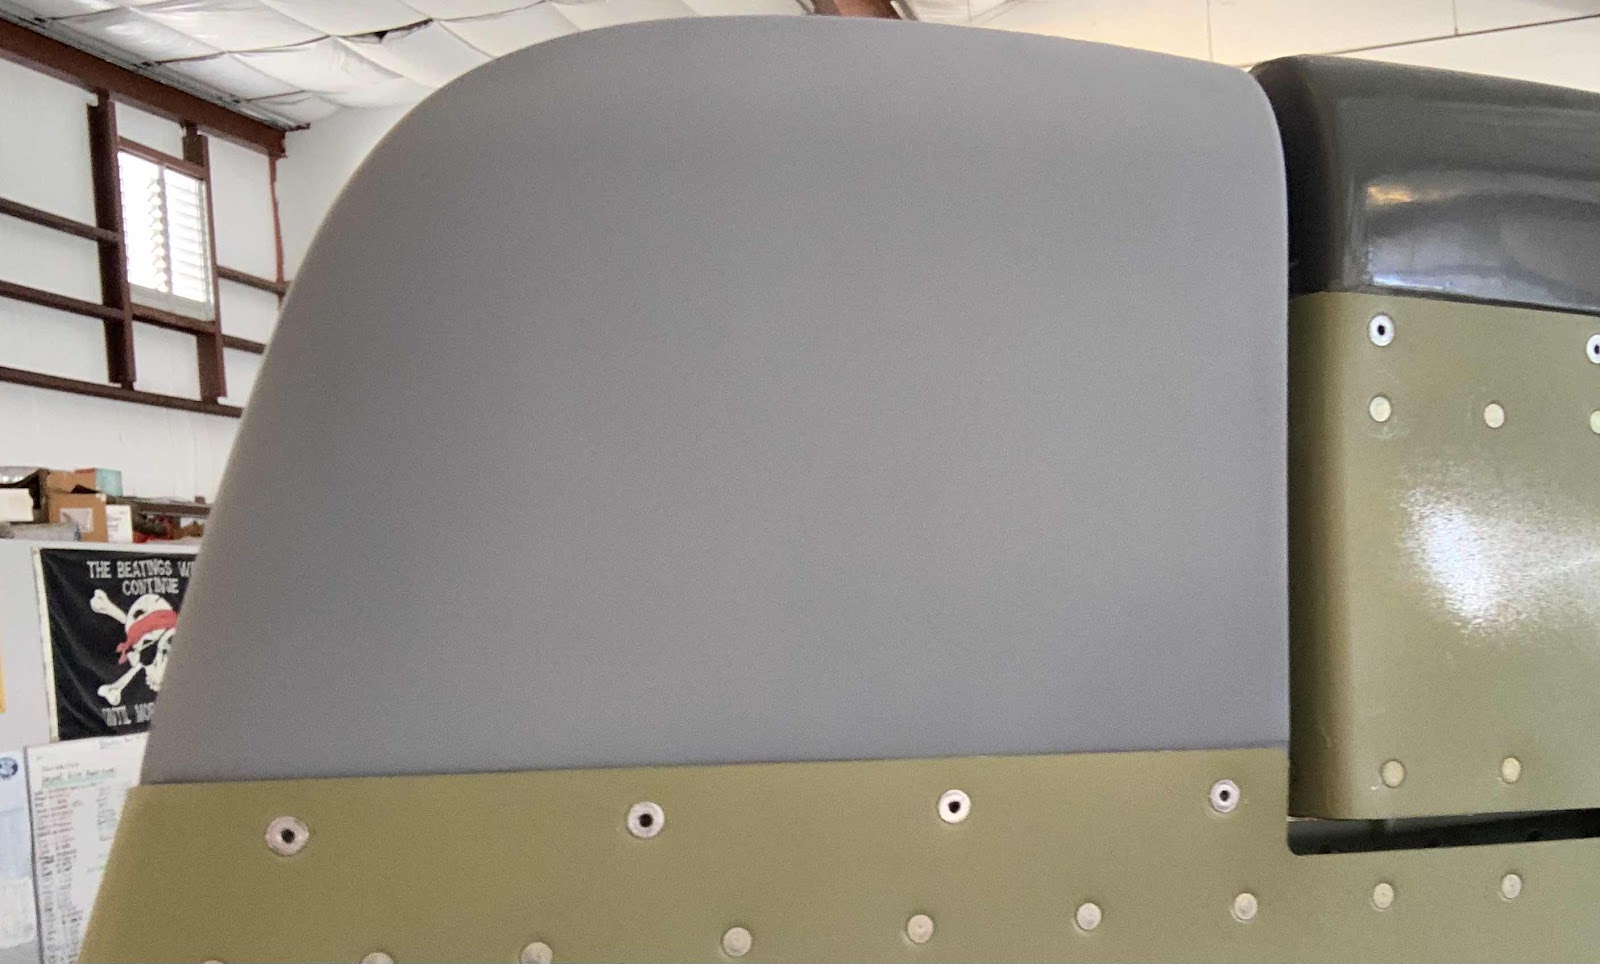
We fixed all the “imperfections” in the Tip and installed it on top of the Vertical Stabilizer for one last fitting.....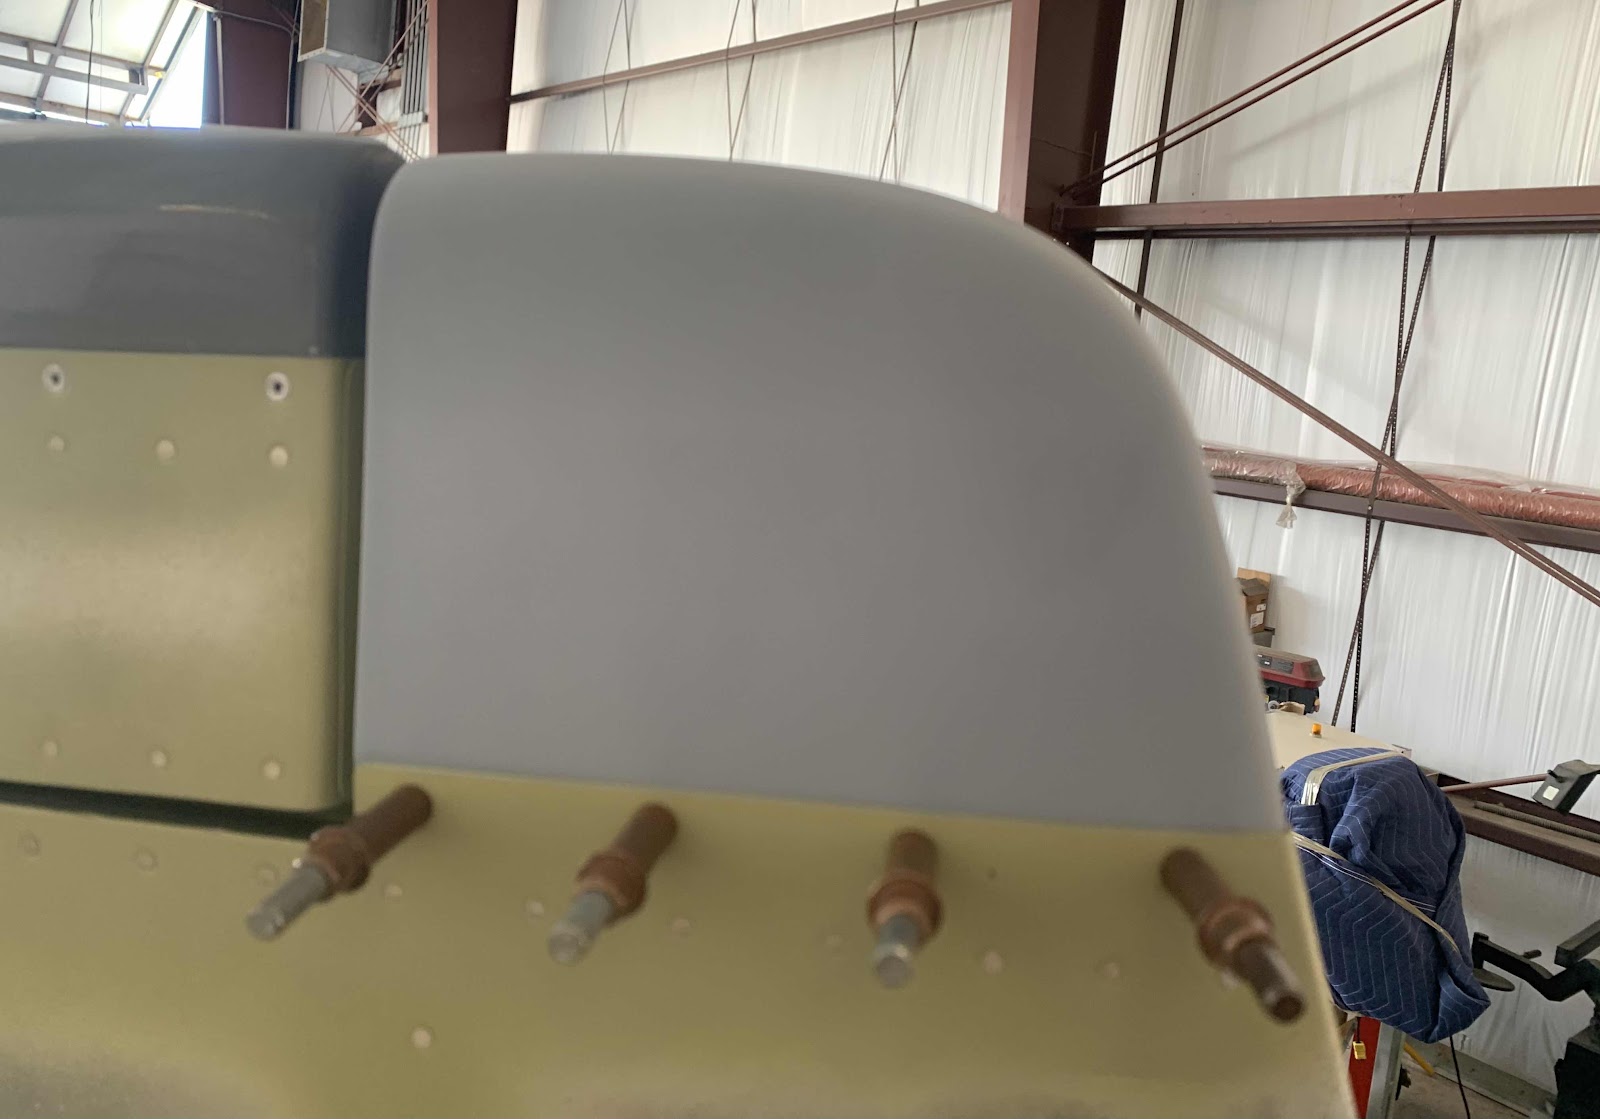
.....and here is the final installation of the Tip using the eight CS4-4 rivets.