This blog was created to memorialize the building process of my Van's Aircraft RV-14 and to satisfy the requirements for certification in the Experimental Amateur Built Aircraft category. It will also serve as a central location for ME to reference in the future on processes and techniques I used during the build. Additionally, it will allow my family, friends, and other interested builders the opportunity to follow along during my build…..and might be helpful to someone along the way.
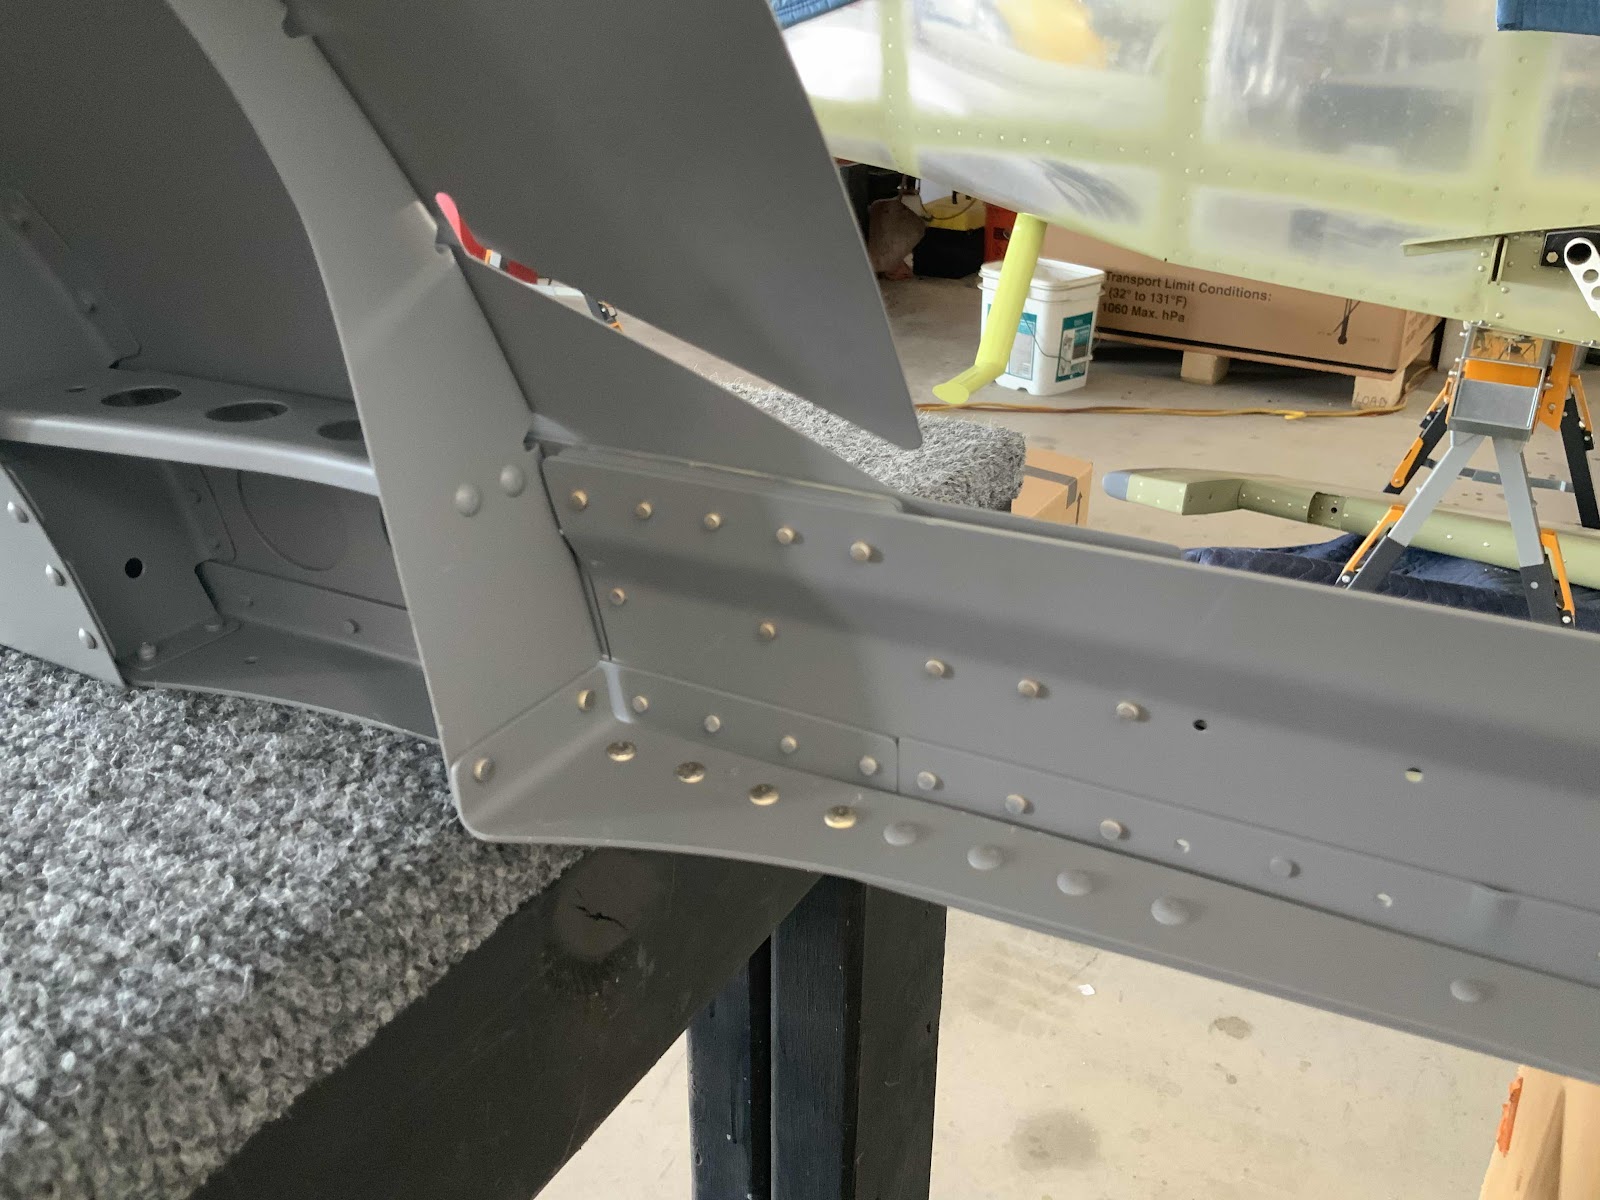
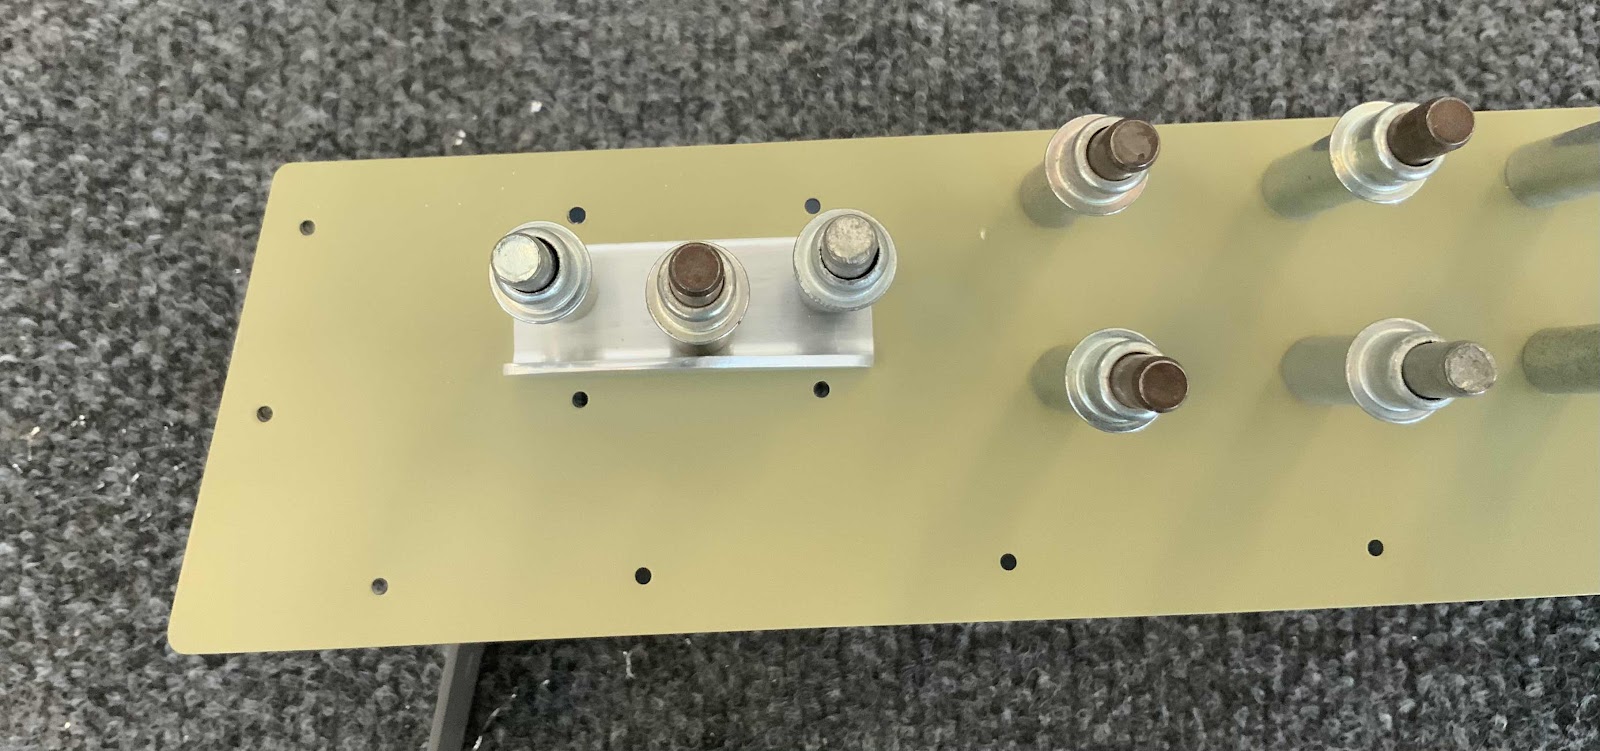
I previously final installed the C-01438 Canopy Latch Torque Tube (arrow below). However, it was still the white powder coat color.....it looked NO good!l. So, I removed the tube.....scuffed it, Akzo primed it, and sprayed it with grey interior paint. Looks WAY better and matches everything else.
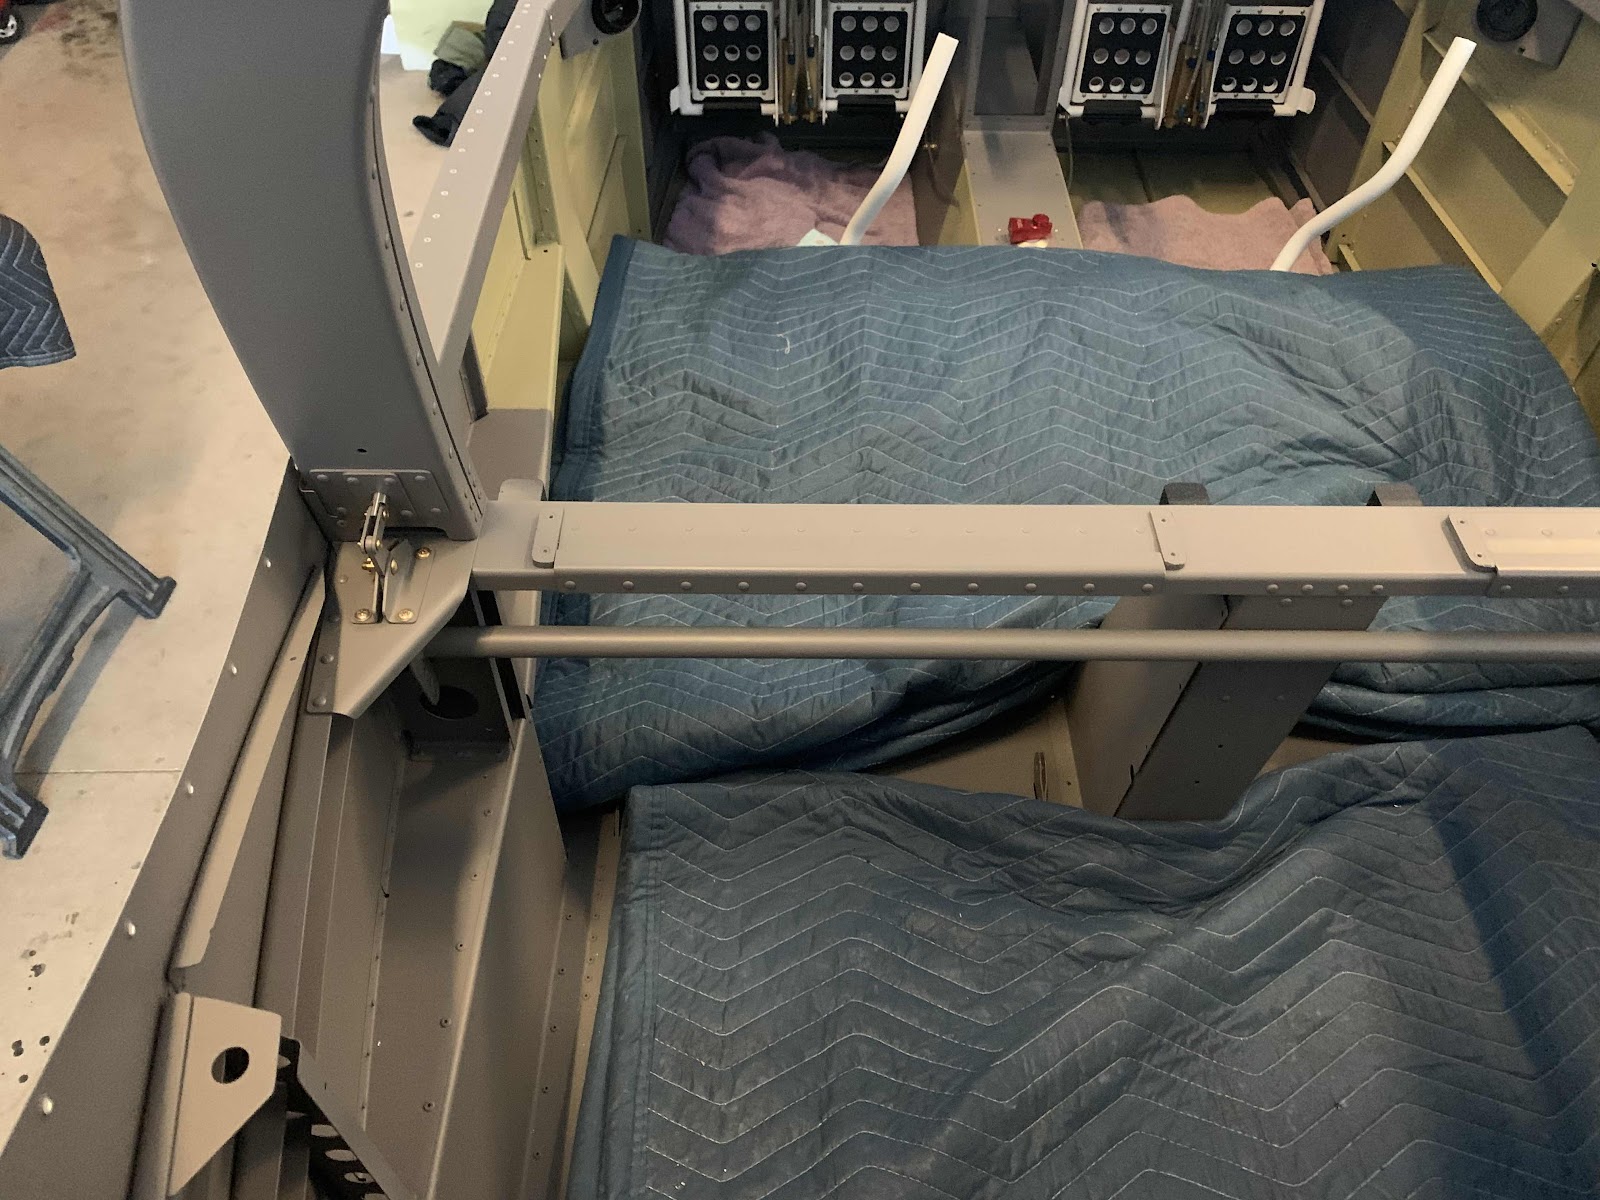
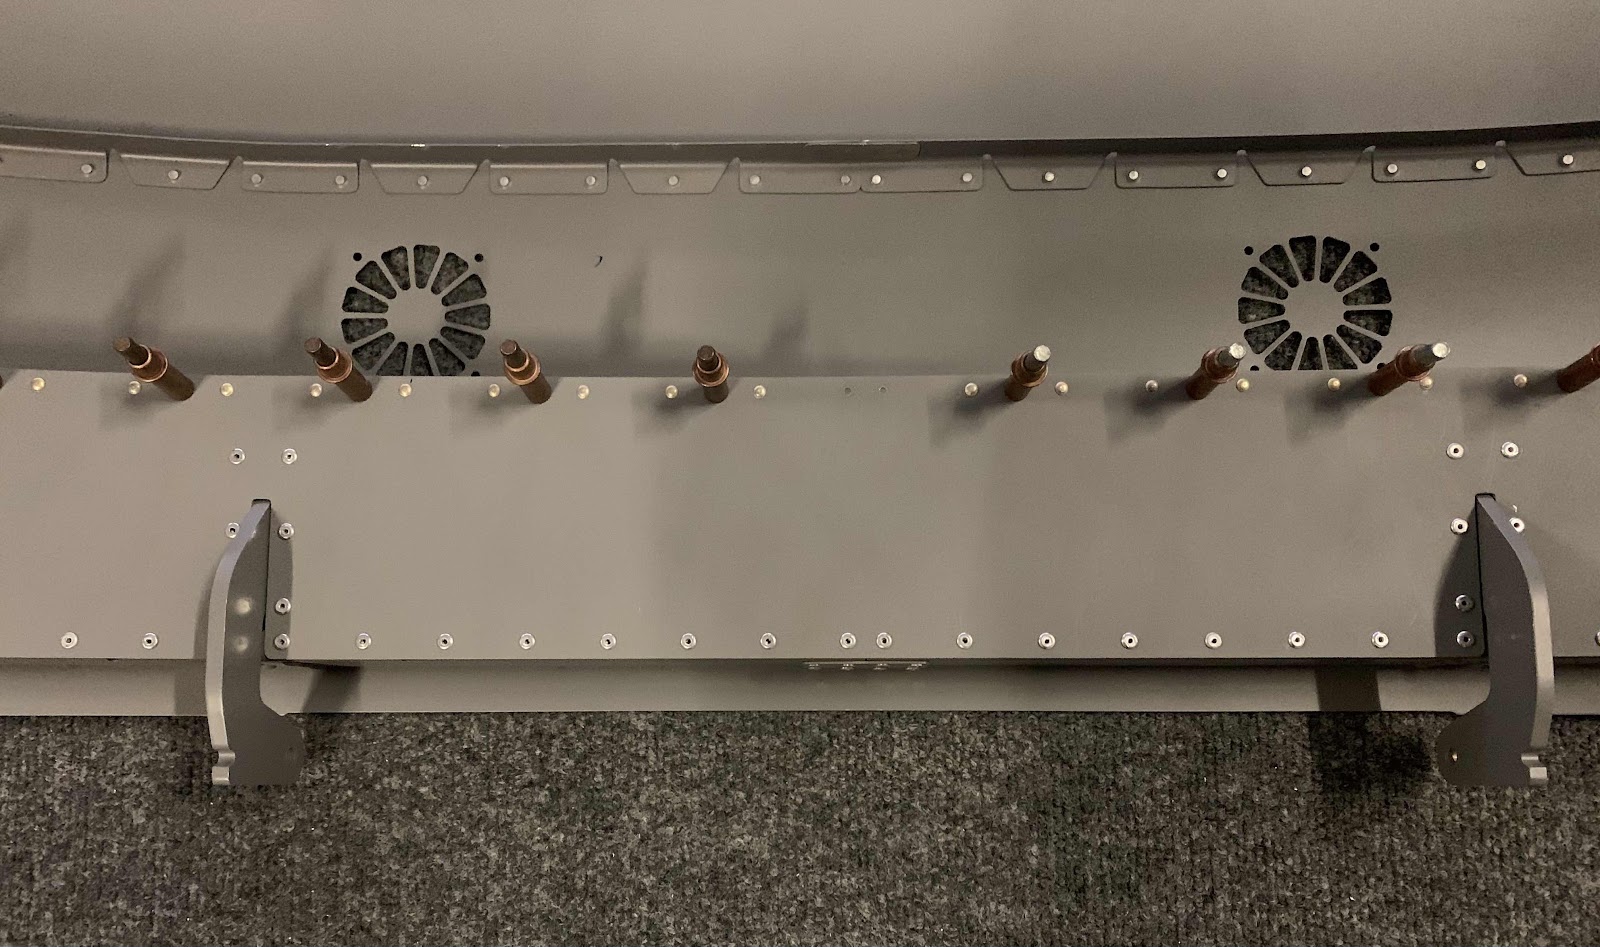
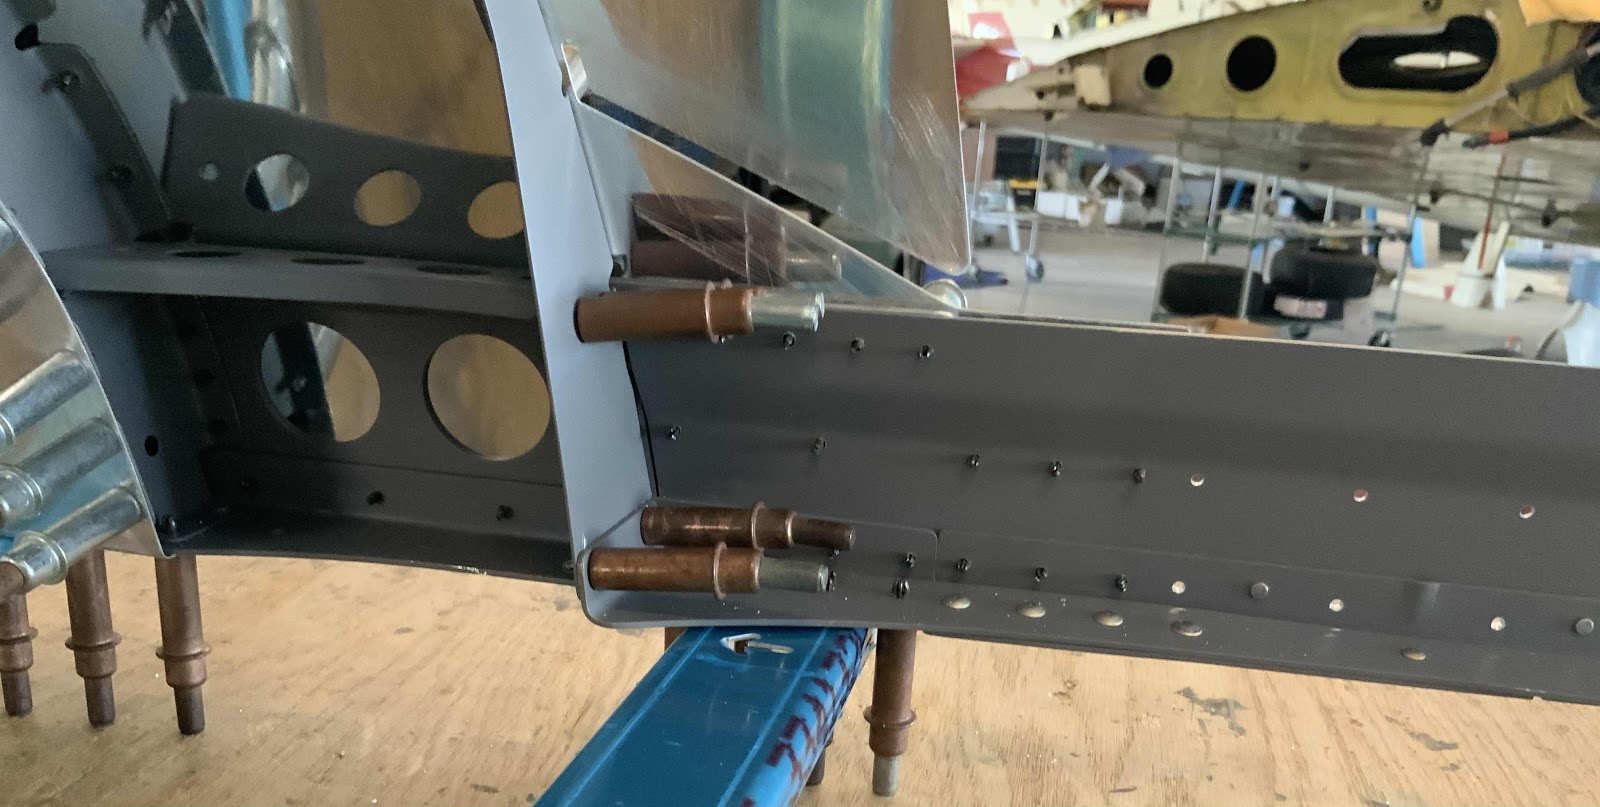
This view shows the aft portion of the Canopy Latch System behind the Roll Bar Frame. This is the left side.....
.....and the right side.
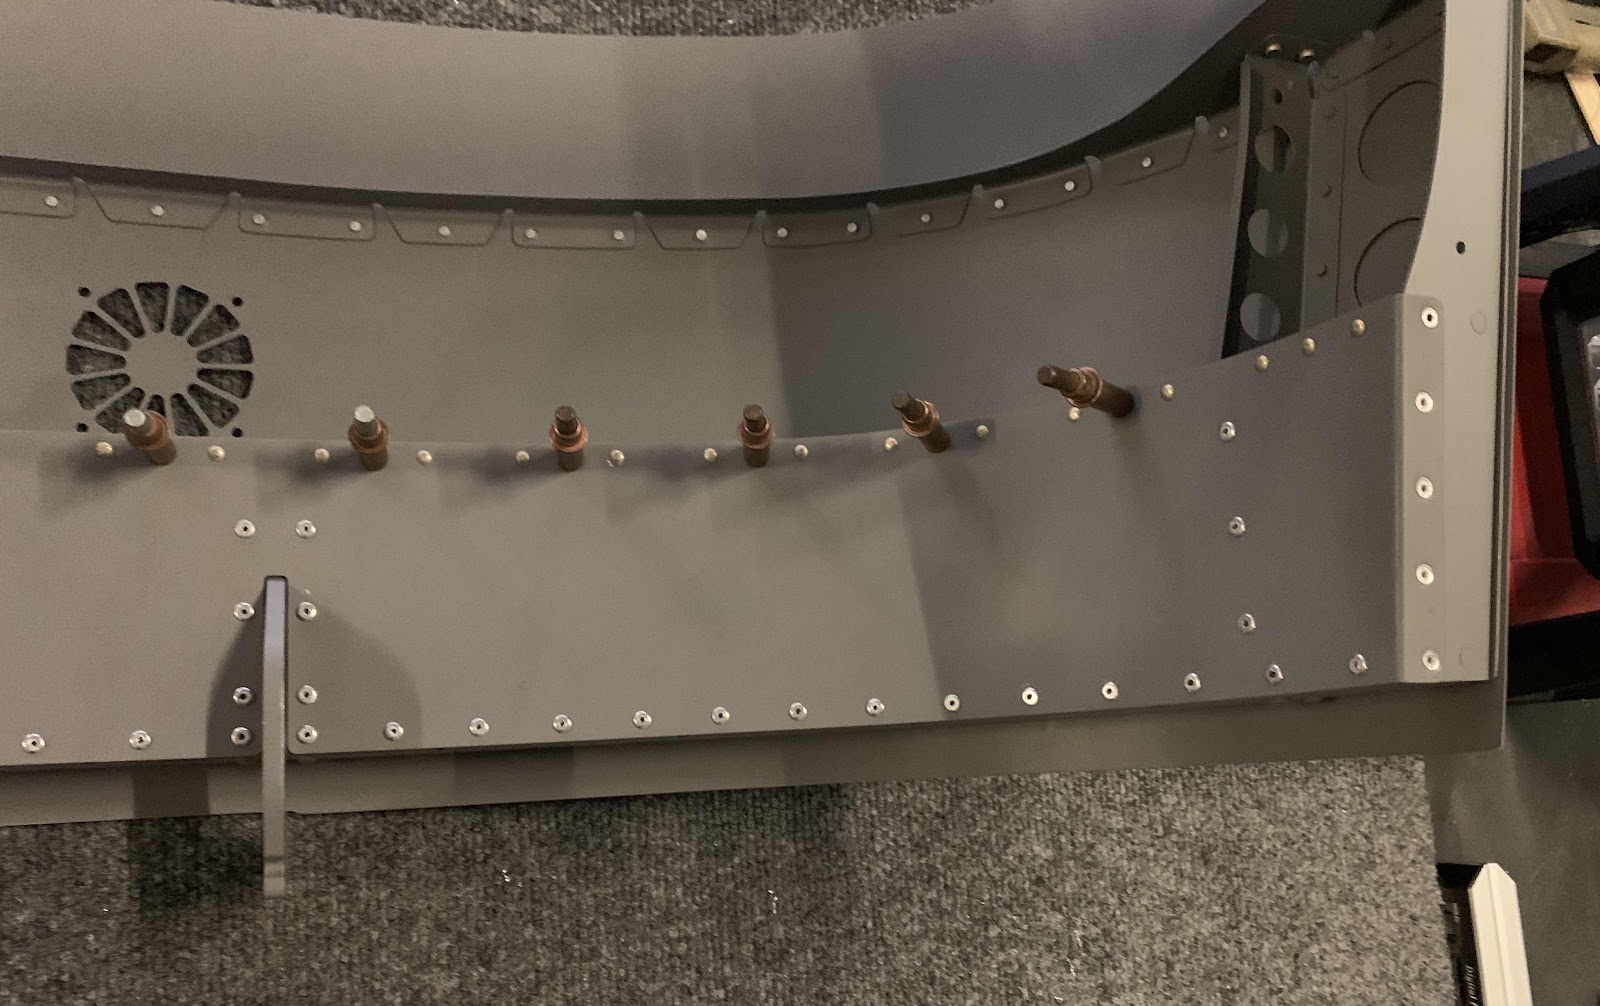
This angle shows a looking down view of the Canopy Latch System and how the bar looks installed in the baggage area. This is the left side.....
.....and the right side.
I also installed the rivets that attach the left Forward Canopy Rail, left Aft Intercoastal, left Forward Intercoastal, Canopy Rail Shim and the Canopy Skin. There was enough space to use the pneumatic squeezer on about half the rivets.....the rest I shot with the gun and bar.
This is the interior side showing the shop heads of the rivets just installed.....
.....and after sprayed with the grey interior paint.
This is the left side of the Canopy Frame showing the installation of the same parts.....
.....the shop head side of the installed rivets.....
.....and after being sprayed with the grey interior paint.
Not a lot to show today, but I started installing riveting the Canopy Skin to the Canopy Frame Assemblies. I was able to install about half of the rivets before I call it for the day.
Here is the center of the assembly (looking aft).....
I started today by spraying grey paint on the countersunk holes and set rivets from Part 13.
Here is the Aft Canopy Frame after being painted.
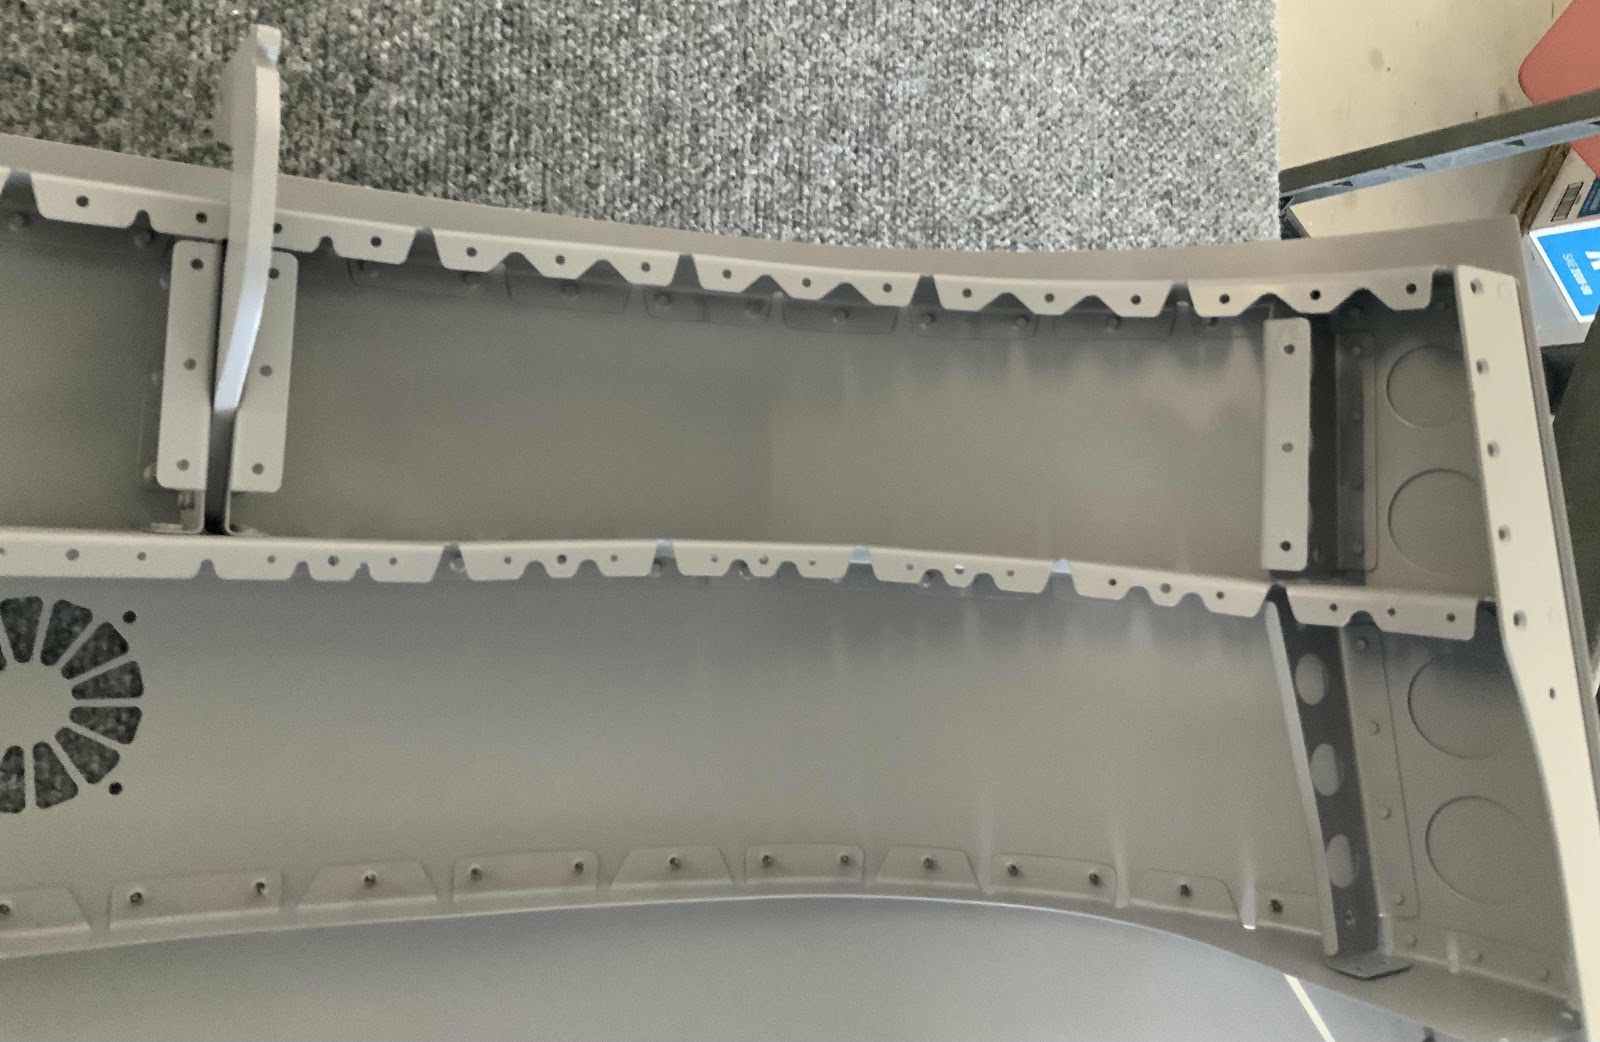
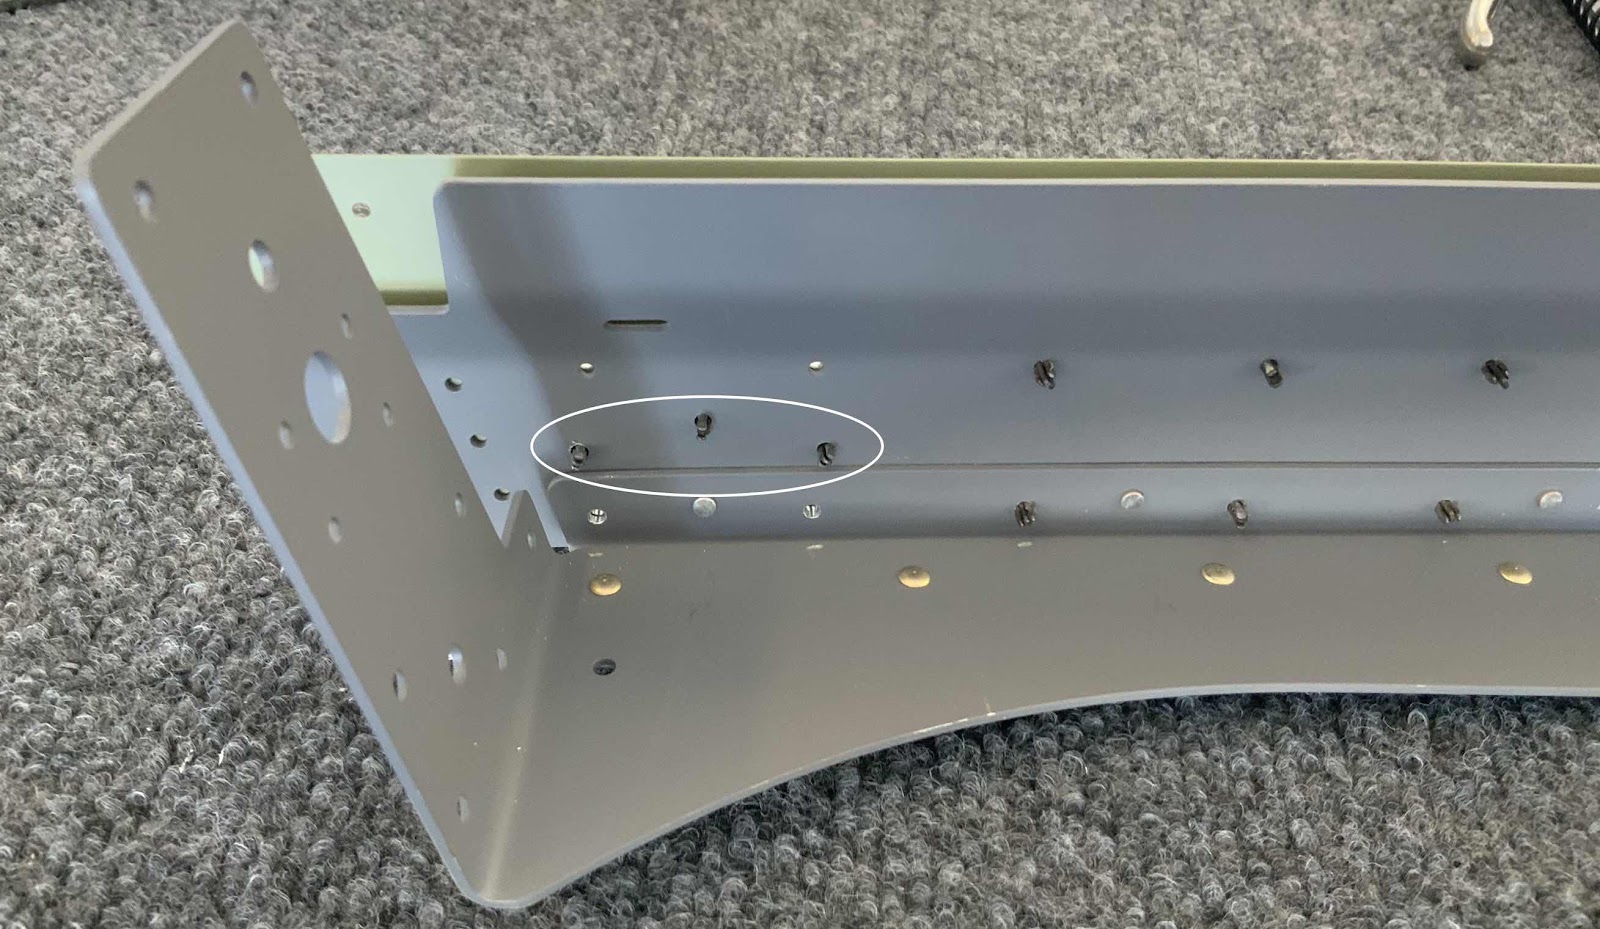
THEN, I realized I had a problem. In the circled area below, you can see the Flange on the right is “longer” than the Flange on the left. Hmmm.....
I investigated a little closer. From this angle, you can see the Flange on the right is “higher” than the Flange on the left. This uneven surface of the Frame would create a HUGE problem with the Canopy. If the Canopy is secured (tightened) to the Frame, it would create pressure point and promote a crack.
Here is another angle showing a close up of the uneven surface of the Frame.....
.....and another looking forward.
Well shit! Now what? I sent these pictures to Van’s to ask for advice. Can I add a shim? Put structural adhesive in the void area, sand and shape? Something else?
Van’s responded to my email and said it looks like they had a manufacturing problem. So, they are going to send me a replacement part (flange). After Van’s decides which part(s) they will replace, I will order all the other parts to completely rebuild the Aft Canopy Frame. I would prefer to rebuild the whole thing and make it right from the start, rather than drilling out several rivets and “fix it”.
I’m really, really disappointed in myself for not noticing this before I spend the time to build the whole Aft Canopy Frame. I guess the saving grace is that the Aft Frame wasn’t attached to the rest of the assembly and it didn’t take very long to build in the first place.....so, it hopefully it won’t take that long to build the second time around.
To start the day (per the instructions), I disassembled the entire Canopy Assembly. Then, the rest of the day was mostly about countersinking and a little bit of dimpling and riveting.....oh, and some priming and painting. These are the C-01406-L & -R Forward Canopy Rails. They were previously treated with Alumiprep, Alodine, Akzo primer and sprayed with grey paint (a portion of the Rails will be seen when the Canopy Assembly is complete—I think). To finish the preparation of these parts, ALL the holes in both Rails had to be countersunk to accept a dimpled .025 Skin. Each Rail has 30 holes, so 60 total. I completed all these countersunk by hand because my countersink cage wasn’t functioning properly and I didn’t trust it! It took a LITTLE while, but the results were very good.....long road to get there, but turned out great.
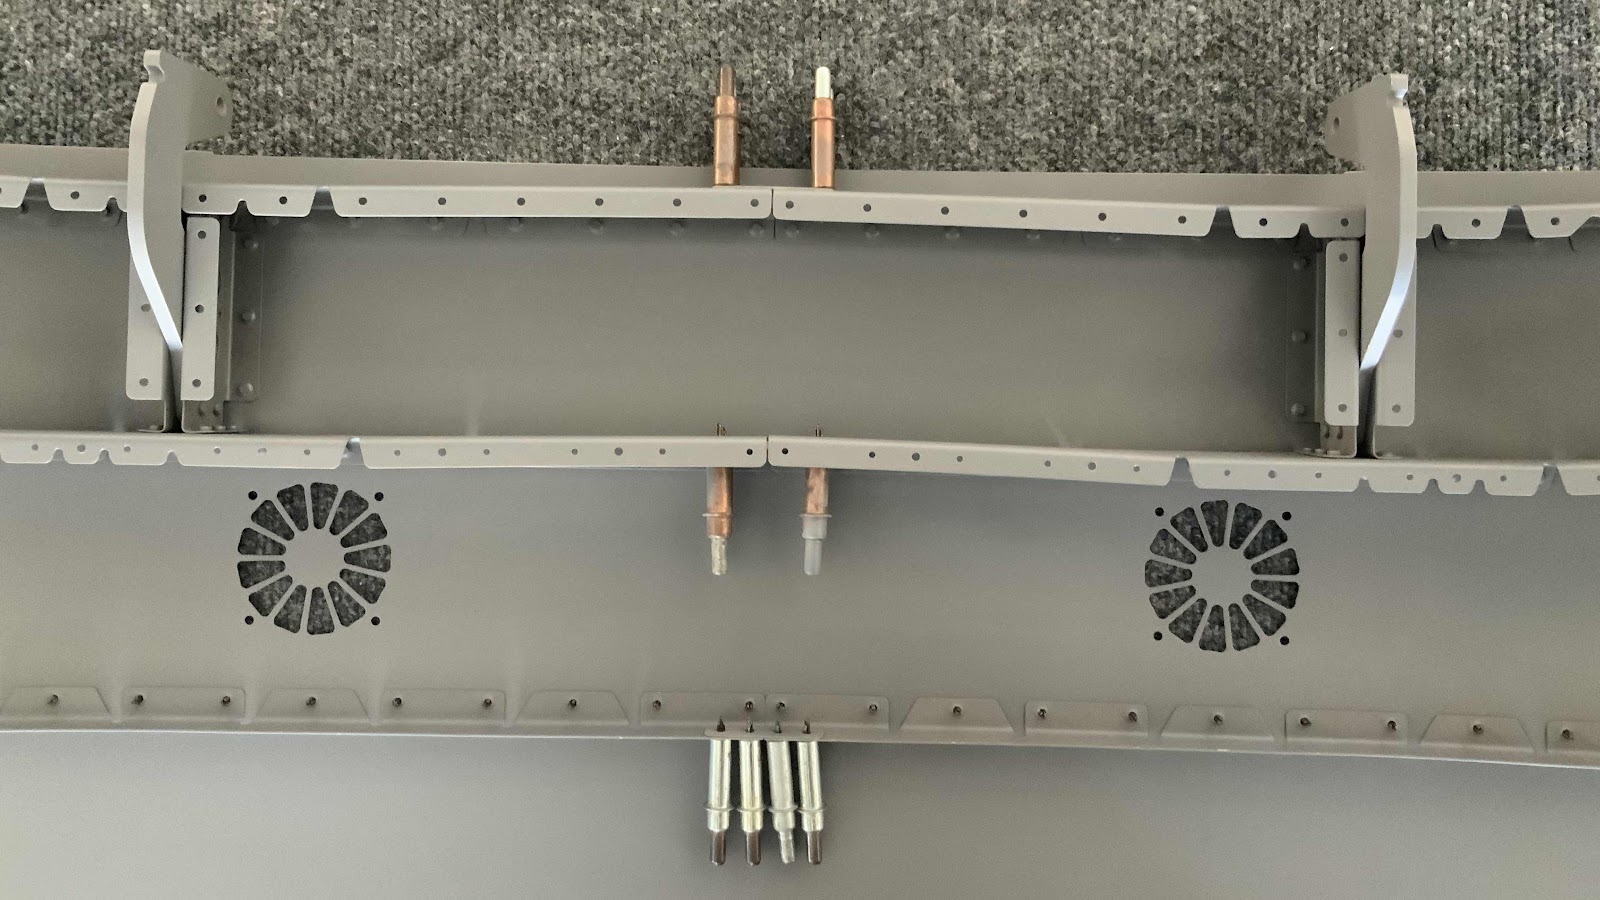
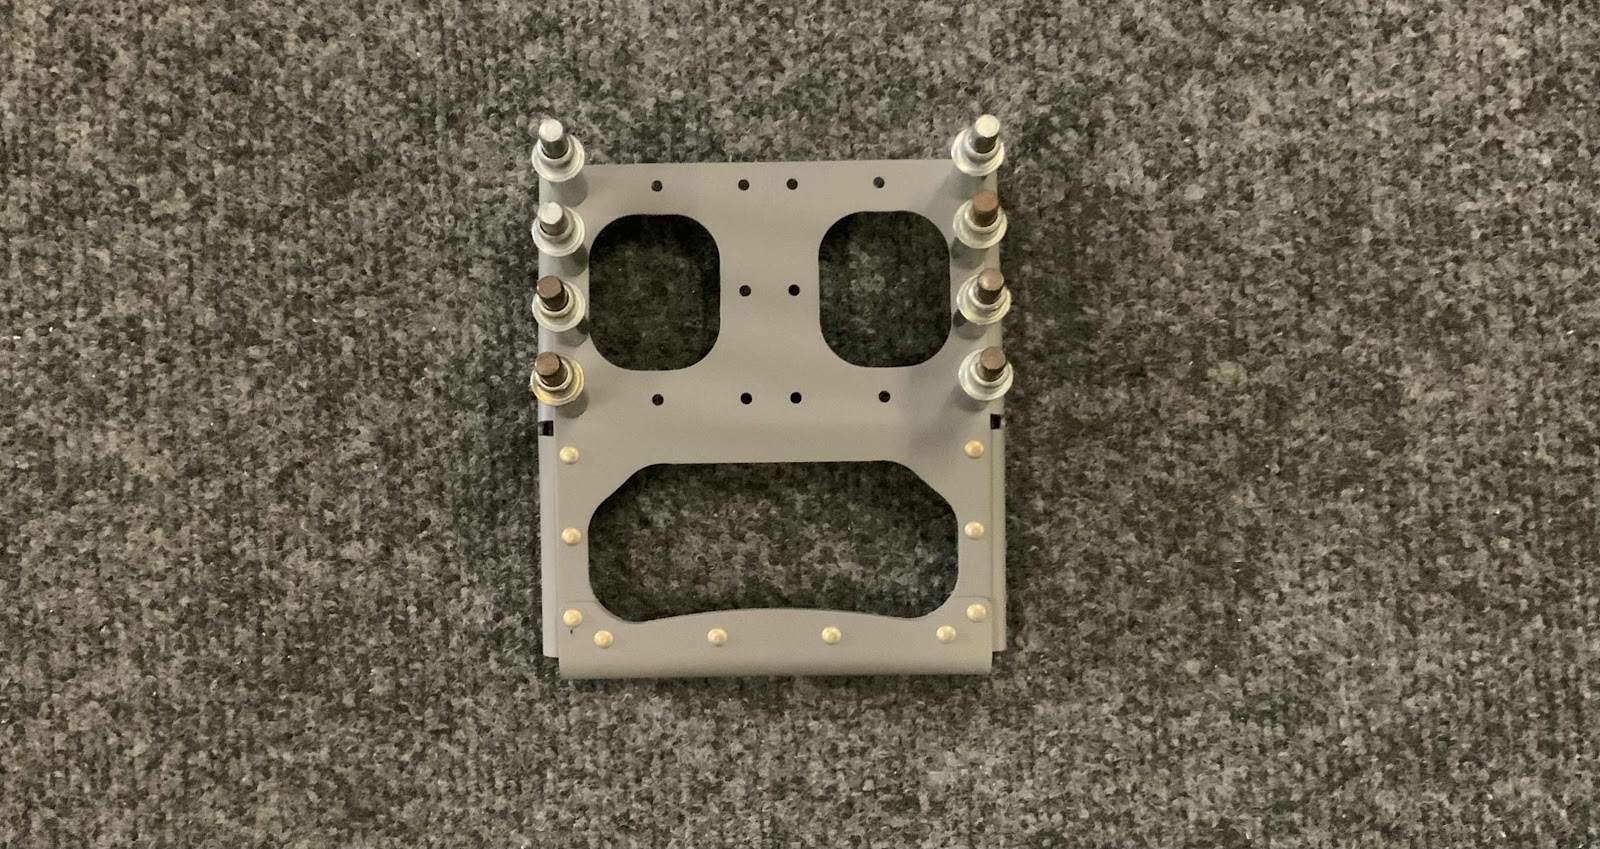
The four individual parts that make up the Canopy Handle were shown in Part 10. Here, the Canopy Handle is partially assembled with the 10 rivets on the “handle” portion. All the empty holes, and ones with clecos, will be used to attach the Handle to the Aft Canopy Frames. (Every time I look at this, it looks like the face of someone screaming - similar to the seat belt crotch strap brackets)!
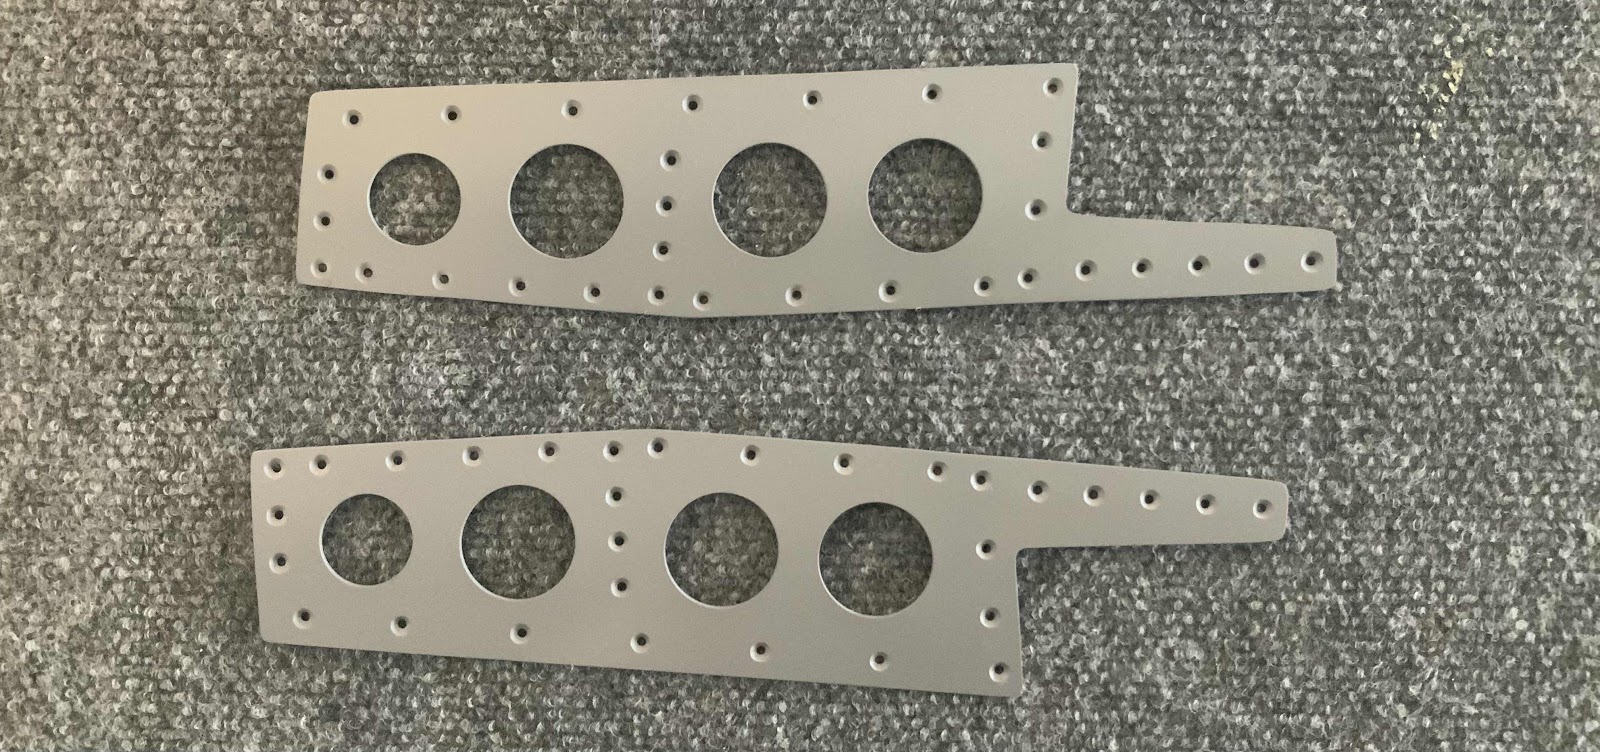
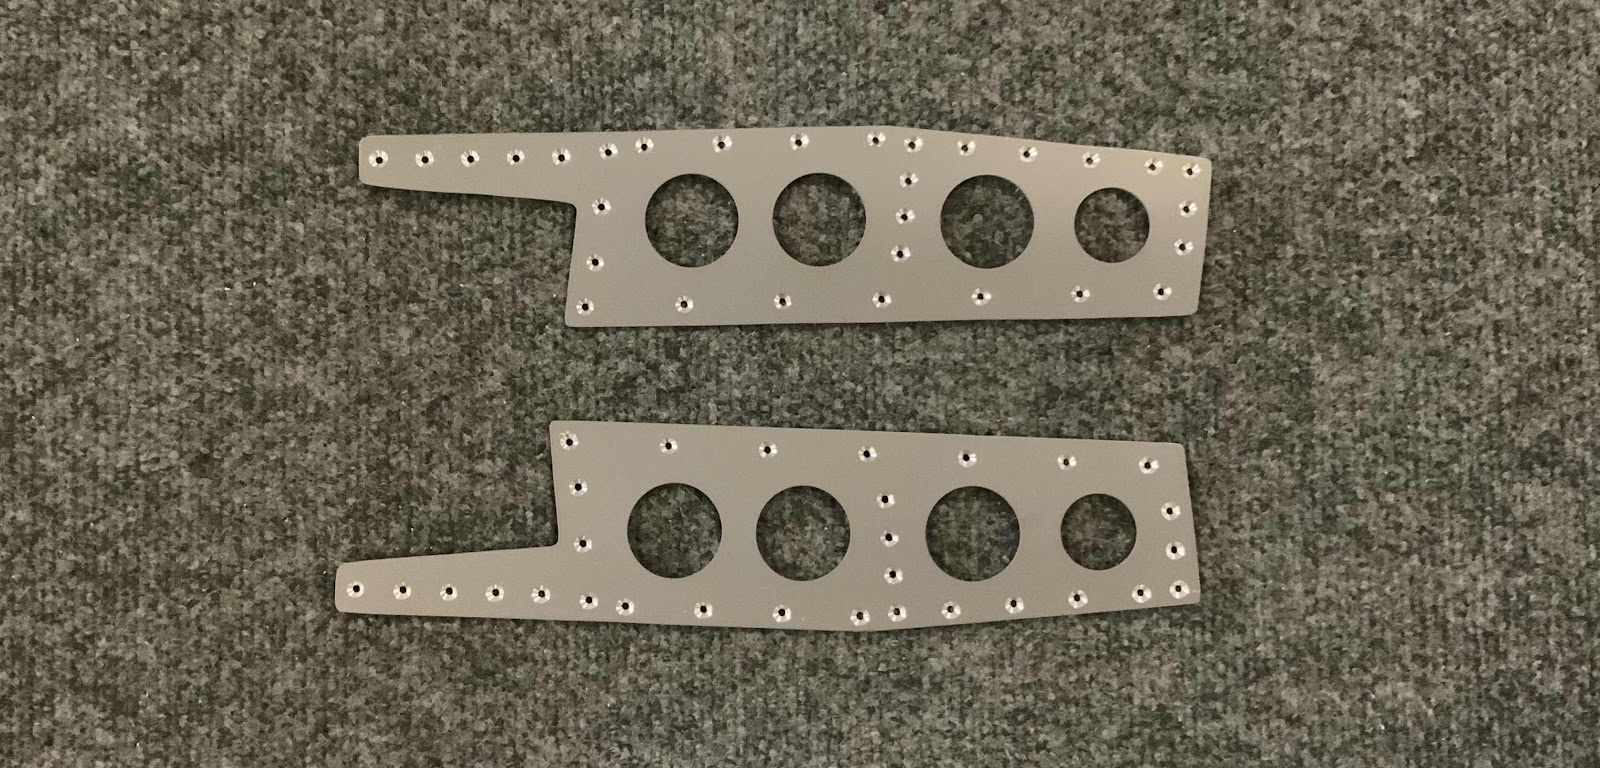
More countersinking! These are the Left and Right Canopy Rail Assemblies. The holes on these pieces were countersunk to accept the head of an AN426AD3 rivet (only three holes) or the dimpled .025 Skin (58 holes) of the Canopy Side Skins. So, a total of 116 holes.....again, by hand! Again, the results were great.
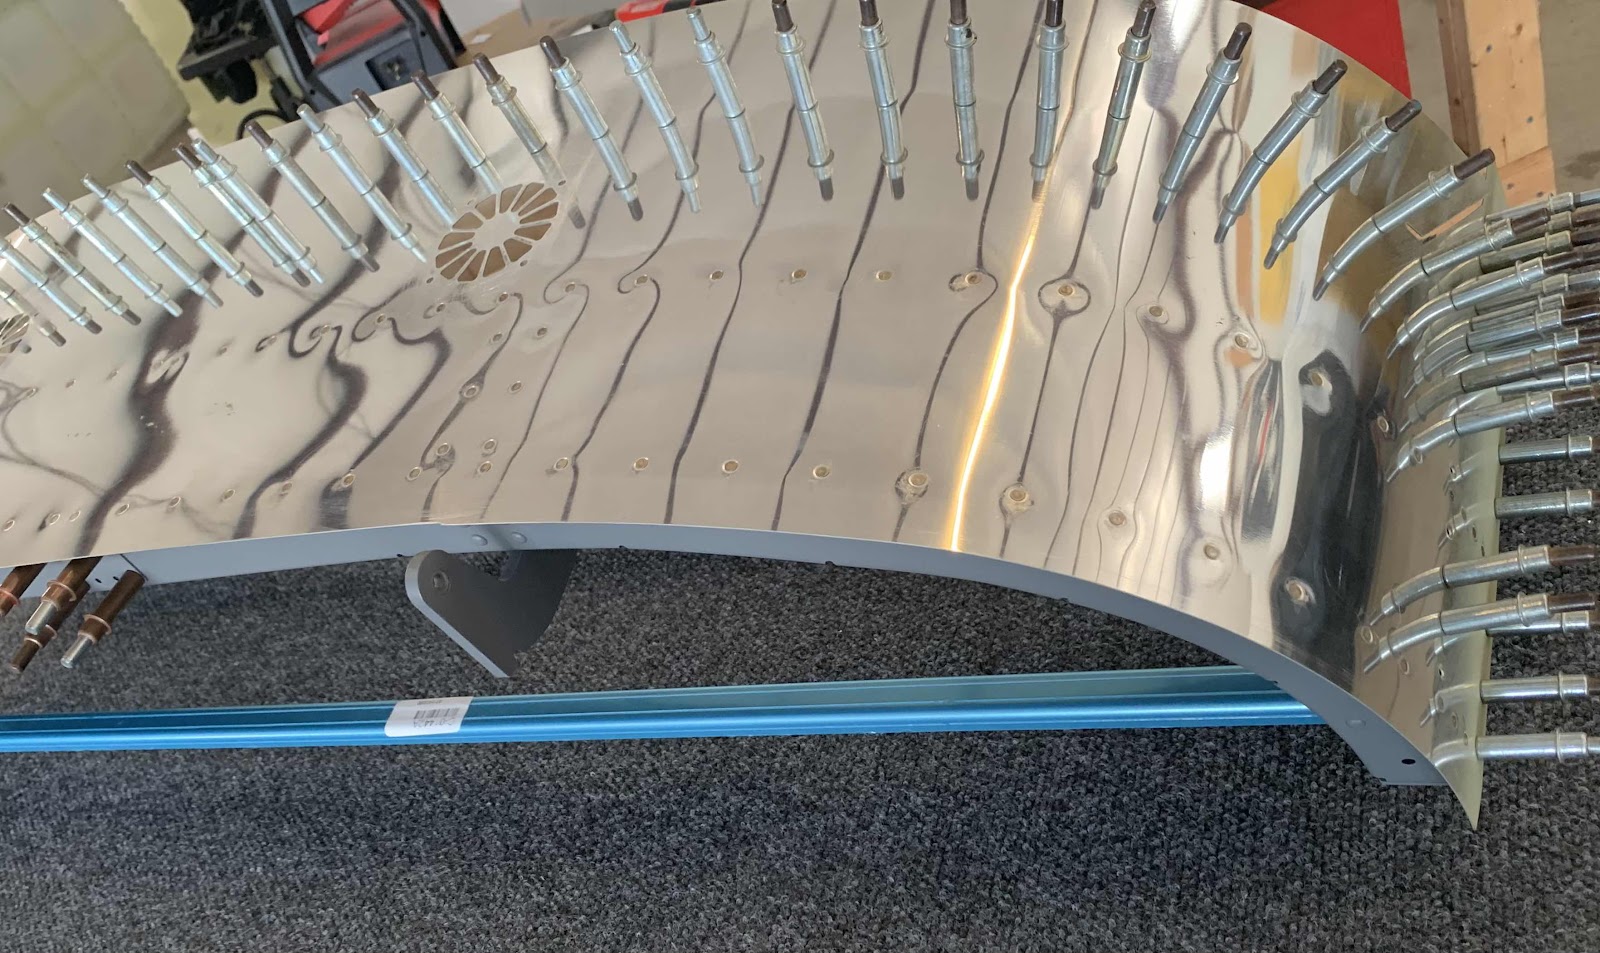
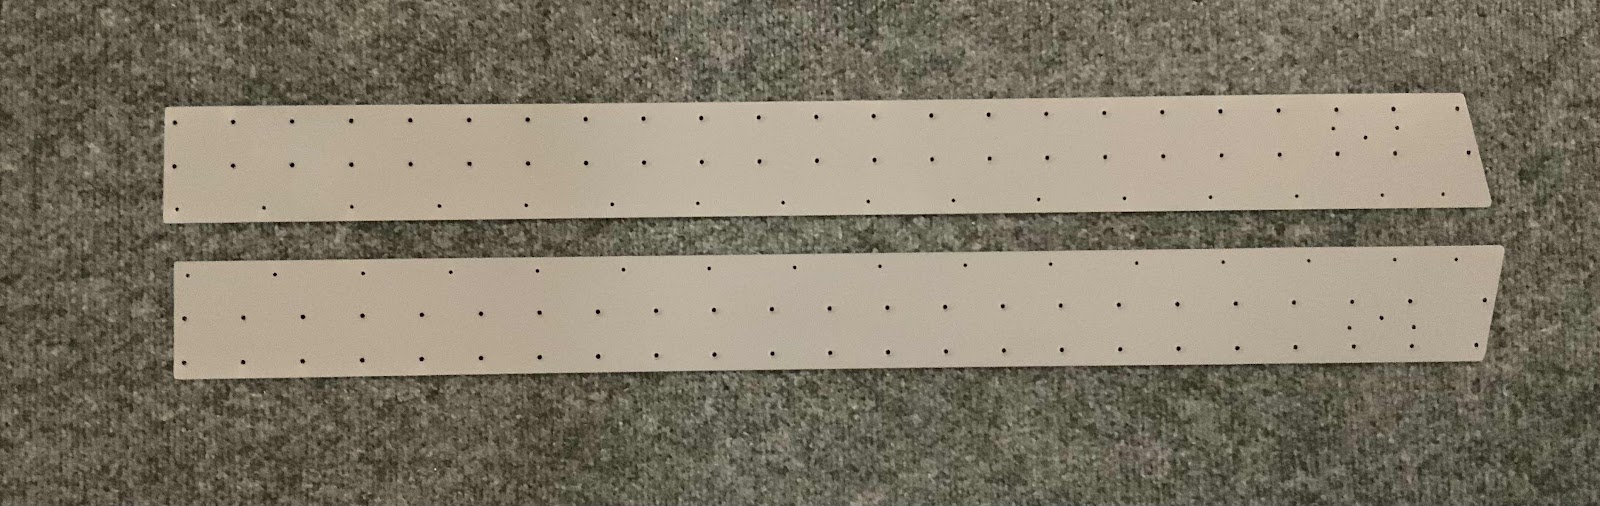
These are the C-01419-L & -R Canopy Side Skins. These pieces were previously treated with Alumiprep, Alodine and Akzo primer. After the 46 holes in each Skin (92 total) were dimpled, I painted the “inside” portion of the Skins grey. I believe you may be able to see some of the inside of the Skin where in attaches to/with the Canopy itself.
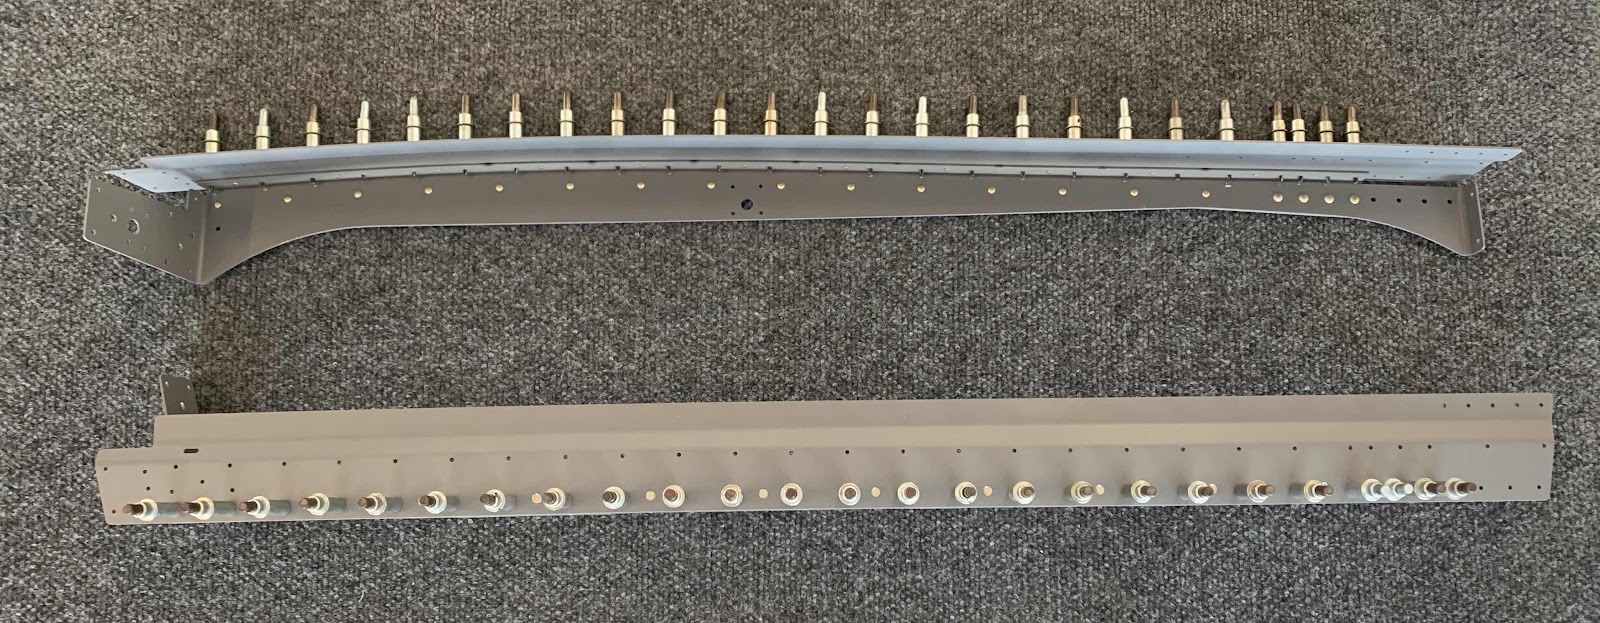
These are the C-01405-L & -R Aft Canopy Frames. These pieces were edge cleaned and treated with Alumiprep, Alodine, Akzo primer and sprayed with grey paint.
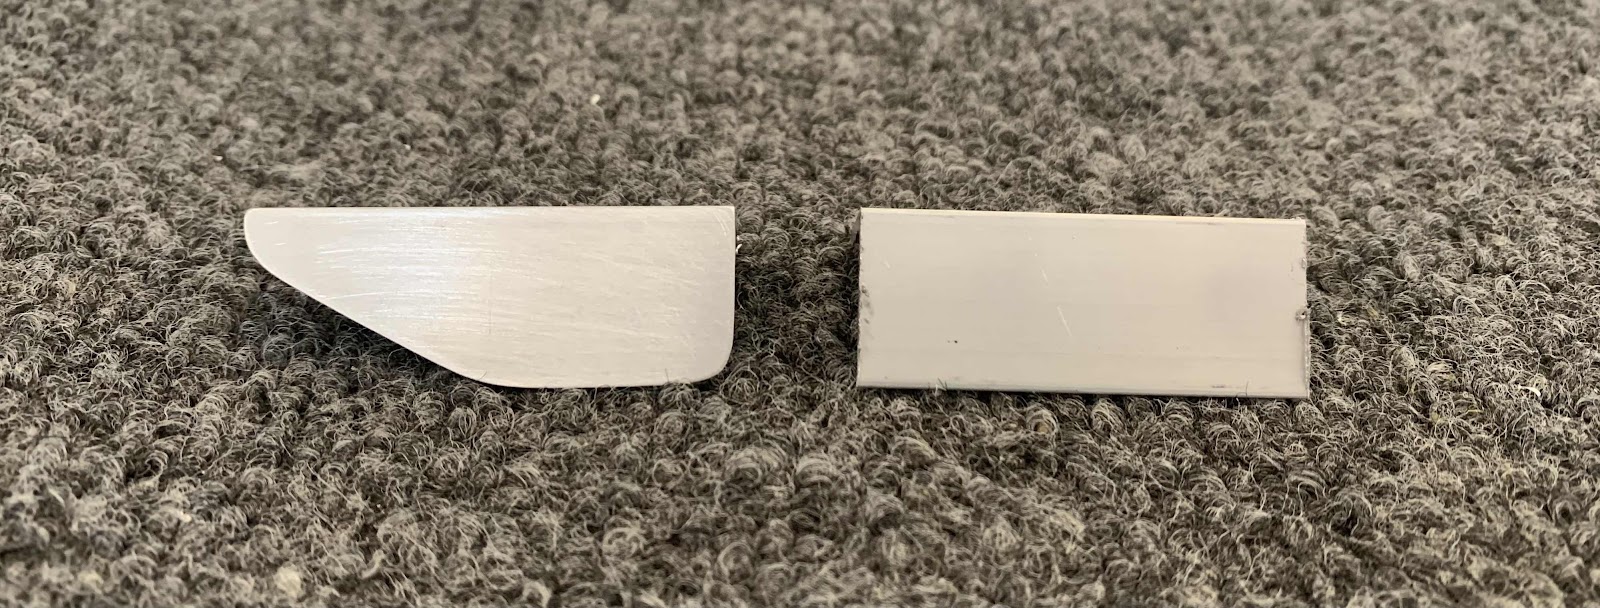
In the previous session, I fabricated the two C-01437-L & -R Canopy Handles from stock aluminum angle and countersunk the three attach holes to fit the head of an AN426AD3 rivet. The handles will be used to “lift” the Canopy up during opening and “set” the Canopy down during closing. Today, they were treated with Alumiprep, Alodine and Akzo primer. They were not paint grey because eventually they will painted when the airplane is painted. Also shown below is the C-01405D Aft Canopy Frame Splice. It was also treated with Alumiprep, Alodine, Akzo primer and sprayed with grey paint.
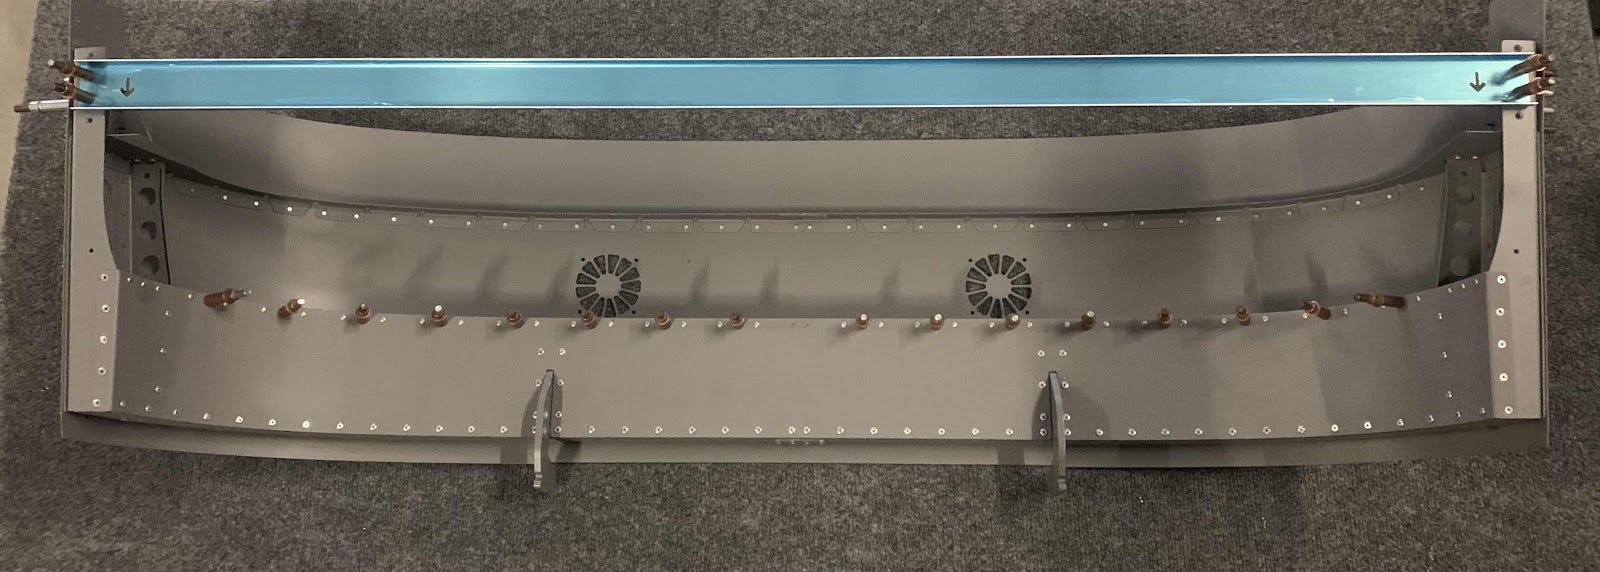
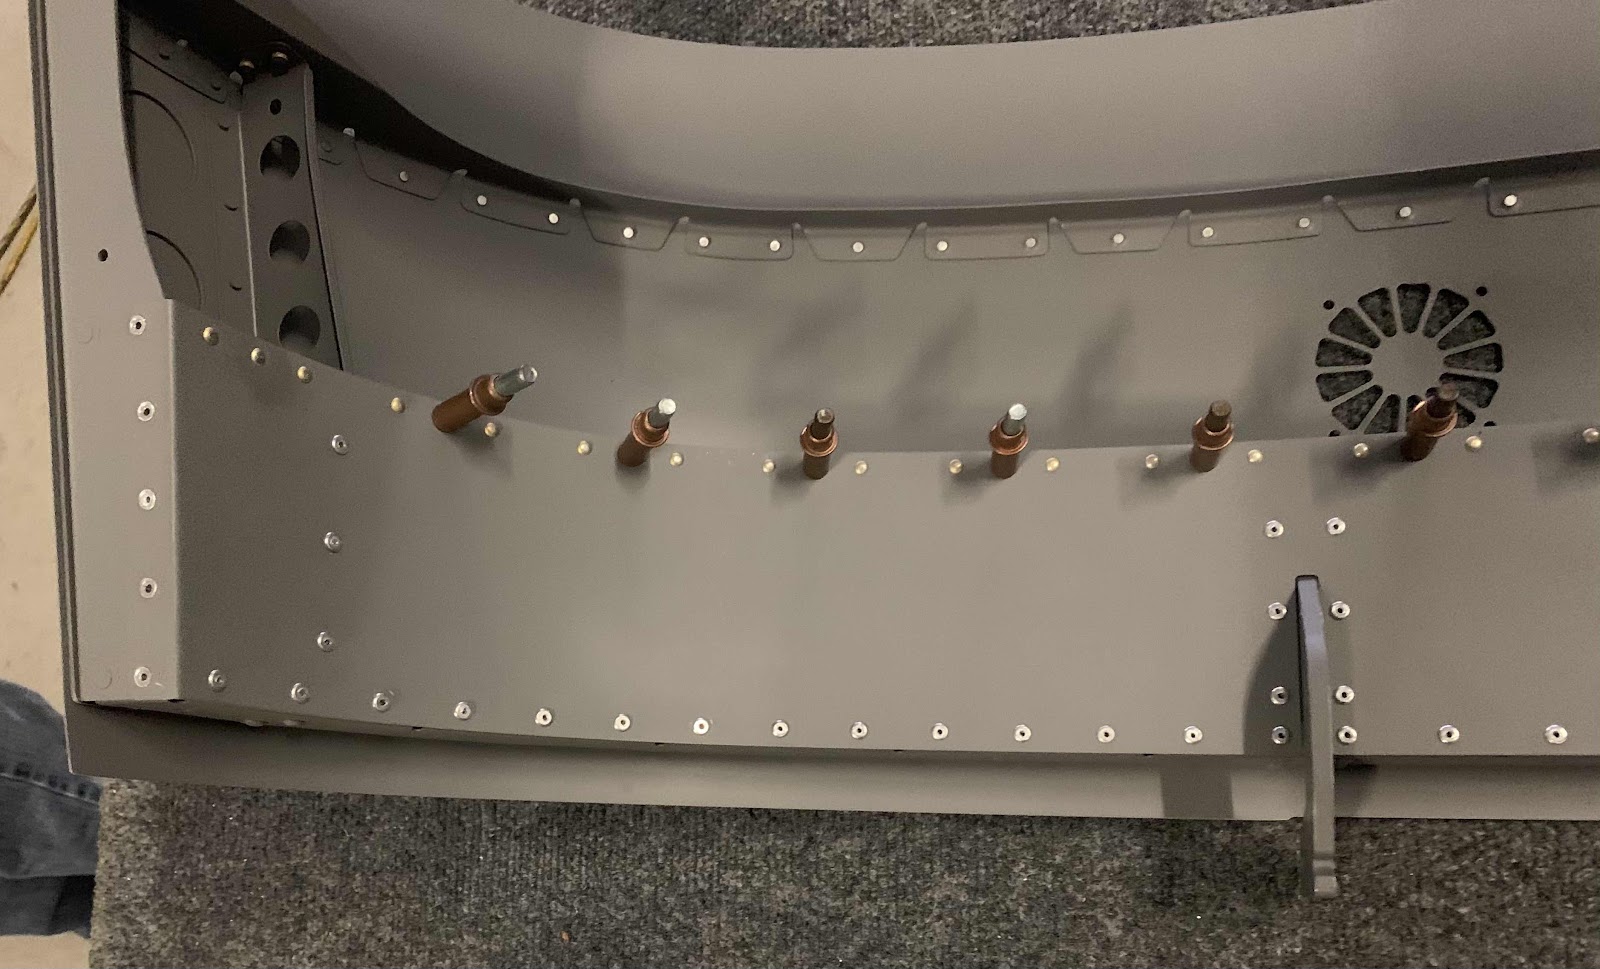
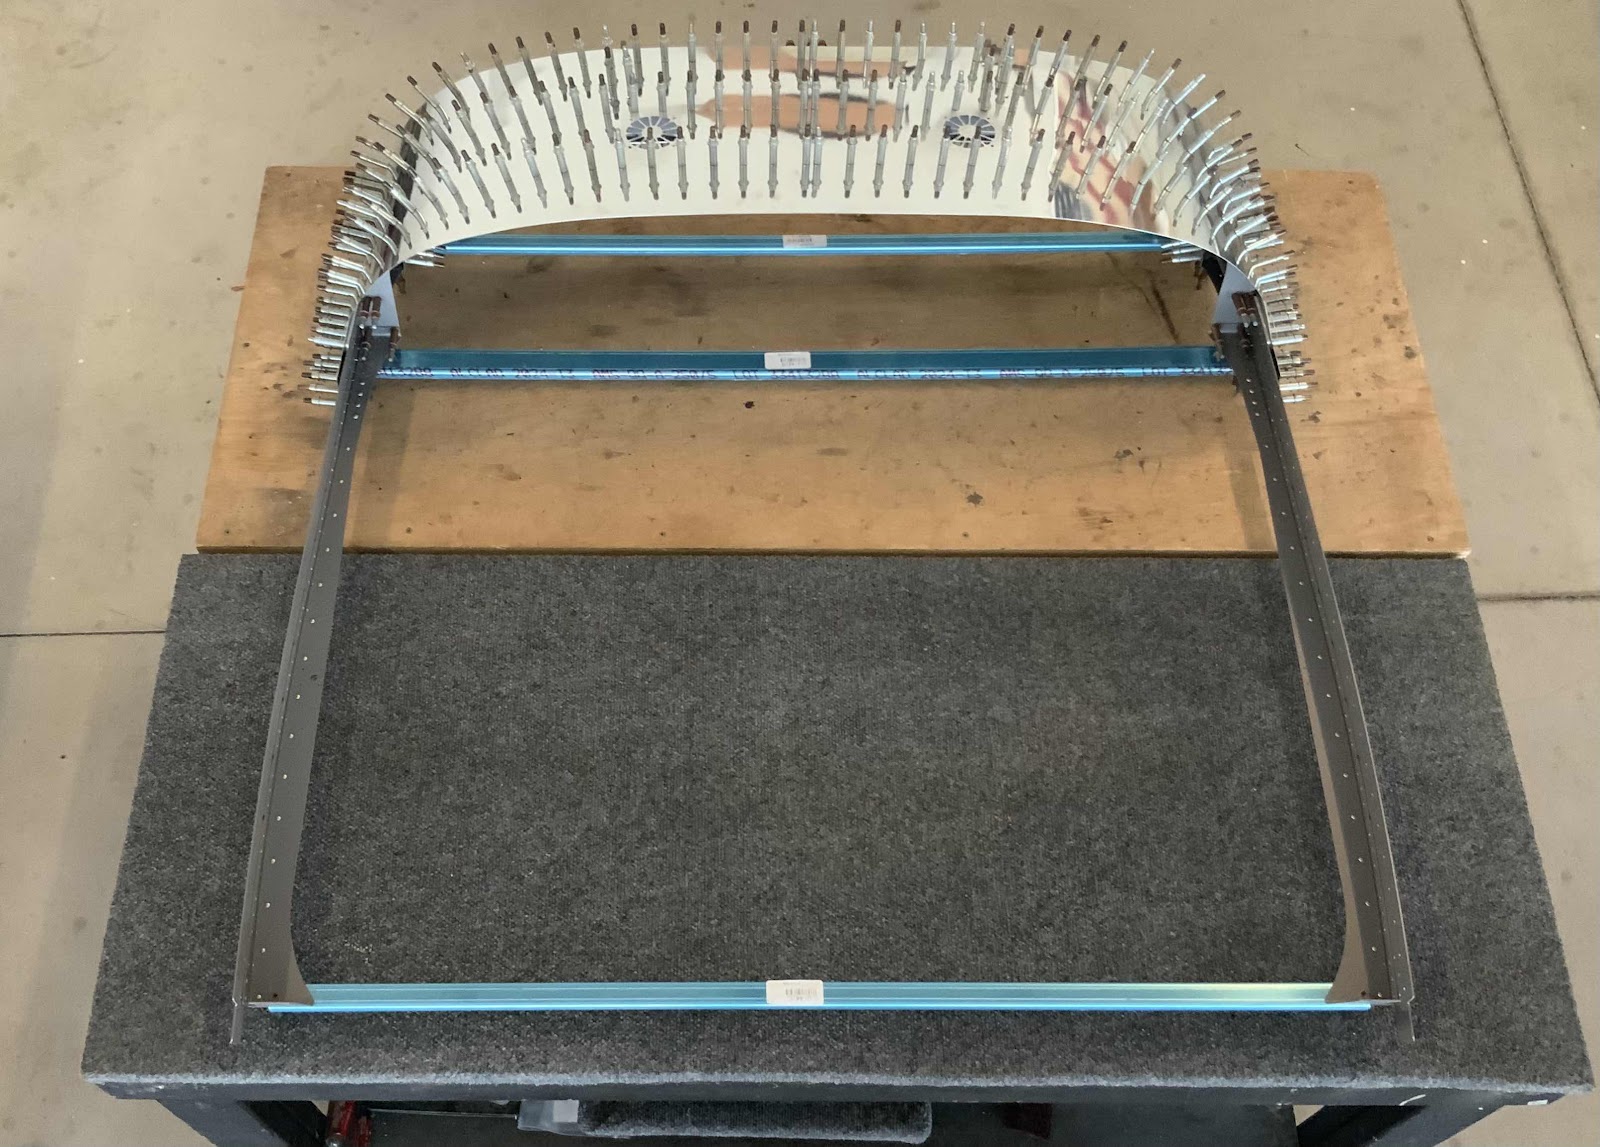
Lastly, the Aft Canopy Frames were assembled. First, everything was clecoed together (along with the Aft Canopy Fixture) to check the initial fit. Then eight of the holes were final-drilled #40 and 10 holes were final-drilled #30. Once that was complete, they all got riveted together. This an overall view of the Assembly.....
.....and a close up of the Canopy Handle. Turned out pretty good I think.