Showing posts with label Section 27-Firewall. Show all posts

Tuesday, July 2, 2019

Fuselage, Firewall (Part 8)

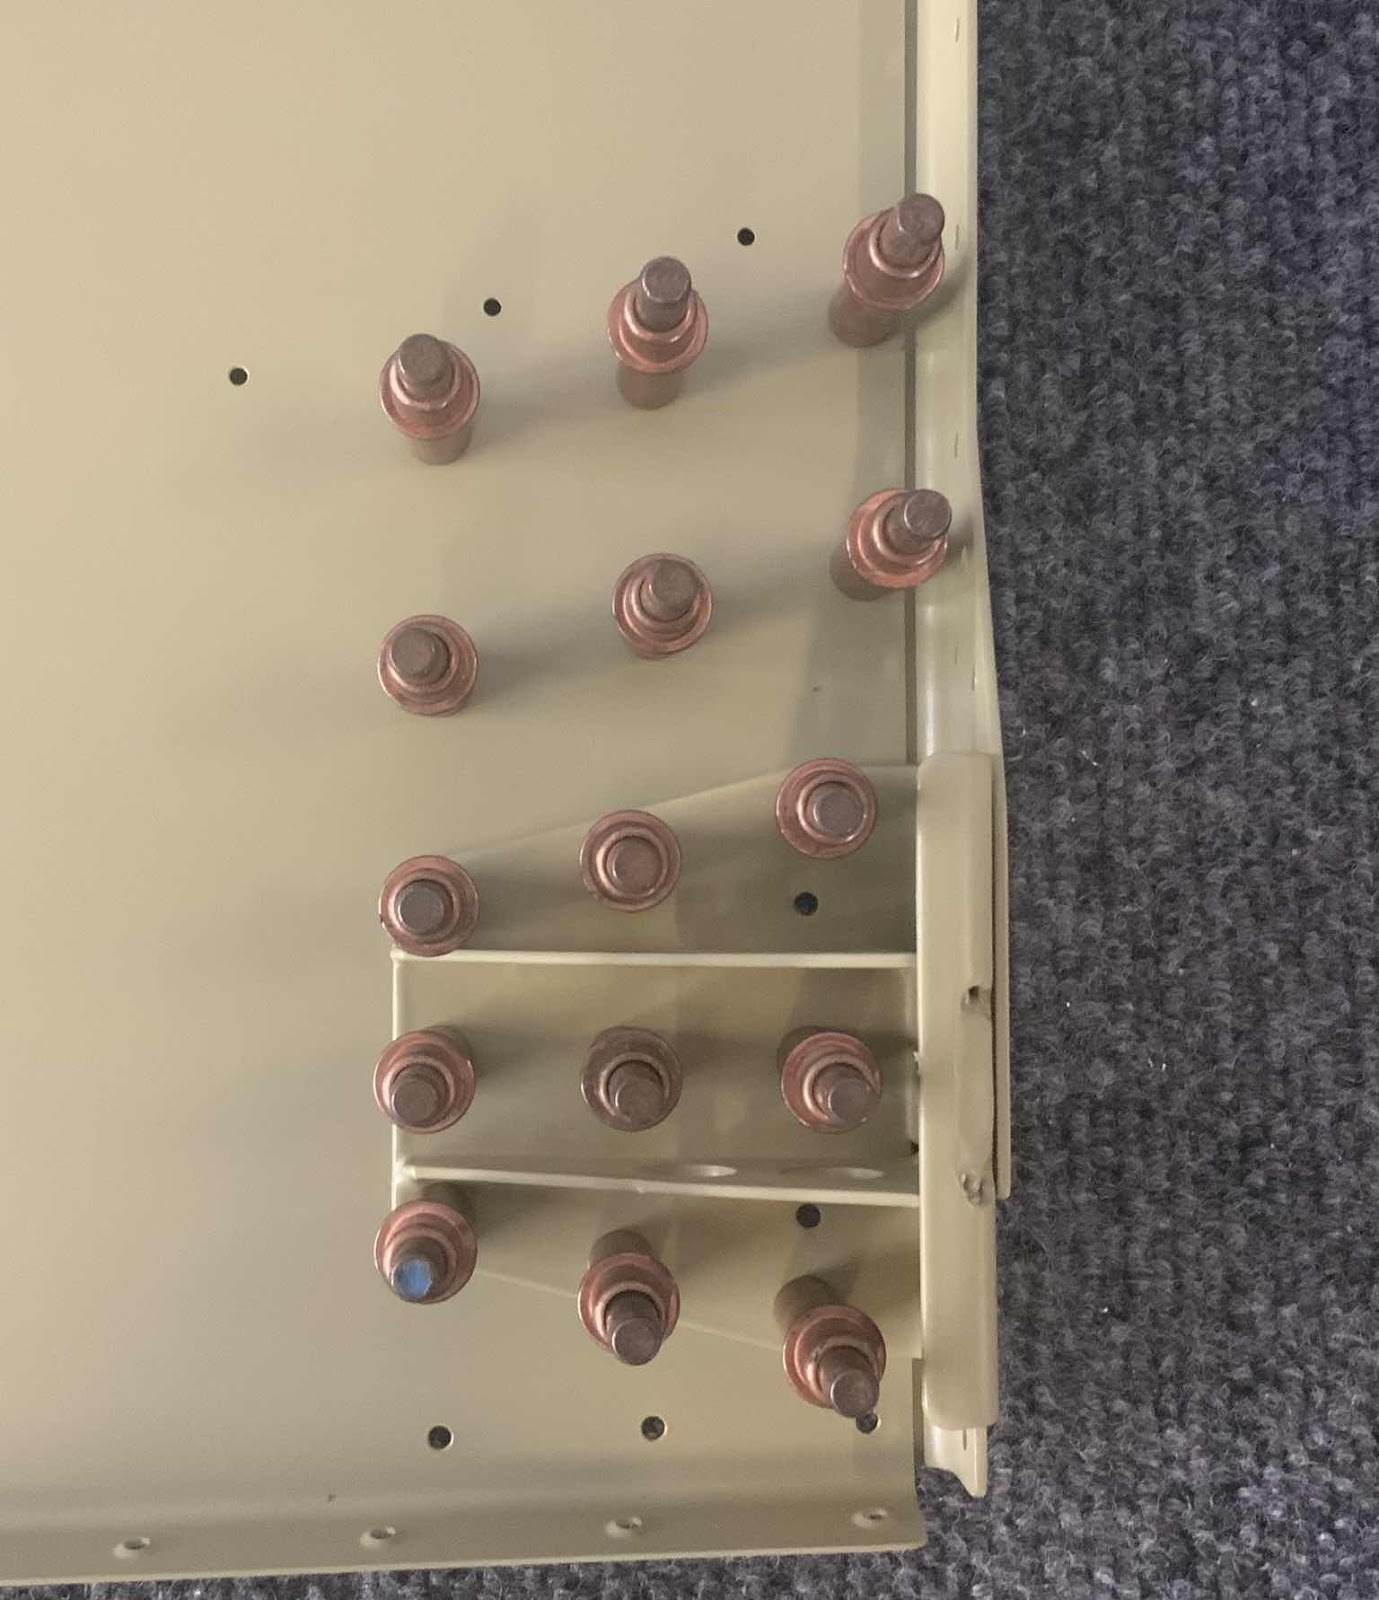
Continuing work on the Firewall.  During the last session, I back riveted the three Firewall Angles to the left Firewall Side.  During today’s session, I back riveted the three Firewall Angles to the right Firewall Side.  Here is the aft side of the Firewall showing the shop head side of the rivets.....

.....and the front side showing the manufactured head side of the rivets.  I had to drill out a few of the rivets today and redo them.  One of the rivets was “smashed” too much and two of the rivets (somehow) were off the edge of my backriveting plate.  This caused the rivet head to be deformed and actually cracked the head of the rivet.  So, I removed the three rivets (being extremely careful since I was working with the Firewall) and re-set them.  Much better results the second time around for those three.

The next step was to install the F-01401A Firewall Top to the Firewall Sides using the F-01401D Firewall Angle.  So, here is what it looks like un-clecoed and un-riveted.  Now, a couple of things were going on here: 

1.  Only 10 holes (5 on each end of the Angle get riveted)
2.  A 1/16” bead of fuel tank sealant (Proseal) needed to be put between the Firewall Top and Sides
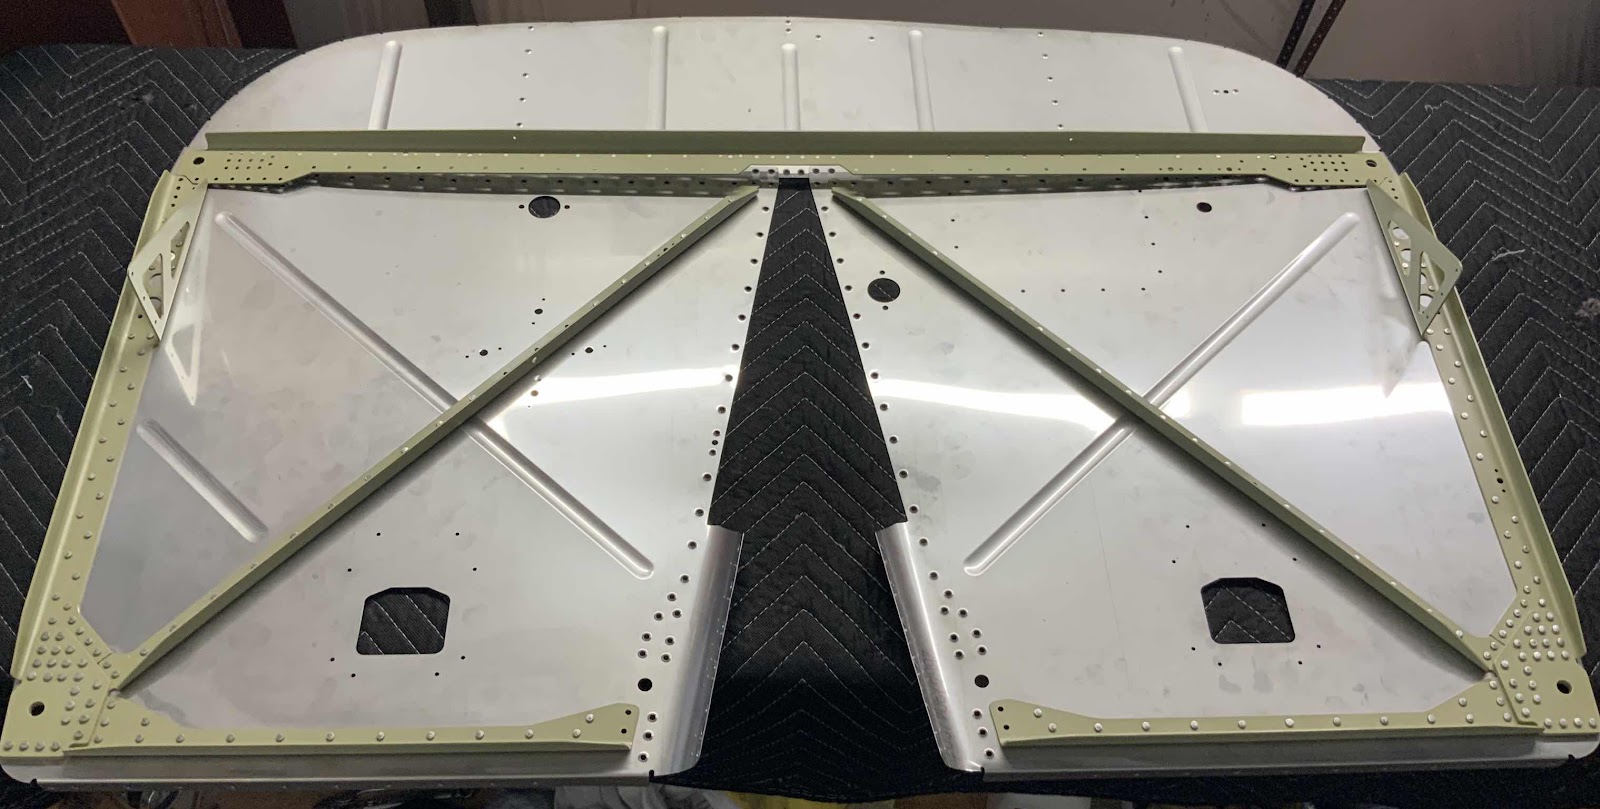
These are the only five holes on the right side (aft side of the assembly) that will get rivets.....

.....and these are the five holes on the left side (aft side of the assembly) that will get rivets.

It might be a little hard to see in the picture below, but along the bottom edge of the Firewall Top (looking at the aft side of the part) is the small bead of Proseal I applied as described in the plans.  Now, the two Firewall Sides will be positioned on the Firewall Top and clecoed into place. 

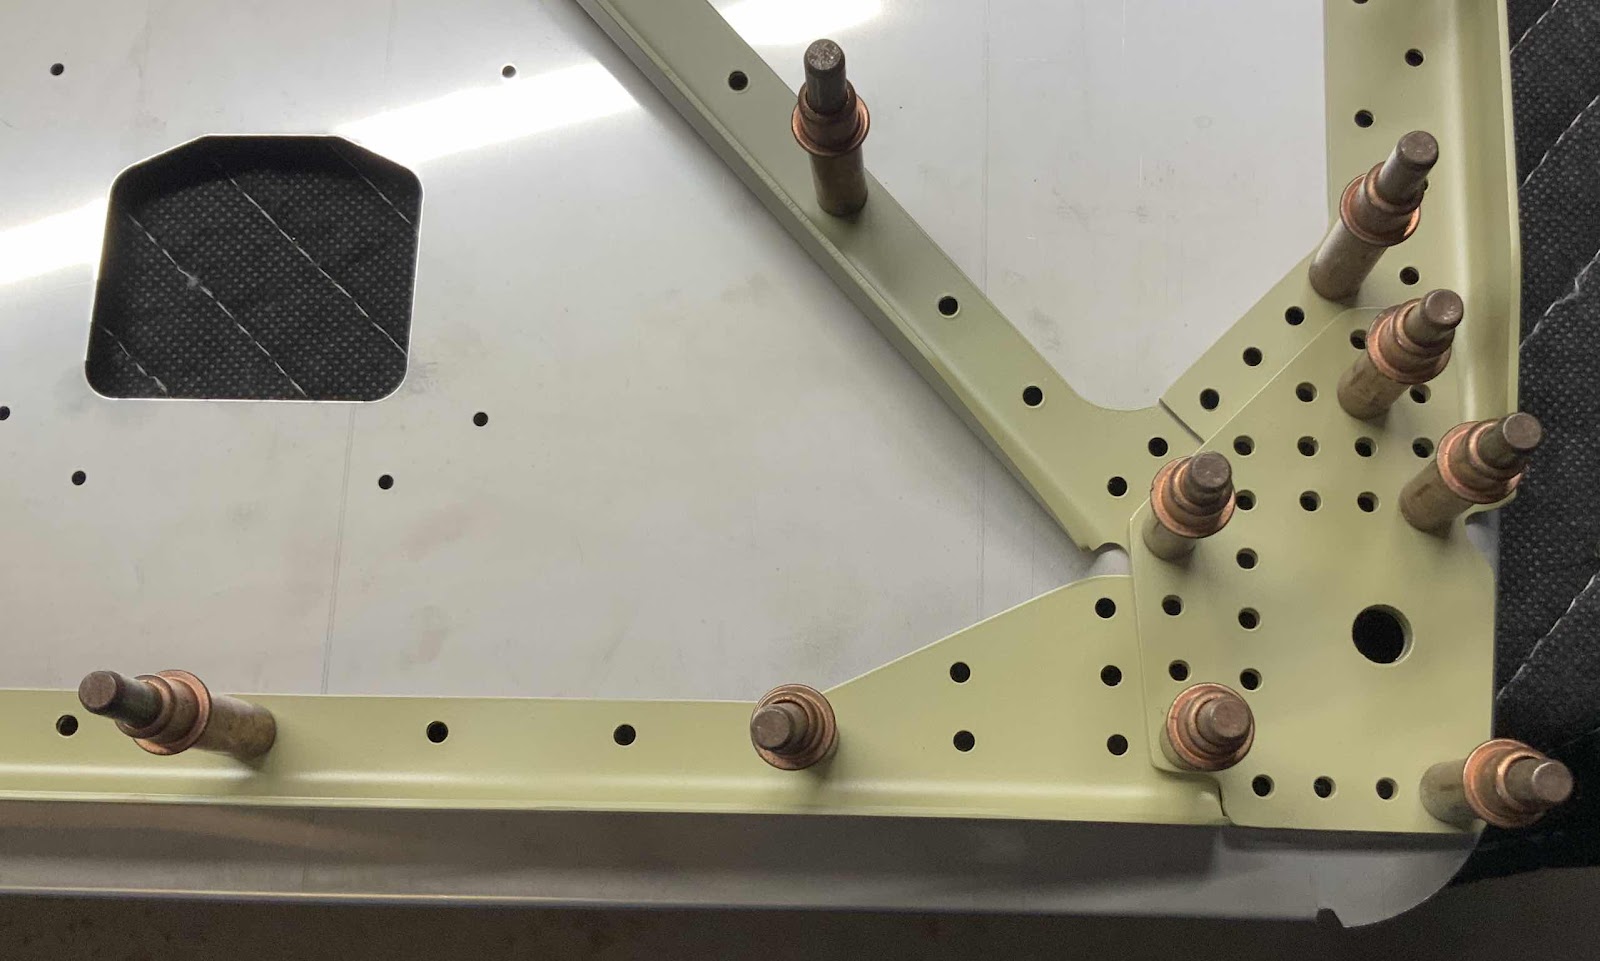
Unless I was doing it wrong, I couldn’t find an acceptable way to backrivet these 10 rivets.  So, my buddy helped me shoot them....me on the gun and him on the bar.  Here are the manufactured heads of the five rivets on the right Firewall Side (looking at the forward side of the assembly).  This picture was also taken after I cleaned up the excess proseal that oozed out from the seam of the two parts.  (You can see the seam running left to right in the middle of the picture).
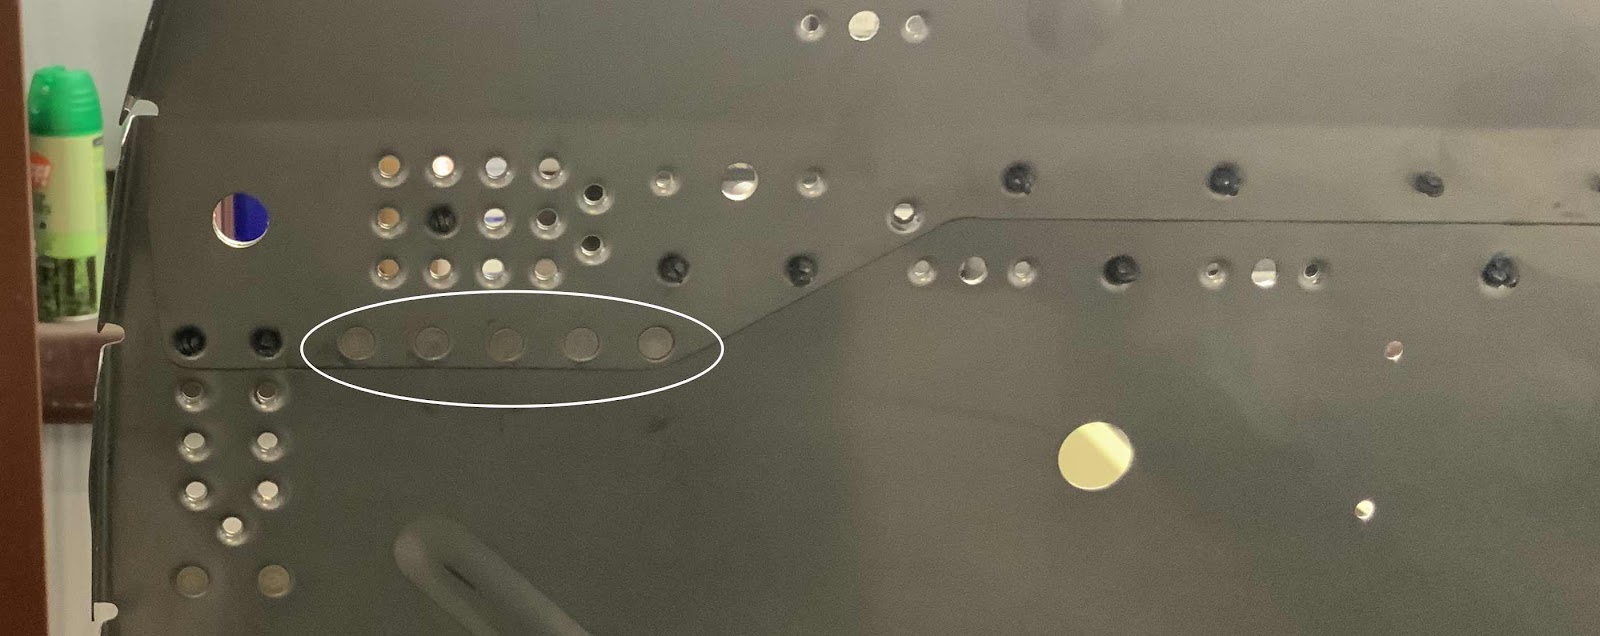
This is the opposite side of the picture above showing the shop head side of the rivets (looking at the aft side of the assembly)
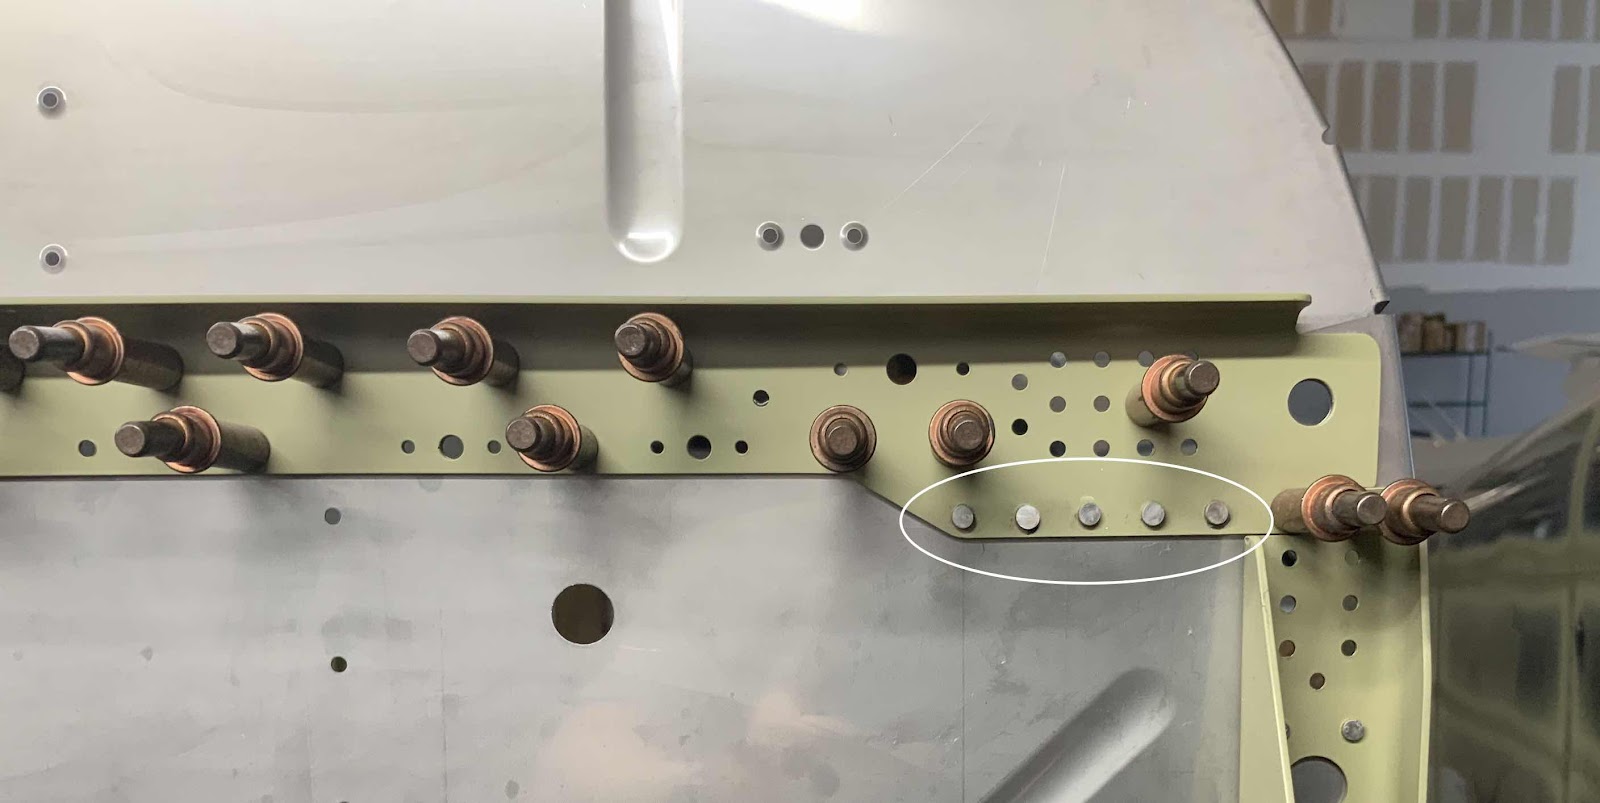

Here are the manufactured heads of the five rivets on the left Firewall Side (looking at the forward side of the assembly).....
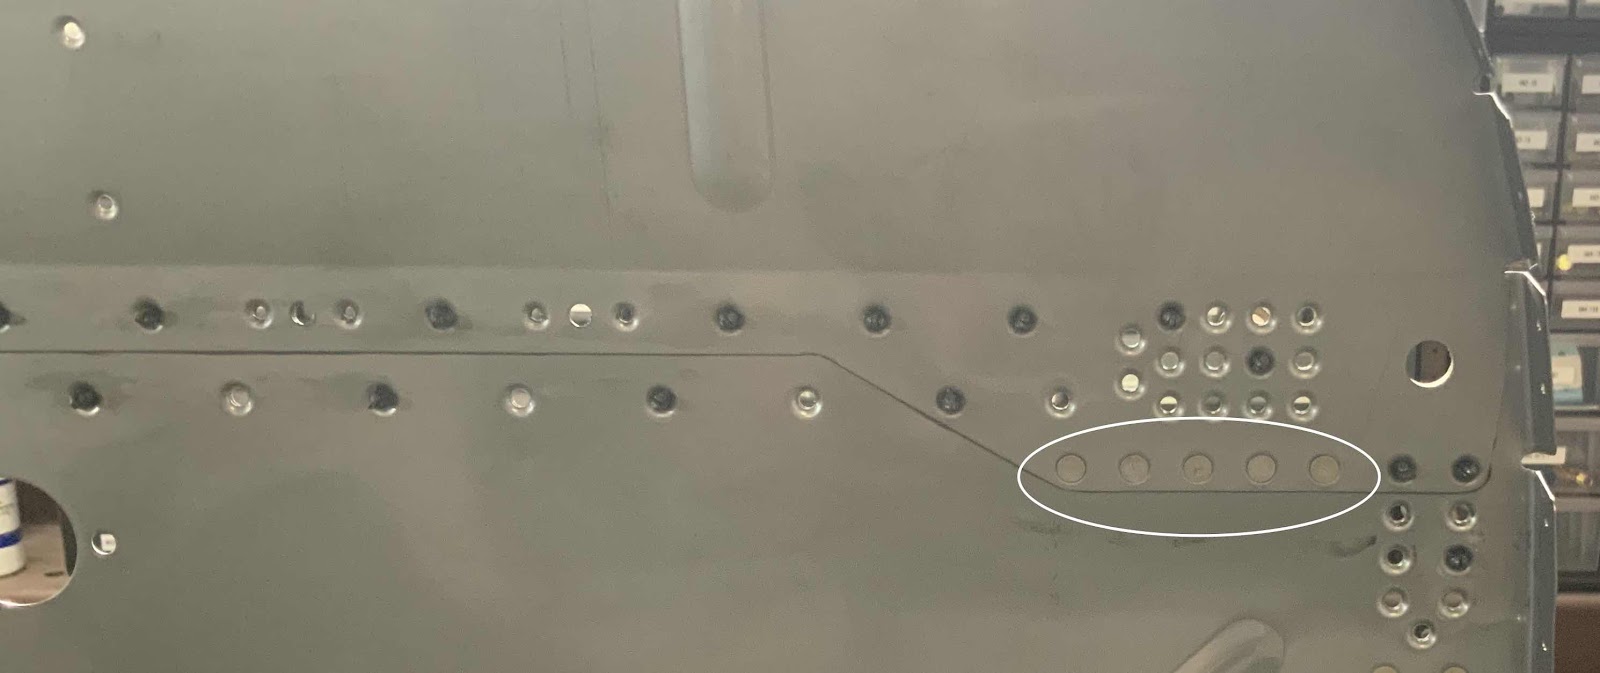
.....and the opposite side of the picture above showing the shop head side of the five rivets (looking at the aft side of the assembly).

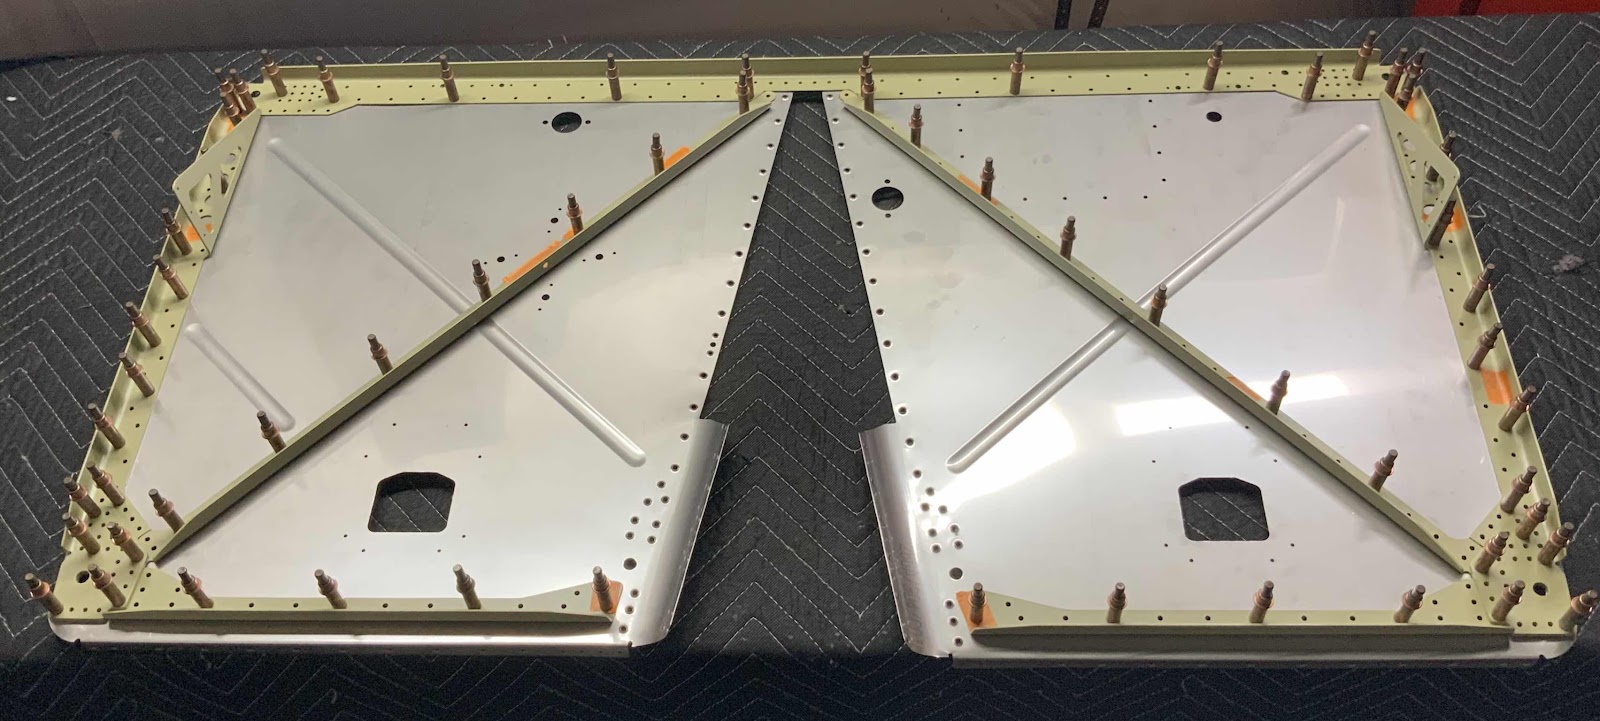
The next step was to cleco the Left and Right Tunnel Side Assemblies to the Forward Firewall Assembly.  Here is what it looks like (looking at the aft side of the assembly).....

.....and this is the forward side of the assembly.  More to follow during the next session.


Section Complete
Sunday, June 30, 2019

Fuselage, Firewall (Part 7)

Today is the day to start riveting the Firewall together.  To start, I clecoed the four Firewall Angles to the Firewall Sides.  I wanted to see how all the holes and parts lined up.  Also, it gave me a 15th chance to make sure I didn’t rivet the holes I wasn’t supposed to (you can see some of the “do not rivet holes” with orange tape on them).

Here is a close up of the top center of the Firewall.....

.....without the upper Firewall Angle.....

.....the bottom right corner of the right Firewall Side with all three Firewall Angles and Gussett.....

.....the bottom left corner of the left Firewall Side with all three Firewall Angles and Gussett.

Once I was able to see how things went together, it was time to install the rivets....a lot of them.  All of rivets used today were  AN426AD4-4  and AN426AD4-7 (only where the Gussett covers the Firewall Angles.  Here is the front of the left Firewall Side showing the manufactured heads of the rivets installed on the Firewall Side.

Here is a closer look at the corner that has the Gussett (on the other side of the Firewall Side).

This is the opposite side of the picture above showing the Firewall Angles and the shop head side of the rivets.
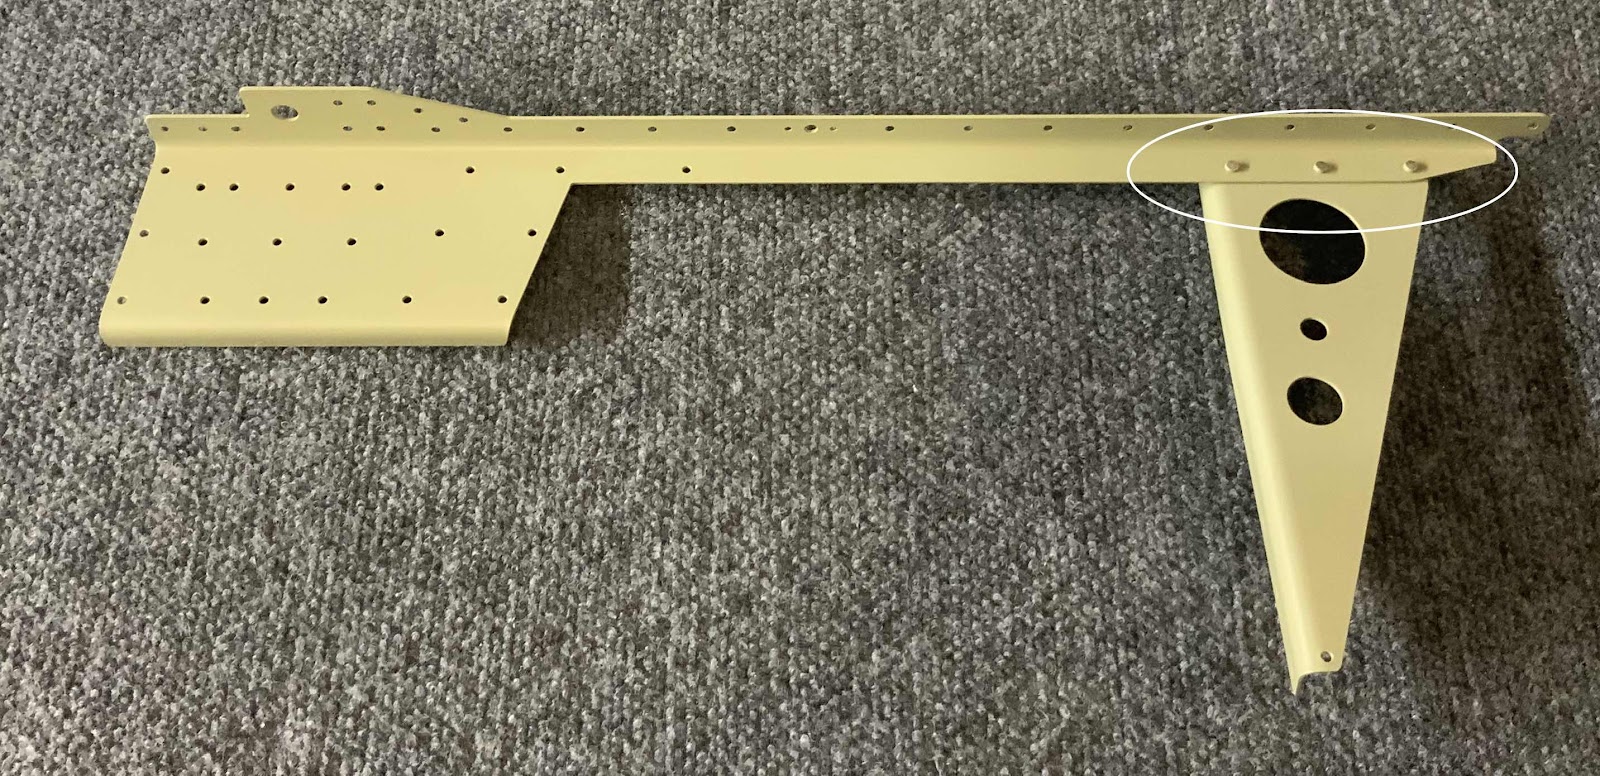
And a close up of the Gussett to Firewall Angles.

Saturday, June 29, 2019

Fuselage, Firewall (Part 6)

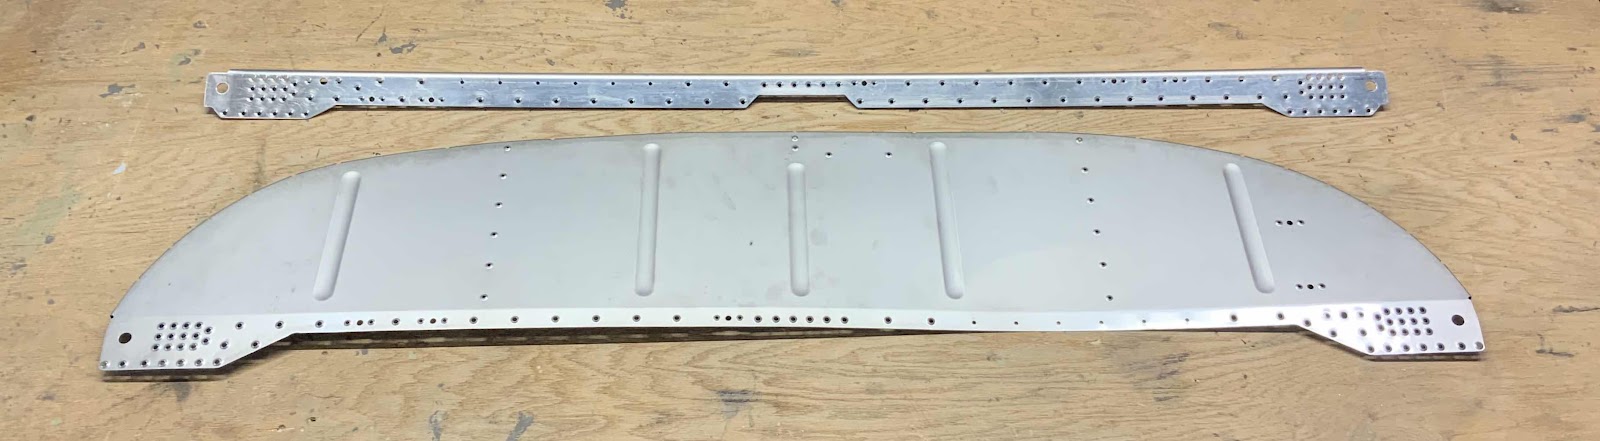
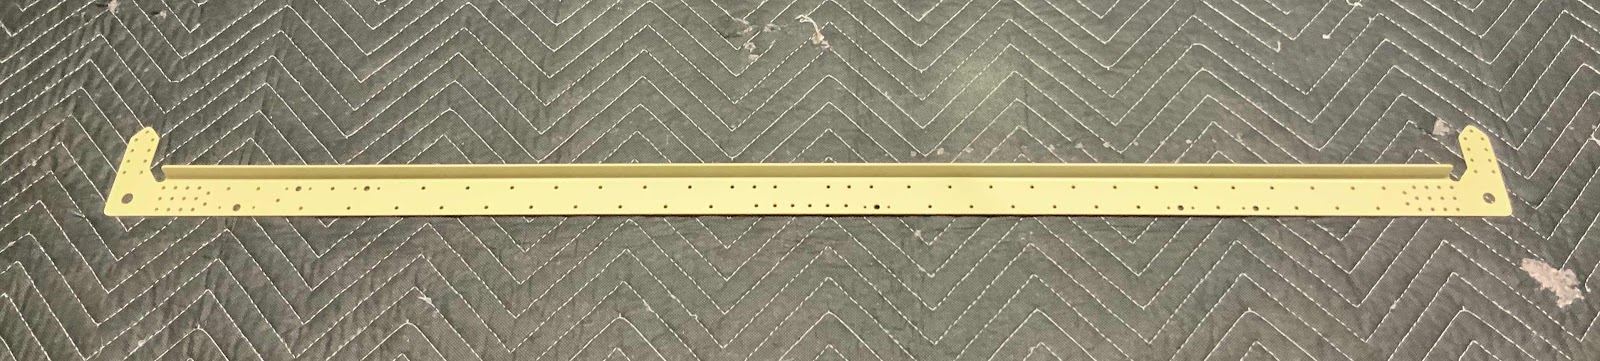
I continued working on the Firewall during this session.  Shown below is the F-01401D Firewall Angle (top) and the F-01401A Firewall Top (bottom).  All the #30 holes (except six) and the #40 holes in the Firewall Angle were countersunk to accept a dimpled skin.  If you zoom into the picture, you can see all the holes that were countersunk.  The Firewall Top had all the #30 (except six) and #40 holes in the web dimpled.  I was able to dimple part of the holes with my pneumatic squeezer and part with the DRDT-2.

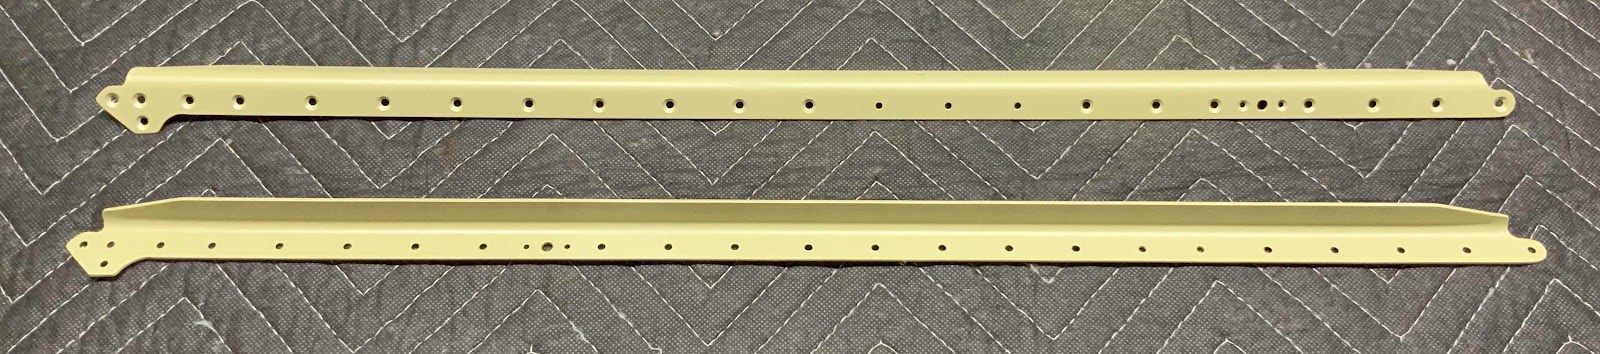
Here is the F-14132 Tunnel Angle (top) and the F-01401C Firewall Center.  I cleaned the edges and deburred the holes in the Firewall Angle.....then, set it aside for a few pages later in the plans.  The Firewall Center had the #30 and #40 holes dimpled.  (I just realized I missed the two #30 holes on the left side - I’ll get ‘em).

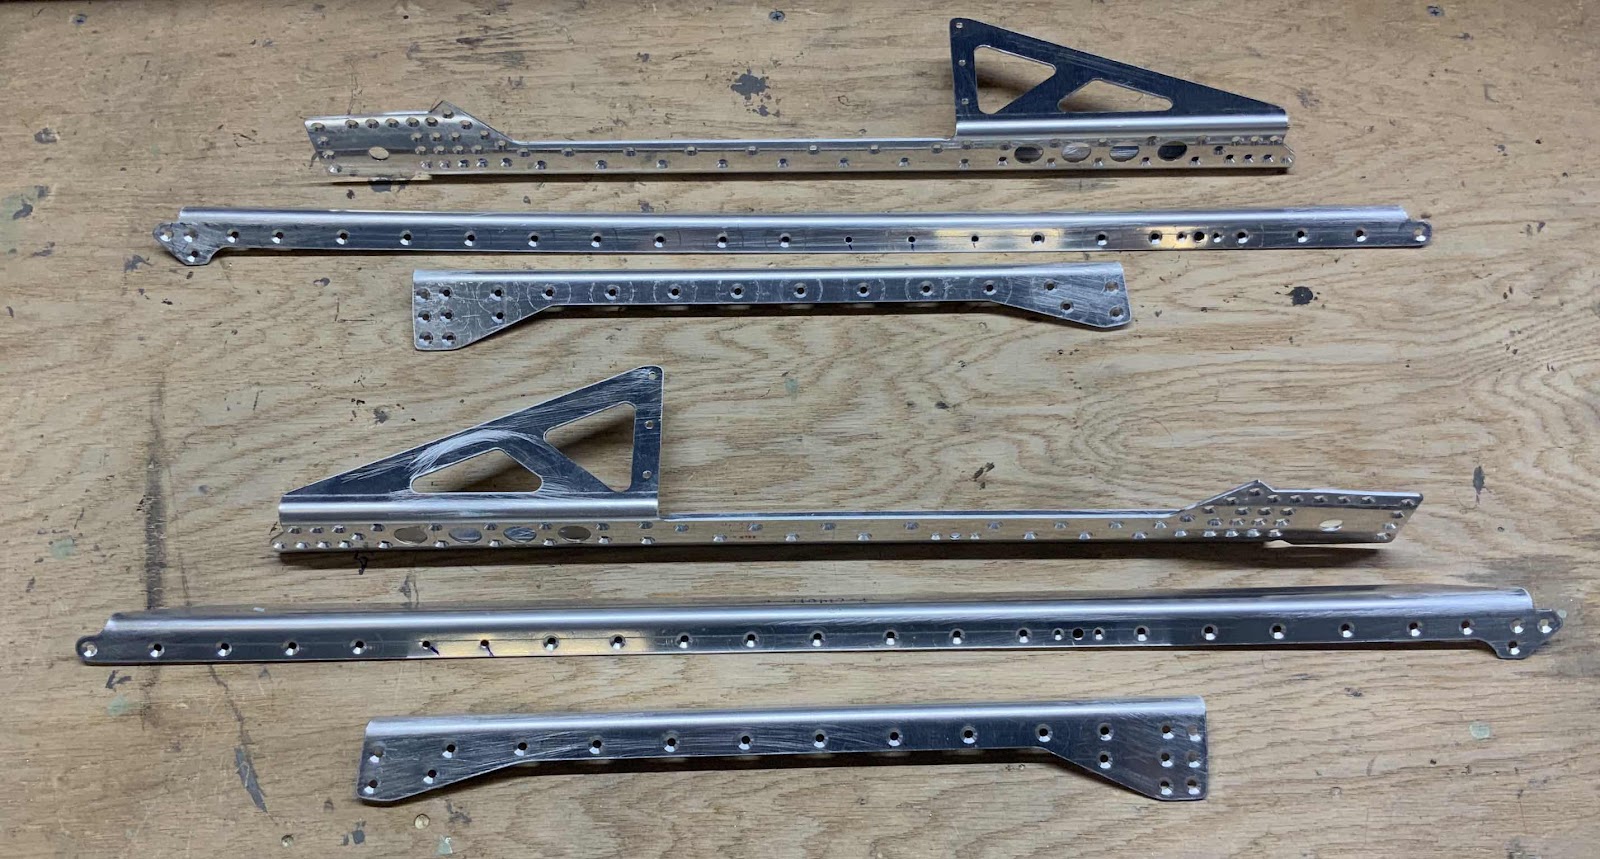
All of the following parts were treated with Alumiprep and Alodine during my last work session.  Today, I primed them with Akzo.  These are the F-01401H-L & -R Firewall Angles.....

.....the F-01401F-L & -R Firewall Angles.....

.....the F-01401G-L & -R Firewall Angles.....

.....and the F-01401K Gussets.

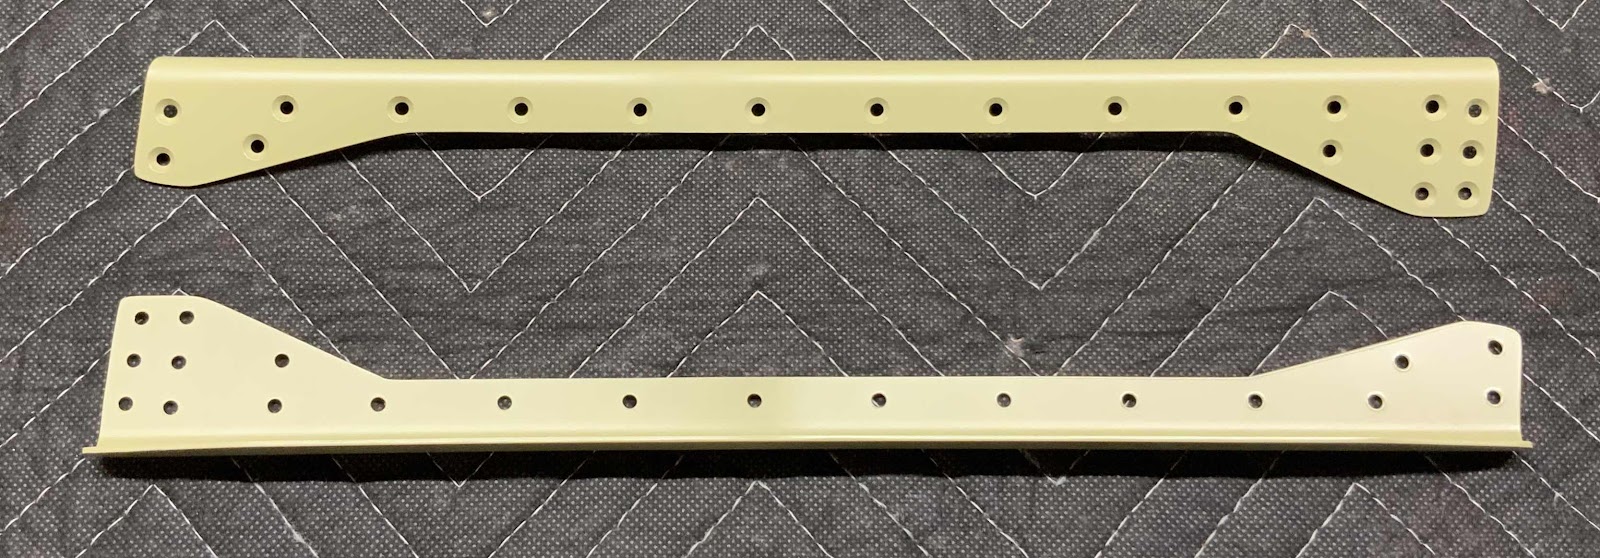
During today’s session, I cleaned the edges, deburred the holes, countersunk the appropriate holes, and treated with Alumiprep and Alodine the following parts/pieces.  Here is the FF-01402 Relay Doubler (top) and the F-10401L Firewall Gussets (bottom).....

.....F-01401D Firewall Angle.....

.....and the F-10401J Firewall Angle.

Tomorrow, I will start from here and start riveting the Firewall Assembly together.

Friday, June 28, 2019

Fuselage, Firewall (Part 5)

Today’s session was all about sanding and countersinking.  Shown below is the F-01401F, G, and H Firewall Angles.  They all had their edges cleaned, holes deburred, appropriate holes countersunk, and treated with Alumiprep and Alodine.  During the next session, they will all get primed with Akzo.


Wednesday, June 19, 2019

Fuselage, Firewall (Part 4)

Today’s work on the Firewall was a relatively short session.  Shown below is the:

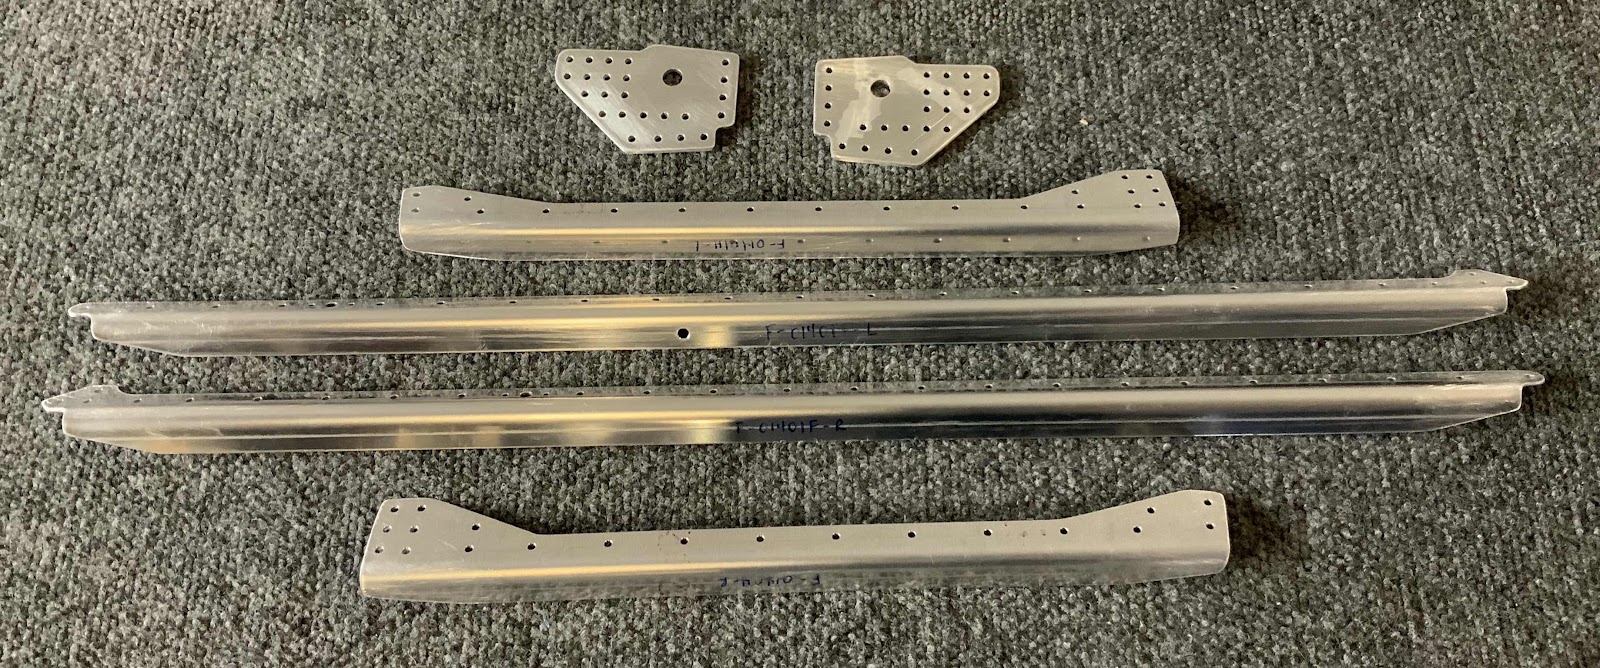
- F-01401K, Gussets (x2)
- F-01401H (L & R), Firewall Angles (small angles)
- F-01401F (L & R), Firewall Angles (large angles)

I separated the parts (as required), cleaned the edges, and deburred the holes.  Most of the holes now need to be countersunk, so I wills start there during the next session.

Monday, June 17, 2019

Fuselage, Firewall (Part 3)

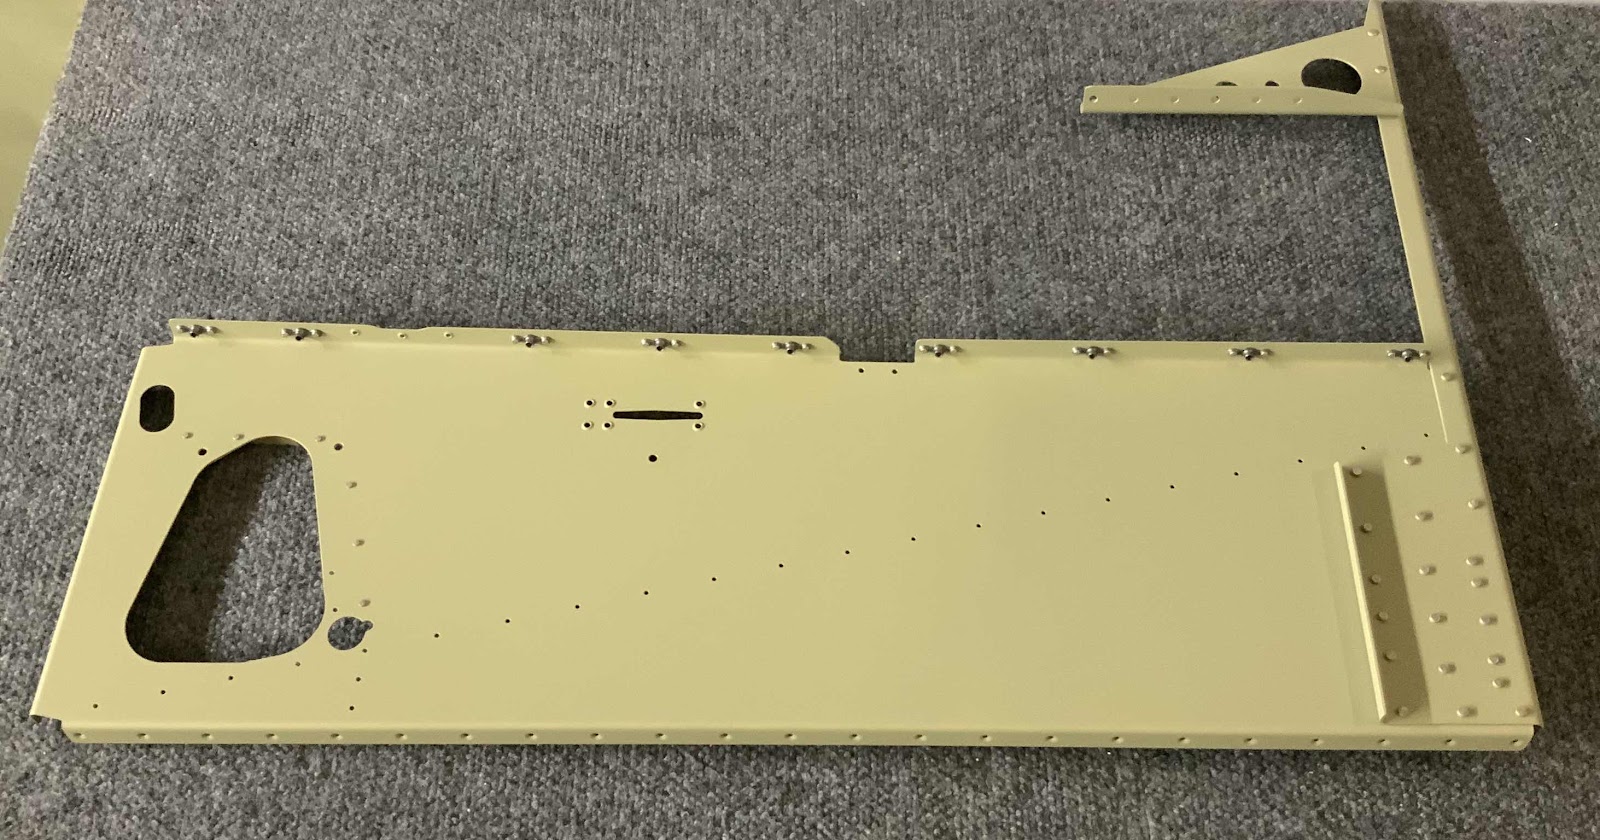
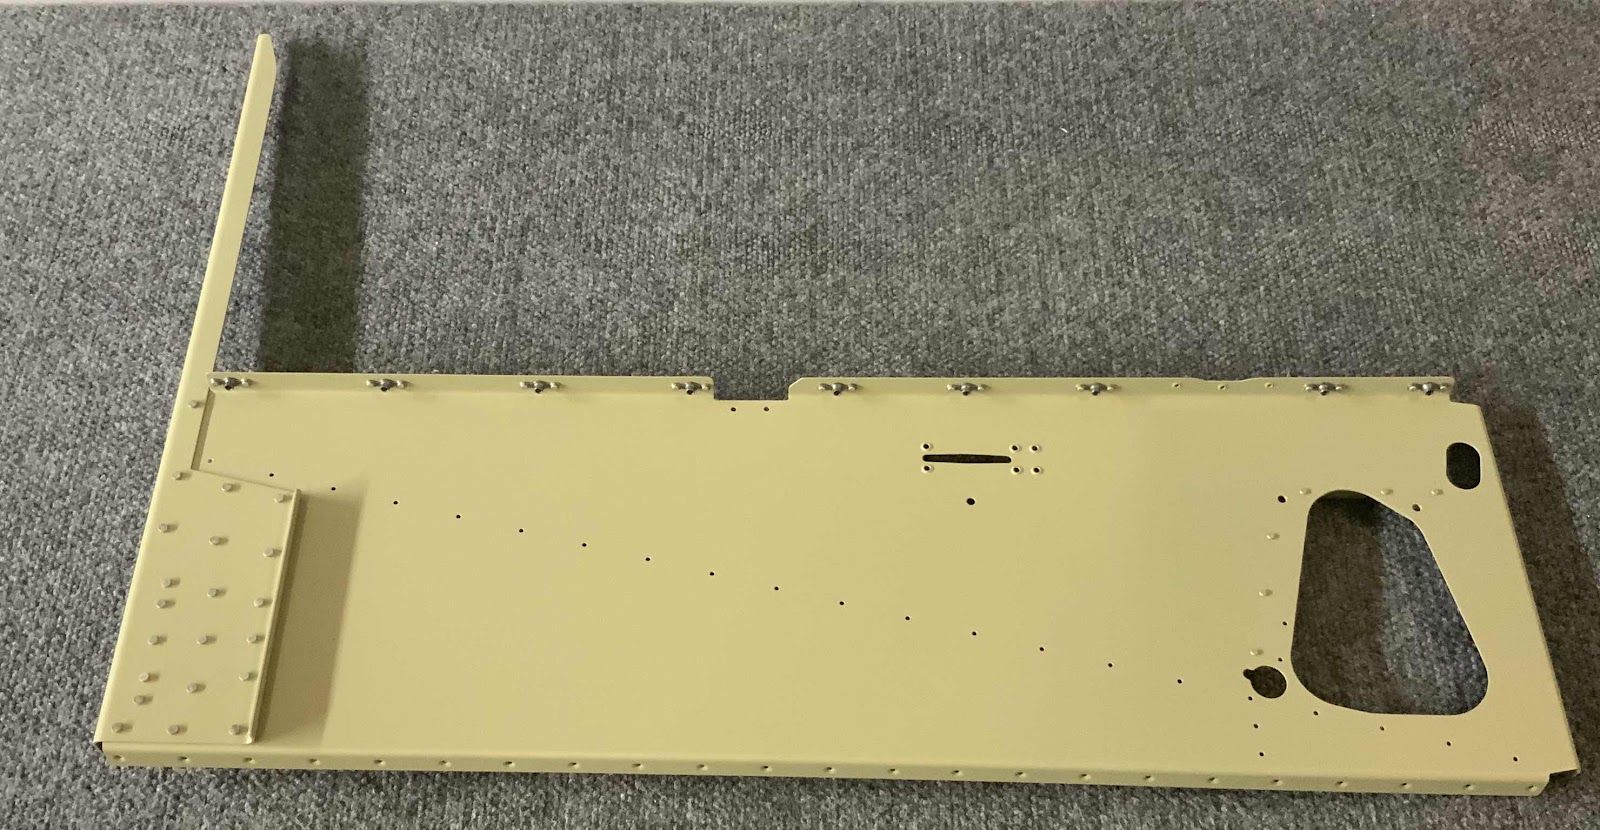
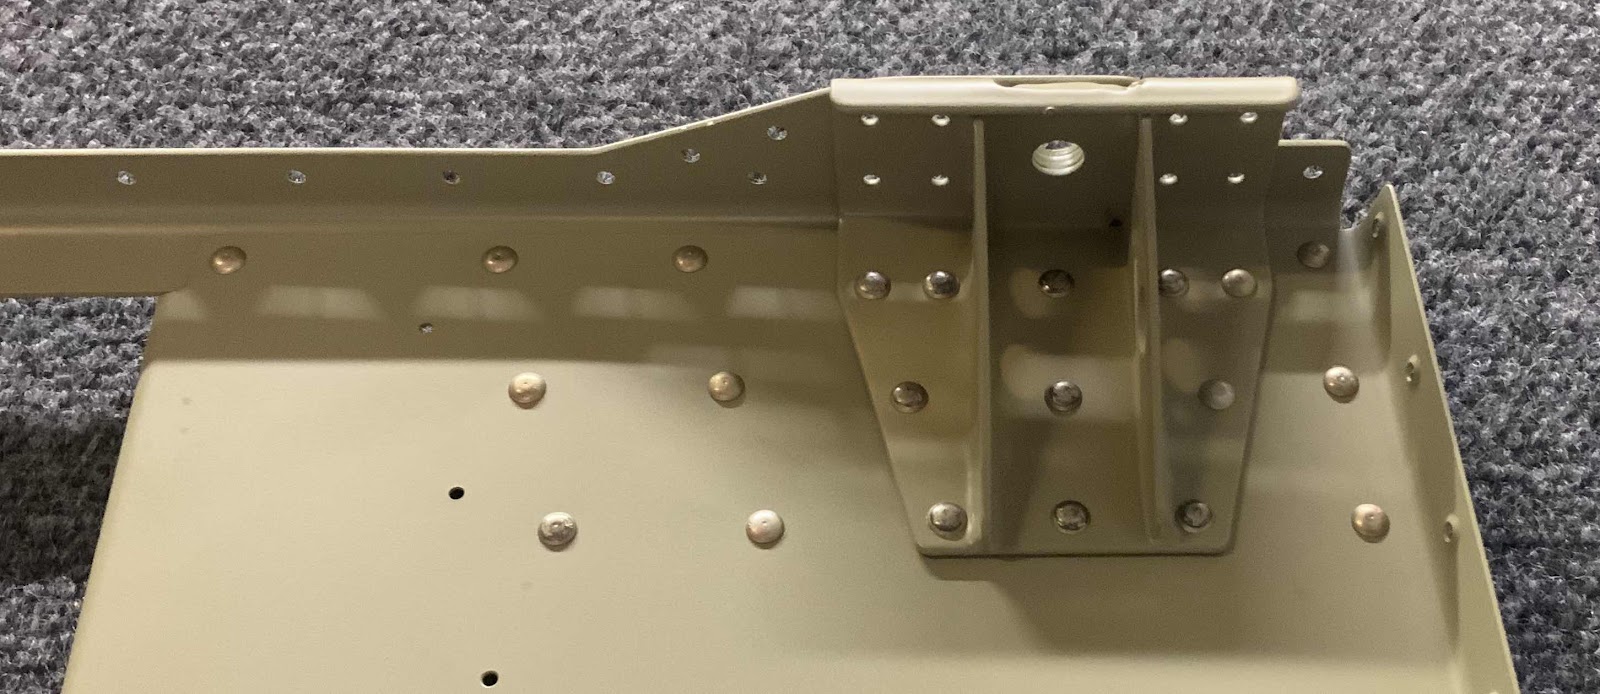
Tonight, I riveted the F-01490 Nose Gear Brackets, F-01451 (-L & -R) Tunnel Sides, and F-0141E (-L & -R) Firewall Angles together using AN470AD4-5 and AN470AD4-6 rivets as directed by the plans.  Here is the Left Tunnel Side Assembly after the rivets were installed.....

.....a close up look of the shop head side of the rivets.....

.....and a close up look at the manufactured head side of the rivets.

This is the Right Tunnel Side Assembly after the rivets were installed.....

.....a close up look at the shop head side of the rivets.....

.....and a close up look at the manufactured head side of the rivets.

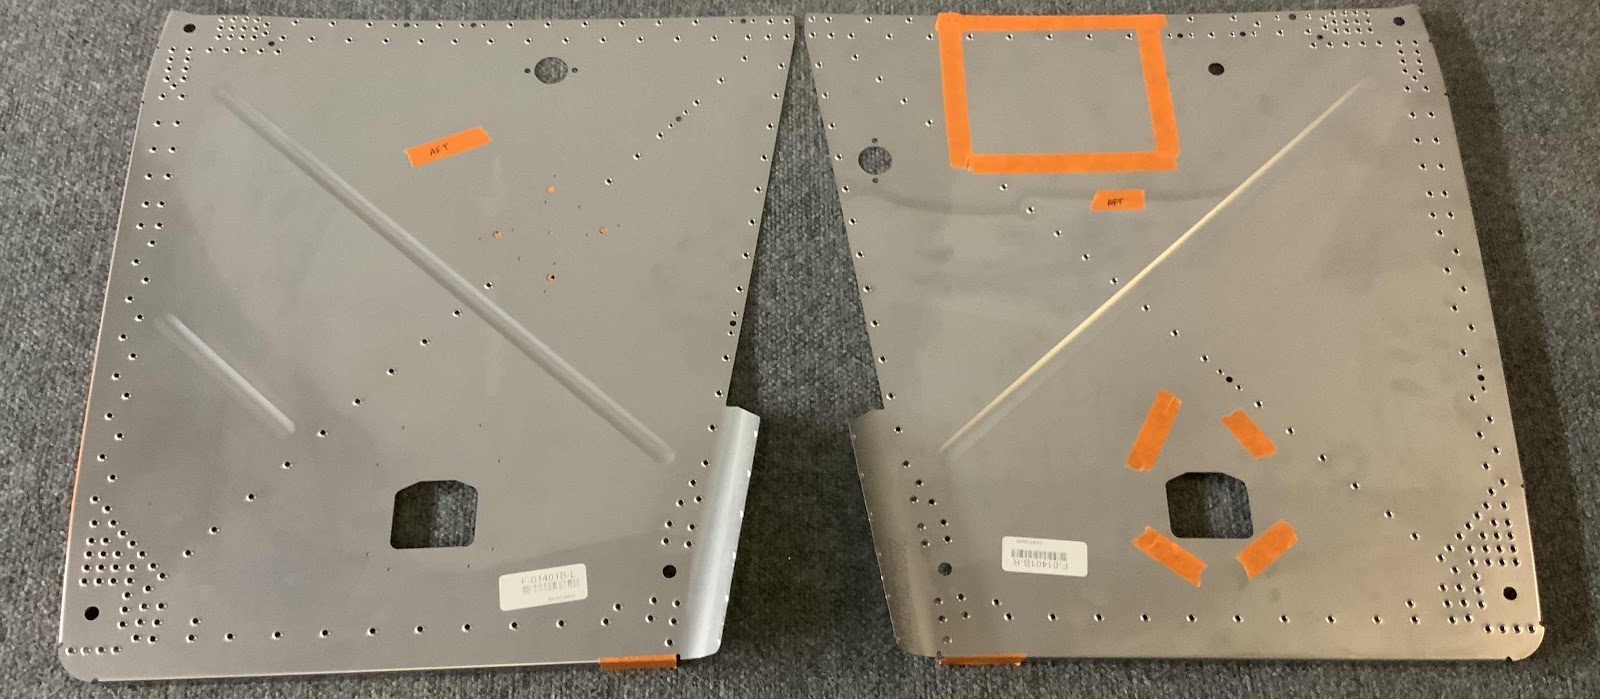
Once the riveting was completed, I continued and completed the dimpling of the #30 and #40 holes in the F-01401B (-L & -R) Firewall Sides.  The holes that are covered by the orange tape do not get riveted (right now anyway).

Sunday, June 16, 2019

Fuselage, Firewall (Part 2)

The first thing today was to separate the F-01499 Cover Angle Brackets.  Once separated, the edges were cleaned, holes deburred, holes dimpled, treated with Alumiprep and Alodine, and Akzo primed.

These are the F-01490 Nose Gear Brackets.  They came powder coated from Van’s and really didn’t need any additional corrosion protection (I don’t think).  At any rate, I scuffed them with grey Scotchbrite and sprayed them with Akzo primer.

Yesterday, I treated the F-01451-L & -R Tunnel Sides.  I let them dry overnight and Akzo primed them today.  After allowing them suffice time to dry, I installed the 18 K1000-08D nutplates (nine on each side) with AN426AD3-3.5 rivets.....you can see nine of them on the top Tunnel Side.  Then, the two Cover Angle Brackets were installed using 12 AN470AD3-3 rivets (six on each Bracket).....can see one of the Brackets on the bottom Tunnel Side.  The Cover Angle Brackets also had two K-1000-08D nutplates installed.

I clecoed the Nose Gear Brackets, Firewall Angles, and Tunnel Sides together.  The 11 common #30 holes were final-drilled and are now ready for rivets.  This is the right Tunnel Side (you can also see the Cover Angle Bracket and installed nutplates).

Here is a close up.....

This is the left Tunnel Side (again, you can see the Cover Angles Bracket and installed nutplates).

Here is a close up of the left side.

Saturday, June 15, 2019

Fuselage, Firewall (Part 1)


New Section!!!  FIREWALL!!!

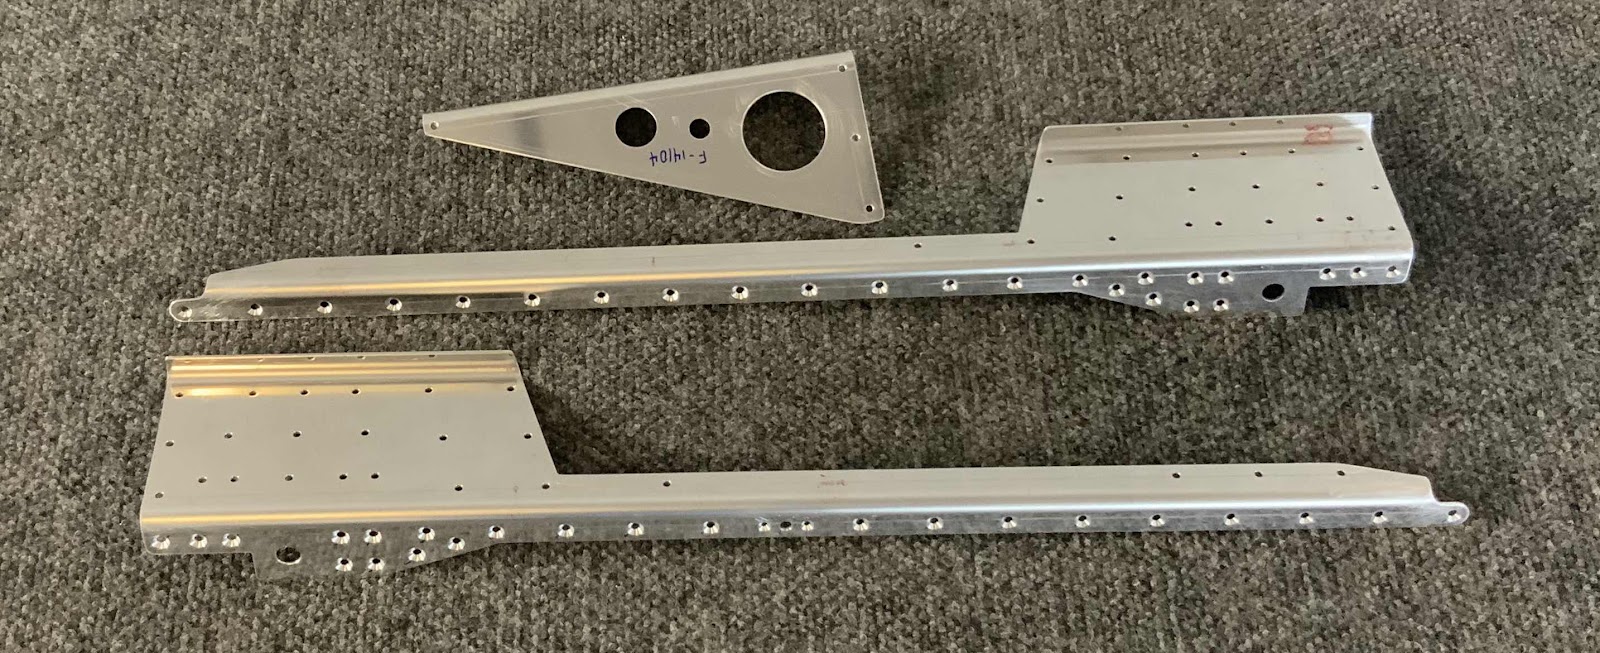
This section starts off with separating the F-01401E Firewall Angles.  Once they were separated, the #40 holes (there were only two for the nutplate) and #30 holes were countersunk in the forward flange (you can see the countersunk holes in the picture below).  The F-14104 Support Angle is also shown in the picture below.  All three pieces had their edges cleaned, holes deburred and treated with Alumiprep and Alodine.....

....then they were primed.

Once the primer dried, the Support Angle was riveted to the left Firewall Angle using three AN470AD4-5 rivets.  This shows the shop head side.....

.....and the manufactured head side.