This blog was created to memorialize the building process of my Van's Aircraft RV-14 and to satisfy the requirements for certification in the Experimental Amateur Built Aircraft category. It will also serve as a central location for ME to reference in the future on processes and techniques I used during the build. Additionally, it will allow my family, friends, and other interested builders the opportunity to follow along during my build…..and might be helpful to someone along the way.
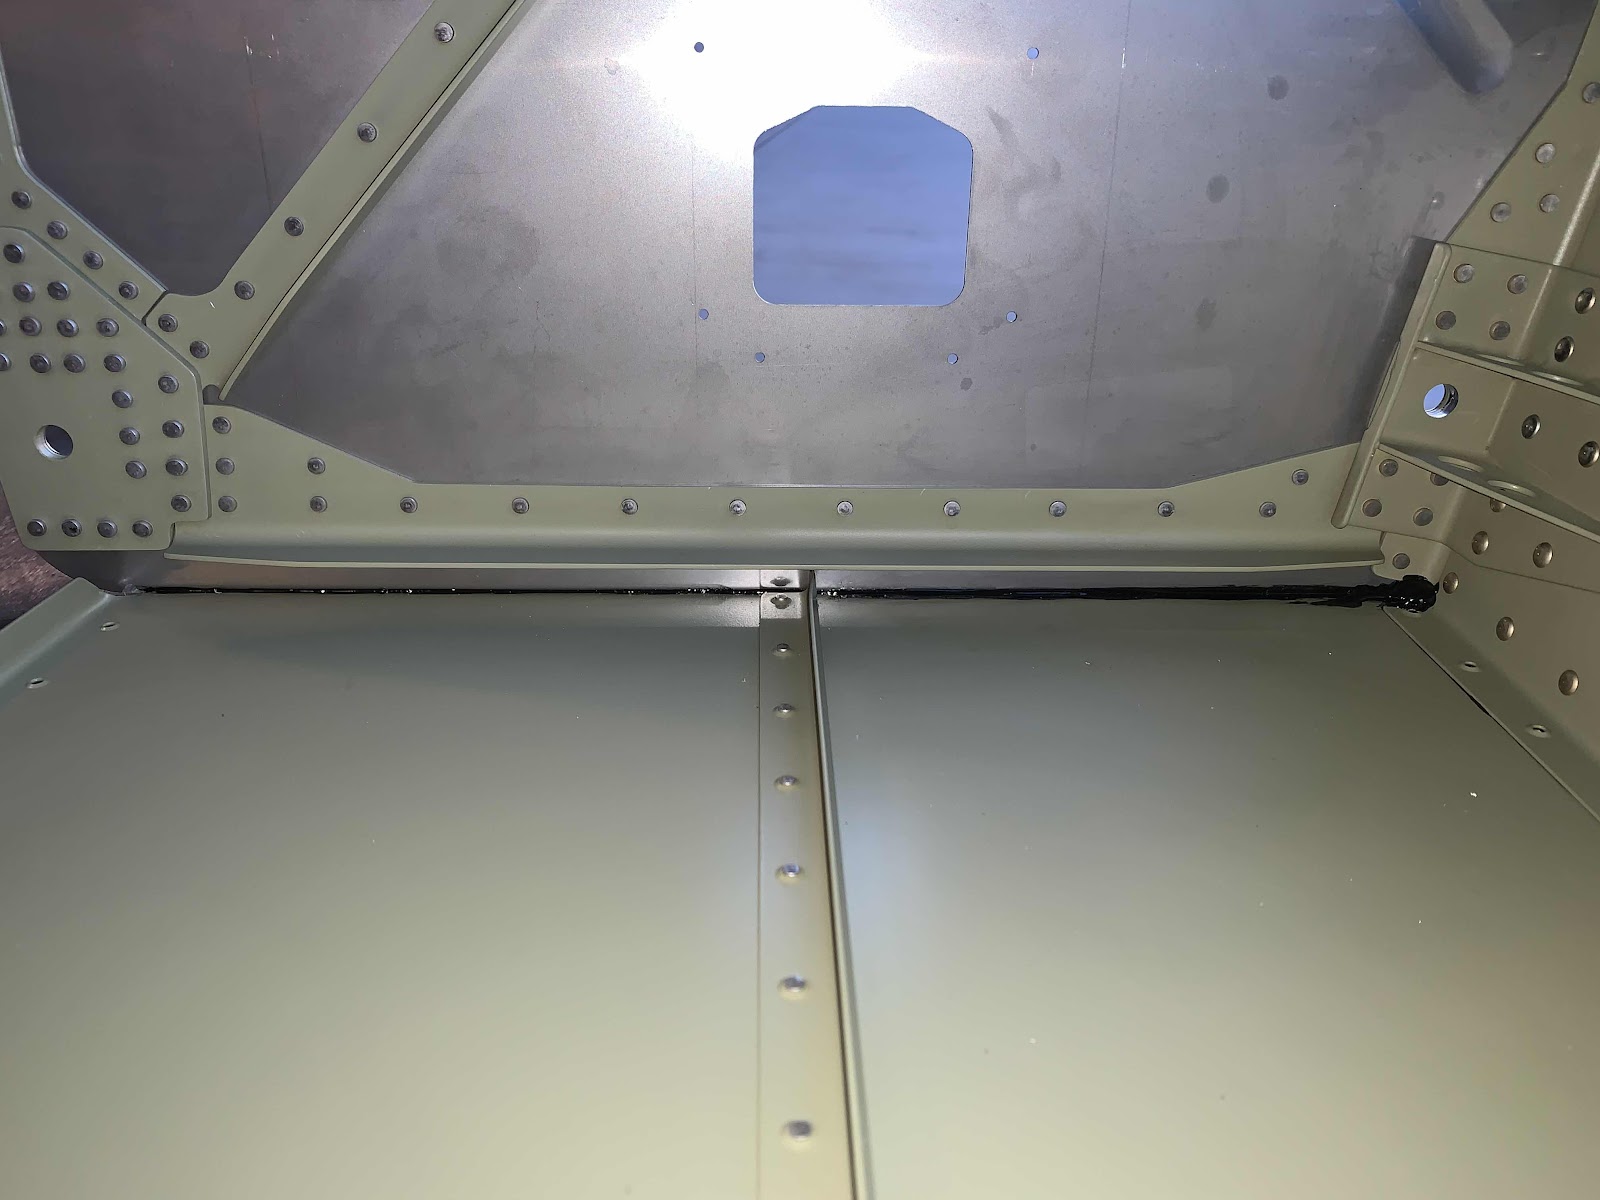
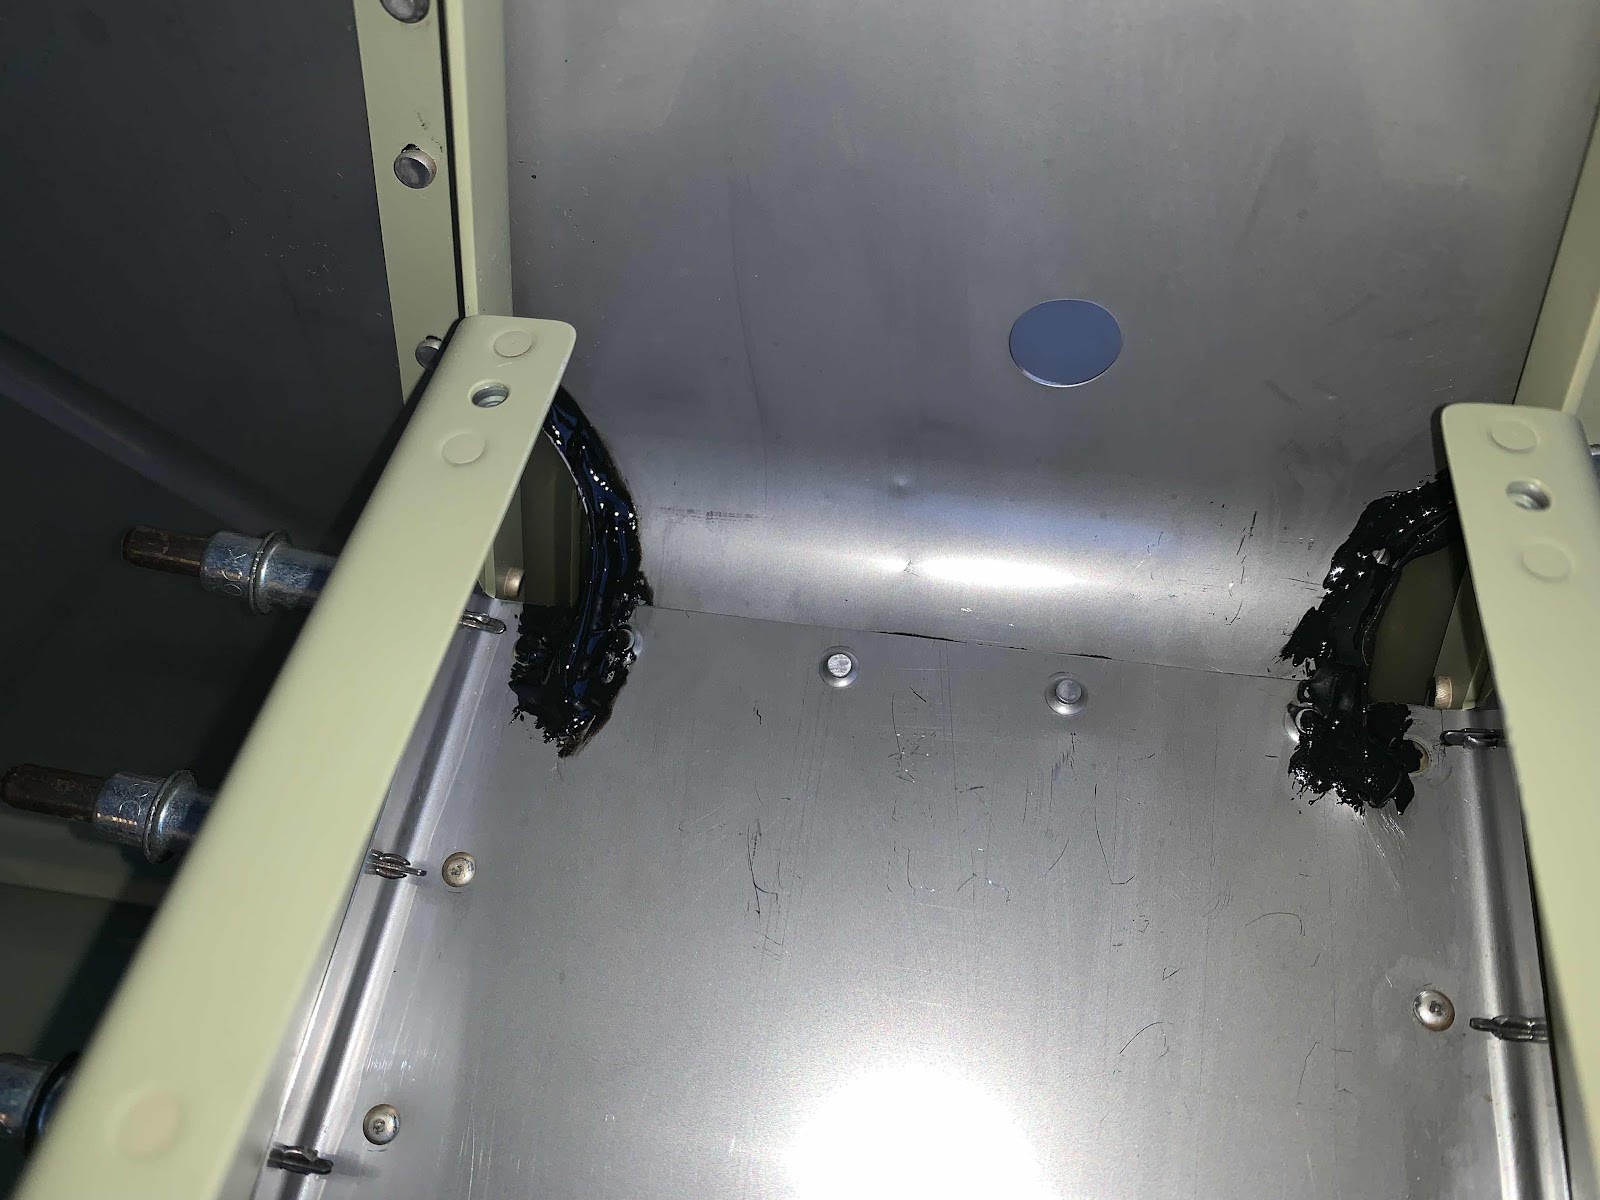
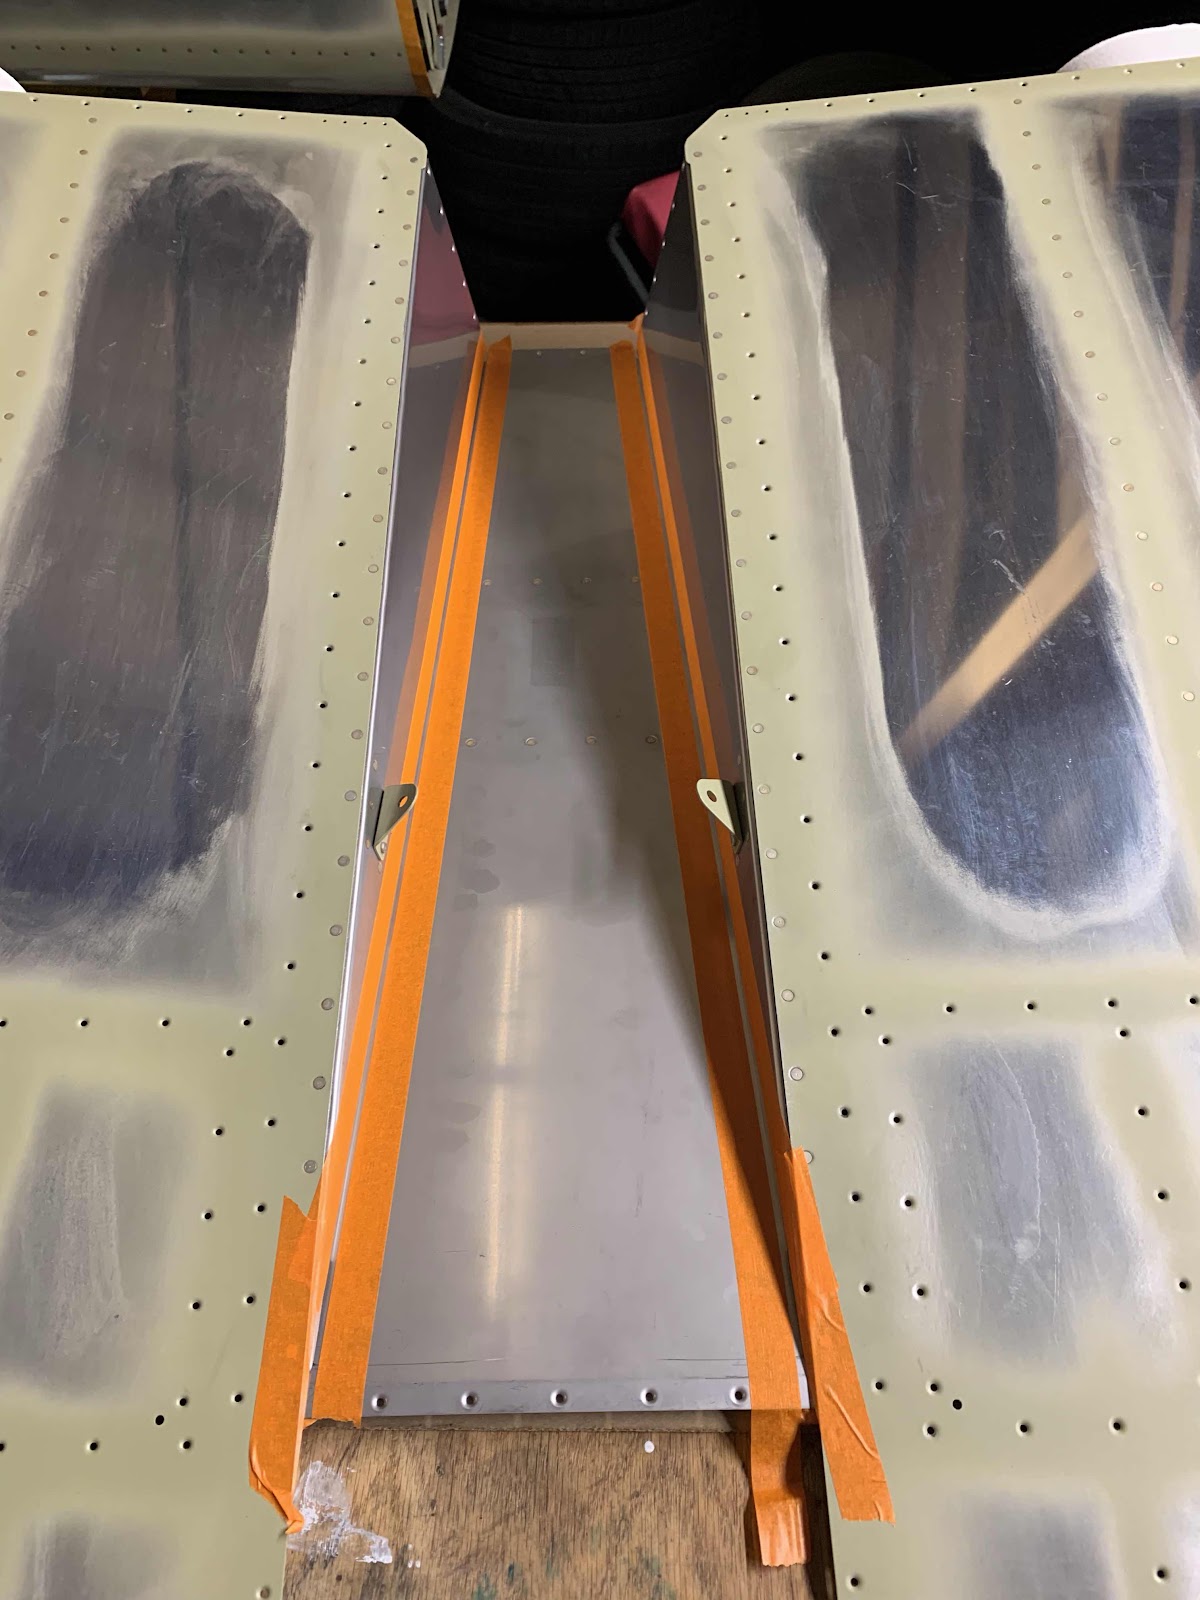
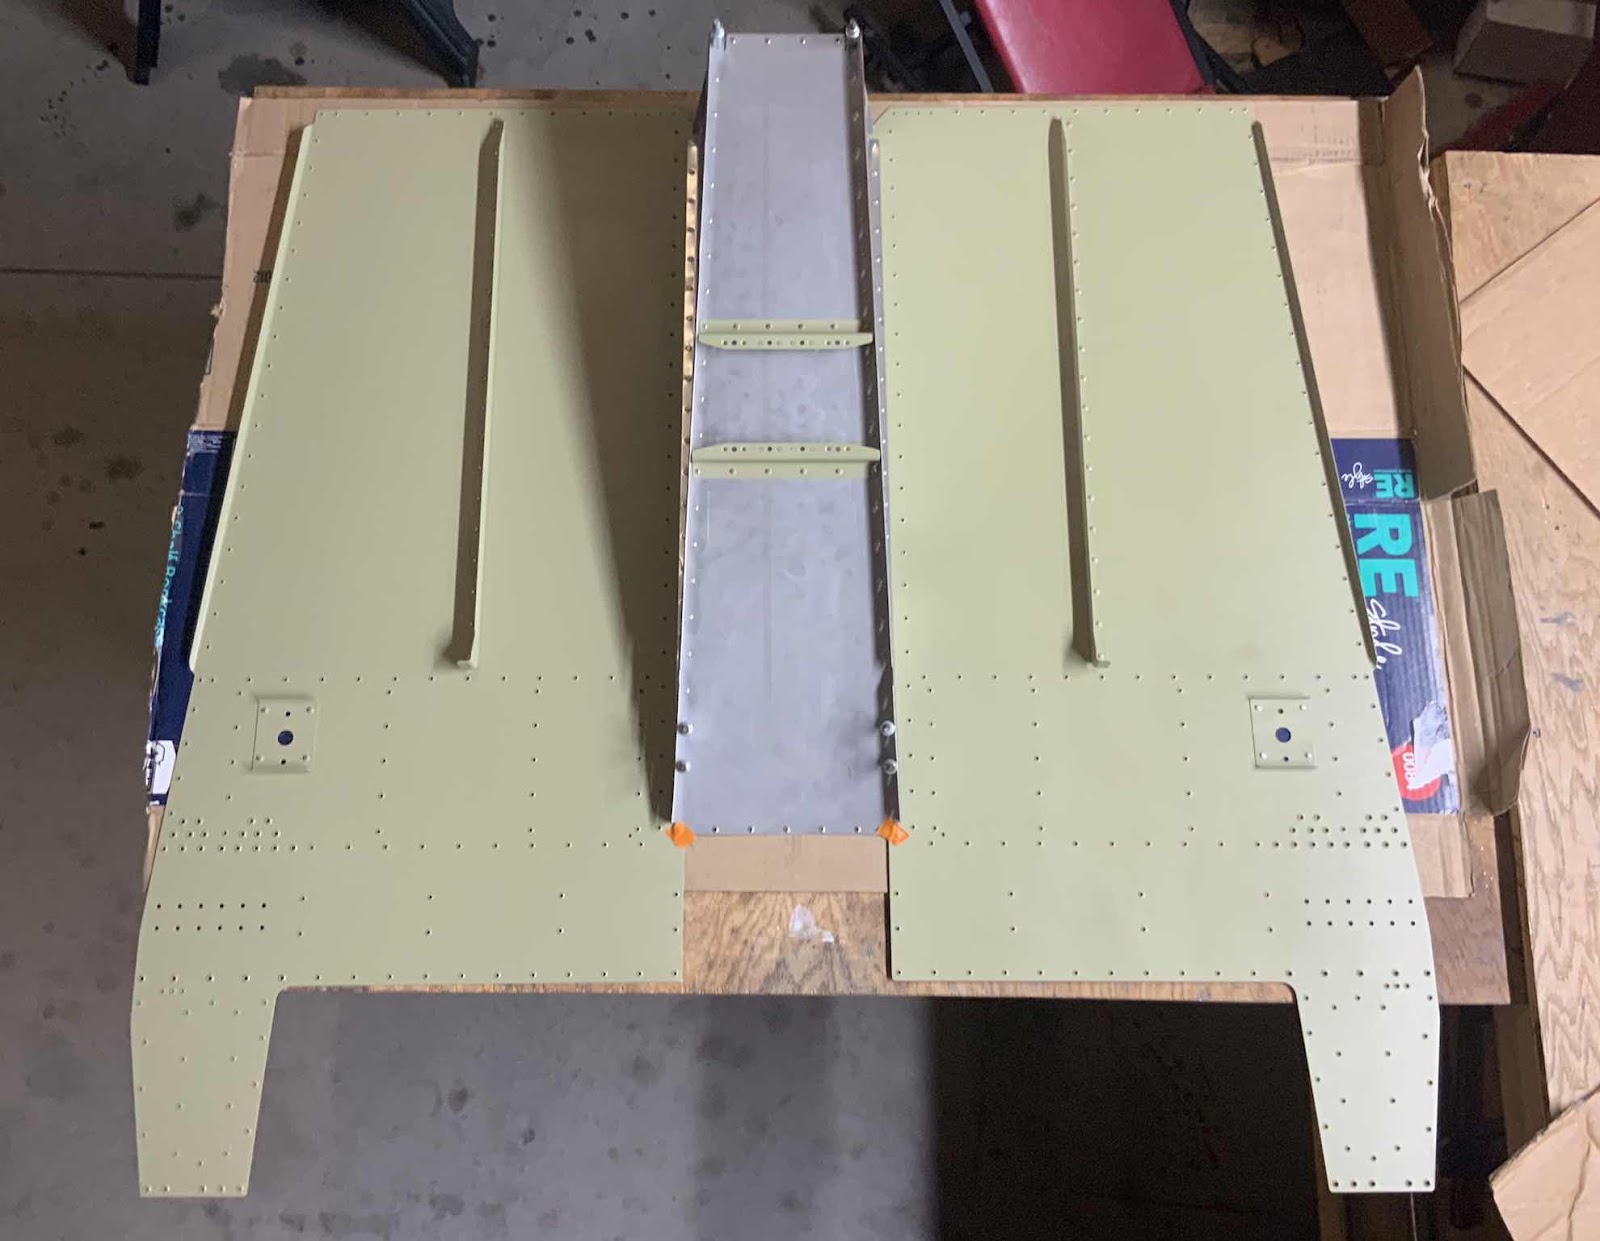
Tonight’s session was kinda short, but I was able to complete the Proseal application in the muffler area. To start, I cleaned the area with isopropyl alcohol and then marked off where the proseal would be applied with orange tape (this helps in the clean up of excess proseal). I applied beads of proseal in the seam created by the Muffler Shroud Ramp and Muffler Shroud Sides and used a popsicle stick to smooth out the bead of proseal.
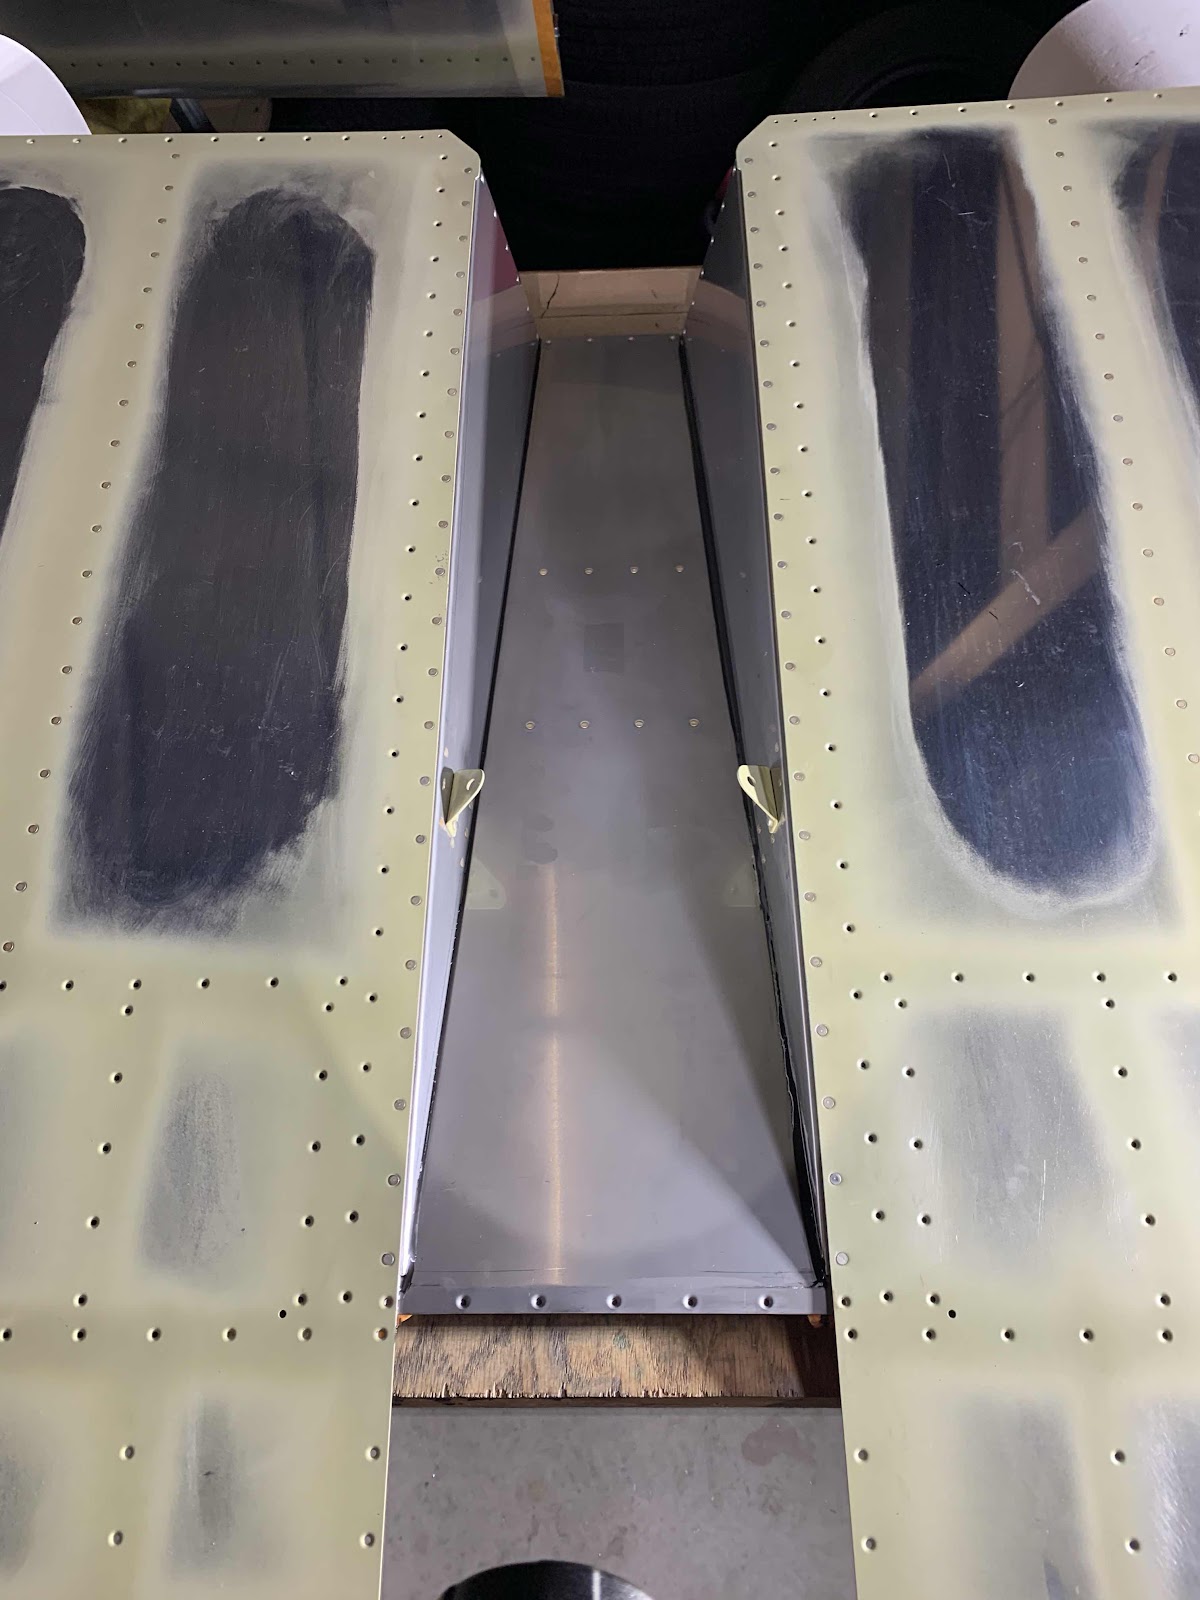
After allowing about an hour for the proseal to dry, I pulled the orange tape off.....here is the result.
An overall picture looking forward.....
.....one side.....
.....and the other.
Turned out pretty good and I’m happy with the results. The orange tape helped with the clean up of the excess proseal and the popsicle stick made a smooth fillet on the parts.
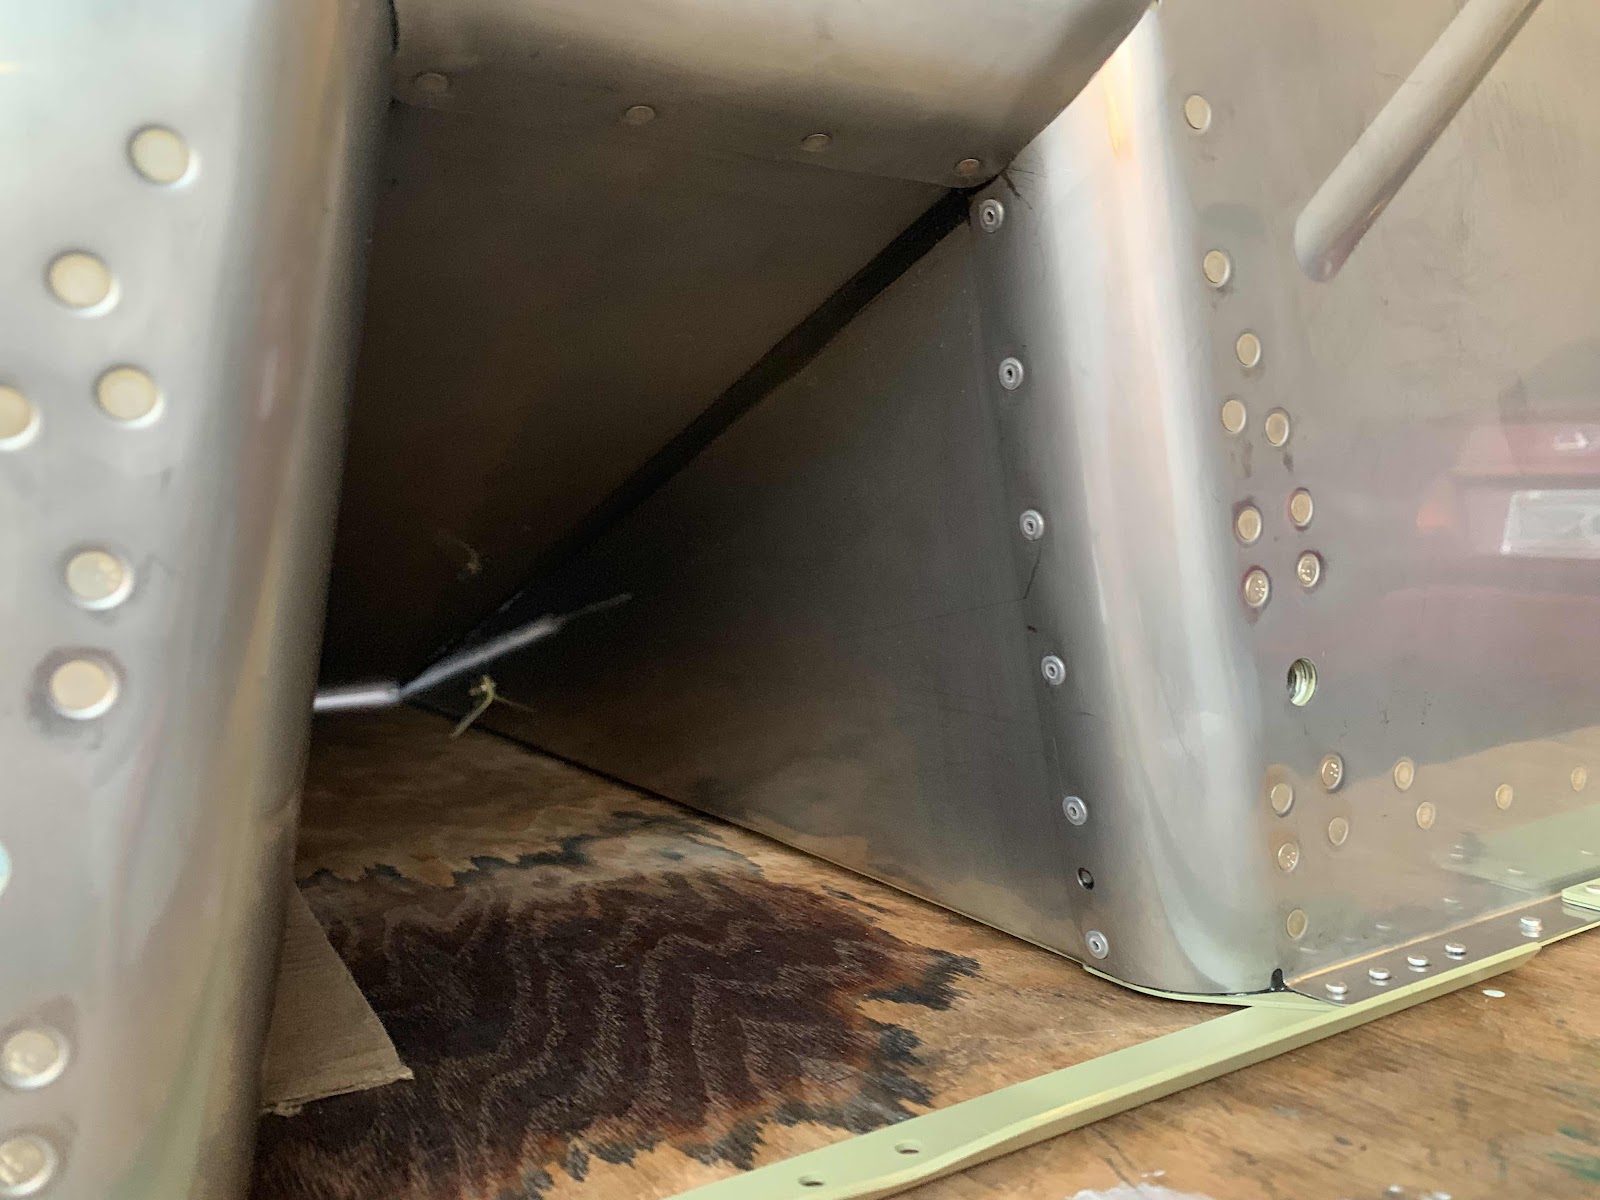
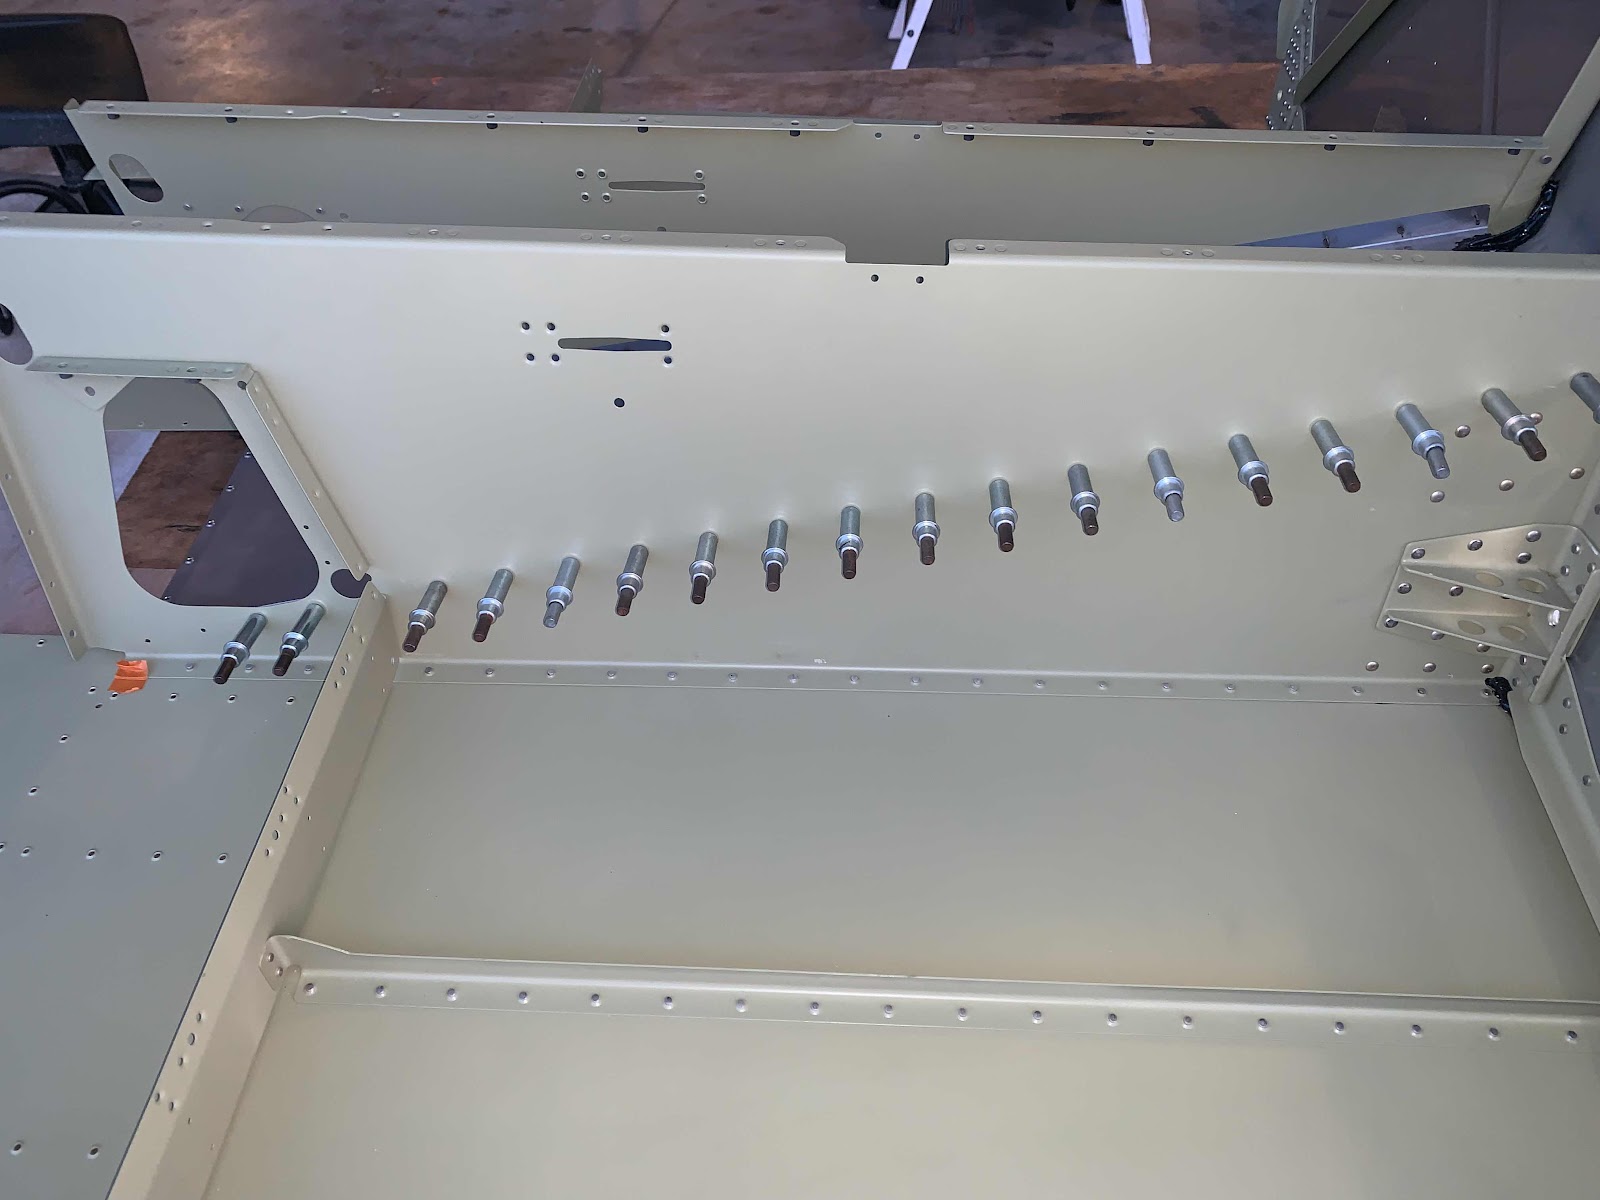
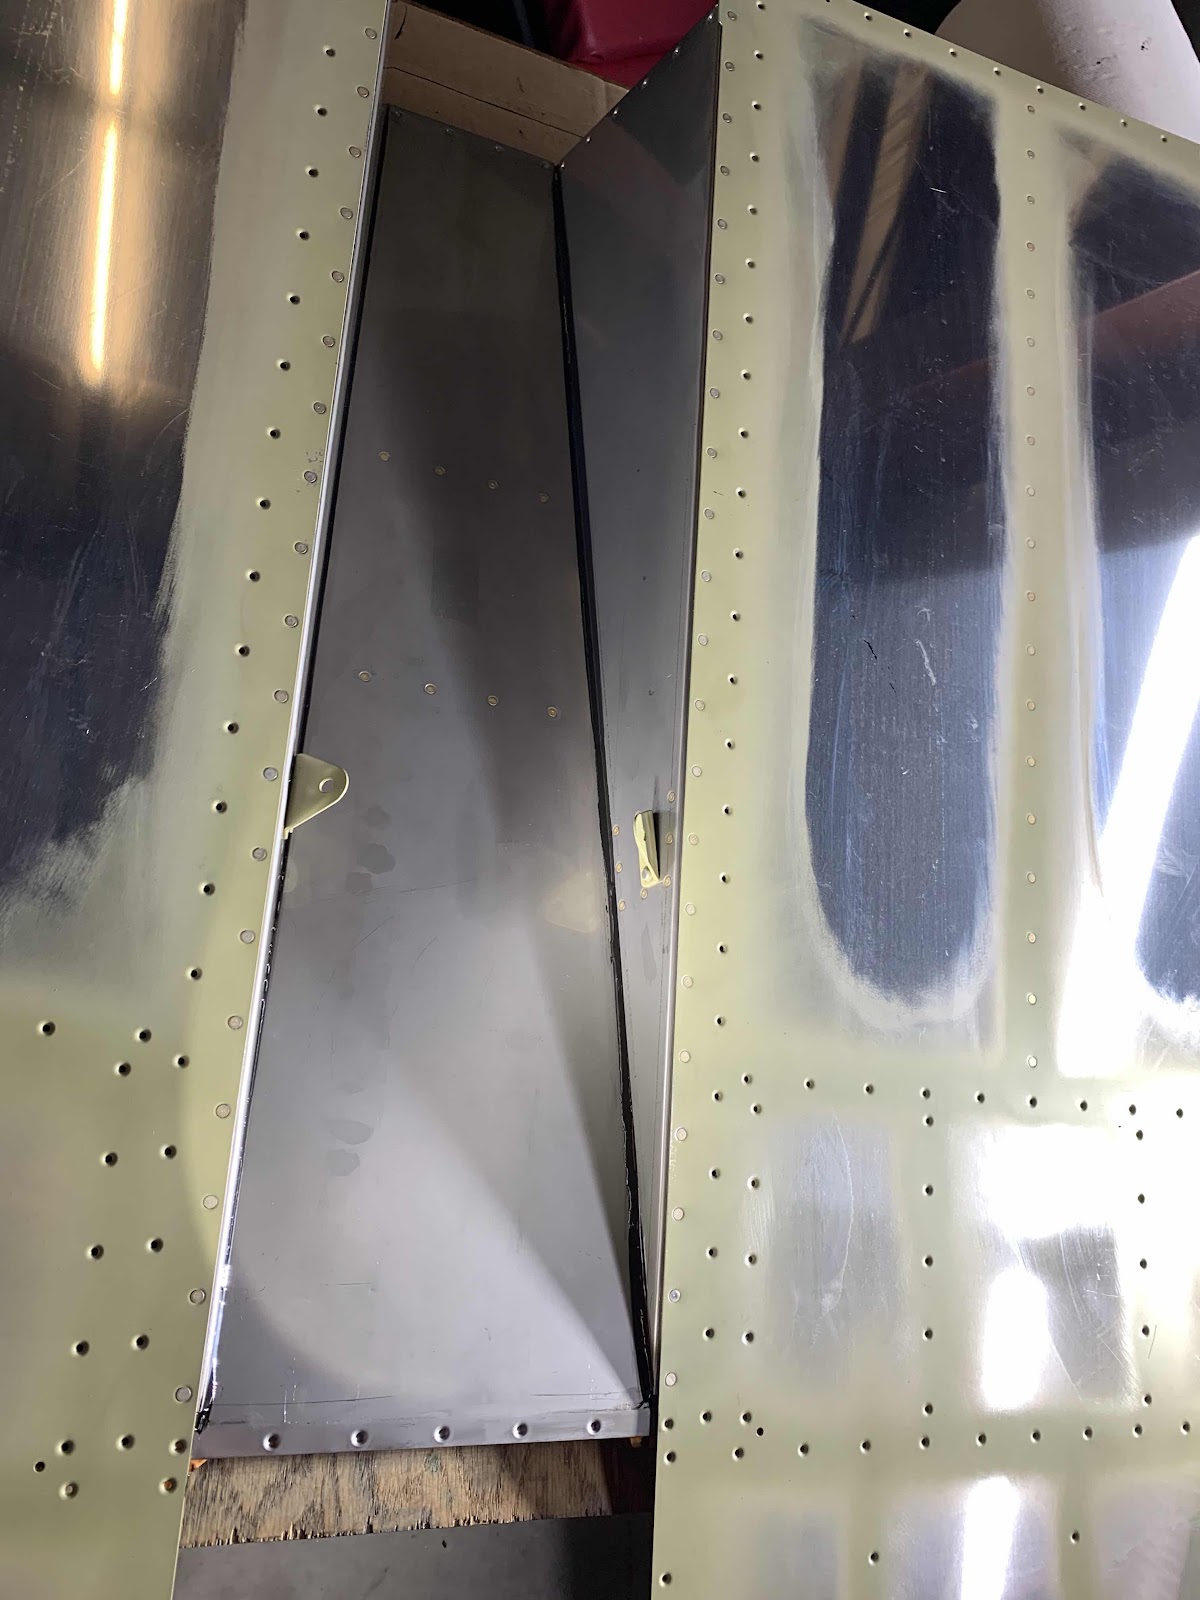
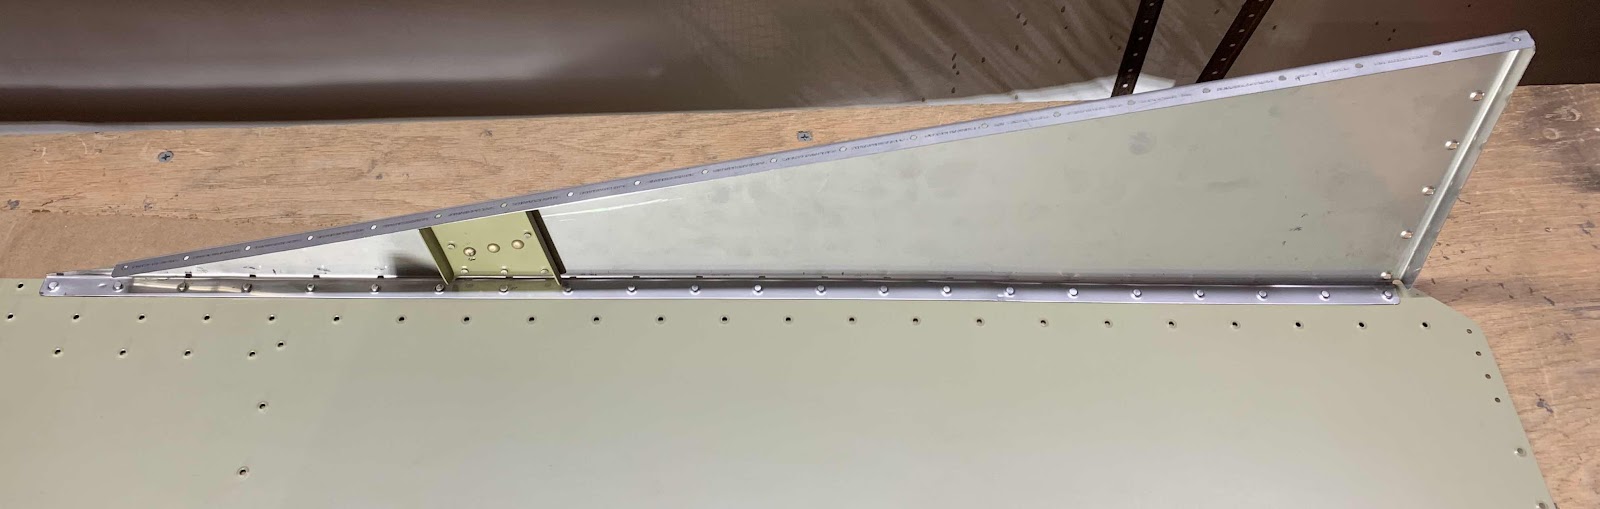
After letting the Proseal dry from yesterday’s session, it was time to install the F-01454 Muffler Shroud Ramp to the Shroud Sides. This step will actually “connect” the Left and Right Forward Bottom Skins to each other. The picture below shows the Shroud Ramp installed and riveted to Shroud Sides (minus six rivets).
It initially appeared I could squeeze the 38 rivets required to install the Ramp. However, due to the angle (and probably the head of the yoke on my squeezer) I wasn’t able to squeeze the AN470AD3-3 rivets. As a result, I wasn’t able to get the rivet set directly over the manufactured head of the rivets. So, I had to shoot them with my rivet gun and bucking bar. There was a lot of room and access to the manufactured and shop heads, so it was pretty easy to do it myself. However, there are six rivets that I would like to have help with.....so, I’ll wait for assistance.
Here is a view down the right Shroud Side to Shroud Ramp rivets.....
.....and down the left side.
Tomorrow, I will get help with the remaining six rivets and continue on to the next step.
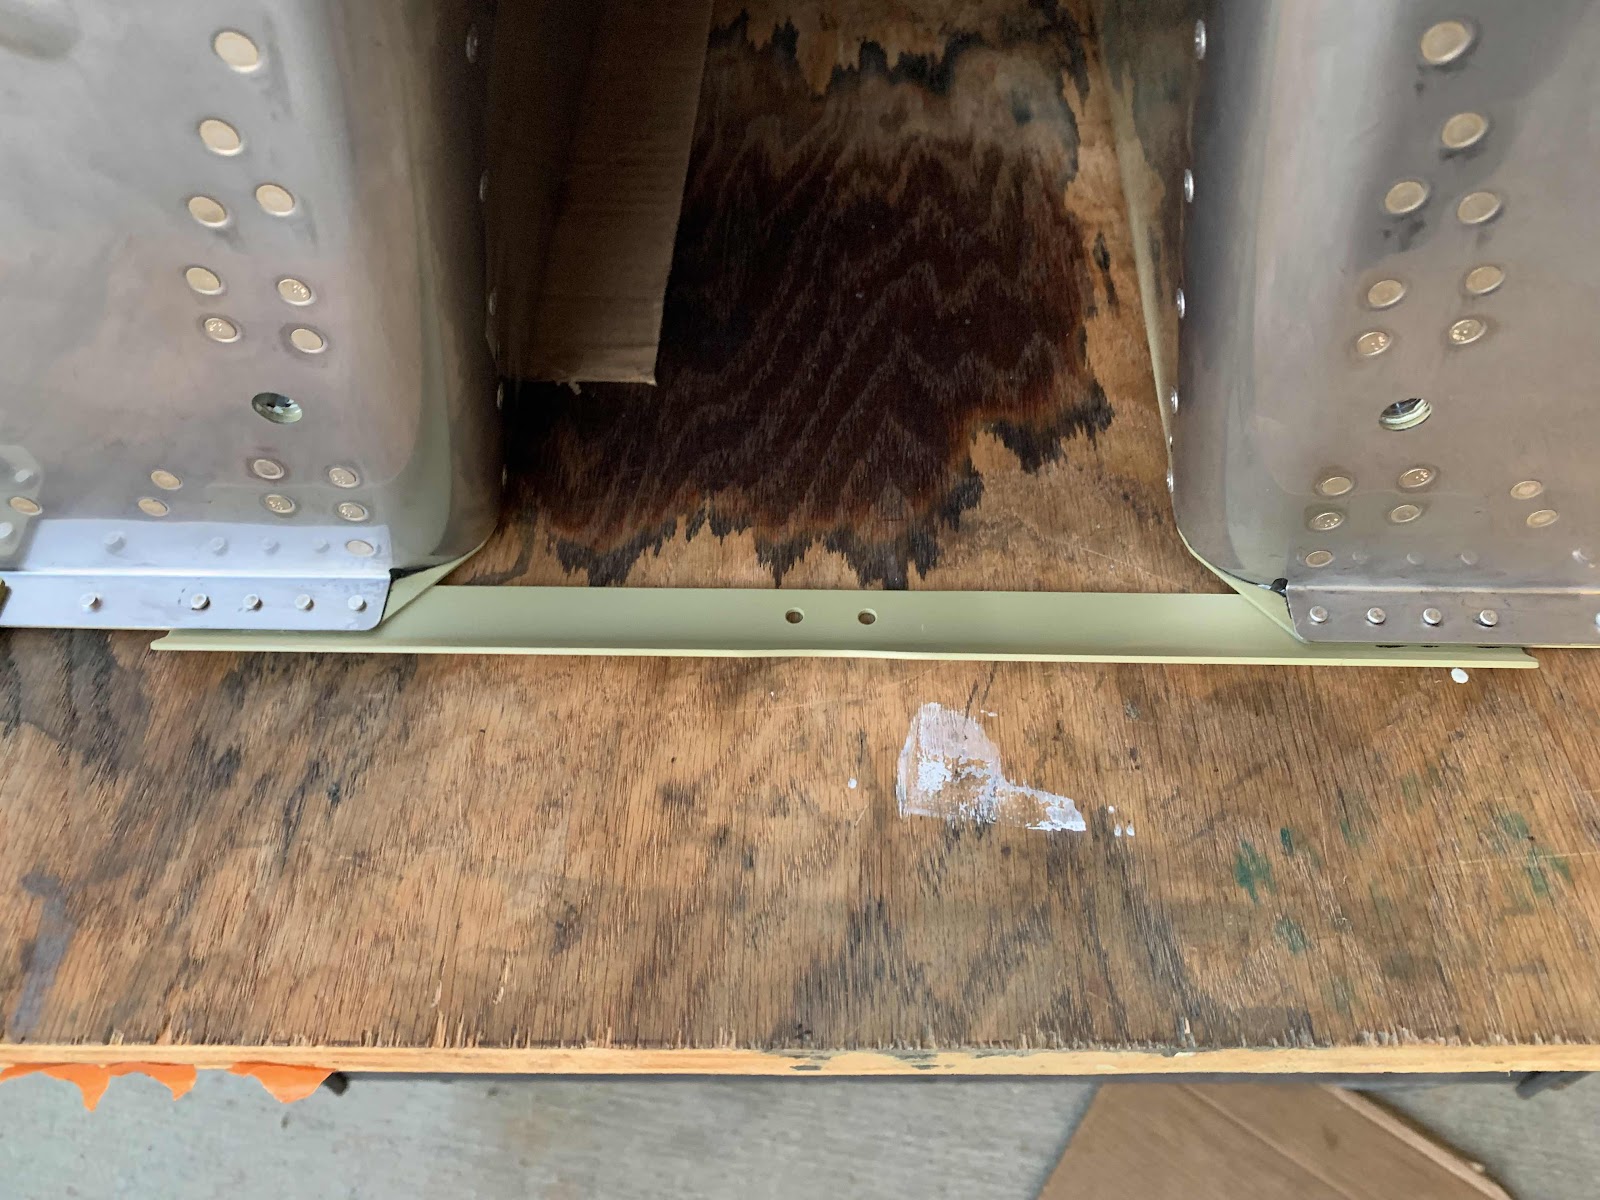
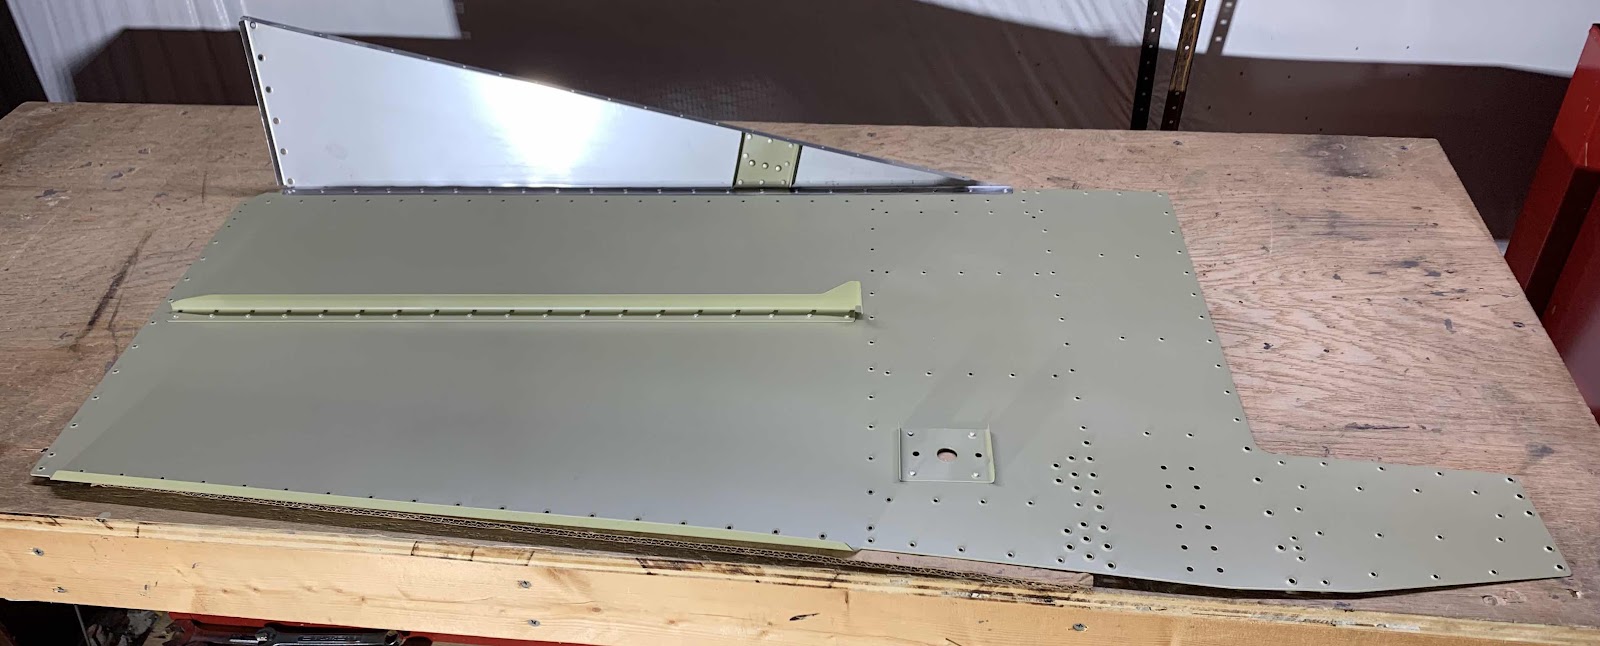
Tonight’s session concentrated on attaching the F-01453-L & -R Muffler Shroud Sides to the F-01483-L & -R Forward Bottom Skins. To start, the bottom side of the lower flanges of each Muffler Shroud Side was cleaned with solvent (I used isopropyl alcohol). Then, a small 1/16th bead of fuel tank sealant (I used Flamemaster CS 3204) was applied to the bottom of the Shroud Sides where the flanges rivet to the Forward Bottom Skin. Finally, it was clecoed and riveted. The two Shroud Sides used 44 AN426AD3-3.5 rivets (22 on each Side).
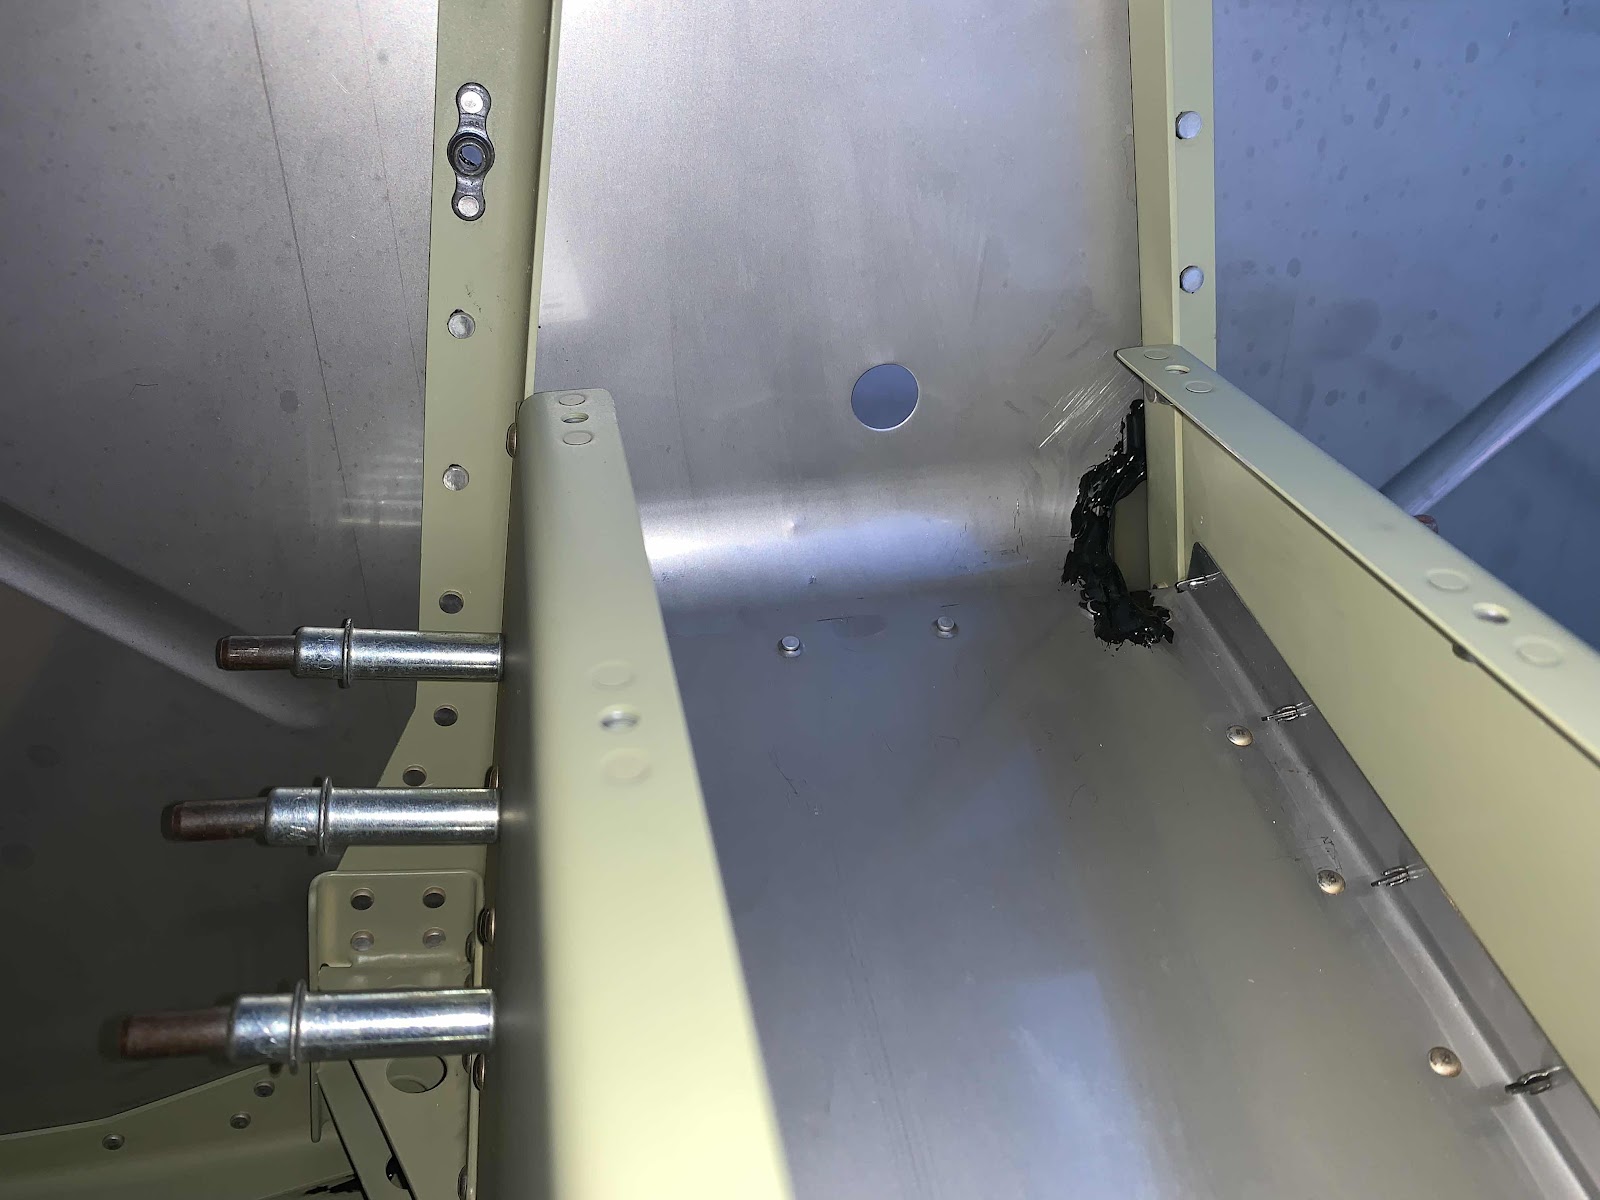
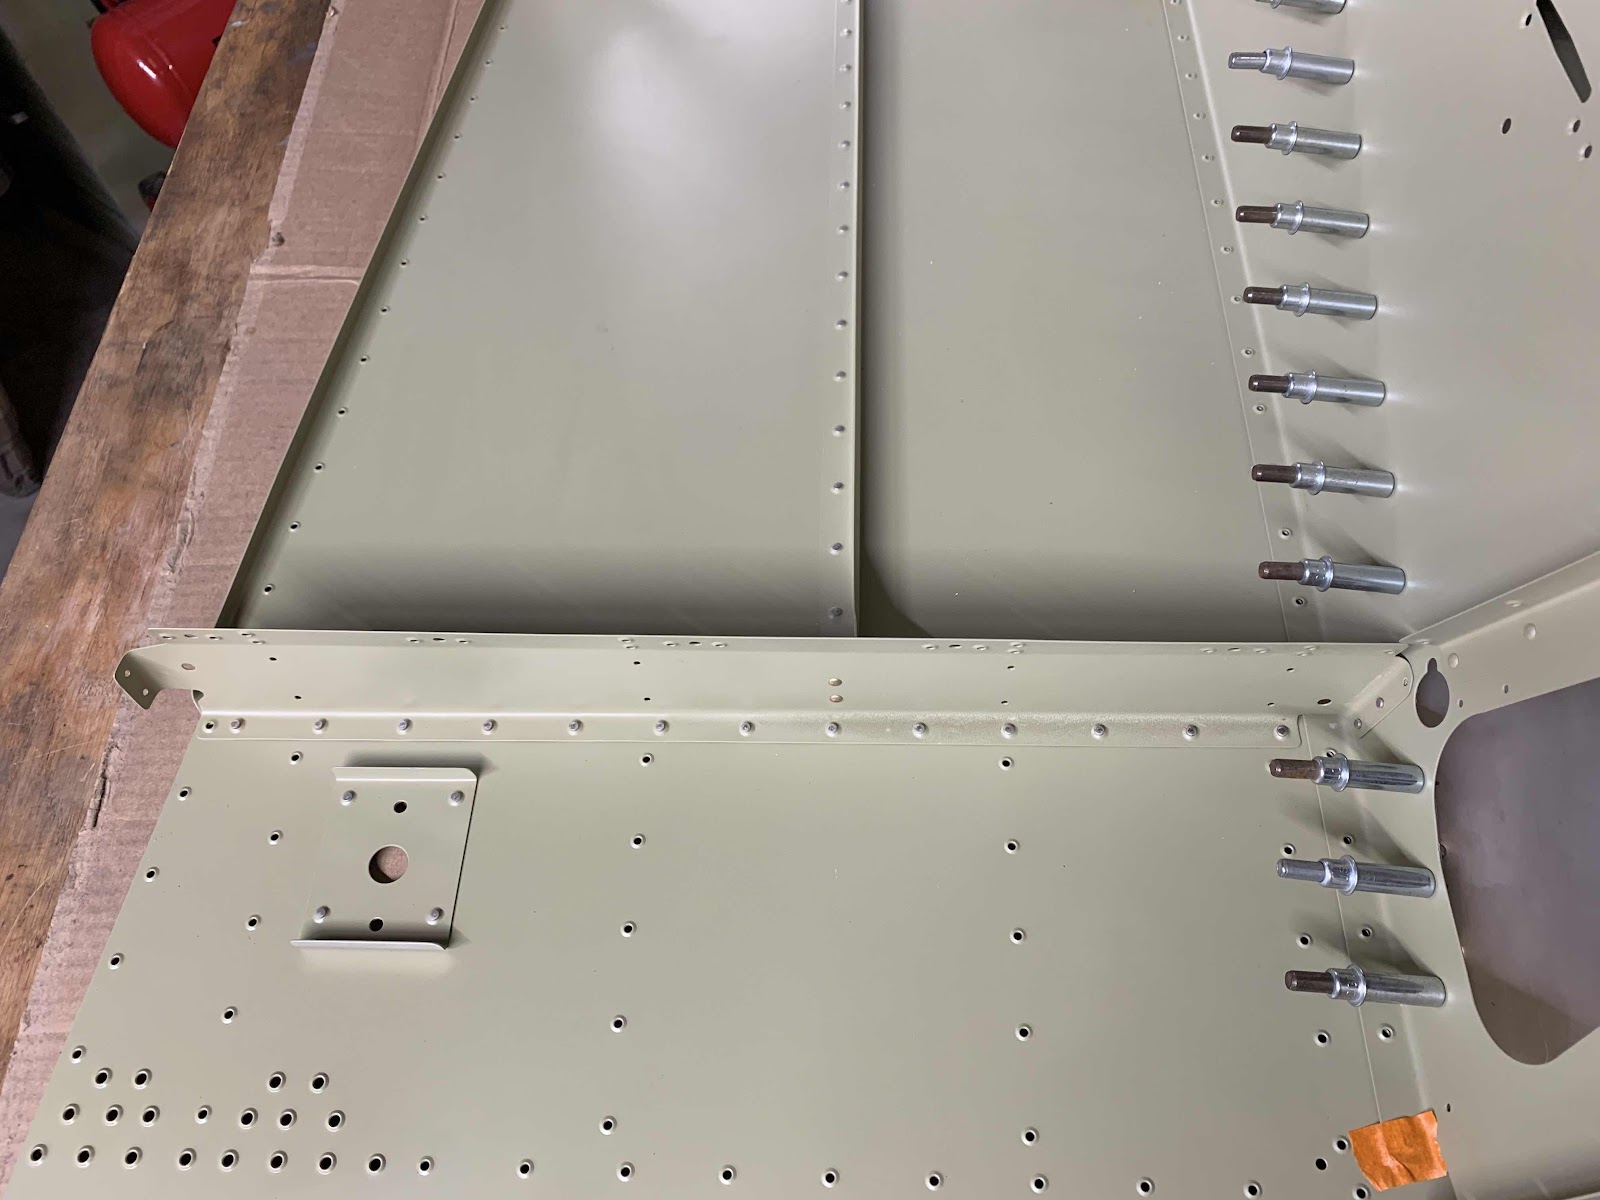
Pictured below is the left Forward Bottom Skin with the left Shroud Side prosealed and riveted.
Here is a closer shot of the inside (or upper) portion of the Skin.....
.....and the opposite side (or lower) portion of the Skin. You can see the rivet line at the top of the Skin.
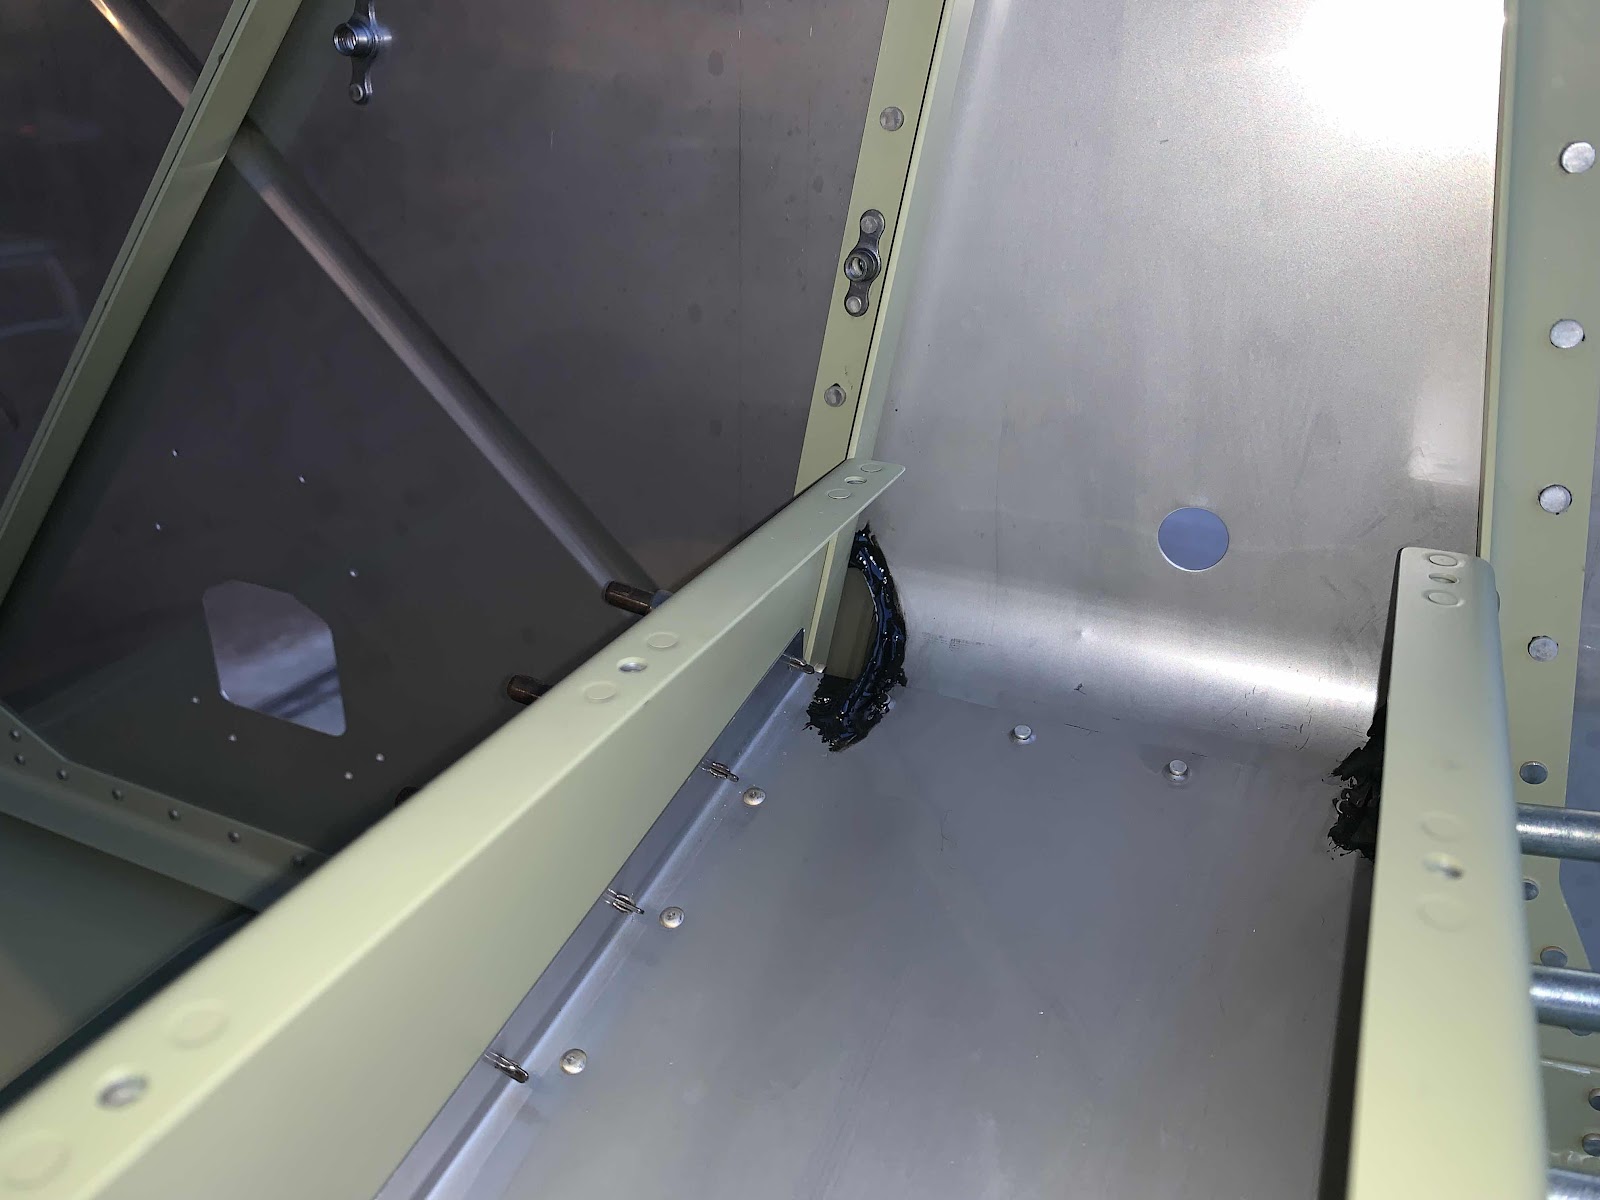
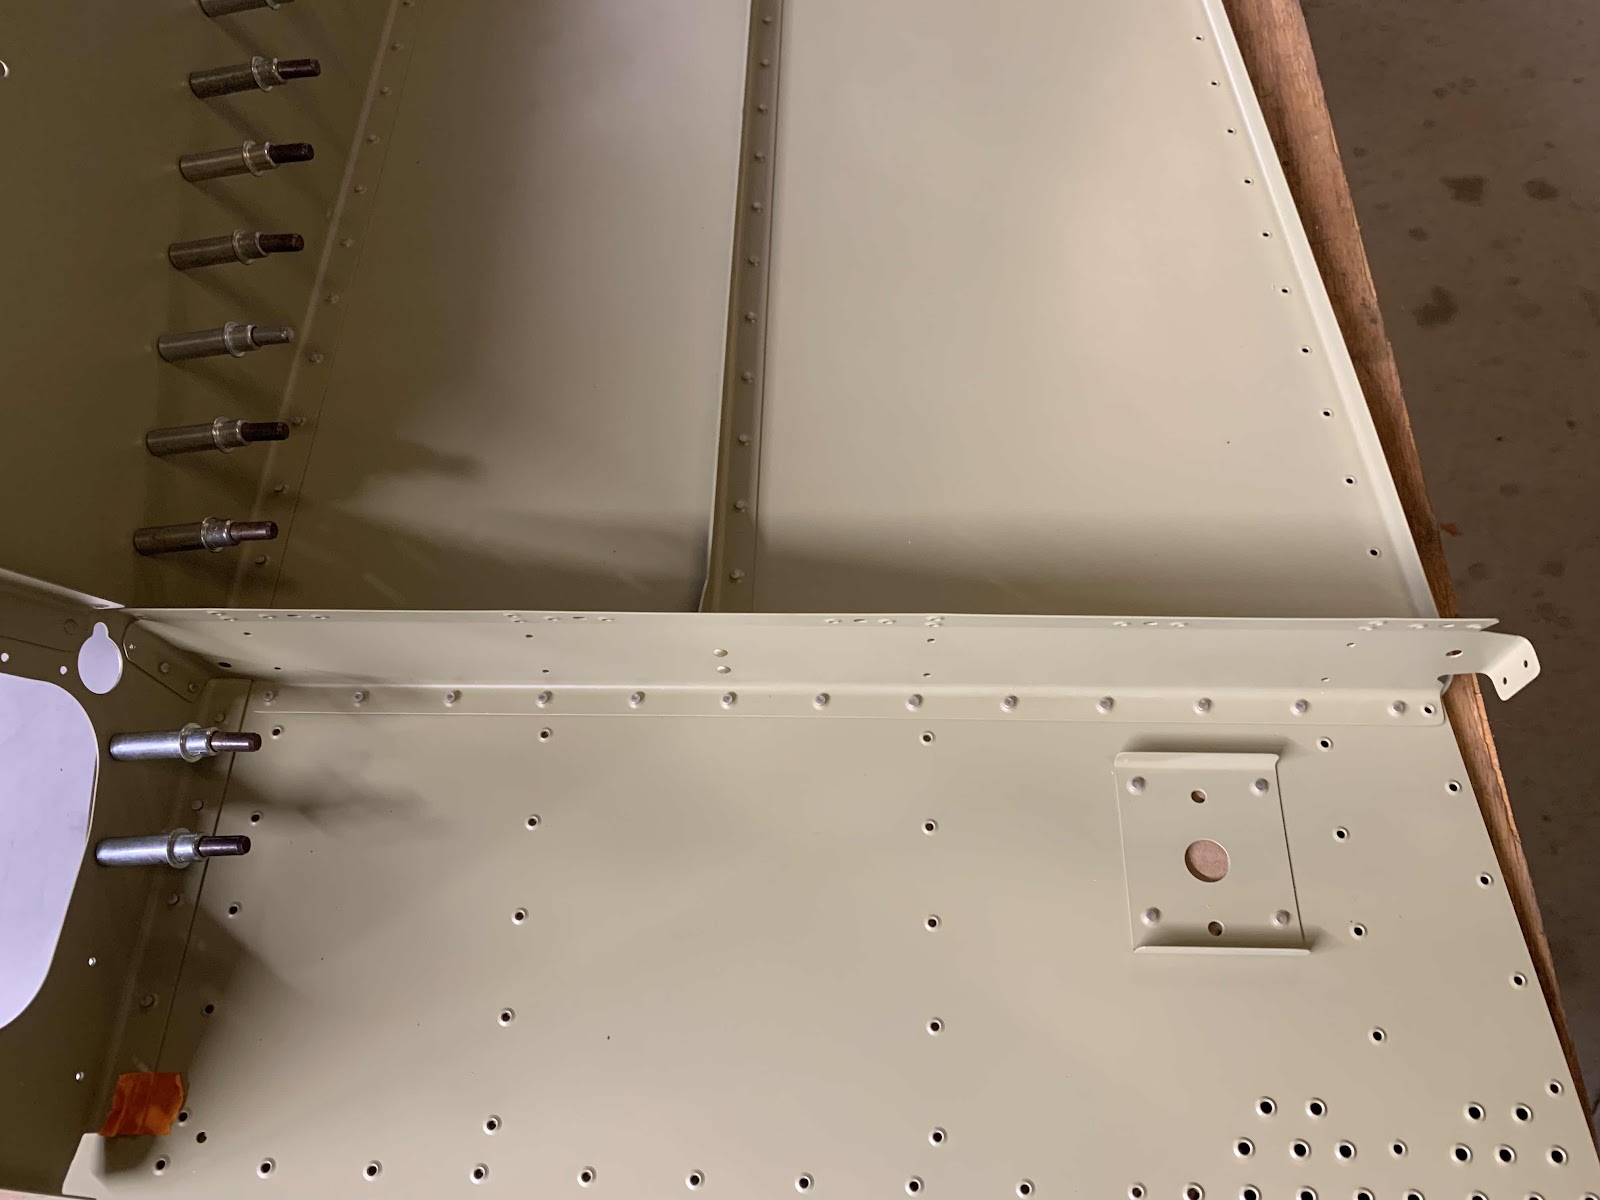
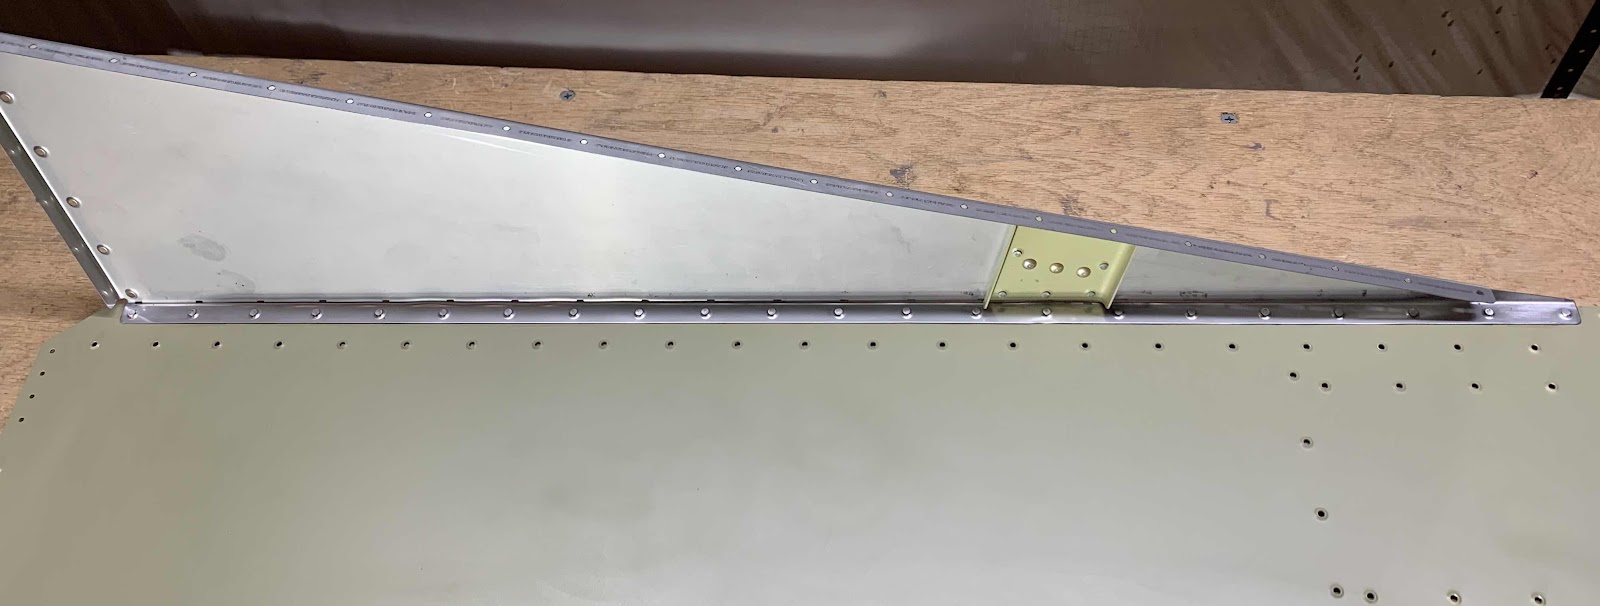
Pictured below is the right Forward Bottom Skin with the right Shroud Side prosealed and riveted.
Here is a closer shot of the inside (or upper) portion of the Skin.....
.....and the opposite side (or lower) portion of the Skin. You can see the rivet line at the bottom of the Skin.
Once each Bottom Skin and Shroud Side were riveted together, I used MEK to clean up the excess proseal and make it “pretty”.
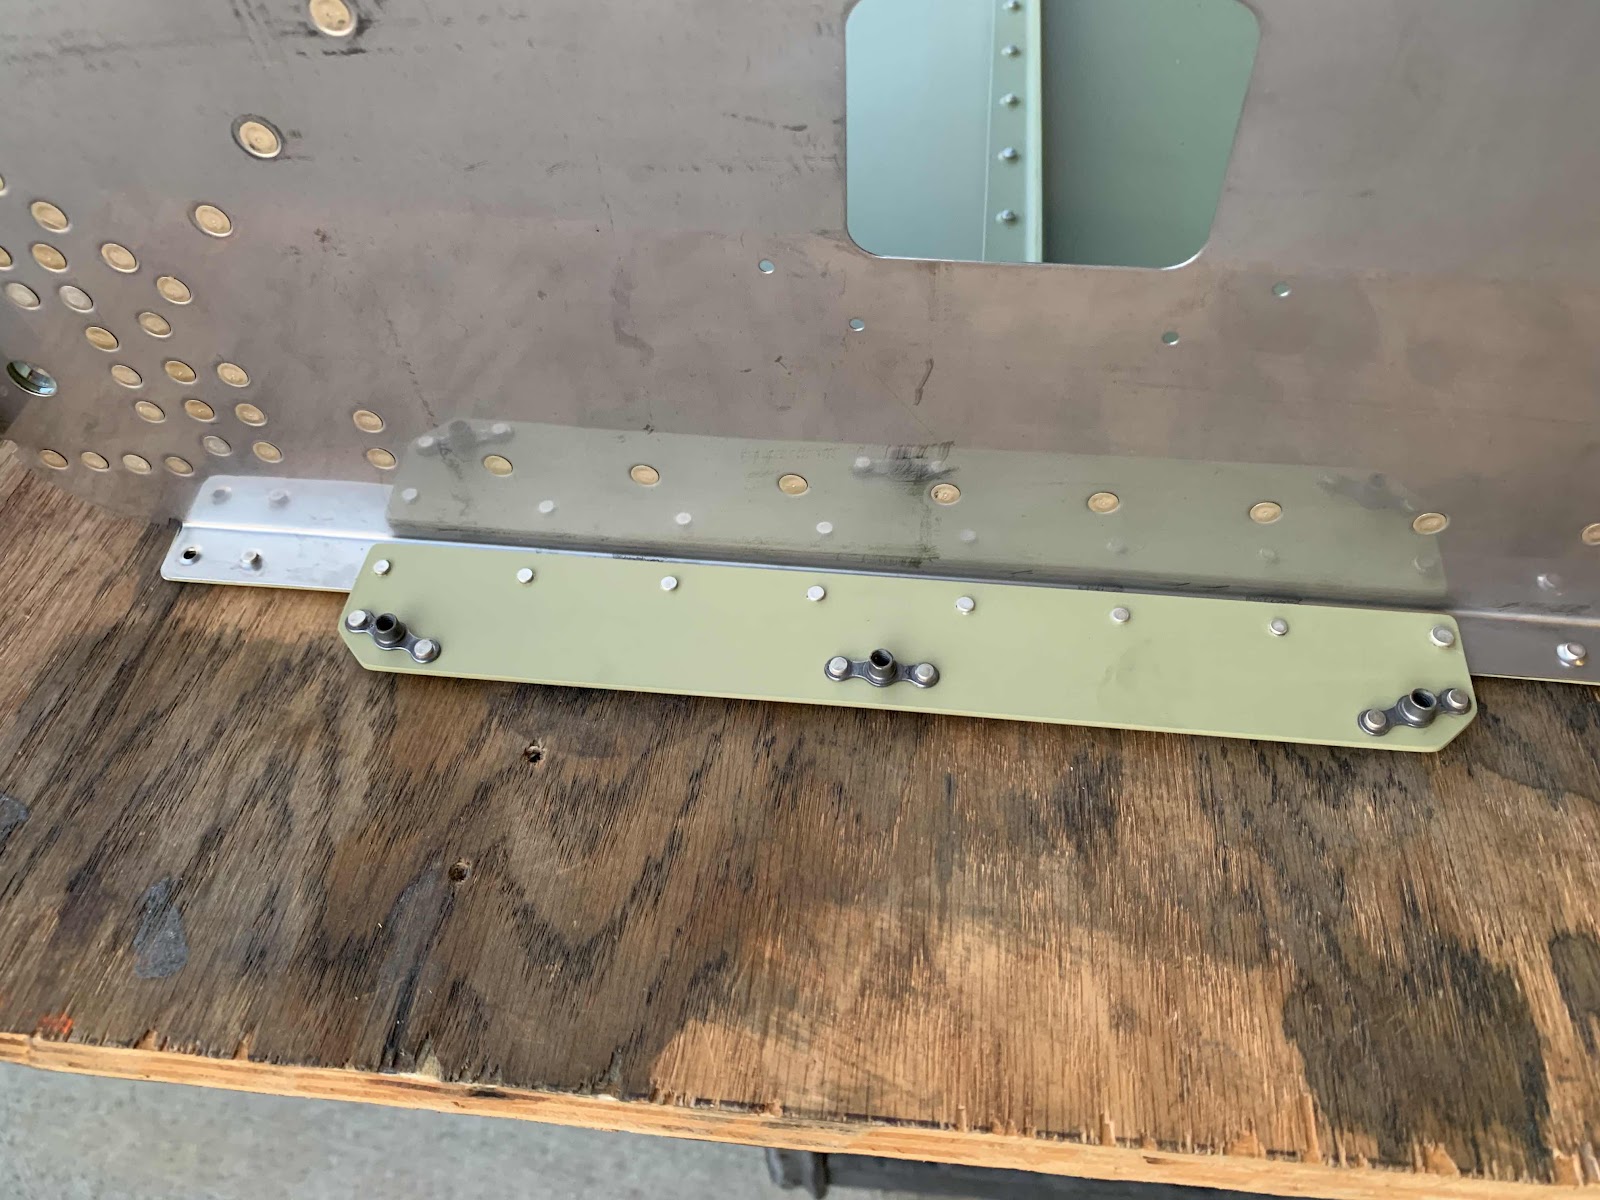
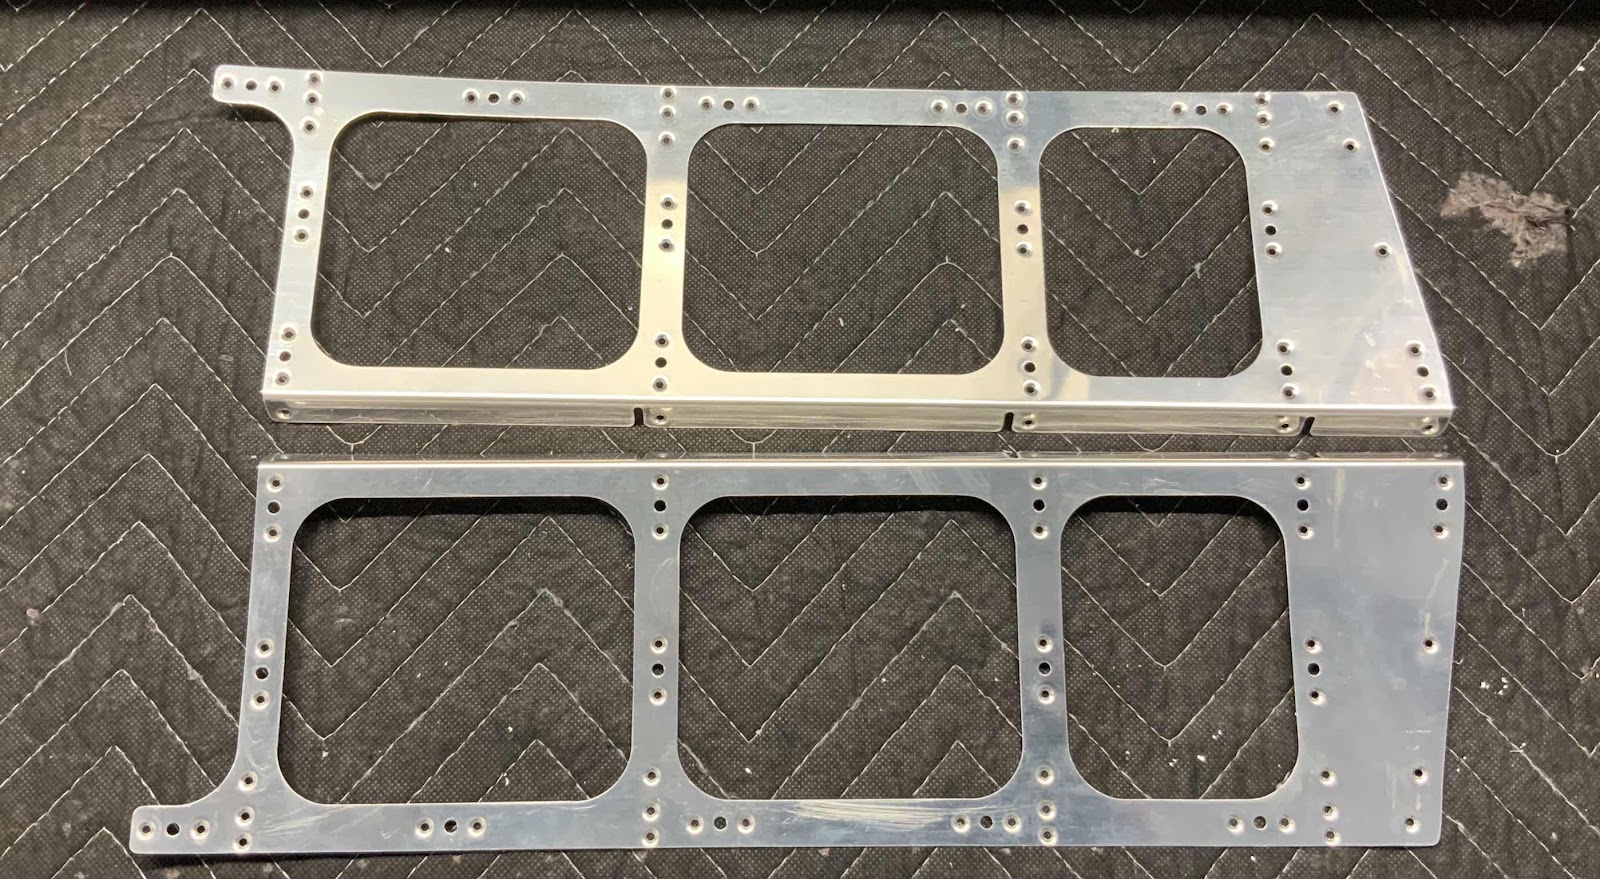
Pictured below is the FF-01403 Battery Box. I machine countersunk four holes on the left and right tabs to accept AN425AD3-3.5 rivets and the 19 holes around the aft side of the battery box to accept AN425AD4-4 and -5 rivets. All the edges were cleaned and the Battery Box is now ready to be treated with Alumiprep, Alodine and Akzo primer.
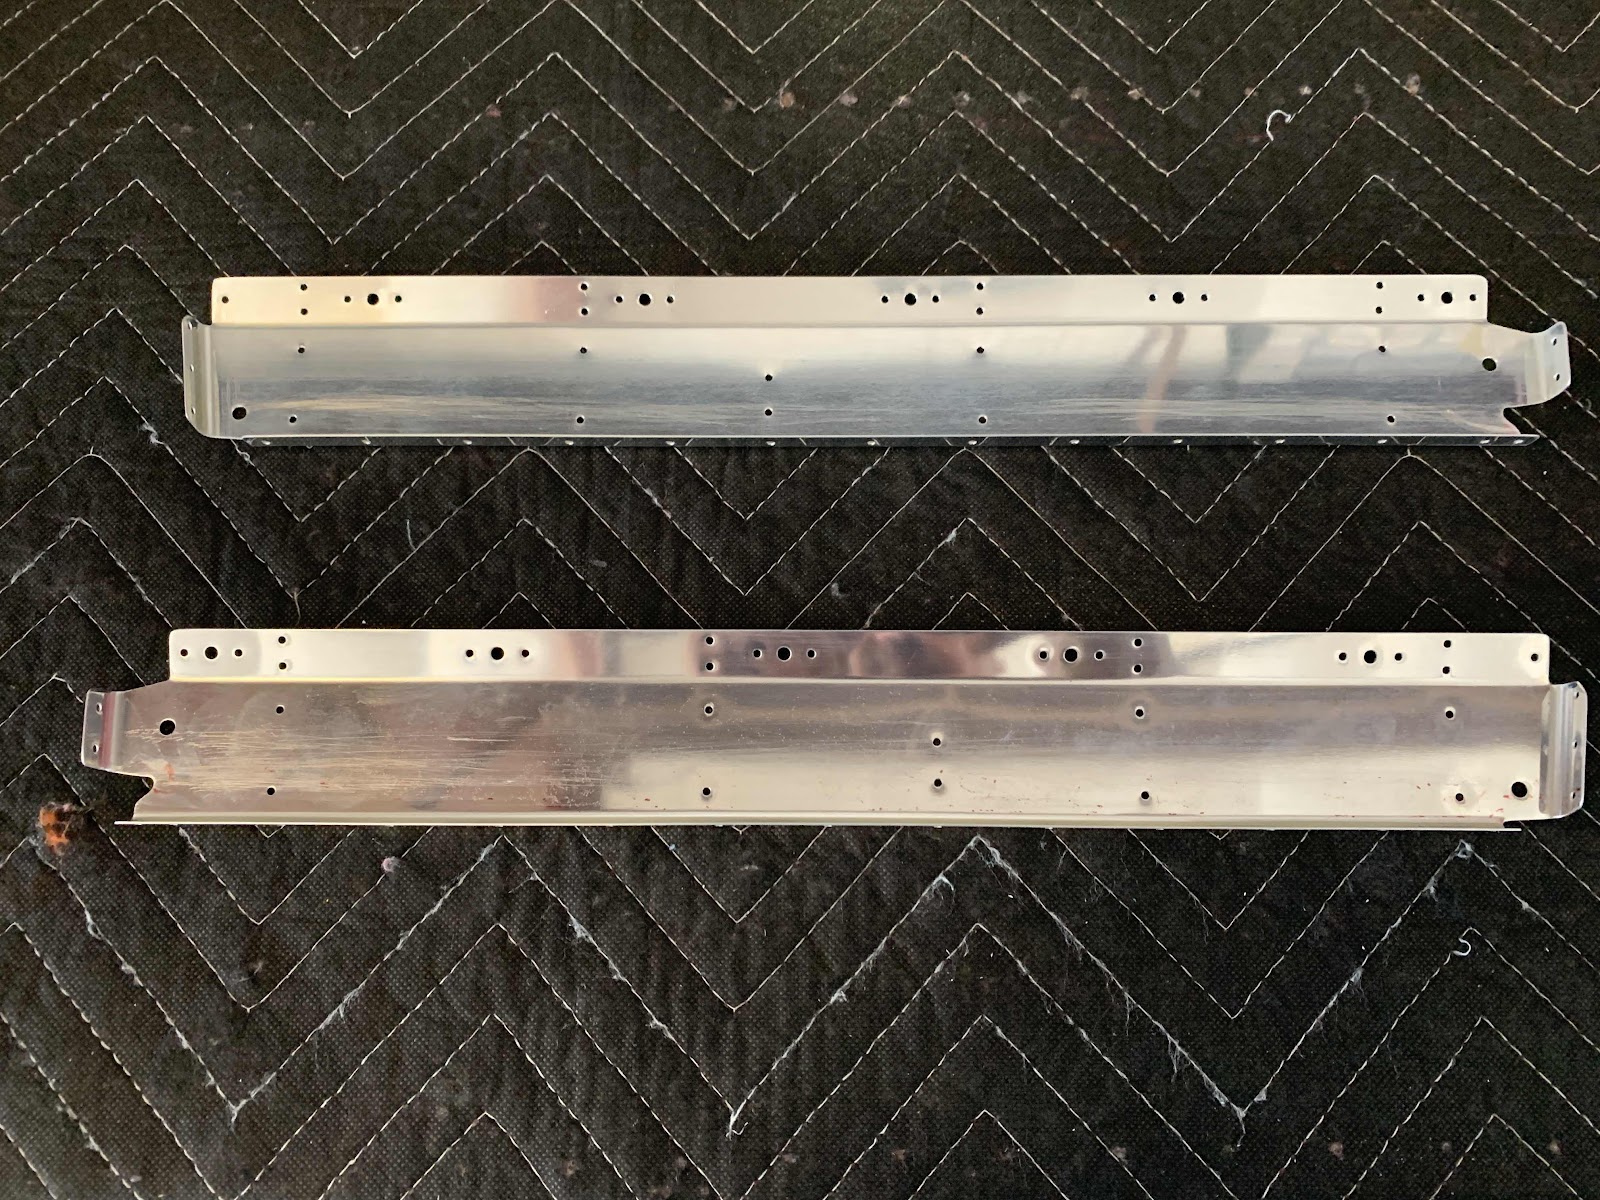
These are the separated F-14103 Cable Brackets. None of these holes needed to be countersunk and/or dimpled, so I just deburred the holes and cleaned the edges. They are now ready to be treated with Alumiprep, Alodine and Akzo primer.
After being separated, these are the F01435A-L & -R Cover Panels. All the holes were deburred, the edges cleaned and all of the #40 holes were dimpled. These parts are also ready to be treated with Alumiprep, Alodine and Akzo primer.
Here are the Cover Plates after being sprayed with Akzo primer.....
Since I’m still in a position where I need a rivet helper, I’m still looking ahead in the plans and preparing as many parts and pieces as I can. In this work session, I prepared the F-14133-1 Cowl Attach Plates and the F-14134C Cowling Hinge Shims. Each of the pieces were separated, edges cleaned, holes deburred, appropriate holes countersunk, and the appropriate holes dimpled. The four pieces are now ready to be treated Alumiprep and Alodine and primed with Akzo.
This is the F-14102 Fuel Selector Valve Bracket. It has also been prepared and ready to be treated with Alumiprep and Alodine and primed with Akzo.
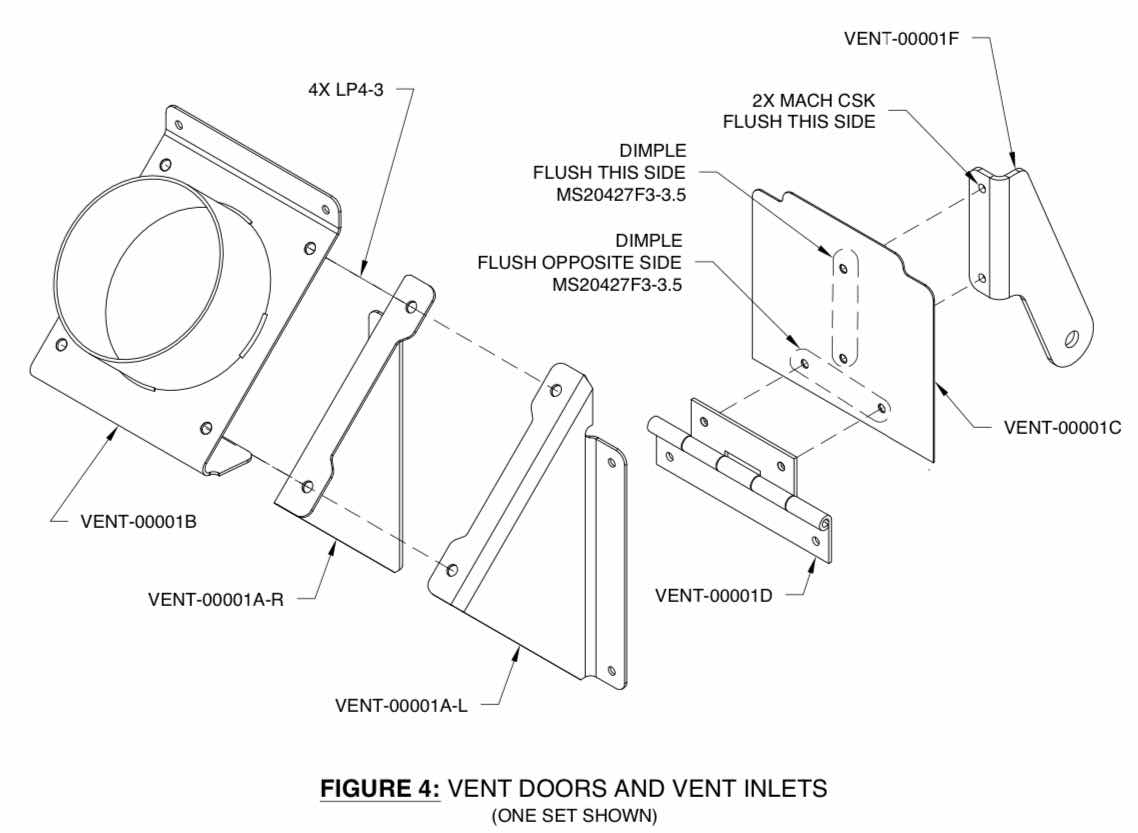
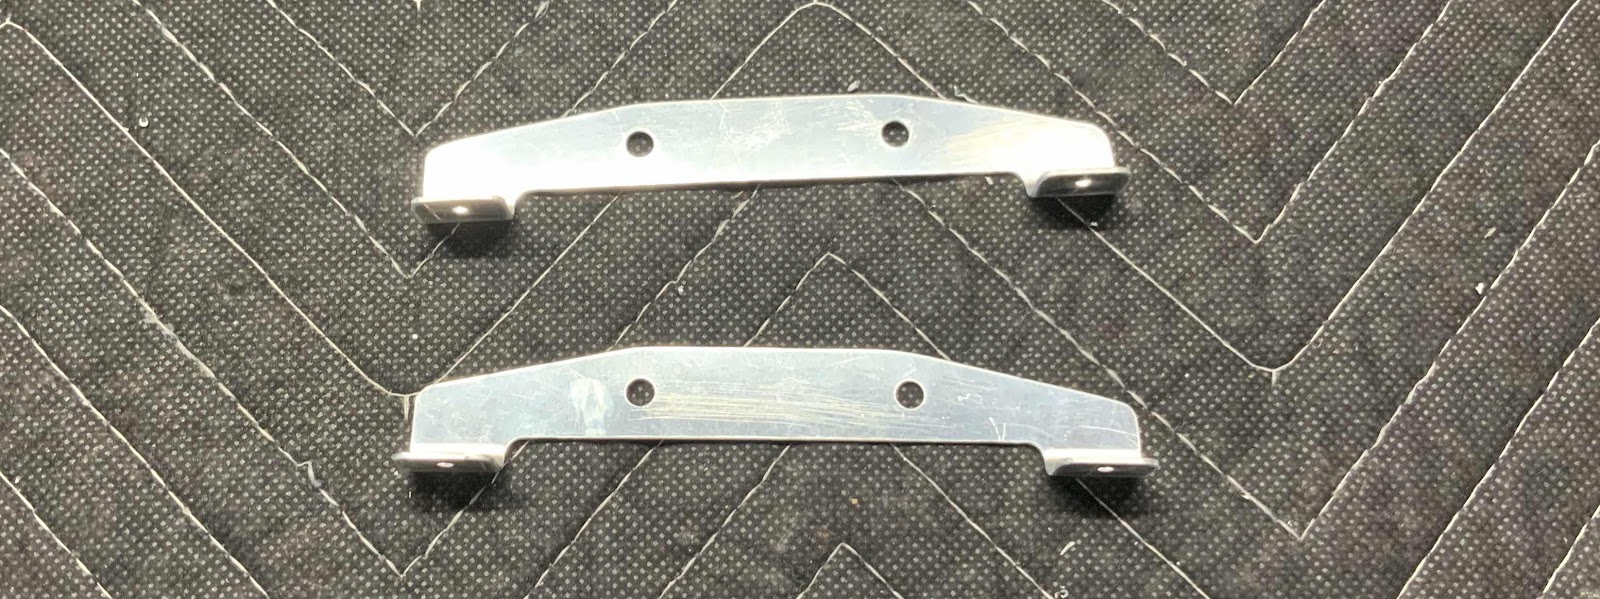
Next, was to fabricate two VENT-00001D Vent Hinges from MS20257-C2 Stainless Steel Hinge raw material. Here is an excerpt from the plans showing the appropriate dimensions.....
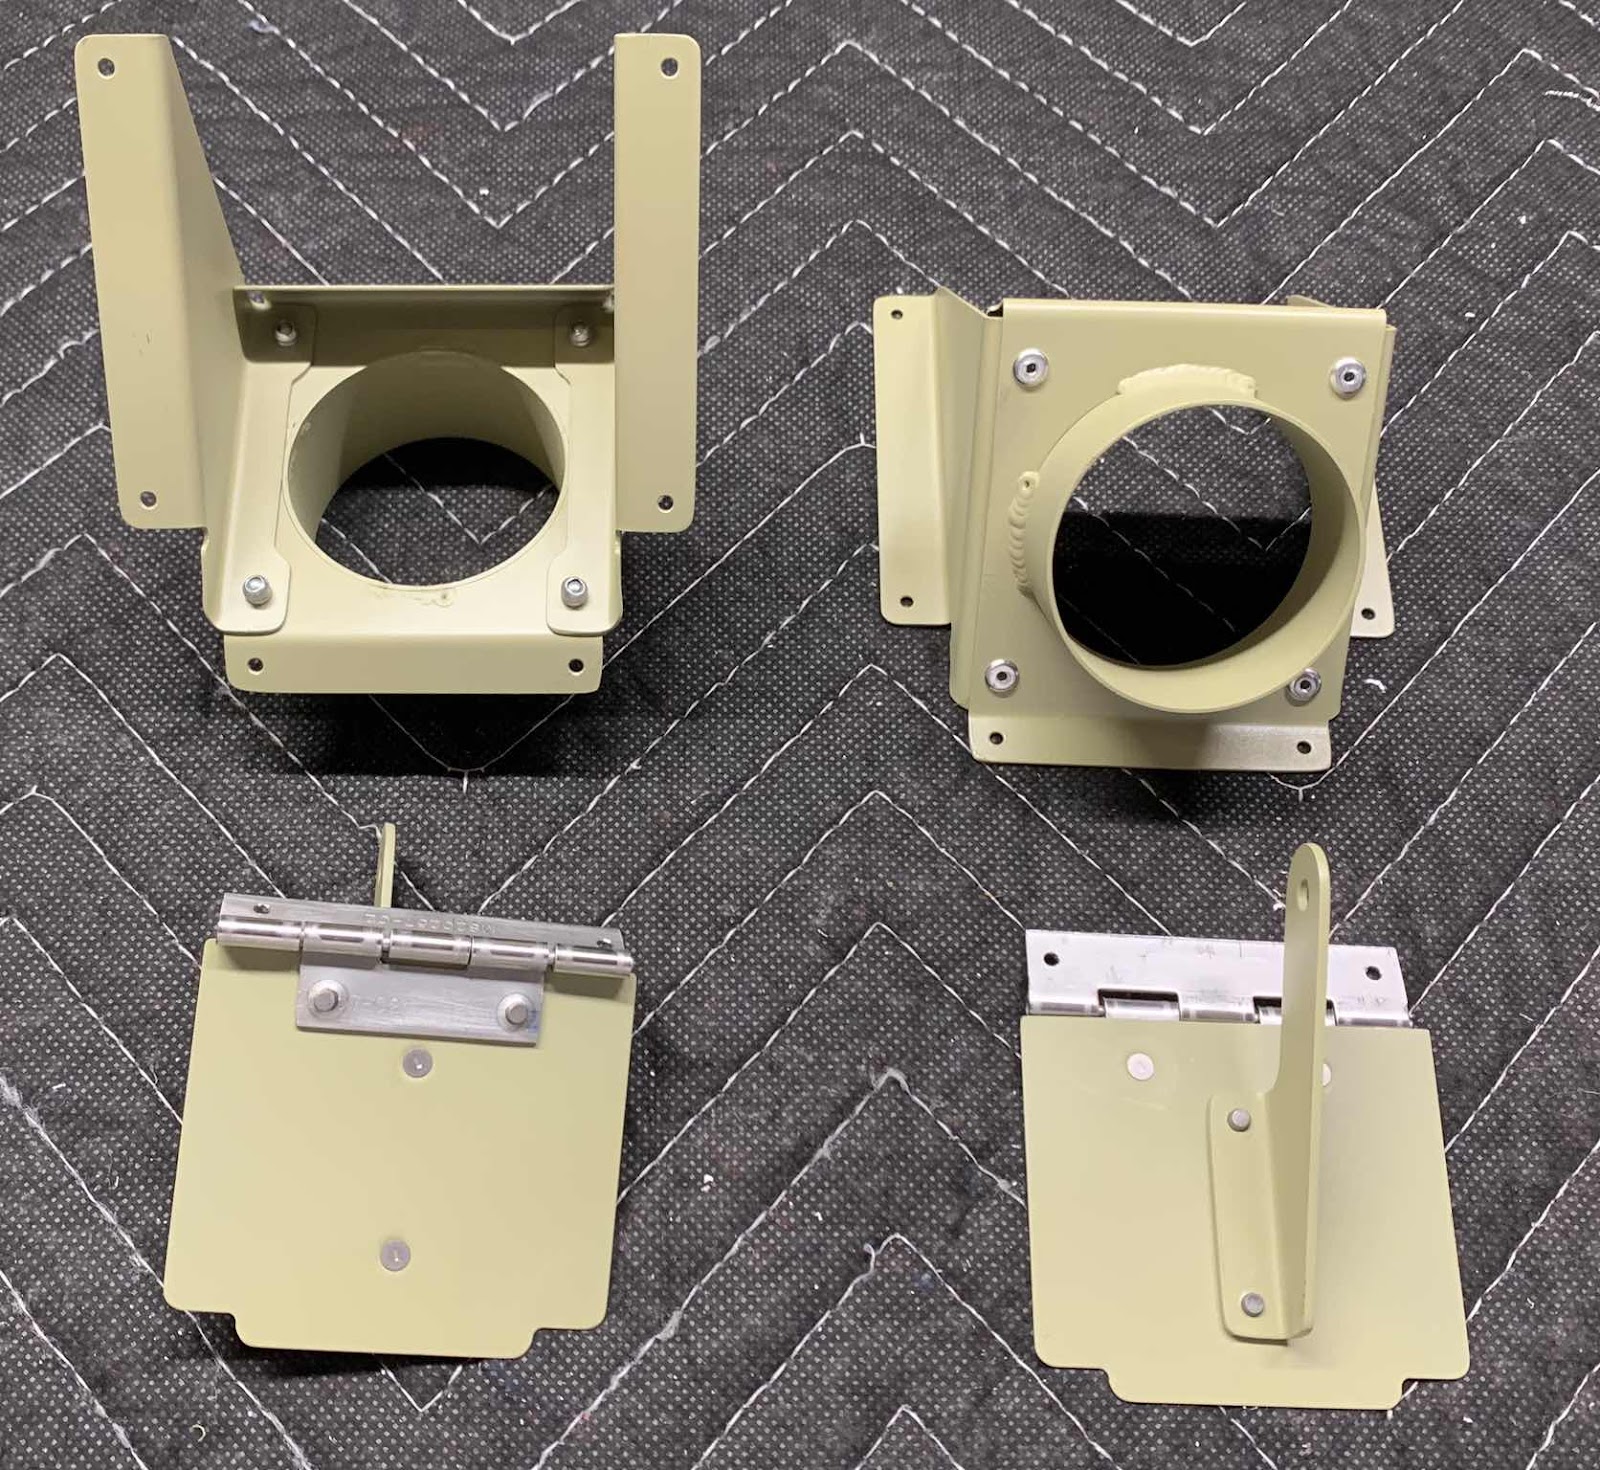
Once that was completed they hinges had to be match-drilled to the VENT-00001C Vent Doors as shown below. I used my clamps to hold the pieces together.....
.....and then match-drilled the four #40 holes.
Lastly, the VENT-00001B (x2), VENT-00001A-R & -L (x2 each), VENT-00001F Vent Arms (x2), and VENT-00001C Vent Doors were cleaned, holes deburred, and clecoed together. They are ready to be treated with Alumiprep and Alodine (minus the stainless steel Vent Doors) and primed with Akzo.