Showing posts with label Aerosun VX. Show all posts

Monday, February 5, 2024

Aerosun VX (Wingtip Landing/WigWag Lights) - AEROLED’s (Part 1)

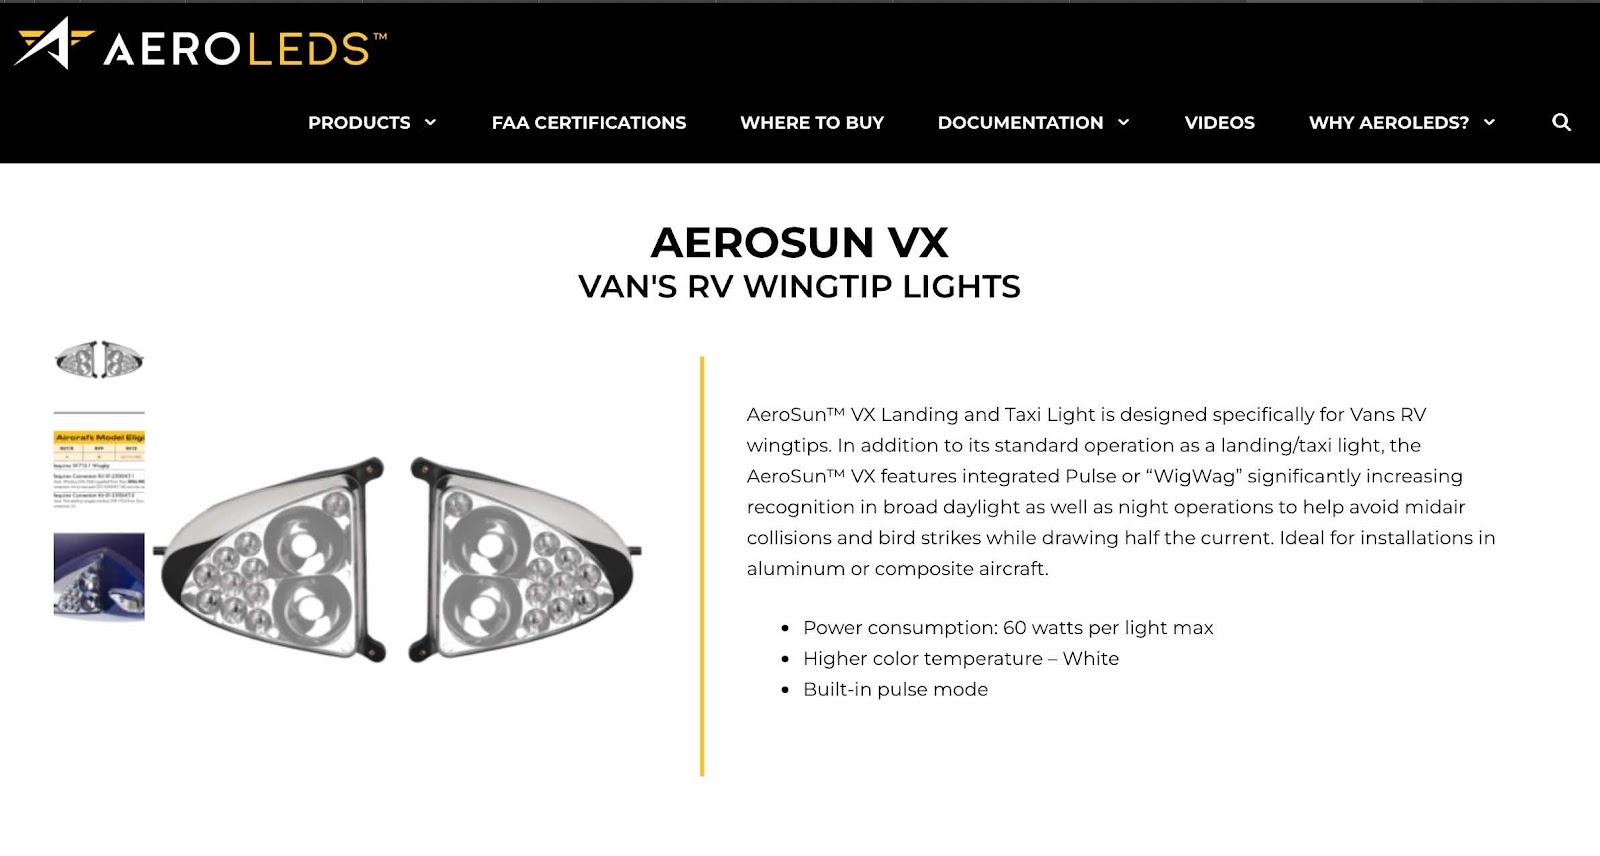
For the wingtips, we will install the Aerosun VX (Wingtip Landing/WigWag Lights) from AEROLEDS.
(Van’s part # LL-205)

It is my intent to use these lights strictly as Wingtip Landing Lights and WigWag’s.  I will document the installation of these lights here when I reach that point in the build.

Here is the manual and installation guide from their website.

For the installation of the AeroSun VX lights, please see:

Section 24 - Wings, Wing Tip (Parts 13 - 11) - (also included below)

Thursday, October 15, 2020

Wings, Wing Tip (Part 13)

With the steps completed in Part 12, it’s now time for the final fitting of the Insert into the Wing Tip Fairing.  There are a couple of things I wanted to make sure to accomplish during the final fitting of the Insert:

1. The Insert is equal distance at the forward and aft ends of the nav light “plate” (top and bottom) to the Wing Skin to make sure it’s square to the Wing 
2.  The Insert needed to be at a 90° angle to the Wing Spar (so it’s pointing straight)

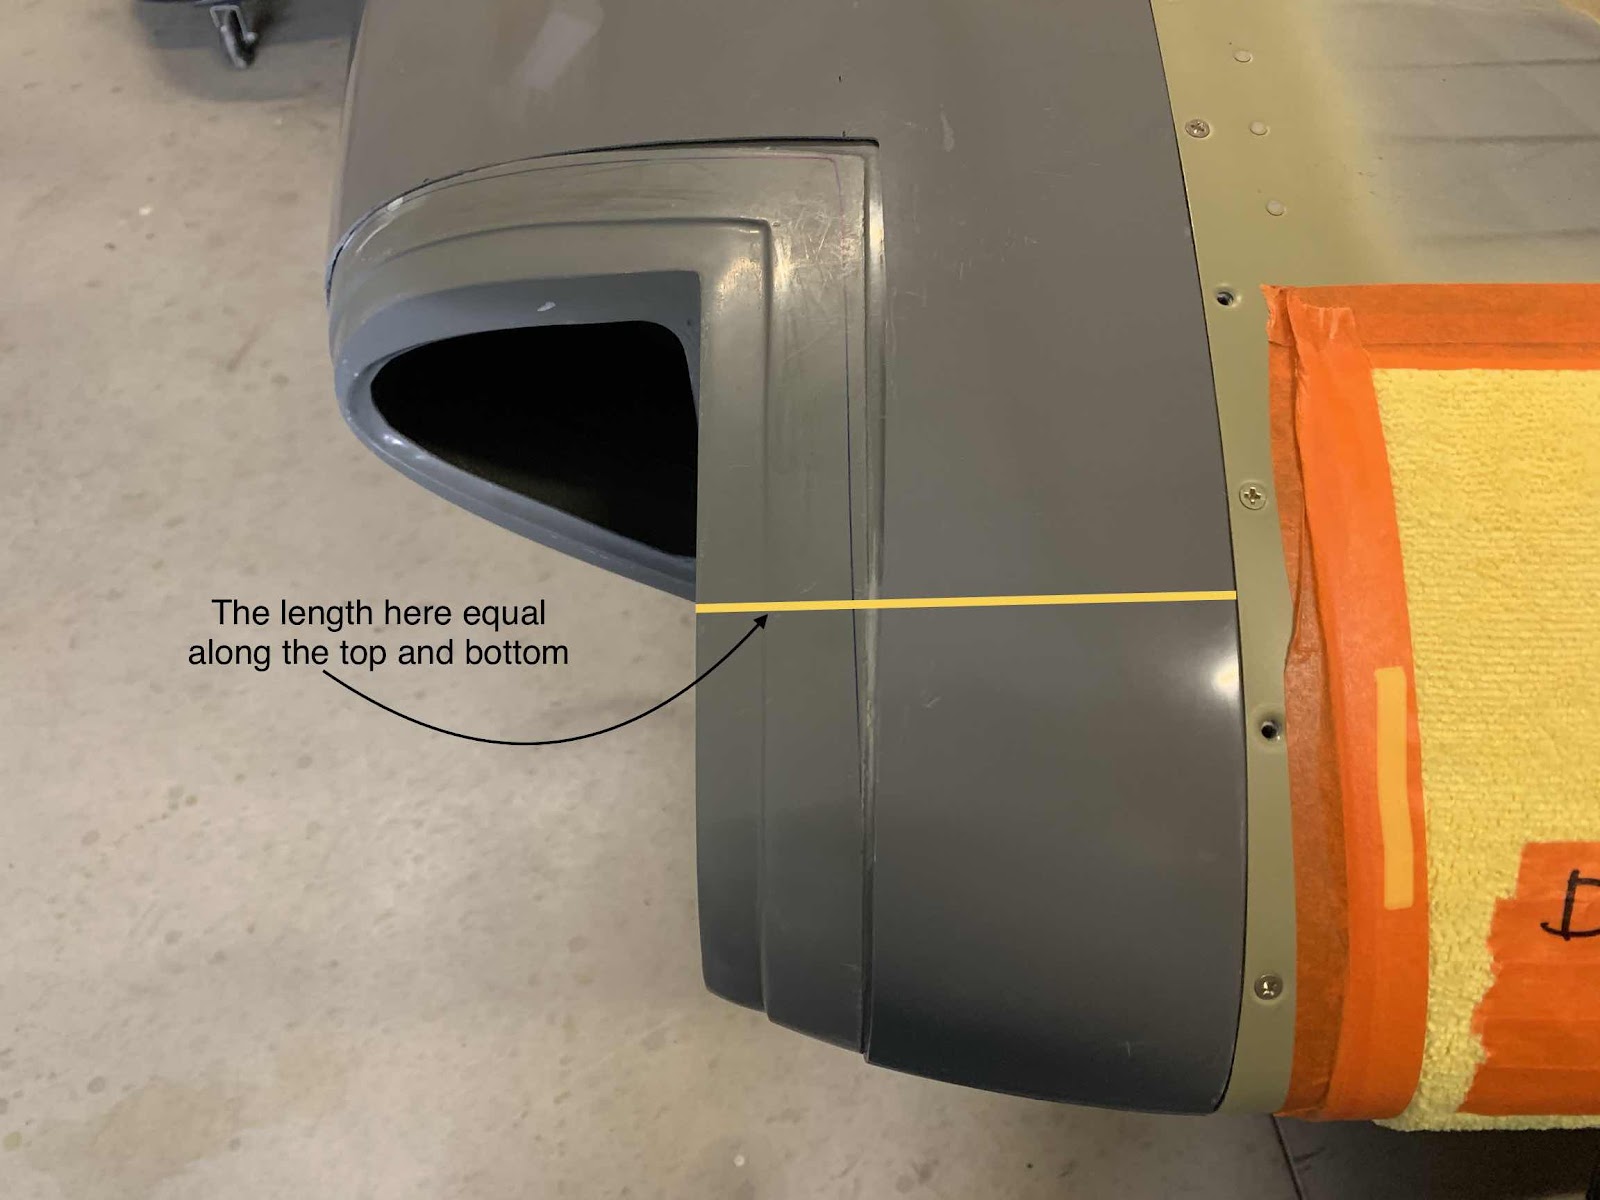
So, here is how I accomplished #1.  As the picture below shows, the yellow line is the measurement I wanted to be equal across the top of the nav light mounting “plate”.

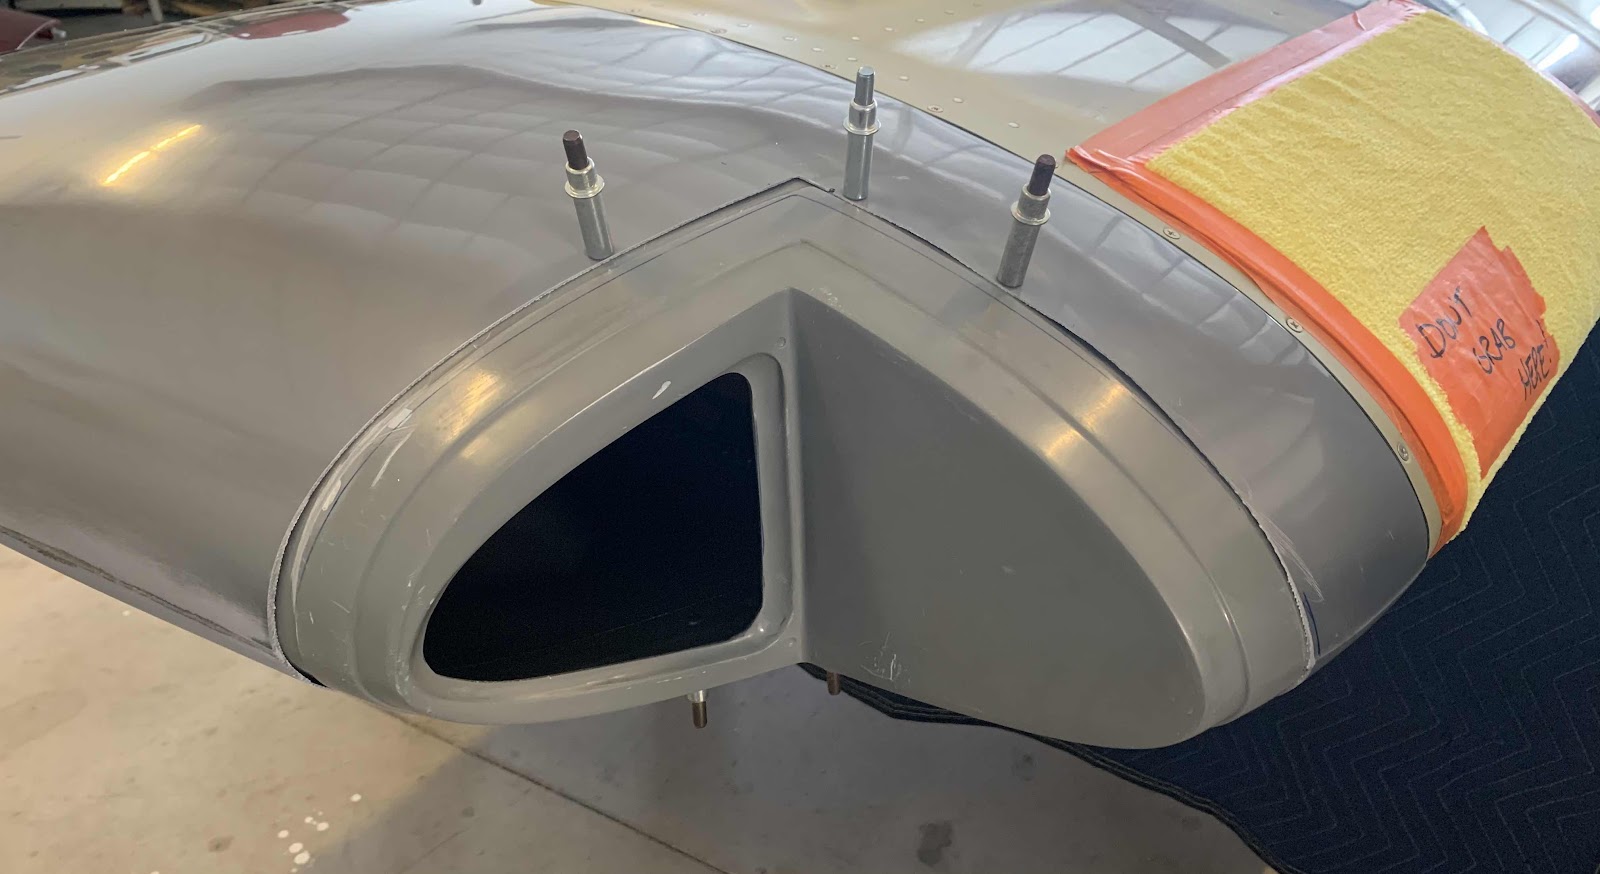
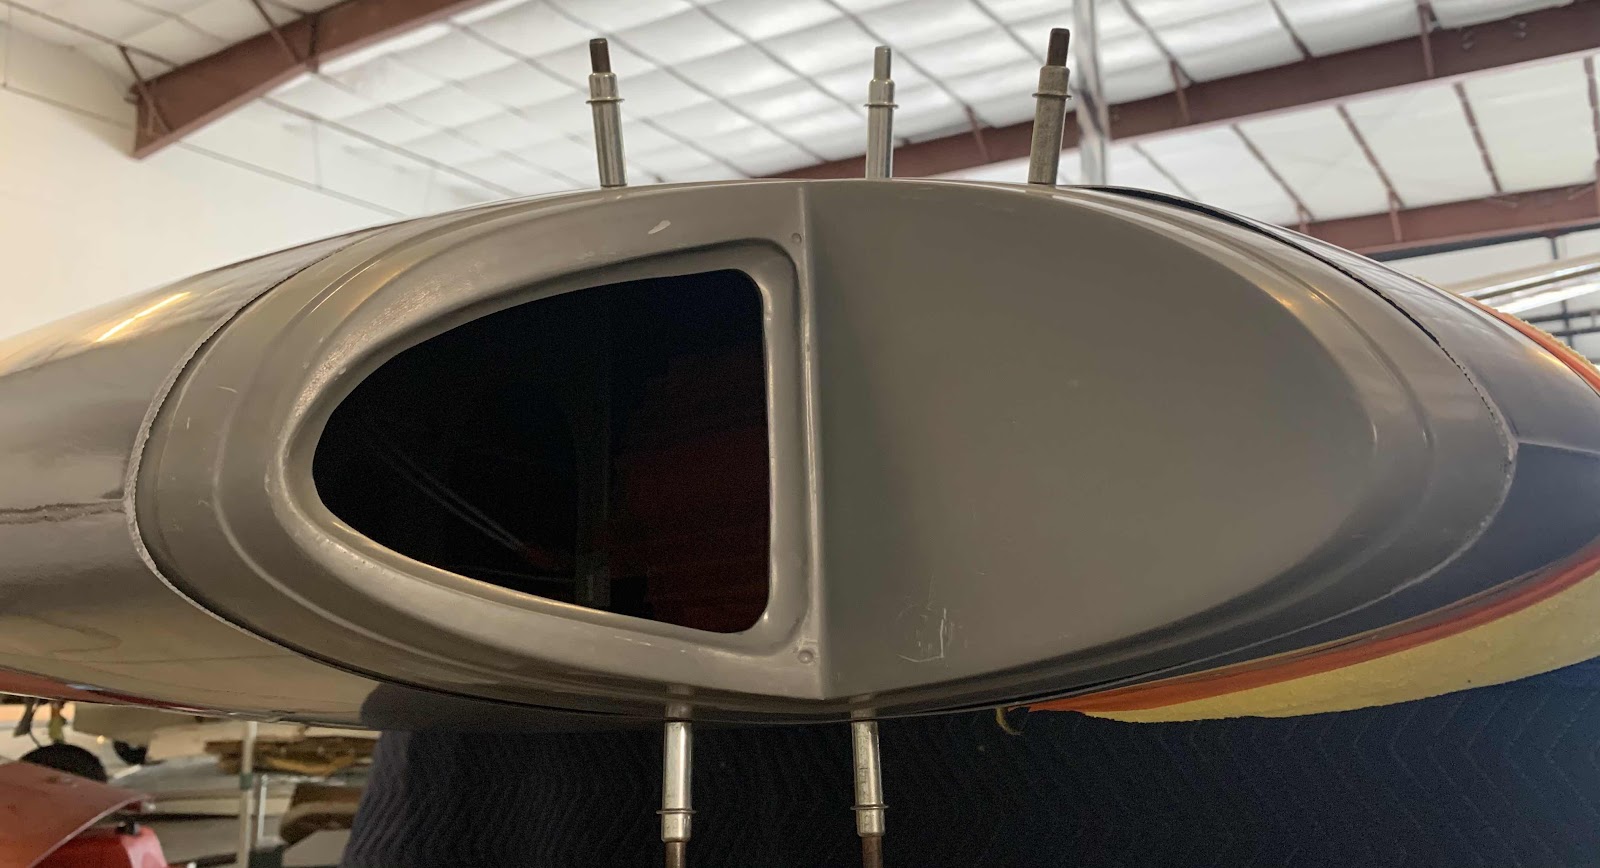
The measurement I settled with was 4” and aligned with the 28 mark on top of the ruler (I guess also 56 on the bottom).  The next few pictures shows the measurement taken near the middle of the Insert and working forward along the Wing.


It was kinda difficult to get any pictures from the bottom side of the Wing, but that measurement came in at 27.....so, pretty damn close.  I’m gonna leave it along before I mess it up.  

Now, to get the Insert 90° degrees to the Wing Spar.  To do this, I used a digital level, set it along the Wing Spar and zeroed it as shown below.
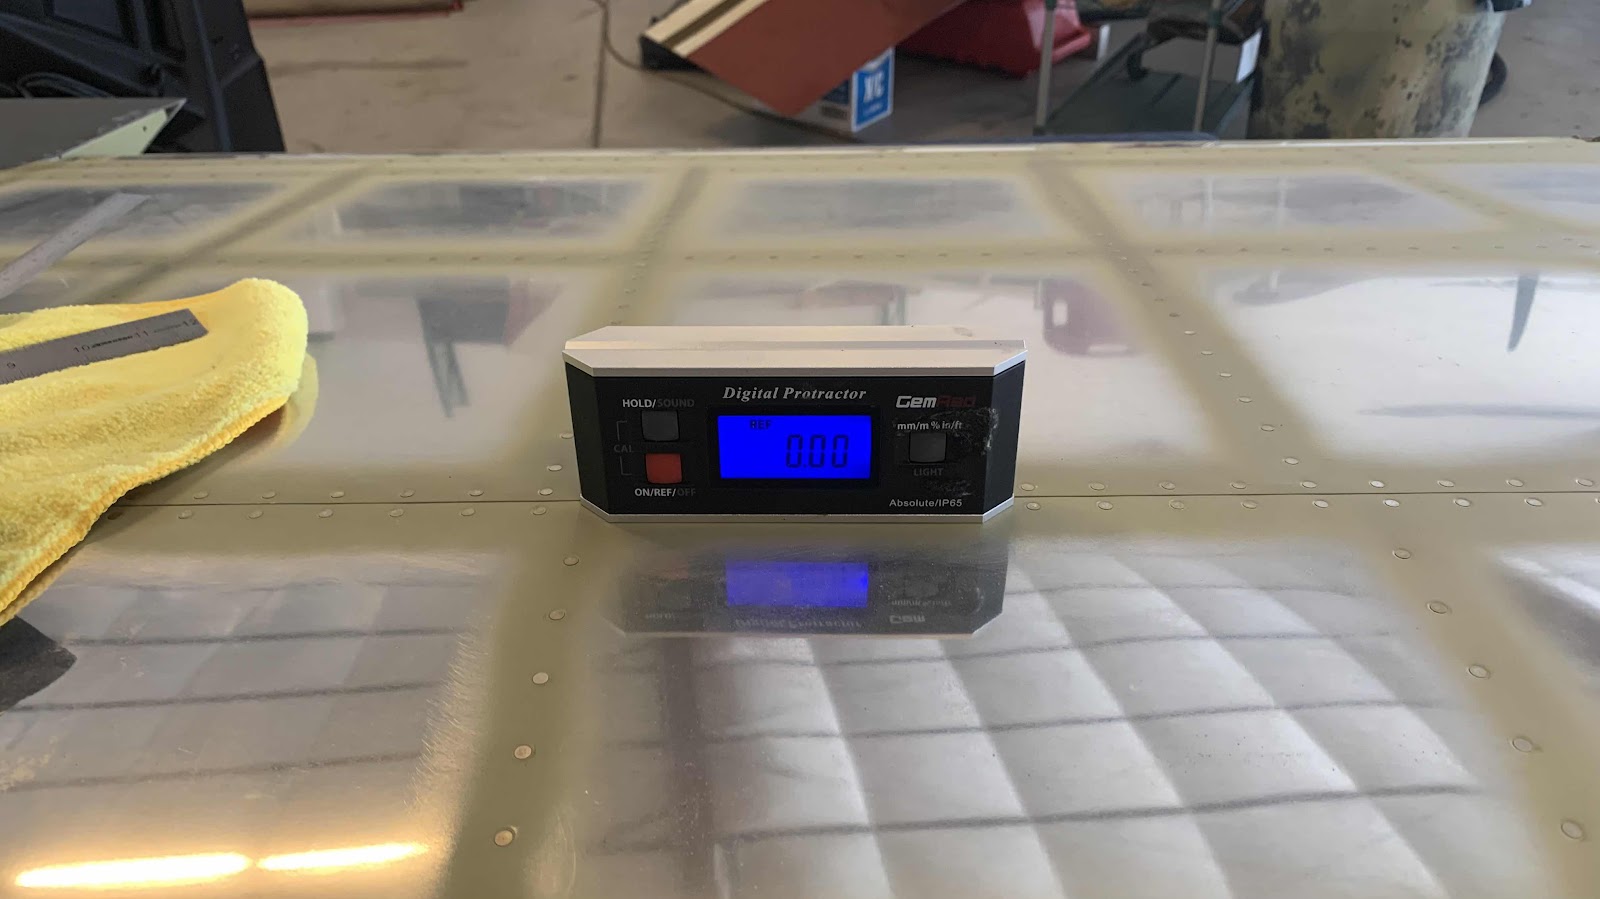
Then, moved the level to the nav light mounting “plate” to get a reading.  After some manipulating (and ensuring to maintain the previous measurements), I achieved the 90° degrees I was looking for.
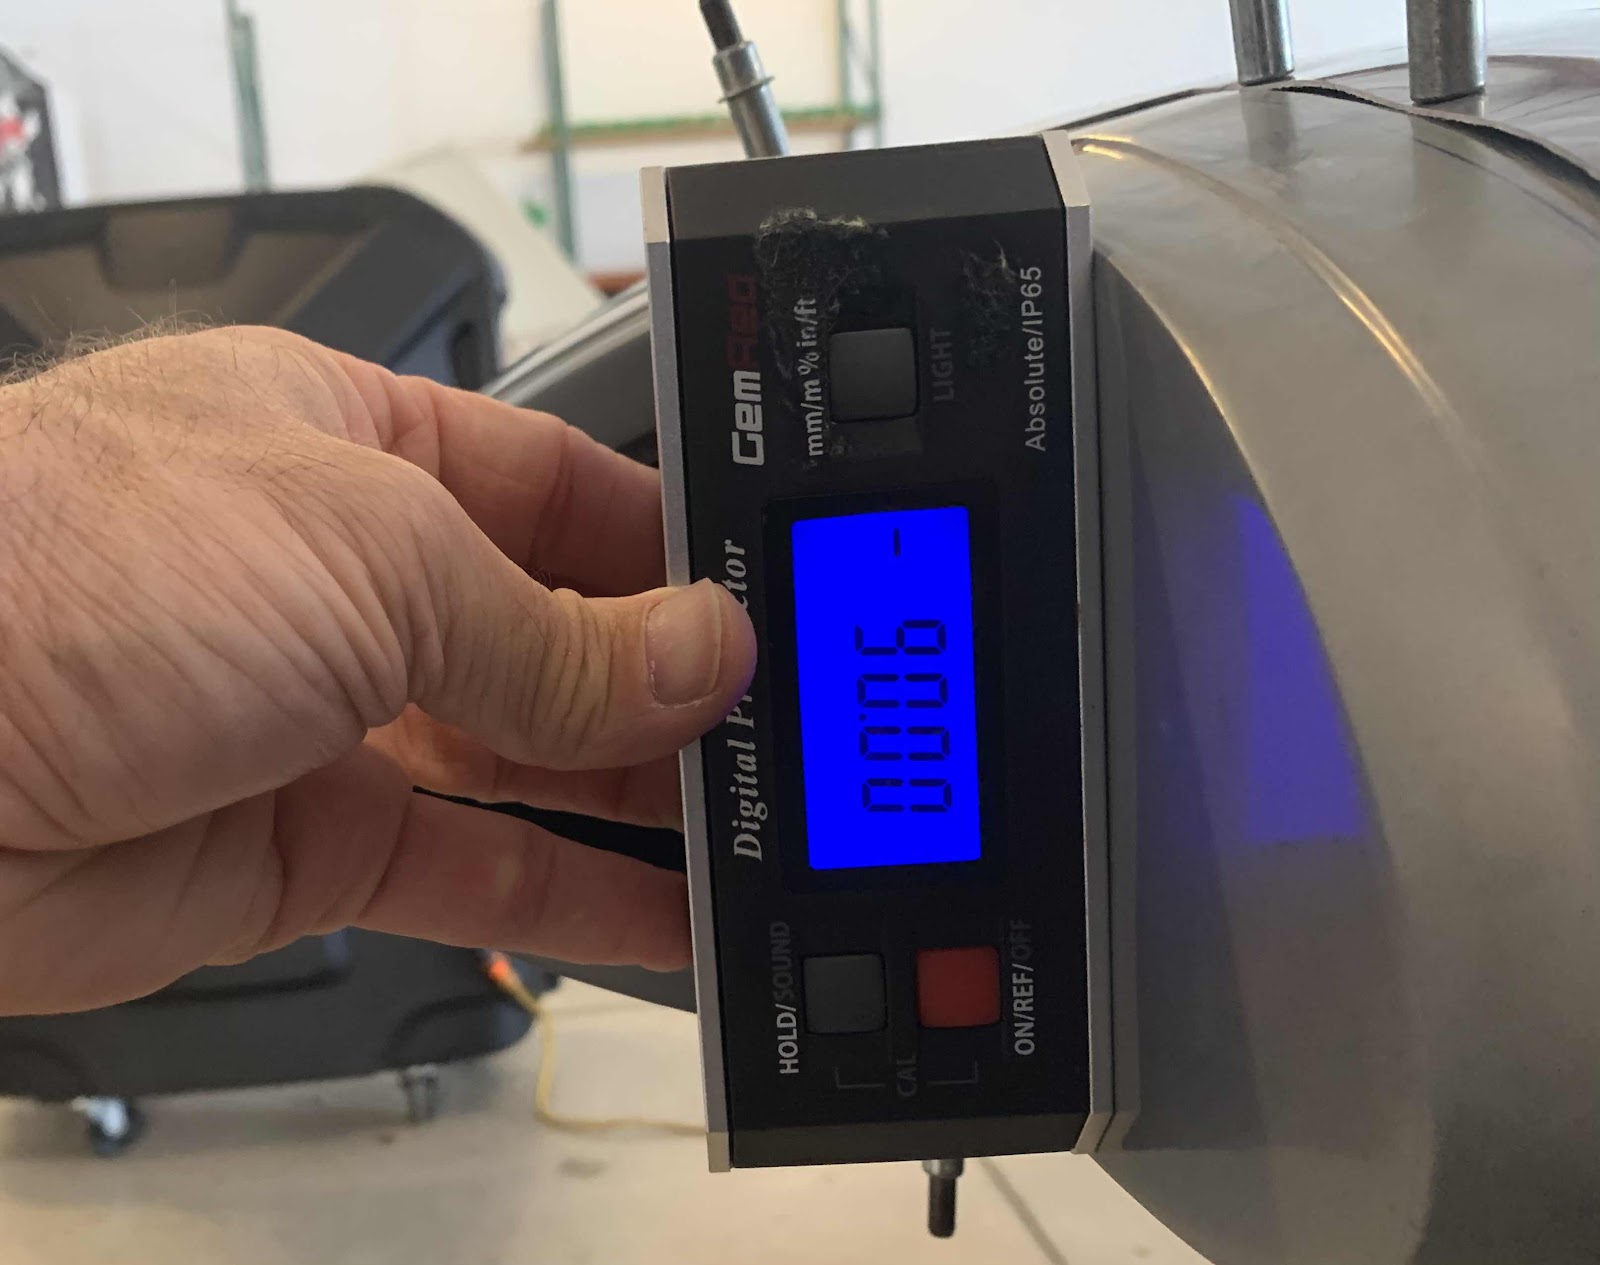
As the correct alignment and measurements were achieved, I drilled pilot holes and inserted clecos to keep everything in place.


Now, a couple of things still need to be done and I’m debating how I want to do them.  First, the hole I already cut out for the AeroSun VX landing light still needs to be enlarged to accept the actual light itself.  So, I’m thinking I will remove the Insert to complete that step in the instructions (probably easier to handle from both sides of the hole).    Secondly, we need to install the mounting plate for the navigation/strobe light.  I think I will also complete this step with the Insert removed from the Fairing (since I just ensured the Insert mounting “plate” is 90° to the Spar and square to the Wing).

Here is what I’m going to use.....West System 105 epoxy resin and 206 slow hardener (forget about the milled fibers for now).  Now, I will admit, I am brand new to fiberglass work and really have no idea what I’m doing.  So, I need to do some additional research and seek additional guidance prior to doing any of this, so.......

more to follow!

Tuesday, October 13, 2020

Wings, Wing Tip (Part 12)

Tonight was a relatively short session, but we made forward progress on the Wing Tip Inserts.  In the previous session, we cut out and removed part of the Wing Tip Fairing to accept the new Insert. Now, there is some material is required to be removed from the Insert itself.  Here is the instructions excerpt from AEROLED:
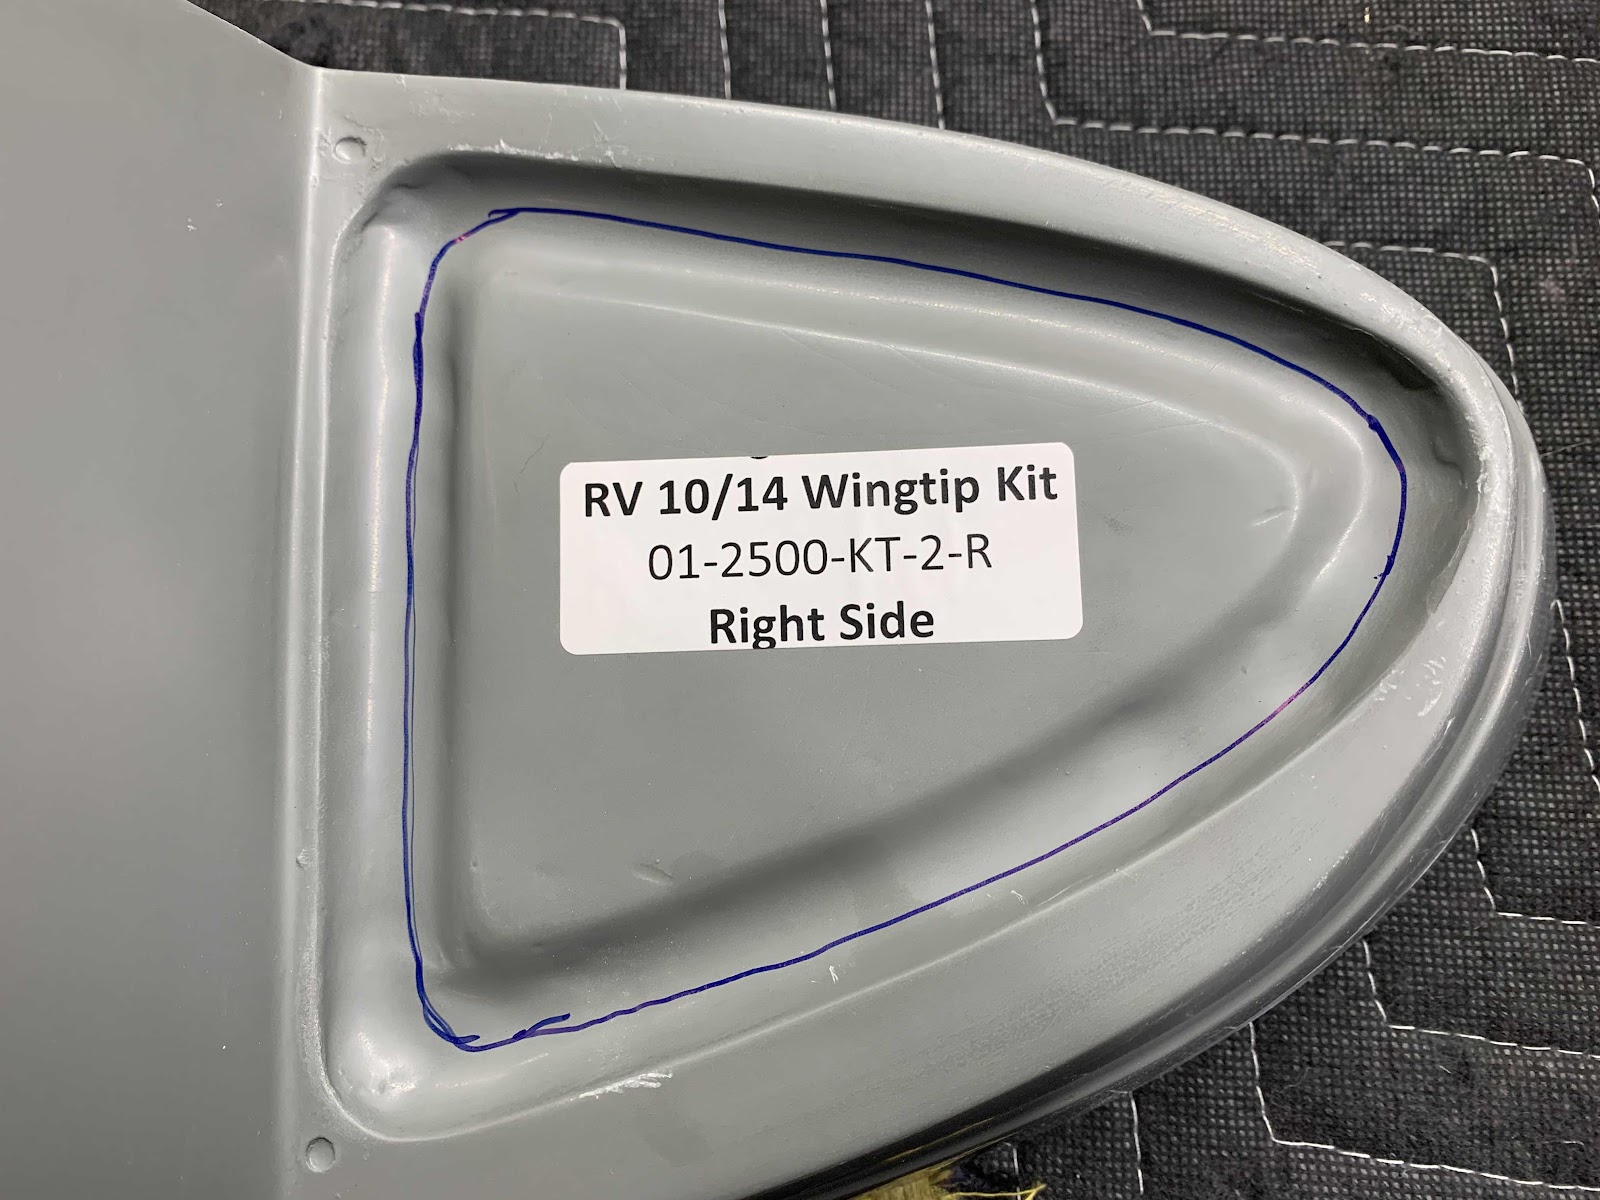
 The area shown below inside the blue line (where the sticker is located) will need to be removed.  Out line was actually drawn approximately 1/4” below the blend-line.  I figured I could sand the remaining material to achieve the required fit around the AeroSun VX.

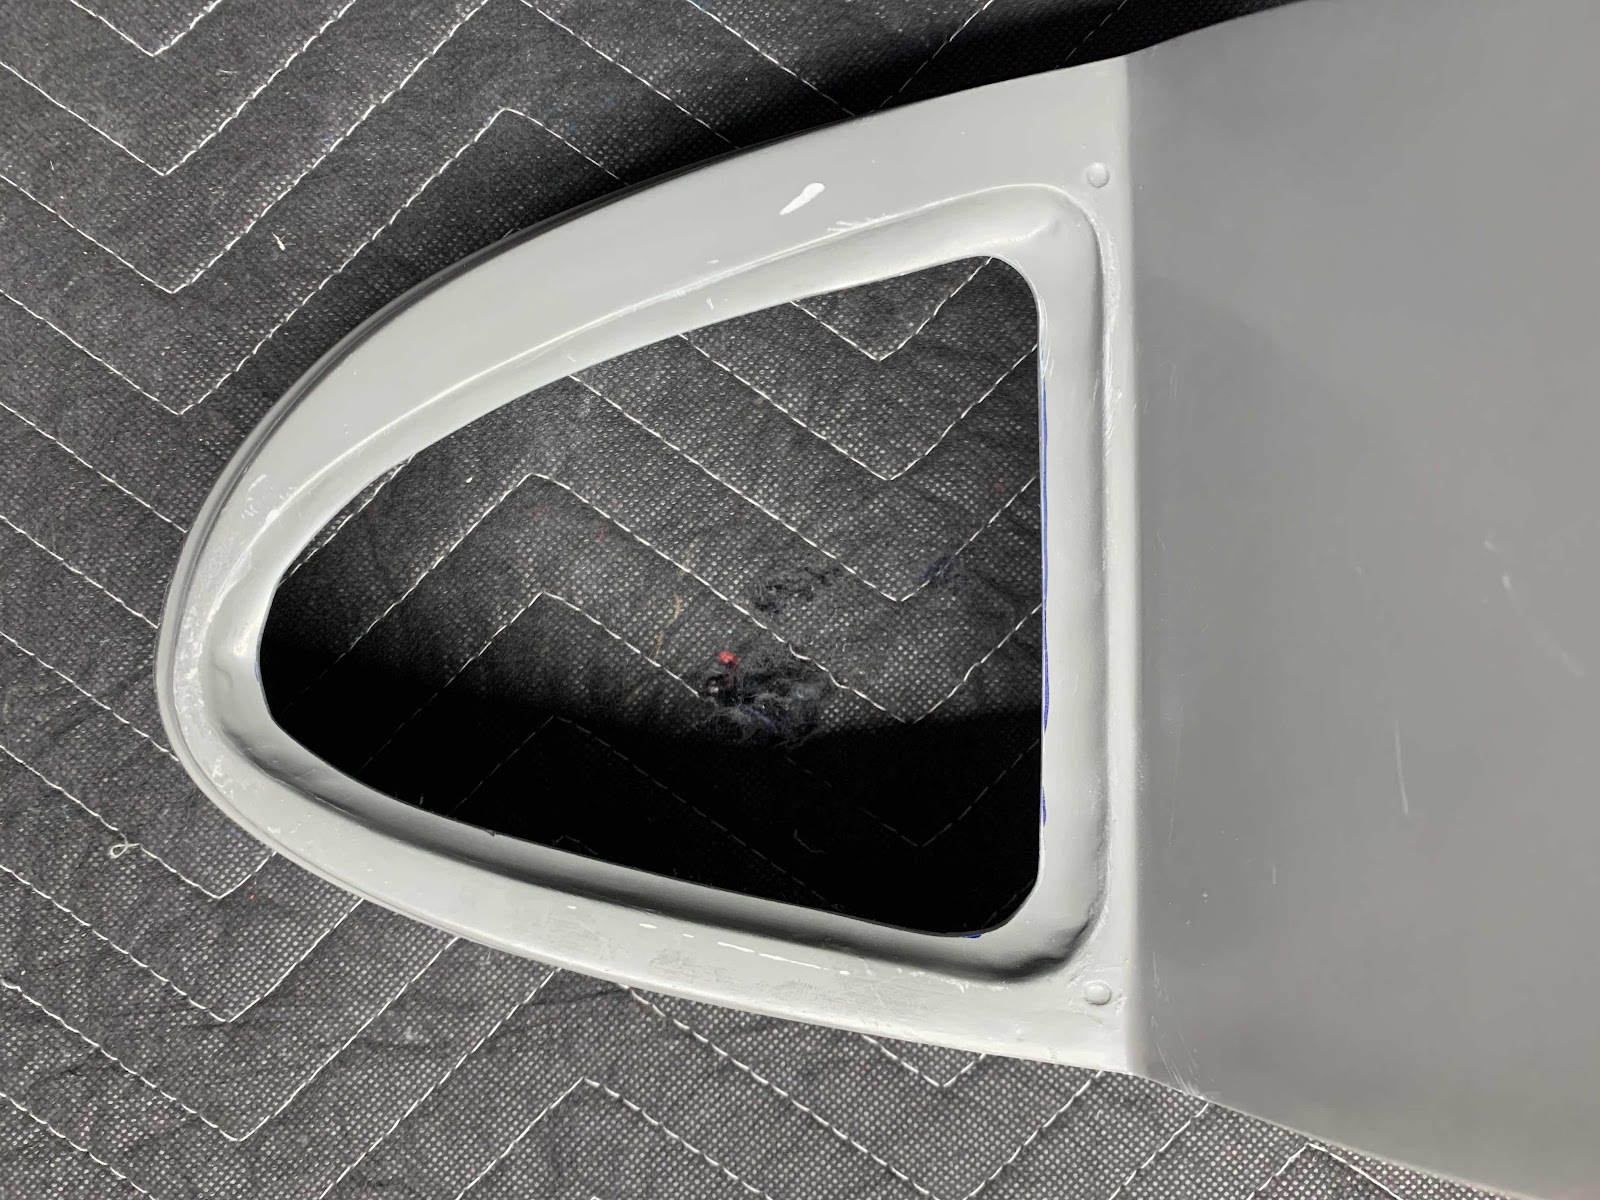
So, used my Milwaukee rotary tool and cut-off wheel to remove the material along the blue line.

Then, we used some 80 grit sandpaper to smooth the rough edges.  Again, the “hole” is slightly smaller than required.....we will enlarge the hole with sandpaper when we get there.

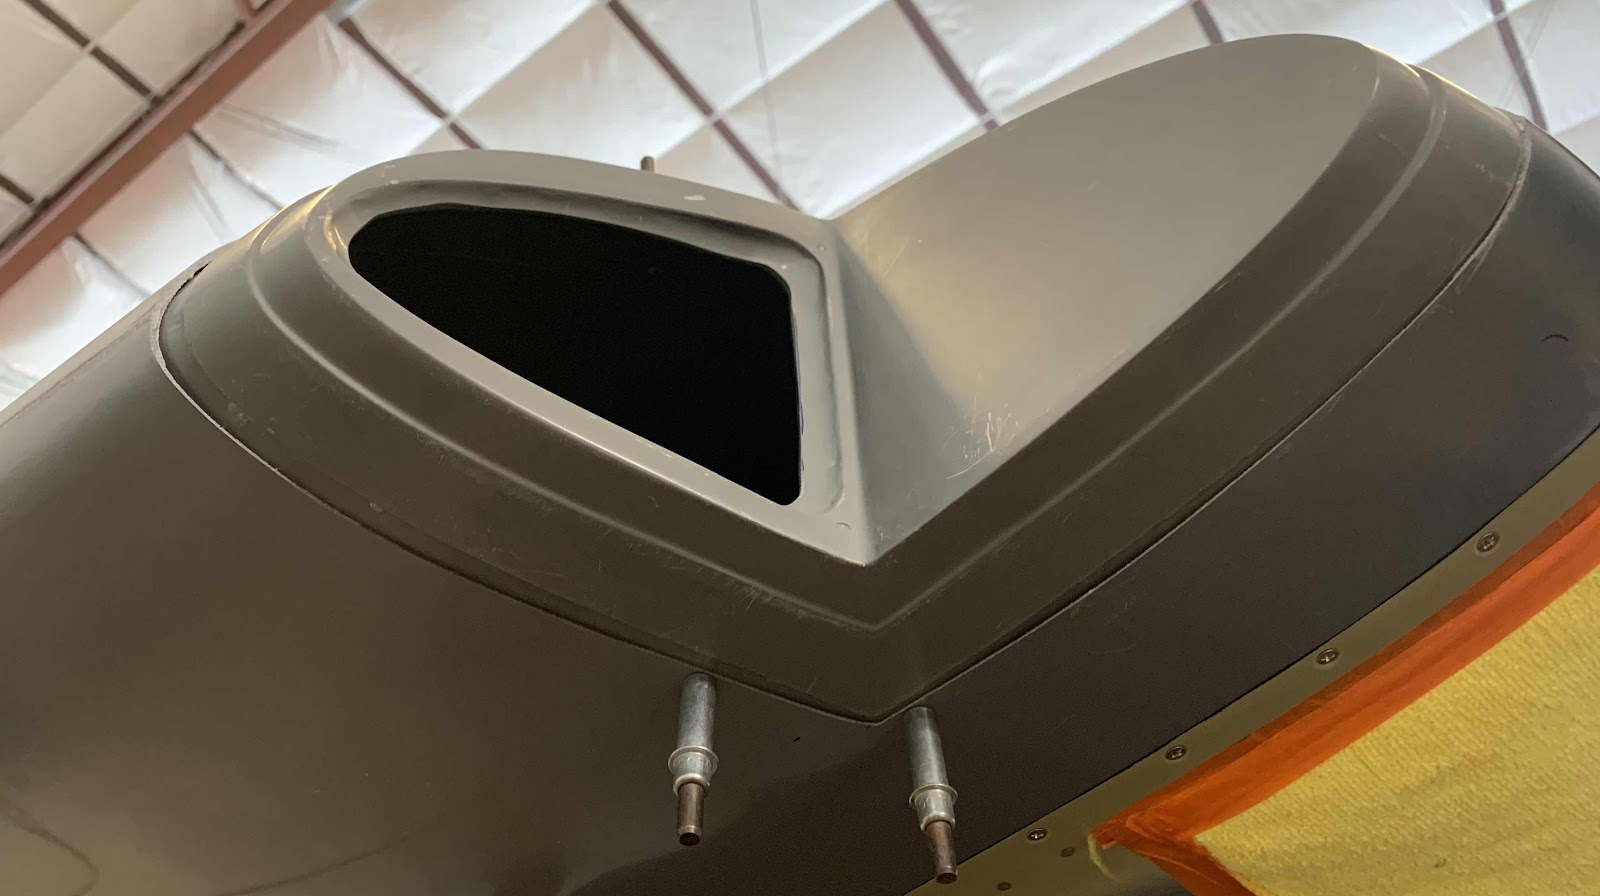
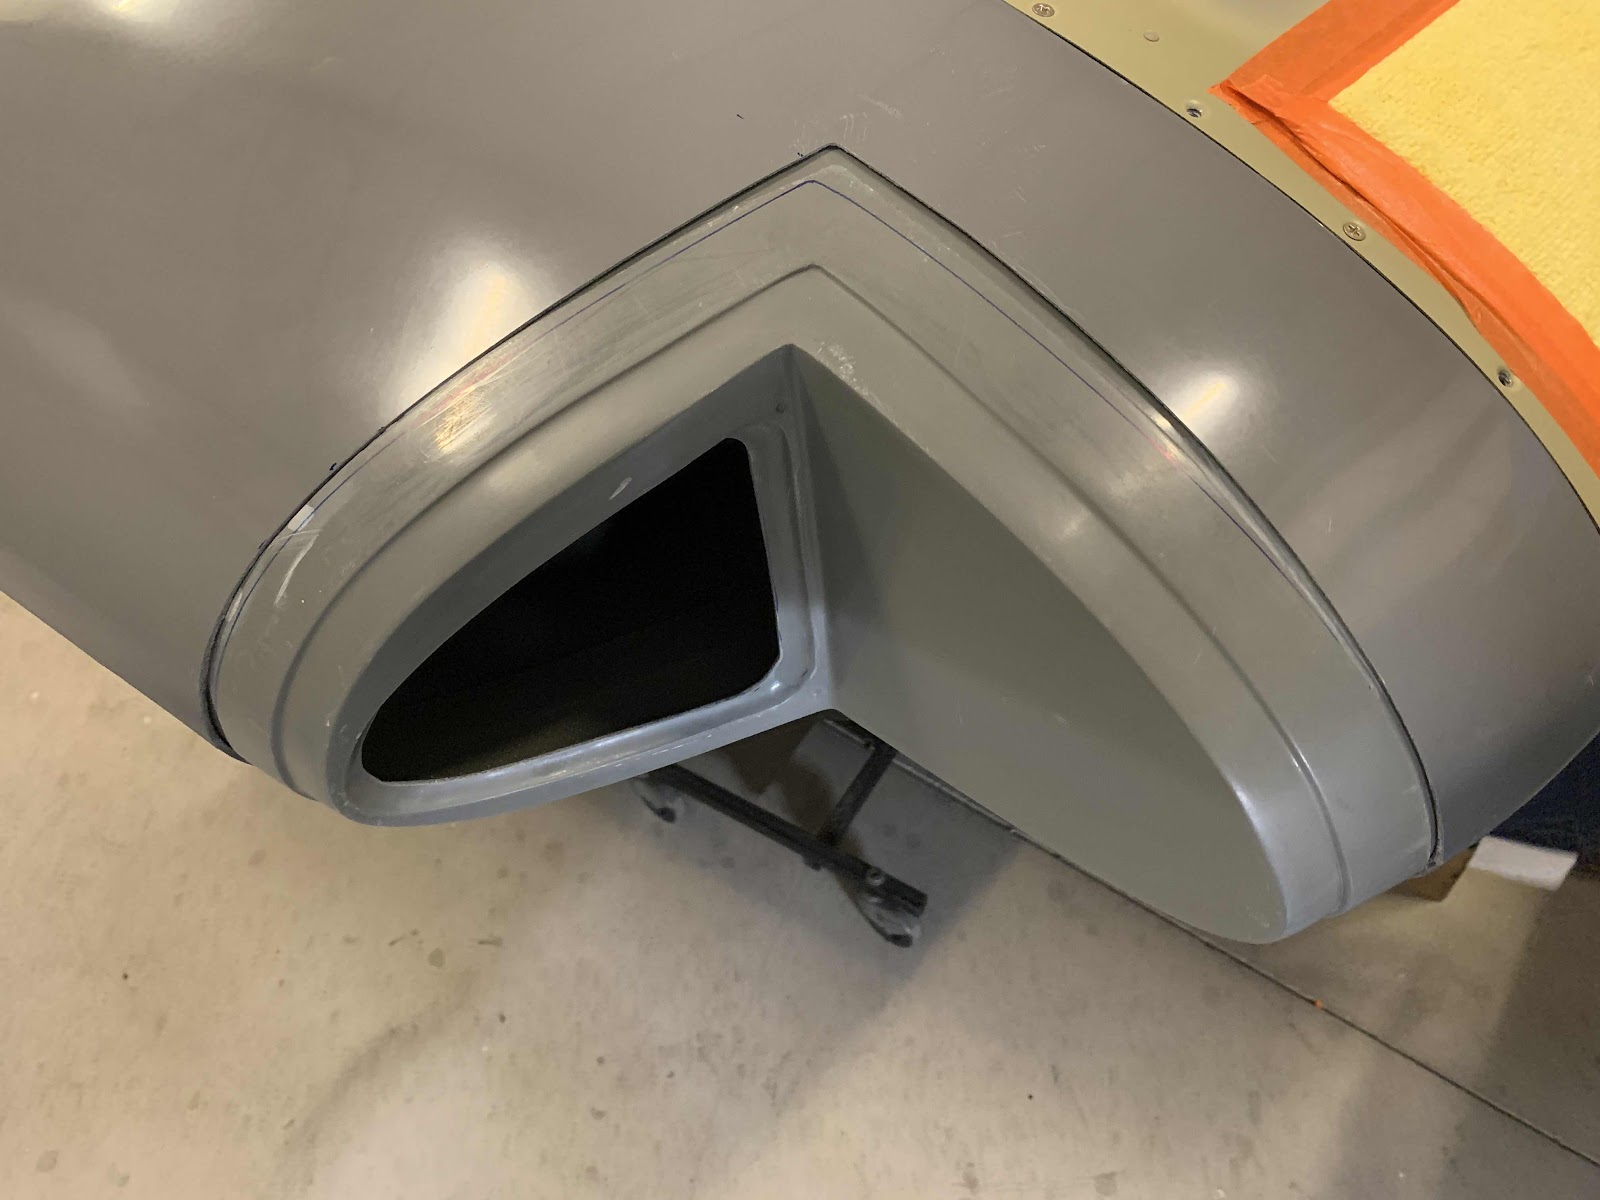
Here is the initial fit of the Insert into the Wing Tip Fairing.  Still some work to do, but making progress.  The Insert will eventually be epoxied into place and filled/blended with micro balloons.

Another area that will need some sanding is the trailing edge of the Wing Tip Fairing.  The plans say to even up the the trailing edge of the Wing Tip Fairing and the trailing edge of the Aileron.  We used a ruler to make the blue line on the Fairing.  Eventually, we will be sanding the Fairing to match the Aileron.  

Here is an overall view of the whole Fairing.  Not a lot of material will need to be removed.  Van’s said if any of the area separates, just fill it and sand to the desired results.

Monday, October 12, 2020

Wings, Wing Tip (Part 11)

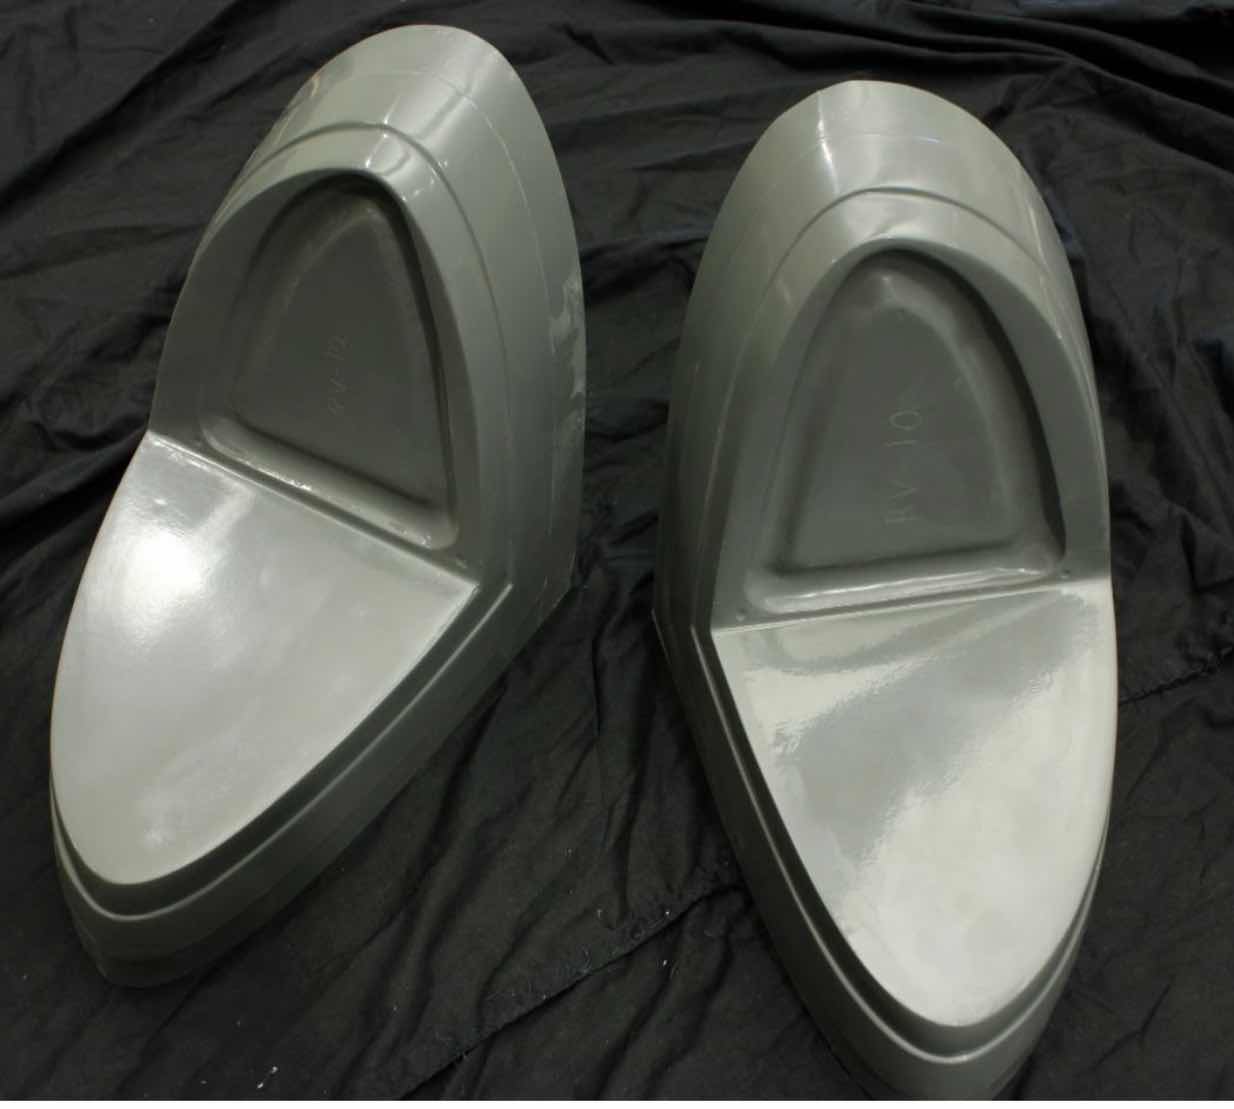
In an earlier posting, I talked about the exterior lighting we decided to use for the RV.  During this session, we started the install of the AEROLED AeroSun VX Landing Lights.  In order to install these lights, both Wing Tip Fairings will have to be modified.  (Here is a link to the instructions from the AEROLED website).  For no particular reason, we will start work on the right Wing Tip Fairing first.  The modification calls for the removal of the forward portion of the stock Fairing and replace it with these.....

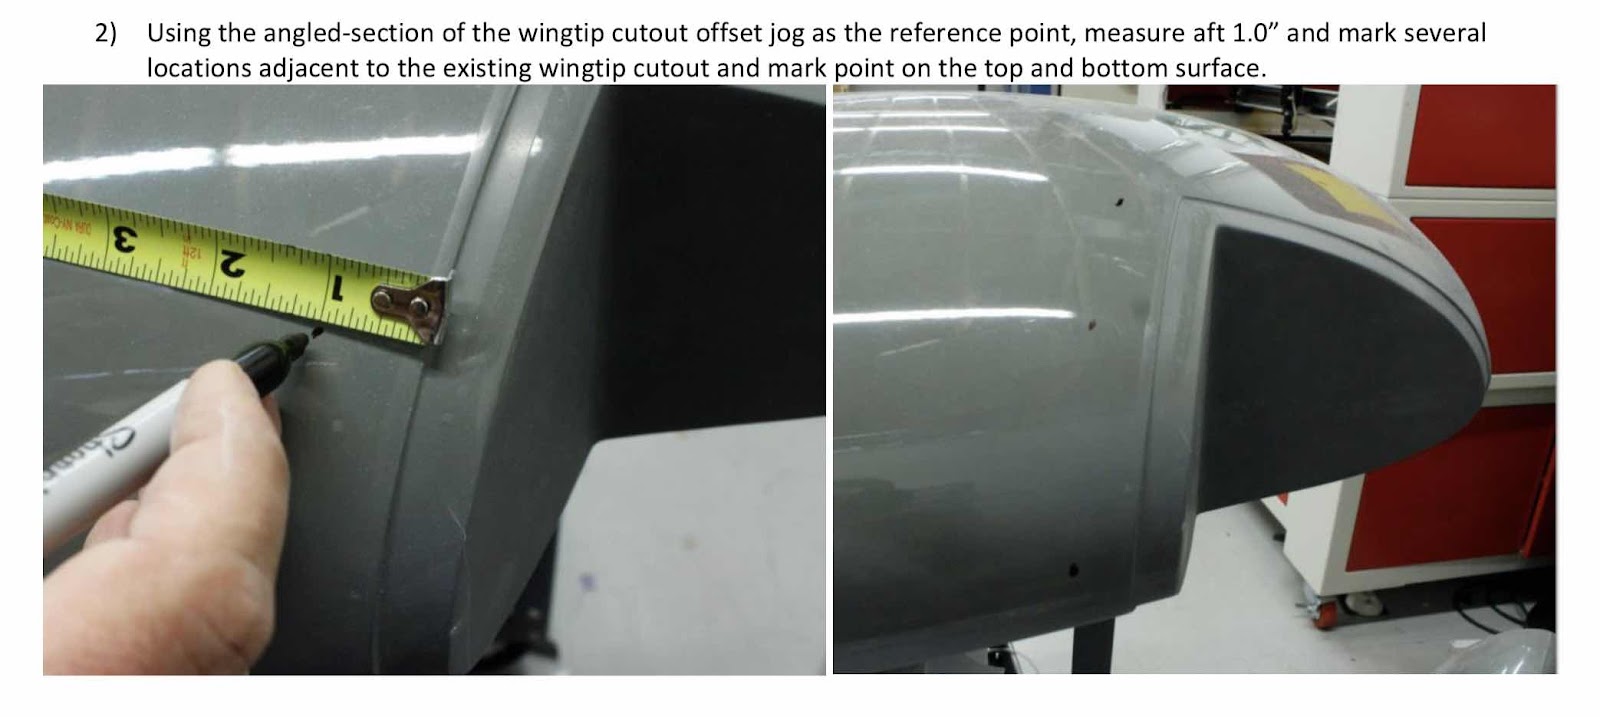
The first couple of steps (Steps 1 and 2 from the instructions) is to make reference marks at either 3.5” [88.9 mm] or 1” [25.4 mm] as shown in the plans excerpt below.


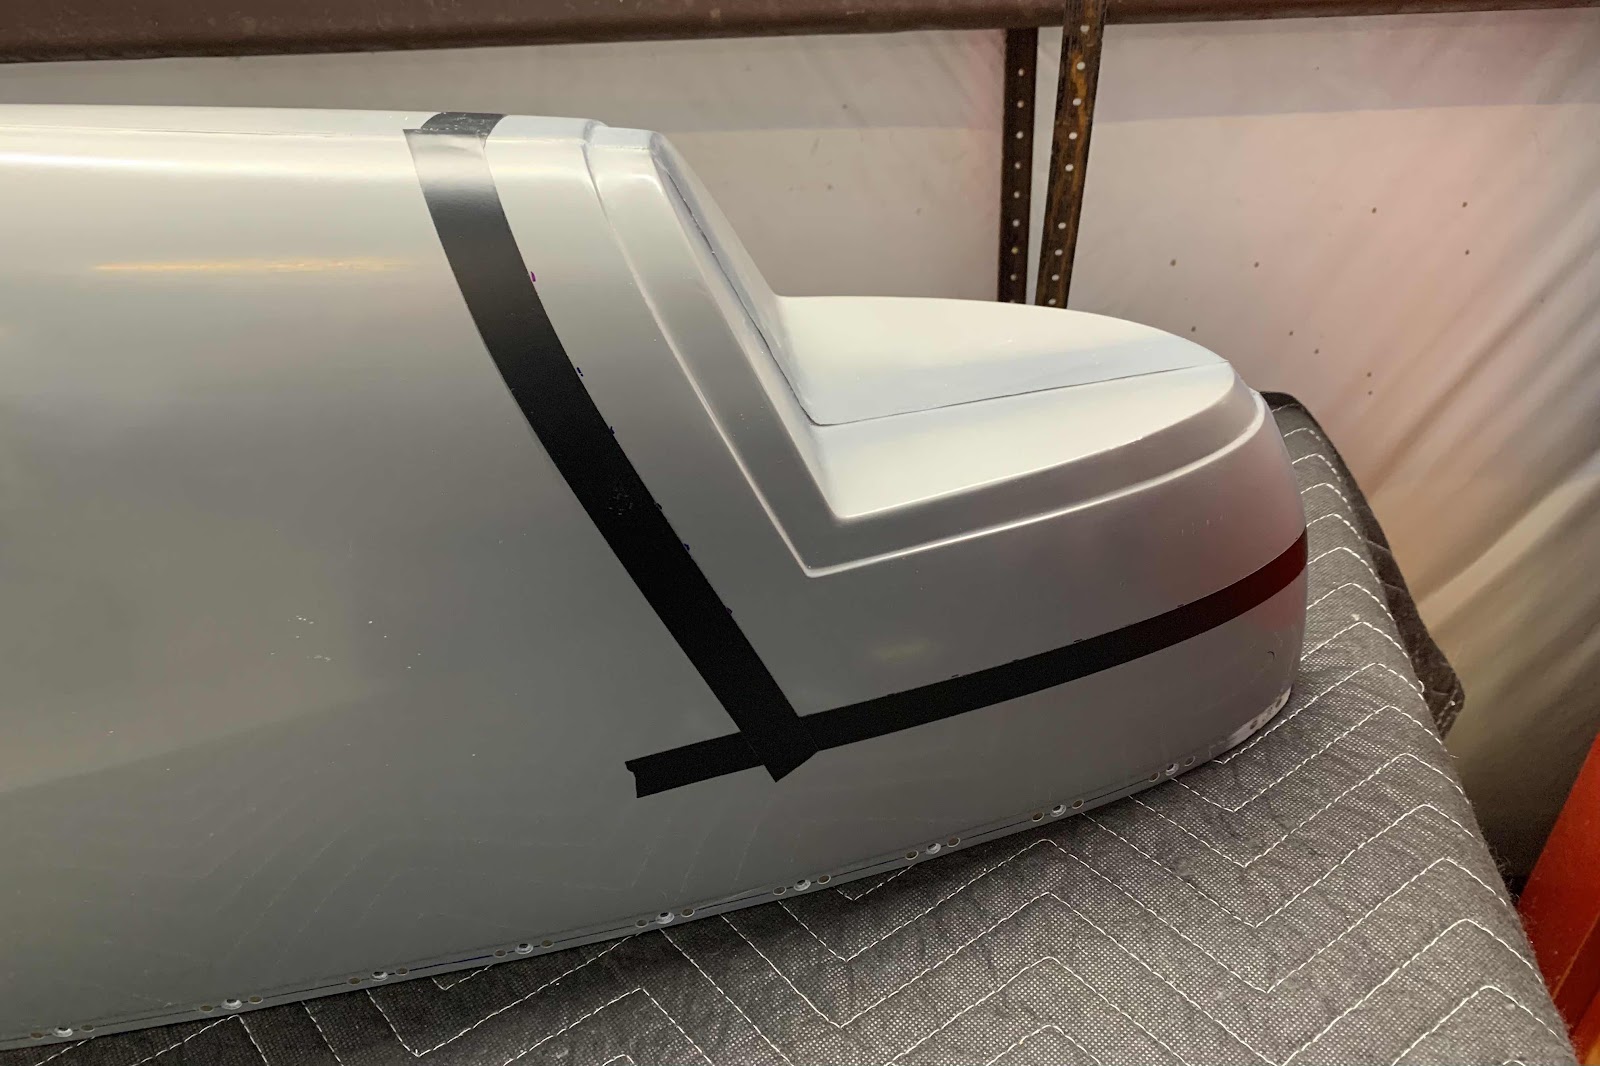
Once those reference marks were completed, we used electrical tape (or you could use fine line tape) to “connect the dots”.  Here are a couple of pictures of our Wing Tip Fairing after installing the tape.


After all the tape was applied (Step 3), a sharpie marker is used to trace the inside of the tape line.  I forgot to take a picture of our Sharpie lines, but here is an excerpt from the instructions showing what it looks like after the tape is removed. 

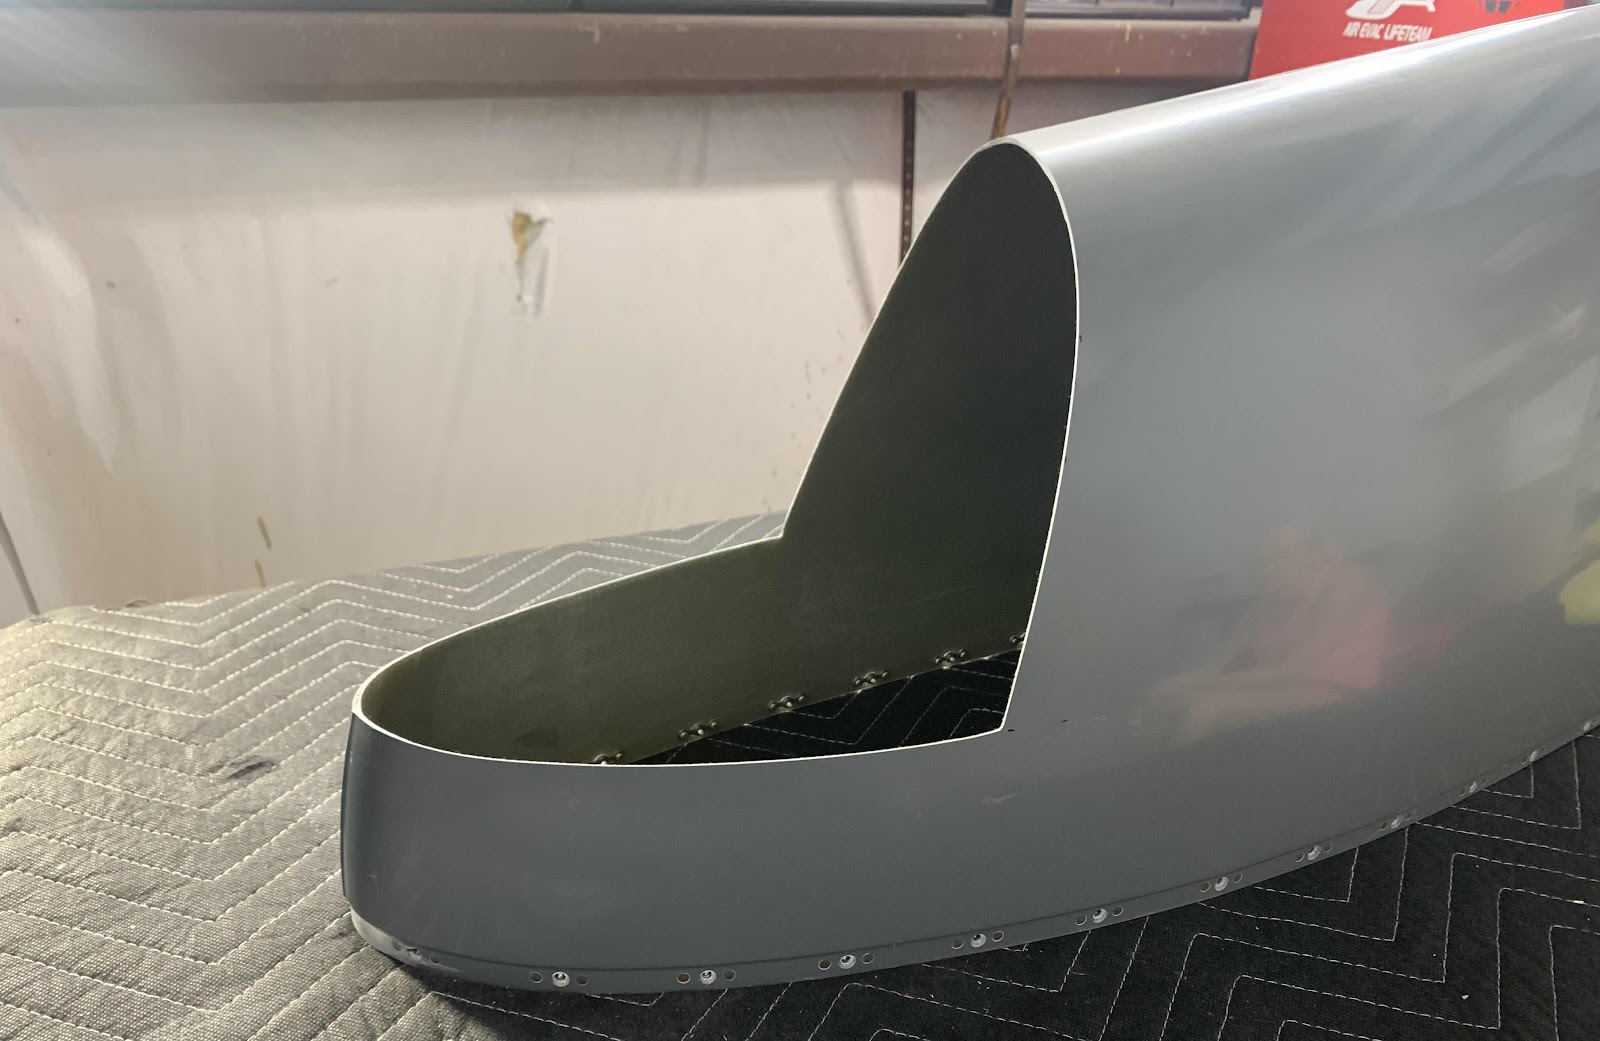
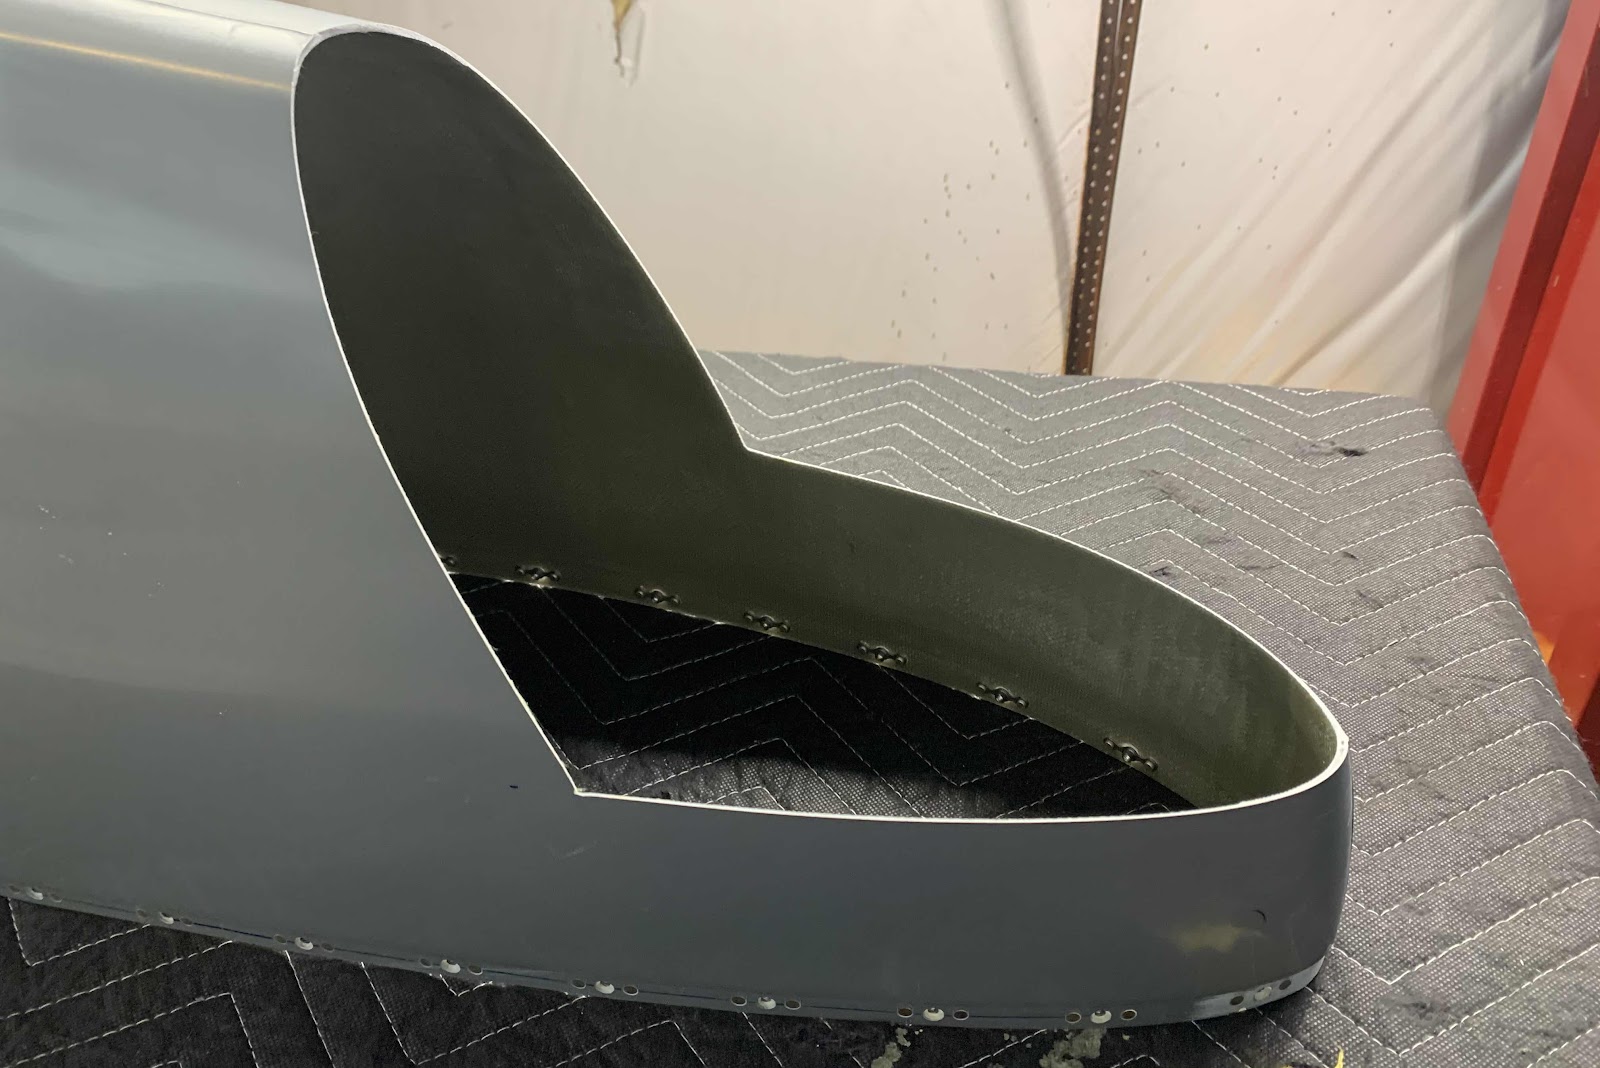
Next, I followed the instructions and used my Milwaukee rotary tool with a cutting wheel to cut just outside the sharpie lines.  After cutting out the area, here is a couple angles of what it looks like.  (I did use a sanding block with 80 grit sandpaper to smooth out the edges prior to taking these pictures)


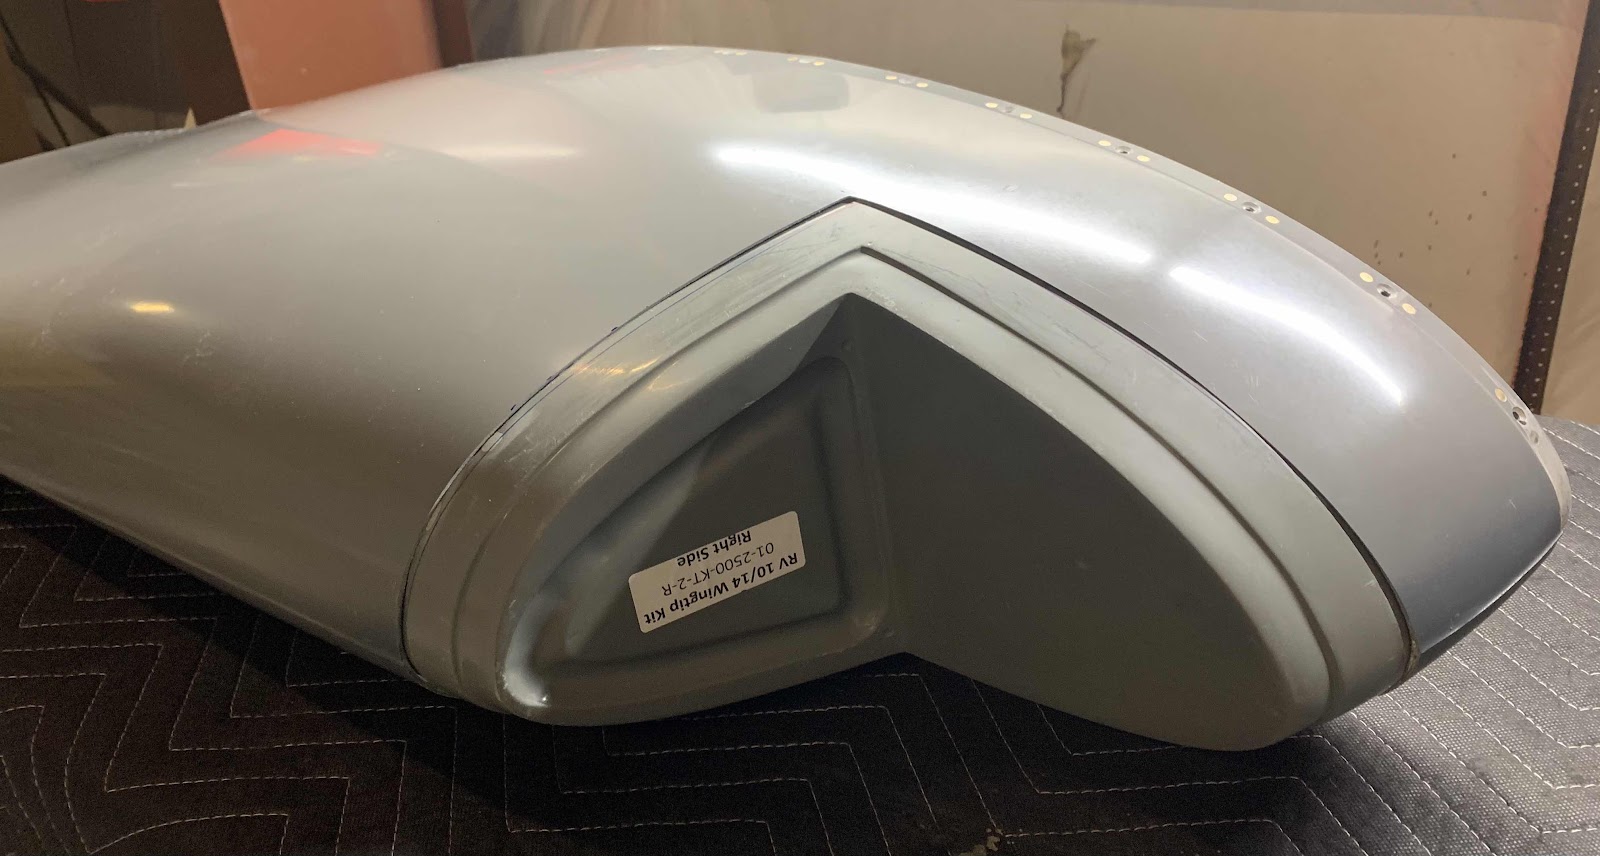
The three pictures below show a couple of angles with the “new” inserted inside the Wing Tip Fairing.


If you look around the edges where the two pieces will join, you can tell the fit is not perfect.  Additional sanding will be required to get the desired fit between the two pieces.  (And ultimately some blending and filling to get the best possible result).  That is pretty much where we finished for the day.  We will pick it up from here during the next work session.