Thursday, August 31, 2017

Empennage, Aft Fuselage (Part 30)

Alright.....got the replacement parts, of the replacement parts, today.  I ordered new Side Skins and since they are about 8' long, the shipping crate had to be pretty long and was required to shipped by freight.  FedEx Freight jacked up the first replacement parts shipment and the second replacement parts shipment was handled by Old Dominion.    

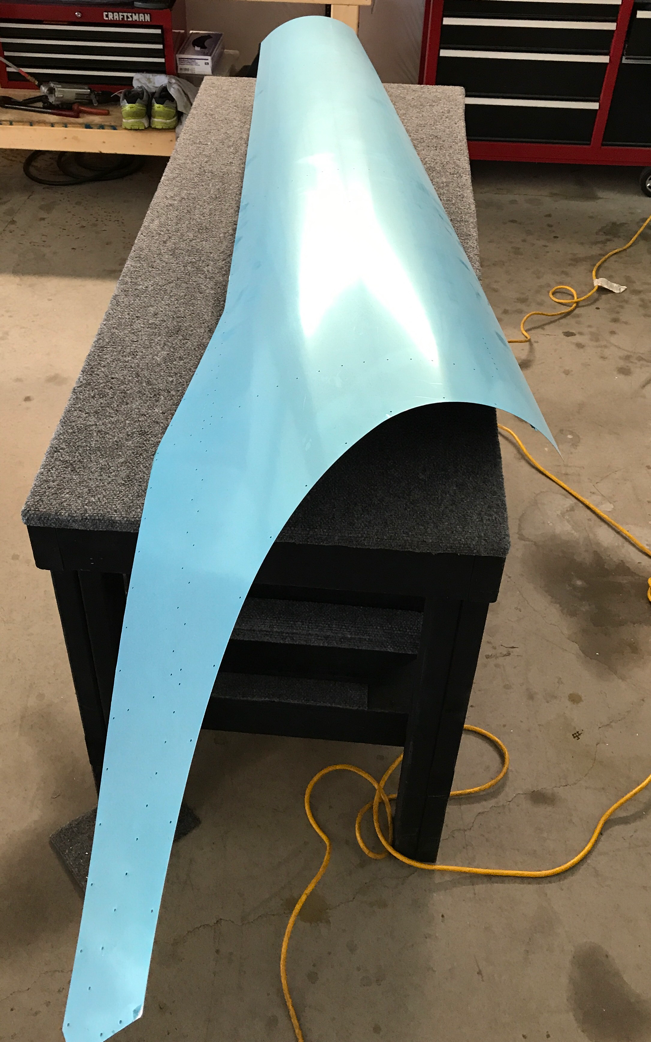
GUESS WHAT.....one of the Skins was damaged!  The crate had damage to the top, but maintained its integrity.  The damage was a result of the Old Dominion employee standing the crate straight up (on its end) and using a two-wheeler to move the crate.  All the contents shifted to the low side and Skin was slightly bent.  In the picture below, the Skin should be flat against the 2x4.  The bend is very slight and I was able to straighten it with no problem.  I "guess" I was lucky??

Anyway, due to the frequency of my damaged freight shipments (3 for 3), I will be adding a "DAMAGED SHIPMENT" tracker and resulting delay as a result to the menu tab to the right.

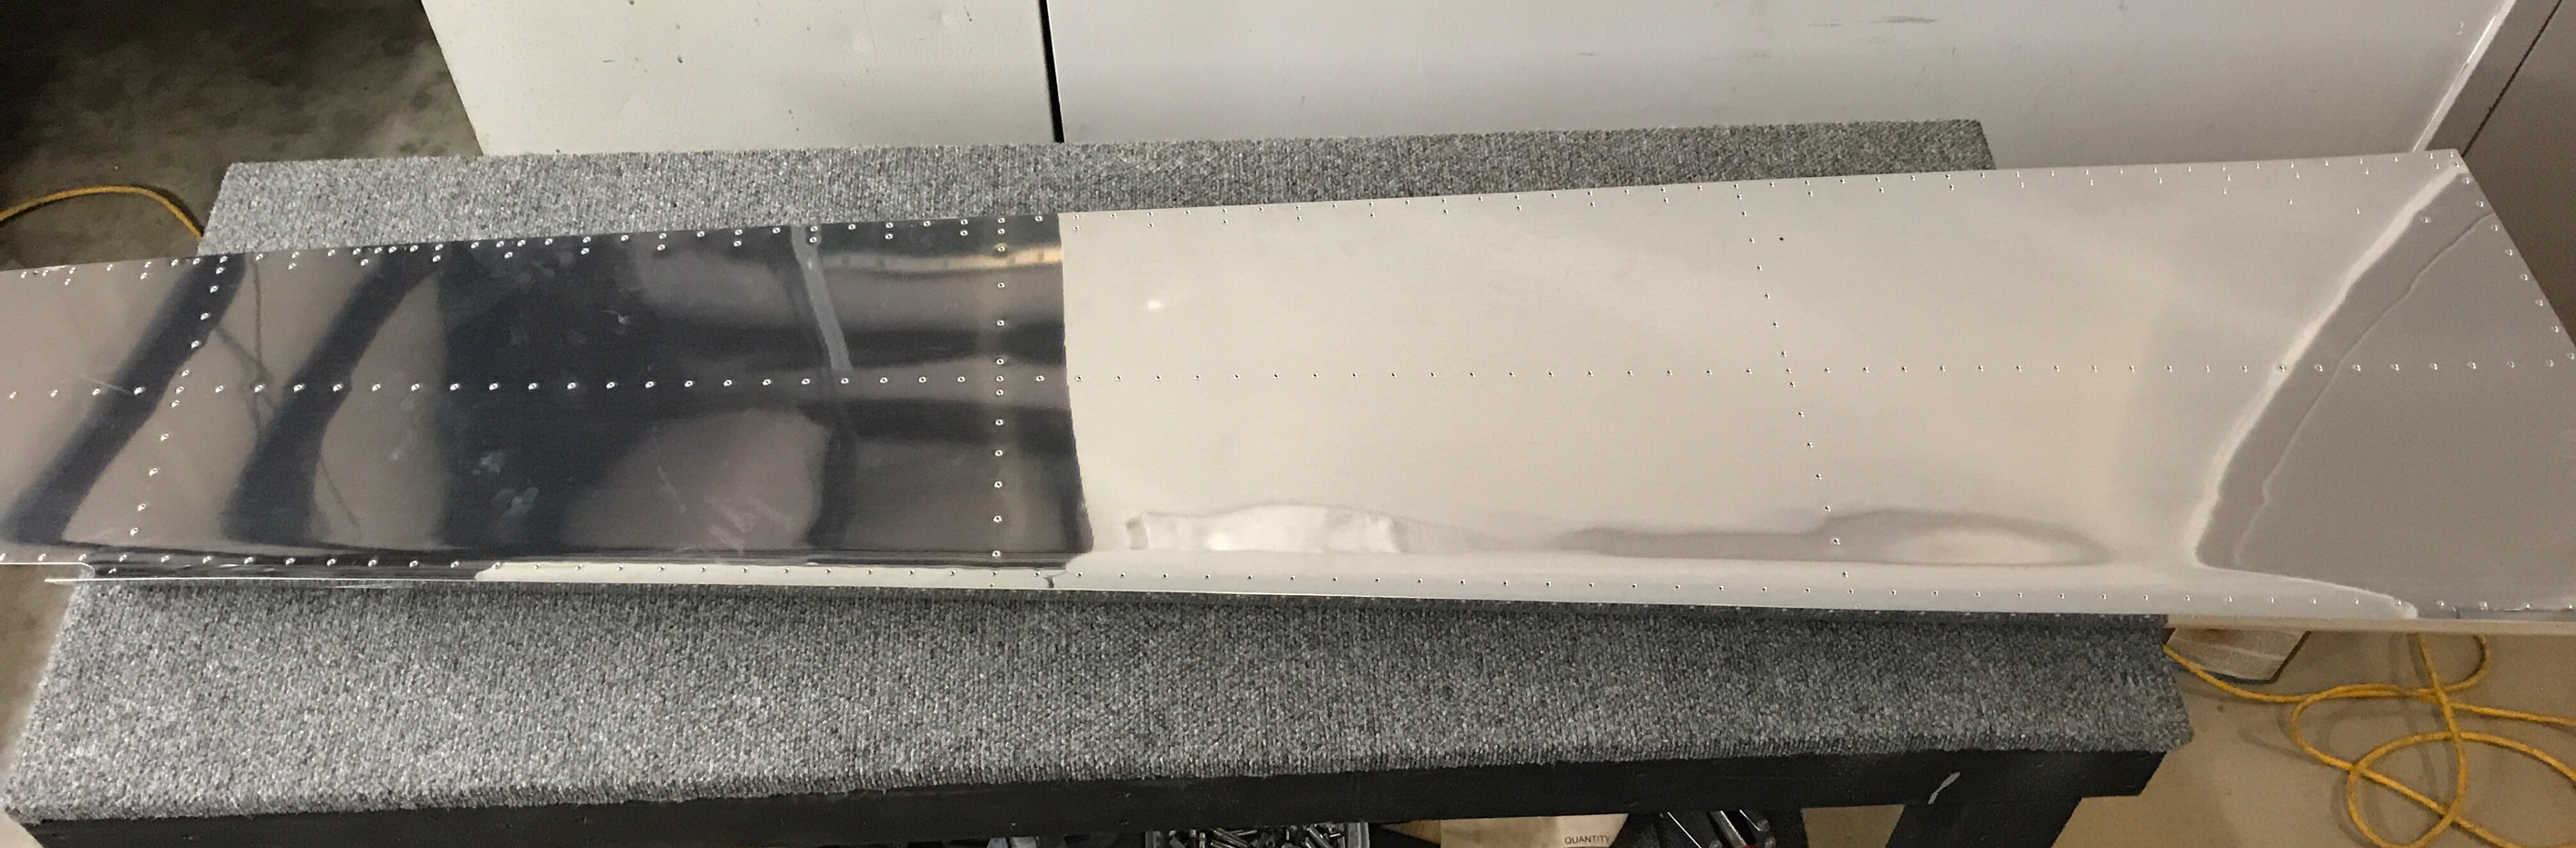
Deep breath....moving on.....I prepared the F-01473-L Side Skin during my work session tonight.  I began by using 120 and 220 grit sandpaper to complete the edge work.  Then, all the #40 holes and designated #30 holes were dimpled.  (NOTE: last time I went to town and dimpled most of the holes, including the #27 holes.  This action resulted in me ordering the new parts).

The -L Side Skin work is complete and it's now ready for Alumiprep, Alodine, and Priming.


I will complete the work on the -R Side Skin tomorrow afternoon/evening.  

Thursday, August 24, 2017

Wing Kit Ordered

Alright, another BIG step was taken yesterday.  I completed the Wing Kit Order Form and emailed it to Van's!  The Van's website says the lead time for the Wing Kit is 8 weeks and that was verified on the phone.  A 25% deposit was charged to my credit card today, so now I wait.

In the eight weeks before I receive the Wing Kit, I anticipated I will be able to complete (or very closely complete) the remaining sections of the Empennage Kit.  So, it "felt" like the right time to place the order.  We'll see how good my timing turns out to be.....
(Photo by Van's Aircraft)

Wednesday, August 23, 2017

Empennage, Aft Fuselage (Part 29)

Well, if you follow my blog, you will notice I haven't made any updates in awhile.  In part 24, I test fitted the Side Skins onto the Rear Fuselage.  During this fitting, I was not entirely happy with some of my work.....specifically the dimpling.  Below is a portion of the Left Side Skin.....

I dimpled the center holes for the nutplates on the top row.....I shouldn't have.  I consulted Van's and Gus gave me some suggestions on how to proceed.  After some thought, and because of MY mistake, I felt the corrective action would be a bandaid fix and I didn't want that.  So, I ordered two new Side Skins and decided the Skins prepared, the way they should be prepared, would be the best course of action.  

WELL, I guess no good deed goes unpunished....FedEx Freight strkes again!  The crate arrived on August 14th.....in this condition:

So, I refused the shipment and it was sent back to Van's for new parts.  So, again I am waiting for replacement parts of the replacement parts!  If you recall, this was the condition of my FIRST Empennage Kit delivery from FedEx Freight on January 5th.

The replacement Empennage Kit took 27 days to be returned in one piece.  The current freight shipment is now on day 9 and still counting.  So, in summary, FedEx Freight has damaged 100% of my shipments from Van's.....awesome!

In the meantime, I'm doing little jobs to ensure all the pieces of the Rear Fuselage are ready to go when the Side Skins arrive.  Once I prepare the Side Skins, the Rear Fuselage will go together fairly quickly.

More to follow..... 

Sunday, August 6, 2017

Empennage, Aft Fuselage (Part 28)

In Part 26, I postponed setting some rivets to wait for some help.  Specifically, the row of rivets on the F-01429-L & -R Bellcrank Ribs to the Bottom Skin.  I decided to try and set them myself and it worked out pretty well.  I set the assembly between my two work benches, used a bucking bar on the shop head, and flush rivet set on the manufactured head.  It looked something like this....


This picture shows the area on the -R that needs the AN426AD3-3.5 rivets.  

Here is the same areas after I set the rivets.

This is the -L side that needs rivets in the same location.

Here is the completed -L side.

Next, I installed 14 Snap Busings into the F-01406B Bulkhead, F-01429 Bellcrank Ribs, F-01407 Bulkhead, F-01408 Bulkhead, and the F-14115 Rudder Cable Bracket.  They are the black bushings in the picture below.  

I also completed the Alumiprep, Alodine, and Akzo Primer on the F-01474-L & -R Top Side Skins.  Here is the completed Left Top Skin.


Saturday, August 5, 2017

Empennage, Aft Fuselage (Part 27)

I spent this session working on the F-01474-R and F-01474-L Top Side Skins.  The plans tell you to dimple all #30 and #40 holes (except as noted) in both Skins for exterior flush mounted rivets.  There are 14 #40 holes in the forward "curve" that do not get dimpled.  In the aft section of the Skin there are also two holes that do not get dimpled.  The plans tell you not to dimple one of the holes; however, the other is a #27 hole.  Don't dimple either.  

As the instructions recommended, I put tape on the holes that do not get dimpled to prevent accidentally doing it.  The orange tape covers the holes in the forward "curve".

Here is the hole the plans tell you not to dimple (under the orange tape).  It appears a nutplate will be installed here at some point.

This is the F-01474-R Side Top Skin with the blue protective coating prior to being removed.  

So, all #30 and #40 holes (except as noted in the plans) were dimpled and all the edge work was completed on both Side Top Skins.  During the next session, I will complete the Alumiprep, Alodine, and Akzo Epoxy Primer.