
In the previous post, I showed the Pitot Mast with a mark on it indicating it’s center point. To get that center point, I measured the width of the “base plate” at 2.994 inches.....

.....and took half (1.497 inches).

Since I am only able to use three holes on the RV-14 to attach the base plate to the Main Spar, I lined up the mark with the center hole to be used for the installation. Once the center of the base plate was lined up, I clamped/clecoed it into place, match-drilled the center hole, installed a cleco, and repeated the process for the two outside holes.
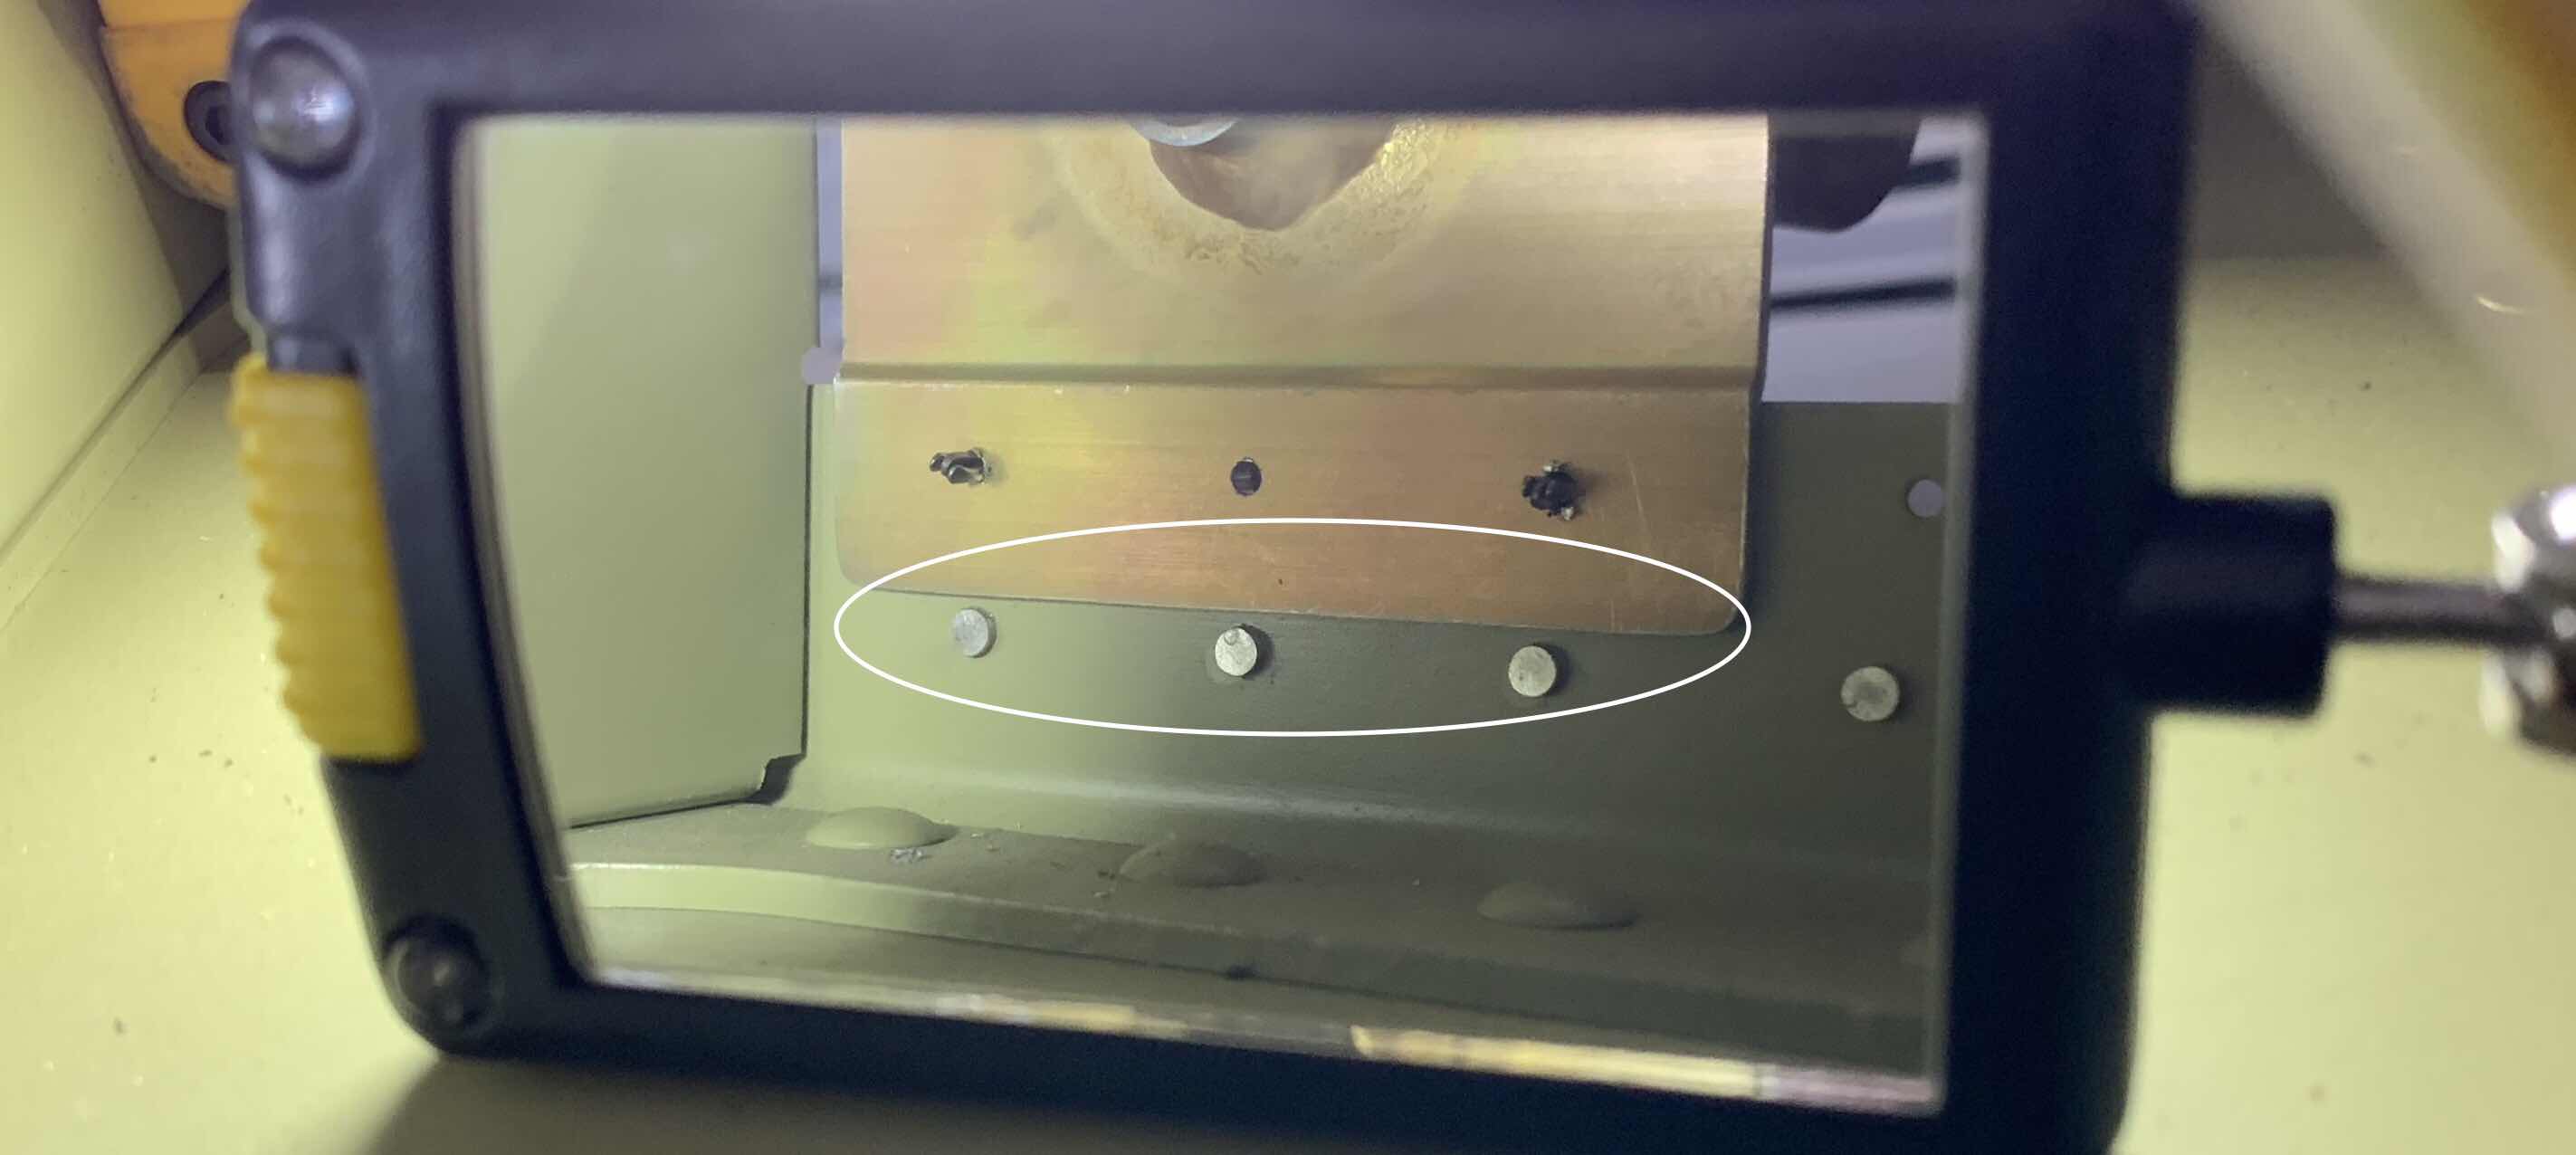
Here, I used an inspection mirror to show the back side of the base plate against the Spar. From this angle, you can see a couple of things. First, the three holes that were match-drilled from the Spar through the base plate (the two outside holes have clecos installed). Second, the gap I created between the bottom of the base plate and three rivets below it (circled in white). This area had to be trimmed and filed because the base plate “sat” on top of the rivets and caused the plate to be to far aft. So, I used a combination of Scotchbrite Wheel, hand file, and 220 grit sand paper to complete the appropriate trimming of the base plate.
I decided I wasn’t the biggest fan of the paper template (it was a very good template, just flimsy) supplied by Dynon, so I used the their paper template to create an aluminum one from some scrap. First, I used a razor blade to remove the center portion of the paper template to fit around the Pitot Mast. Then, I marked the three holes I previously match-drilled with the Spar on the paper template, as shown below.
Next, I taped the paper template onto the aluminum, traced the center mast cutout, and drilled the three “Spar” holes and eight Skin holes through the aluminum. Finally, I removed the center mask cutout (more on that below).

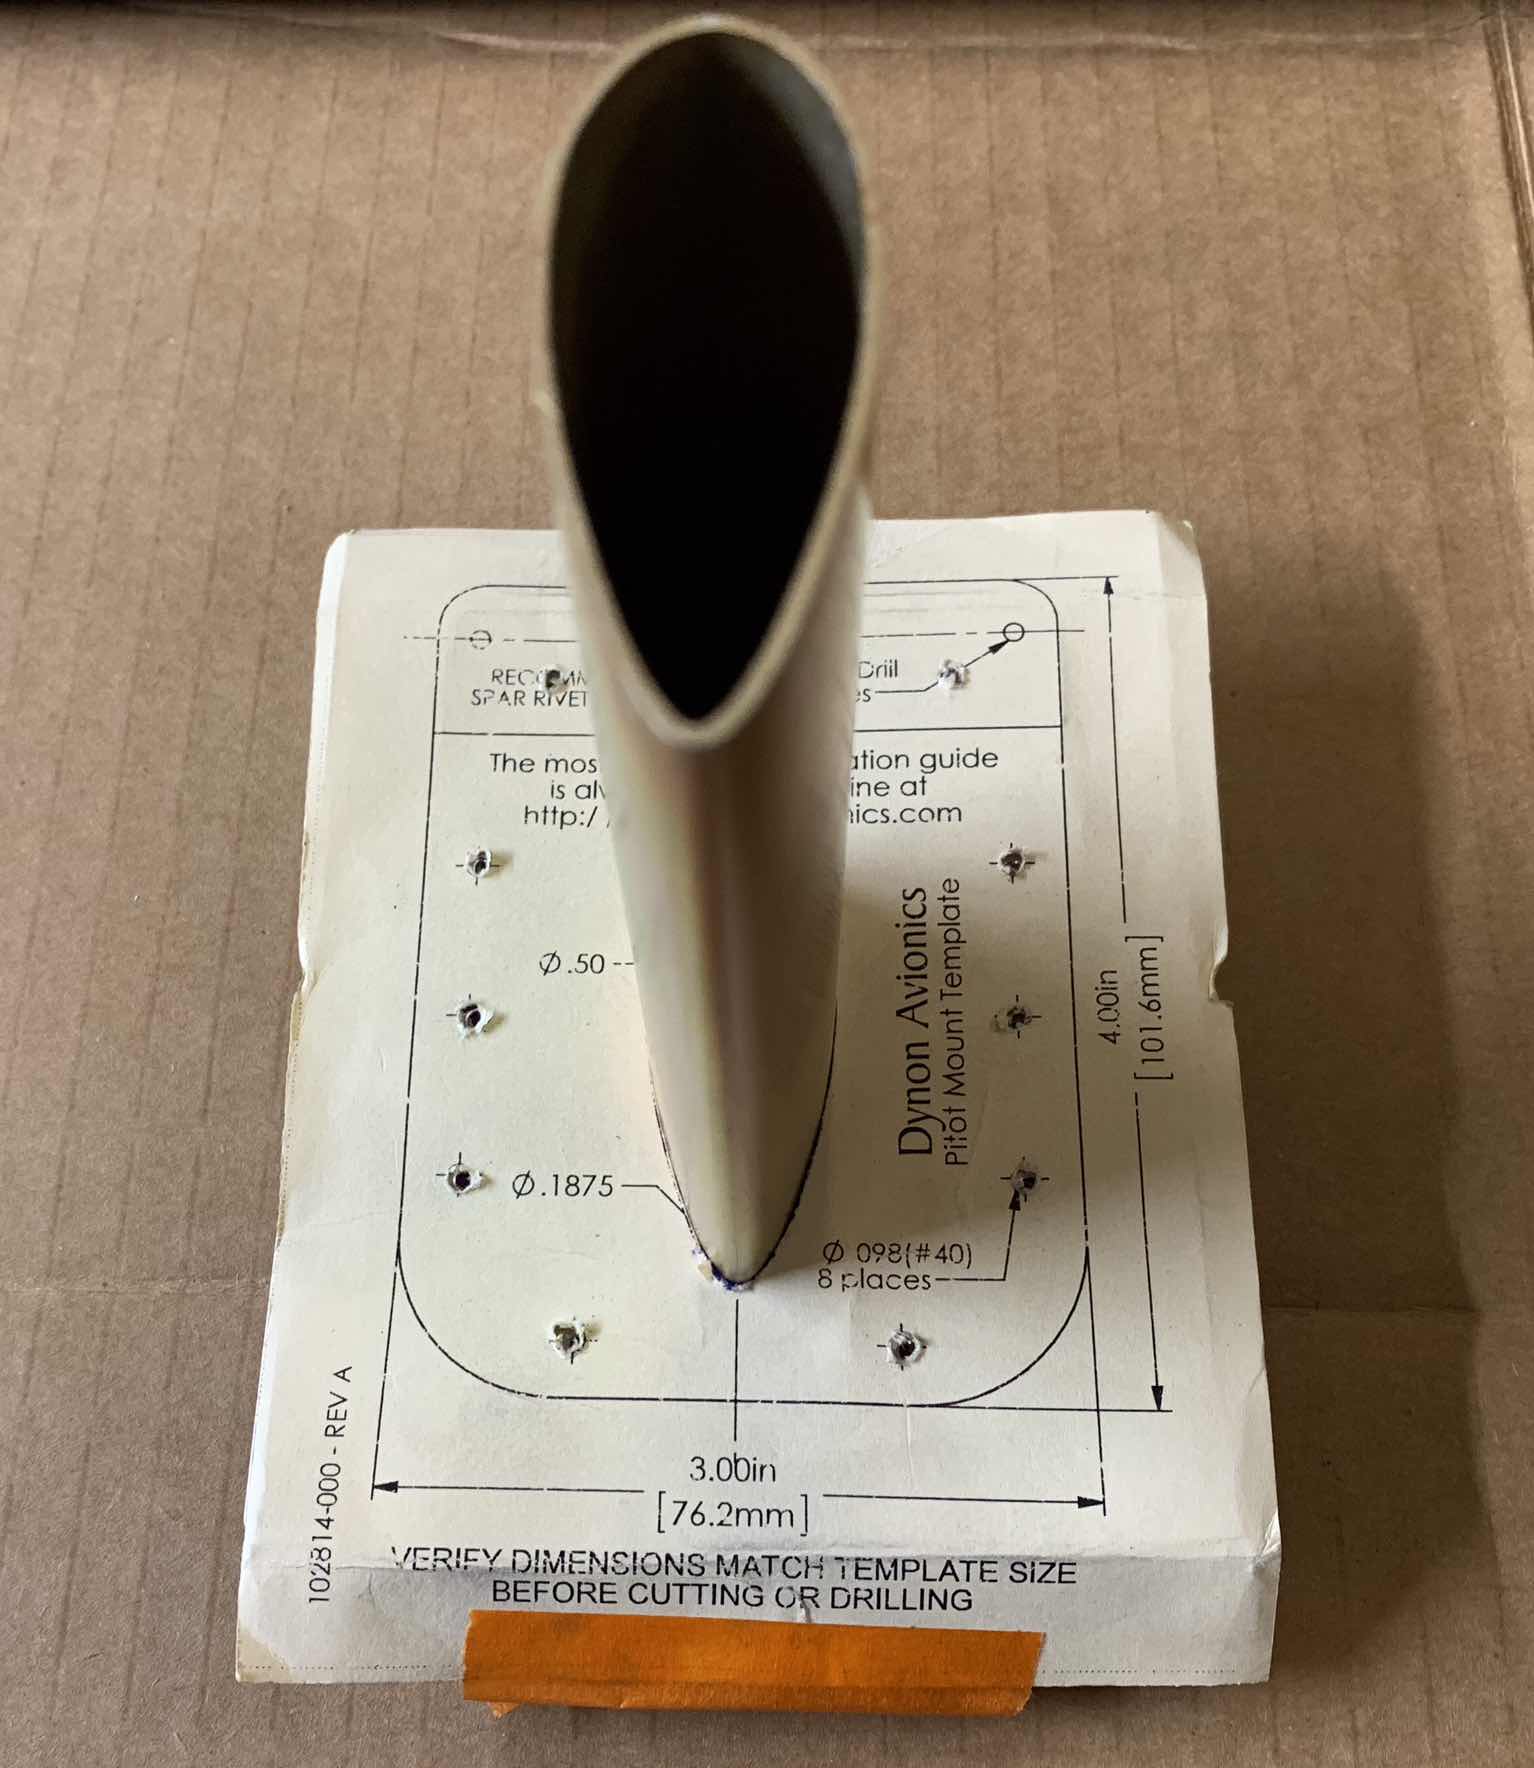
Lastly, I placed the aluminum template on the Pitot Tube mast and clecoed them together using the three Spar holes. Then, I used a sharpie to mark the eight holes from the template to the base plate. All three pieces are shown below, including the marked hole locations on the base plate.

I took the “new” aluminum template and clecoed it to the Bottom Skin at the three Spar holes. Once in place, I traced the center Pitot Mast cutout onto the Bottom Skin and used these two unibits to remove a majority of the material.

Next, I used my angle grinder with a grinding bit to trim up to the traced edge.

And finally used a combination of a fine hand file and 220 grit sandpaper to make the final shape. I had to put the Pitot Mask in and out several times to get the final fit I wanted with the Skin.

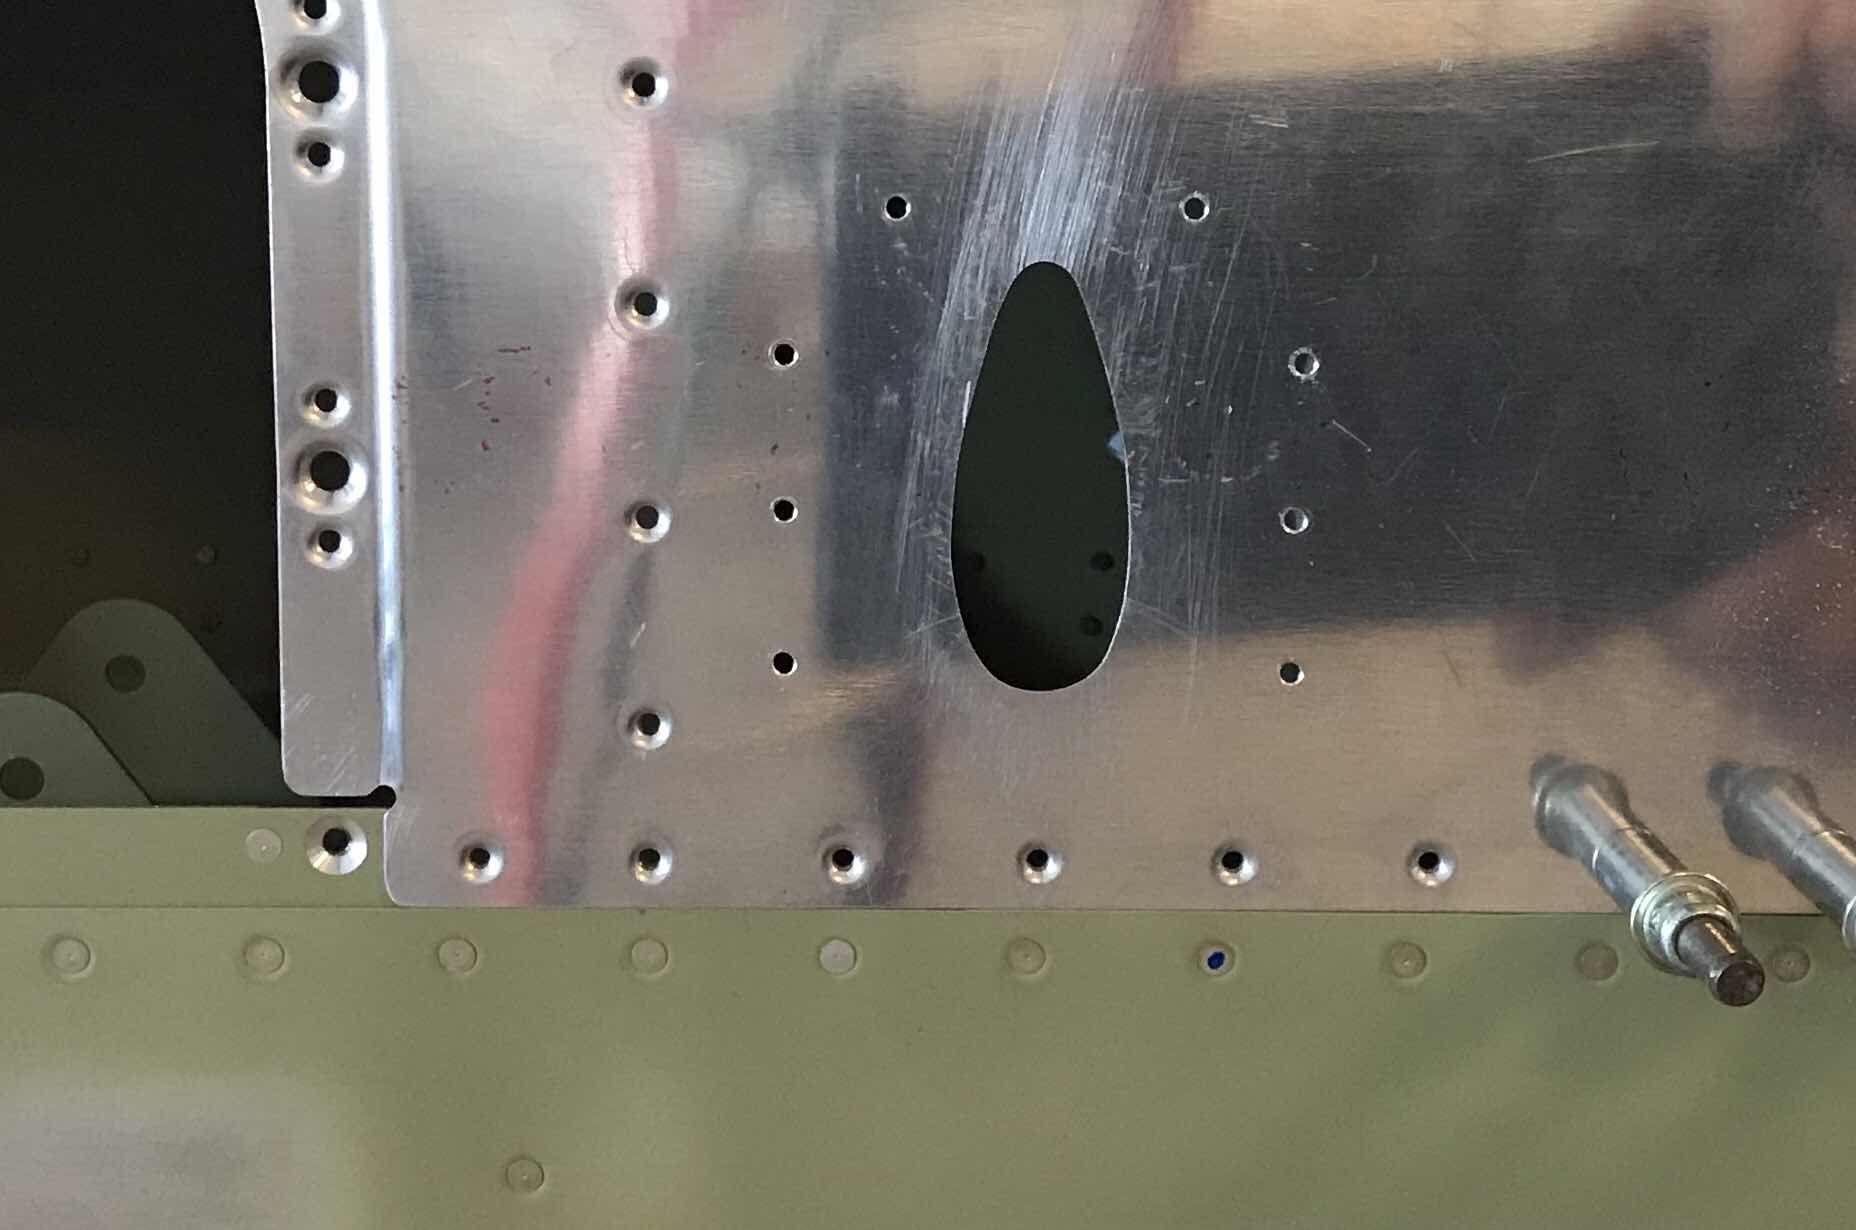
Now, I needed to match-drill the Skin attach holes. I inserted the Pitot Mast through the Bottom Skin, placed the template over the Mast, and clecoed them together with the three Spar holes. Lastly, the remaining eight Skin holes were match-drilled.

Here are the eight Skin attach holes after removing the template.....
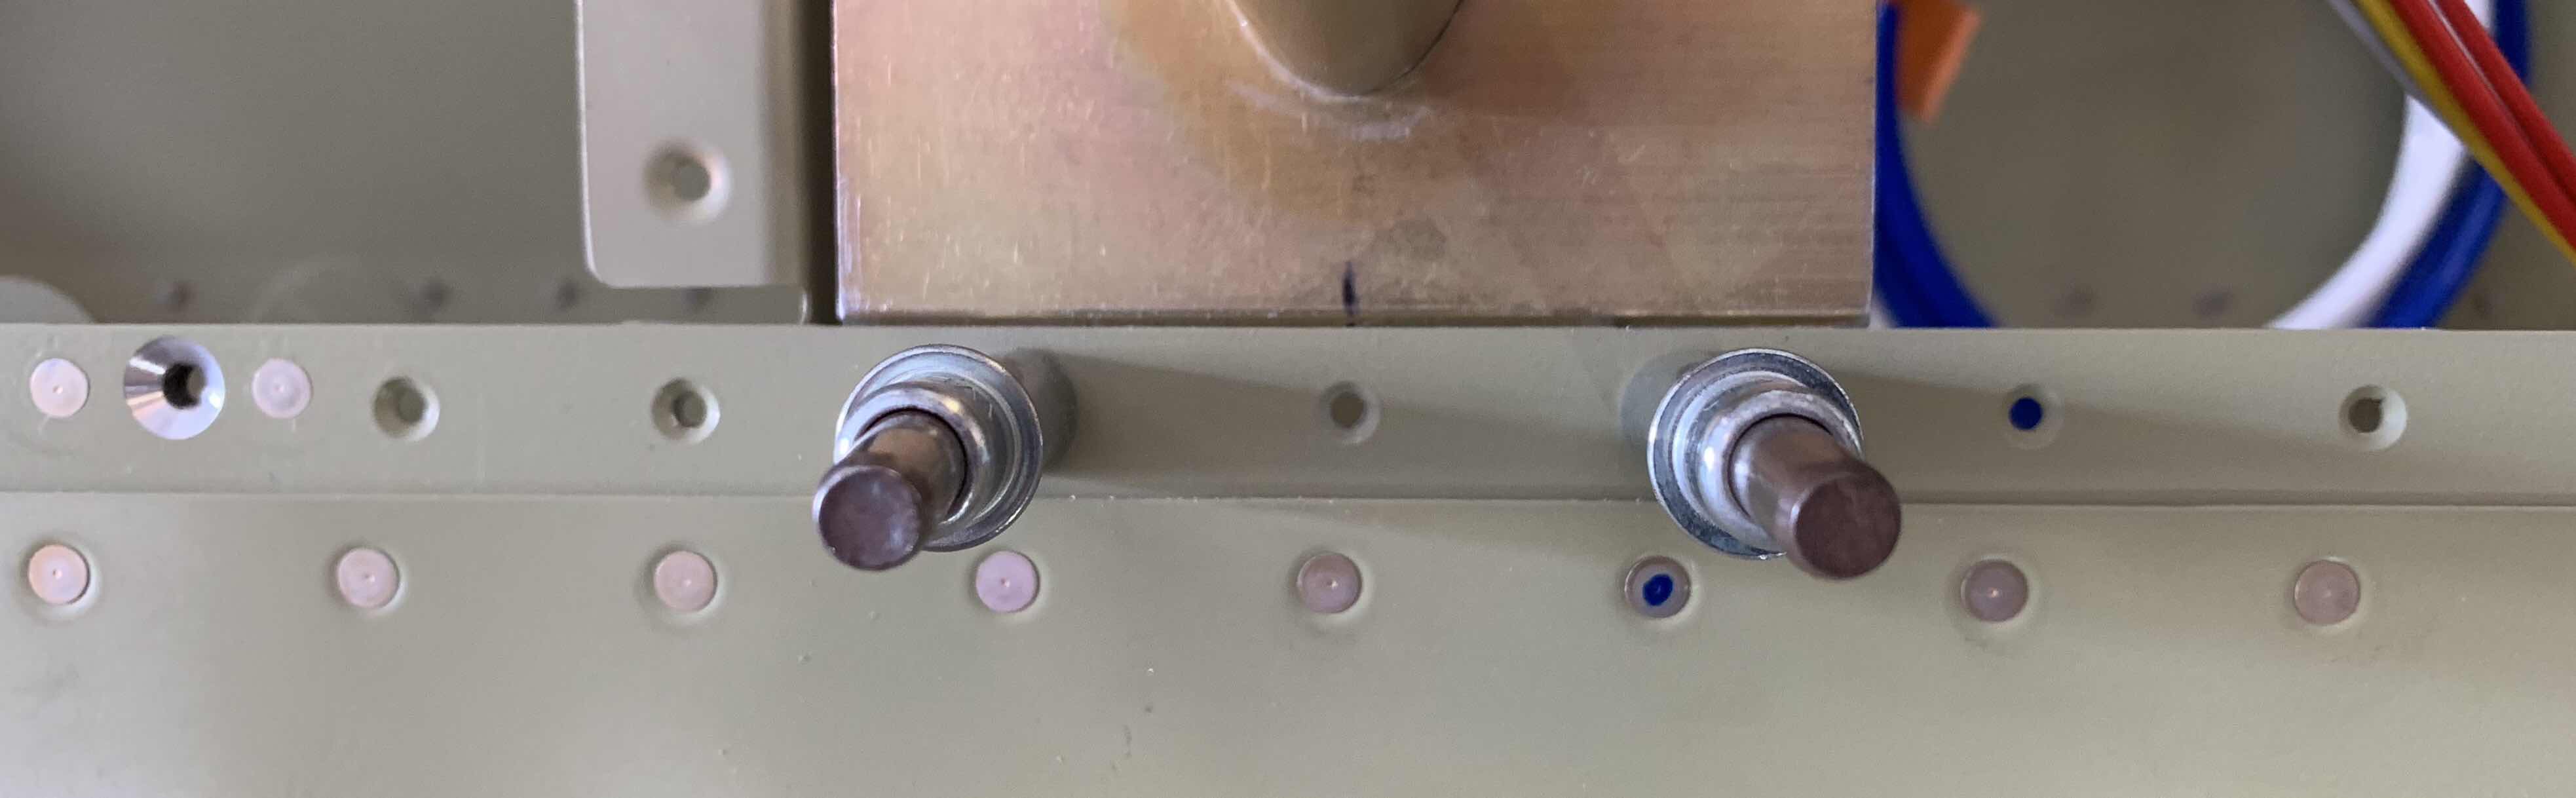
.....and the holes in he Pitot Mast base plate.

The final step on the Bottom Skin was to dimple the attach holes......

.....and the final step on the base plate was to countersink the Skin attach holes to accept the dimpled holes in the Skin above. (The three Main Spar attach holes do not get countersunk because they sit flat on the Main Spar).
