
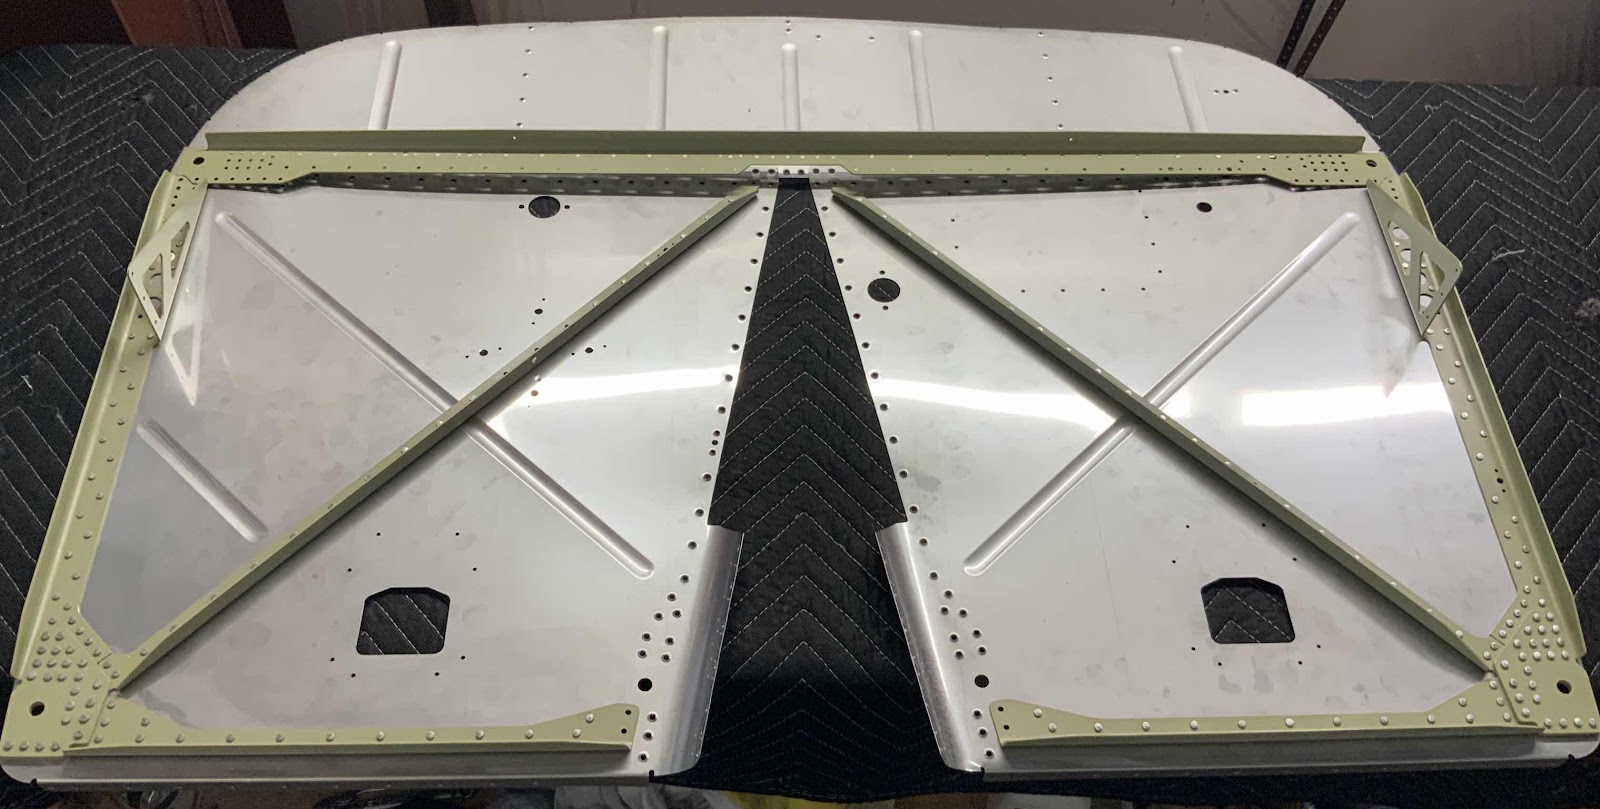
Continuing work on the Firewall. During the last session, I back riveted the three Firewall Angles to the left Firewall Side. During today’s session, I back riveted the three Firewall Angles to the right Firewall Side. Here is the aft side of the Firewall showing the shop head side of the rivets.....

.....and the front side showing the manufactured head side of the rivets. I had to drill out a few of the rivets today and redo them. One of the rivets was “smashed” too much and two of the rivets (somehow) were off the edge of my backriveting plate. This caused the rivet head to be deformed and actually cracked the head of the rivet. So, I removed the three rivets (being extremely careful since I was working with the Firewall) and re-set them. Much better results the second time around for those three.

The next step was to install the F-01401A Firewall Top to the Firewall Sides using the F-01401D Firewall Angle. So, here is what it looks like un-clecoed and un-riveted. Now, a couple of things were going on here:
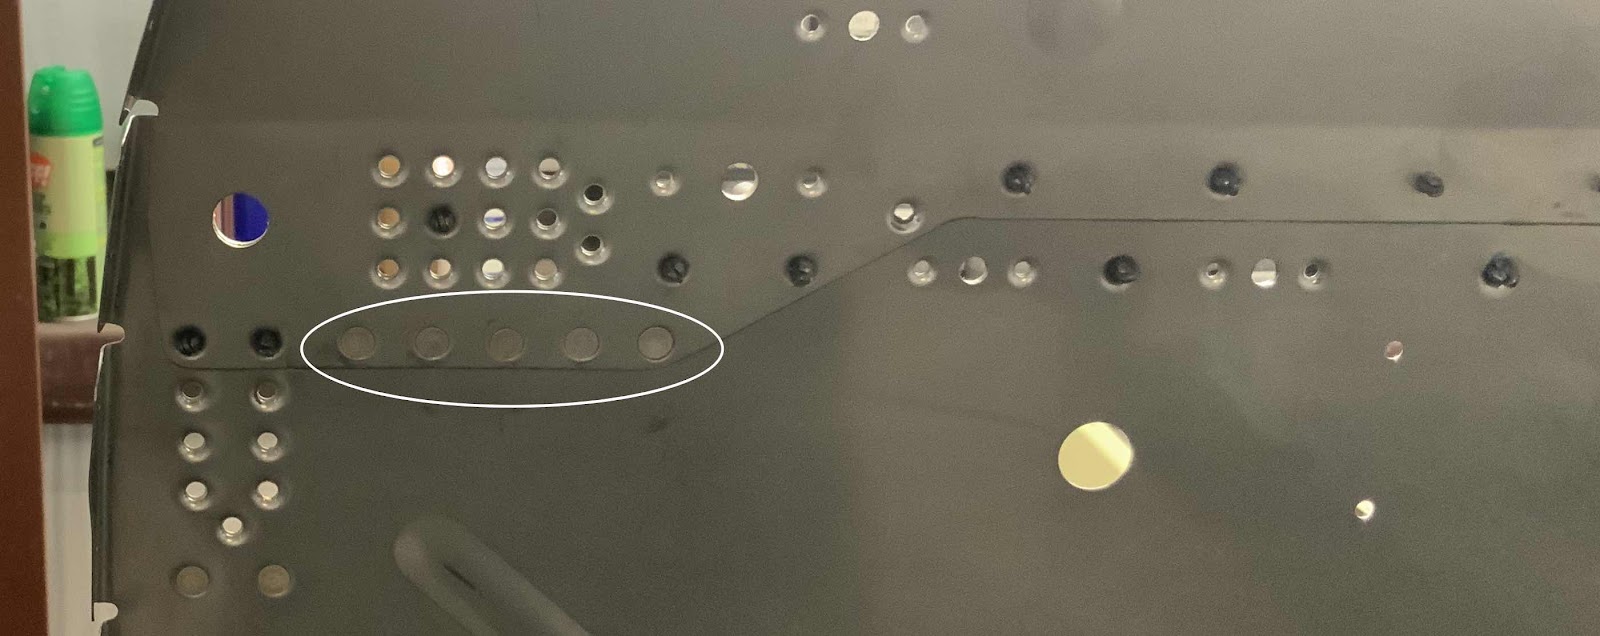
1. Only 10 holes (5 on each end of the Angle get riveted)
2. A 1/16” bead of fuel tank sealant (Proseal) needed to be put between the Firewall Top and Sides
These are the only five holes on the right side (aft side of the assembly) that will get rivets.....

.....and these are the five holes on the left side (aft side of the assembly) that will get rivets.

It might be a little hard to see in the picture below, but along the bottom edge of the Firewall Top (looking at the aft side of the part) is the small bead of Proseal I applied as described in the plans. Now, the two Firewall Sides will be positioned on the Firewall Top and clecoed into place.

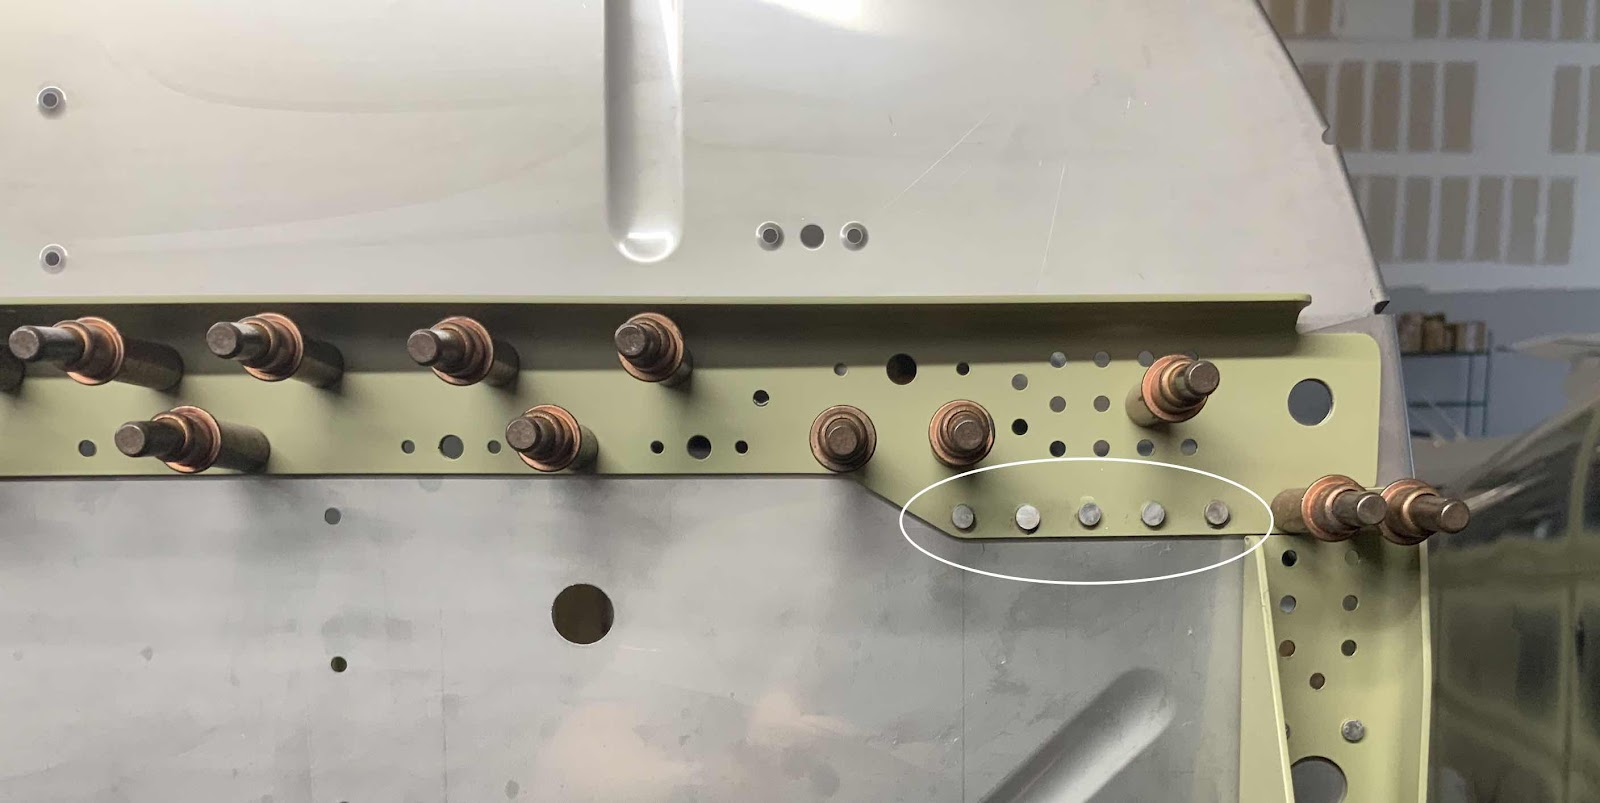
Unless I was doing it wrong, I couldn’t find an acceptable way to backrivet these 10 rivets. So, my buddy helped me shoot them....me on the gun and him on the bar. Here are the manufactured heads of the five rivets on the right Firewall Side (looking at the forward side of the assembly). This picture was also taken after I cleaned up the excess proseal that oozed out from the seam of the two parts. (You can see the seam running left to right in the middle of the picture).
This is the opposite side of the picture above showing the shop head side of the rivets (looking at the aft side of the assembly)
Here are the manufactured heads of the five rivets on the left Firewall Side (looking at the forward side of the assembly).....
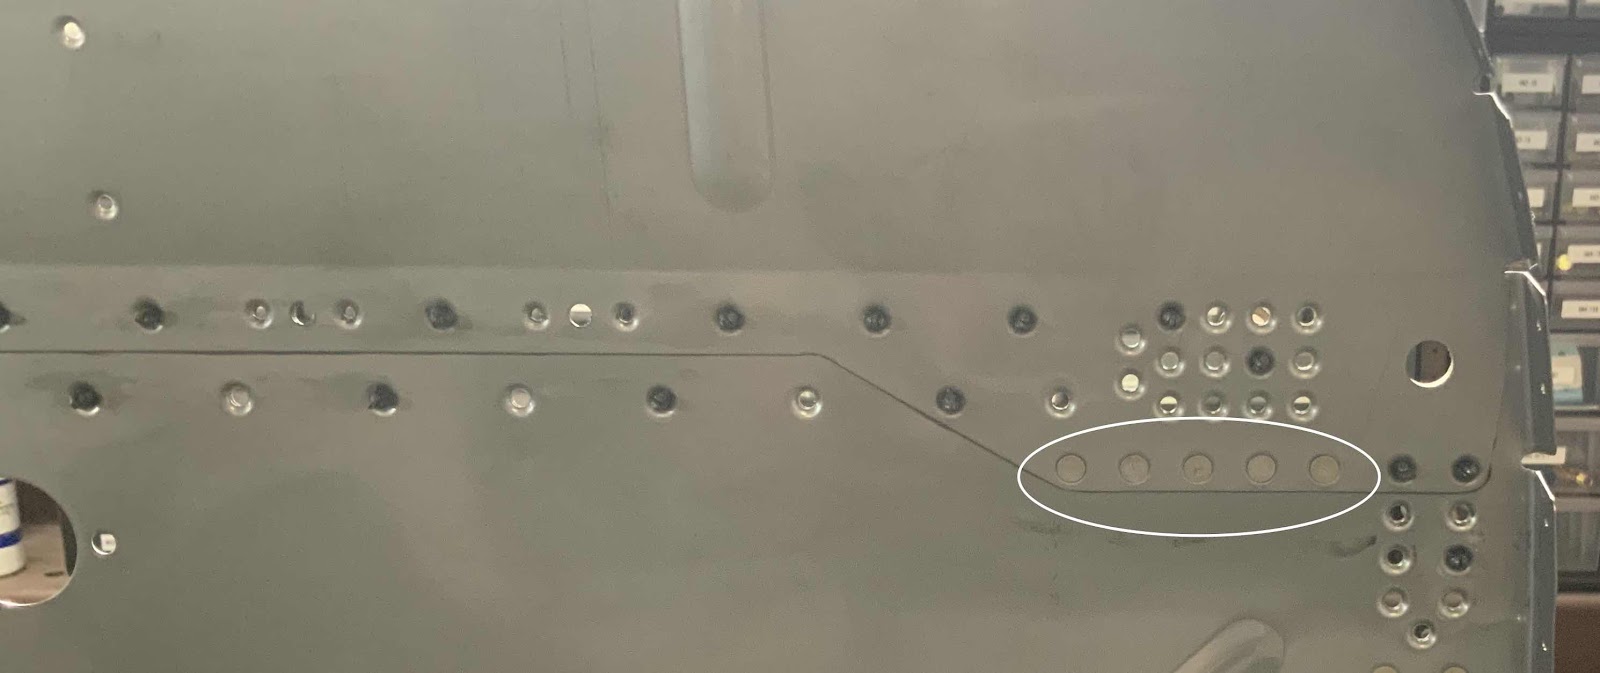
.....and the opposite side of the picture above showing the shop head side of the five rivets (looking at the aft side of the assembly).

The next step was to cleco the Left and Right Tunnel Side Assemblies to the Forward Firewall Assembly. Here is what it looks like (looking at the aft side of the assembly).....

.....and this is the forward side of the assembly. More to follow during the next session.

Section Complete