
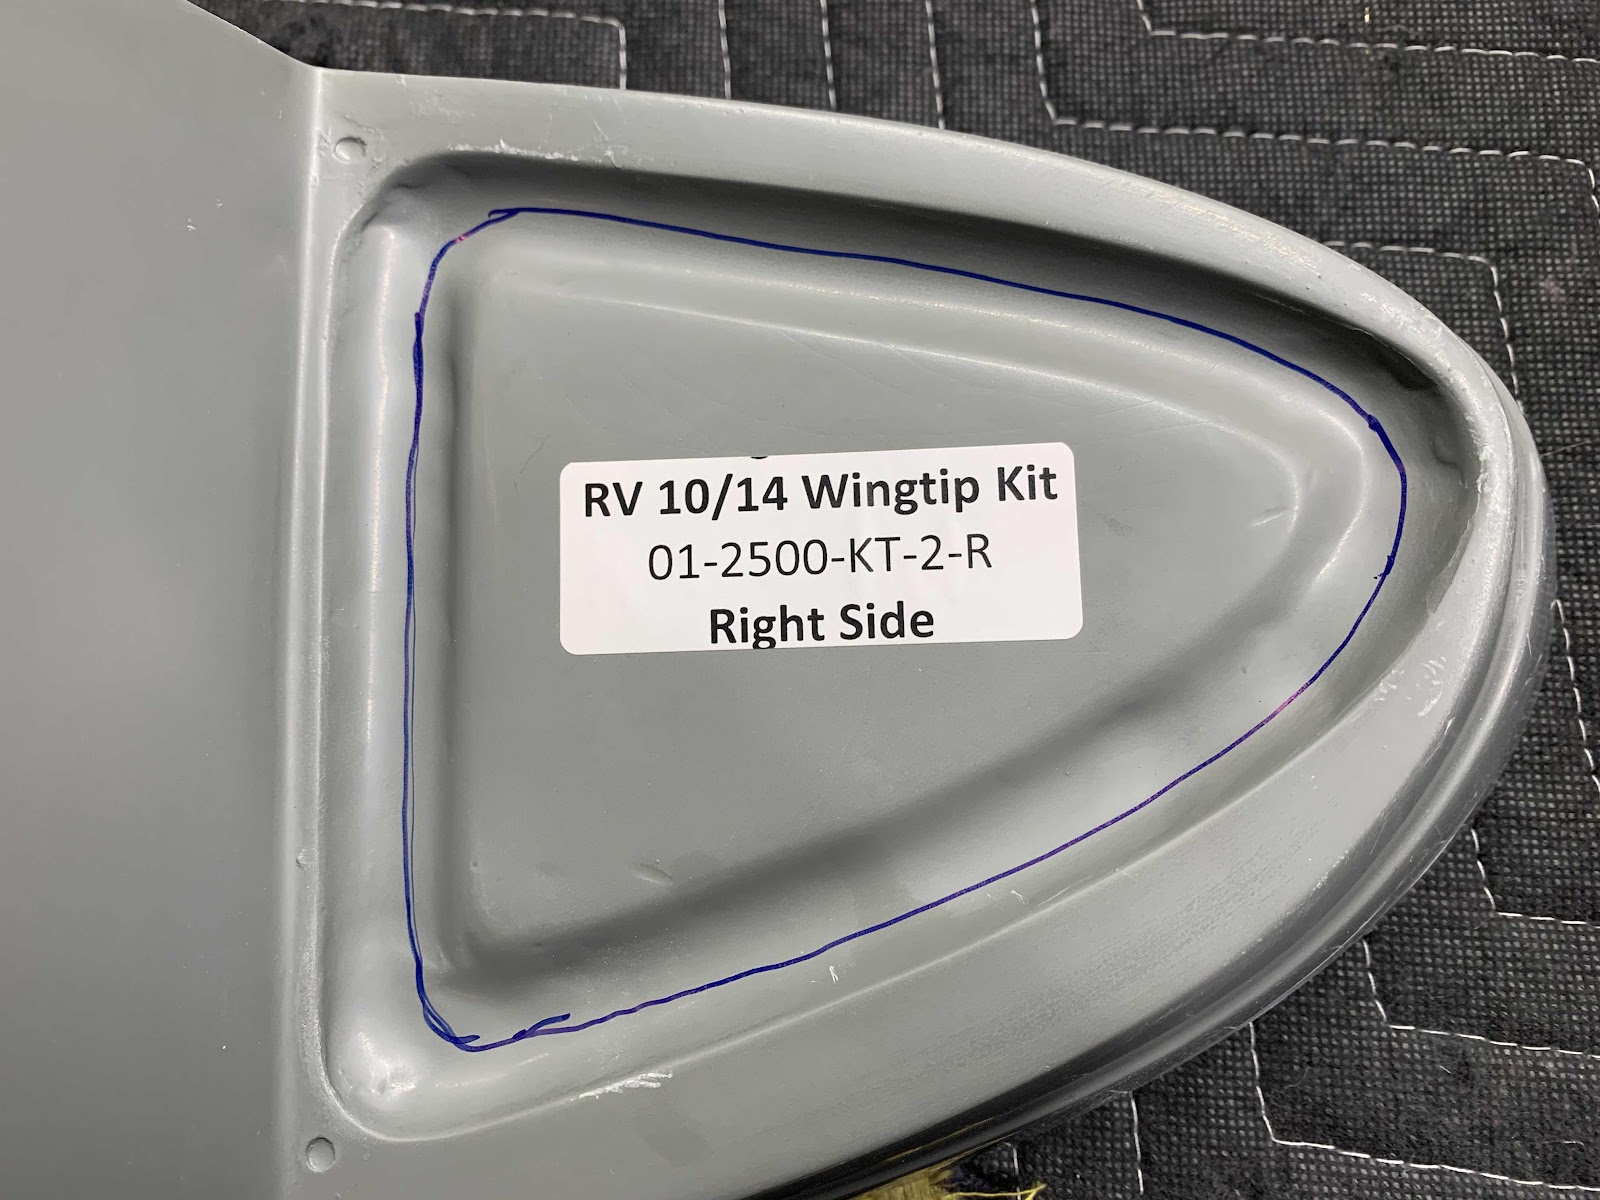
Tonight was a relatively short session, but we made forward progress on the Wing Tip Inserts. In the previous session, we cut out and removed part of the Wing Tip Fairing to accept the new Insert. Now, there is some material is required to be removed from the Insert itself. Here is the instructions excerpt from AEROLED:

The area shown below inside the blue line (where the sticker is located) will need to be removed. Out line was actually drawn approximately 1/4” below the blend-line. I figured I could sand the remaining material to achieve the required fit around the AeroSun VX.
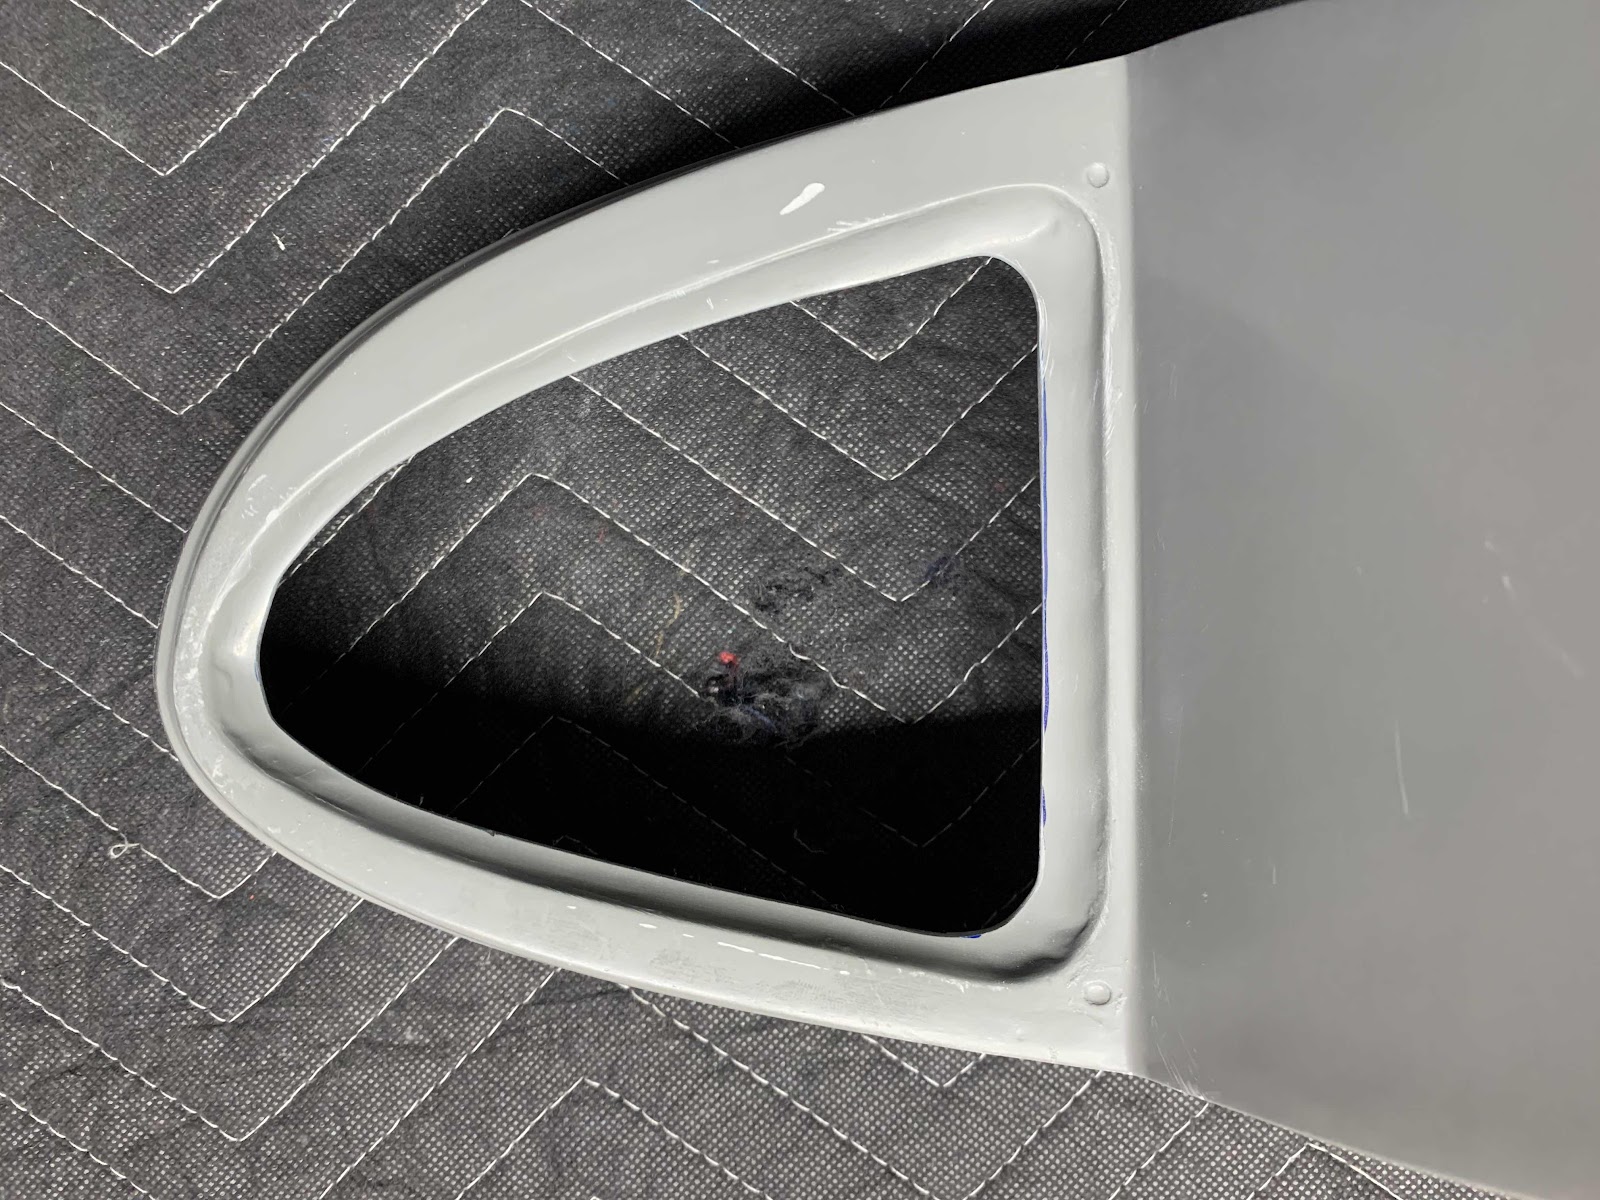
So, used my Milwaukee rotary tool and cut-off wheel to remove the material along the blue line.

Then, we used some 80 grit sandpaper to smooth the rough edges. Again, the “hole” is slightly smaller than required.....we will enlarge the hole with sandpaper when we get there.
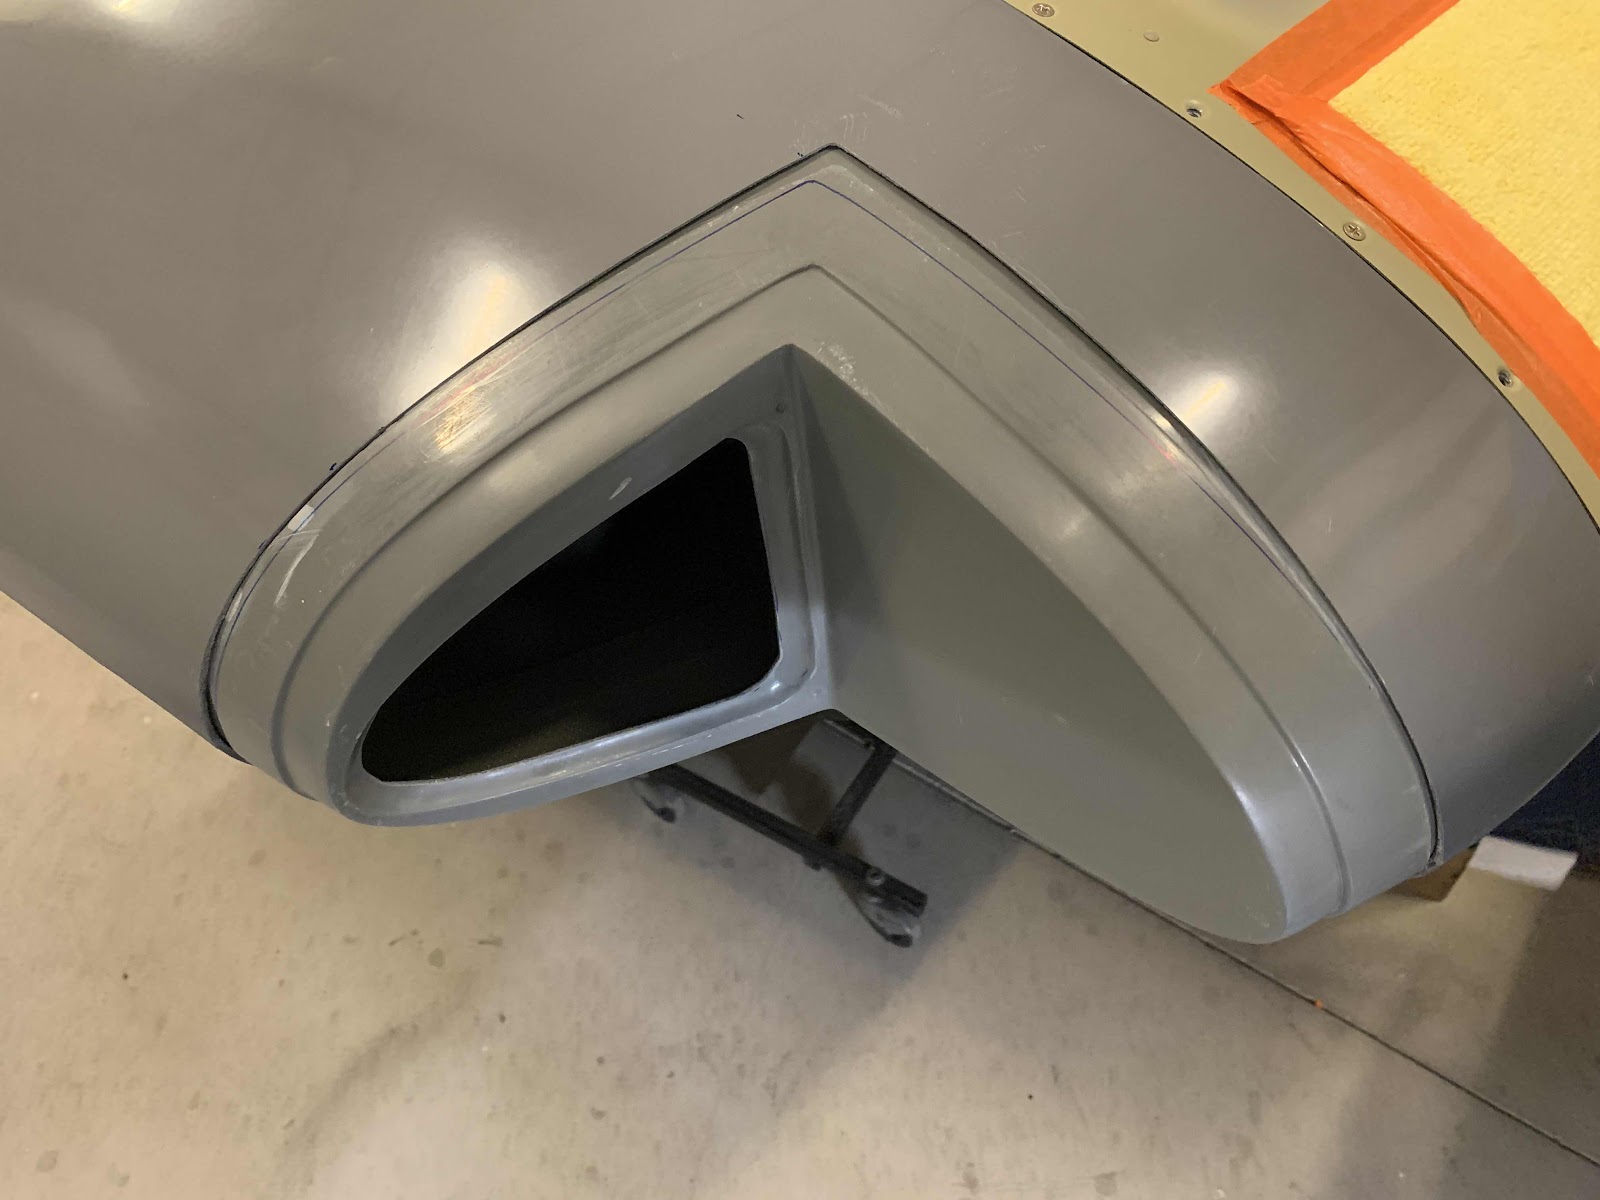
Here is the initial fit of the Insert into the Wing Tip Fairing. Still some work to do, but making progress. The Insert will eventually be epoxied into place and filled/blended with micro balloons.
Another area that will need some sanding is the trailing edge of the Wing Tip Fairing. The plans say to even up the the trailing edge of the Wing Tip Fairing and the trailing edge of the Aileron. We used a ruler to make the blue line on the Fairing. Eventually, we will be sanding the Fairing to match the Aileron.
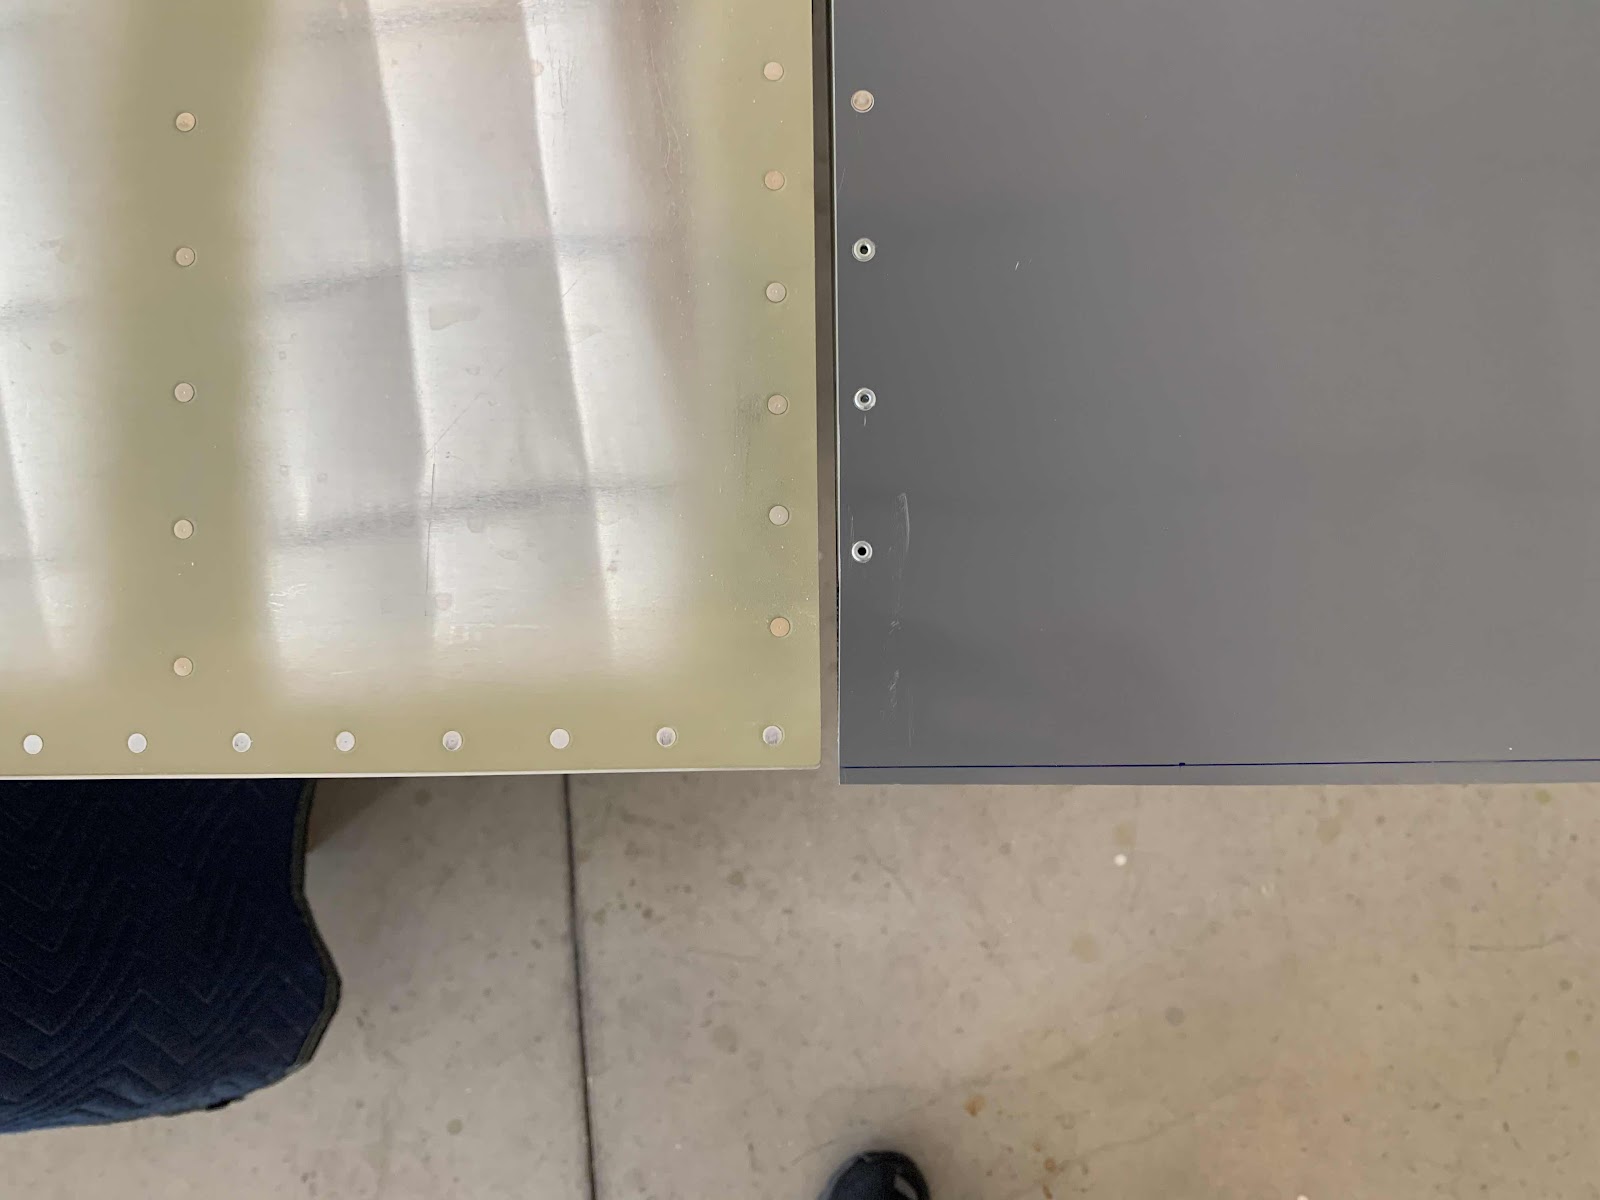
Here is an overall view of the whole Fairing. Not a lot of material will need to be removed. Van’s said if any of the area separates, just fill it and sand to the desired results.
