
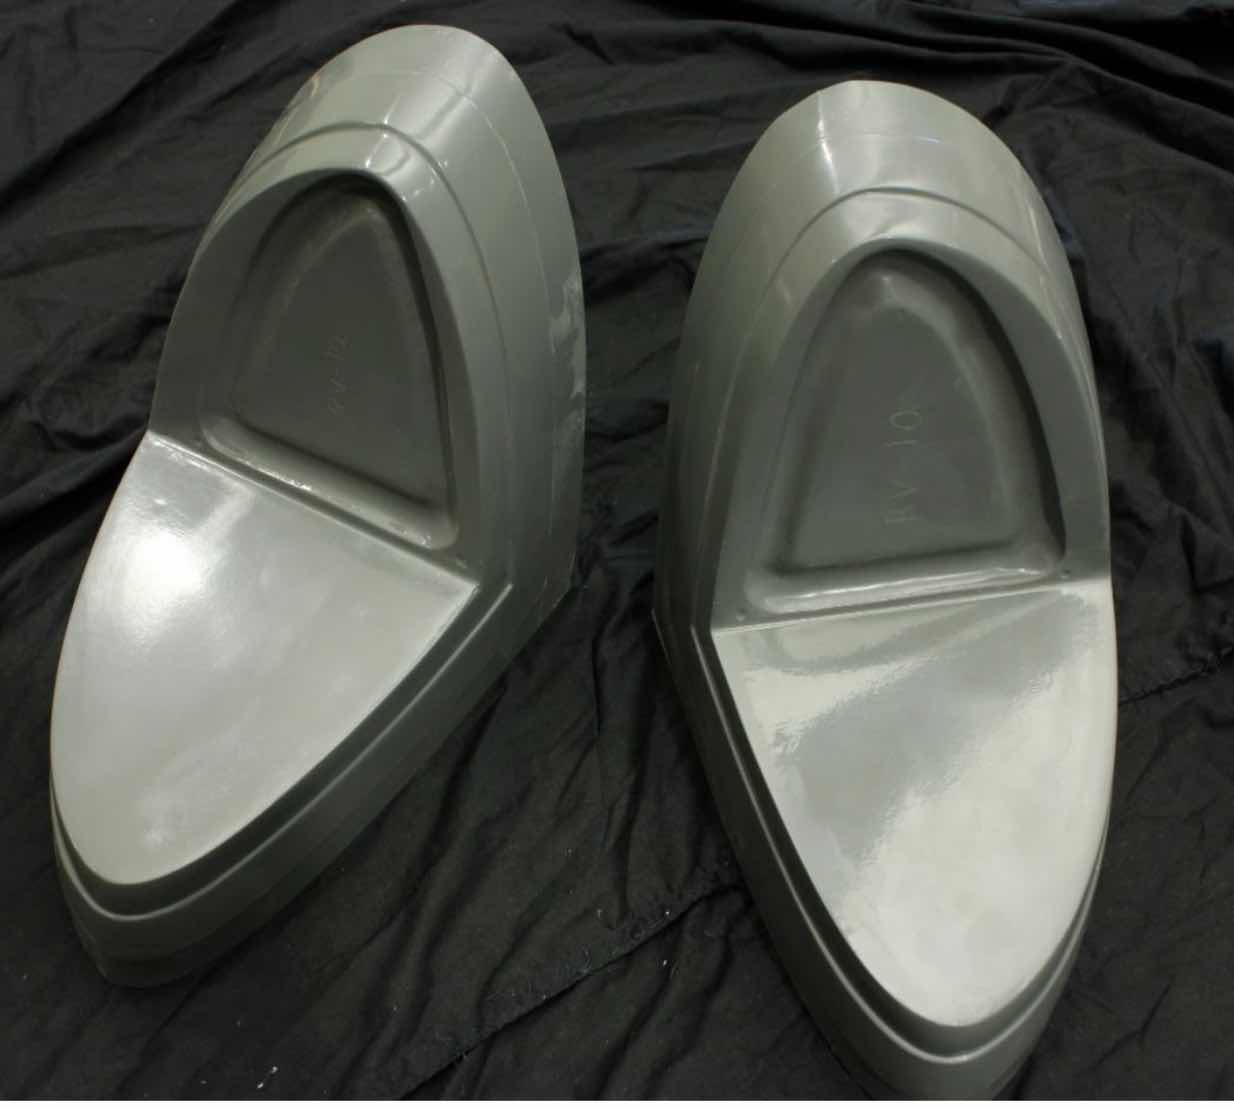
In an earlier posting, I talked about the exterior lighting we decided to use for the RV. During this session, we started the install of the AEROLED AeroSun VX Landing Lights. In order to install these lights, both Wing Tip Fairings will have to be modified. (Here is a link to the instructions from the AEROLED website). For no particular reason, we will start work on the right Wing Tip Fairing first. The modification calls for the removal of the forward portion of the stock Fairing and replace it with these.....
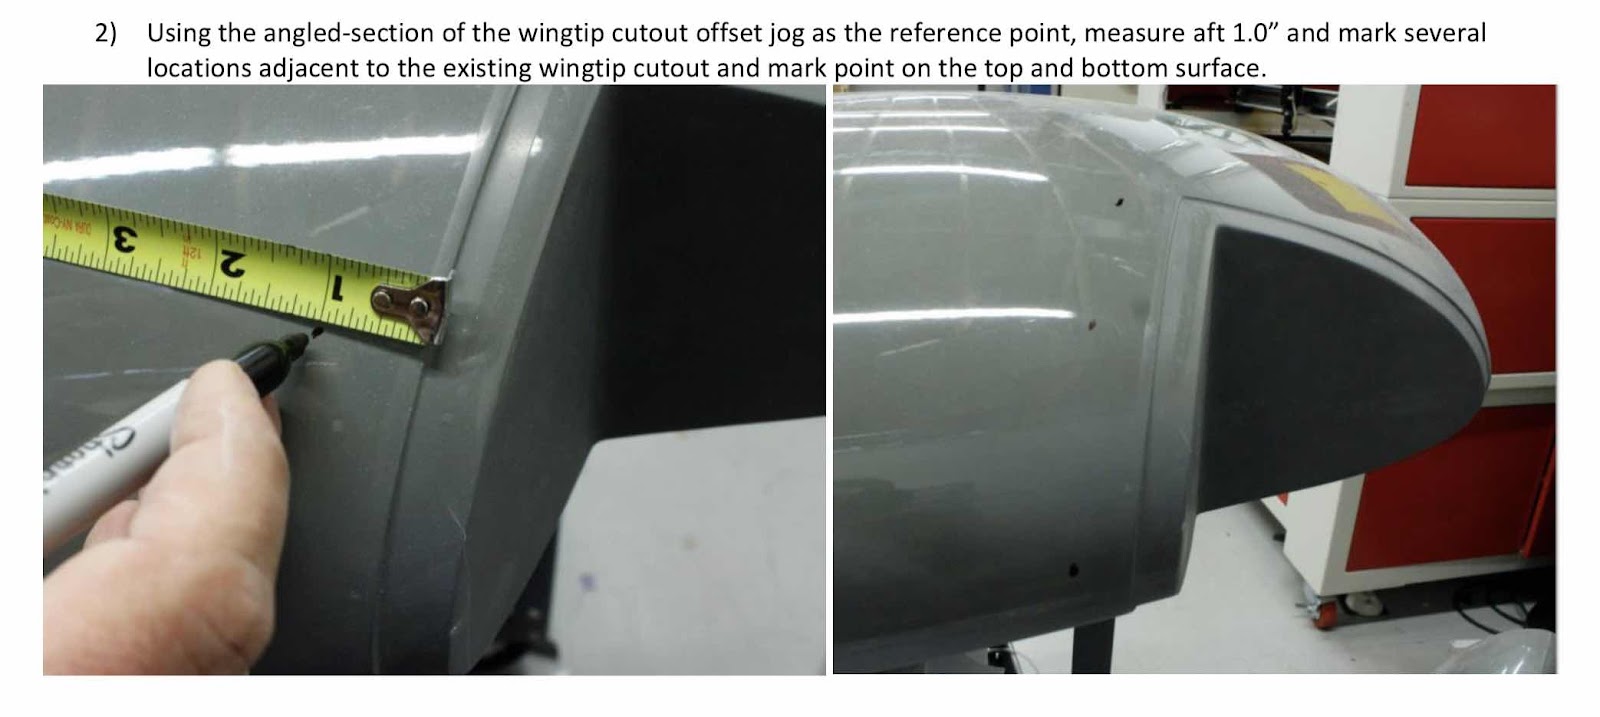
The first couple of steps (Steps 1 and 2 from the instructions) is to make reference marks at either 3.5” [88.9 mm] or 1” [25.4 mm] as shown in the plans excerpt below.

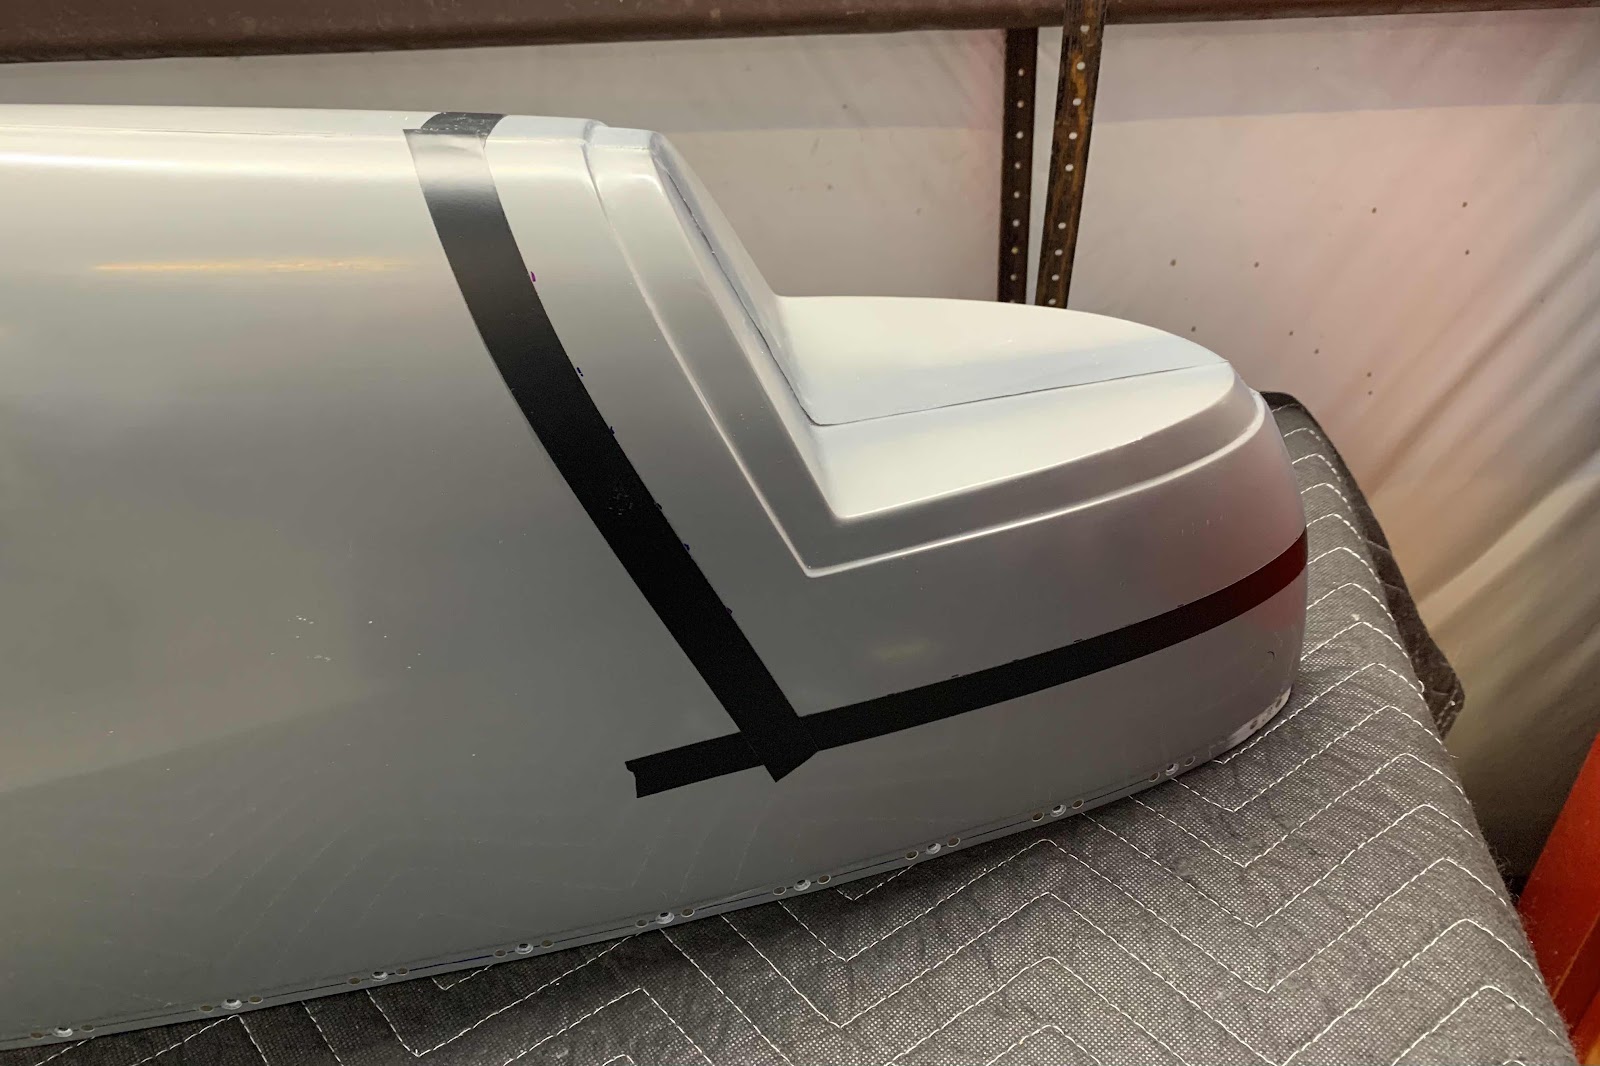
Once those reference marks were completed, we used electrical tape (or you could use fine line tape) to “connect the dots”. Here are a couple of pictures of our Wing Tip Fairing after installing the tape.

After all the tape was applied (Step 3), a sharpie marker is used to trace the inside of the tape line. I forgot to take a picture of our Sharpie lines, but here is an excerpt from the instructions showing what it looks like after the tape is removed.

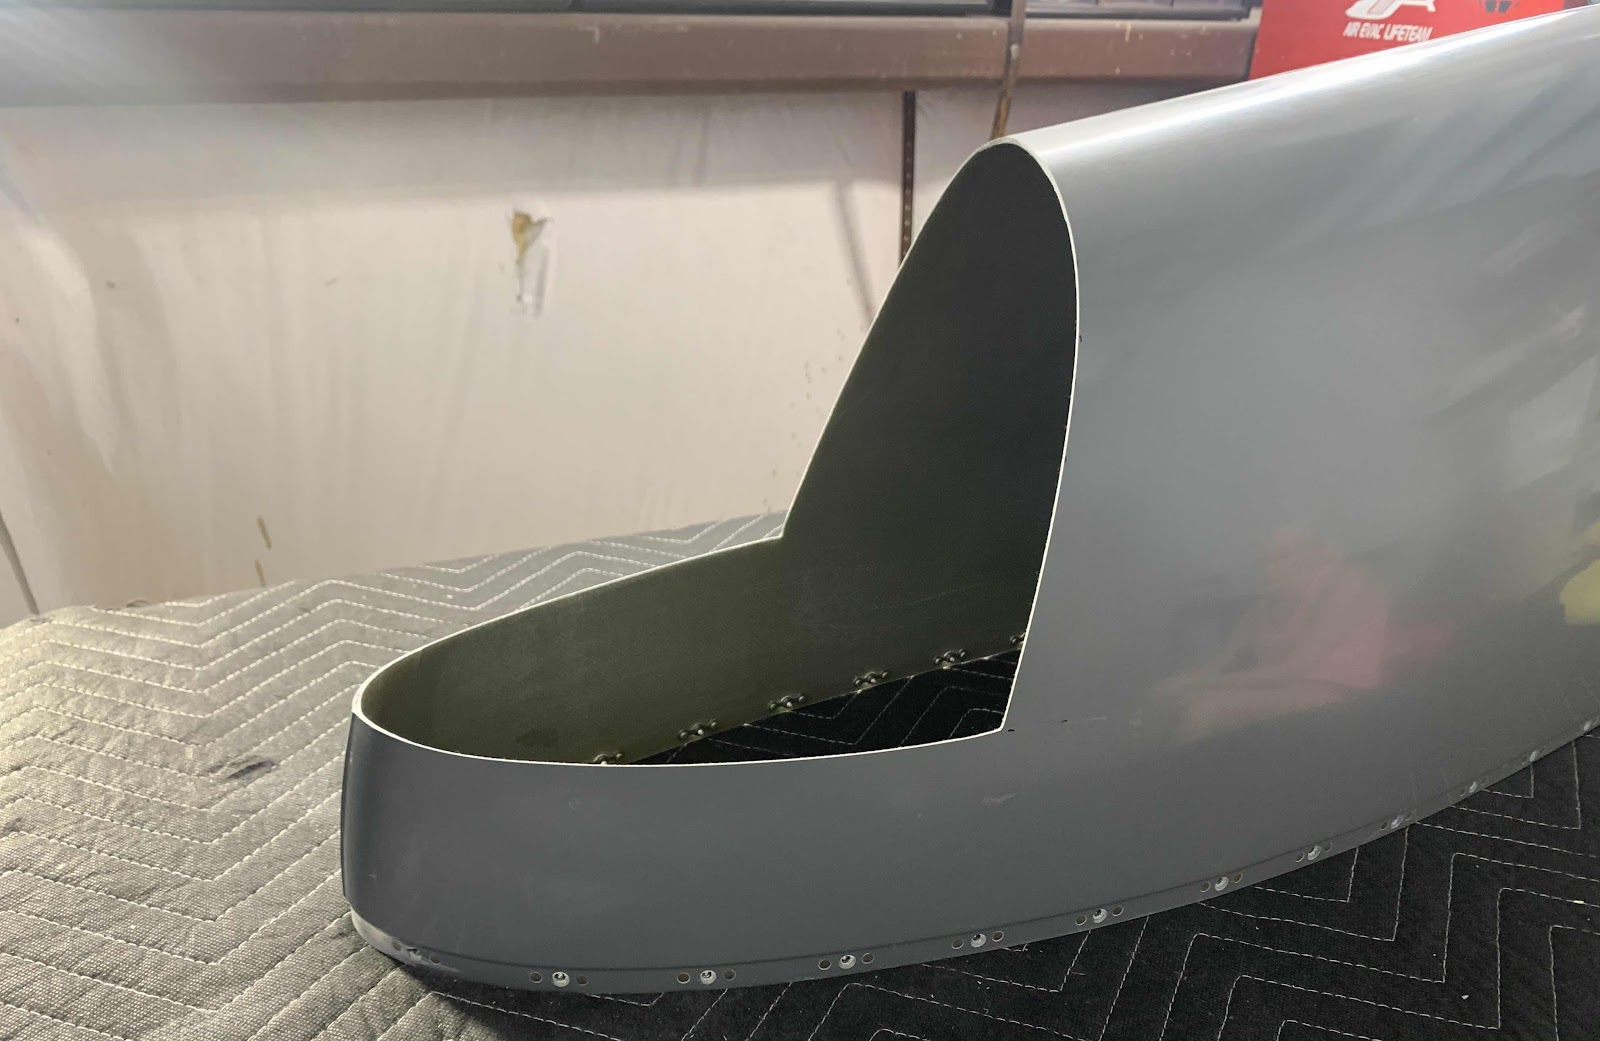
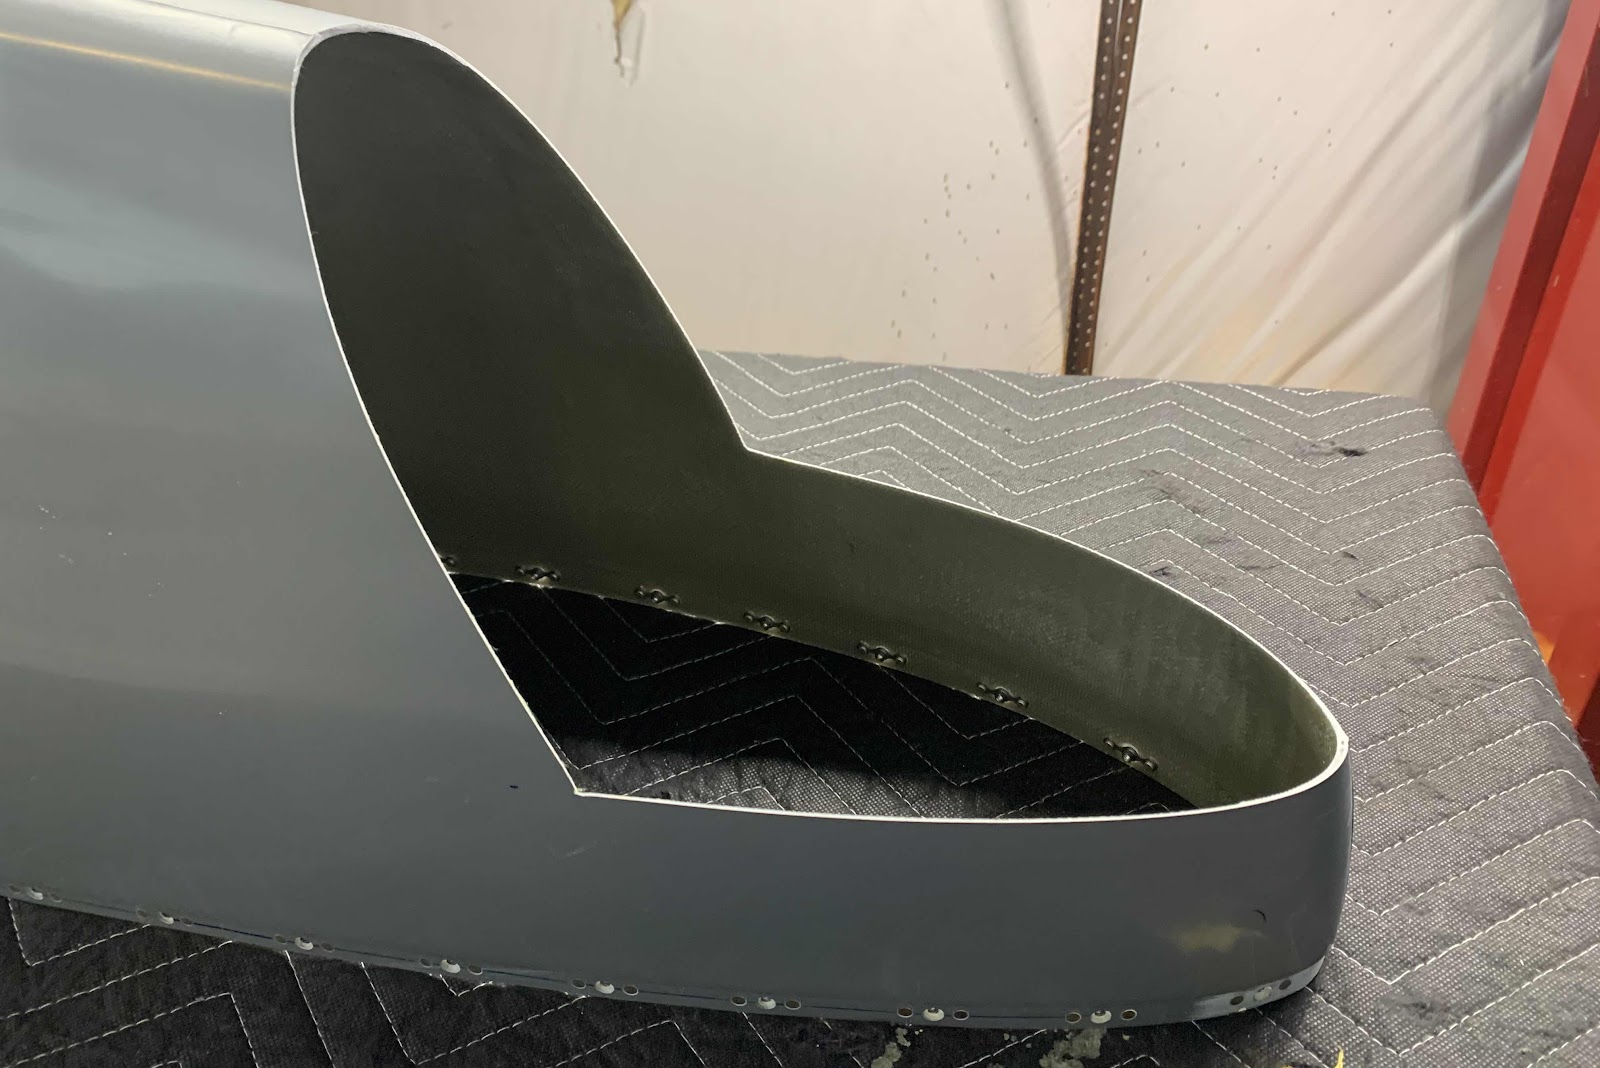
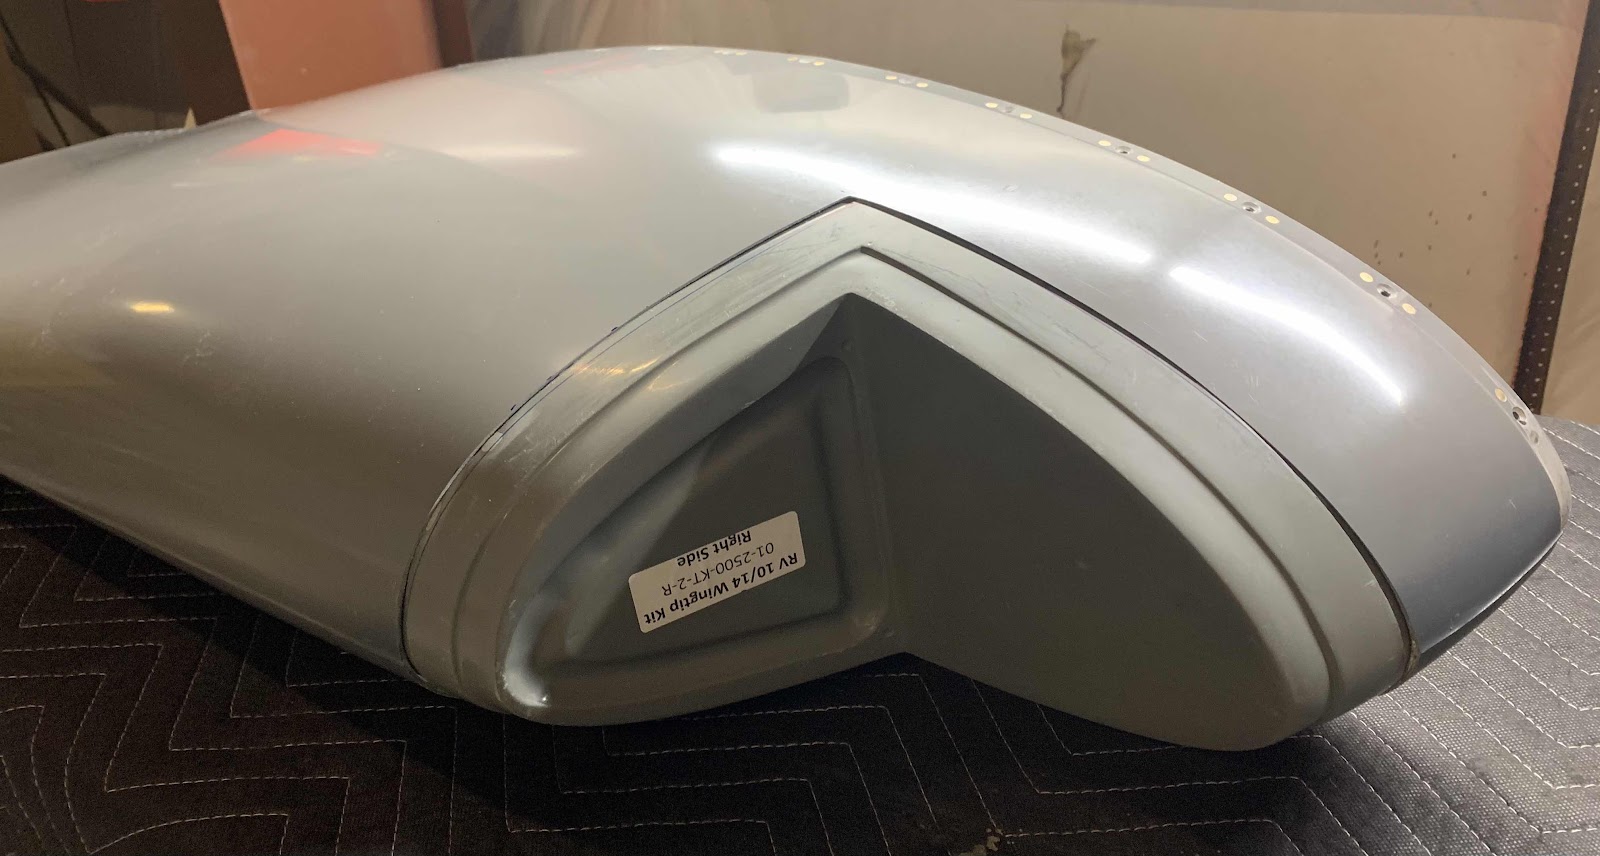
Next, I followed the instructions and used my Milwaukee rotary tool with a cutting wheel to cut just outside the sharpie lines. After cutting out the area, here is a couple angles of what it looks like. (I did use a sanding block with 80 grit sandpaper to smooth out the edges prior to taking these pictures)
The three pictures below show a couple of angles with the “new” inserted inside the Wing Tip Fairing.


If you look around the edges where the two pieces will join, you can tell the fit is not perfect. Additional sanding will be required to get the desired fit between the two pieces. (And ultimately some blending and filling to get the best possible result). That is pretty much where we finished for the day. We will pick it up from here during the next work session.