Like I previously posted, I THOUGHT we were finished countersinking! Like I previously posted, we WERE NOT!
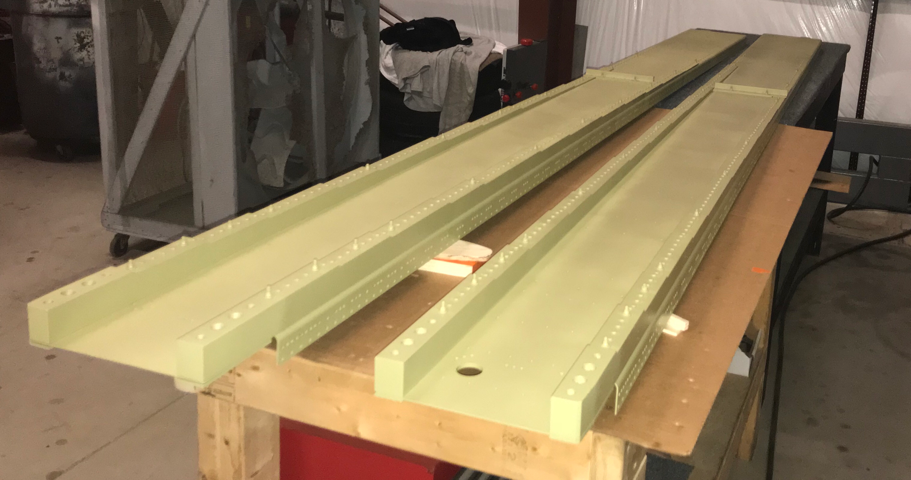
After completing all of the countersinking (almost all of it, see below) in the Right Main Spar yesterday, we went back to complete the Left Main Spar today. Regardless, both Spars are now ready to be primed.

Now, for some clarity (mostly for myself), but here is what we have done and plan on doing to complete the countersinking of the Spars:
1. Left Main Spar: There are 586 TOTAL holes to countersink in the Flanges and Web. We have countersunk 516 up to this point and have 70 nutplate screw holes remaining to be countersunk.
2. Right Main Spar: There are 586 TOTAL holes to countersink in the Flanges and Web. We have countersunk 516 up to this point and have 70 nutplate screw holes remaining to be countersunk.
3. Fuel Tank Attach Nutplates: The remaining 140 holes (70 in each Main Spar Flange), will be countersunk AFTER I prime the Spars. I plan on doing this because I want to follow the directions in the plans. The plans have you install the Fuel Tank Skin Attach Nutplates and THEN countersink the center hole. You are supposed to use a #30 countersink cutter for the screw holes using the nutplate as a guide. “The #30 pilot will center in the nutplate well enough to keep the countersink round and concentric”. The plans then provide the following guidance for minimum and maximum diameter for the countersinks.....

4. Wing Access Plate Attach Nutplates: Are completed by the same process, but since the nutplates are smaller, a #40 countersink cutter is used. However, the same technique is used for the nutplate screw holes. Here are the tolerances in the plans for these holes.....

My primer will be delivered shortly, so moving on. Next, is to final-drill #30 the Spar Doubler to the Spar Web rivet holes in the Left and Right Main Spars. The plans now have you install AN470AD4-6 rivets, so I’ll wait until after priming.
The next step is to prepare the three W-823-1 Aileron Bellcrank Brackets and W-823-AP Aileron Bellcrank Bracket. The two bottom holes on the three Bellcrank Brackets and the four smaller holes on the AP Bracket were final drilled to #12. The lager hole in each of the three Aileron Bellcrank Brackets were final-drilled to 1/4”. We then deburred the holes, did the edge work, dipped in them in Alumiprep, dipped them in Alodine, and hung them up to dry. They will get primed along with the Left and Right Main Spar.

UPS brought the Akzo on time, so here’s the Left and Right Main Spar after priming. Tomorrow we will start installing all the nutplates.