
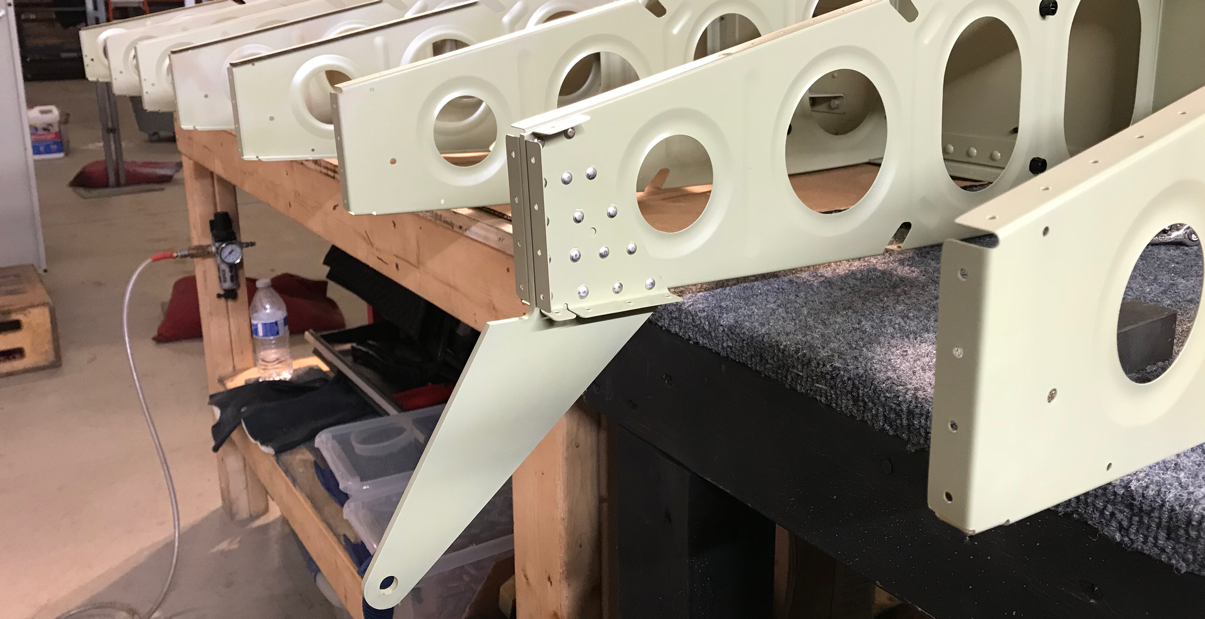
I started tonight by riveting the Inboard and Outboard Flap Hinge Assembly’s together. Each assembly is made up of an Inboard Wing Rib, Flap Hinge Bracket, and Flap Hinge Rib.

AN470AD4-7 universal rivets were used on each assembly (16 rivets per side) as shown in the two pictures below. After the Ribs were clecoed to the Main Spar, it was held reasonably steady. So, I used the rivet gun and bucking bar to set all 32 rivets. I was able to do it solo, but did make a few “smiles”.....a result of me trying to go to fast.

Not anything to really show, but I also started installing the bolts/washers/nuts attaching the Wing Ribs to the Main Spar. In order to keep everything clear in my mind, I have numbered each of the Wing Ribs from 1 - 14 (inboard to outboard). Seems like a simple thing to do, but it has definitely helped me keep the Ribs easily identifiable and in the right place. You can see in the plans excerpt below, I have also numbered the Ribs in pencil on the drawing. As far as installing the bolts, the plans look a little busy and were a little hard to follow at first glance. However, just like anything else I guess, once you get it, you get it. The last three Ribs (#12, #13, and #14) do not have any bolts and will only use rivets for their installation.
The instructions were very clear that the bolts MUST be installed oriented exacelty as shown below. So, I paid particular close attention while installing them. I will torque them appropriately tomorrow according to the values in the table from Section 5.20.

Only a few steps left to finish Section 14. Hopefully, I’ll be able to complete this section tomorrow.