
I stopped yesterday’s session because I needed a 6” #33 drill bit for the eight holes on either side of the Hinge Bracket. I picked up three 6” #33 drill bits from Pan American Tools because as the old saying goes.....one is none and two is one (I added one more for good measure). I final-drilled the 16 holes (eight on each Hinge Bracket) and pulled the MK-319-BS rivets as shown in the two pictures below.


Just for comparison purposes, I took this photo of the inside (or shop head side) of the rivets. The two aft most MK-319-BS rivets (the ones through the Spar) are circled in black. The rivets to the left and above these are the solid rivets.

Once those 16 rivets were taken care of, it was time to move on to the Trailing Edge (“V-Channel” as I like to call it). Just like on the Rudder and Elevators, I will use the 3M F9460PC Adhesive Transfer Tape (recommend by Van’s) for my bonding material. The picture below shows the tape after being applied to the two “V-Channels”.

I decided I wanted a back riveting plate longer than the trailing edge of the Flap. So, I went to my local metal shop and picked up two 6’ “back riveting” plates. Below you can see the smaller 8” Back Riveting Plate I purchased from Cleaveland Aircraft Tool and one of the two 6’ plates I purchased. Each one of the plates was around $28 dollars and I suspect they will be useful for many different applications.

After I applied the 3M Adhesive Tape as shown above, it was time to install the “V-Channels” between the Top and Bottom Skins. Initially, I positioned the tape in the proper location on the Top Skin (easier for me to see the dimpled Skin and countersunk “V-Channel” line up). Then, I pulled the backing off the tape, as shown below, and installed a cleco into every rivet hole.

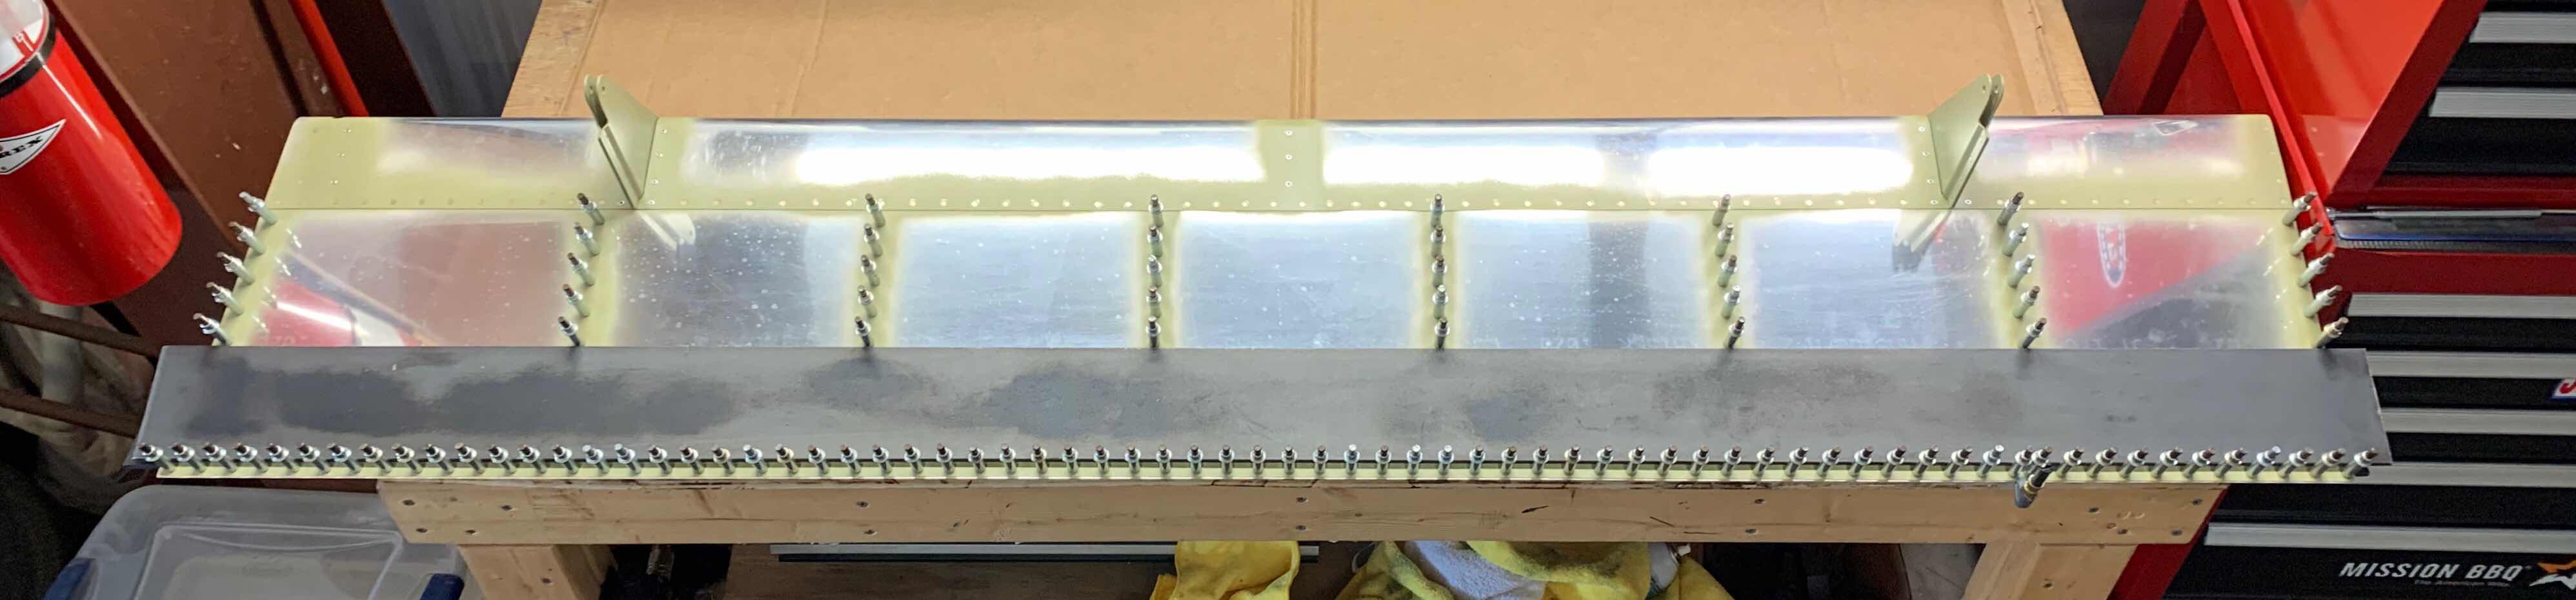
The plans now say to let the adhesive cure before moving on to the installation of the rivets. The plans also recommend adding weight to the Bottom Skin to keep the Flap flat while the adhesive is curing. So, I put one of the 6’ back riveting plates under the trailing edge and one of top of the trailing edge as shown below. Additionally, I added clecos to every hole on the Bottom Skin.
After the 3M Adhesive Tape cured, it was time to install the remaining MK-319-BS blind rivets in the Bottom Skin. Here are eight of the blind rivets installed on the Bottom Skin. Additionally, there is one lonely little blind rivet that gets installed in the white circle in the bottom right corner of the picture. There is not enough room on the backside of the rivet location to get a squeezer yoke or a bucking bar into to set a solid rivet.....this is the reason the blind rivet is required here.

Here is a quick video of the single MK-319-BS rivet being set.
Here are 16 more of the blind rivets after being set.....

.....and the last eight.

With the exception of the single blind rivet in the aft most Skin to Rib location, the inboard and outboard Skin to Ribs use AN426AD3-3.5 rivets.