
The last step needing to be completed on the Left Flap, prior to priming and assembly, is the countersinking of the FL-00008B-L (short) and FL-00008A-L (long). These pieces are the Inboard and Outboard Trailing Edge Wedges as shown in the white circle below.

I used my Cleaveland Aircraft Tool Countersink Jig for RV Trailing Edge Wedge as shown below. I clamped the jig and Wedge to the workbench to make the countersinks. (Shown below is the FL-00008A-L (long)).

I had to make the countersinks differently than I originally wanted to. For some reason, the pilot on my #40 countersink cutters would not fit into the holes needed to be countersunk. I didn’t want to drill the holes and bigger, so I improvised. I took the bit off of my deburring tool and put it on my drill (as shown below).

I determined 5.25 mm is the width of the countersink I want to use for the dimpled Flap Skins.

I also used my dimpled #40 template to verify the “fit”.

Here is the completed FL-00008B-L (short). Both sides of the wedges will be countersunk to receive double flush rivets.

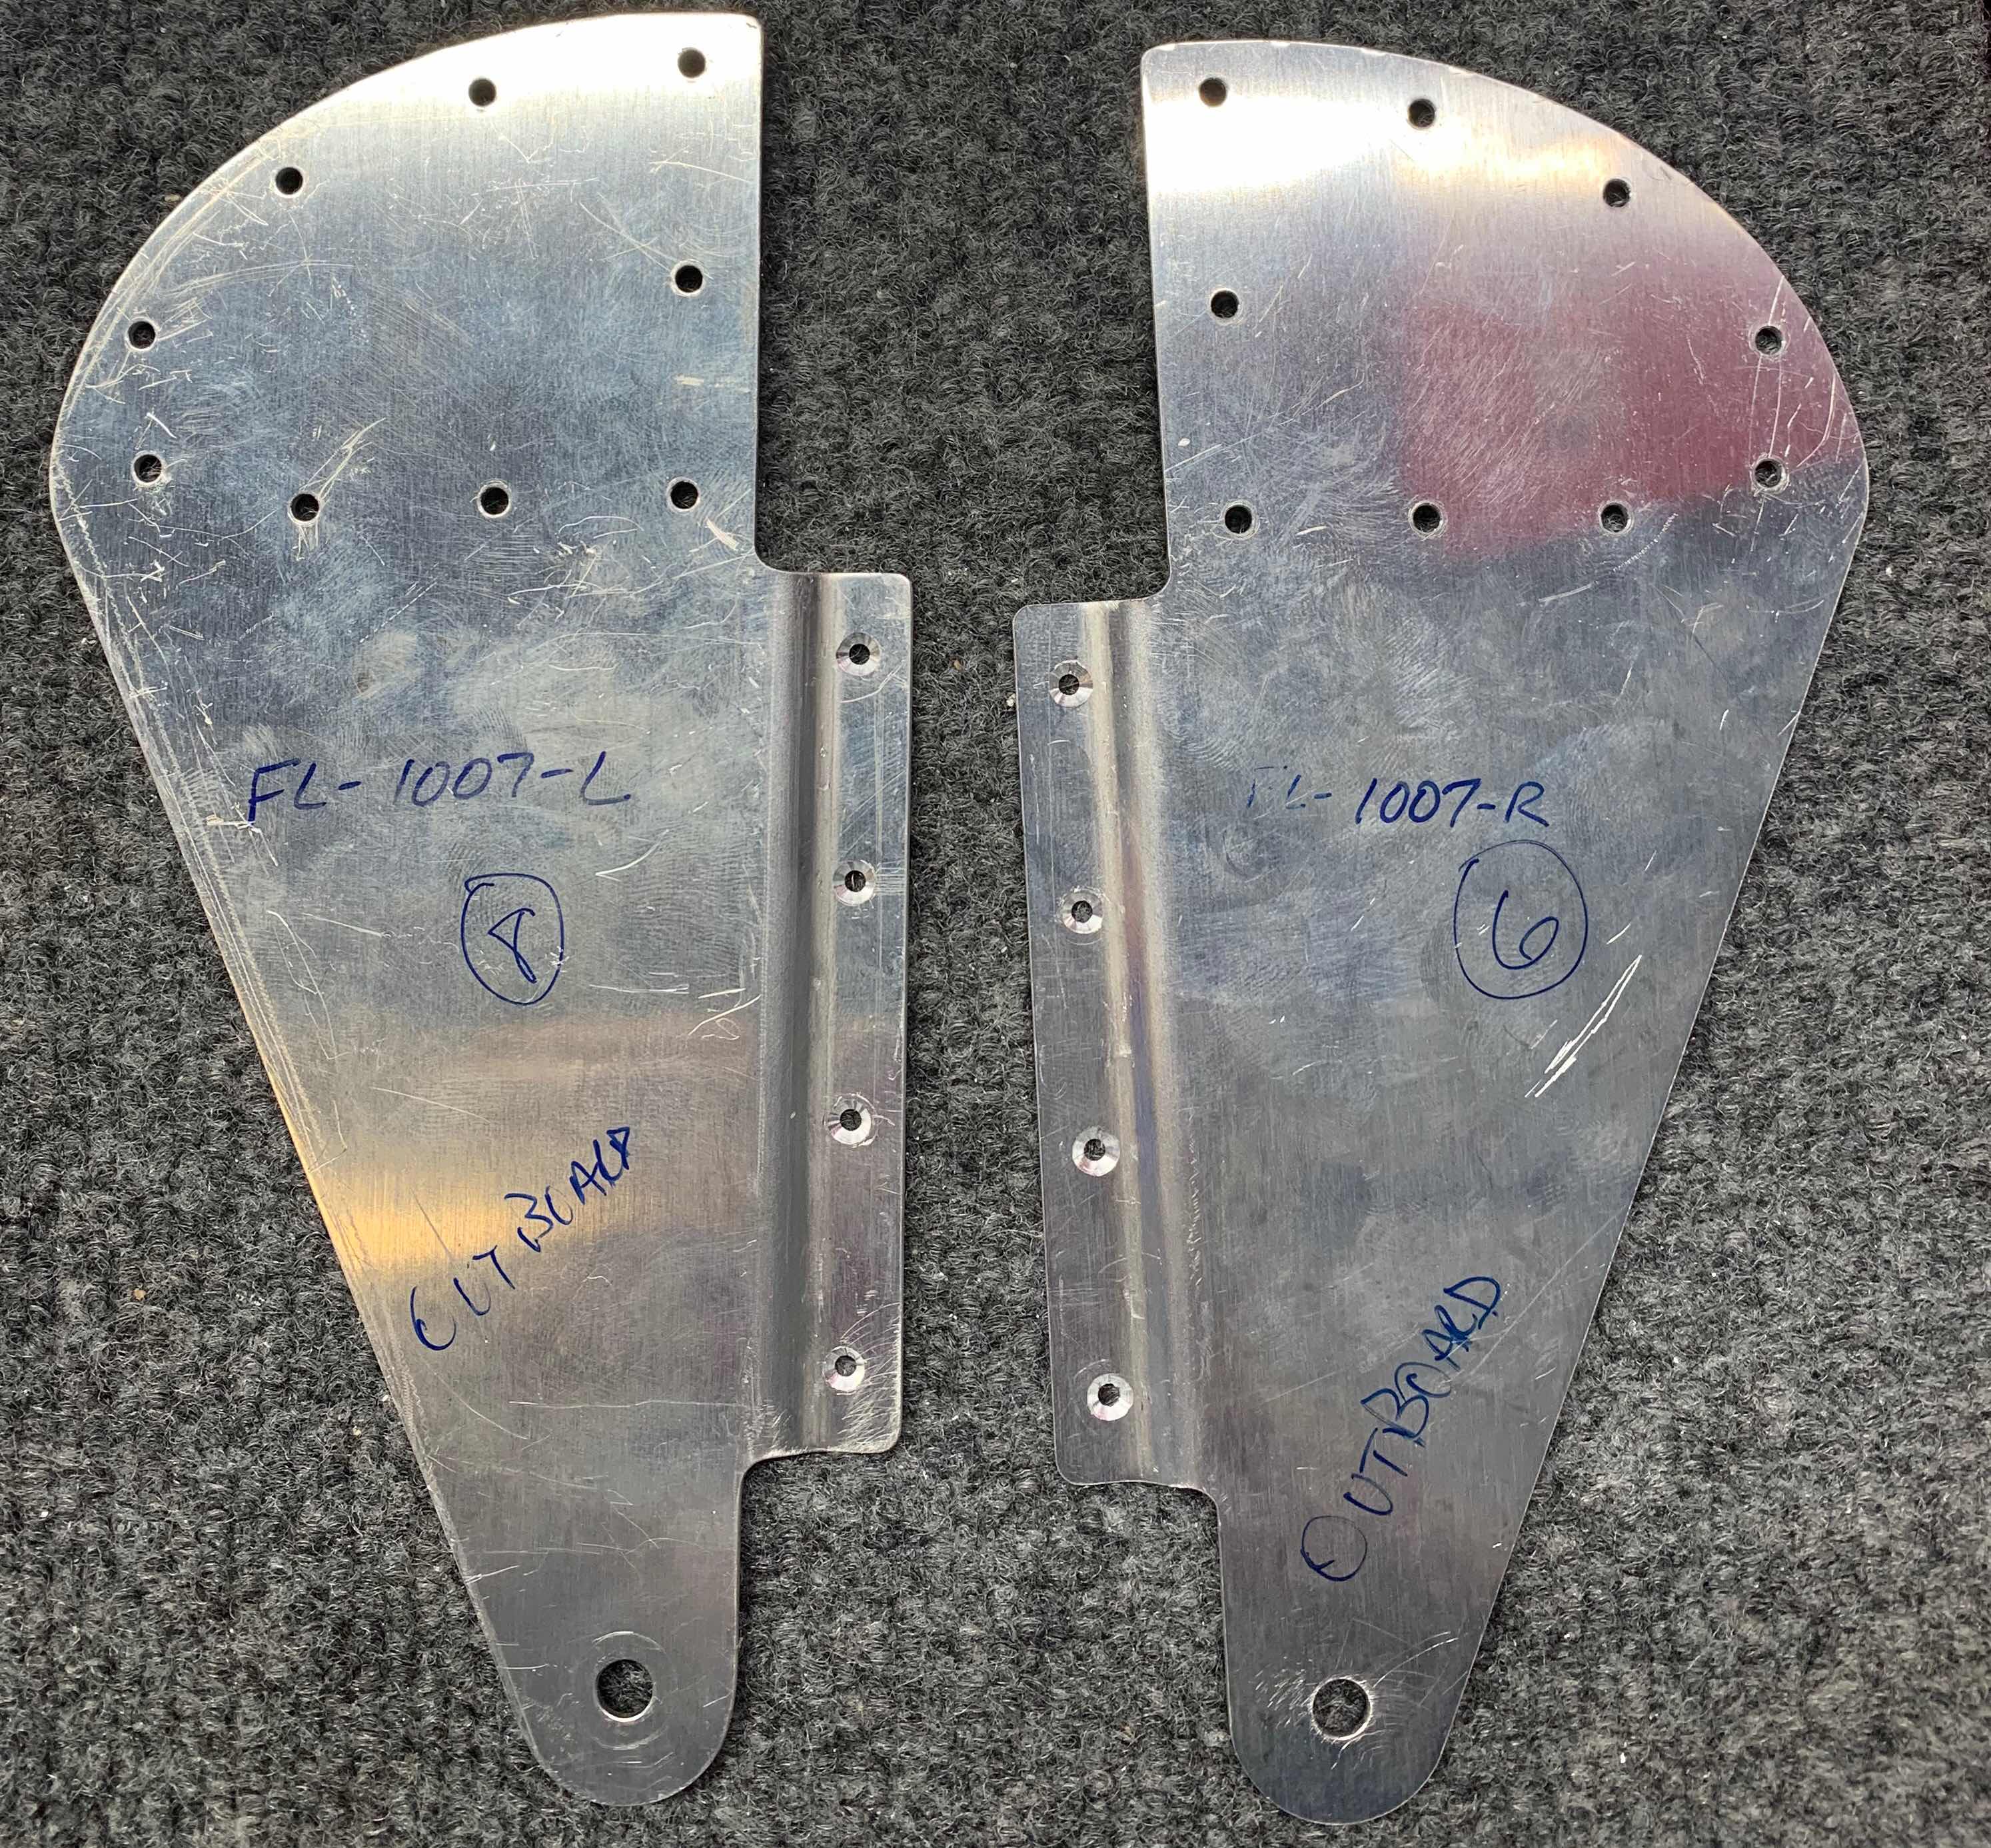
Lastly, the two FL-1007-L and two FL-1007-R Hinge Brackets also have to be countersunk for double flush rivets. The holes that need to be countersunk are on the joggled flanges of the Brackets. The plans describe how to make a drill jig to aid in using the countersink cage. Since I already had my drill setup from making the countersinks in the Trailing Edge Wedges, I decided to use that again for the these countersinks. To do this, I clecoed the two Brackets together (as shown below) and stacked to extra FL-1006 Doublers underneath. This worked well and was exactly the perfect thickness.

Here is another view of my setup.

Here is the first completed Bracket.....
.....and the second.
