
Roger and I started the session by sanding a few additional places on the Window.....for just a little bit better fit. Once we were satisfied, we moved on to the next step in plans.
The F-01474A-L & -R Stiffener Angles completed in Part 4 were now riveted to the Side Skins and Rollbar. Since the pictures I took are kind of hard to see, here is the excerpt from the plans showing the install location and hardware used.

These are the three AN426AD3-3 rivets attaching the Stiffener to the left Side Skin (the right side is done the exact same way). I doesn’t look it, but there was plenty of room to get the yoke of the hand squeezer on the shop head side.....carefully pulling the Side Skin out a little.
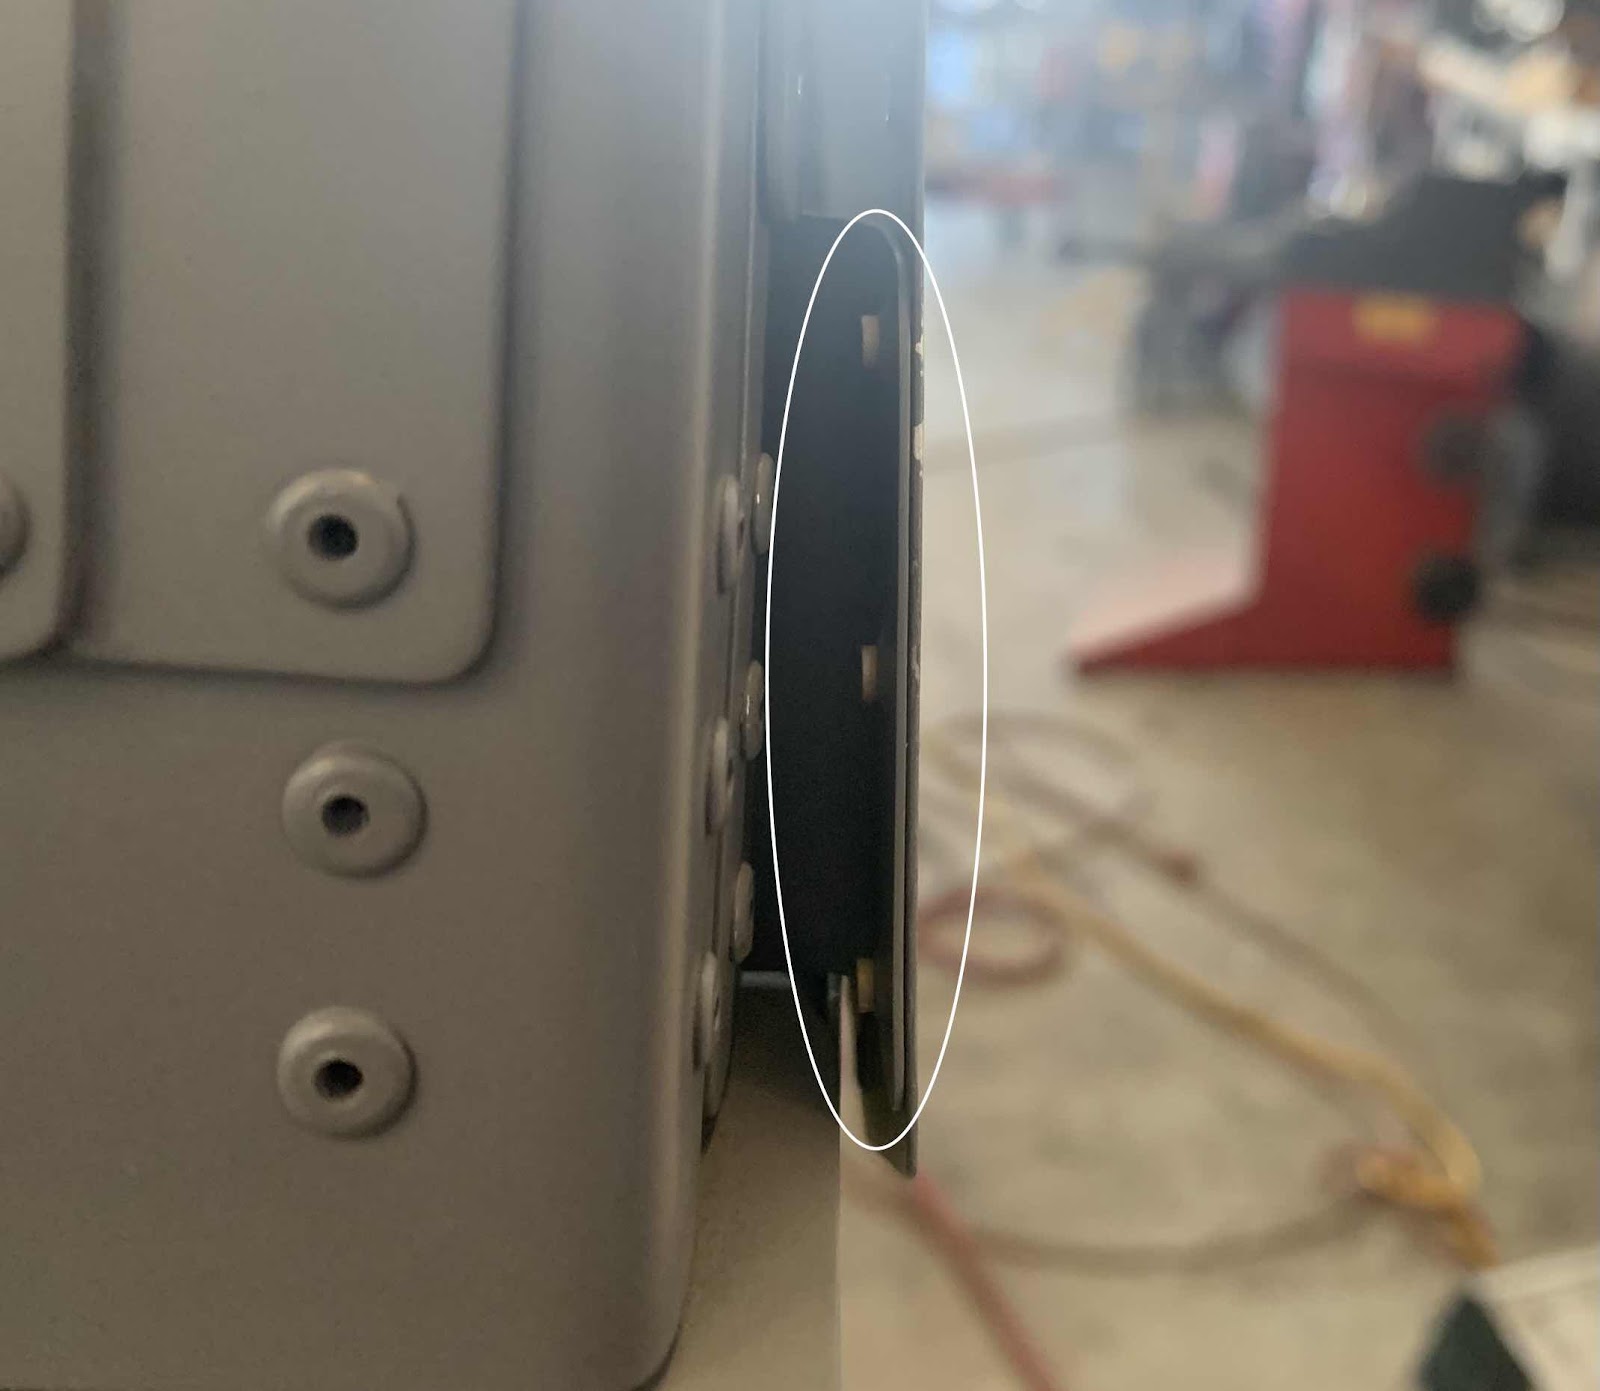
These are the two LP4-3 blind rivets attaching the Stiffener to the left Side Skin (again, the right is done the exact same way).

Next, the C-01429 Latch Bellcrank Angles were installed using the hardware shown below in the plans excerpt.

Here are two of the Angles attached to the F-01457 Gusset on the left side (the right side is done the exact same way).....
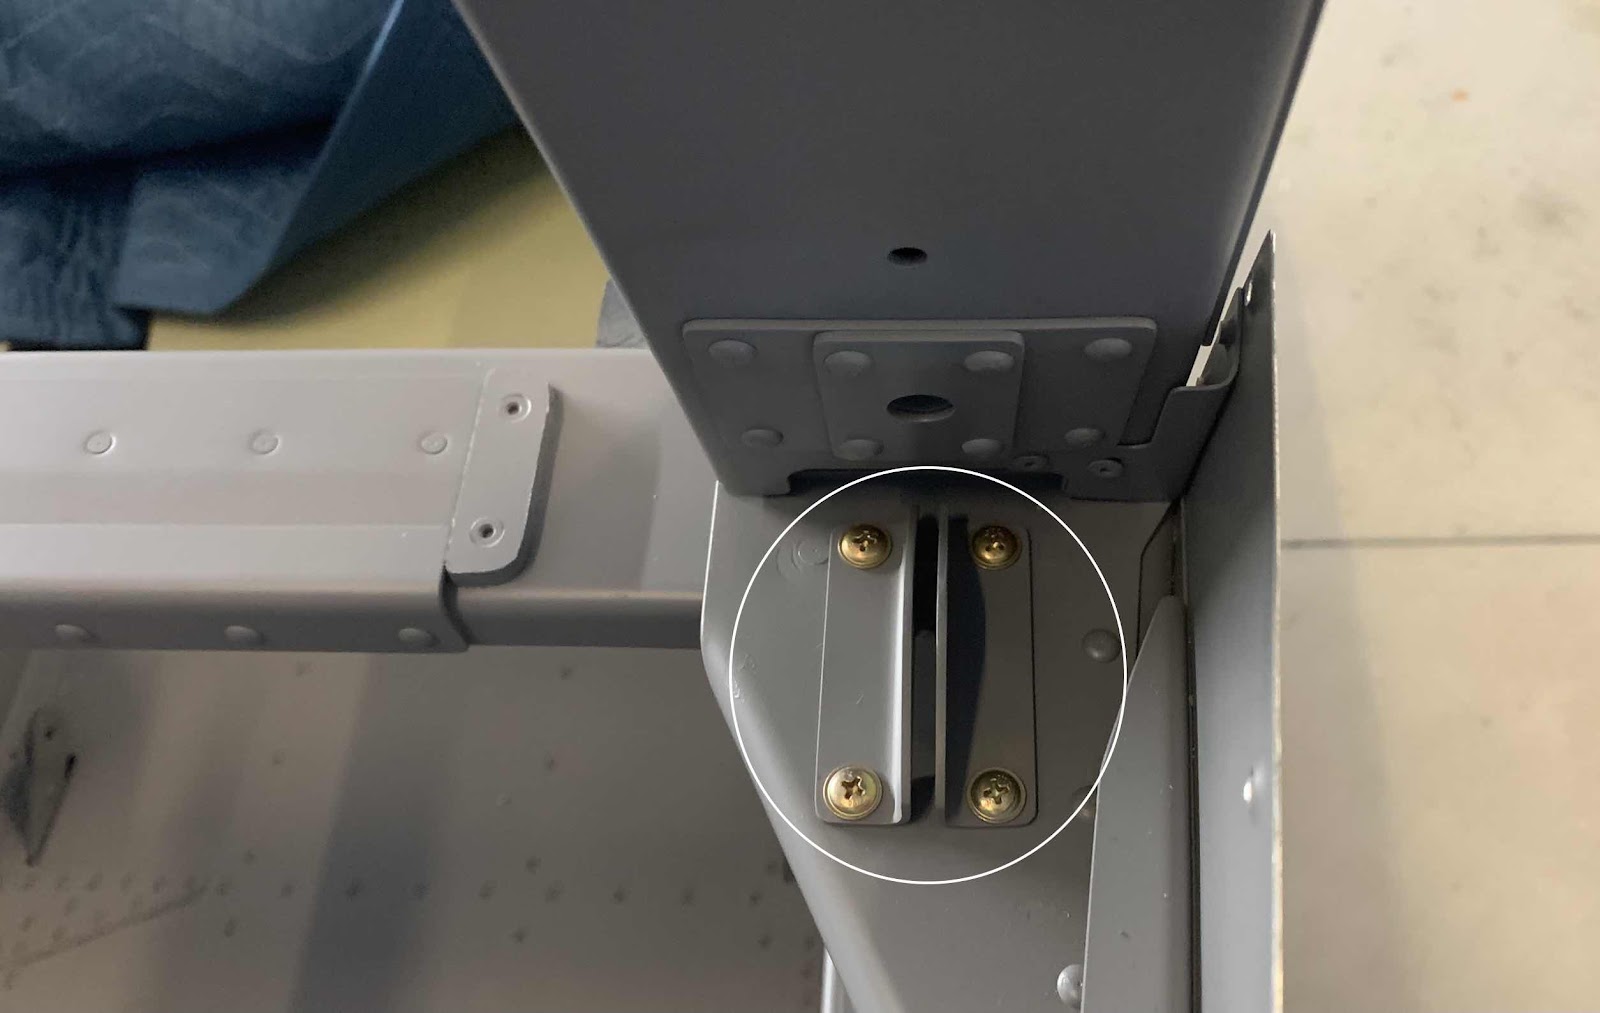
Here are two of the Angles attached to the F-01457 Gusset on the left side (the right side is done the exact same way).....
.....and what it looks like on the underside.

Moving on to the installation of the F-01438 Canopy Latch Torque Tube. Here is the plans excerpt showing the installation.

This picture shows the left Block attached.....
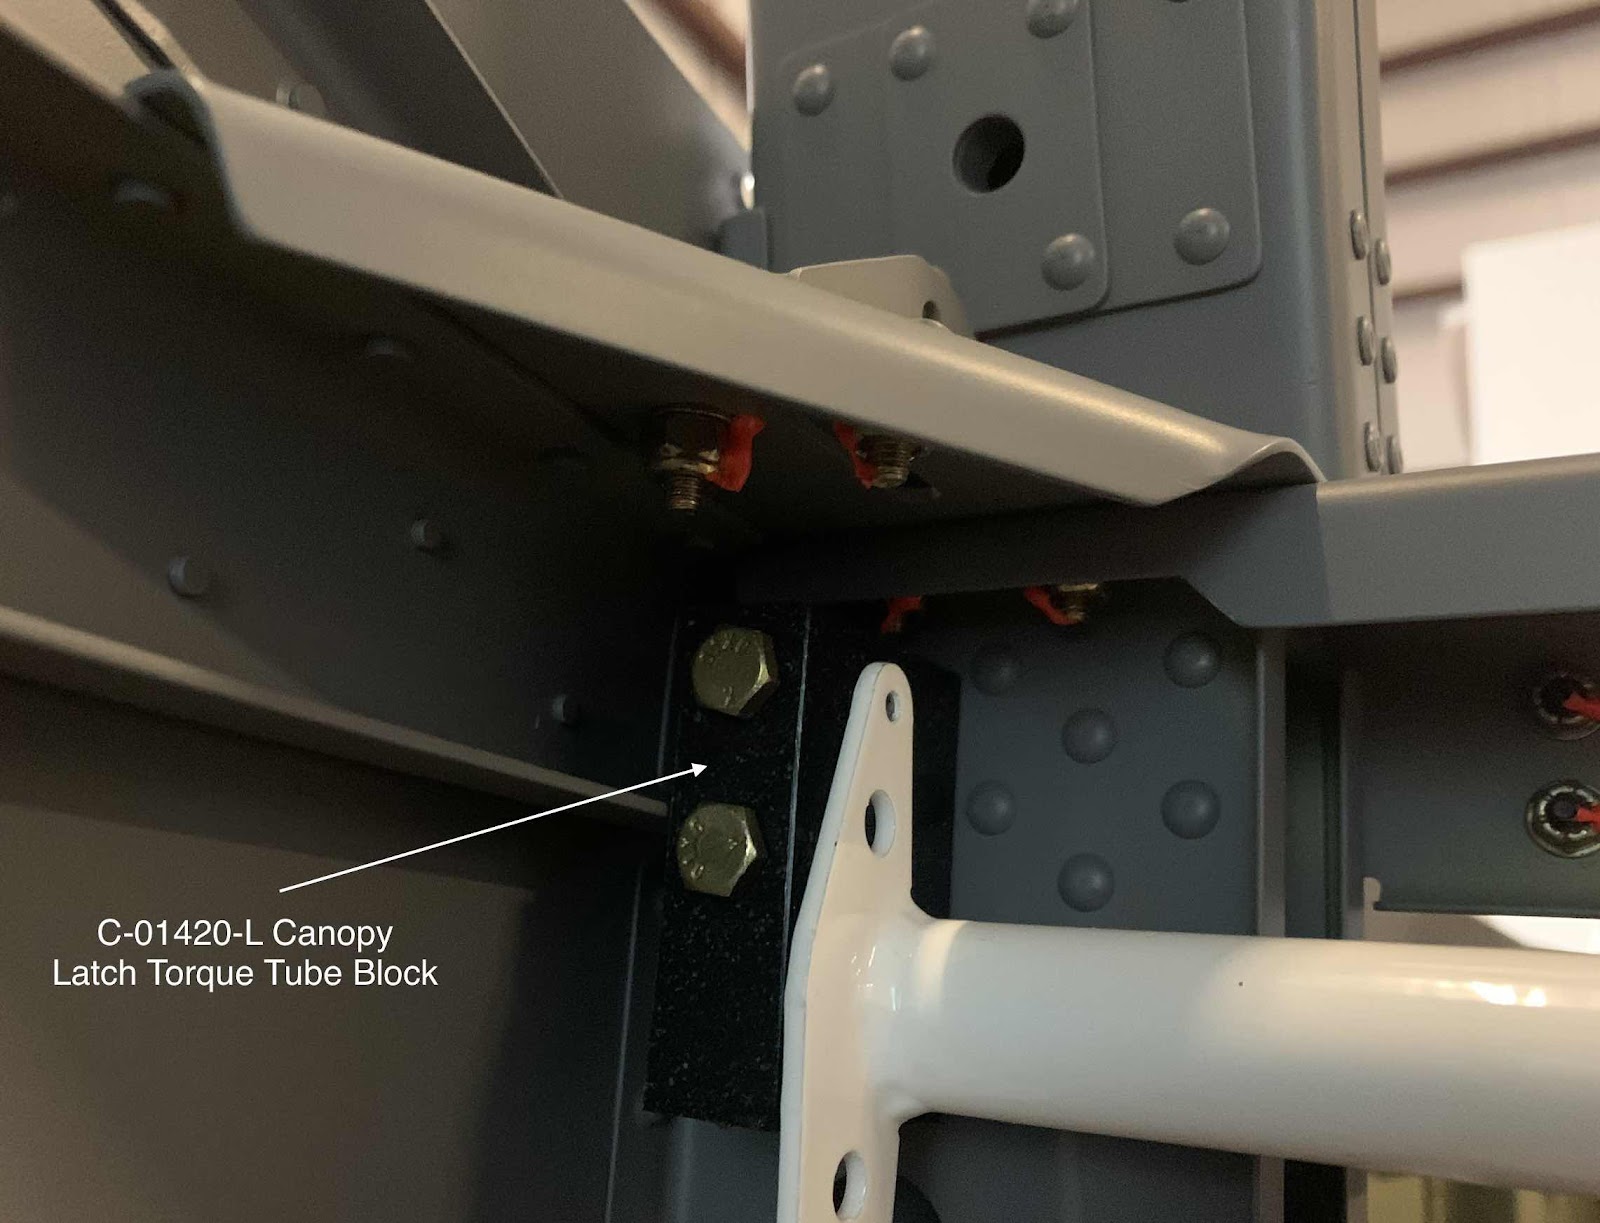
.....the right Block attached....

.....and the overall installation of the Canopy Latch Torque Tube.
