
I started today by spraying grey paint on the countersunk holes and set rivets from Part 13.

Here is the Aft Canopy Frame after being painted.

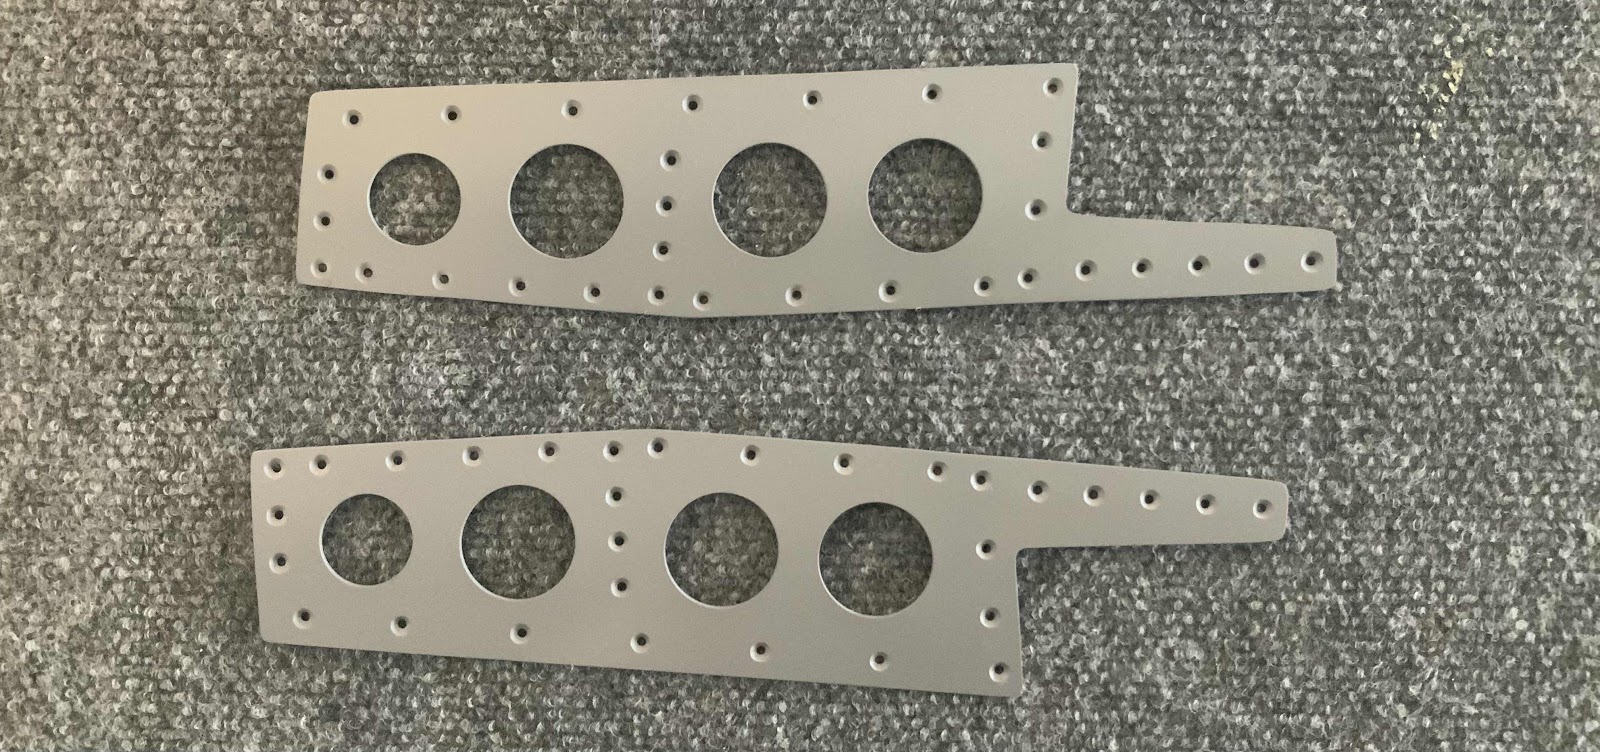
THEN, I realized I had a problem. In the circled area below, you can see the Flange on the right is “longer” than the Flange on the left. Hmmm.....

I investigated a little closer. From this angle, you can see the Flange on the right is “higher” than the Flange on the left. This uneven surface of the Frame would create a HUGE problem with the Canopy. If the Canopy is secured (tightened) to the Frame, it would create pressure point and promote a crack.

Here is another angle showing a close up of the uneven surface of the Frame.....

.....and another looking forward.

Well shit! Now what? I sent these pictures to Van’s to ask for advice. Can I add a shim? Put structural adhesive in the void area, sand and shape? Something else?
Van’s responded to my email and said it looks like they had a manufacturing problem. So, they are going to send me a replacement part (flange). After Van’s decides which part(s) they will replace, I will order all the other parts to completely rebuild the Aft Canopy Frame. I would prefer to rebuild the whole thing and make it right from the start, rather than drilling out several rivets and “fix it”.
I’m really, really disappointed in myself for not noticing this before I spend the time to build the whole Aft Canopy Frame. I guess the saving grace is that the Aft Frame wasn’t attached to the rest of the assembly and it didn’t take very long to build in the first place.....so, it hopefully it won’t take that long to build the second time around.