
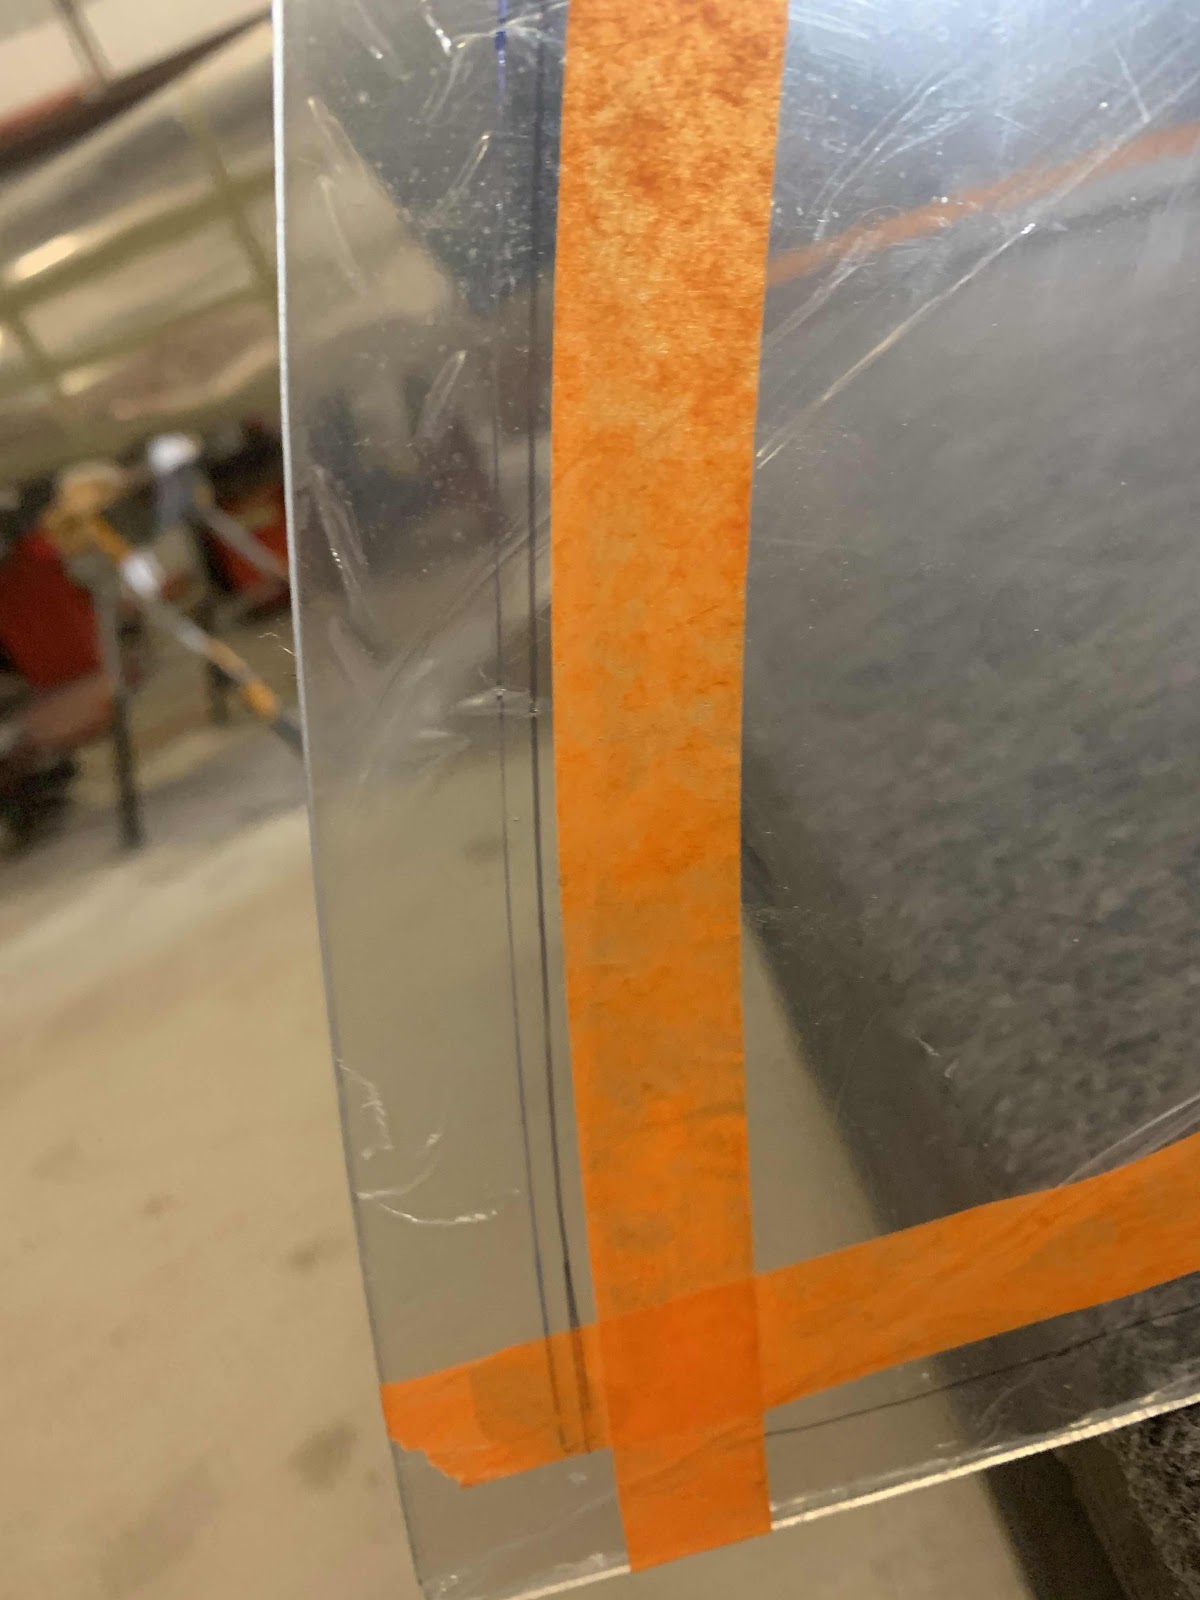
As I mentioned in Part 4, we traced the inside of the baggage area Side Skins onto the protective plastic on the Window. The red line shown below is the correct line and the one we used as a “guide” for the tape. This is how our tape looked installed.
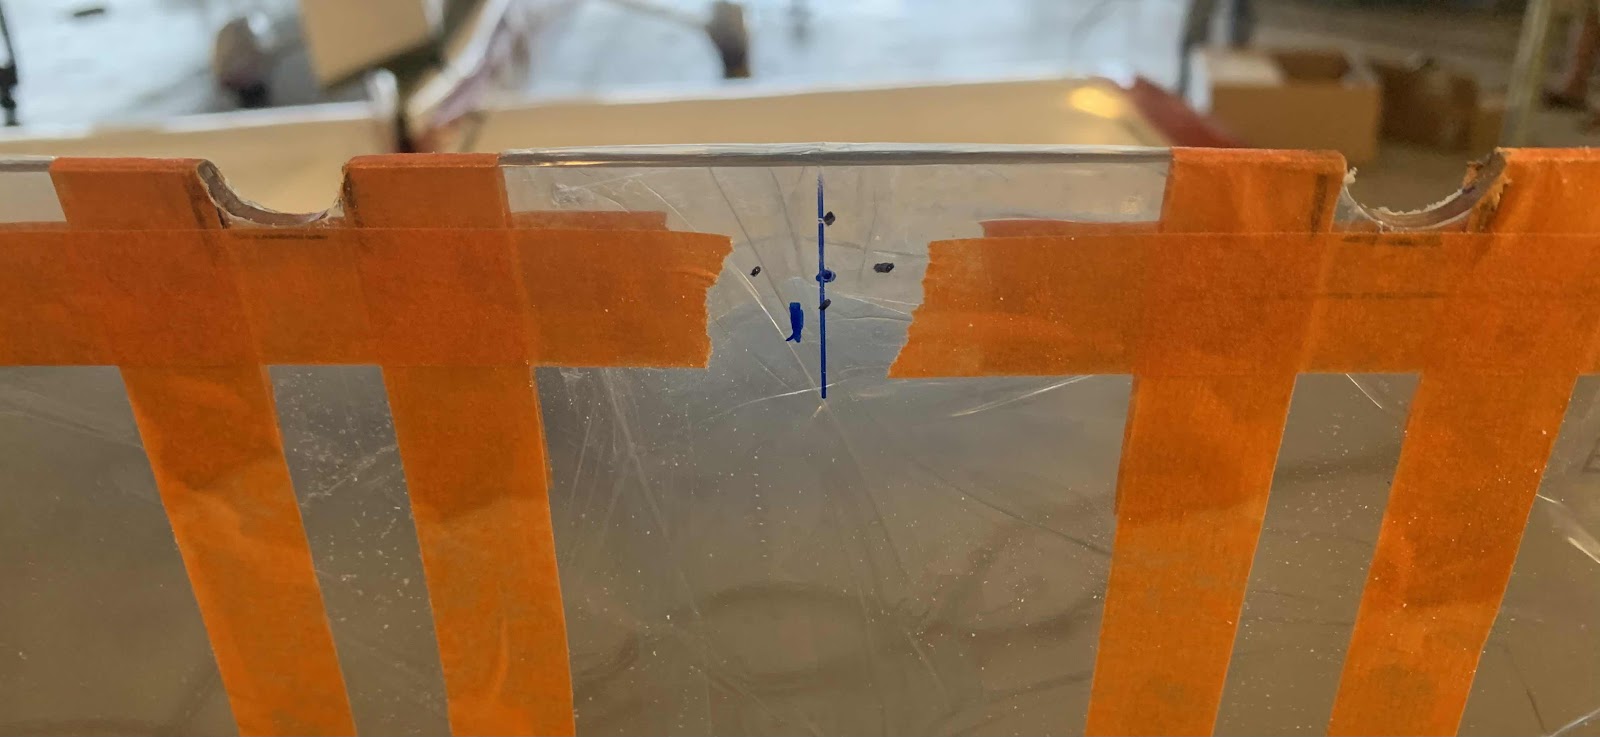
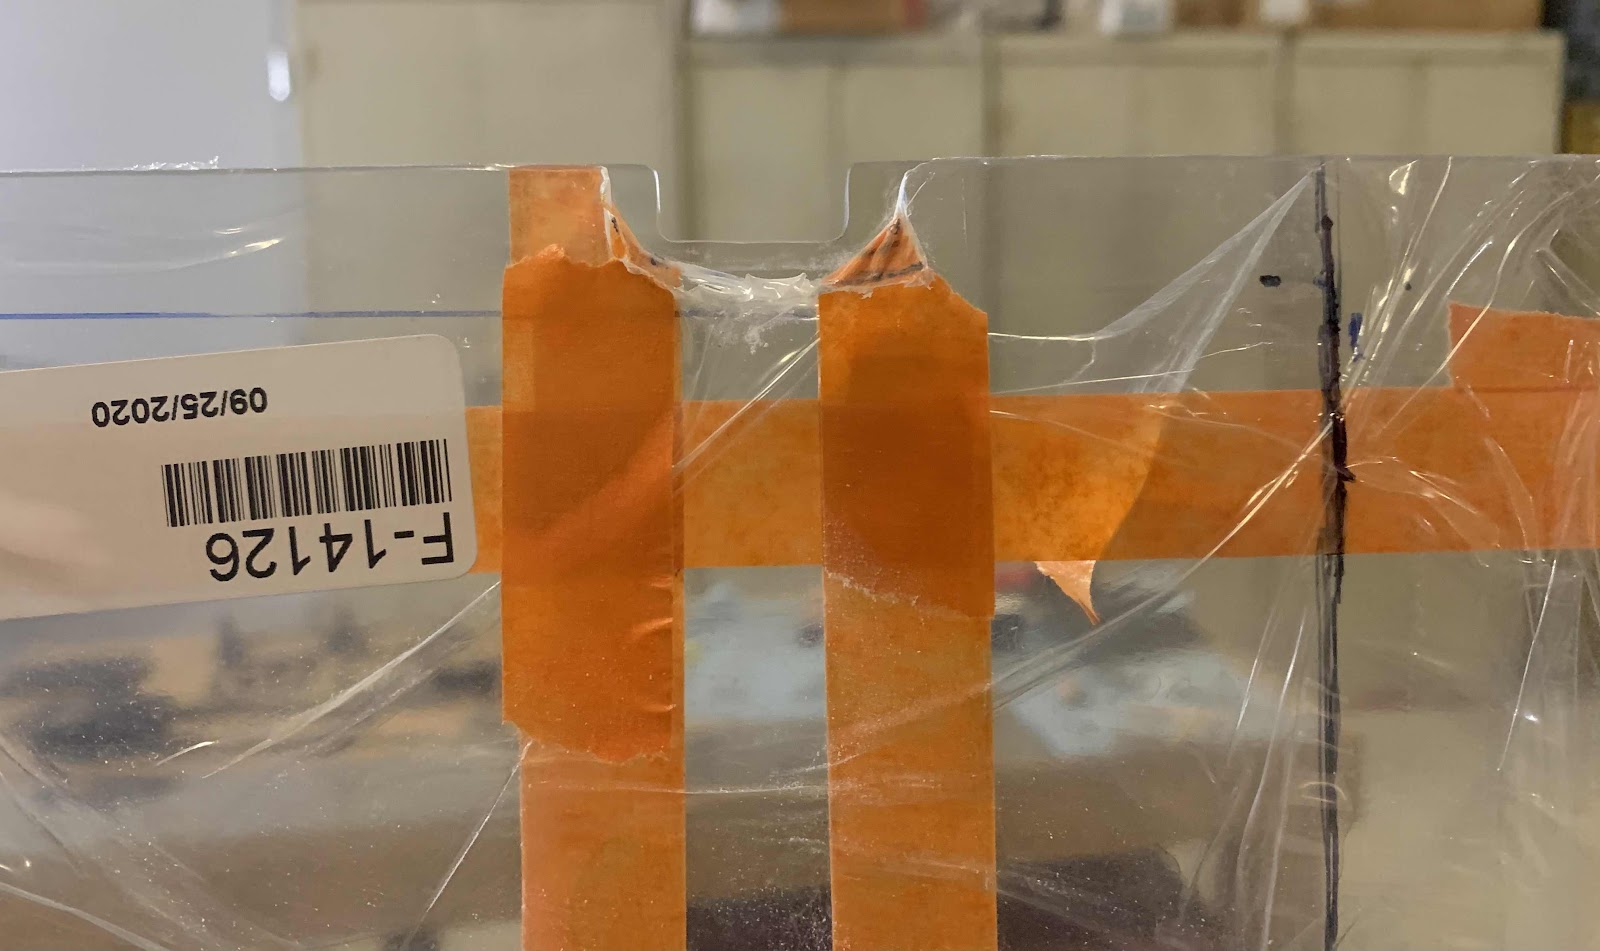
Below are the notches that were described in Part 4. Here, you can see the marks we made on the Window around the Roll Bar Brace Brackets. The area within our marks has to be removed from the Window. Until this point, the only thing we have done with the Window was put in on the plane and use a sharpie to make some marks.....stress free! NOW, it’s time to remove material from the Window.....NERVOUSNESS! (Turned out not to be that bad)
To make the initial cut (round cut shown below), I used the Dremel Sanding Band with my Milwaukee Rotary Tool. As it turns out, the sanding band was exactly the right size to fit between the marks and remove the initial material from the Window. This is the outside of the Window.....

.....and the inside of the Window.
We used my carpeted table set up like this to “stand up” the Window and work on the two notches.

Next, we used a small set of files to file away the reminder of the material. Lastly, we used 320 grit sandpaper wrapped around a popsicle stick to sand for the final shape. Here is the right side.....
.....and the left side.

Here are a couple of additional pictures of both sides of the Window.

