
Alright, here we go with the Baggage Window.
My Stepdad, Roger, is now in town to help for about a week and a half. This is the 4th or 5th time he has come down to help with the build and we always get a lot done. I’m excited for him to be here.....awesome way to spend some time with him. I’m not sure how long the Window install will take, but if we can get it installed before he has to leave.....victory! The first step is to position the Window on the Fuselage and push it back up against the Roll Bar Brace Brackets at the rear. I forgot to take a picture when we were doing this, but below is what it looks like in the plans. The shaded area will have to be marked and removed from our Window. Additionally, we had to measure the distance that the Window overhangs the underlying Window Shim on the Roll Bar Assembly along the entire forward edge and make note of the smallest over hang distance. My smallest overhang distance was 8mm. That 8mm (smallest distance) was how “deep” you are supposed to trim the shaded area below on each side.

The plans show to use large spring clamps to hold the Window in place against the Roll Bar Assembly. I found and bought some of those clips, but was happy with the way they interacted with the Window. Maybe they weren’t large enough, but I didn’t like them. I have the clamps shown below (used with a soft spacer between the actual material) and found they worked pretty well. Just to be sure, however, I did take about a million measurements to make sure everything was in the proper place and didn’t shift at all.
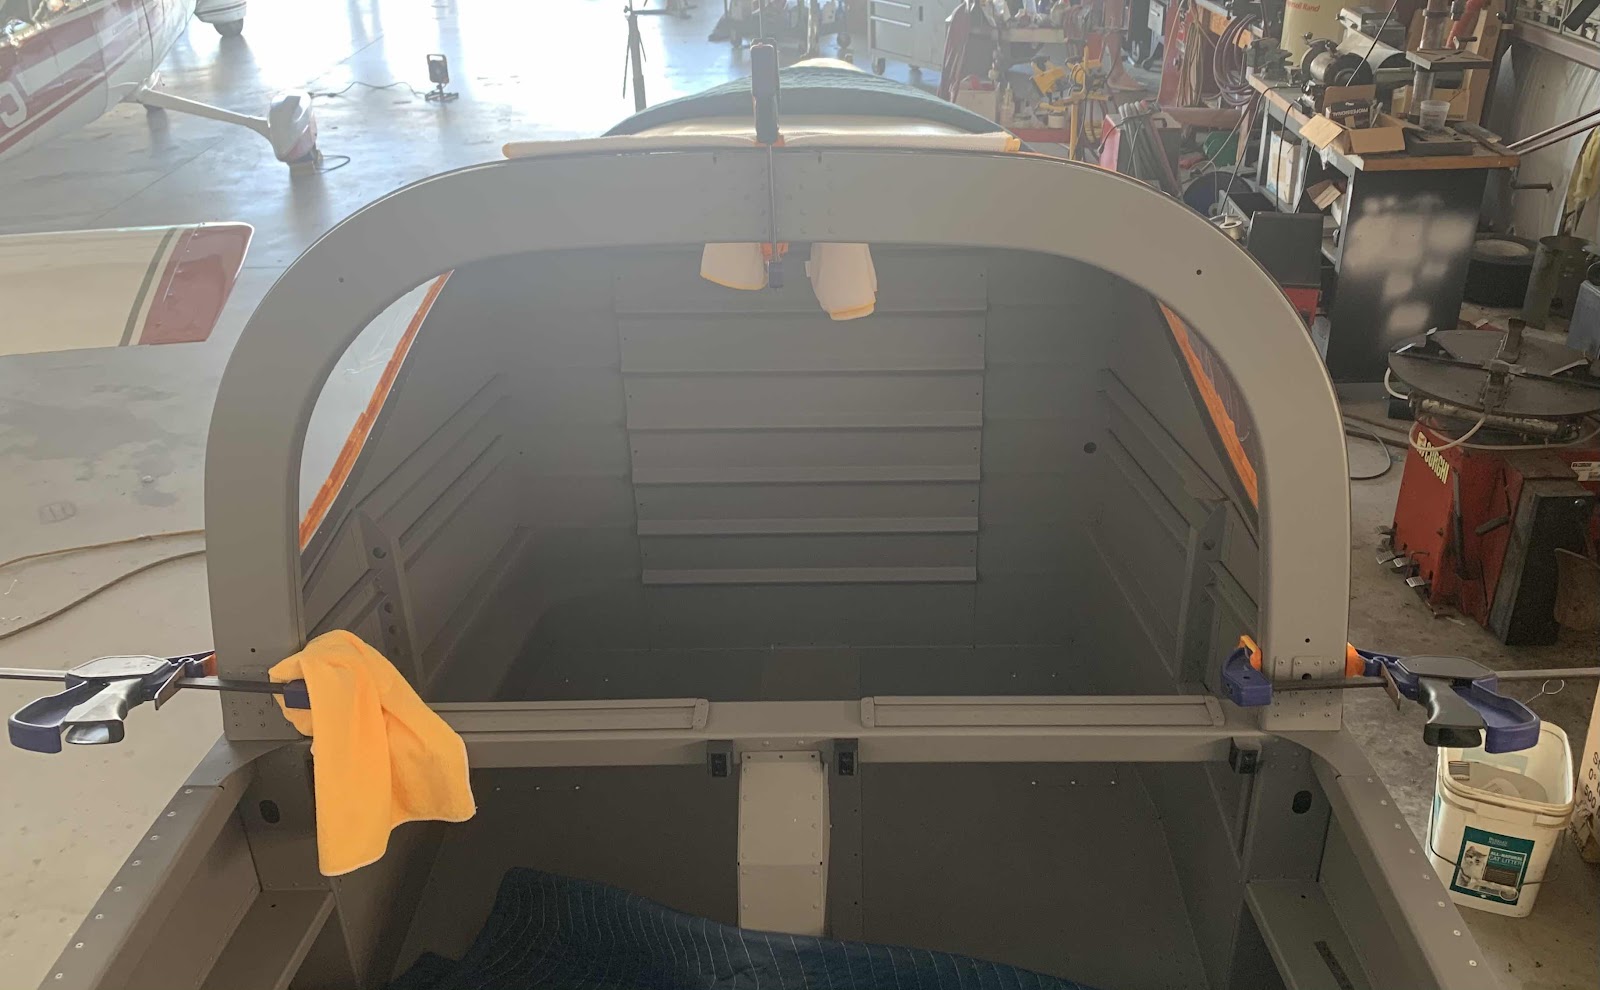
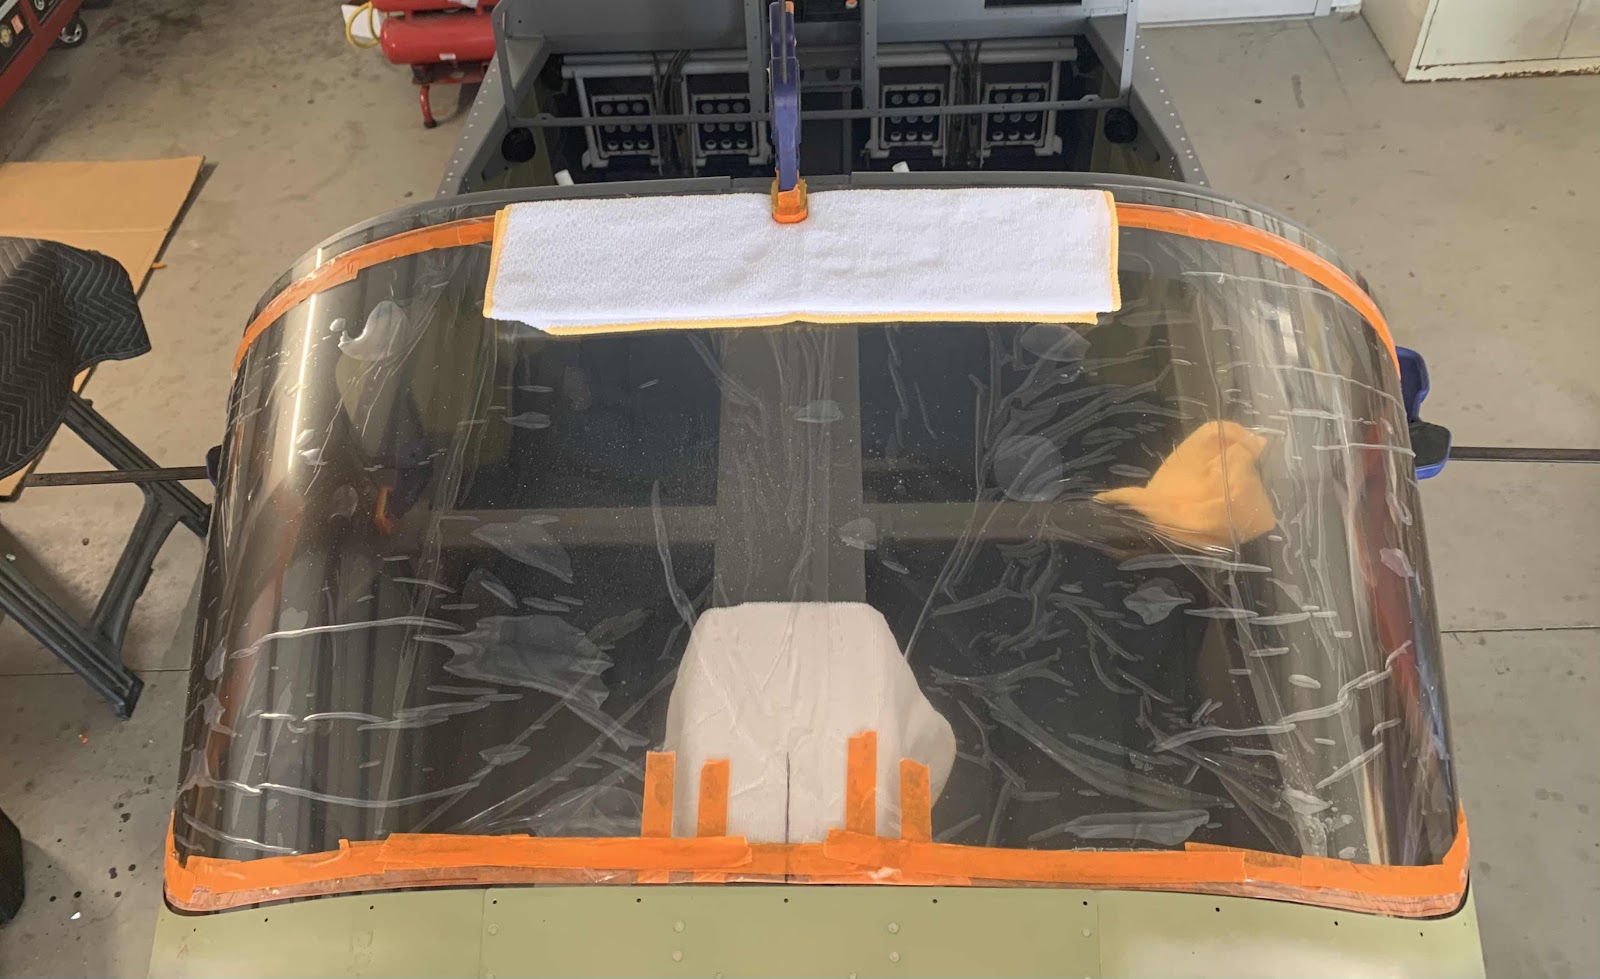
Here is the view from above looking down on the Window. If you notice at the rear of the Window is a vertical line that runs forward from the center rivet hole on the Top Skin. When the Window is shipped from Van’s a center point is marked on the Window. This center point is to be matched up with center rivet hole in the Top Skin during the fitting process. Until we had the correct fitting, I found it hard to see the marked center hole in the Window through the rivet hole. So, I “extended” the mark with a ruler and sharpie. Obviously, you want the two locations to match up, but this line helped tremendously to get everything close.
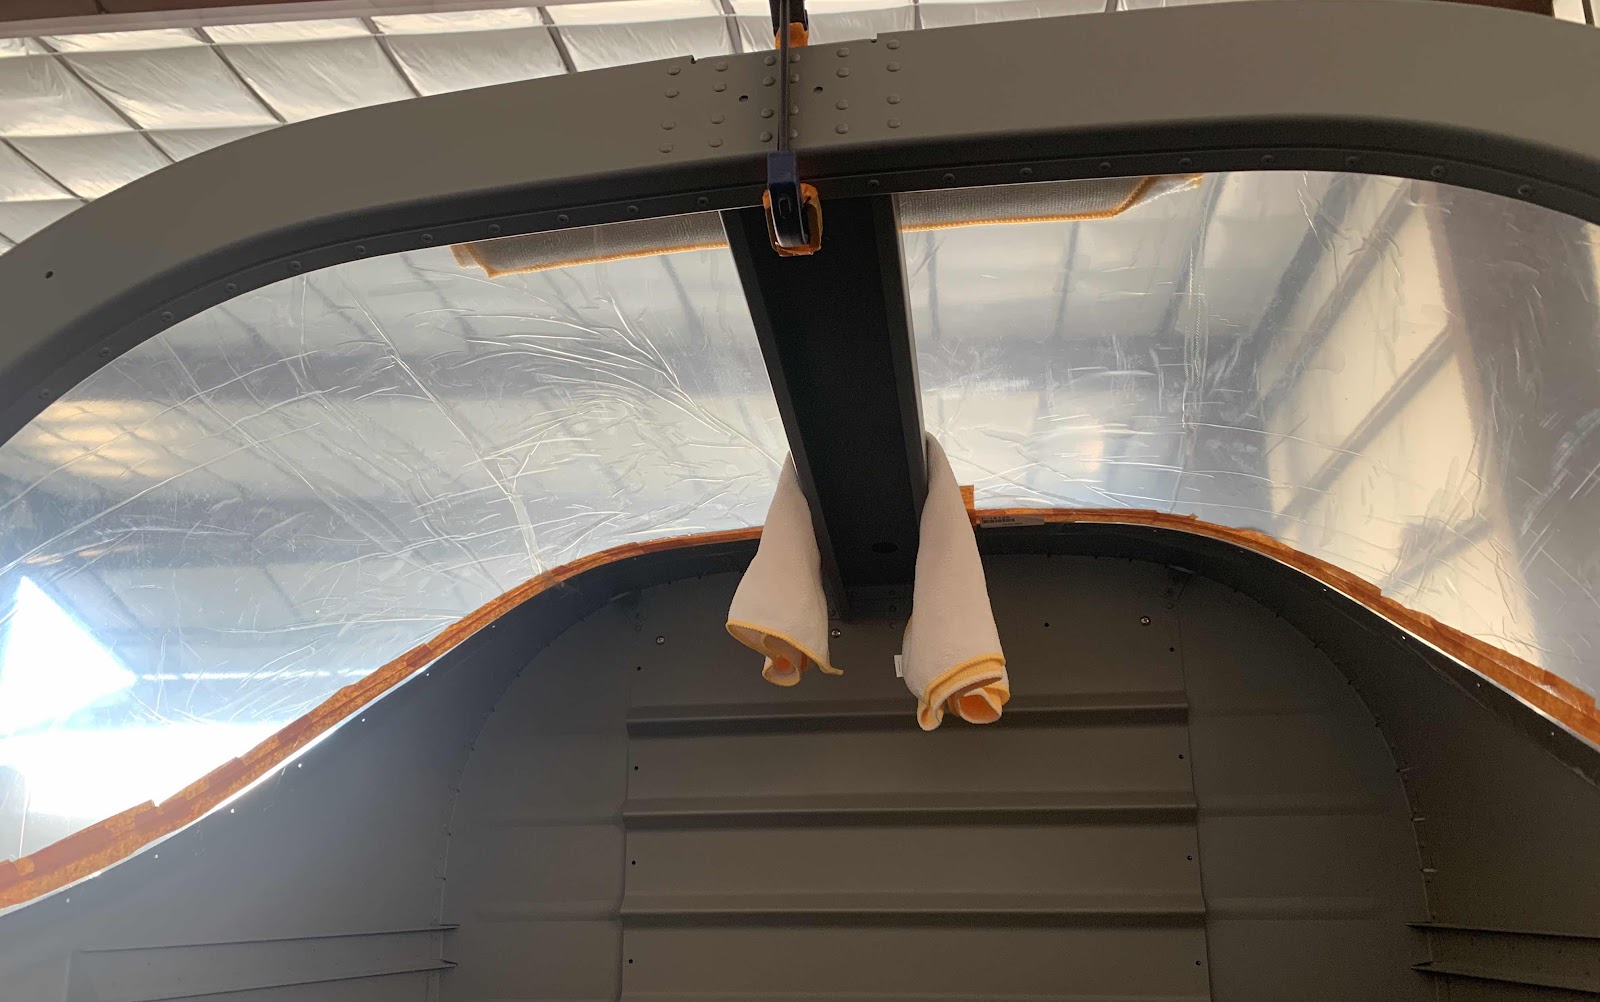
This is a view of the left side of the Window from the inside. To get the Window fit properly, you have to push the lower forward edges of the Window aft in order to force the Window up against the Fuselage Skin to reduce any gaps along the sides. We then had to do two things.....get the most consistent overhang of the Window with respect to the Window Shim (described above) and achieve an equal distance with Side Skins. This area is shown below in the magnified circle. Once all of these areas were as consistent as we could get them, we re-clamped the Window to the Roll Bar.

This is a view of the right side.....

.....and the center.
You will also notice the orange tape we put on the Window. The plans had the following NOTE:
“The best fit can be obtained by ensuring that only the bare surface of the window directly contacts the aircraft structure”.
So, with the Window clamped into place, I traced the perimeter of the fuselage skin in the baggage area onto the protective plastic of the Window with a sharpie. Then, we removed the window and peeled the protective plastic back to just beyond that line. Once the protective plastic was peeled back, we installed the orange tape hold the plastic back.....it’s kinda “clingy”.