In Part 5, I assembled and riveted together the four Brake Pedal Assemblies. However, before I continue with this section and attach them to the Rudder Pedals, I want to put some type of anti-slip on them. I decided to use some black generic non-skid wing walk from Van’s.
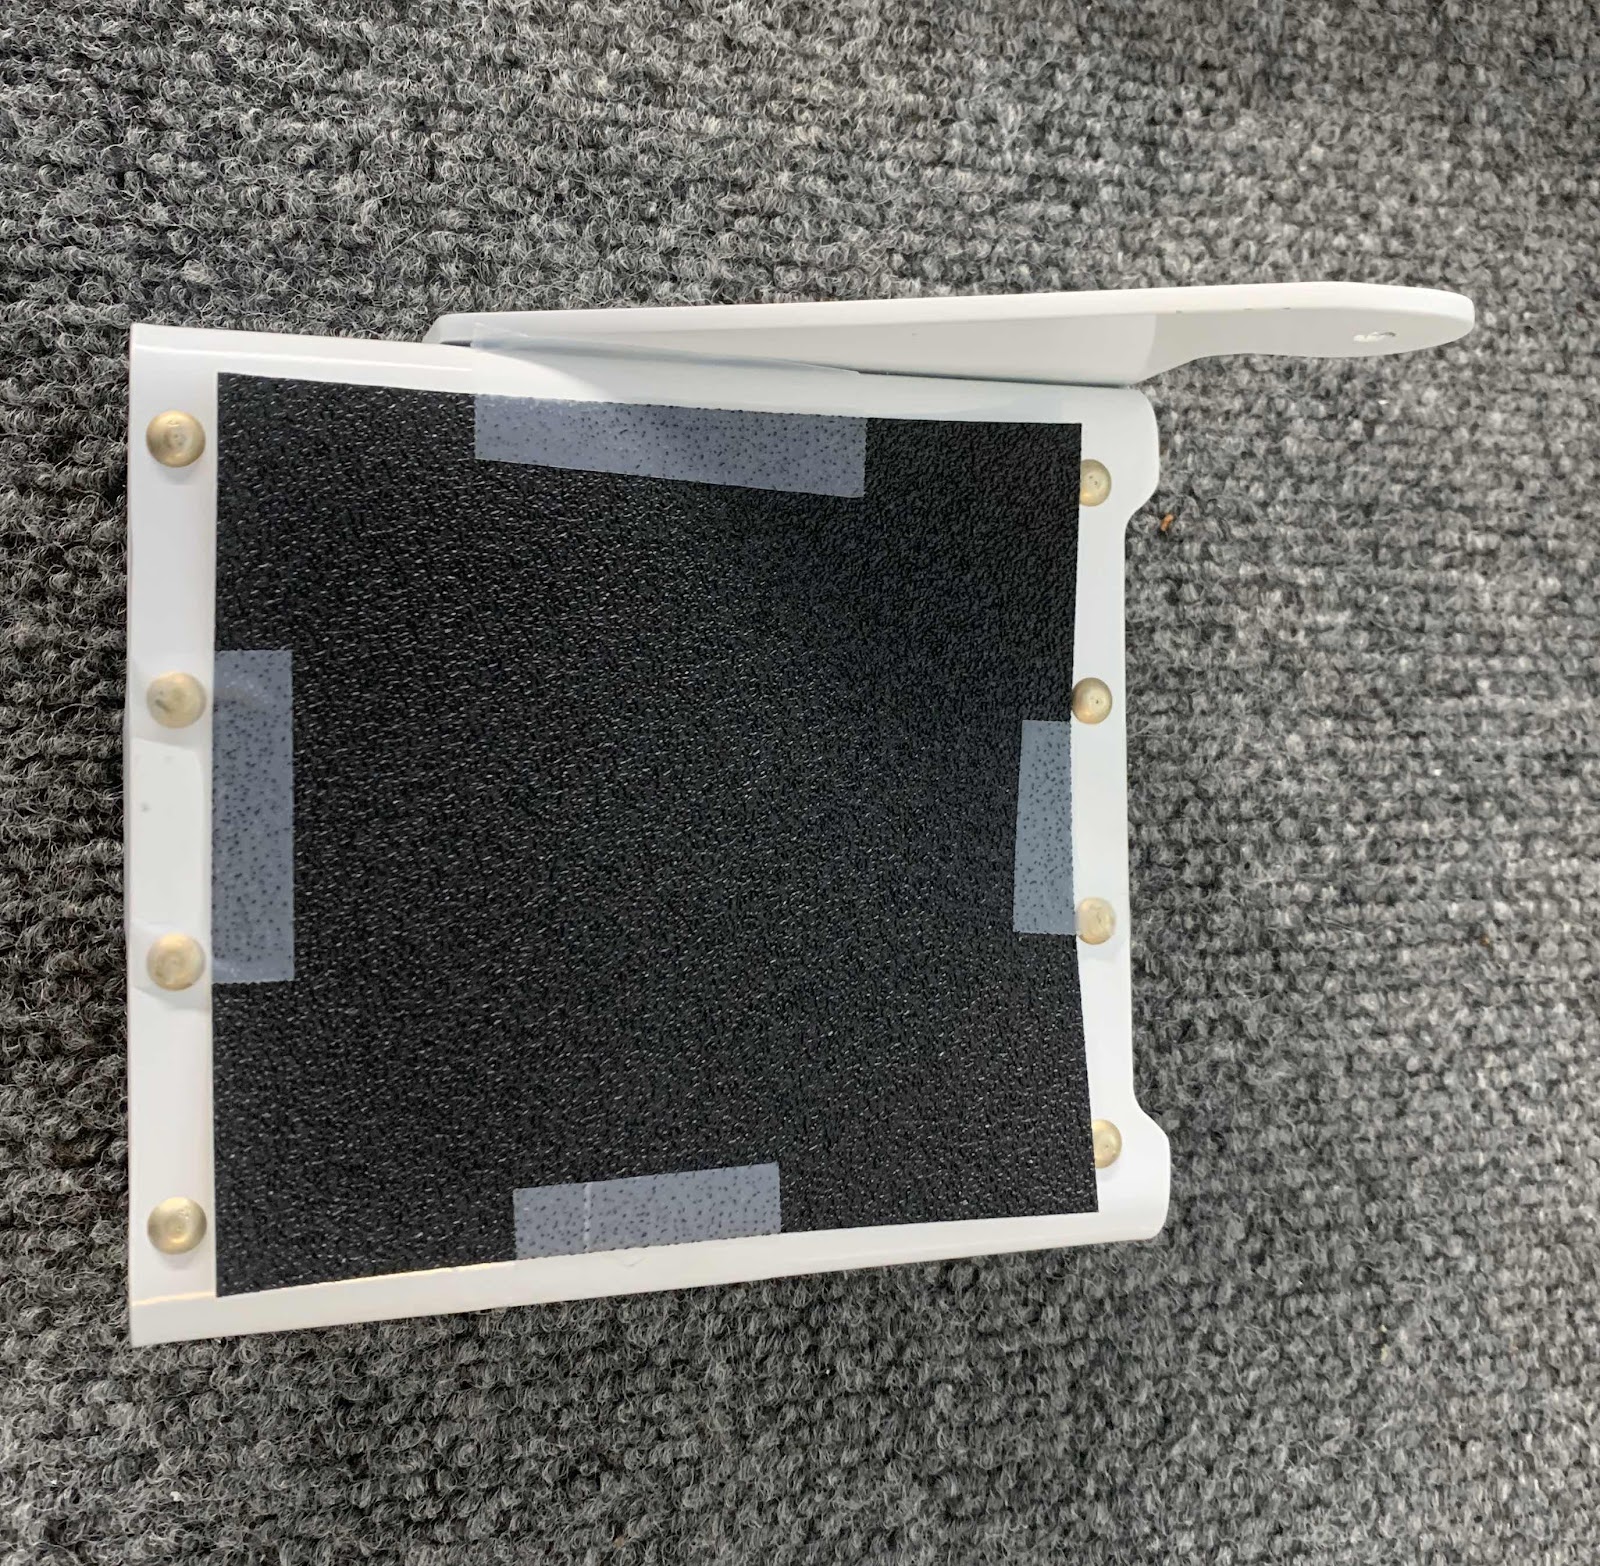
First, I used a paper cutter to make four 4.25” x 4.50” individual pieces. Then, I taped each piece to the Brake Pedal as shown below.
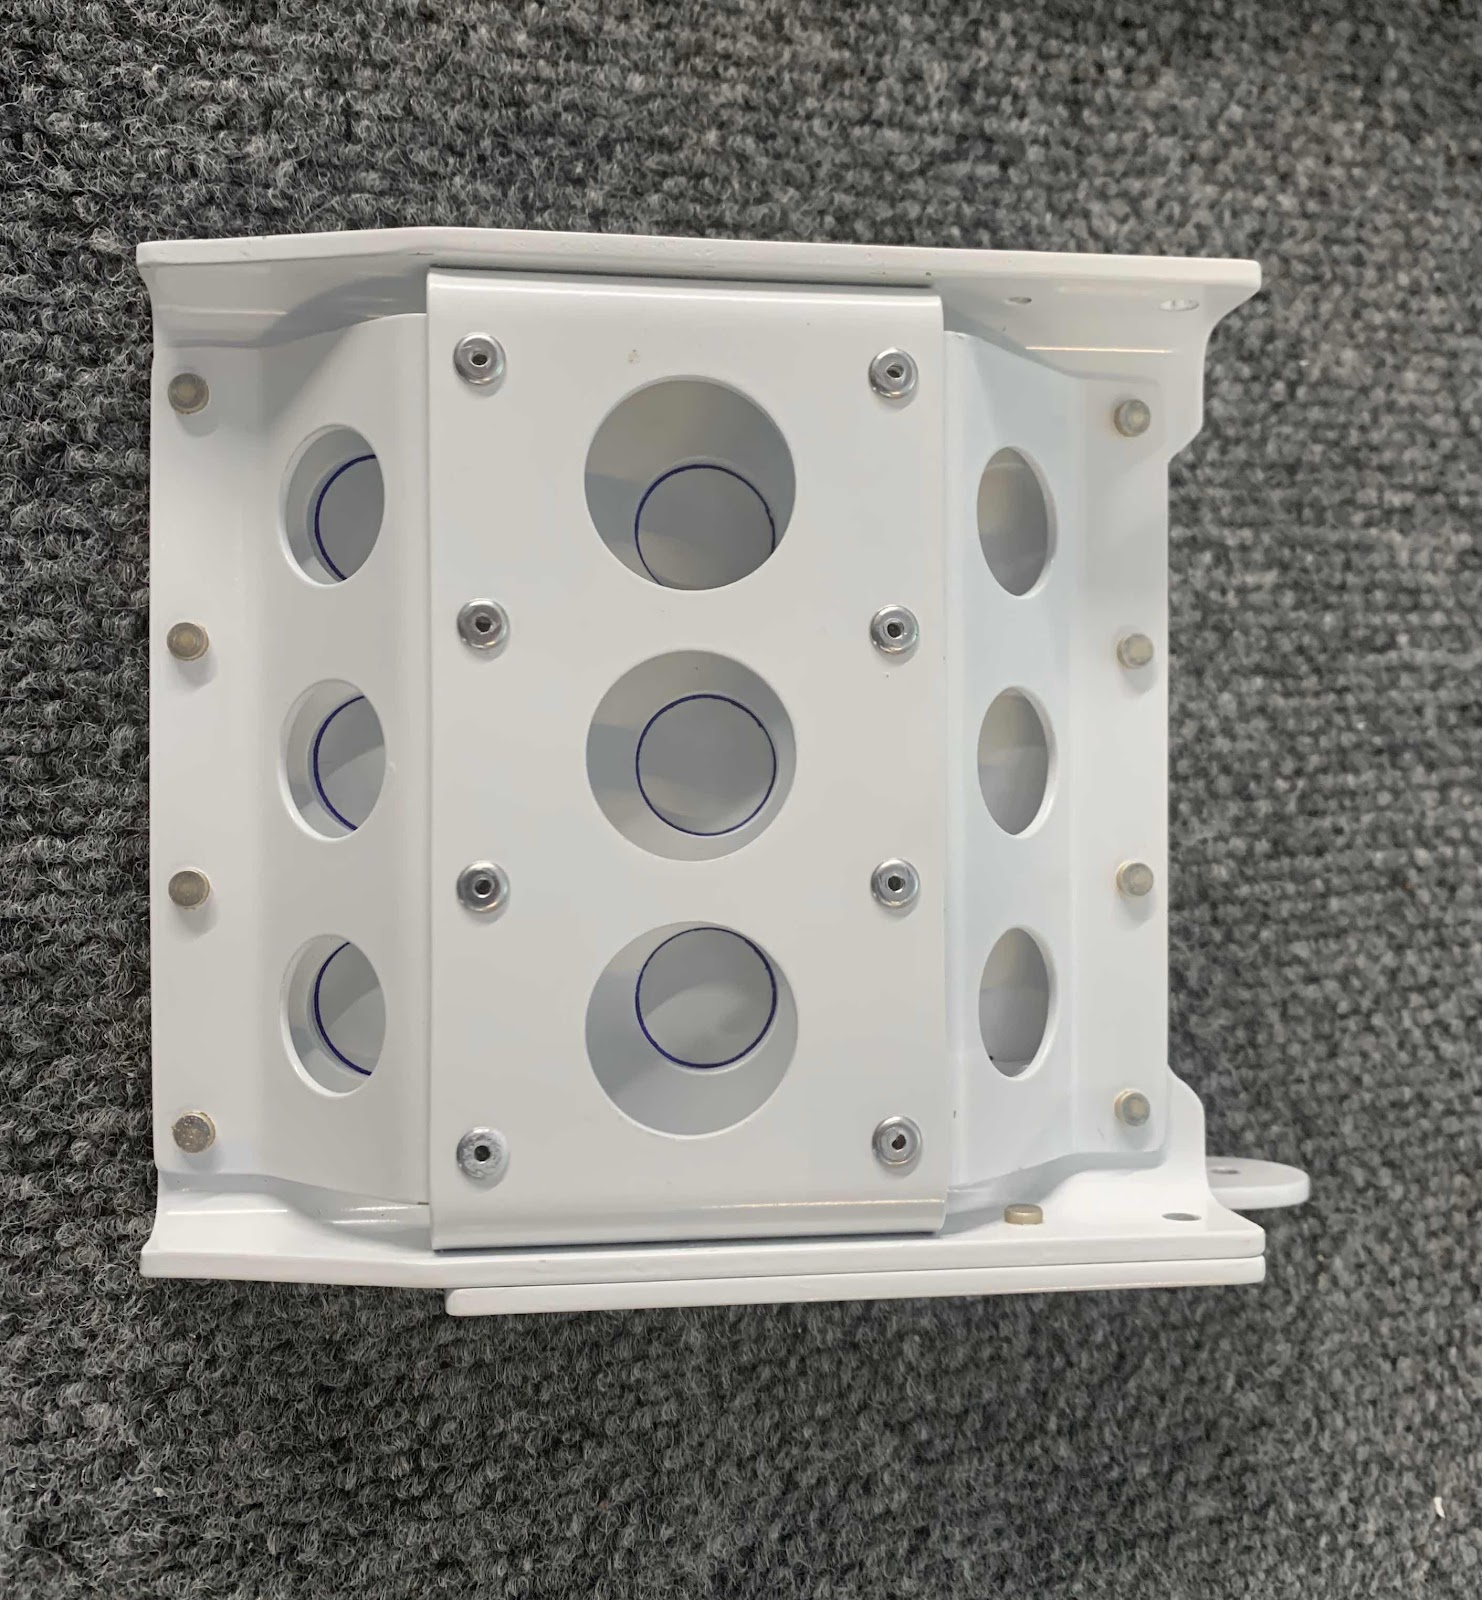
In order to get the hole locations in the Brake Pedals, I turned the Pedal over and marked the locations with a fine tip sharpie. The three holes in the middle of the Pedal were very easy to trace the entire circle. I was only able to get a half hole trace on the six other holes, but it was enough. (A better way to have done this, would have been to trace the holes PRIOR to the assembly of the Brake Pedal).
Once all the holes were traced I used this punch set to “punch”out the holes in the wing walk.
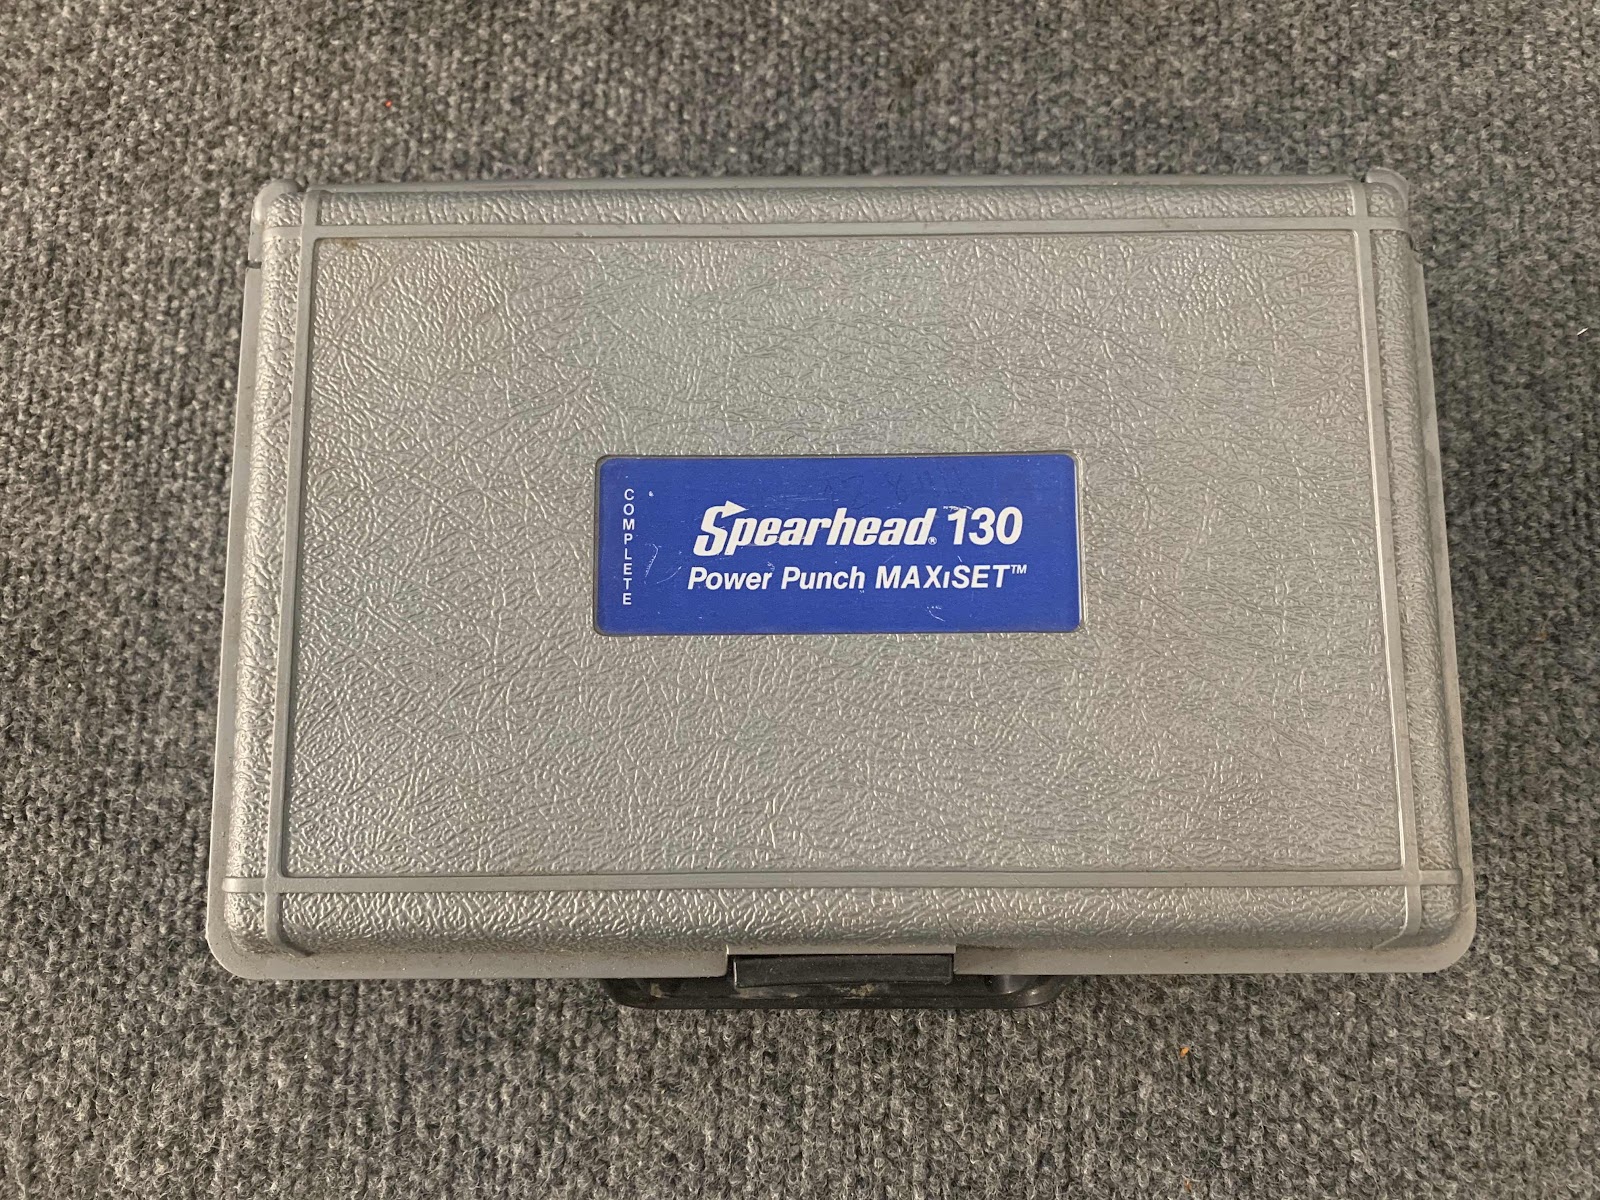
Here is the whole set.
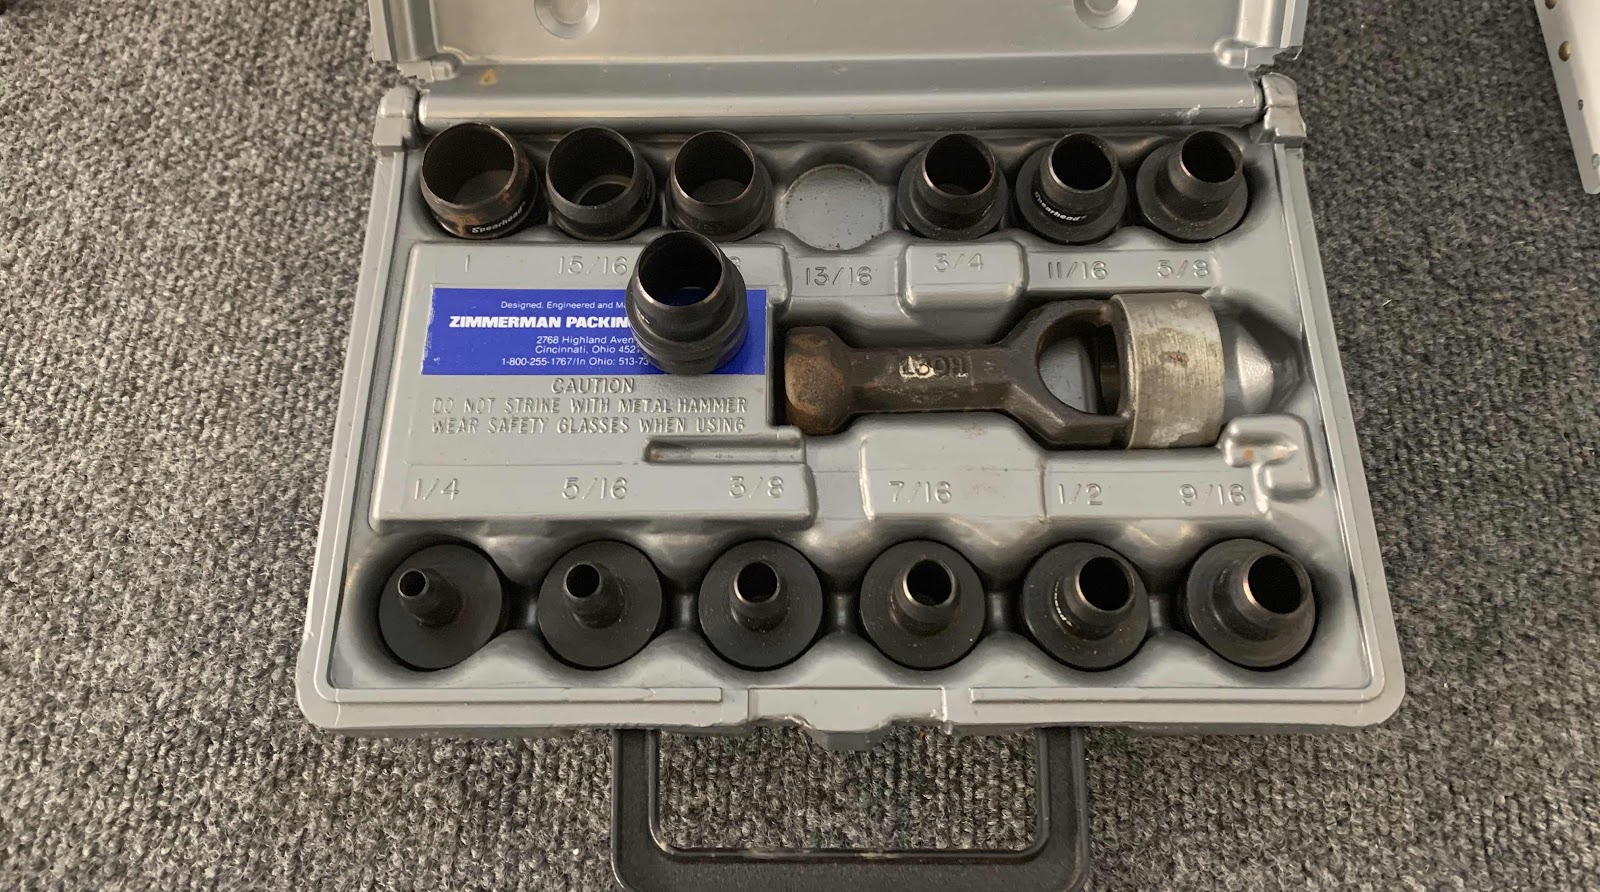
Now, the holes in the Brake Pedal are 3/4”, so I used a 13/16” punch so the wing walk holes would be slightly larger. I had to use a little bit of “calibrated eyeball” to get the larger punch evenly around the smaller traced hole. It wasn’t to hard and it turned out pretty good for just eyeballing it. With the larger punched holes in the wing walk, I feel like there is less of a chance of peeling it off with my foot if the wing walk is not right on the edge of the Pedal hole. We’ll see if that theory is accurate.

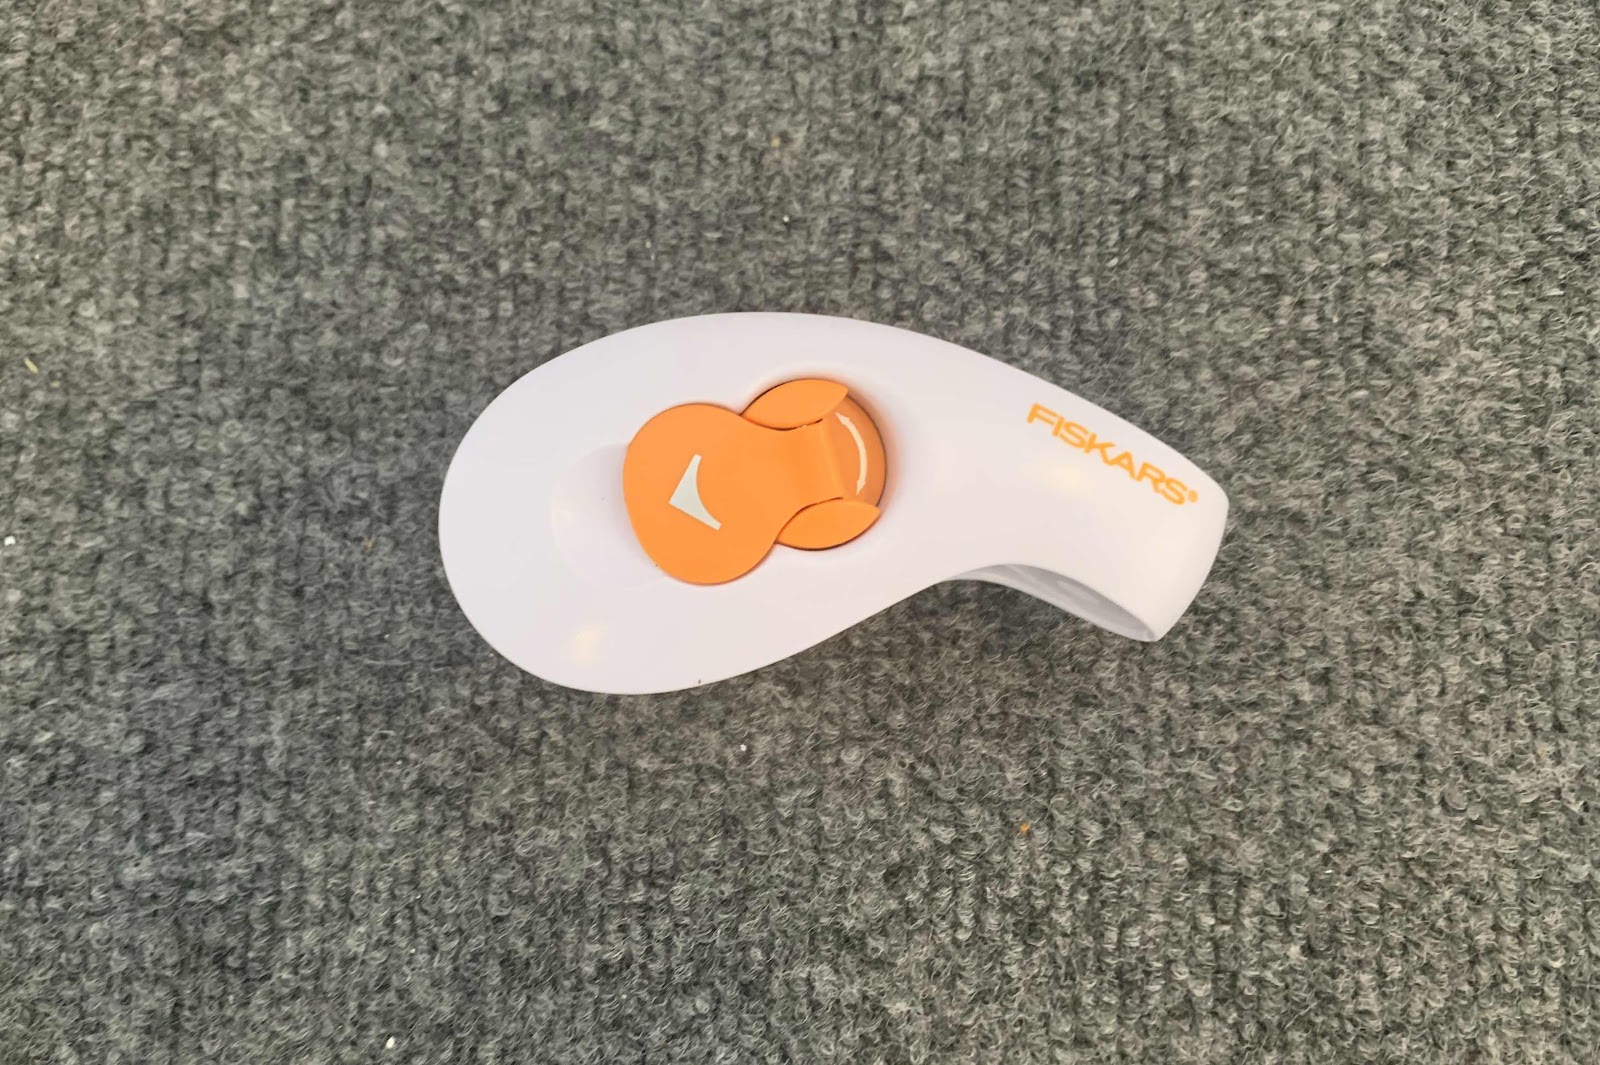
Once the nine holes were punched in each piece of the wing walk, I used this corner punch purchased from Michael’s to round the four corners of each piece. This punch is designed for paper, but did a very good job of cutting the tougher wing walk material. The cutter has two different cut sizes....a small one (the one I used) and a large one. I thought the smaller one looked better.
After the holes were punched and the corners were rounded, I peeled the backing and stuck the wing walk to the Pedal. Here is the first completed Brake Pedal.....you can see the holes that were punched and the corners that were rounded.

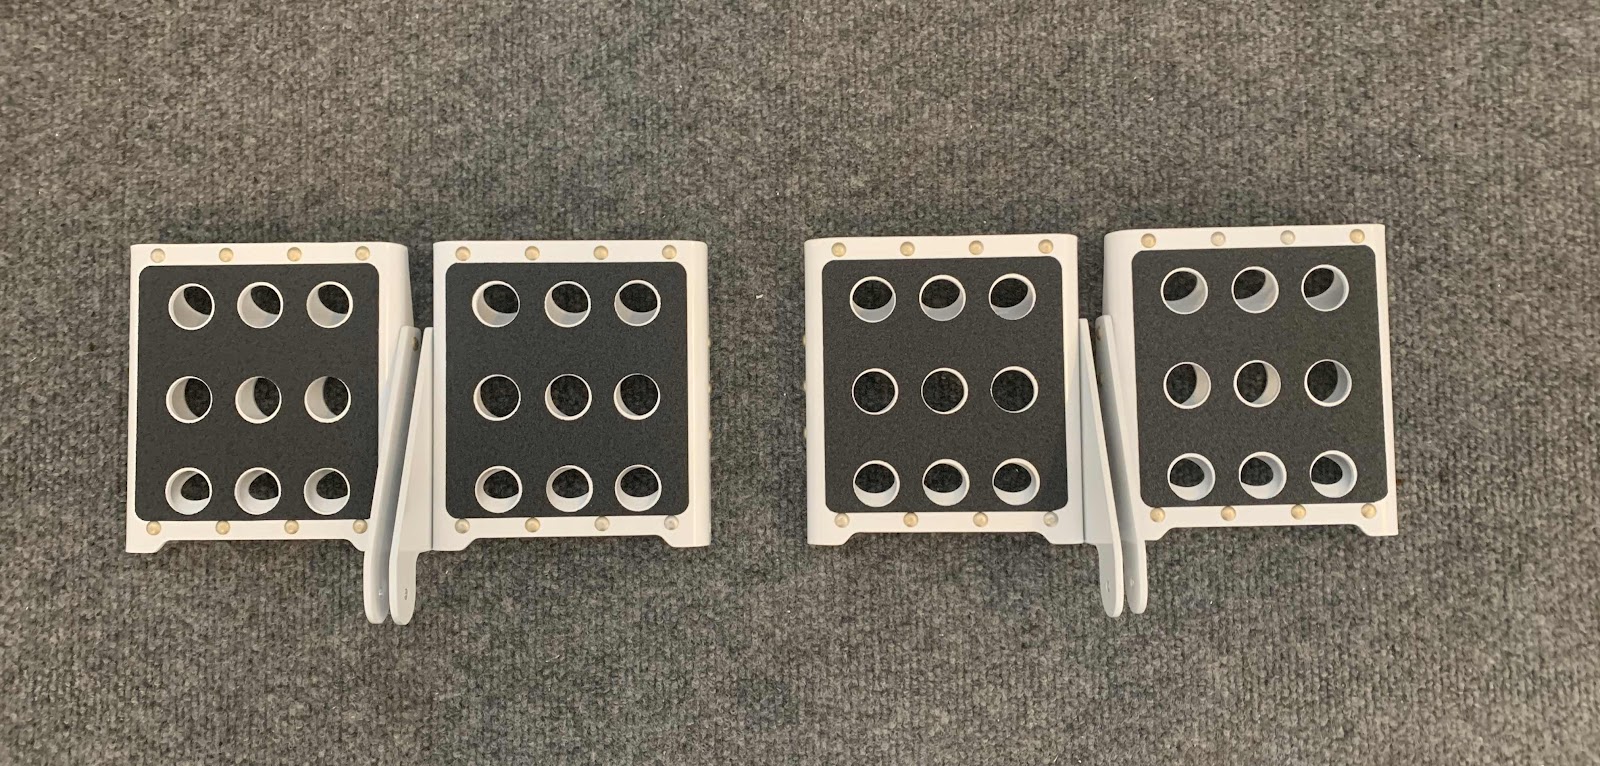
Here are all four of the completed Brake Pedals.

And another view. I’m very pleased with the results.