
While I was waiting for riveting help with the Aft Fuselage Attachment, I started some of the initial parts prep on a couple of additional Sections.....including the Baggage area. Those initial steps for the Baggage Area are covered in part 1 - 6 in this section. Now that the Aft Fuselage Attachment is complete, I turned my attention back to the Baggage Area.
To begin, prior to installing the F-01447-L & -R Baggage Floors, I prepared the area that would be under the Baggage Floors. I vacuumed any/all debris, wiped/cleaned with MEK, and let the area dry. After a few minutes, I took a small airbrush and touched up with Akzo Primer all the areas that the original primer might have been removed....scratched from the bucking bar, parts scratching each other, etc. Then, ultimately, I decided to just got ahead and Akzo prime ALL the areas that were not previously primed.....mostly the shop head side of rows of rivets. Anyway, now that all that is complete, it’s time to put down the Baggage Floors. Both Floors were clecoed into place and for no particular reason, we started on the right side.
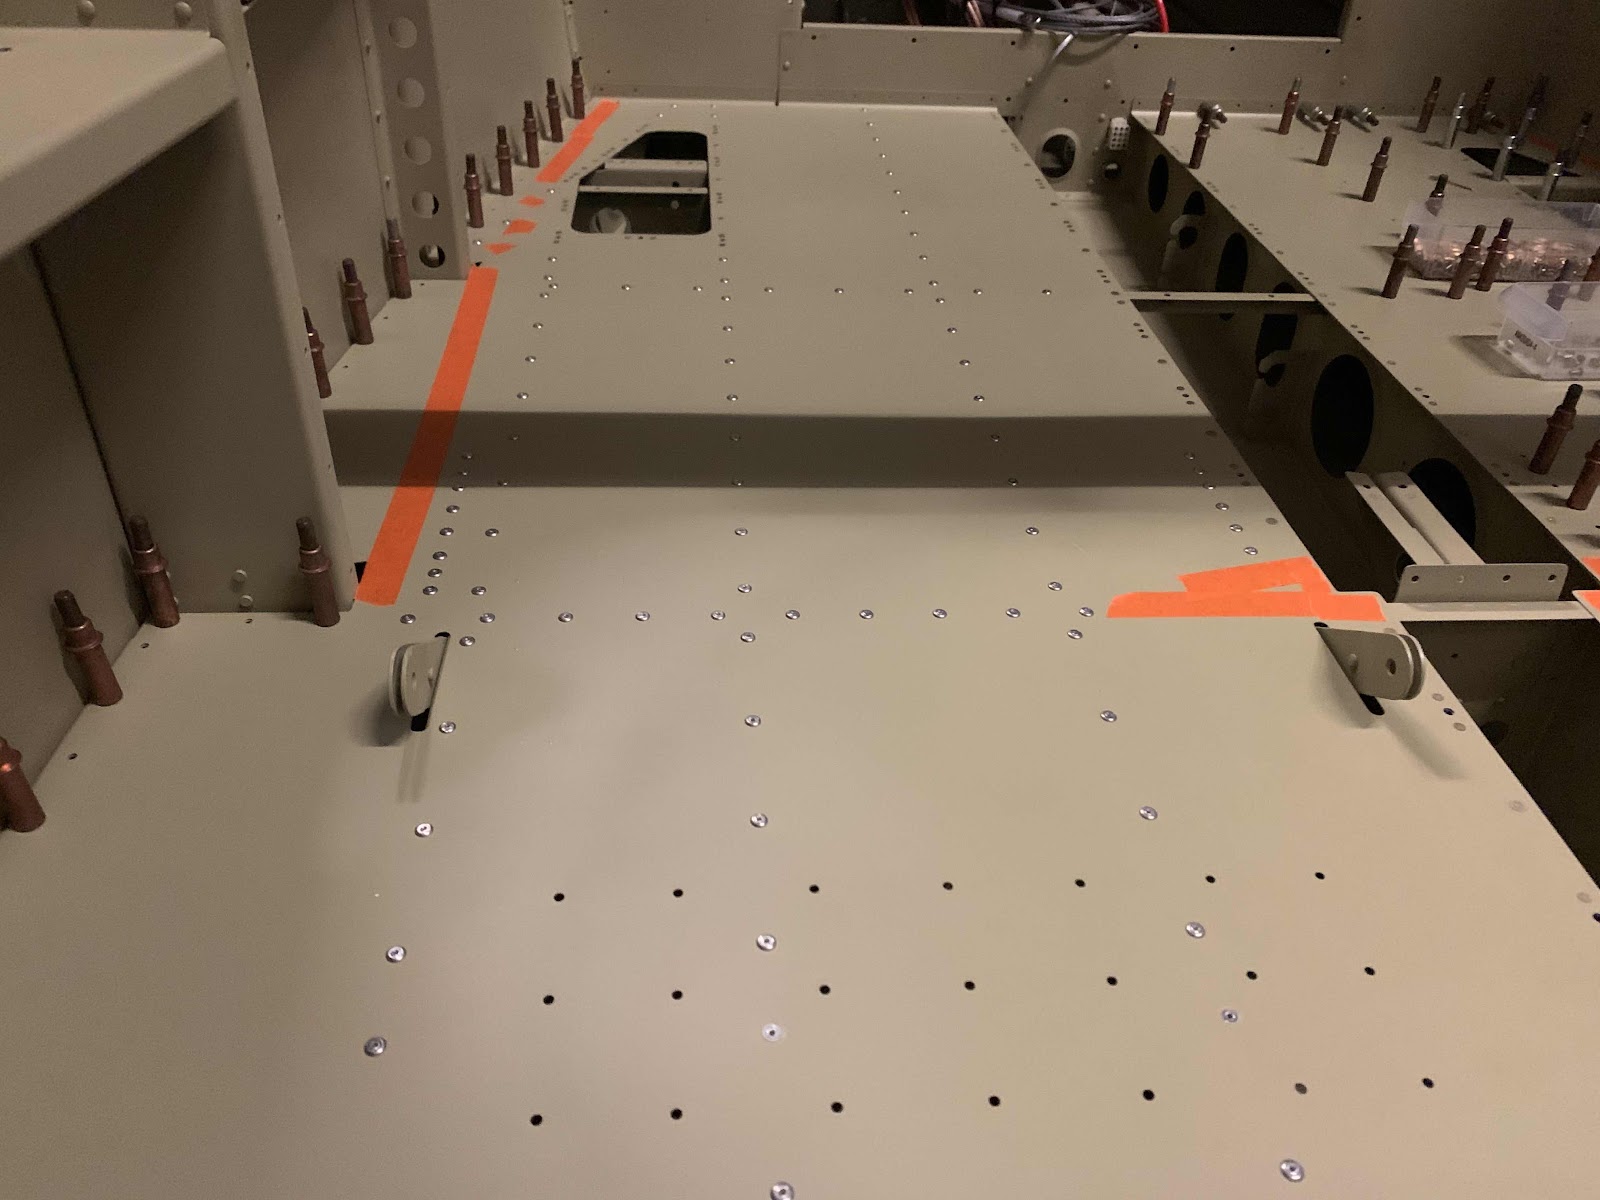
A couple of the center holes for nutplates had to be final drilled to #19, but no other preparation was needed (previously completed in Parts 1 - 6). The Access Panel opening and outside edges of each Baggage Floor contained a total of 30 K1000-08D nutplates, 15 AN426AN4-4 rivets, and four CCR-264SS-3-2 rivets. All the remaining holes (many of them) received LP4-3 Blind Rivets. Here is the almost completed right Baggage Floor.....
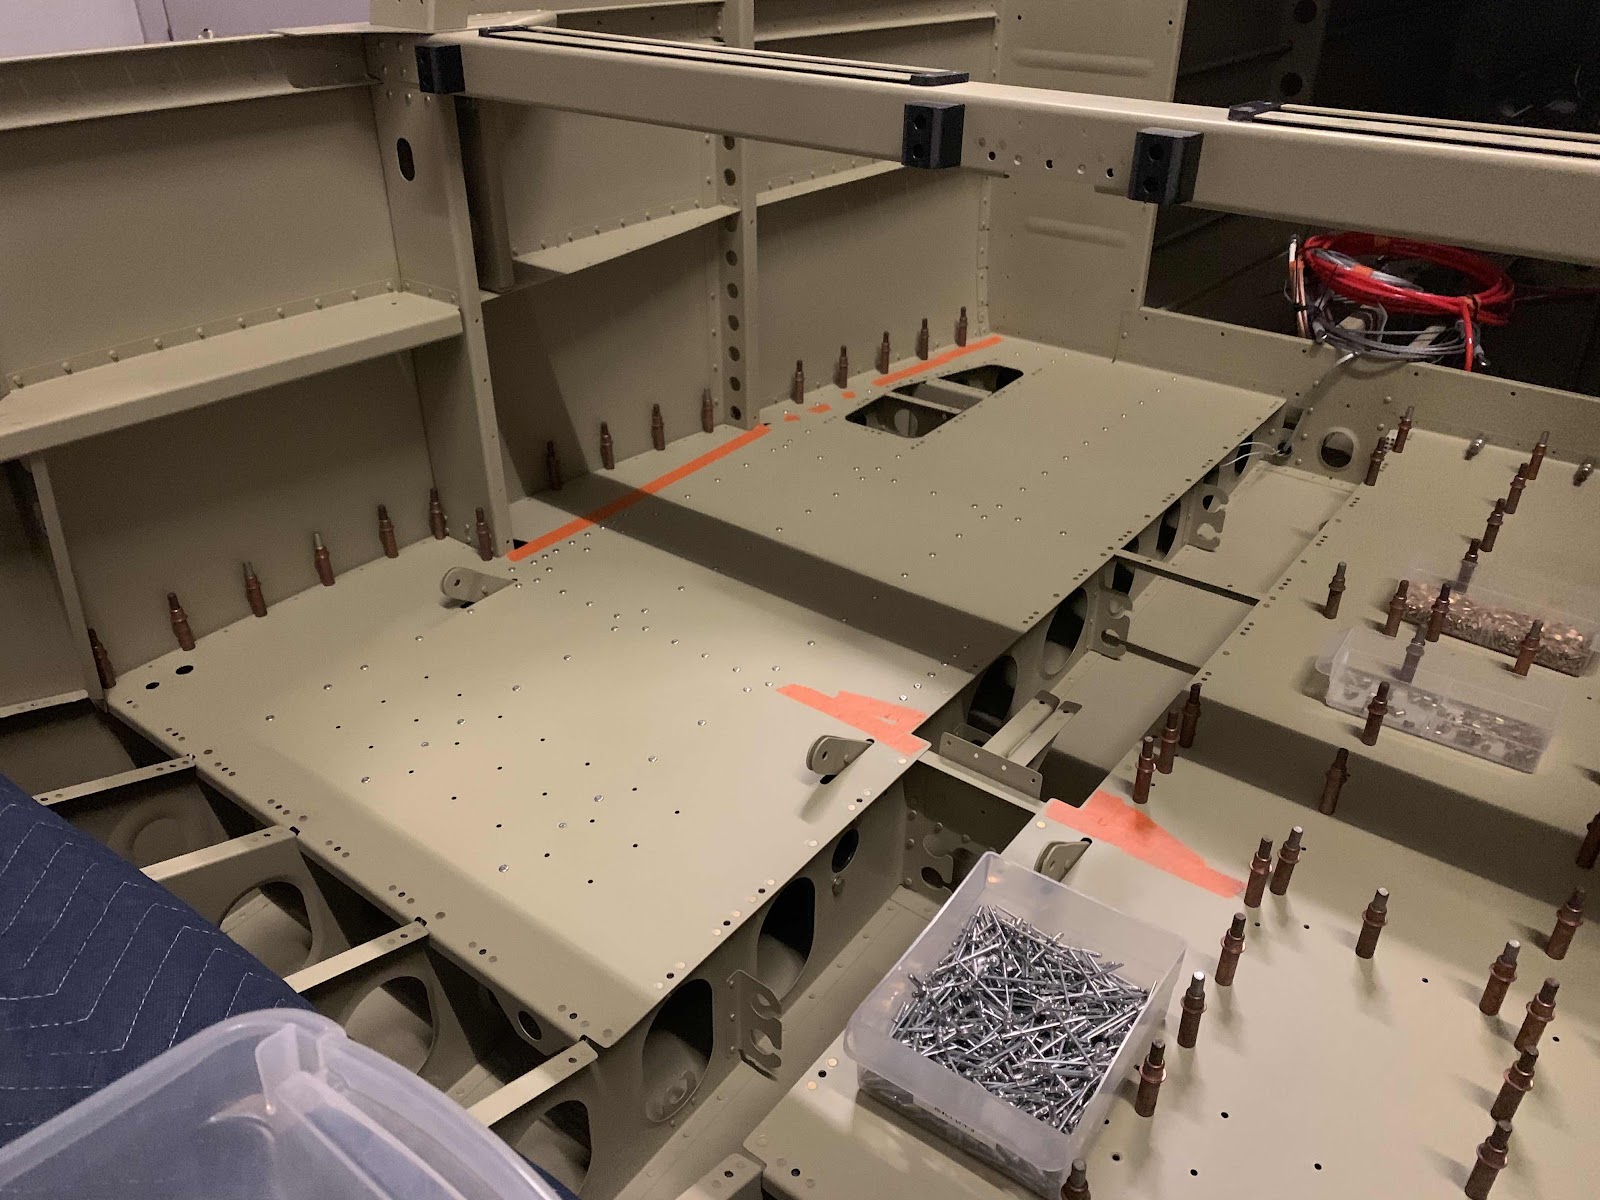
.....and a close up of the right Baggage Floor.
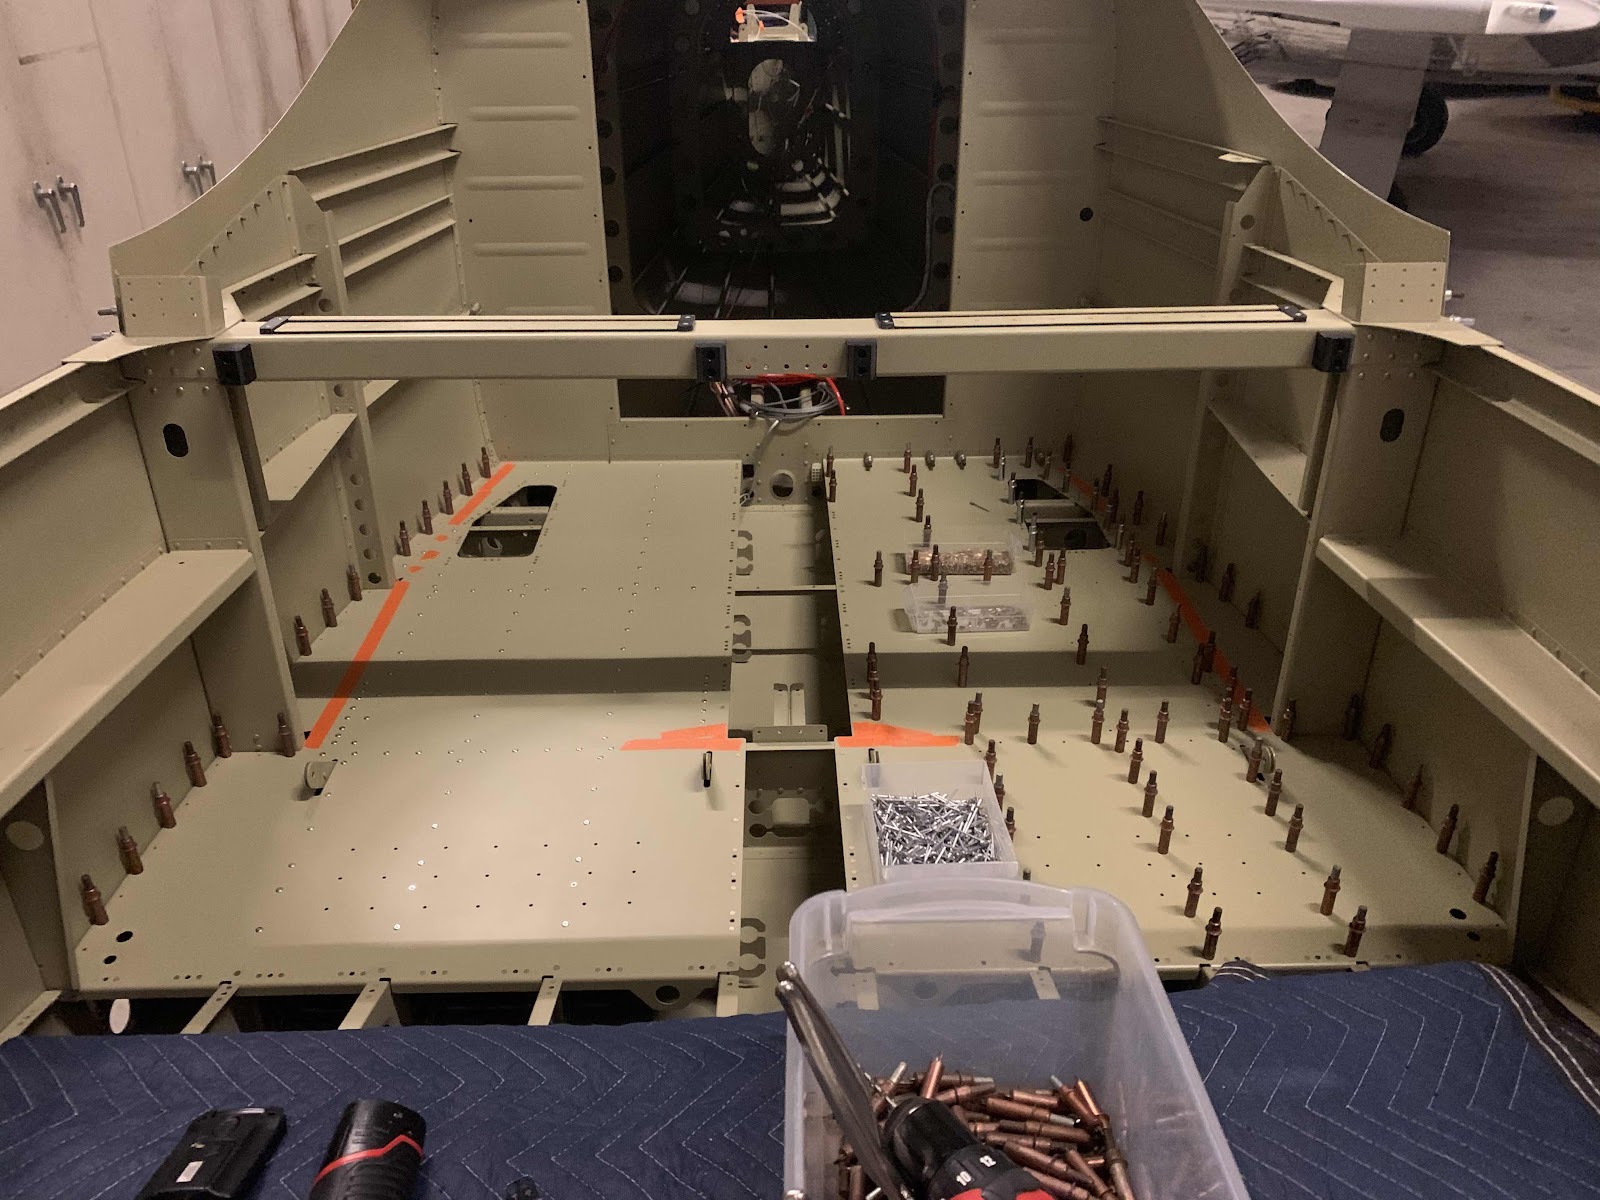
This is a view showing the right and left Baggage Floors. The Floor on the left (right Baggage Floor) is almost complete. The Floor on the right (left Baggage Floor) is clecoed into place and will be completed next.
More to follow during the next session.