Tuesday, May 7, 2019

Fuselage, MID Lower Structure (Part 8)

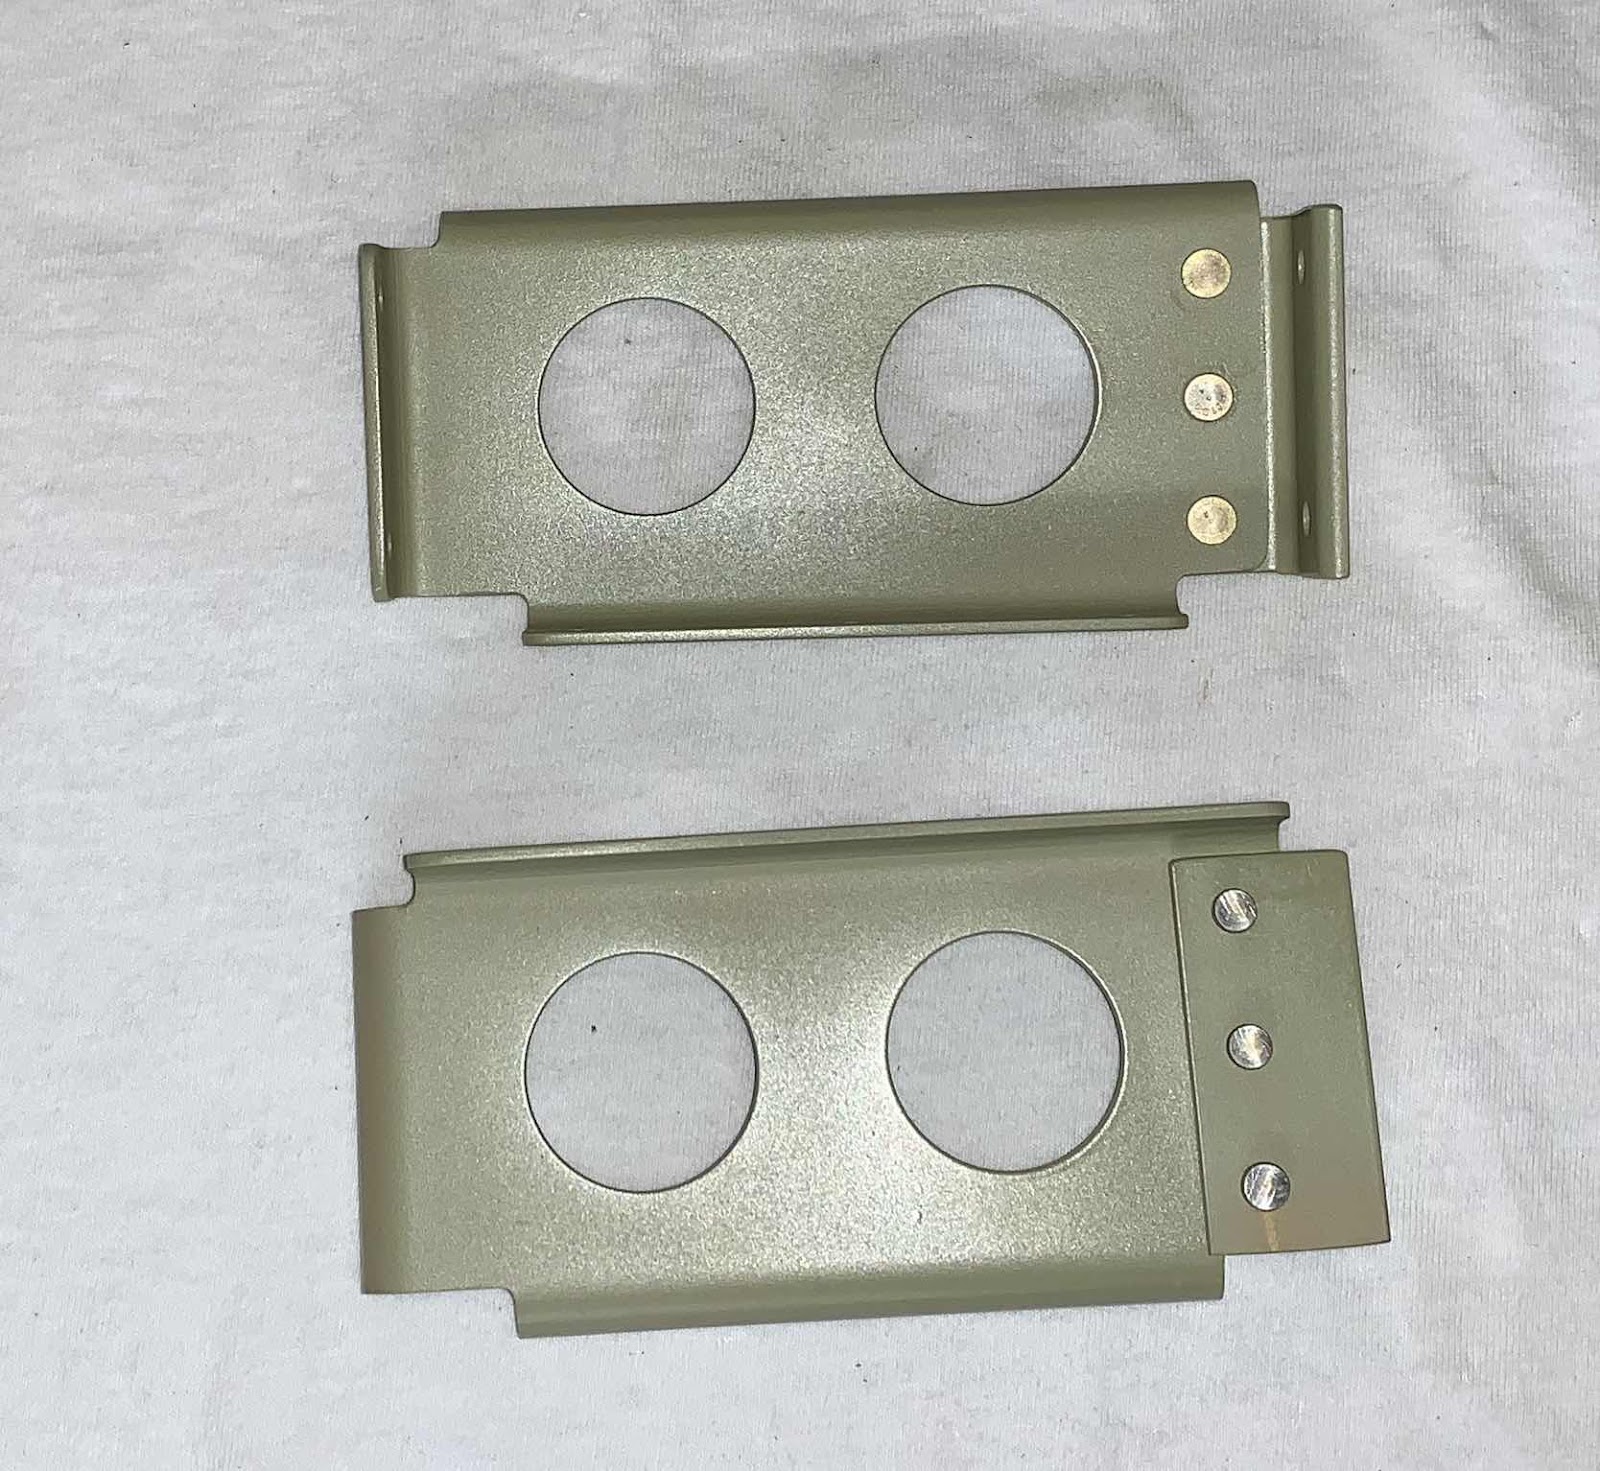
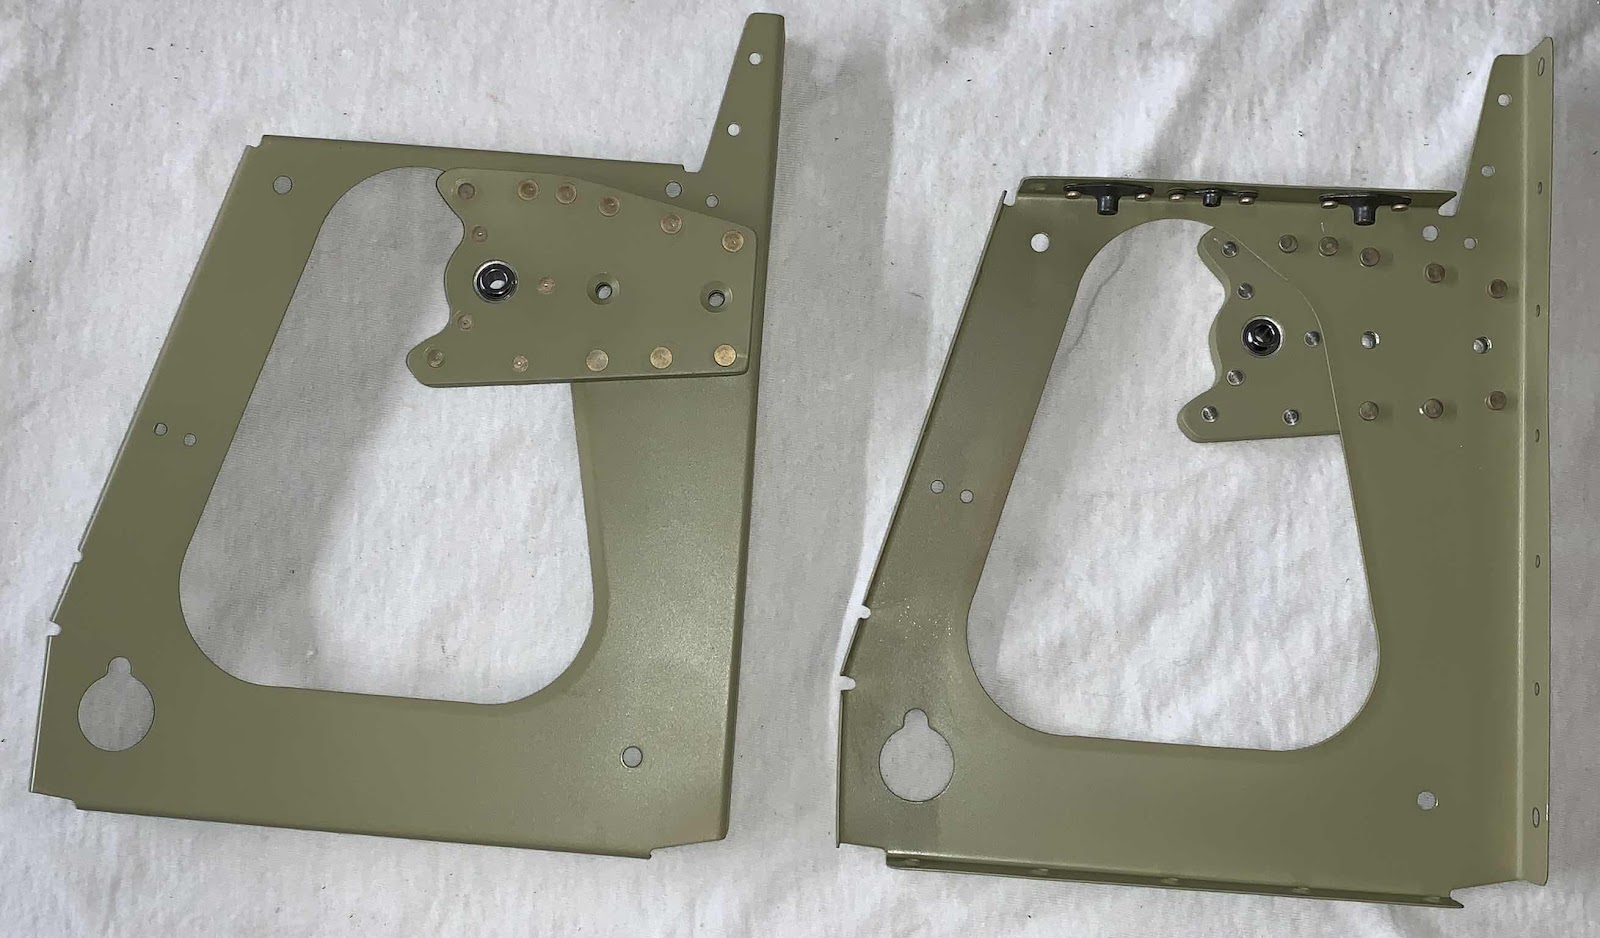
I started today’s session by riveting the F-14110A and F-14110B Crotch Strap Brackets to the Seat Ribs.  The two Brackets are attached by 10 AN470AD4-4 rivets.  Shown below is one of the two assemblies.  Four K1000-08D nutplates were also attached to Crotch Strap Brackets 


Five rivets on the side.....

.....and five rivets on this side.
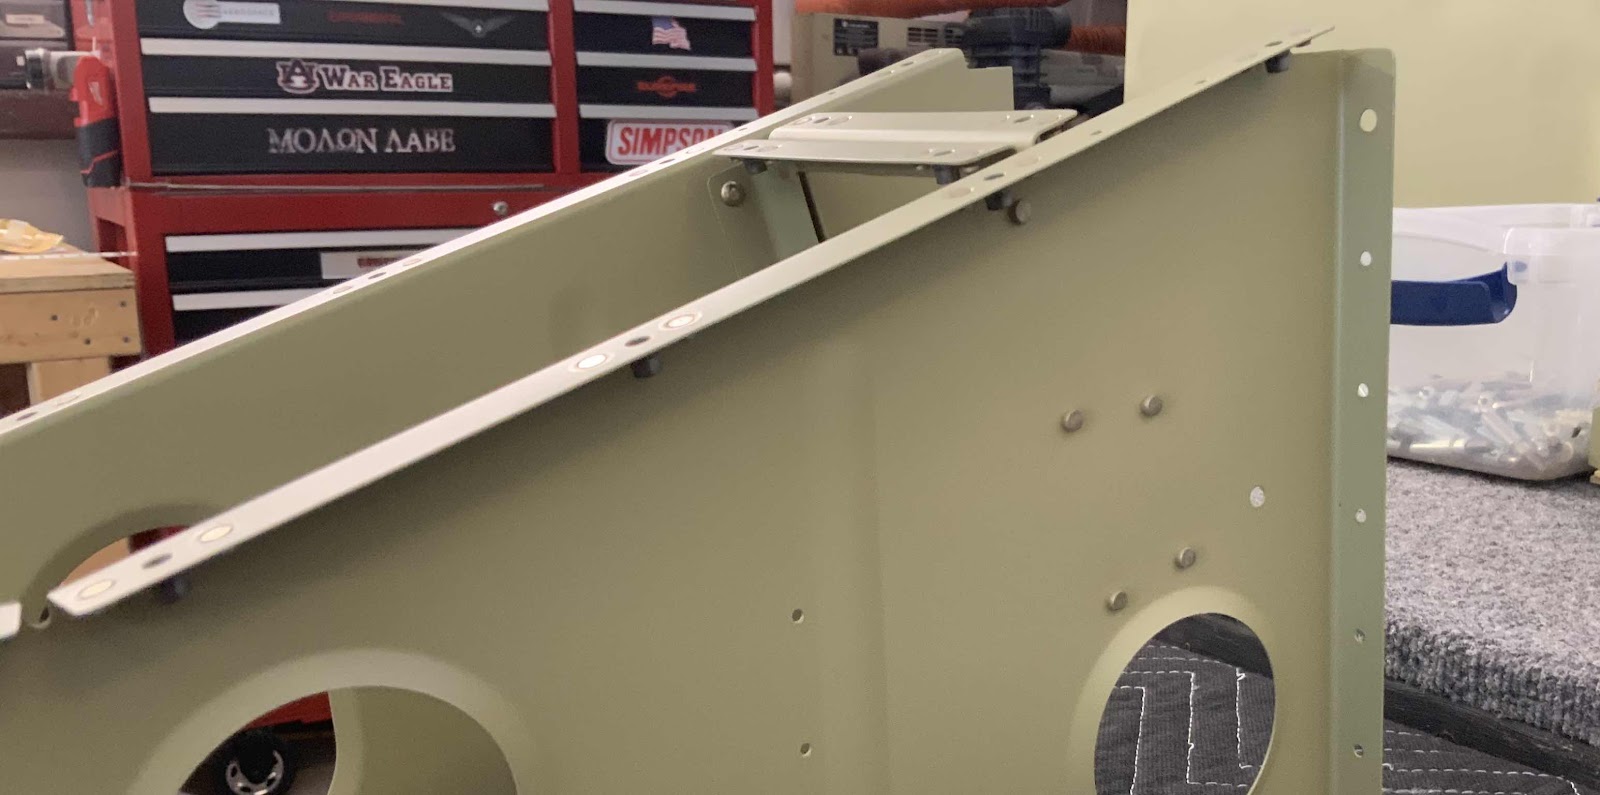

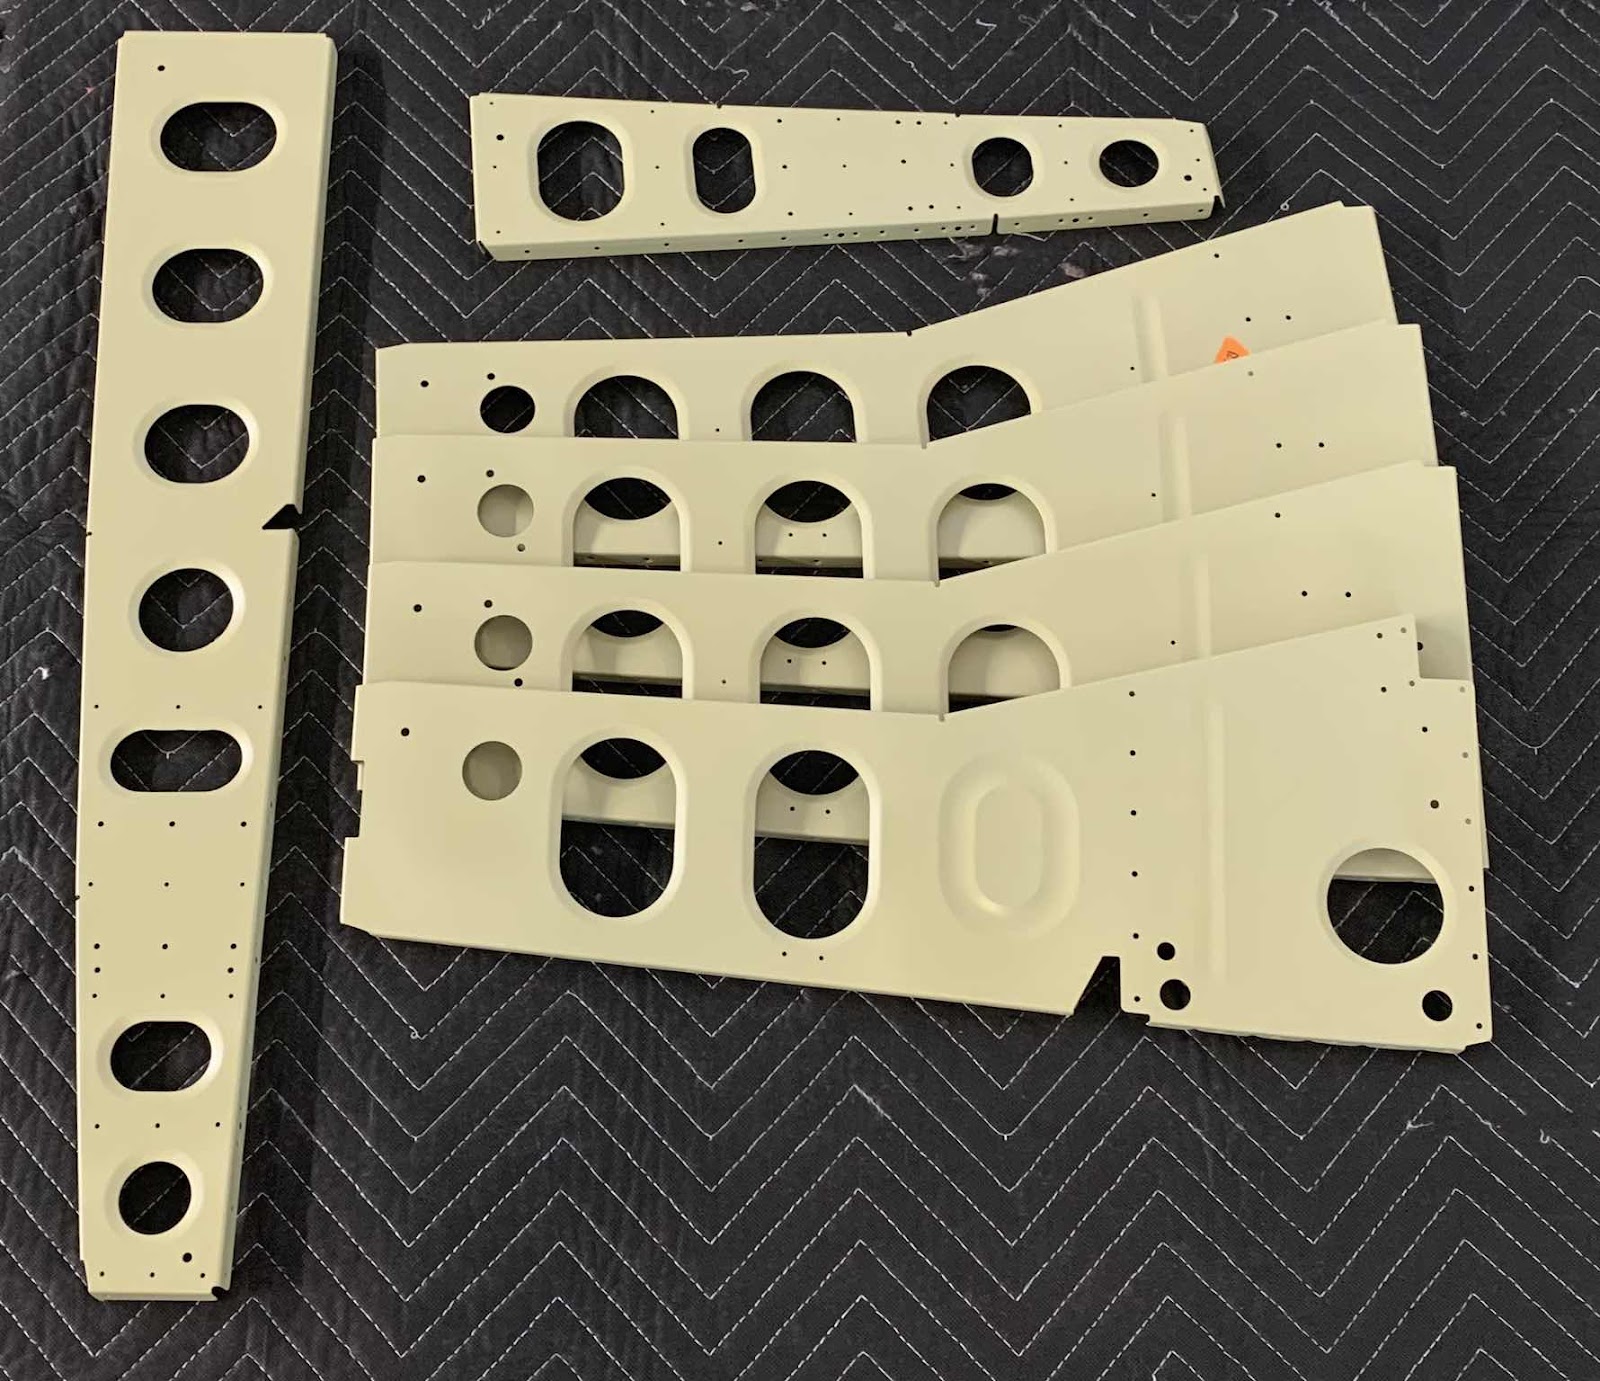
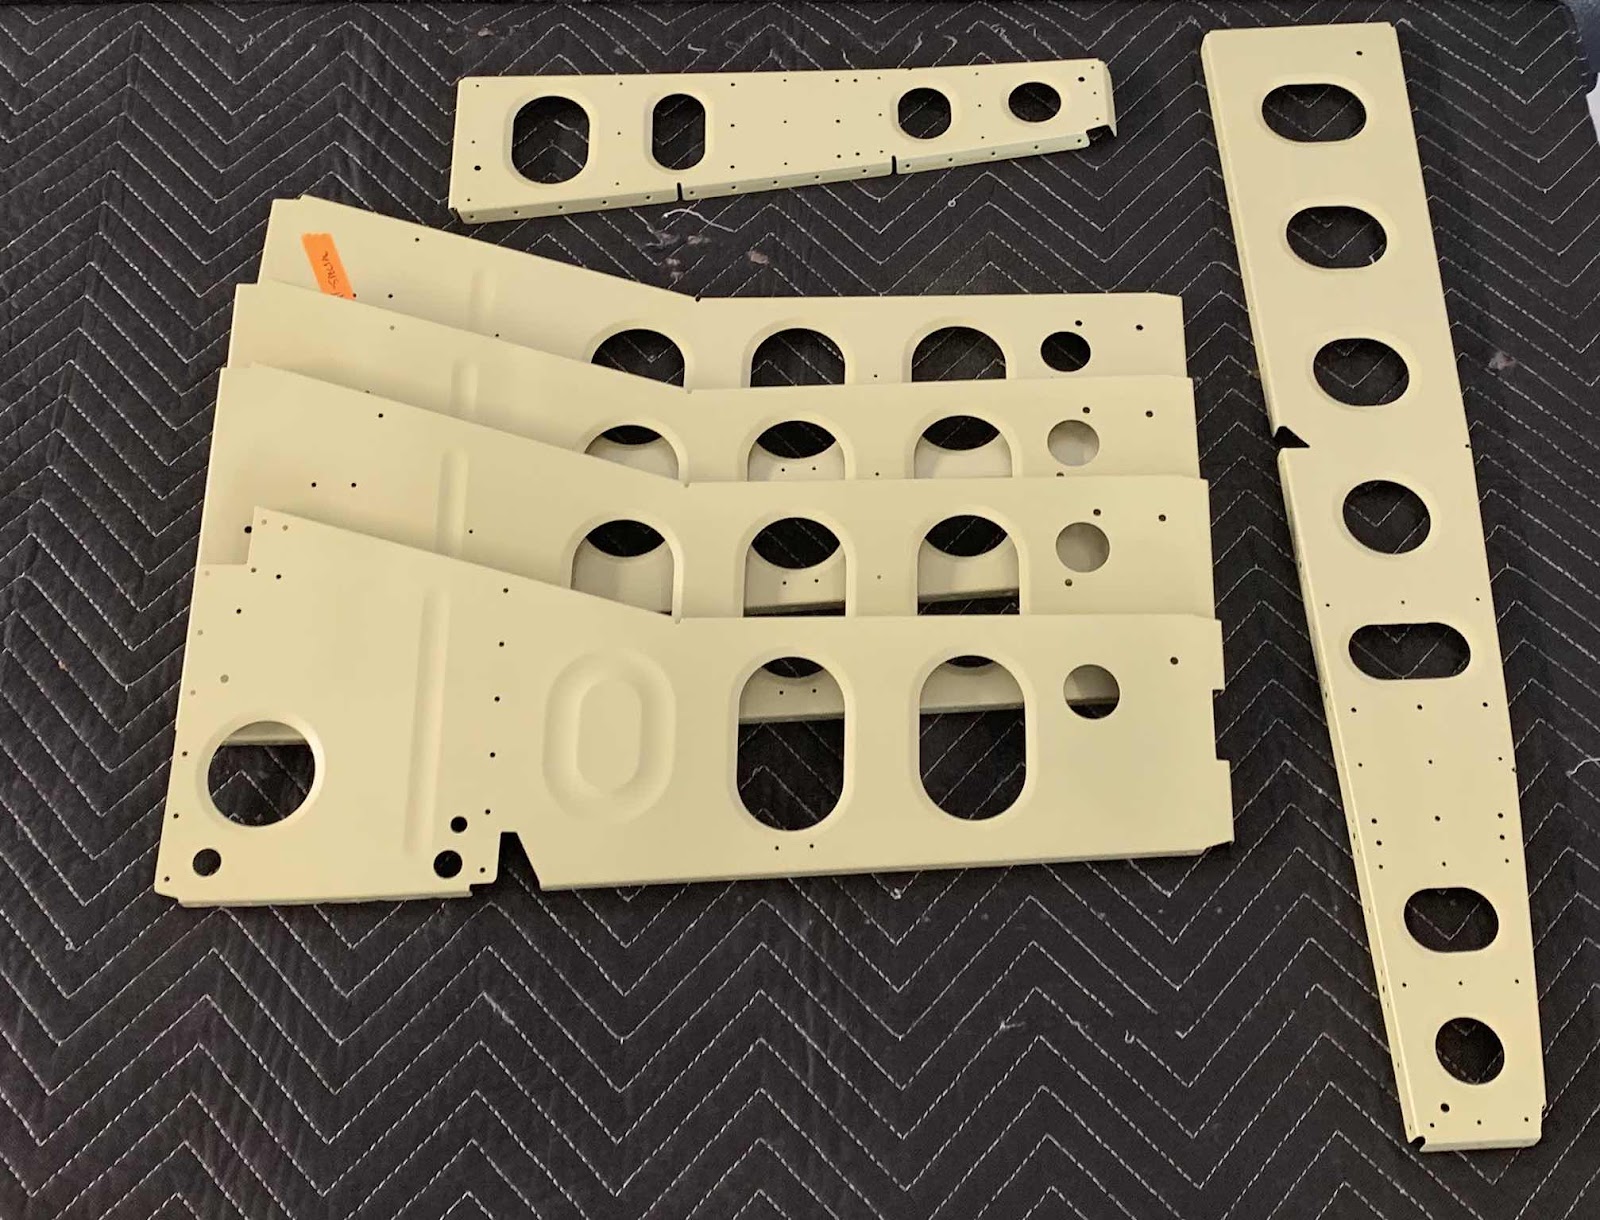
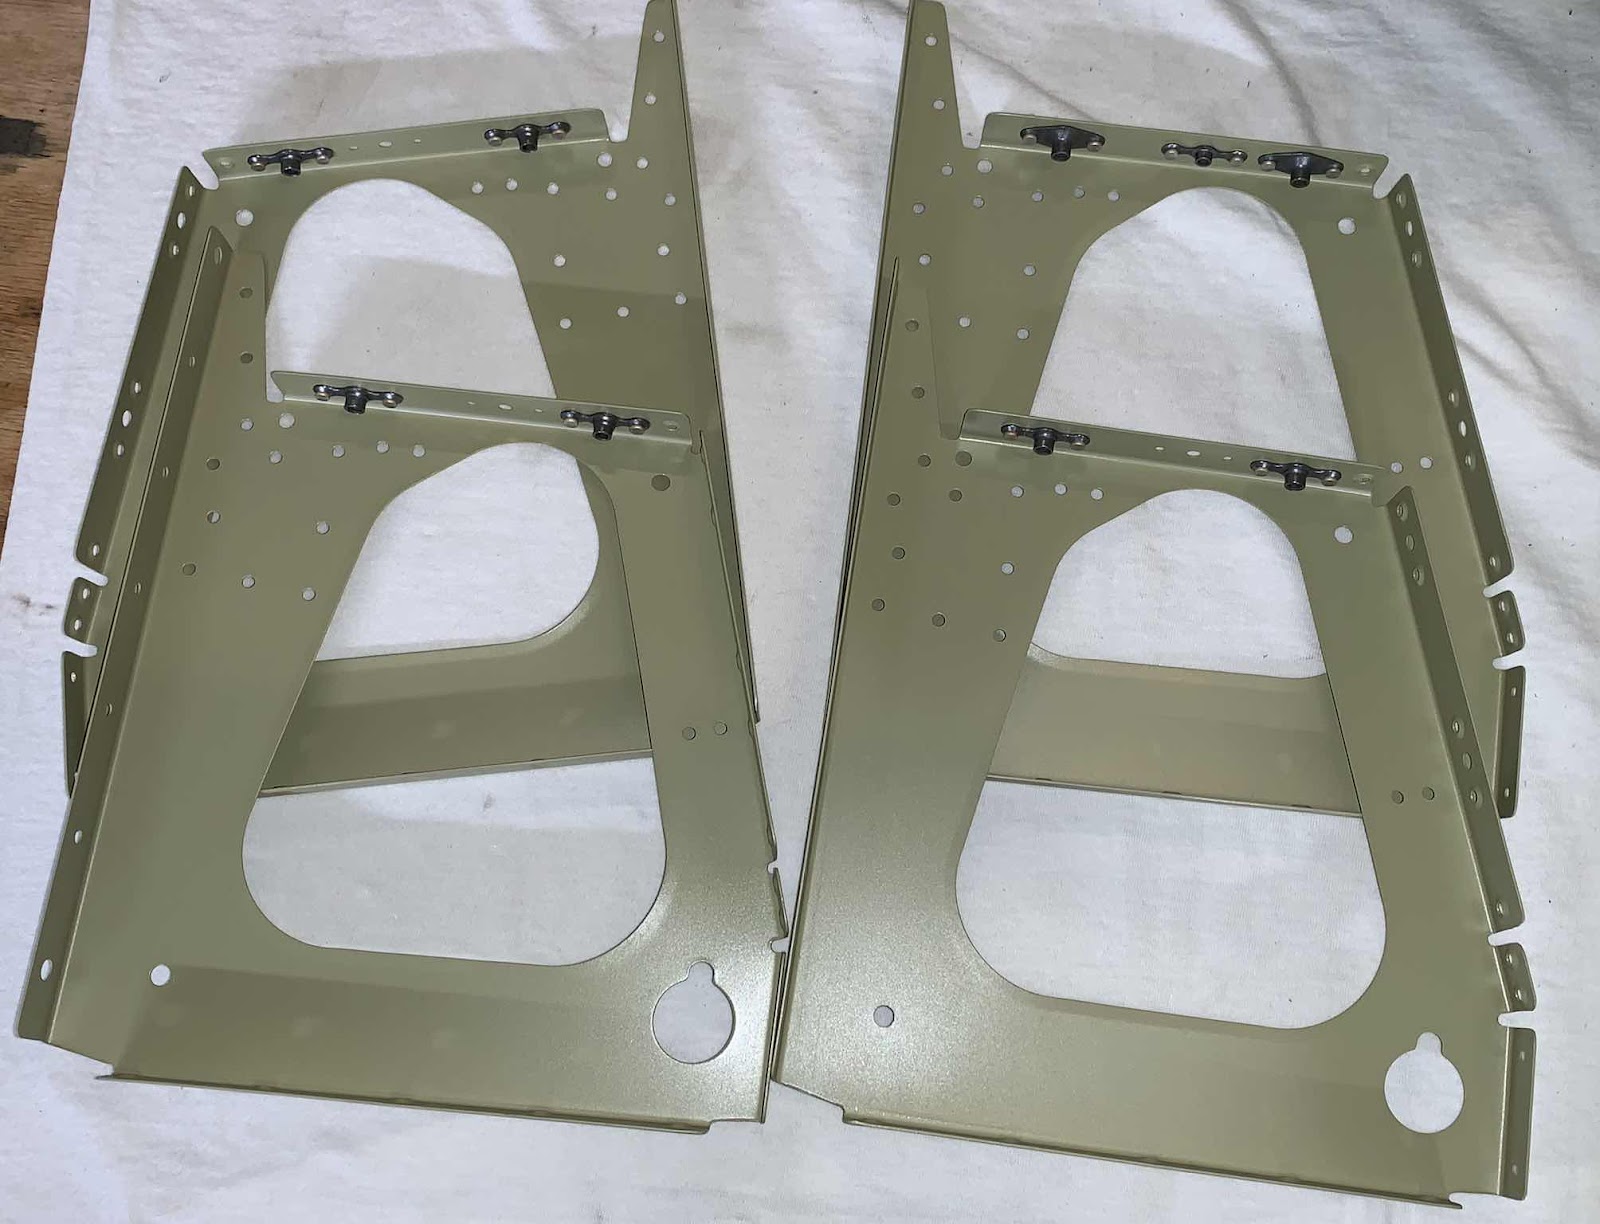
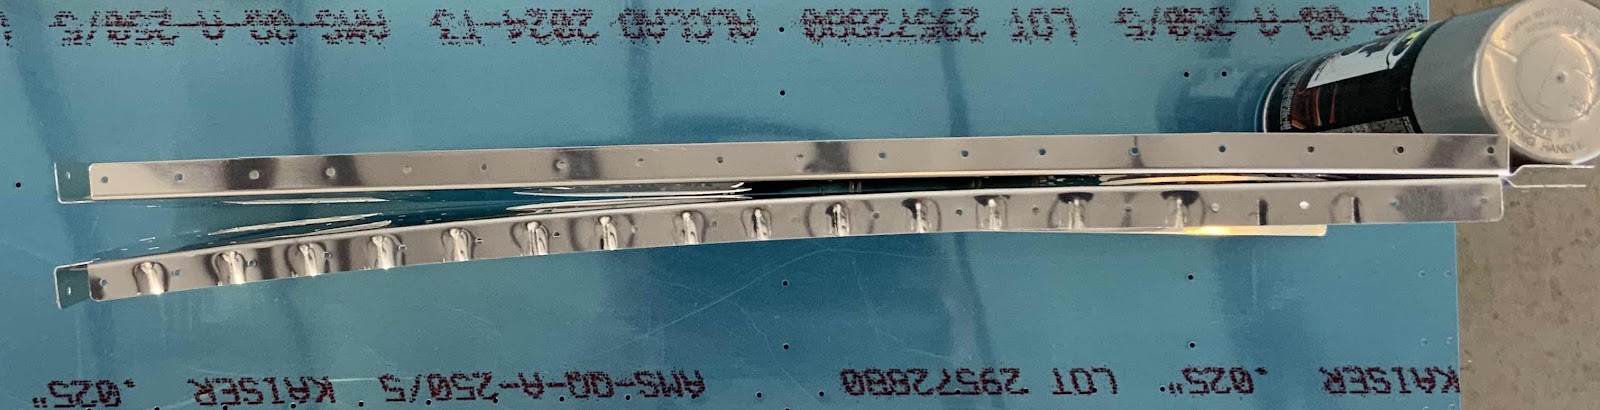
The next step is to flute the upper and lower flanges of the F-01415-L & -R Outboard Seat Ribs (larger two Ribs below) and the F-01423A-L & -R Outboard Baggage Ribs (smaller two Ribs below) until the curvature of the Rib webs matched the outboard edge of the F-01484 Center Bottom Skin.  Pictured below are the Ribs and Bottom Skin.
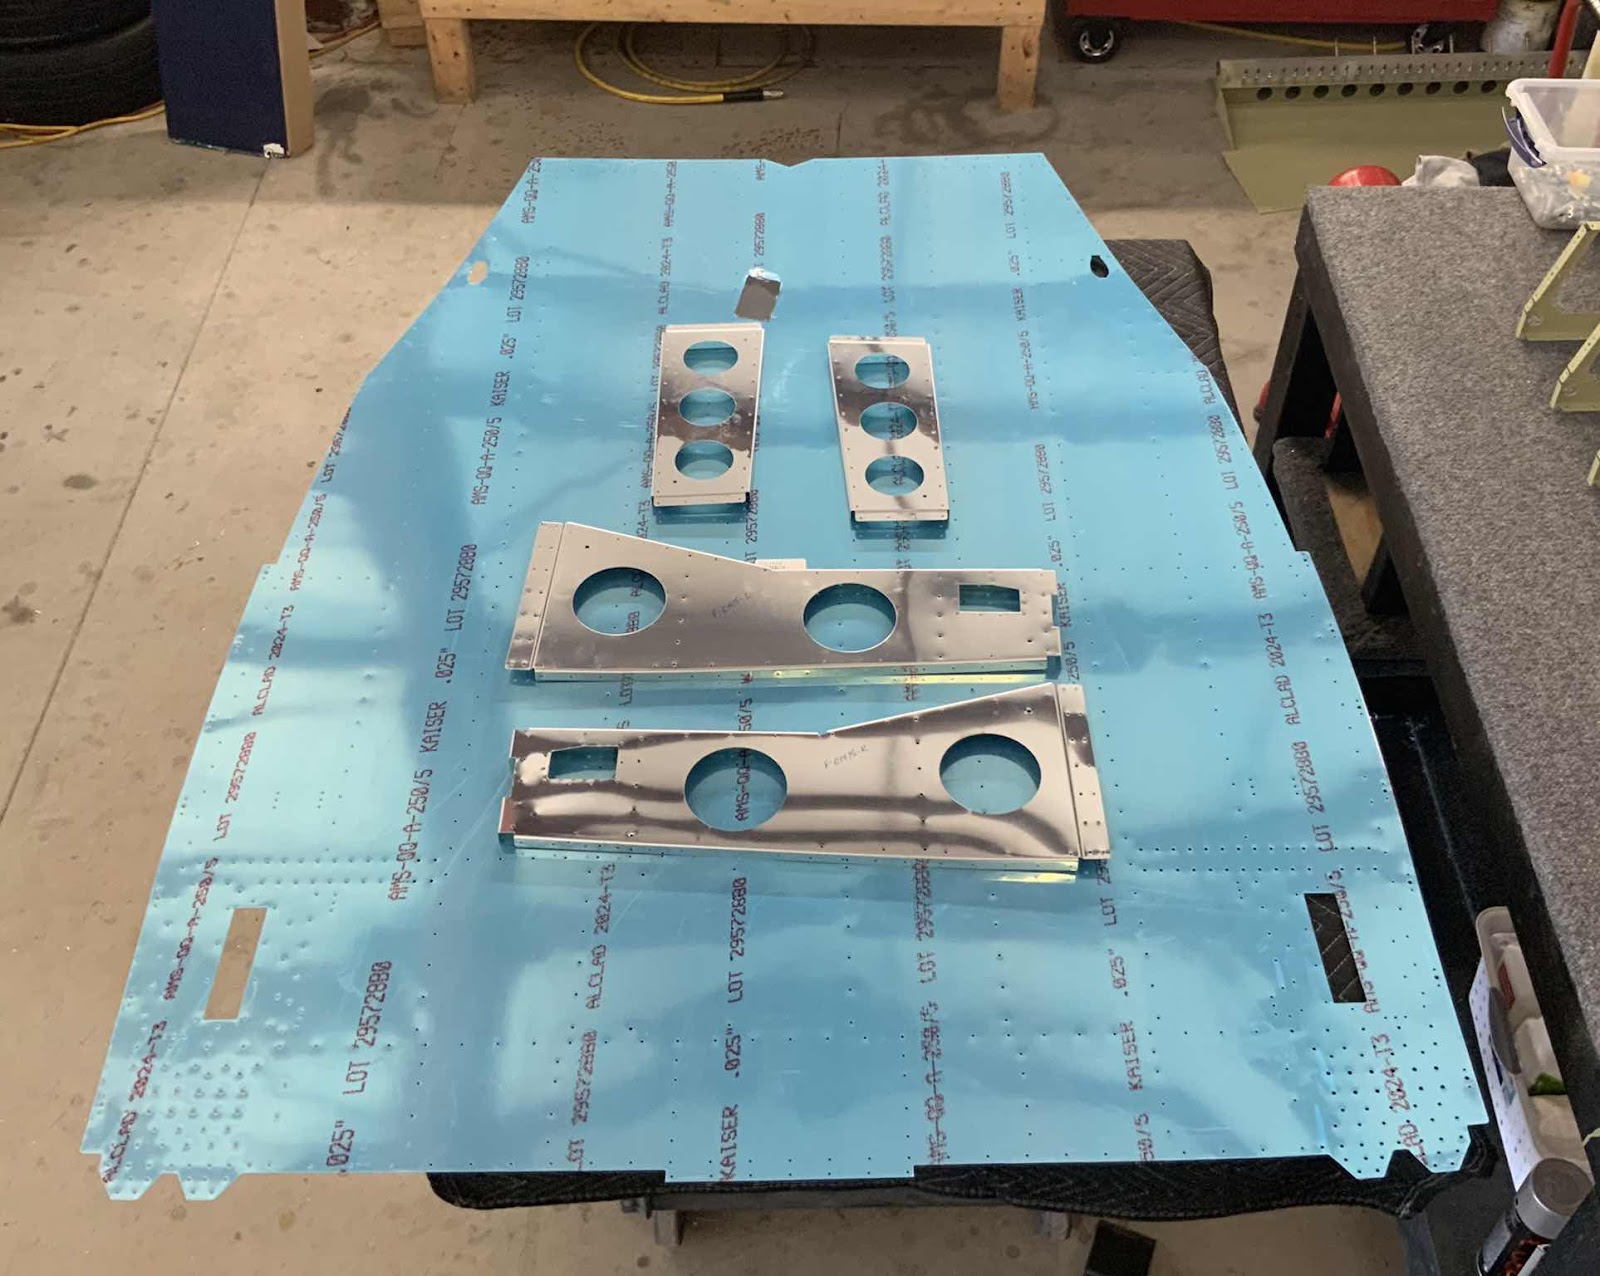
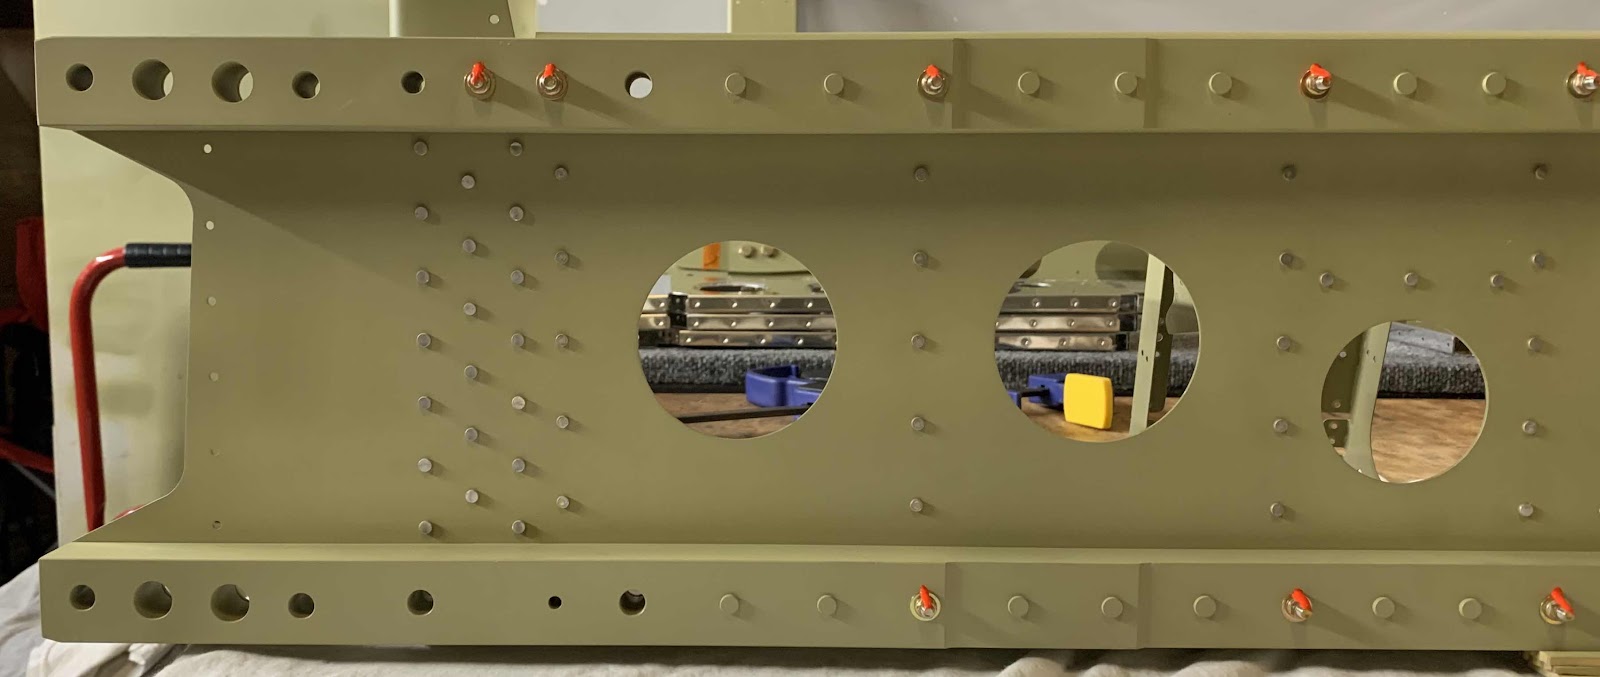
Here is the right Outboard Seat Rib riveted to the Bottom Skin.  You can see the “curvature” of the Bottom Skin compared to the “straight” Seat Rib.
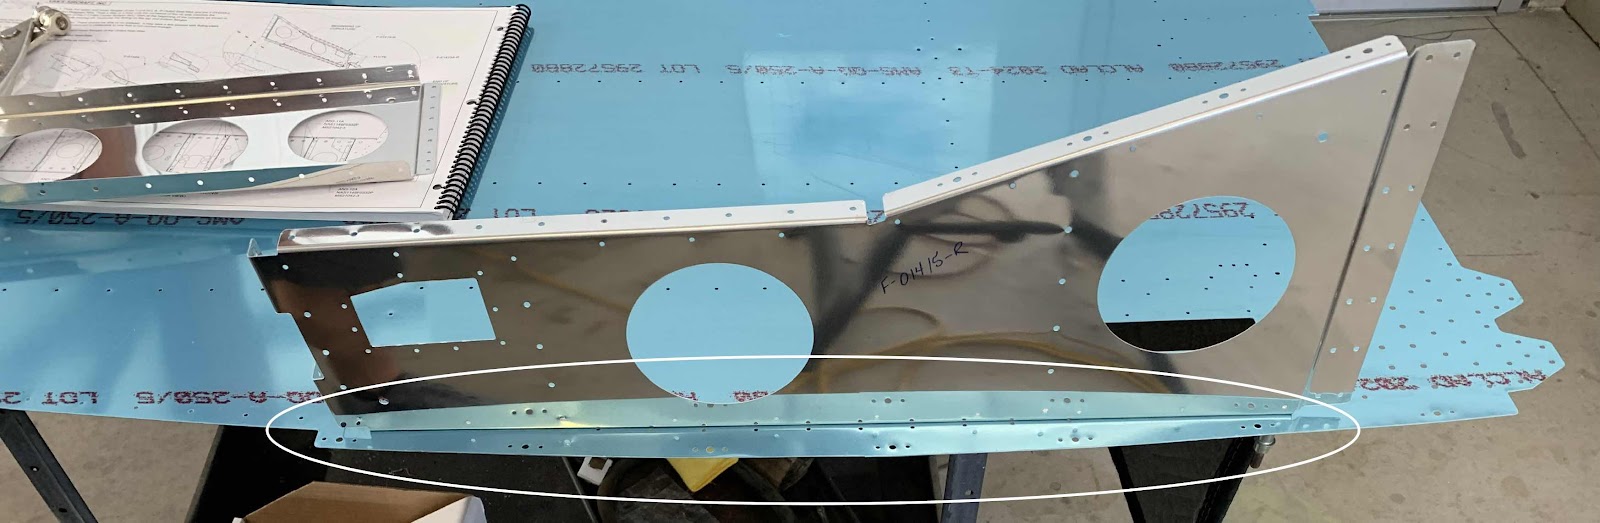
Here is the opposite side of the same Rib.  So, these Ribs (one on each side) had to be fluted to “bend” the Rib to match the curvature of the Bottom Skin.

In the picture below, the bottom Rib has been fluted and matches the Bottom Skin.  I started on the spot where the curvature was to begin on the Rib and worked aft.  It took several passes to get the curvature correct, but it was fairly easy.  I fluted a little at a time until the curvature matched the Skin.

As a comparison, a fluted Rib and a non-fluted Rib are shown side-by-side below.  To get the curvature correct, the Ribs had to be fluted WAY more than normal.  Both the top and bottom flanges had to fluted as equally as possible to match each other and the Skin.
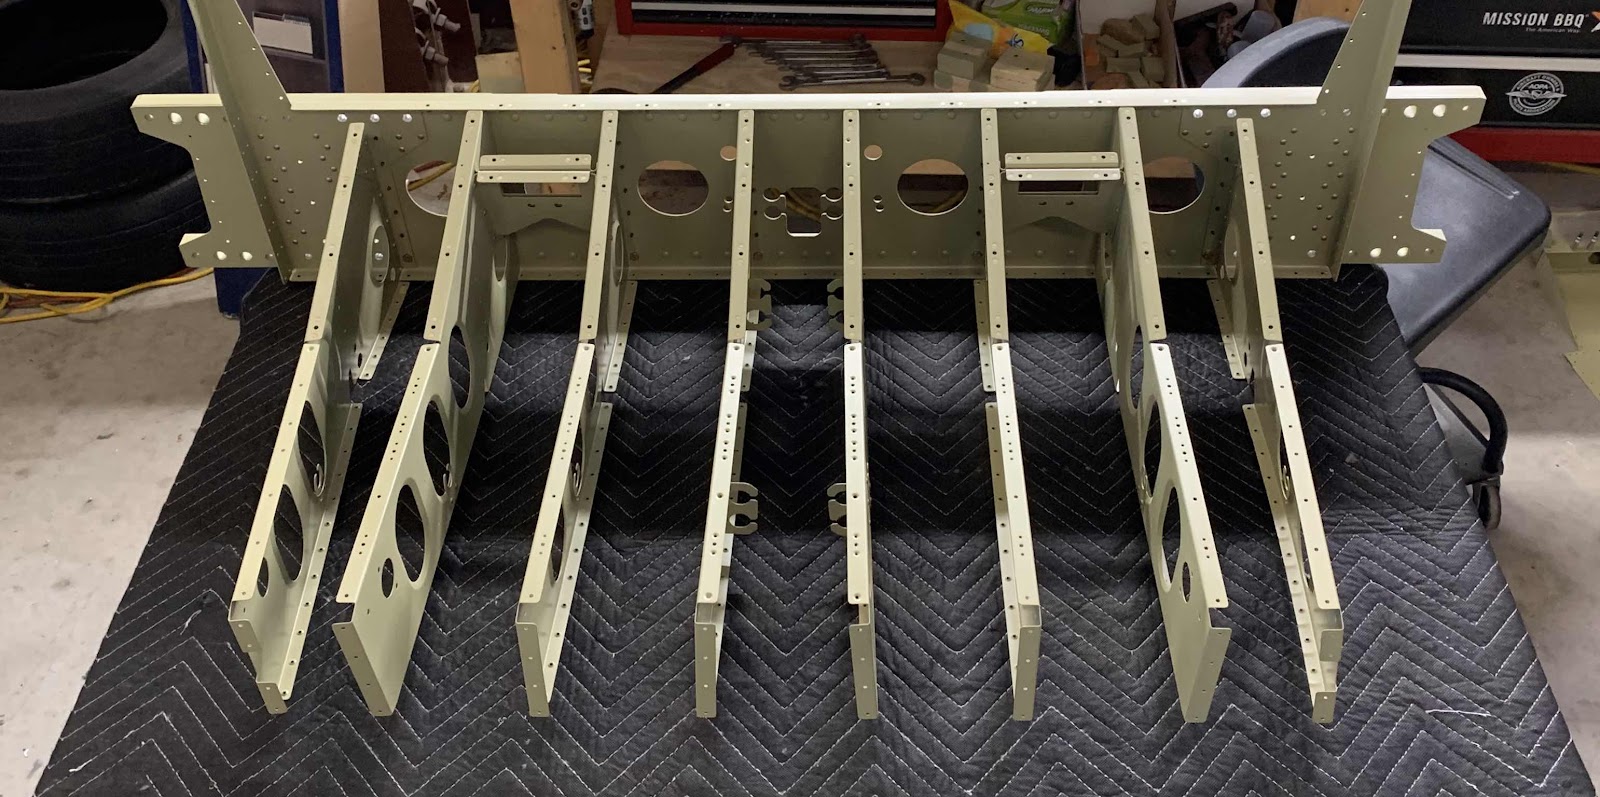
Here is another picture of the Outboard Seat Ribs (left) and Outboard Baggage Ribs (right).

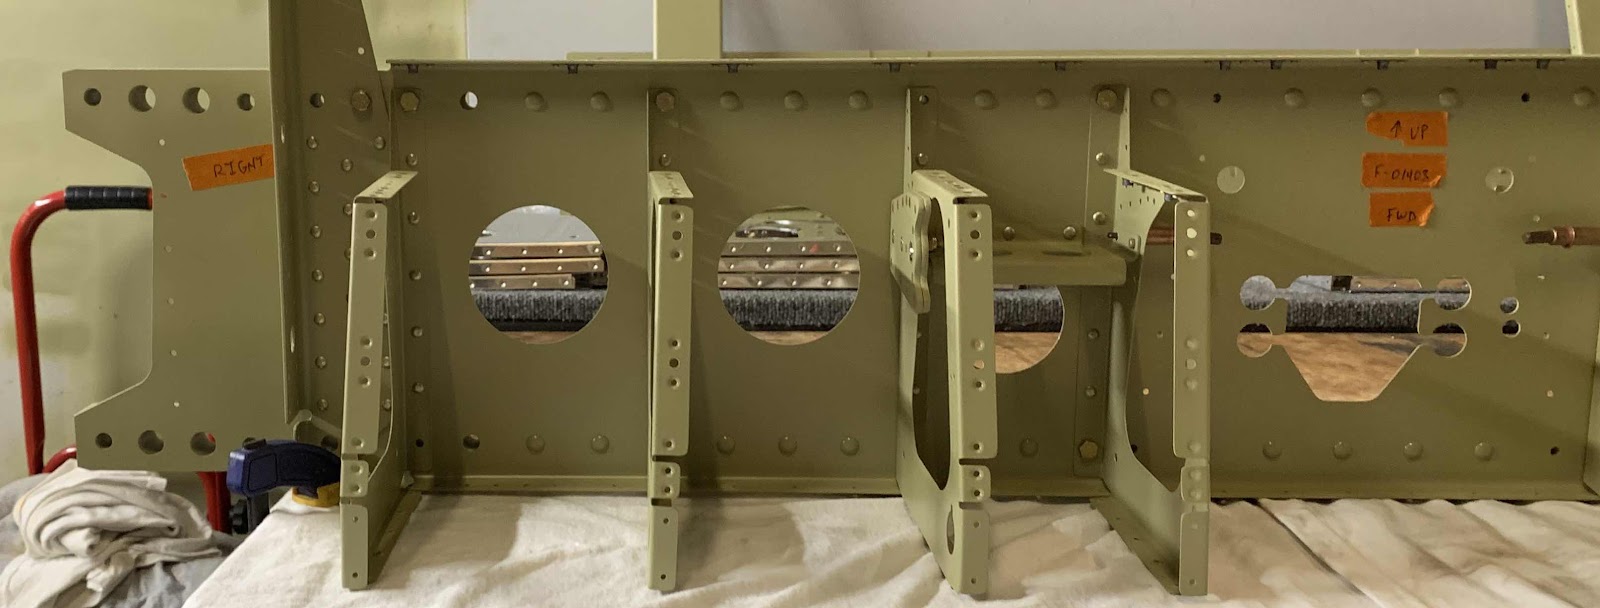
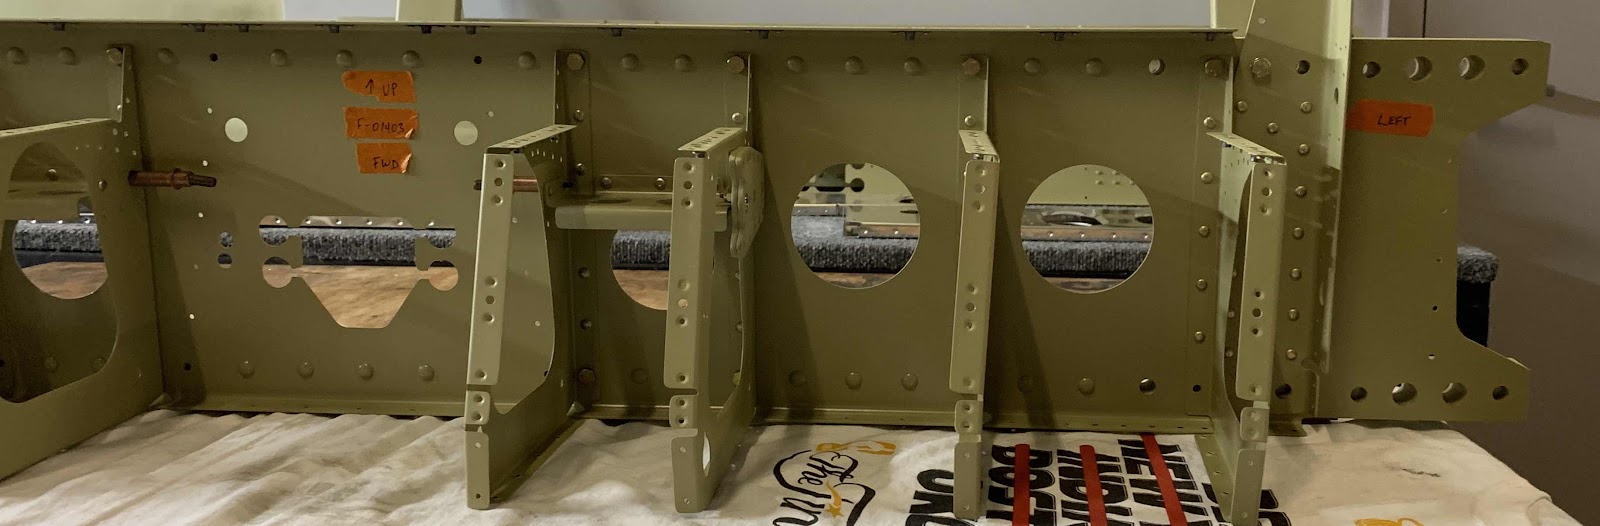
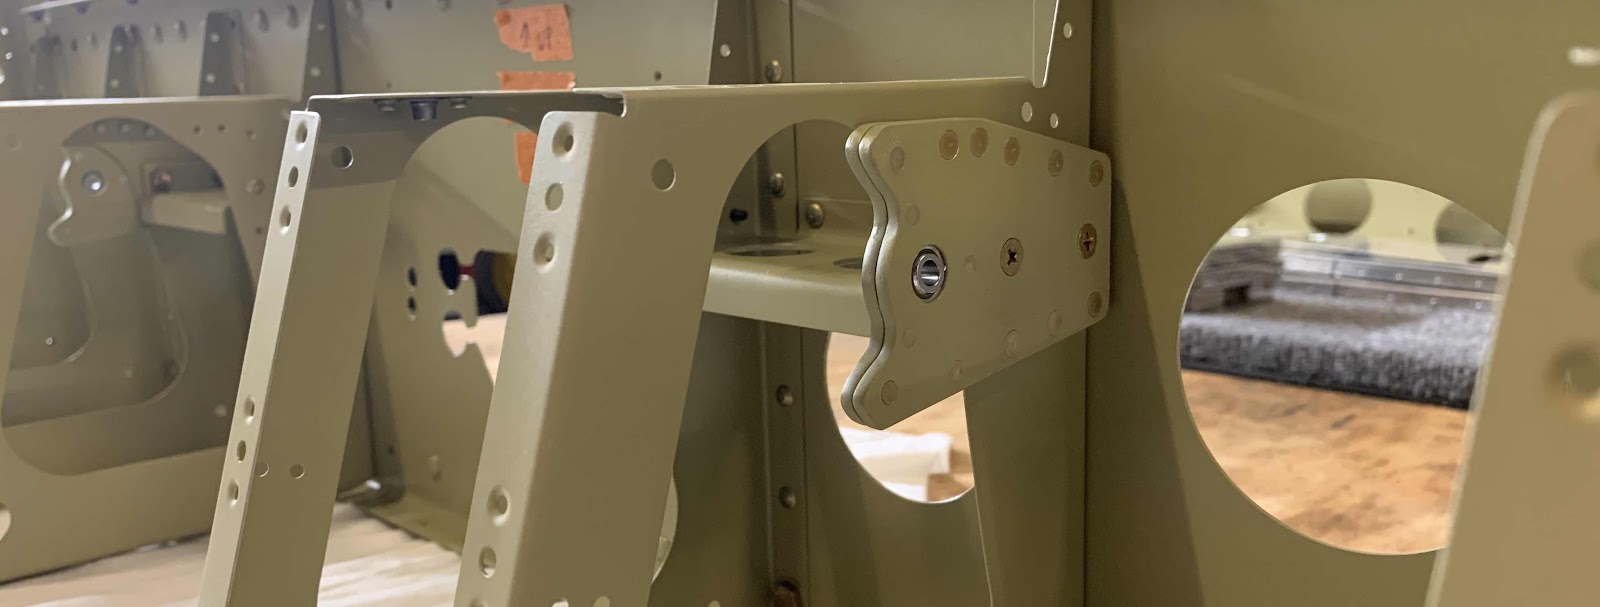
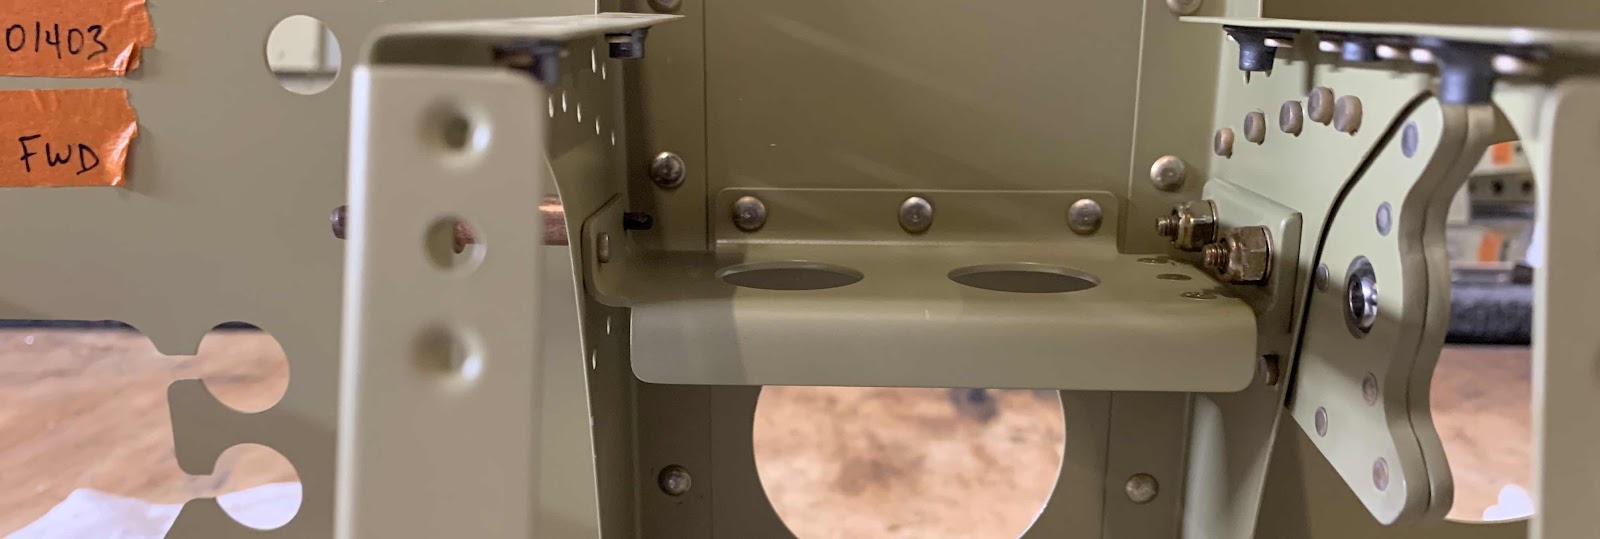
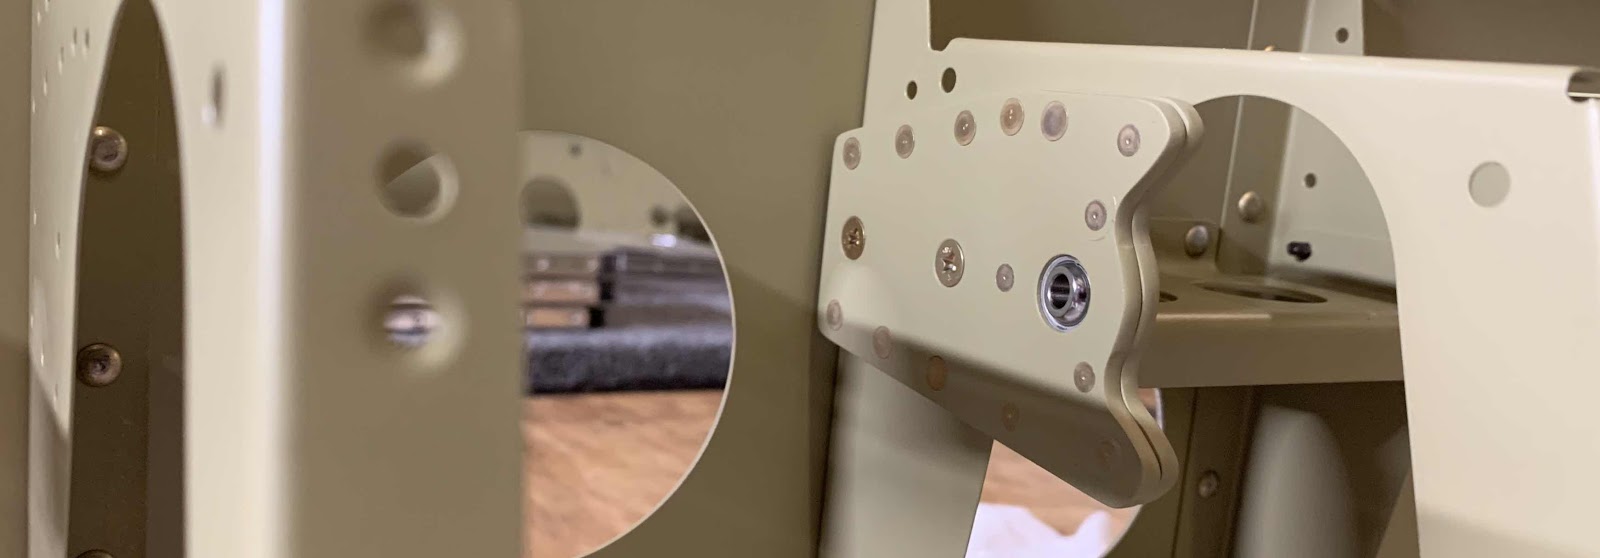
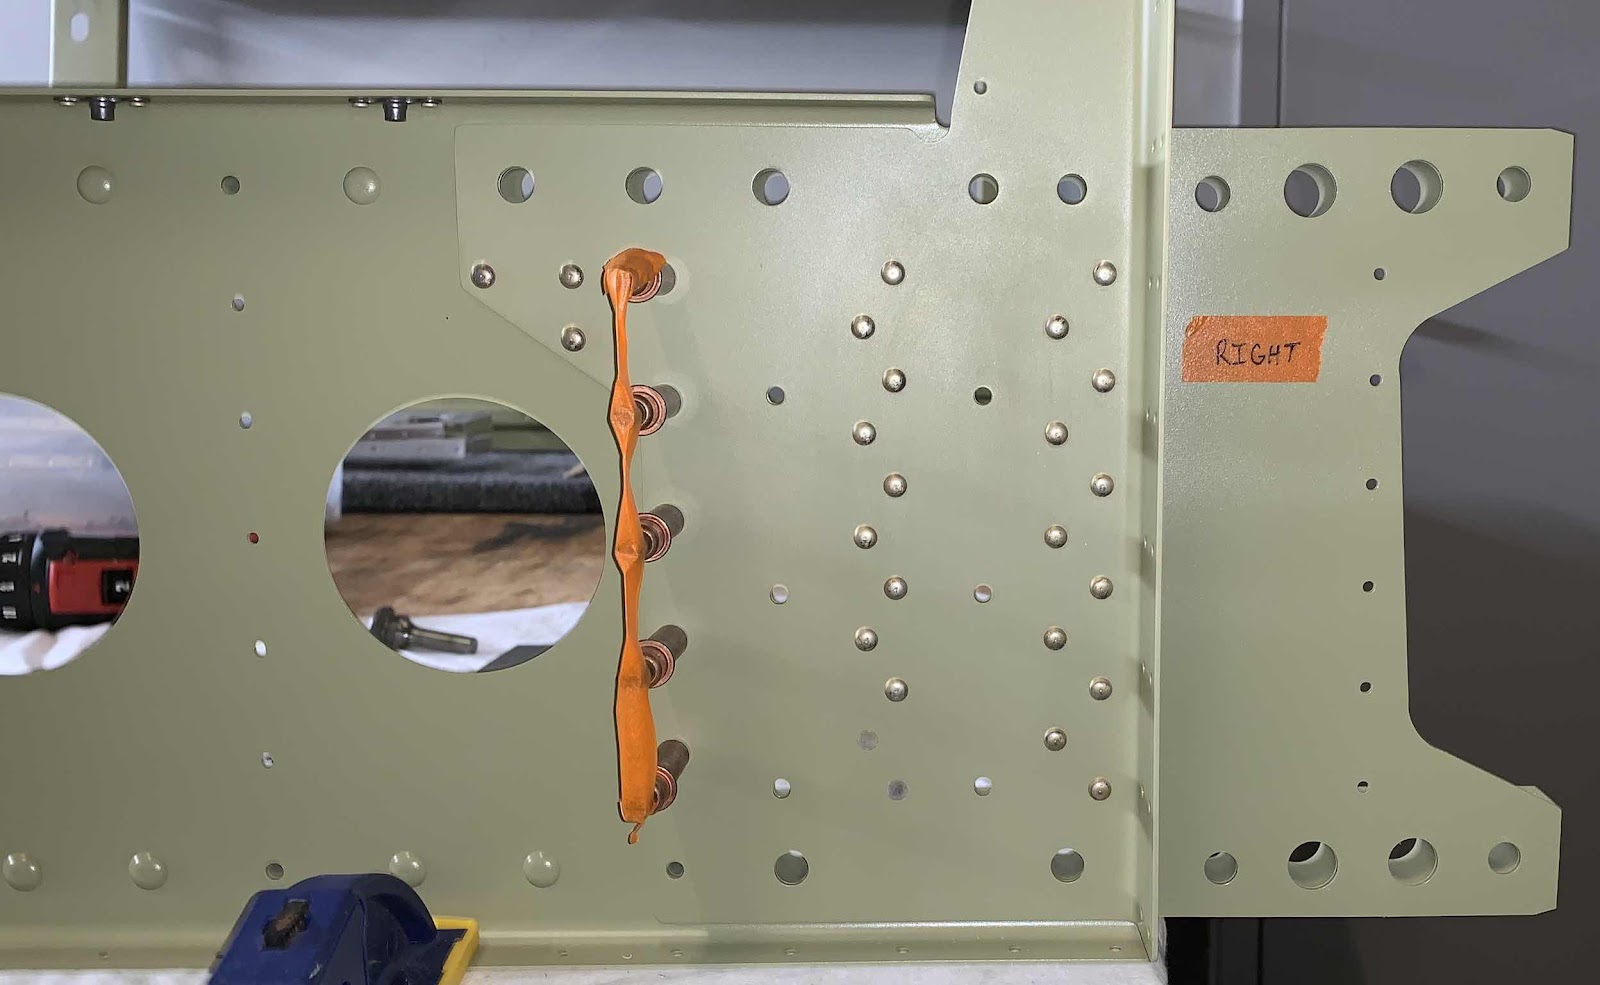
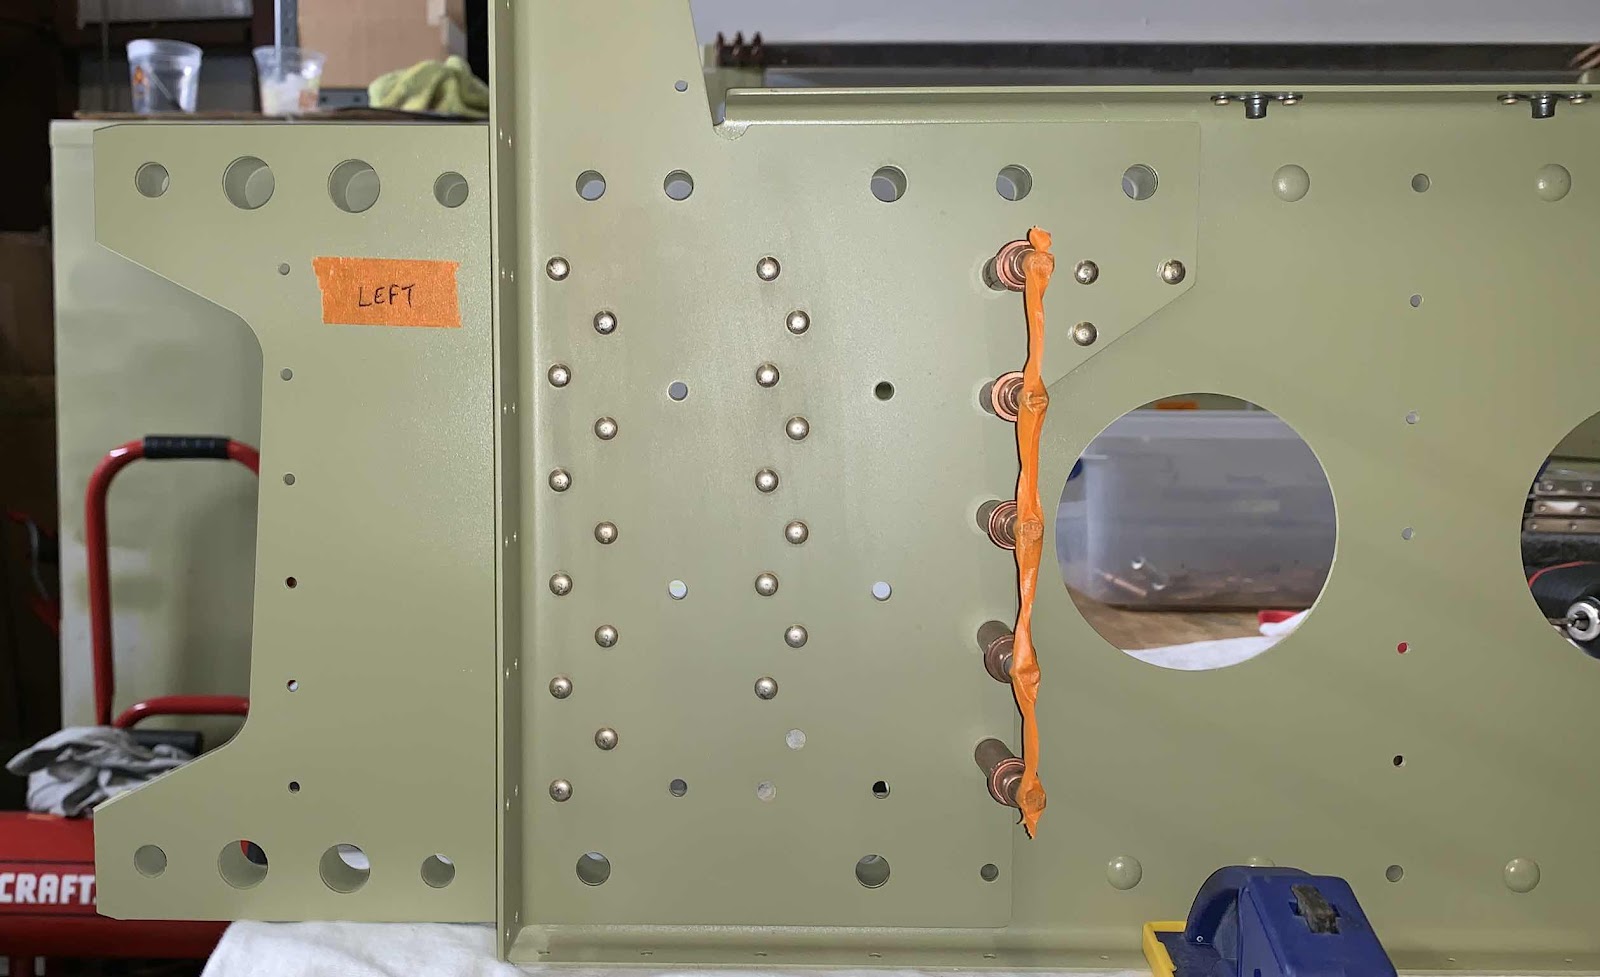
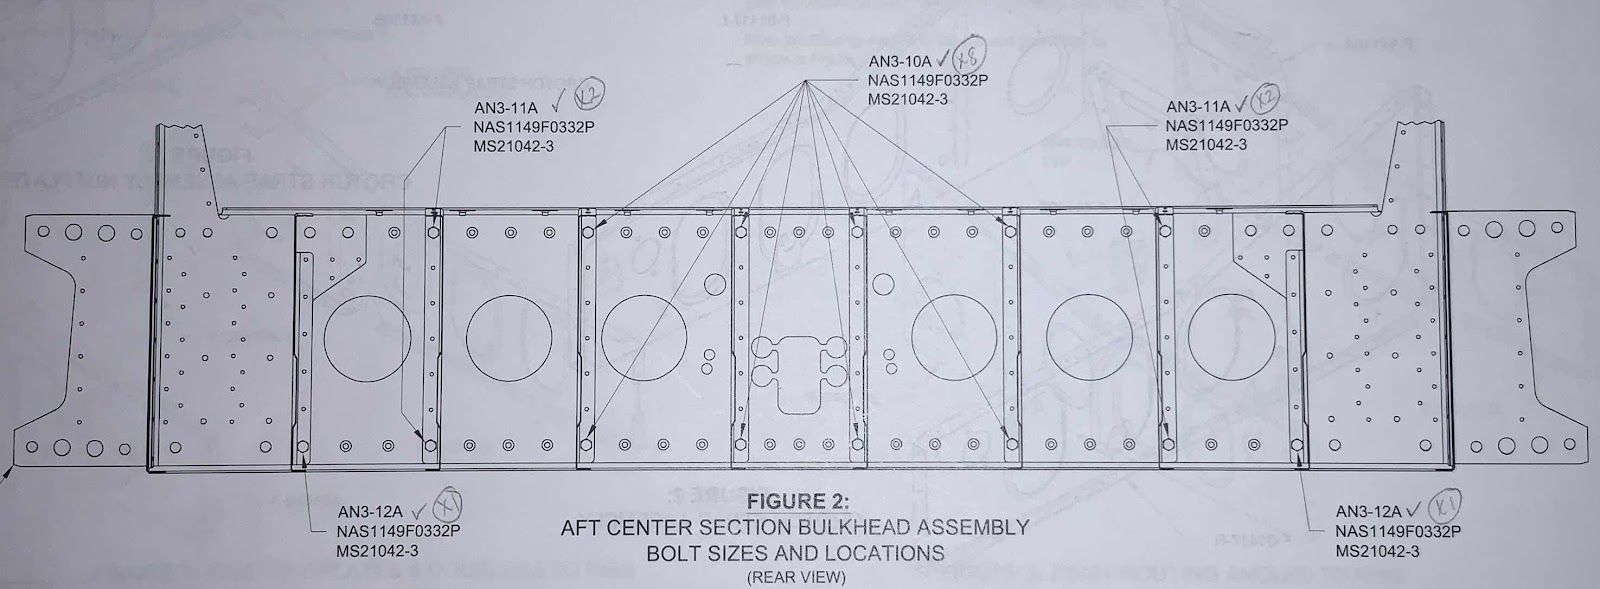
Next, all the Inboard Seat Ribs, Crotch Strap Assemblies, and Seat Ribs were bolted to the F-01404 Bulkhead as shown below.
Here is an excerpt from the plans that show the 14 bolt locations and sizes.
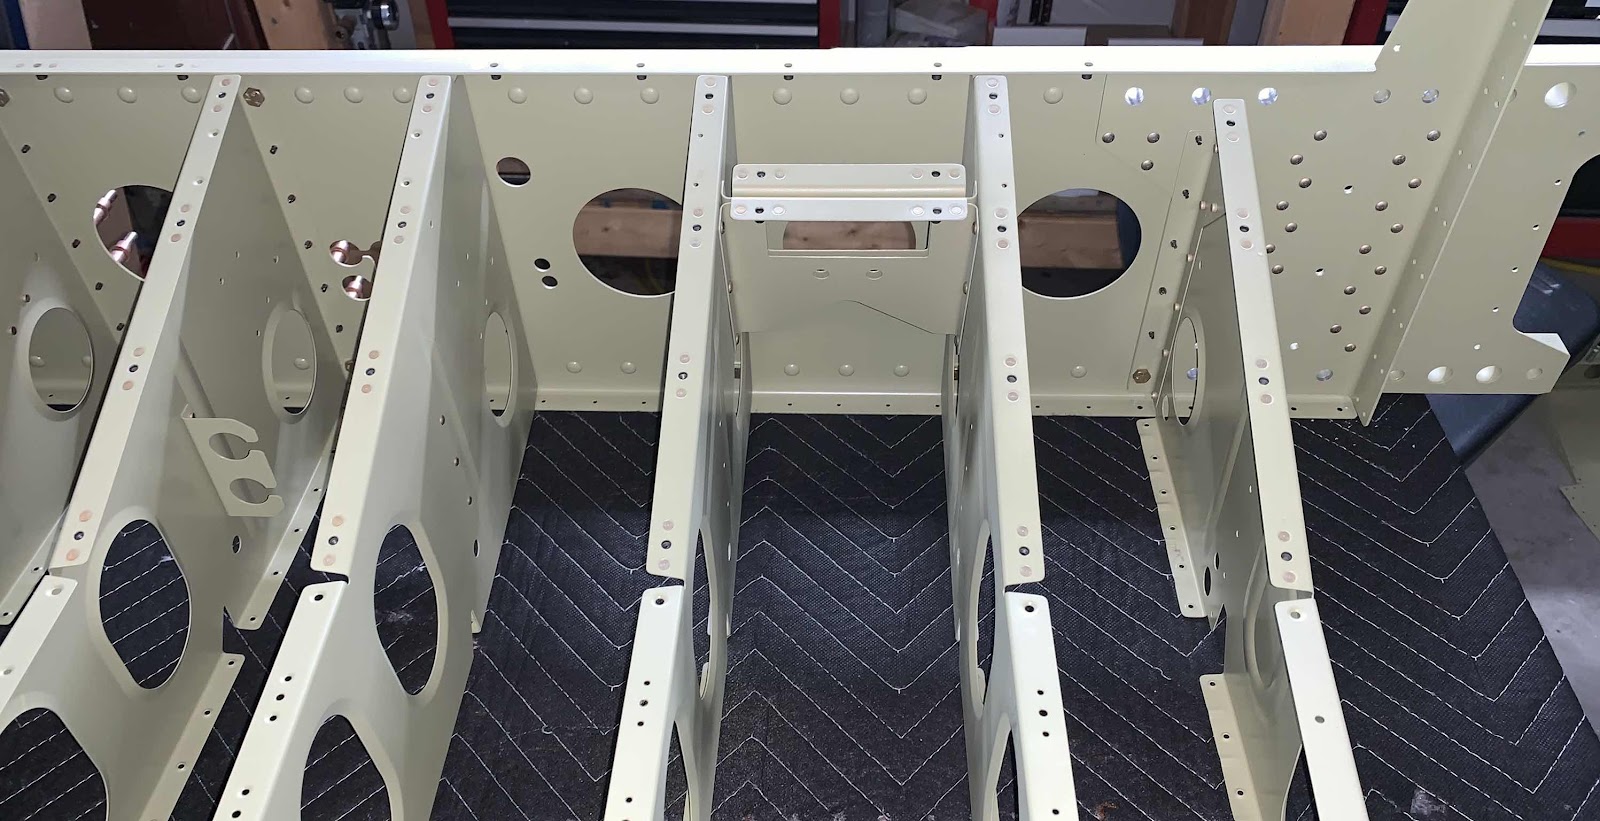
Close up of the aft left side.....

.....aft right side.....
.....overall view of the forward side.....

.....right forward side.....

.....and left forward side.

Fuselage, FWD/MID Bulkheads (Part 6)

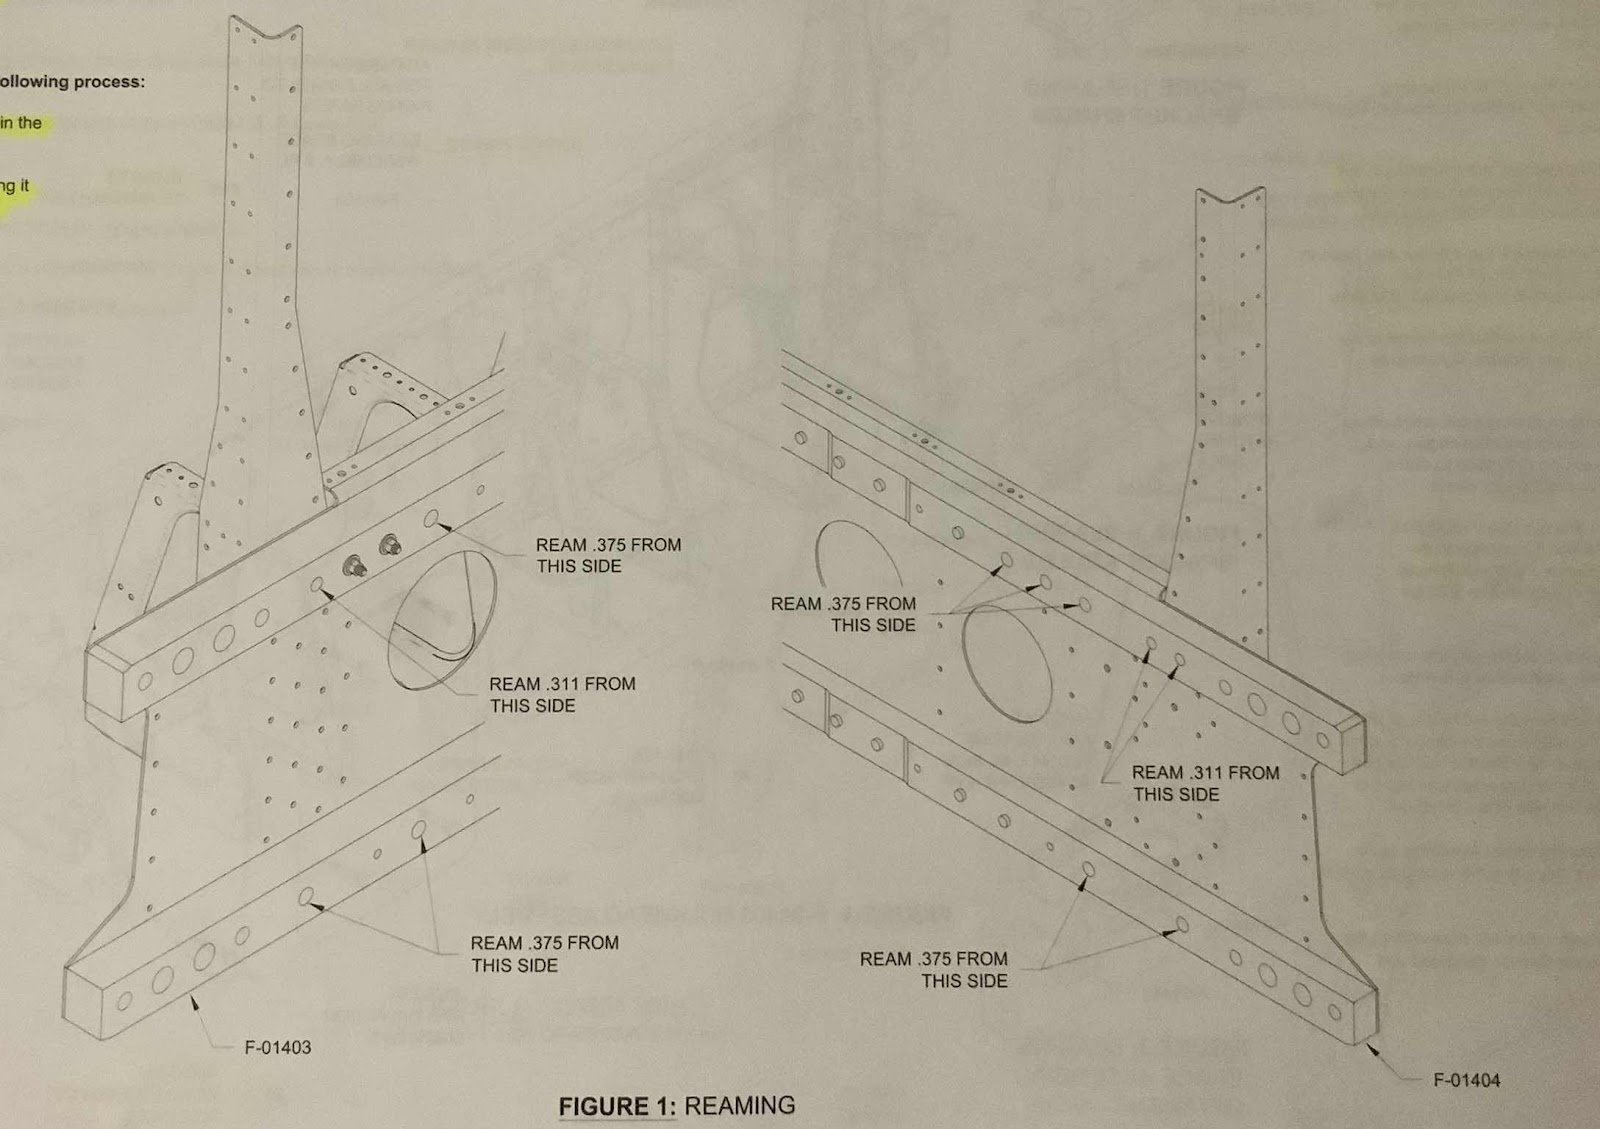
The last step remaining to complete Section 25 is to ream the 22 holes in the F-01404 (14 holes) and F-01403 (8) Bulkhead Assemblies.  Of the 22 holes, 16 are reamed .375 and six are reamed at .311.  Here is the excerpt from the plans showing the hole locations in the two Bulkheads.

Section Complete

Fuselage, MID Lower Structure (Part 7)

*****The work during this session was completed yesterday....Monday, May 6*****

Now that everything is primed up.....time to start riveting it together.  The small Ribs shown below are the F-01423B-L & -R Outboard Baggage Ribs and the F-01423C Rib Doublers riveted together.  The large Ribs are the F-01425-L & -R Baggage Ribs and the F-01425A Rib Doublers riveted together.  All #40 holes on both Ribs were riveted and received AN470AD3-3 rivets.....all were set with a pneumatic squeezer.  I tried using the hand squeezer, but wasn’t happy with the results....go figure.  The pneumatic did a much better and consistent job.

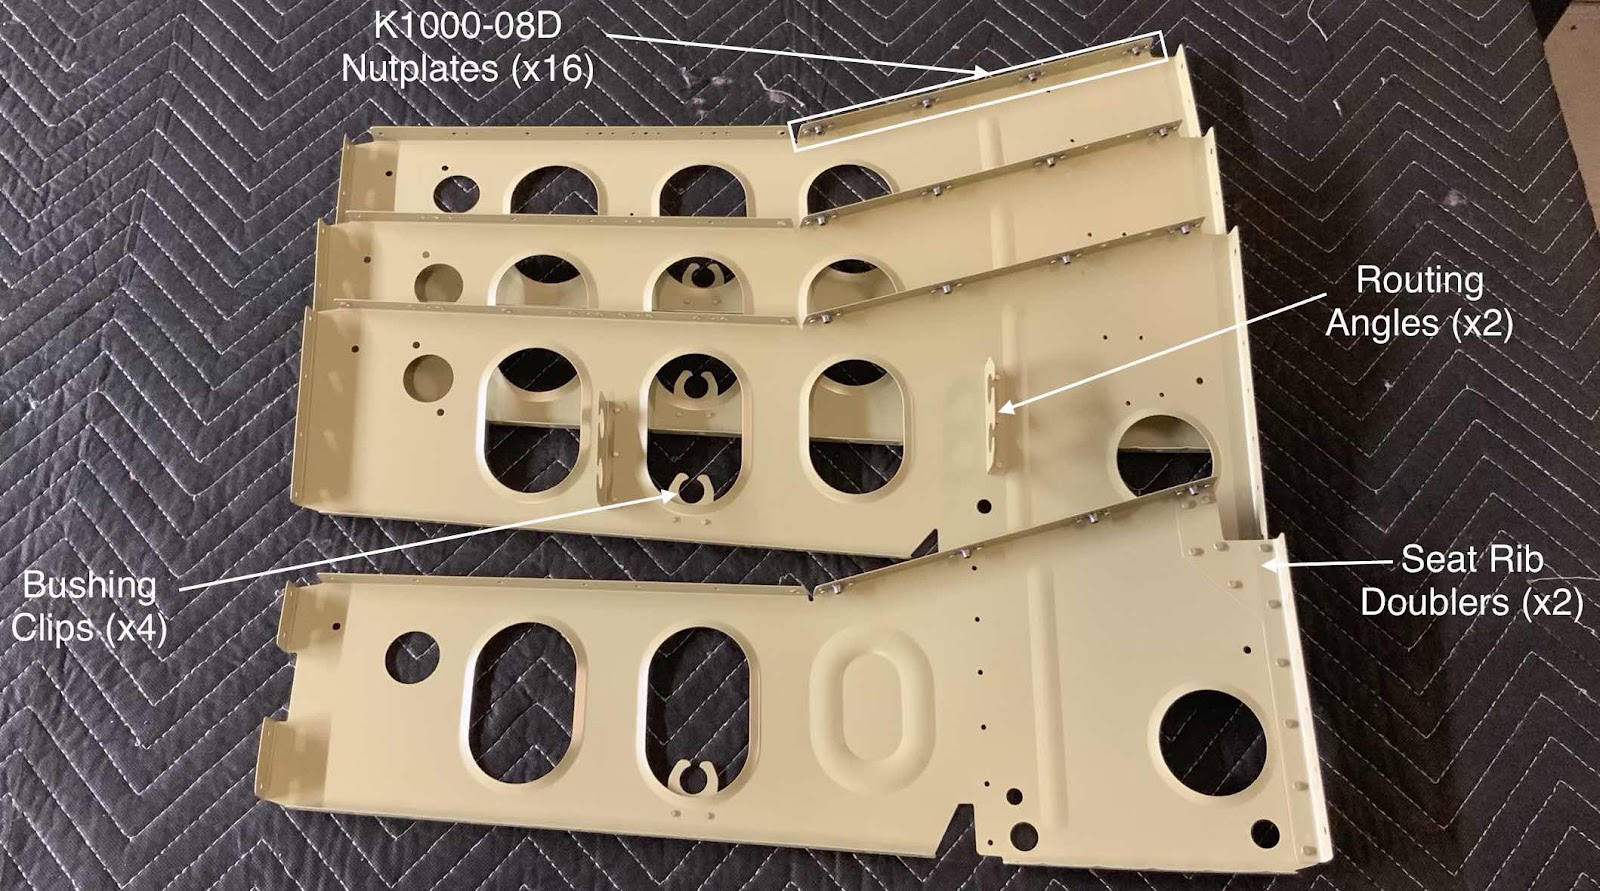
The picture below is a little busy.  Pictured are the four -L Seat Ribs (the -R Seat Ribs were completed the same way).  Each Rib has four K1000-08D nutplates on the upper ramped flanges and four Bushing Clips on the middle lightening hole.  The third Rib down has two Routing Angles attached on the web and the bottom Rib has one Seat Rib Doubler attached on the right side.  These pieces were riveted together using a combination of AN470AD3-3, AN426AD3-3, and AN470AD4-4 rivets.  I used the pneumatic squeezer to set all of these rivets, except the Routing Angle on the right.  Because of it’s location, I didn’t have a yoke long enough to reach the rivets.  So, I had to shoot these with the gun and bar.


Sunday, May 5, 2019

Fuselage, MID Lower Structure (Part 6)

The weather finally cooperated (for the most part) to allow me to Akzo prime all the parts that were previously prepped and treated with Alumiprep and Alodine.  The last several sessions concentrated on prepping parts.....while waiting to prime.  During those sessions, I was able to prep 42 parts and pieces.  So, today, I Akzo primed 42 parts and pieces.

Here are the three F-01417-R Seat Ribs, the F-01416-L Seat Rib, the F-01423B-R Outboard Baggage Rib, and the F-01425-R Baggage Rib.

These are the same parts as above....just the -L side.
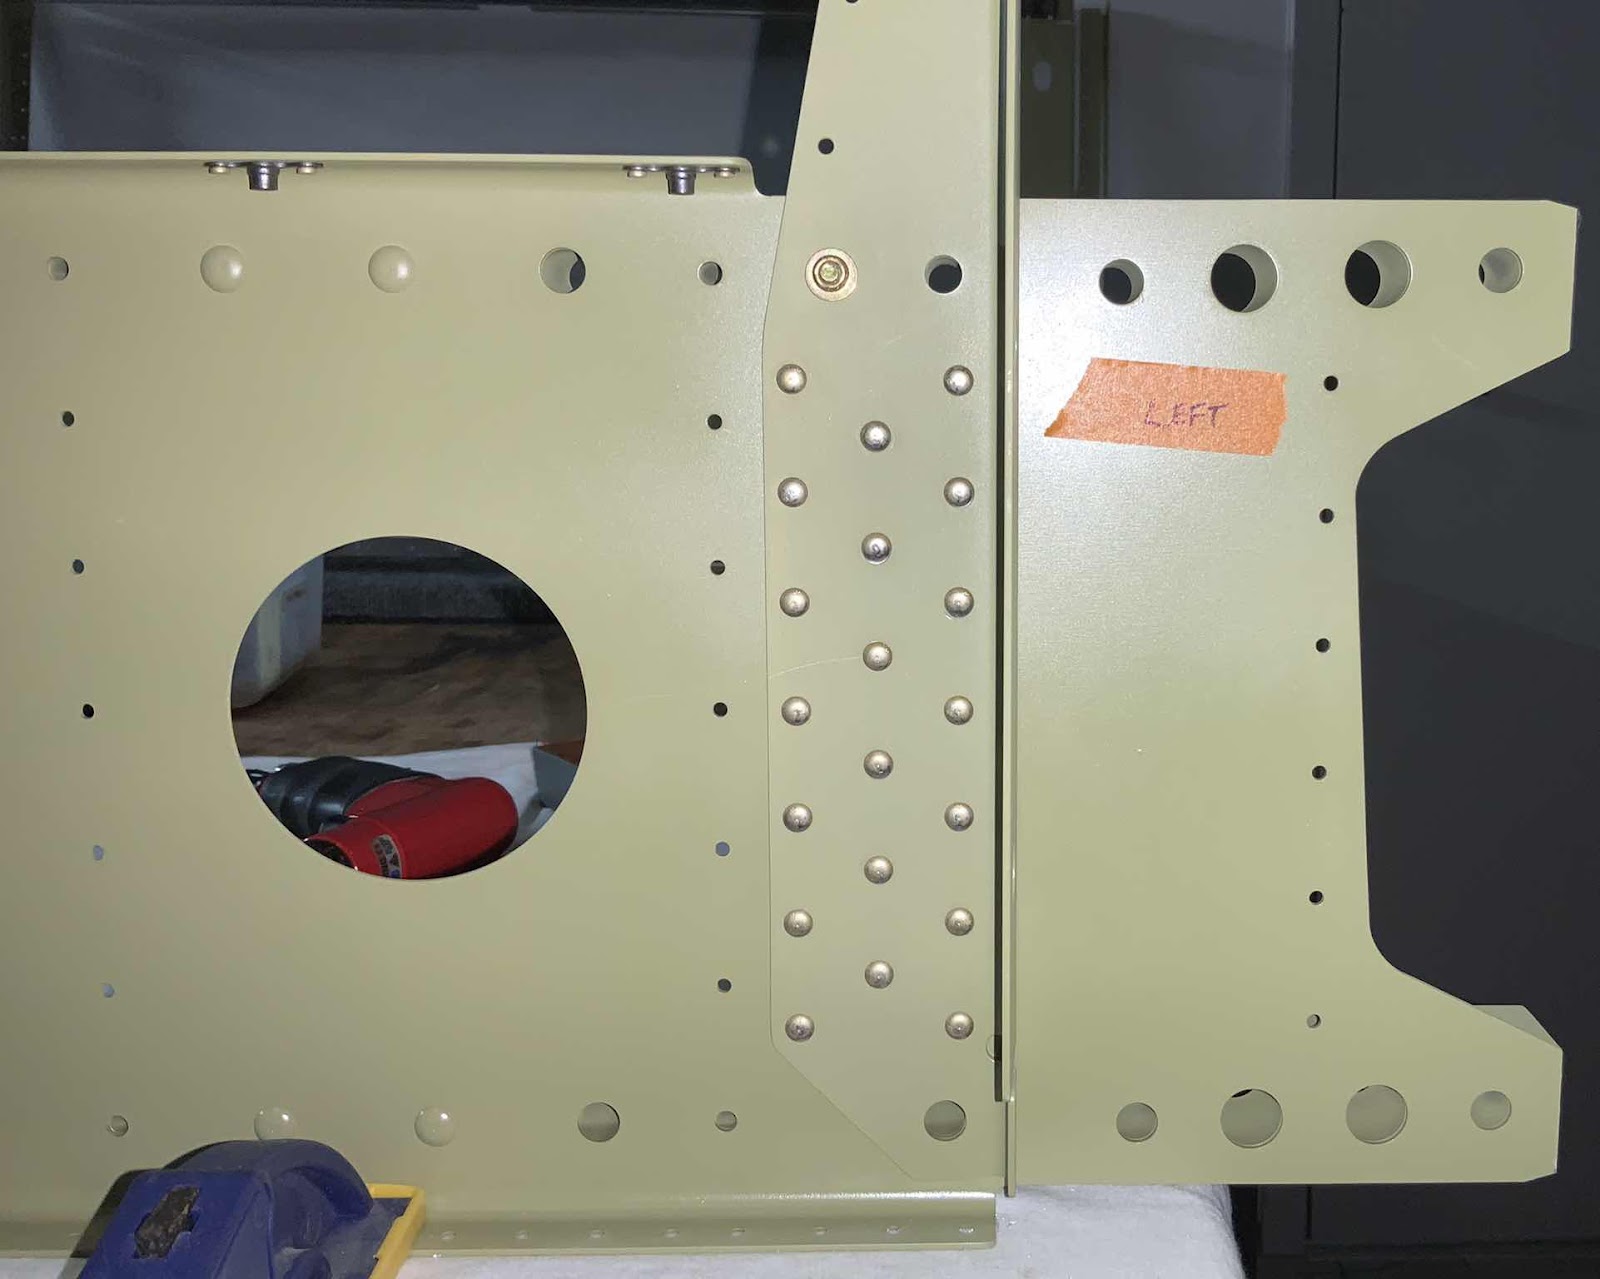
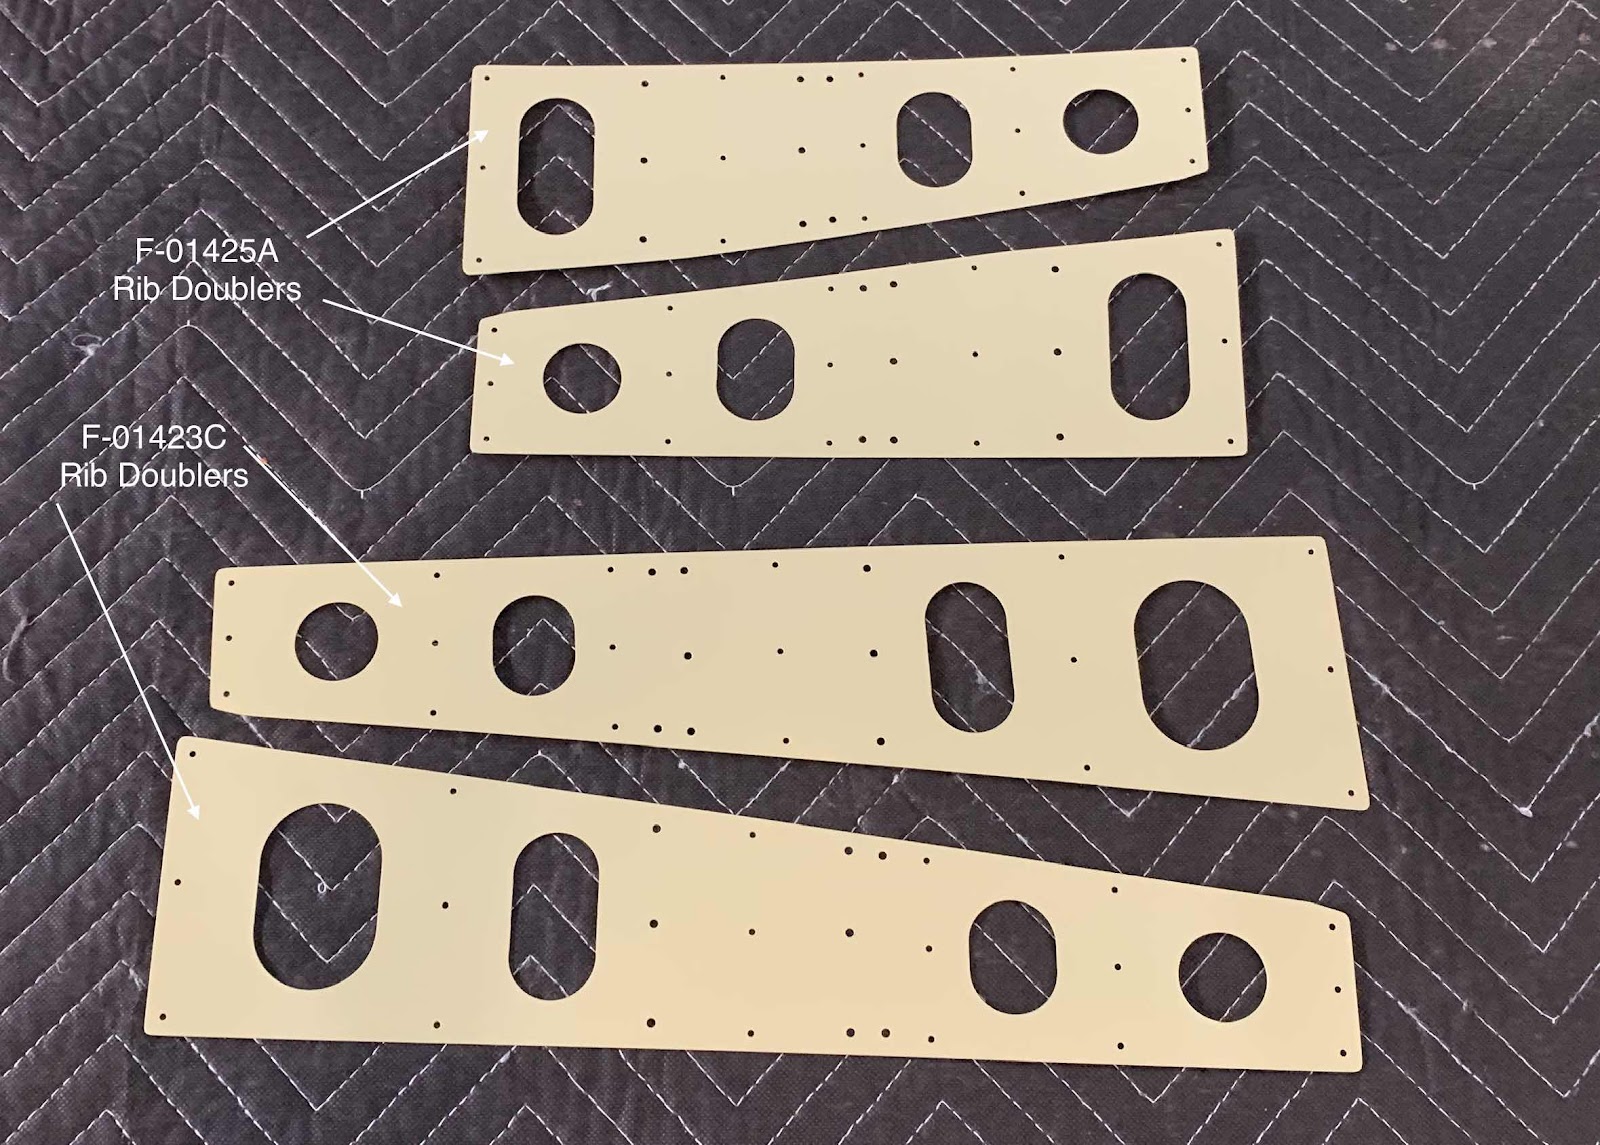
These are the two F-01425A and two F-01423C Rib Doublers.

Lastly, the faces have returned.....only green this time.  These are the four Crotch Strap Brackets, two Seat Rib Doublers, eight Bushing Clips and 12 Routing Angles.
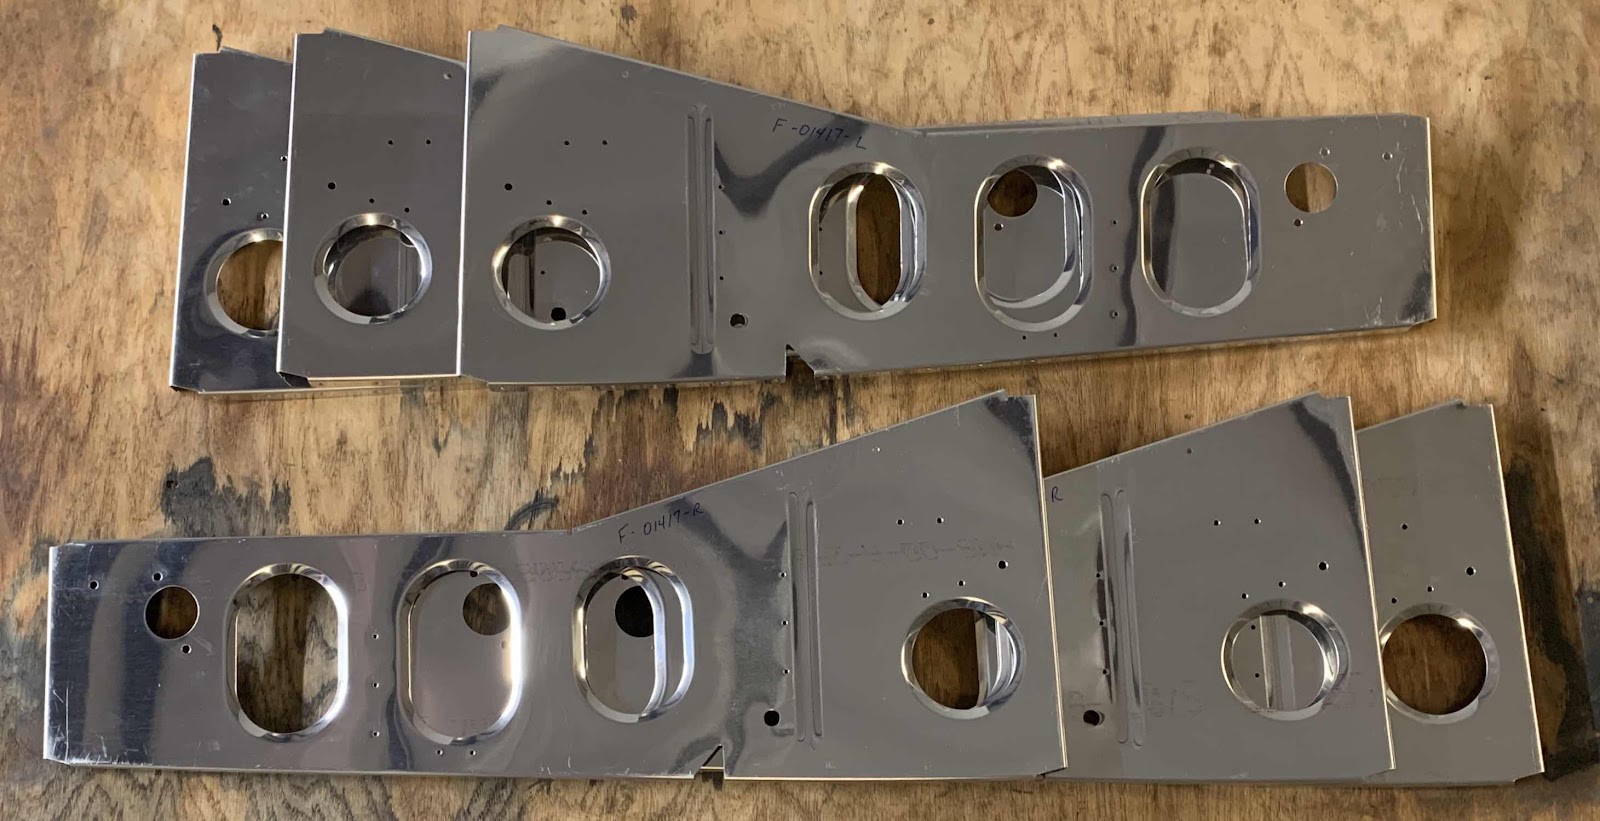
That’s all the parts and pieces that I prepped over the last couple of sessions.  Now, I’ll start riveting these pieces together during the next work session.

Saturday, May 4, 2019

Fuselage, MID Lower Structure (Part 5)

Continuing on with prepping parts.....

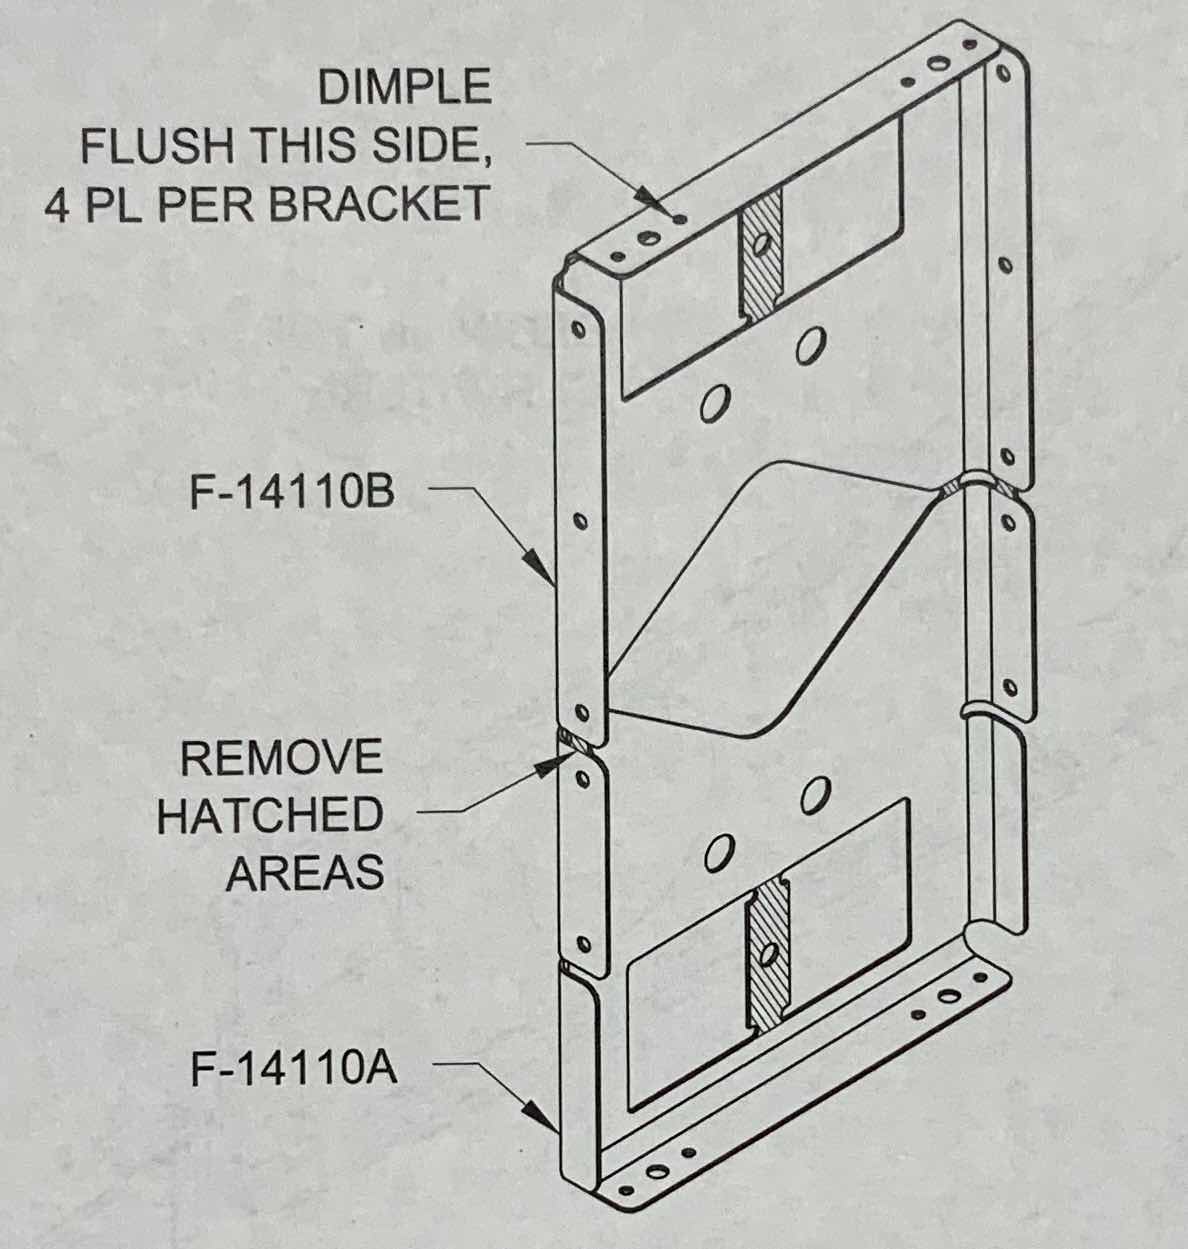
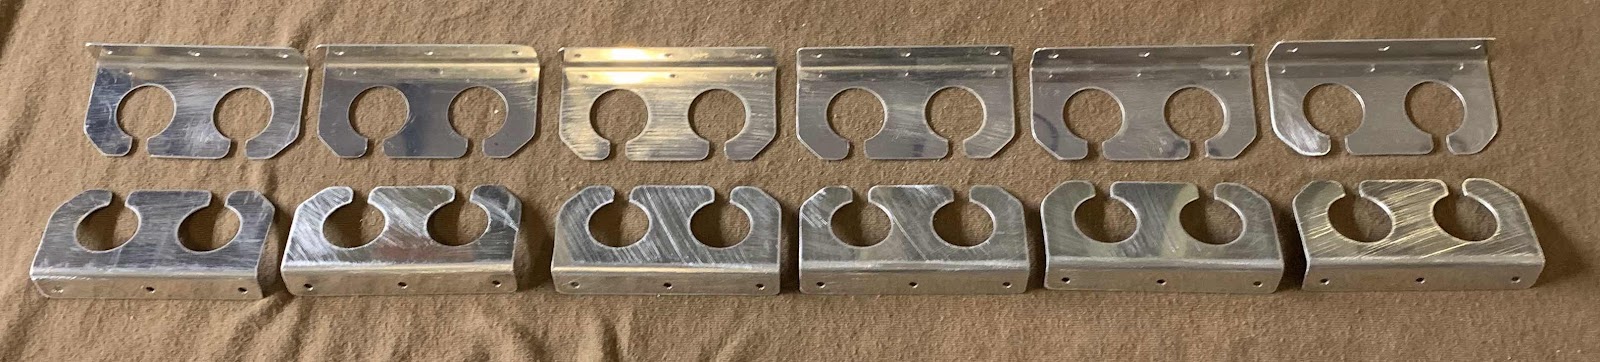
During this work session, I separated the F-14110 Crotch Strap Brackets.  The plans excerpt below shows how the pieces came together from Van’s and how they need to be separated.  Since there are two seats, there are two brackets (four pieces) that need to be prepared. 

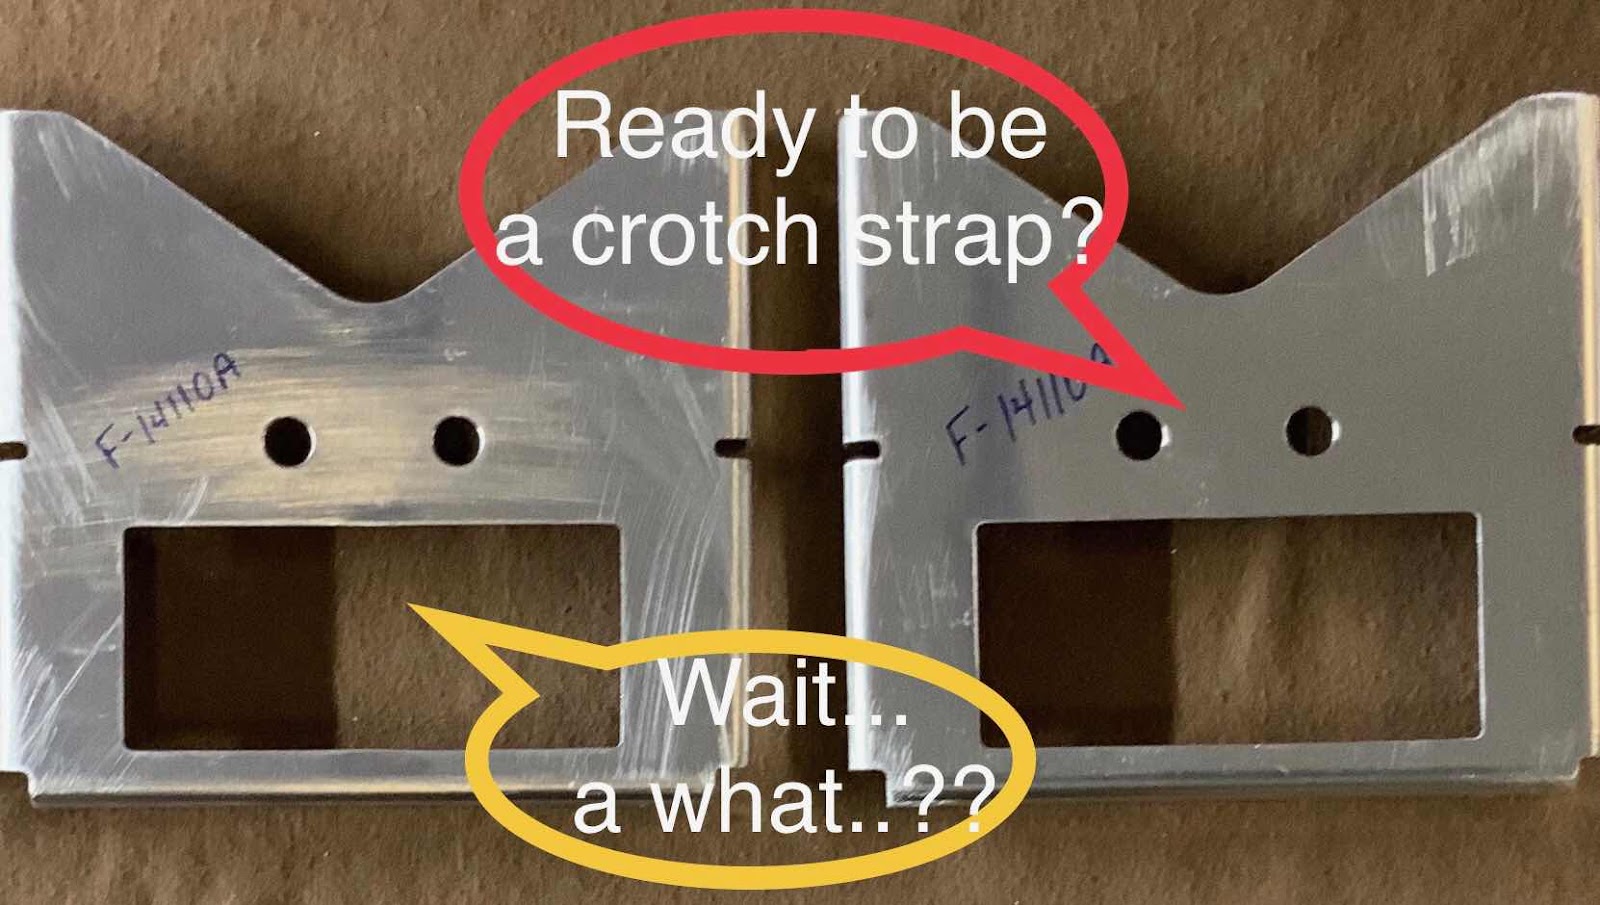
Here are the four brackets separated, cleaned, and deburred.  Kinda looks like four little aluminum faces smilin’ back at ya!  The pieces are now ready to be treated with Alumiprep, Alodine, and Akzo primer.


Friday, May 3, 2019

Fuselage, MID Lower Structure (Part 4)

I’m still waiting for the appropriate weather conditions to prime, so in the meantime, I decided to look ahead in the plans and start to prep some additional pieces that will be utilized in the next few pages of the plans.  So, this session is primarily prepping pieces.....separating parts, sanding edges, deburring holes, etc.

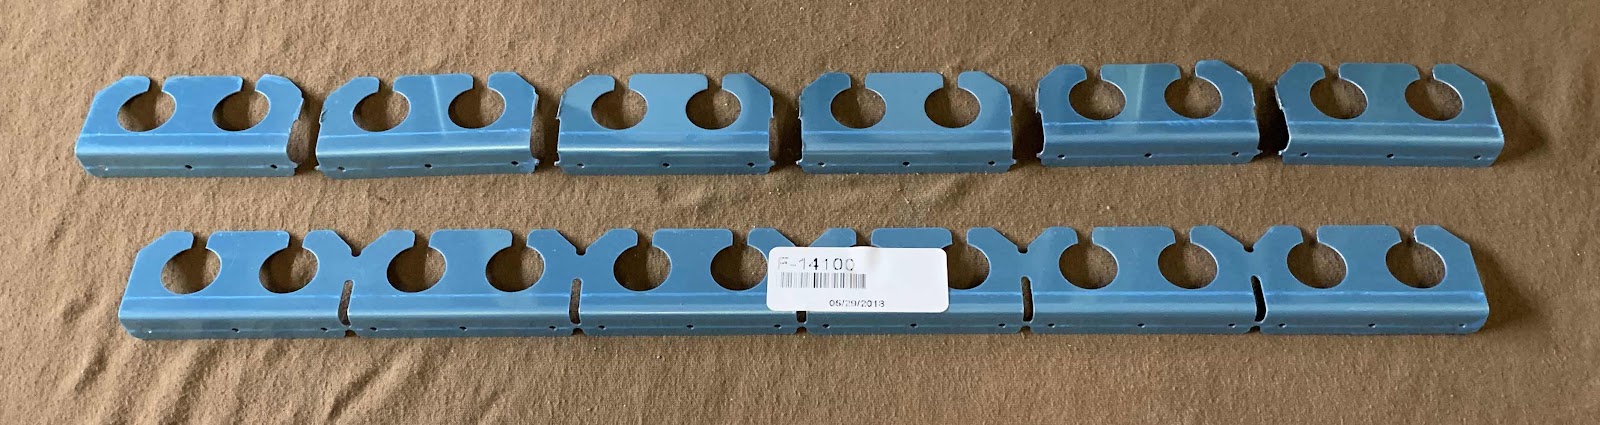
To start, here are the F-14100 Routing Angles.  There were two strips of the Angles (6 individual pieces on each strip) and one of those strips is shown separated below.  

Here are all 12 of the angles separated, cleaned, and deburred.  They are now ready for Alumiprep, Alodine, and Akzo primer.

The F-01416A Seat Rib Doubler had to be be separated into -L & -R Doublers.  After being separated, here are the two pieces.  The holes have been deburred and the edges are cleaned.  Both pieces are ready to be treated with Alumiprep, Alodine, and Akzo primer.

Lastly, shown below are the F-14142 Bushing Clips.  As with the other pieces, they came connected in a strip.  Once separated, there were eight individual Clips (shown below after being separated).....

.....and after they were cleaned and deburred.  They are now ready for Alumiprep, Alodine, and Akzo primer.

Wednesday, May 1, 2019

Fuselage, MID Lower Structure (Part 3)

Continuing the work from the previous session, today:

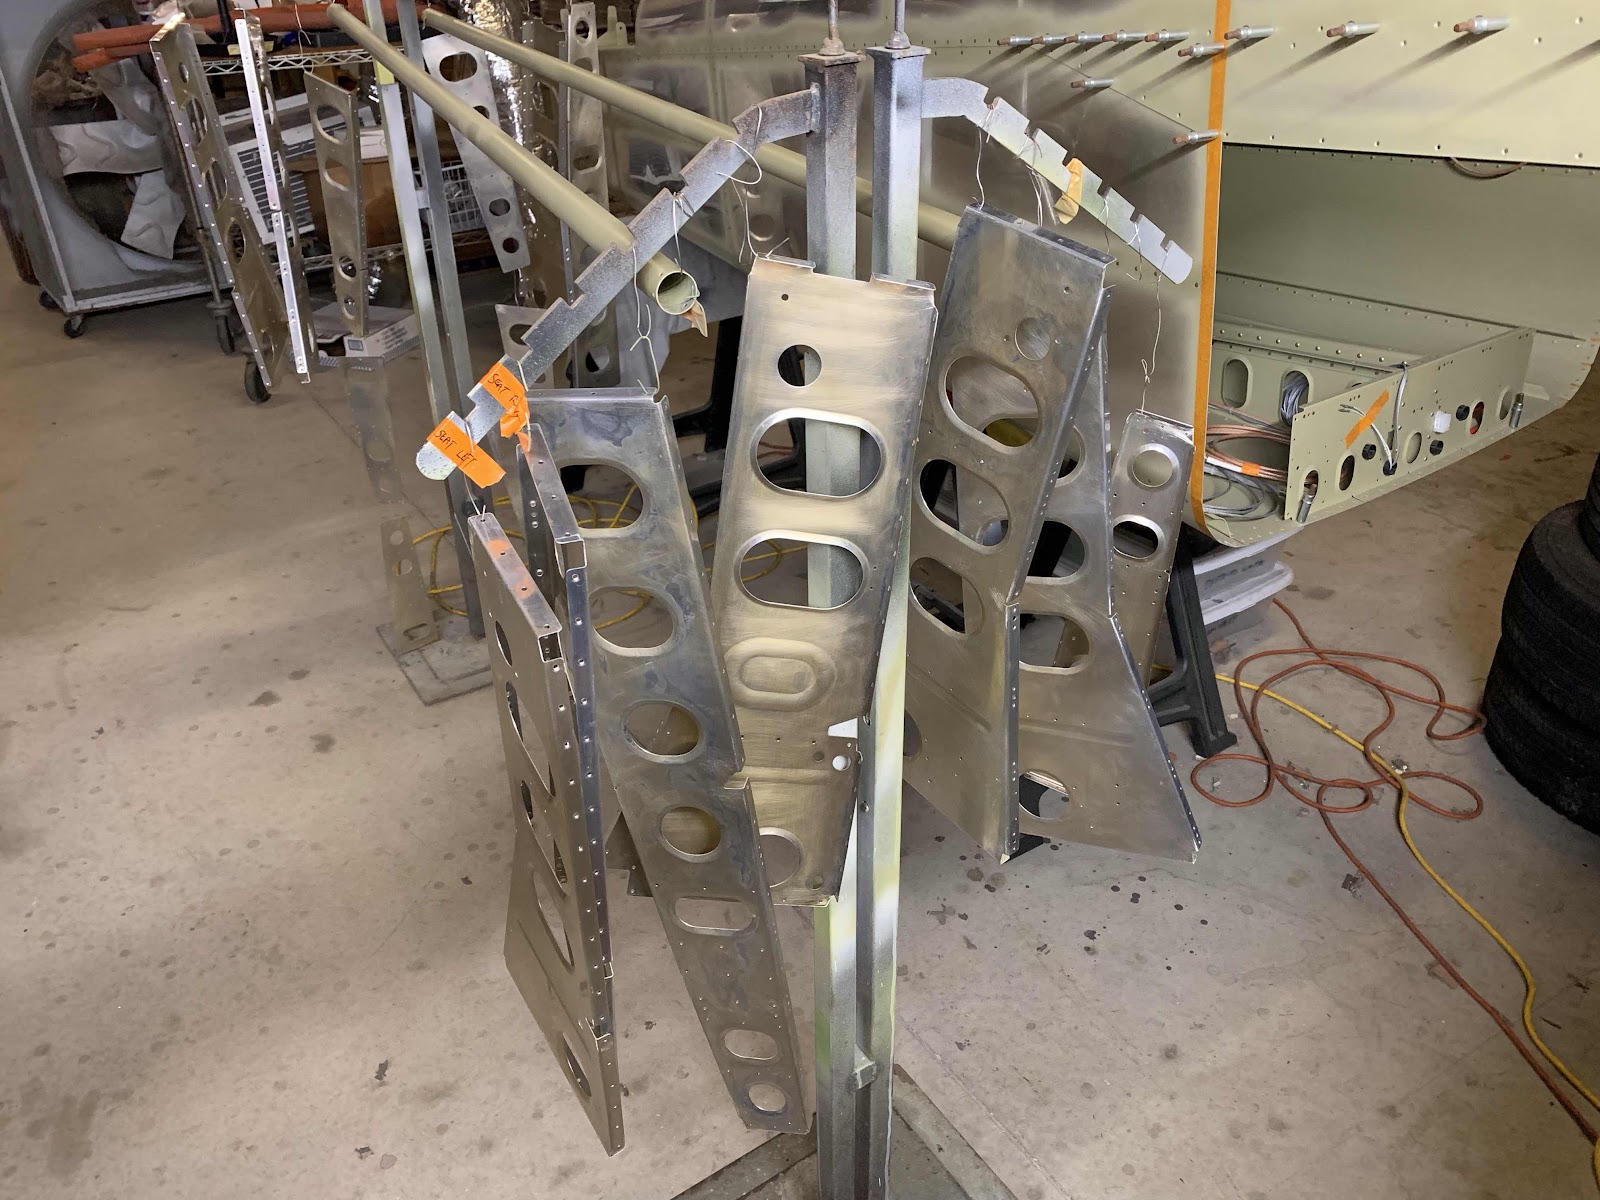
I cleaned the edges of the  two F-01416-L & -R Seat Ribs and the six F-01417-L & -R Seat Ribs.  Once the edges of those eight Seat Ribs were cleaned, they were treated with Alumiprep and Alodine.  Here are the Ribs hanging up to dry after getting treated.


Tuesday, April 9, 2019

Fuselage, MID Lower Structure (Part 2)

I started today by finishing the edge work and hole deburring on the remaining Baggage Rib and Outboard Baggage Rib that I didn’t get to during the previous work session.  Here are the completed Ribs.

Next, I moved on to preparing the F-01416 -L & -R Seat Ribs.  I deburred all the holes and dimpled the #30 and #40 holes in the ramped and lower flanges according to the plans.  I still need to clean the edges and then the Ribs will be ready for Alumiprep, Alodine, and Akzo Primer.

Finally, for this session, I prepared the three F-01417-L and three F-01417-R Seat Ribs.  I deburred all the holes and dimpled the #30 and #40 holes in the ramped and lower flanges according to the plans.  As with the Seat Ribs above, I still need to clean the edges of these six Ribs also.  Once the edges are clean, these will also be ready for Alumiprep, Alodine, and Akzo Primer.

Wednesday, April 3, 2019

Fuselage, MID Lower Structure (Part 1)

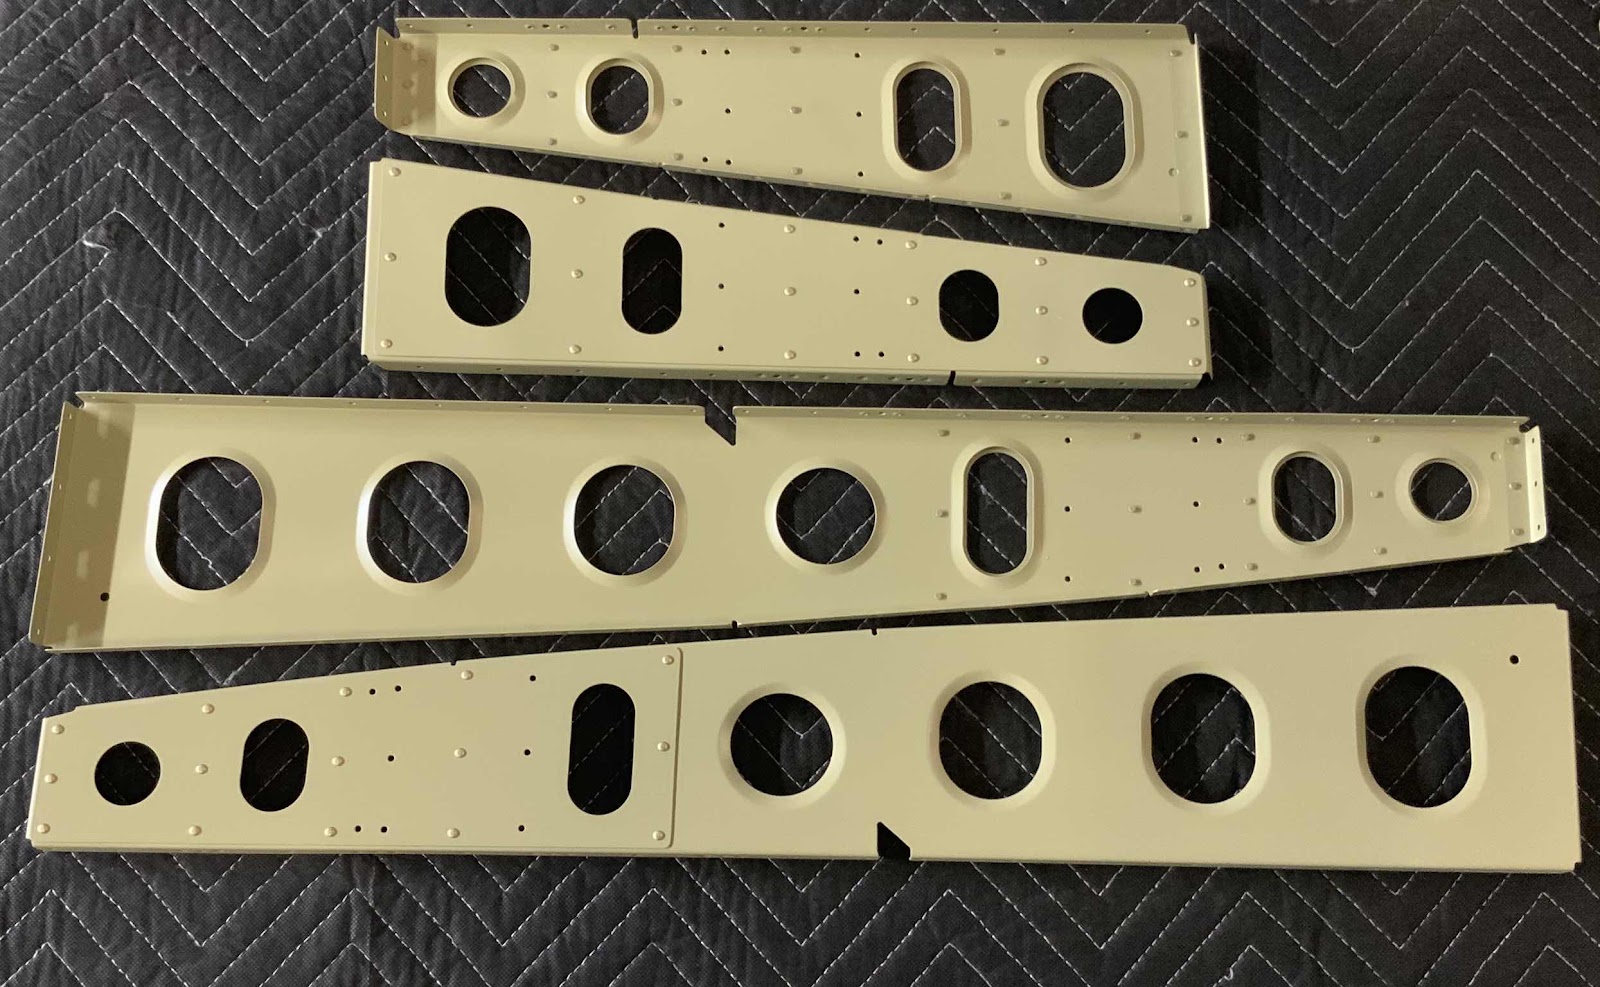
While I’m waiting to prime parts from Section 25, I decided to move on to Section 26 and begin preparing some parts.  Show below are the F-01425-R & -L Baggage Ribs (two on the top), F-01425A Rib Doublers (middle left), F-01423C Rib Doublers (middle right), and F-01423B-L & -R Outboard Baggage Ribs (on the bottom).  I cleaned the edges on the parts and deburred all the holes, except the two that still have the blue plastic on them.  Eventually, several of these parts will also get dimpled.

The first and second steps listed in the plans is to rivet the Doublers to the Ribs.  However, prior to doing that I want to Akzo prime the parts.  So, I will add them to the stack of parts from Section 25 and prime them all together.


Fuselage, FWD/MID Bulkheads (Part 3)

I spent a few minutes during today’s work session treating some parts with Alumiprep and Alodine.  Pictured below is the F-1403D-R & -L Forward Center Section Side Angle.  The edges have been cleaned and the holes deburred.....now waiting to be Akzo primed.

These are the F-01441-L & -R Bearing Bracket Braces and associated Bearing Bracket Angles that were prepared in Part 3.  After separating the parts, cleaning the edges, and deburring the holes, the parts were treated with Alumiprep and Alodine.  They are now hanging up to dry prior to being Akzo primed.

While I was treating stuff with Alumiprep and Alodine, I decided to treat the two CS-00012 Torque Tube to Bellcrank Pushrods.  They are shown below hanging up to dry.