
I started today’s session by temporarily attaching the U-00018 Tail Spring Mountto the F-01411 Bulkhead in the Aft Fuselage Assembly. Once the Tail Spring Mount was attached with the hardware called for in the plans, the F-01479 Aft Bottom Skin and the F-01412 Bulkhead was attached to the Aft Fuselage Assembly. I idea was to make sure the F-01412 cleared the weld bead Tail Spring Mount. In the picture below, you can see the sharpie mark I made on the Bulkhead. I used a small fine file (curved on one side and smooth on the other) to make the necessary adjustments and keep the original shape of the opening. (Excerpt from the plans is attached a few pictures below)
Once that was completed, the F-01412 Bulkhead and the F-01479 Aft Bottom Skin were riveted together. The plans call for AN426AD3-3.5 rivets to be used, but I thought they were a little to short. So, I made the command decision to use the little longer AN426AD3-4. I like the result and happy with the rivet change. Here is a side view of the pieces riveted together.

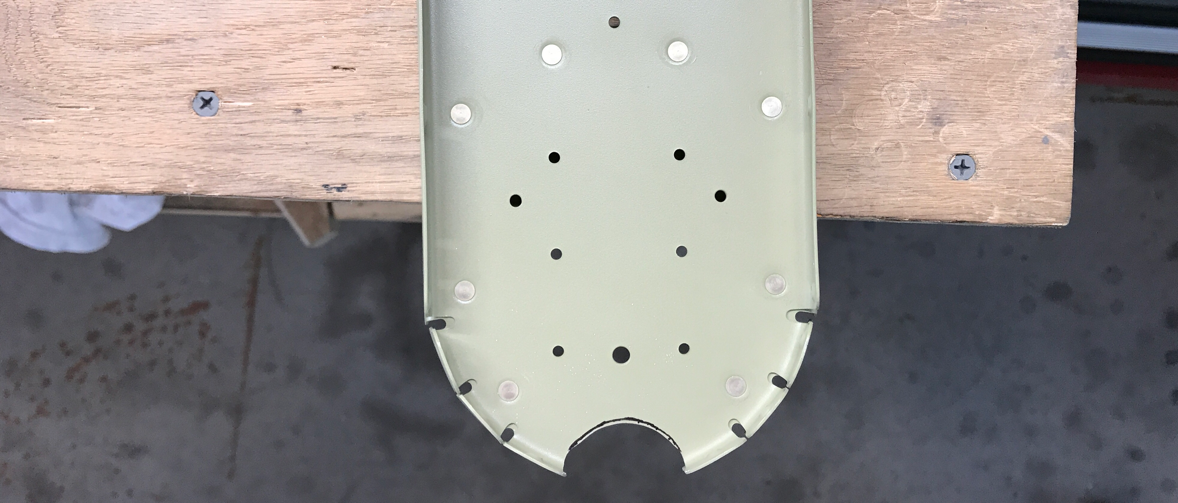
Here is the bottom view.

The next step in the plans is to rivet the U-00018 Tail Spring Mount to the F-01412 Bulkhead. Below is the excerpt from the plans shows the two rivet locations using AN426AD4-5 rivets. (The Bulkhead was previously countersunk to accept the two rivets)

The Aft Bottom Skin was then clecoed to the Aft Fuselage Assembly. Below you can see the two rivets that were just installed in the Tail Spring Mount (black circle). There was a small gap between the Tail Spring Mount and the F-01411 Bulkhead (white circle). Several spacers were included with the kit for this purpose. I used the “fatter” of the three spacers and you can see it in the white circle between the two pieces. Lastly, two AN4-6A bolts, NAS1149F0463P washers, and MS21042-4 nuts were installed attaching the Tail Mount Spring and the Bulkhead. The plans recommend orienting the bolt head aft for easeier access. This is the aft side of the assembly and the bolts can also be seen in the white circle.

This is the forward side of the assembly and you can see the nuts attached at the bottom of the picture.

This is the what the Tail Spring Mount looks like coming out off the Aft Bottom Skin. Additional trimming had to be done to make sure there was enough clearance between the two pieces. This is not as pretty as it was when I initially removed the excess aluminum. However, the Tail Spring Mount is clear of the Aft Bottom Skin. I plan on using some fine sandpaper to make the opening a little more cosmetically pleasing......particularly on the right side.
