
We picked up today where we left off yesterday. The plans say to secure the Elevator in the “trail” position by placing strips of duct tape over the gap between the Elevator Counterbalance Arm and the Horizontal Stabilizer. Instead of using duct tape, I decided to use the clamp you see in the picture below.

The excerpt below shows a couple of pieces that need to be prepared. The first is the wooden (or plastic) Elevator Spacer you need to fabricate. The spacer will go between the Inboard Hinge Bracket and the Elevator Horn and is designed to prevent any flexing during the drilling process. The second piece needing attention is the E-Drill Bushing. It will be inserted into the Flange Bearing to ensure a perfectly straight hole is drilled into the Left Elevator Horn (and then later the Right).

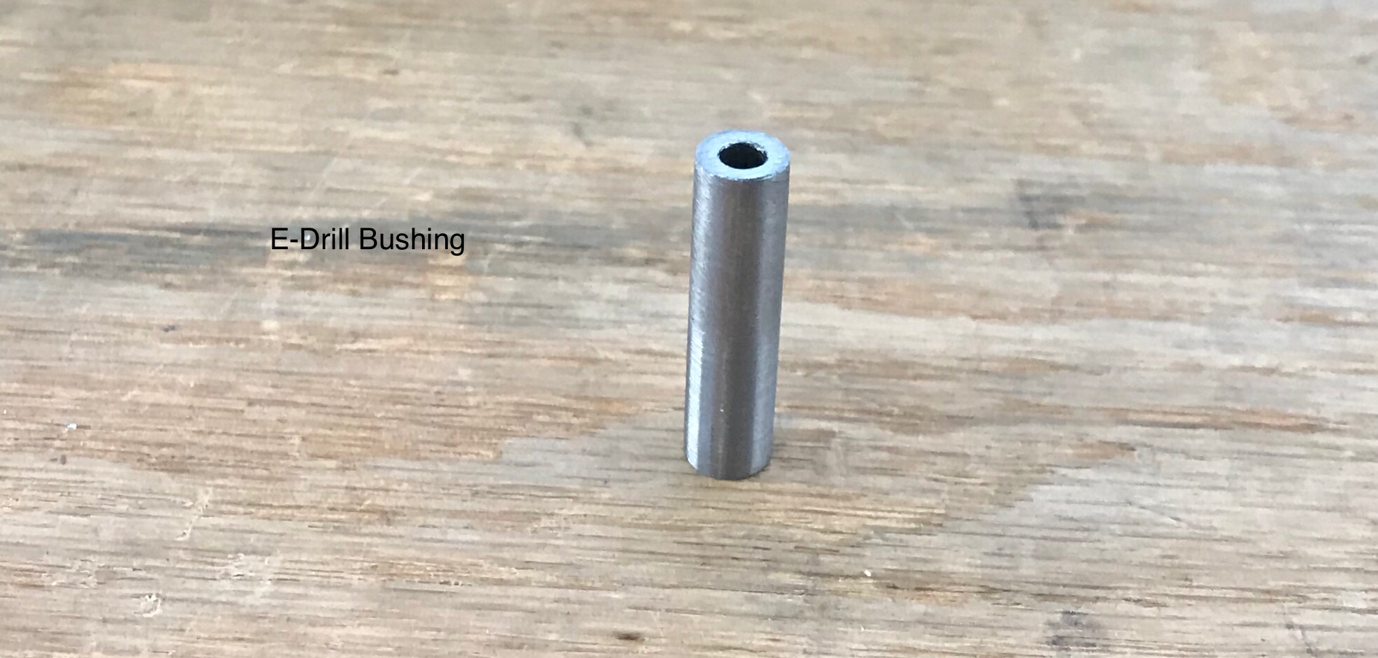
Below is the actual E-Drill Bushing supplied with the kit. The bushing was a little larger than the hole in the Flange Bearing. So, following the directions in the plans, I put the Busing in a drill press and used 220 grit sandpaper to grind the diameter down while it was spinning. This process worked great and was very easy.
Here is the Busing inserted into the Flange Bearing. Now, the Hinge Bracket and Elevator Horn need to be clamped “lightly” together. The last step before removing the Left Elevator (and going through the same process on the Right Elevator) is to drill a #30 pilot hole into the Elevator Horn using the E-Drill Bushing as a drill guide. This #30 hole will ultimately be enlarged to a 1/4” using a step drill.

I will continue from here tomorrow.....the Wing Kit just arrived!