
It has been a few days since I updated the blog, but like I’ve said before, I have been working. I will catch up all my work in this post.
In a couple previous posts, I began the prep work on the Outboard Leading Edge Skins....edge work and dimpling. Now, both Skins are ready to be treated with Alumiprep and Alodine. Again, because the Skins are so large, I used a spray bottle and grey Scotchbrite to apply the Alumiprep and a spray bottle and 2” foam brush to apply the Alodine. Below are a few pictures of the Skins handing up to dry after being treated.


Next up was the Akzo Epoxy Primer. The first pieces to get primed were the two Splice Ribs. The rib on the bottom in the picture below, will eventually get the stall warning assembly attached to it.

I’m going to arrange the next few pictures out of order. After I primed the two Splice Ribs above, it was time to do the Skins. In addition to the Akzo, the two landing light bays also needed to be sprayed with flat black as suggested in the plans. The first picture below show the complete Left Outboard Leading Edge Skin sitting in the craddle. The right side of the Skin has only the Akzo Epoxy Primer and the left side (landing light bay) was first sprayed with Akzo and then the flat black as a top coat.

Below is the completed Right Outboard Leading Edge sitting on the work table.

Lastly, here are several pictures I took during the painting of both landing light bays.

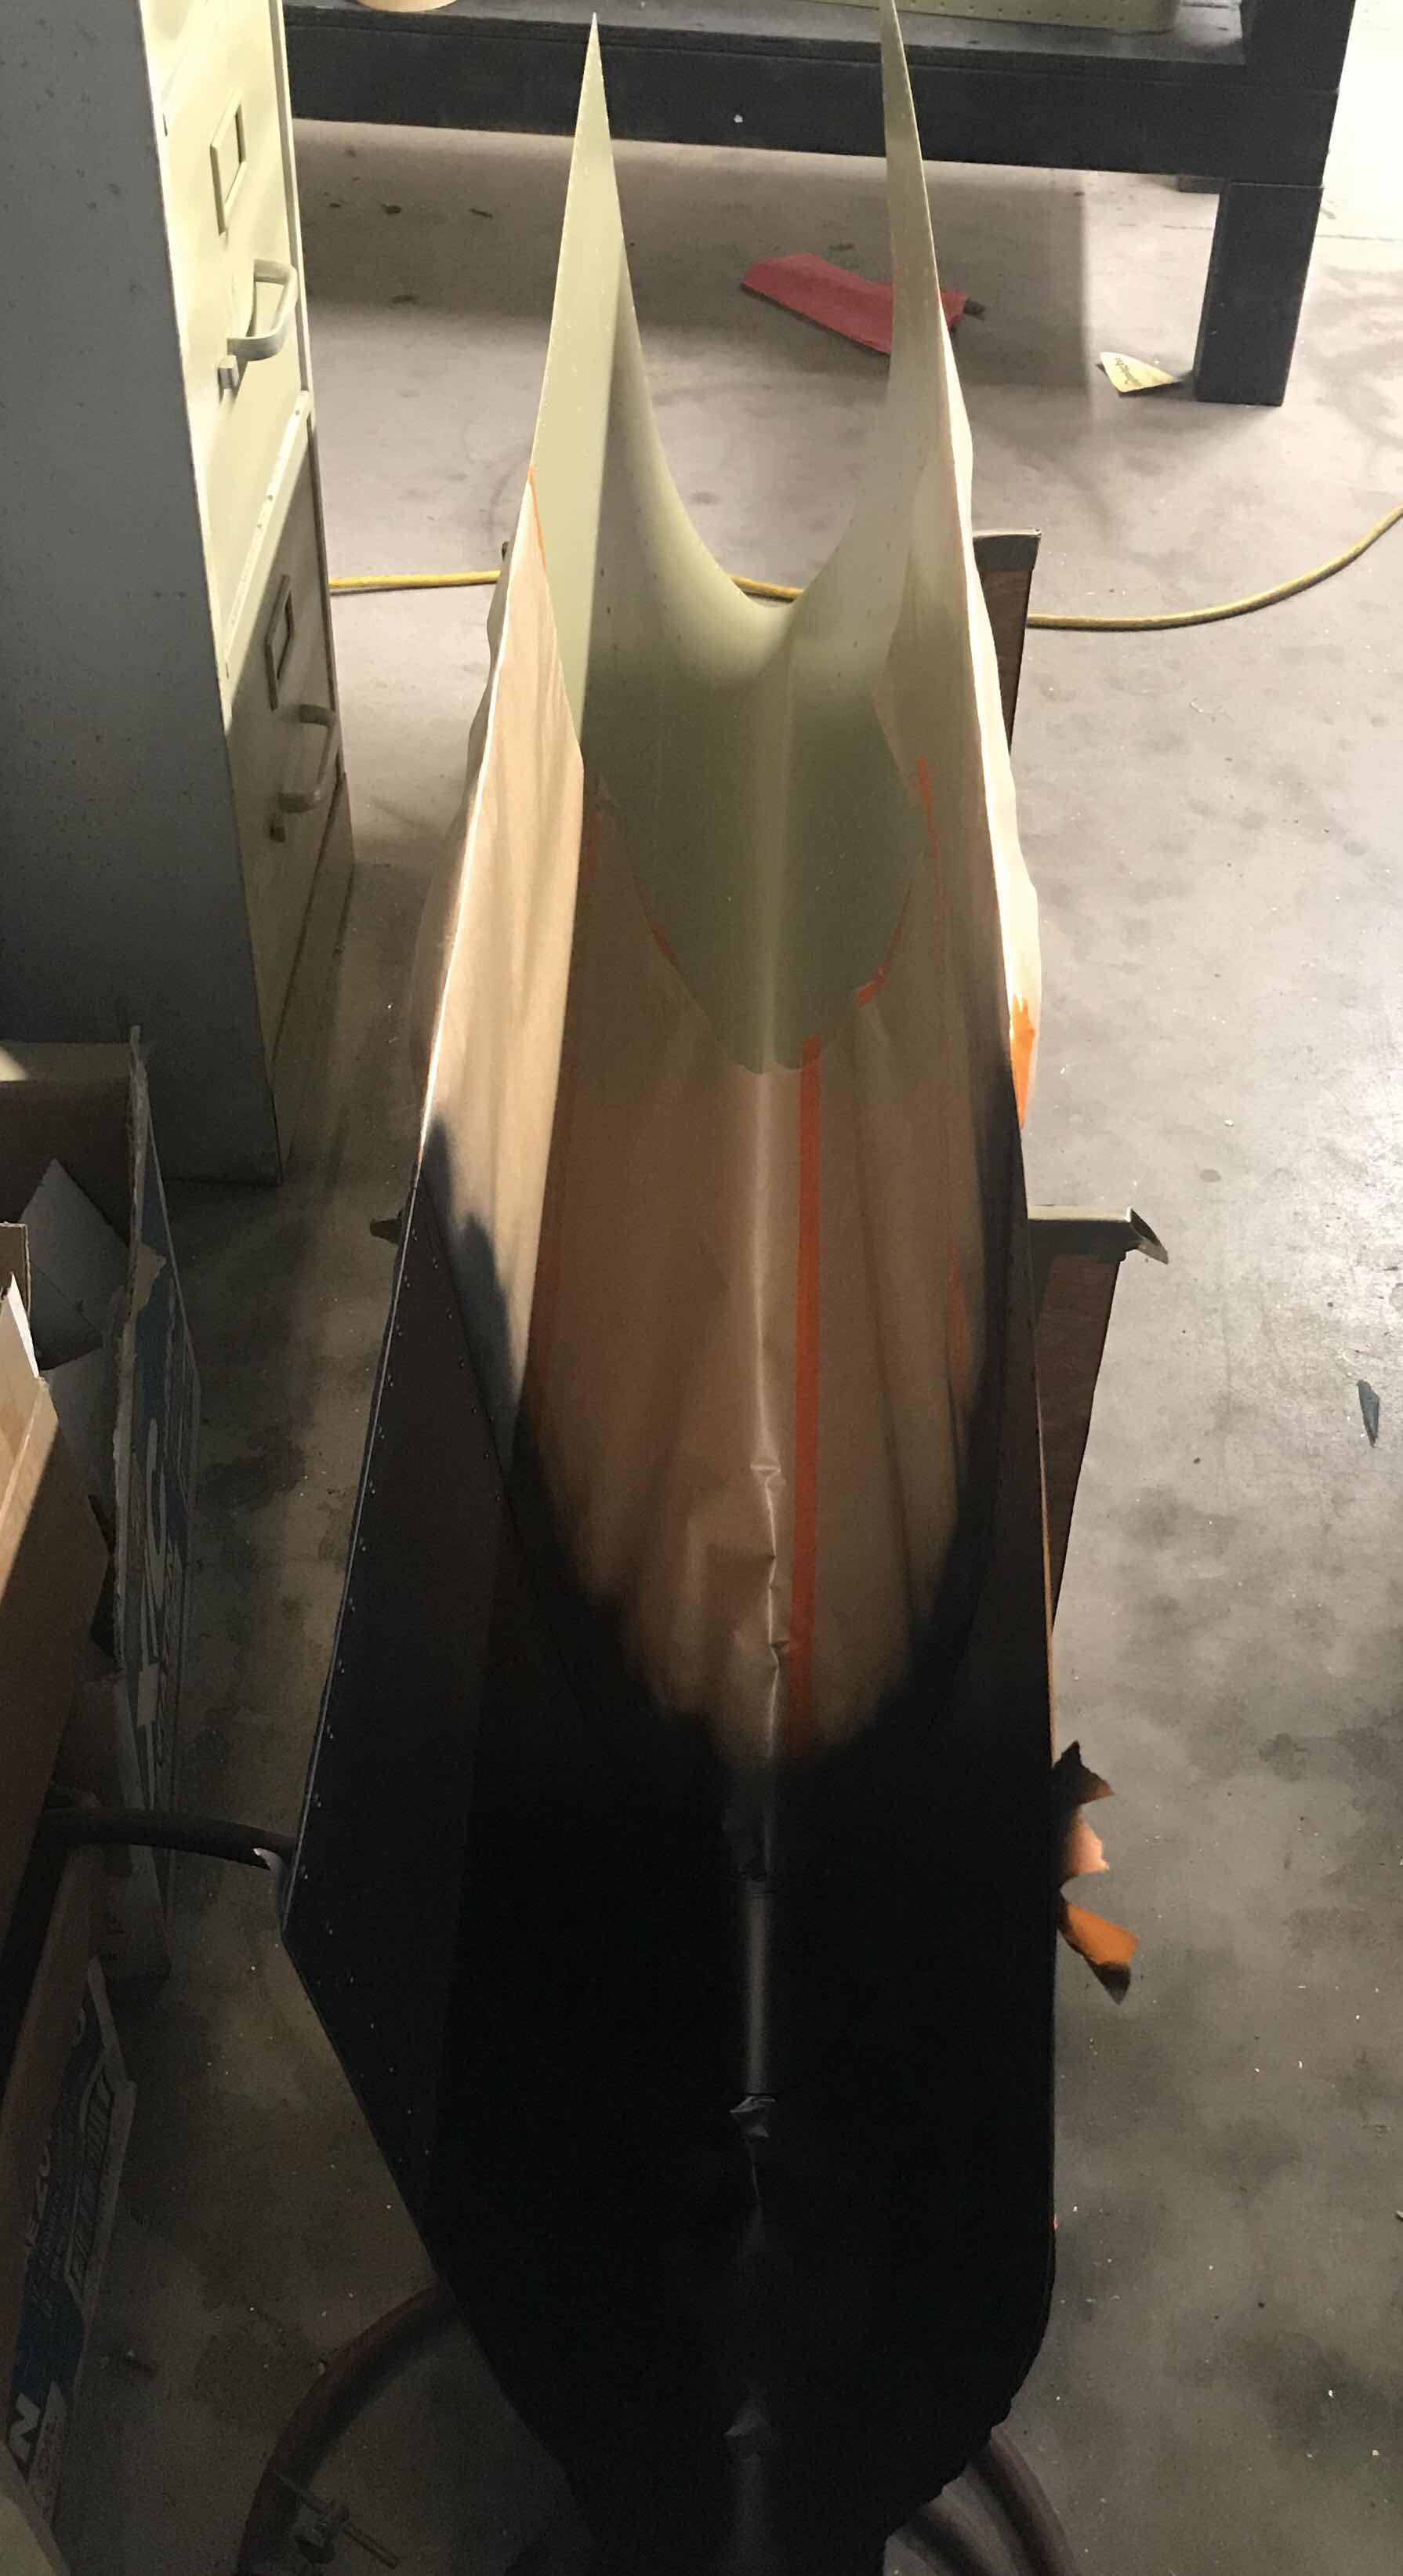


One piece of advice for any builders who might be following my build. Be sure to tape up the holes on the other side of the Skin. That way the paint doesn’t make it through the holes and overspray on the Skin. In the picture below, you can see where I put the tape and the little black dots of flat black on the inside of the tap that are created during the spraying process.
