
Well, I called in reinforcements.....my stepdad Roger is back in town to help install RIVETS, RIVETS and more RIVETS. We have about 2500 rivets to install, so here we go.....
Started today’s session by riveting the two K1000-08D nutplates to the W-1008-R Splice Rib as shown below. Theses nutplates will eventually hold the Stall Warning Assembly to the Rib.
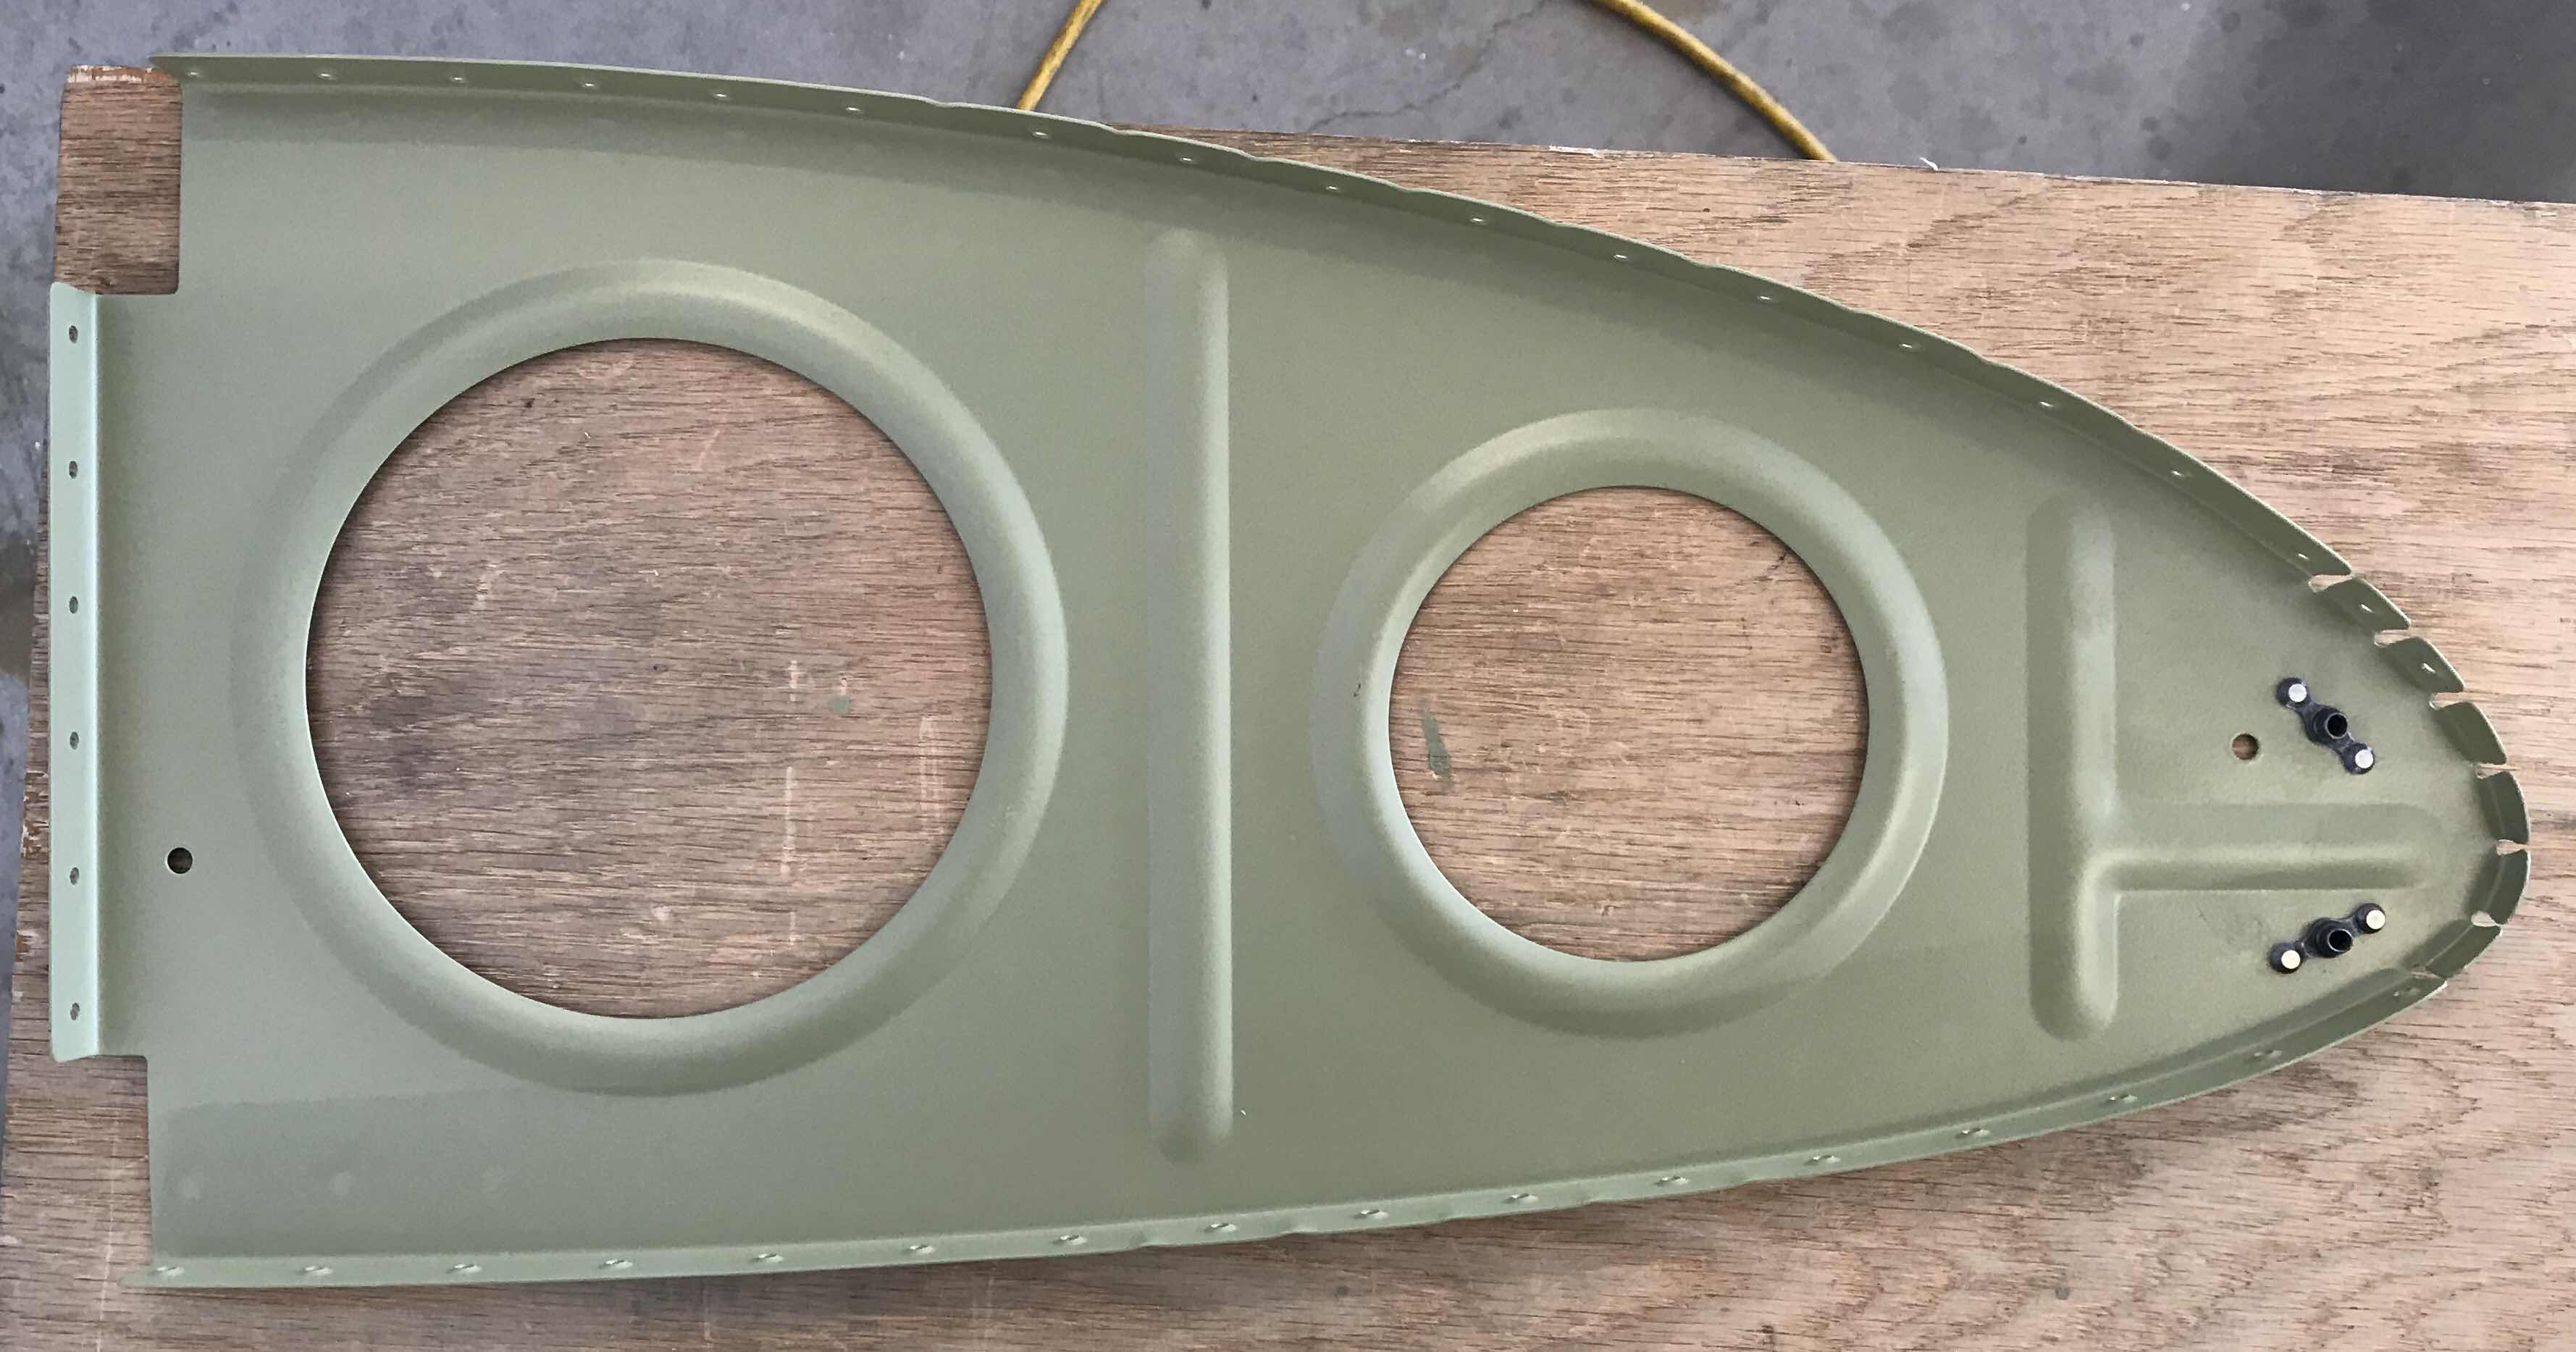
Next, we clecoed the VA-195C Access Hatch Doubler to the Left Outboard Leading Edge Skin as shown below.
Here is the outside (or bottom of the Wing).....

.....here is the inside of the Wing.

After the 16 rivets were installed on the outside of the Wing.....

.....and the inside.

The plans called for the Access Hatch Doubler rivets to be backriveted. However, I was not pleased with an earlier attempt to backrivet a few pieces, so I chose to use my pneumatic squeezer to install these rivets. I like the results much better. Speaking of my pneumatic squeezer.....I use it on every rivet I can get it on. The squeezer produces such a good (and repeatable) result that it has become my go to riveting technique. I use a standard 3” yoke and 2” Longeron yoke.
Here is a video from Cleaveland Aircraft Tool talking about standard yokes.....
.....and the Longeron Yoke (aka Flange Nose yoke).
Now, all the Ribs (seven of them) were clecoed to the Left Outboard Leading Edge Skin in their positions/locations that I previously numbered. Here is a side view of the of Skin with the Ribs installed.....

.....the Landing Light bay that was painted flat black.....

.....and the entire Outboard Leading Edge with all the Ribs clecoed in place.

Once they everything was clecoed, we started setting rivets. We almost finished with the Left Outboard Leading Edge....have about 50ish more rivets to go and will pick it up there tomorrow. In the picture below, all the rivets for the bottom Skin are installed.

*****221 Rivets Installed*****