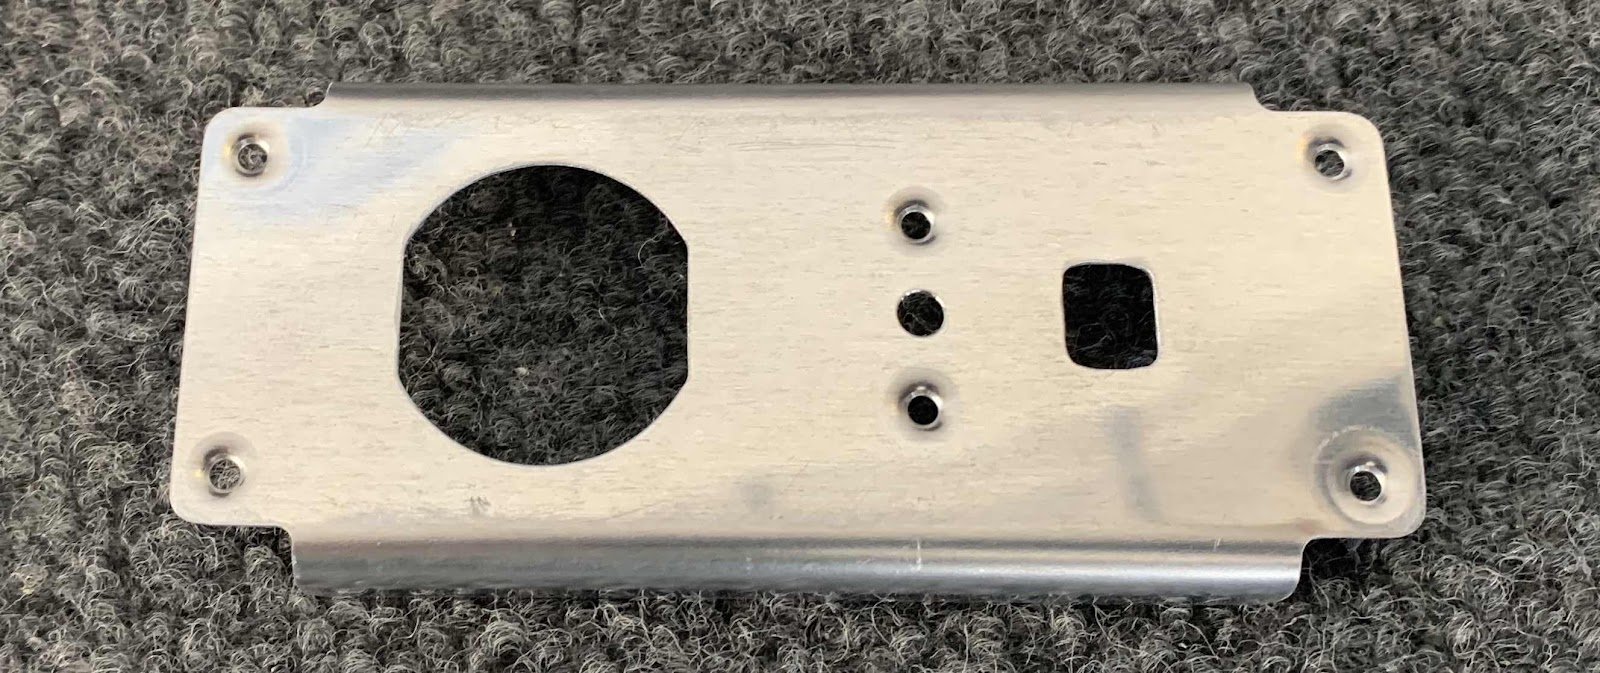
To start this session, we started working on the F-14123 Power Outlet Bracket. The edges were cleaned, holes deburred and #40 holes dimpled.
These are the F-14145 Step Attach Angles. The two angles were also prepared by cleaning the edges, deburring the holes, and dimpling the #40 holes. NOTE: these Angles are only necessary to install on the Tri-Gear.....UNLESS the Tailwheel builders wish to install the optional F-00018-L & -R Tail Dragger Steps. I will be installing the steps, so I prepared the Angles
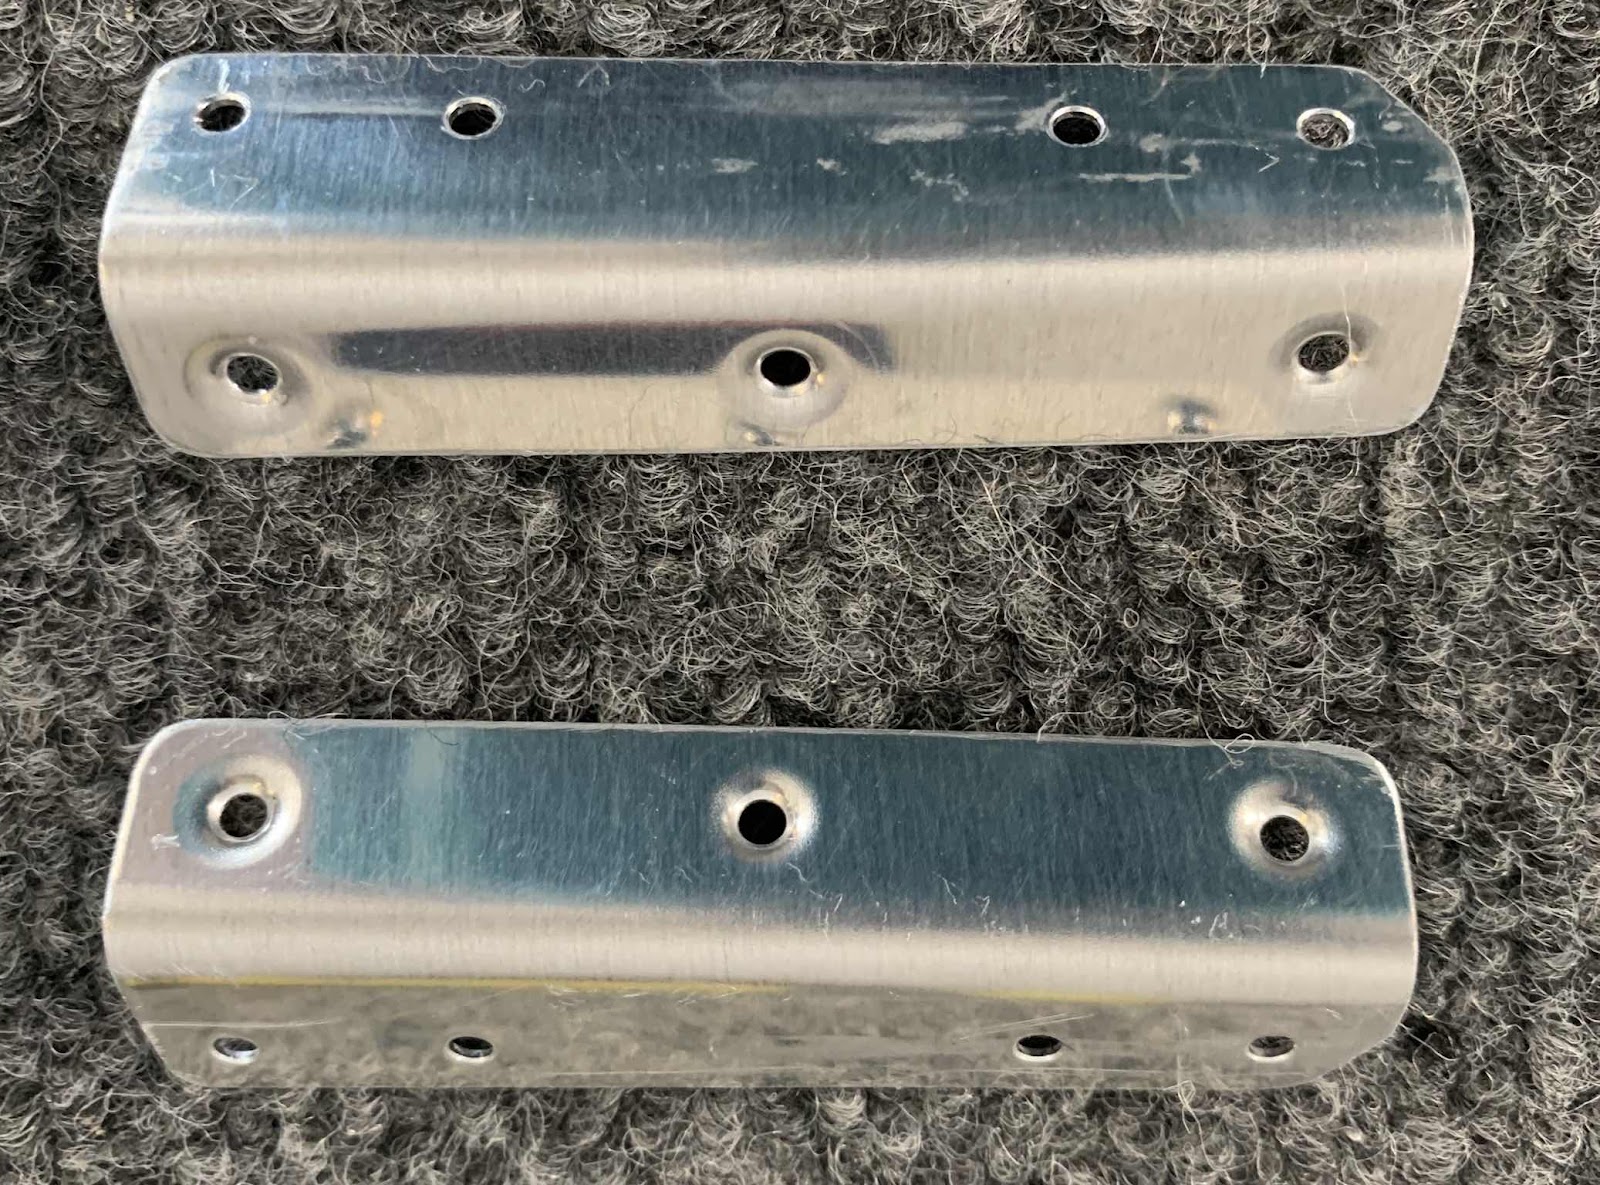
Here is a view of the other side of the Angles.

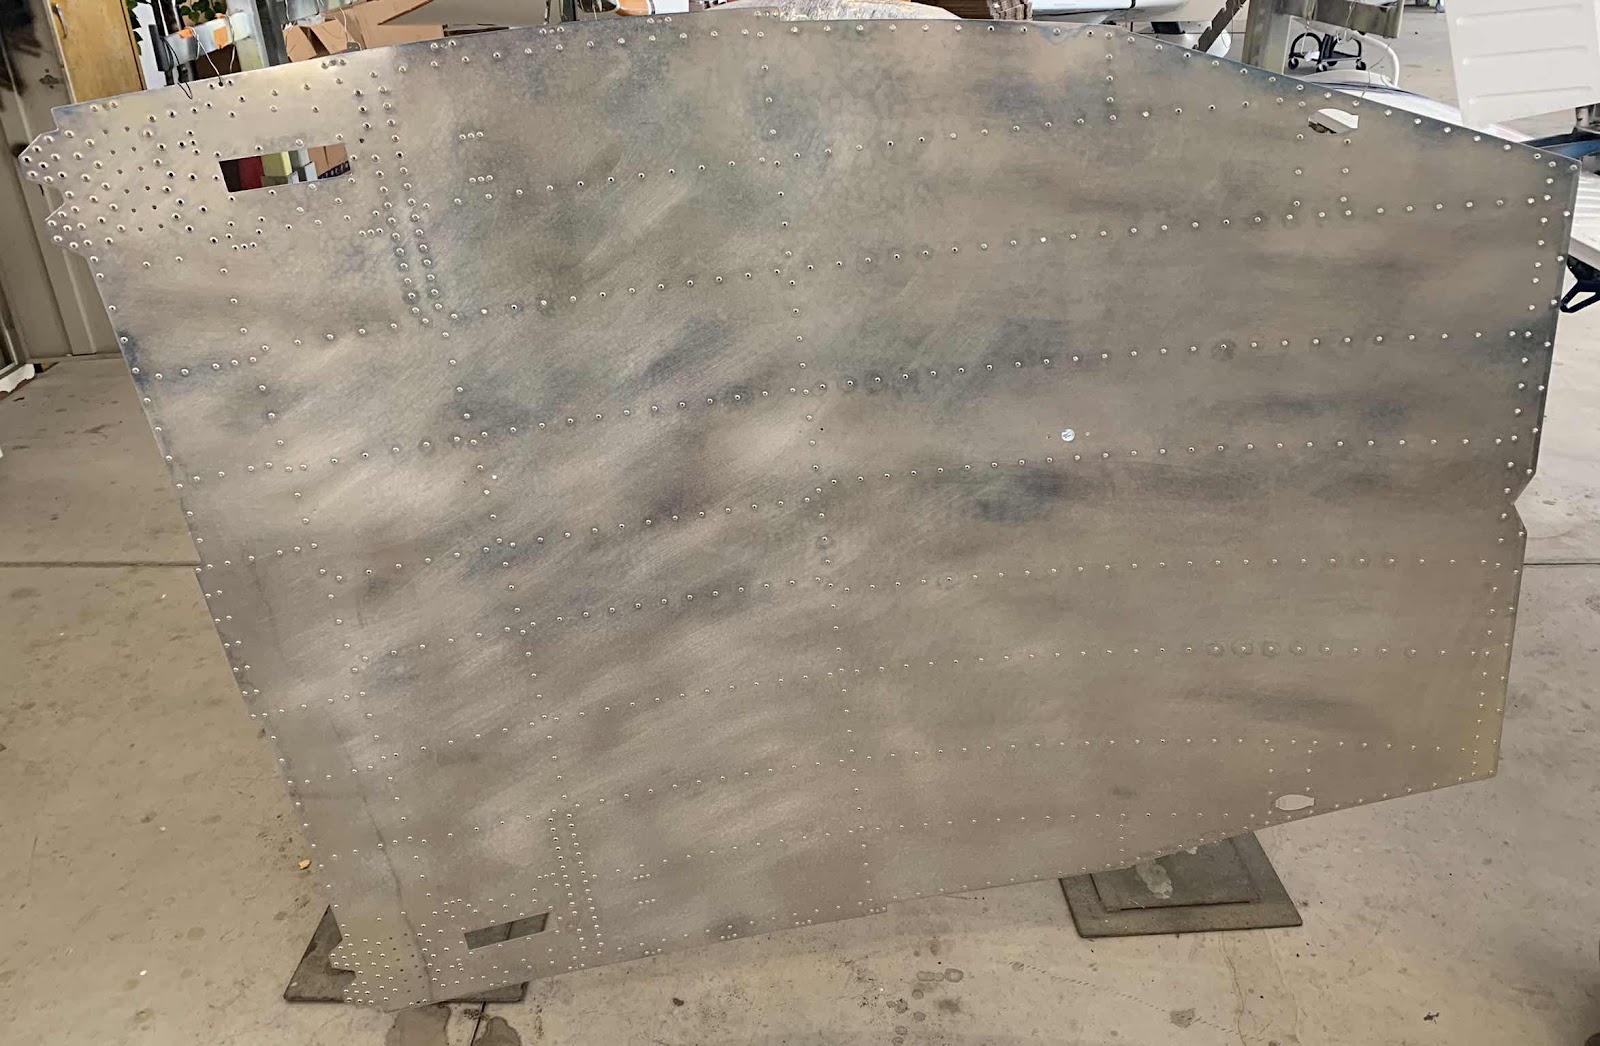
Below is the huge F-01484 Center Bottom Skin after being treated with Alumiprep and Alodine. It is now hanging up to dry.
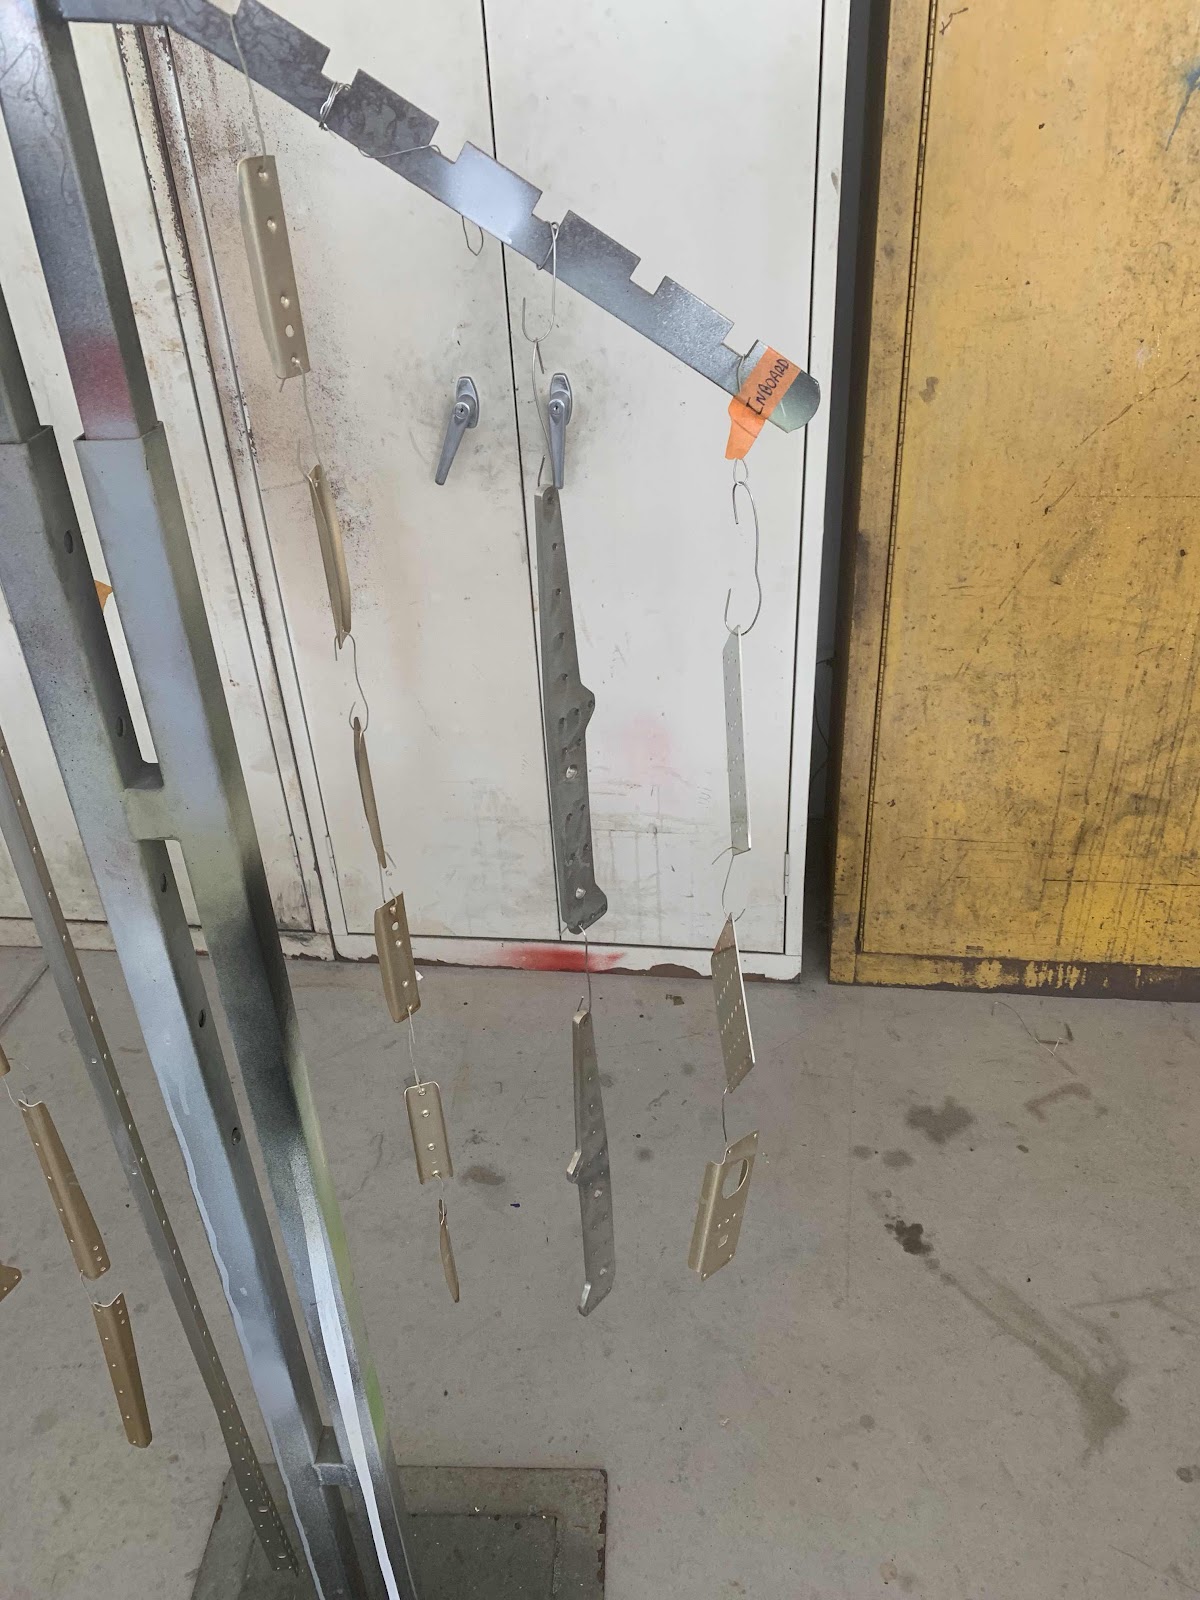
The two pictures below show all the parts I prepared in Parts 16 and 17. They are also hanging up to dry following treatment with Alumiprep and Alodine.