September 18, 2019 (Part 10)
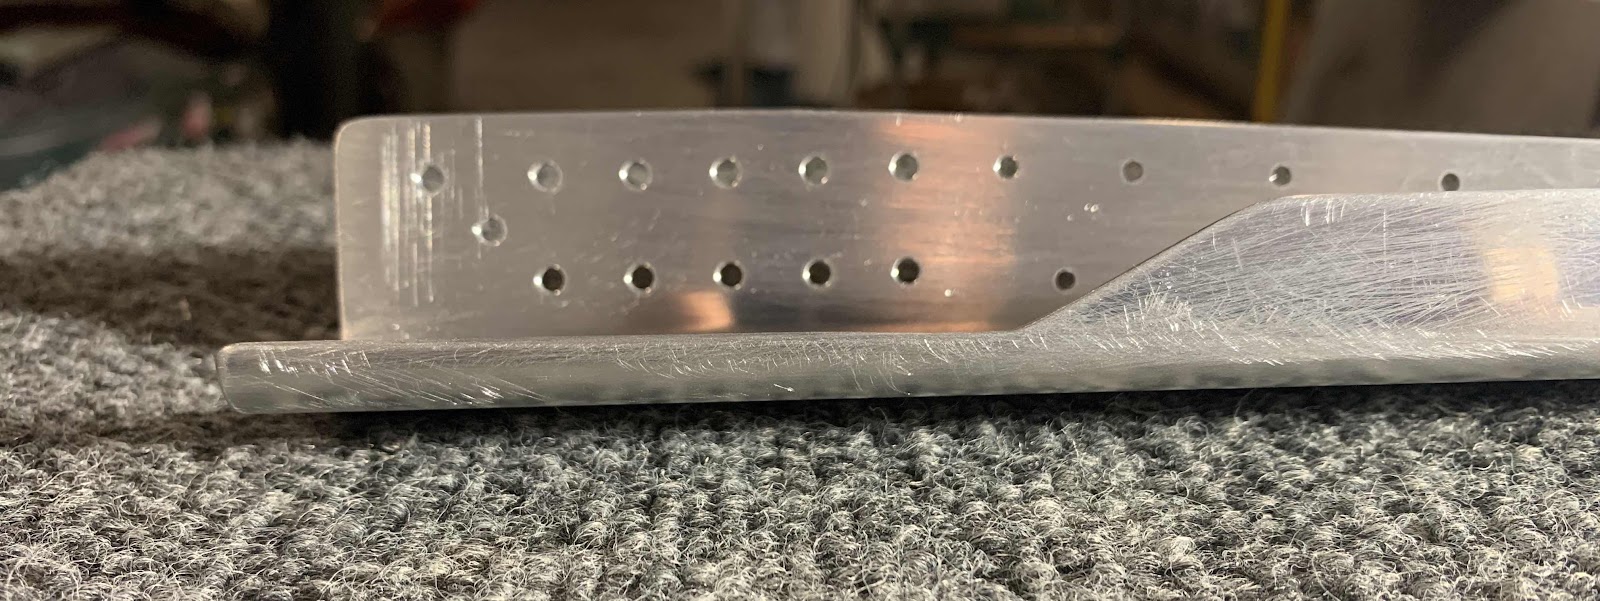
I began work on the CS-00006 Control Column during this work session. There will be four VA-146 Flange Bearings attached/riveted to Control Column (two on each side). Initially, the plans state to use a step drill to enlarge the center holes in the Control Column as necessary to fit the Flange Bearing. All four holes needed a little bit of work because of the power coating. Instead of using a step drill, I use some 220 grit sand paper. After a little bit of sanding, all four Flange Bearings fit into the center holes of the Control Column very nicely.
Once I got the Flange Bearings to fit properly, the next step was to final-drill #12 the four holes circled below. Here are a couple of pictures showing the Flange Bearings attached to the Control Column.

Next, with the Flange Bearings clecoed to the Control Column, all the holes common to both pieces were final-drilled #30.
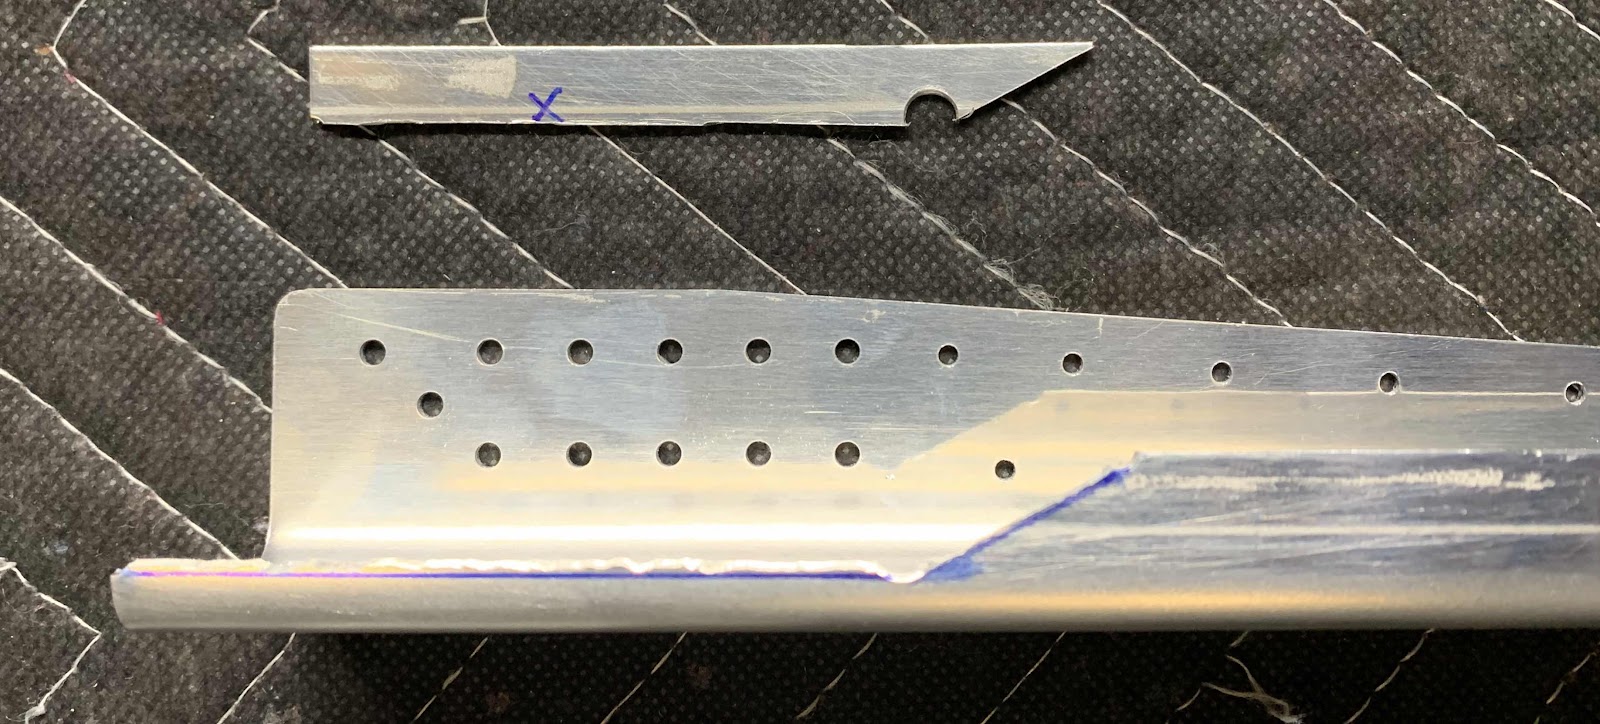
The last step for this session was to trim the forward left edge of the Flange Bearing to match the Control Column (shown below). I marked the area of the Flange that needed to be removed, used a bench grinder/Scotchbrite wheel to remove most of the material, and made the final adjustments using 220 grit sandpaper. Here is completed Flange Bearing.

- - - - - - - - - - - - - - - - - - - - - - - - - - - - - - - - - - - - - - - - - - - - - - - - - - - - - - - - - - - - - - - - - - - - - - - - -
September 21, 2019 (Part 11)
I wanted the Flange Bearings to be Akzo primed and painted white to match the Control Column.....and for corrosion protection. So, I put some orange take over the Bearings and painted them up. Here is how I did it.....

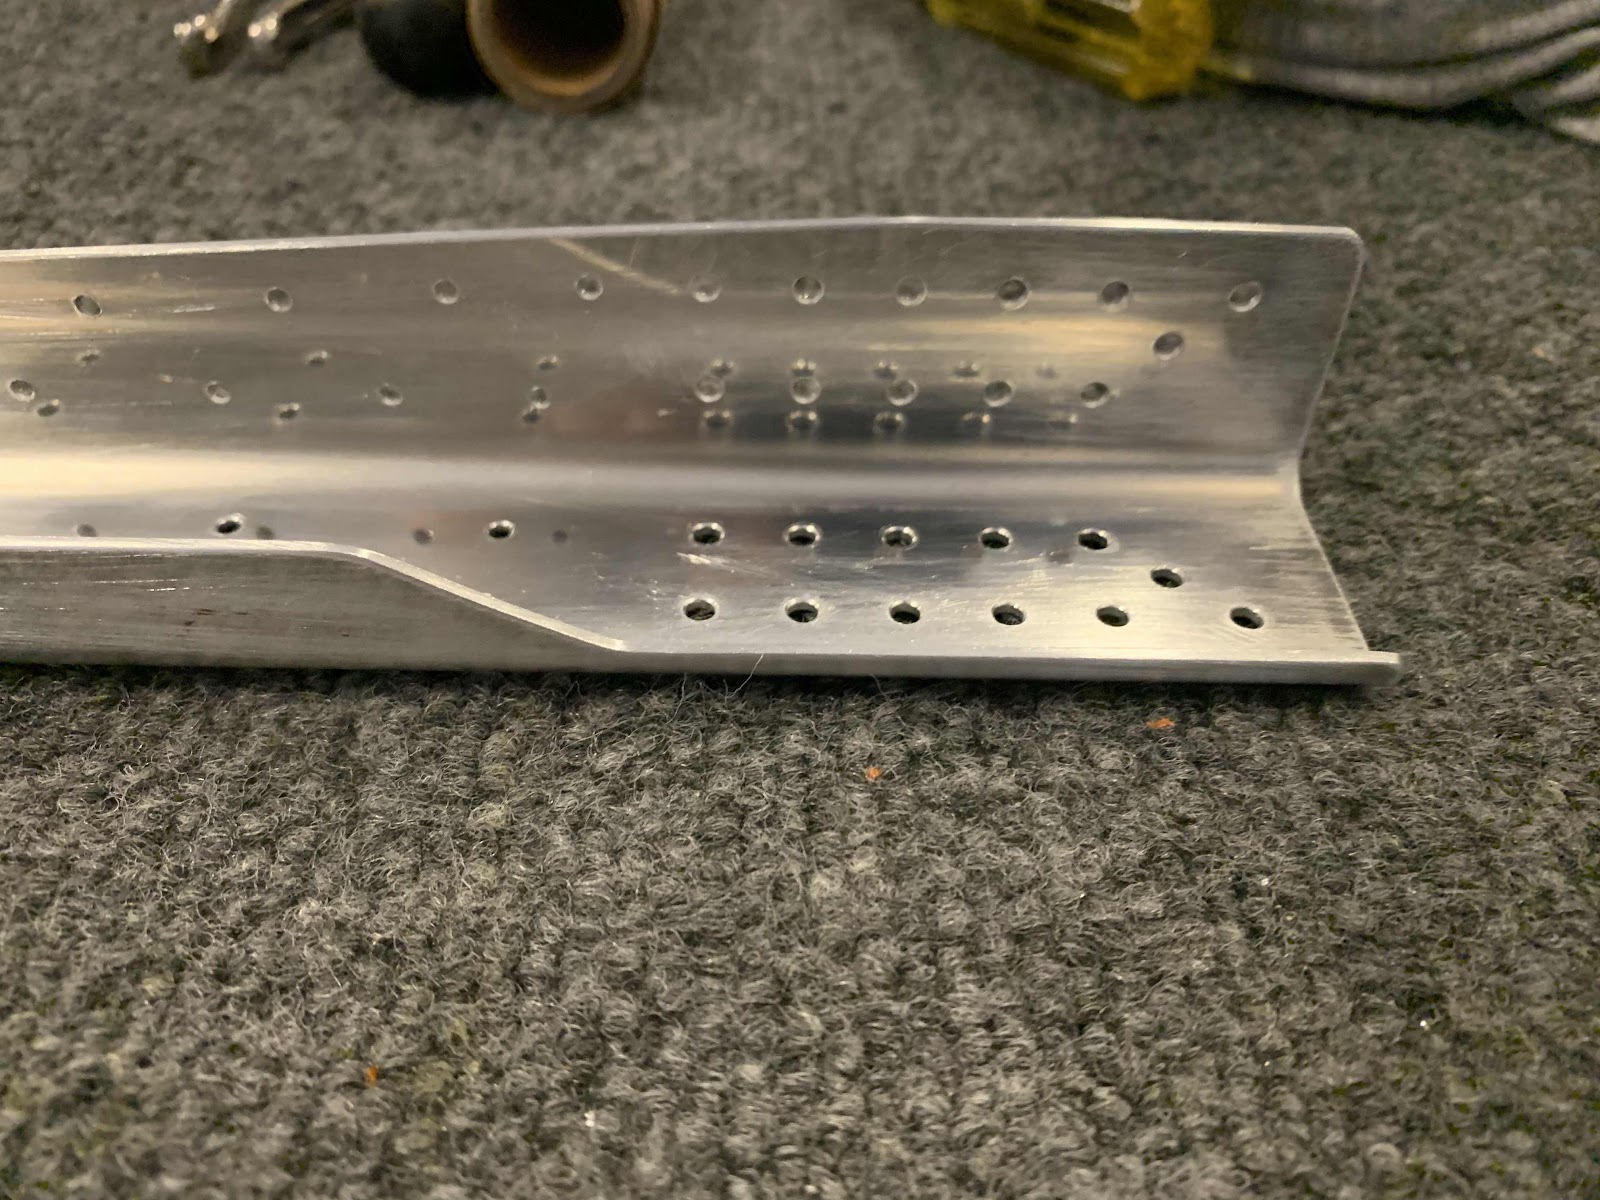
Once the Flange Bearings were dry, they were riveted to the Control Column. Each Bearing received six AN470AD4-6 rivets (24 total). Here is an overall view of the installed Bearings on the Control Column.

Here is a close up of one end of the Control Column showing the manufactured and shop head side of the rivets.....
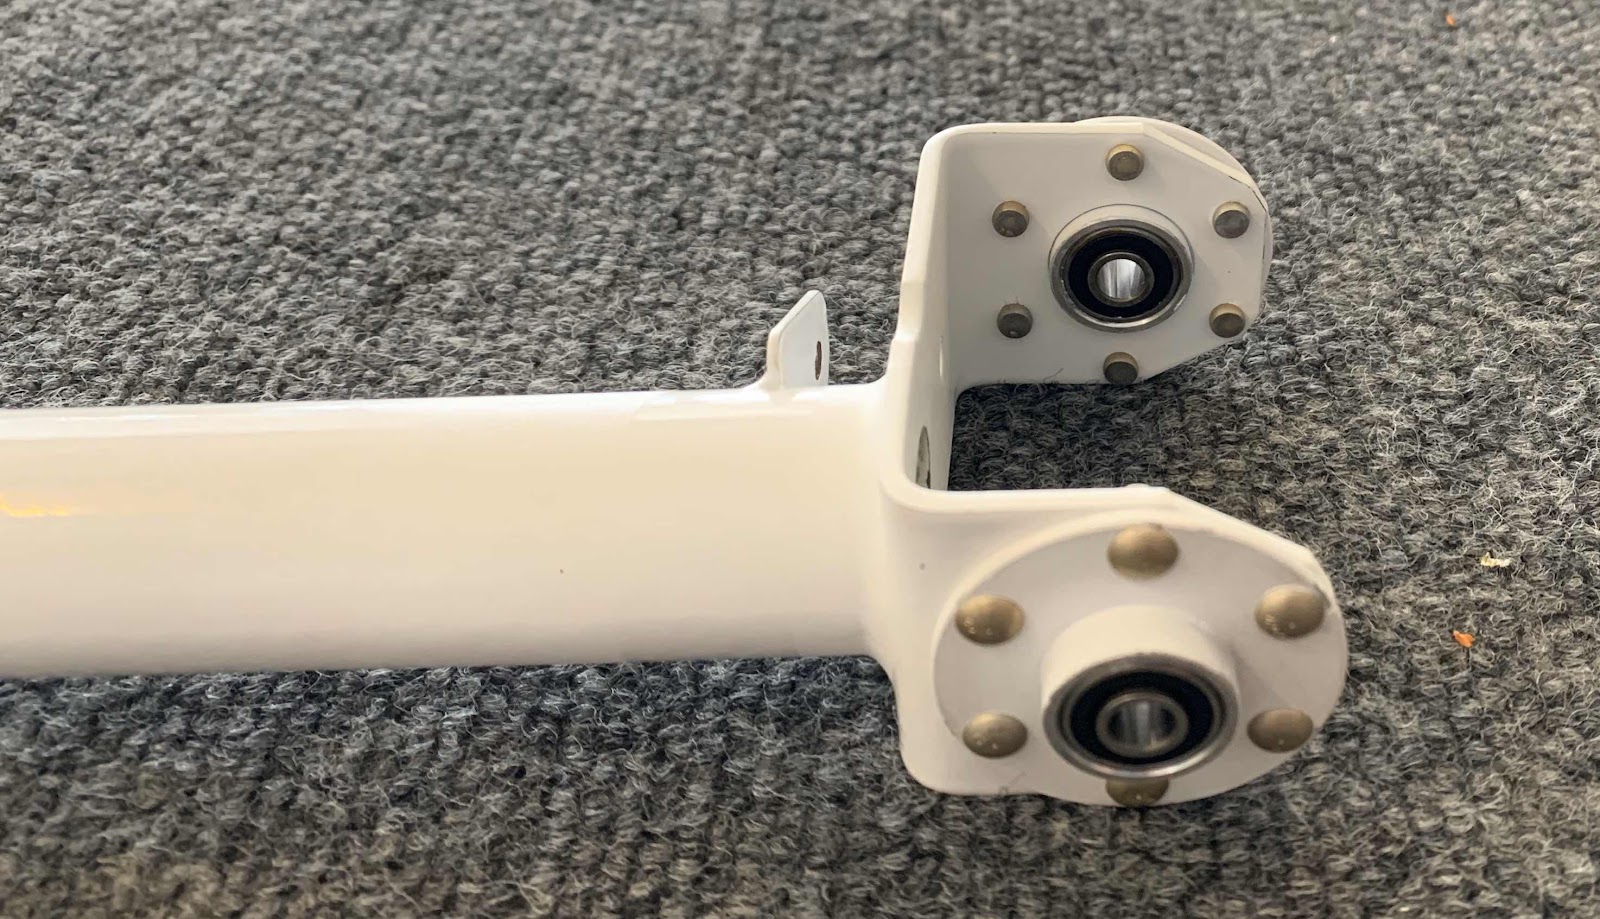
.....and the other side.

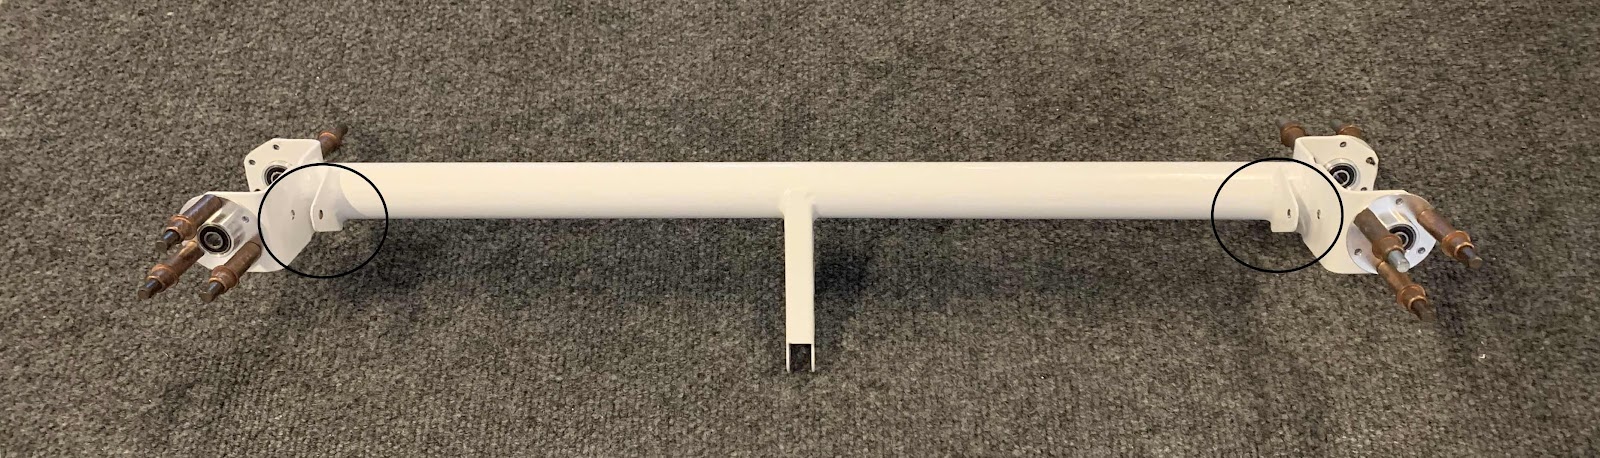
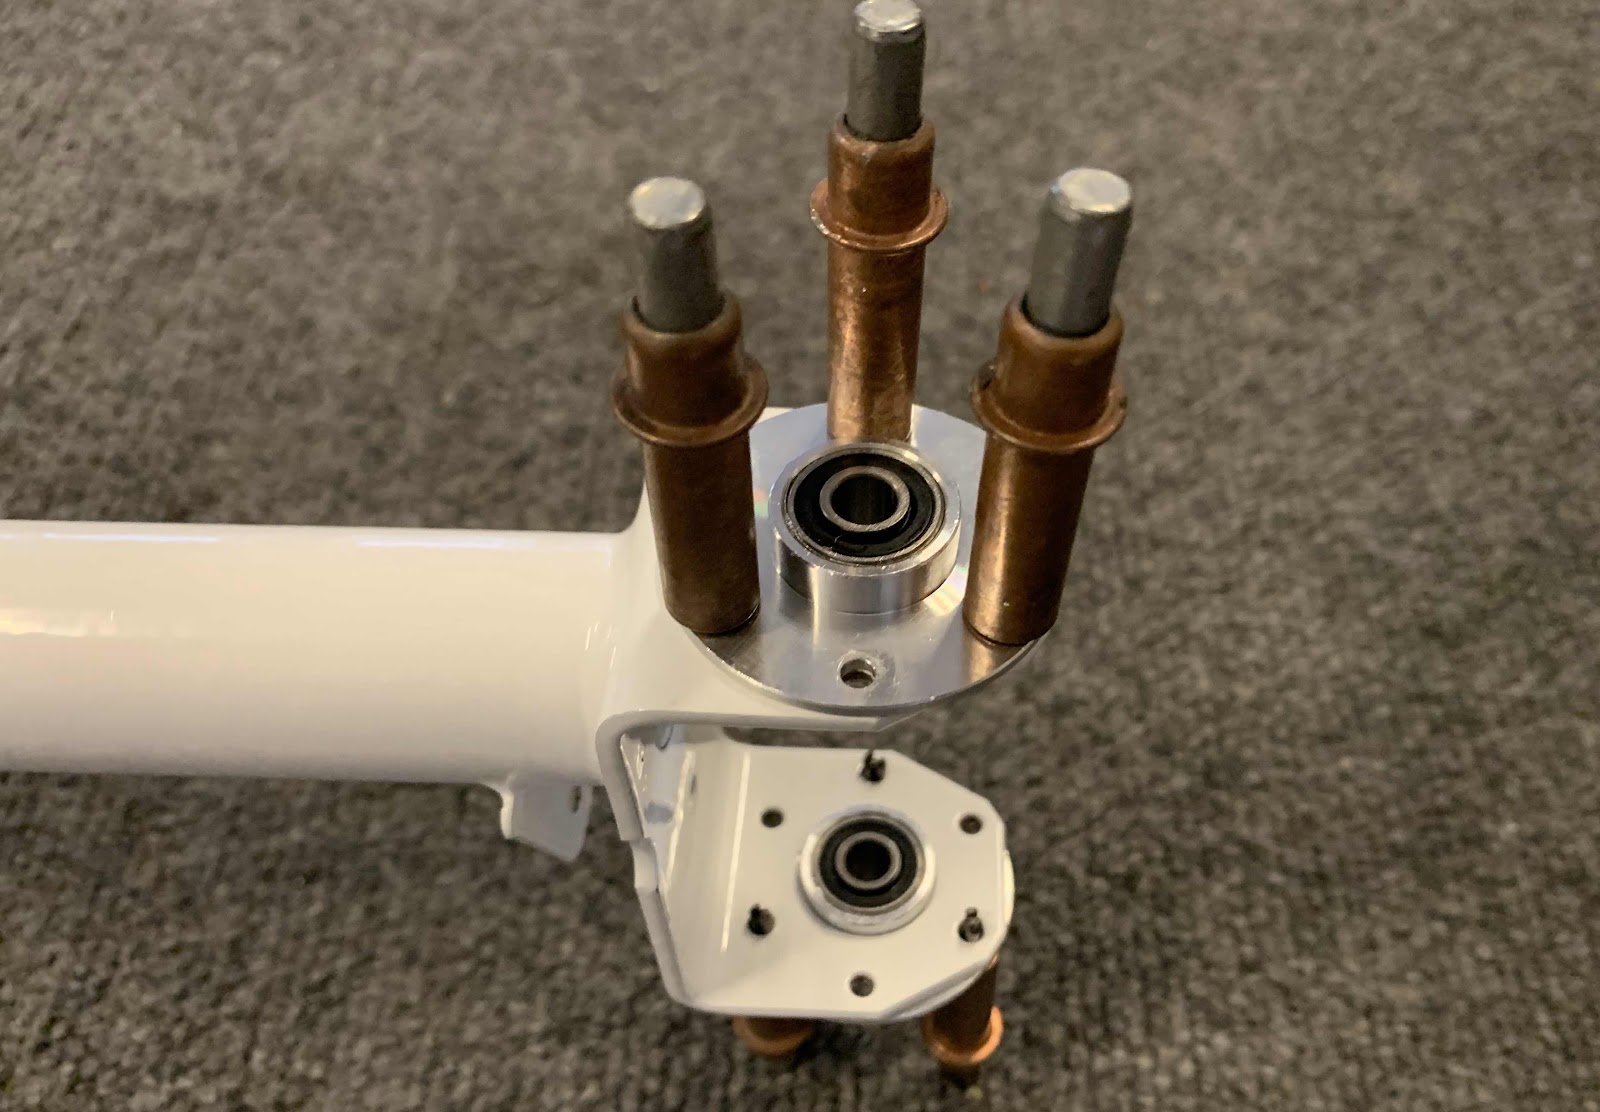
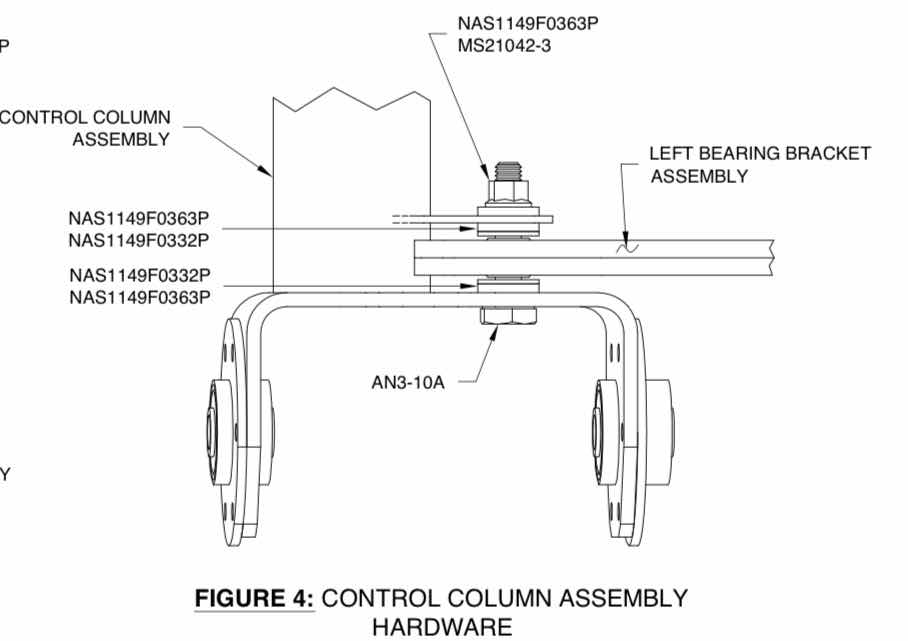
After the Flange Bearings are installed on the Control Column, the whole thing gets bolted to the Bearing Bracket Assemblies in the Forward Fuselage Lower Structure as shown in the two plans excerpts below.
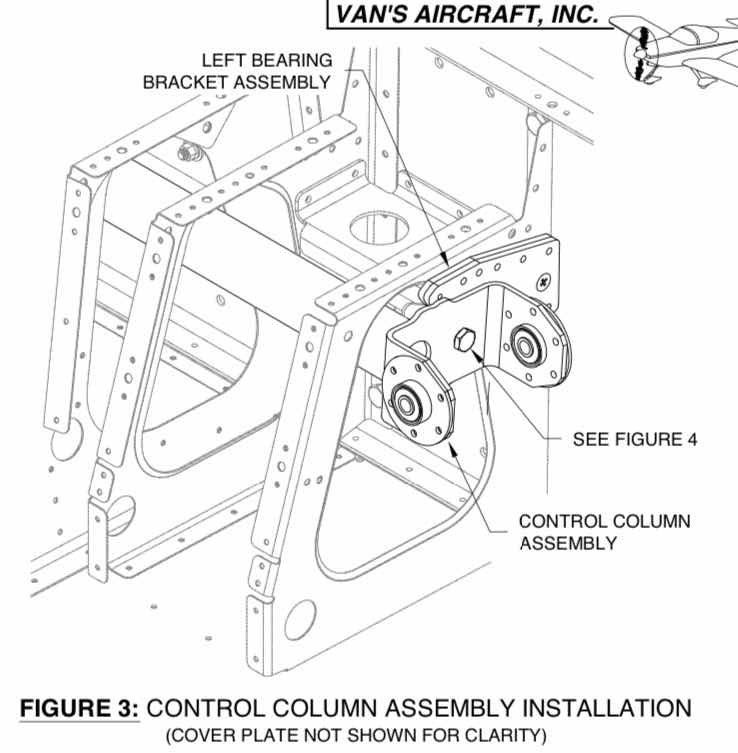
Here is an overall picture of the Control Column installed in the Forward Fuselage Lower Structure.....

.....and a close up.

The gap where you are supposed to install washers and/or shims (shown in the second excerpt above) between the Control Column and the Bearing Bracket Assemblies......my fingers were too big to fit. So, I fashioned this technique to install the washers. I took some orange tape, tapped a washer on each end.....
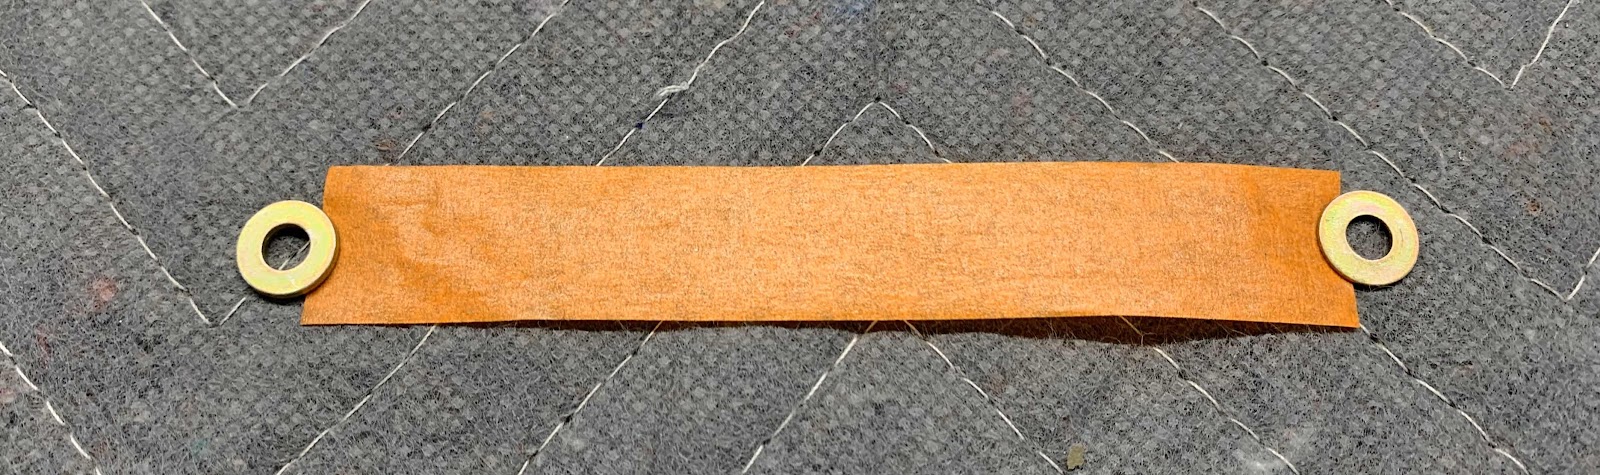
.....folded it over on itself.....

.....and slide the washers in place. Once the washers were in place, I pulled the tape up and “released” the washers.

- - - - - - - - - - - - - - - - - - - - - - - - - - - - - - - - - - - - - - - - - - - - - - - - - - - - - - - - - - - - - - - - - - - - - - - - - -
September 29, 2019 (Part 12)
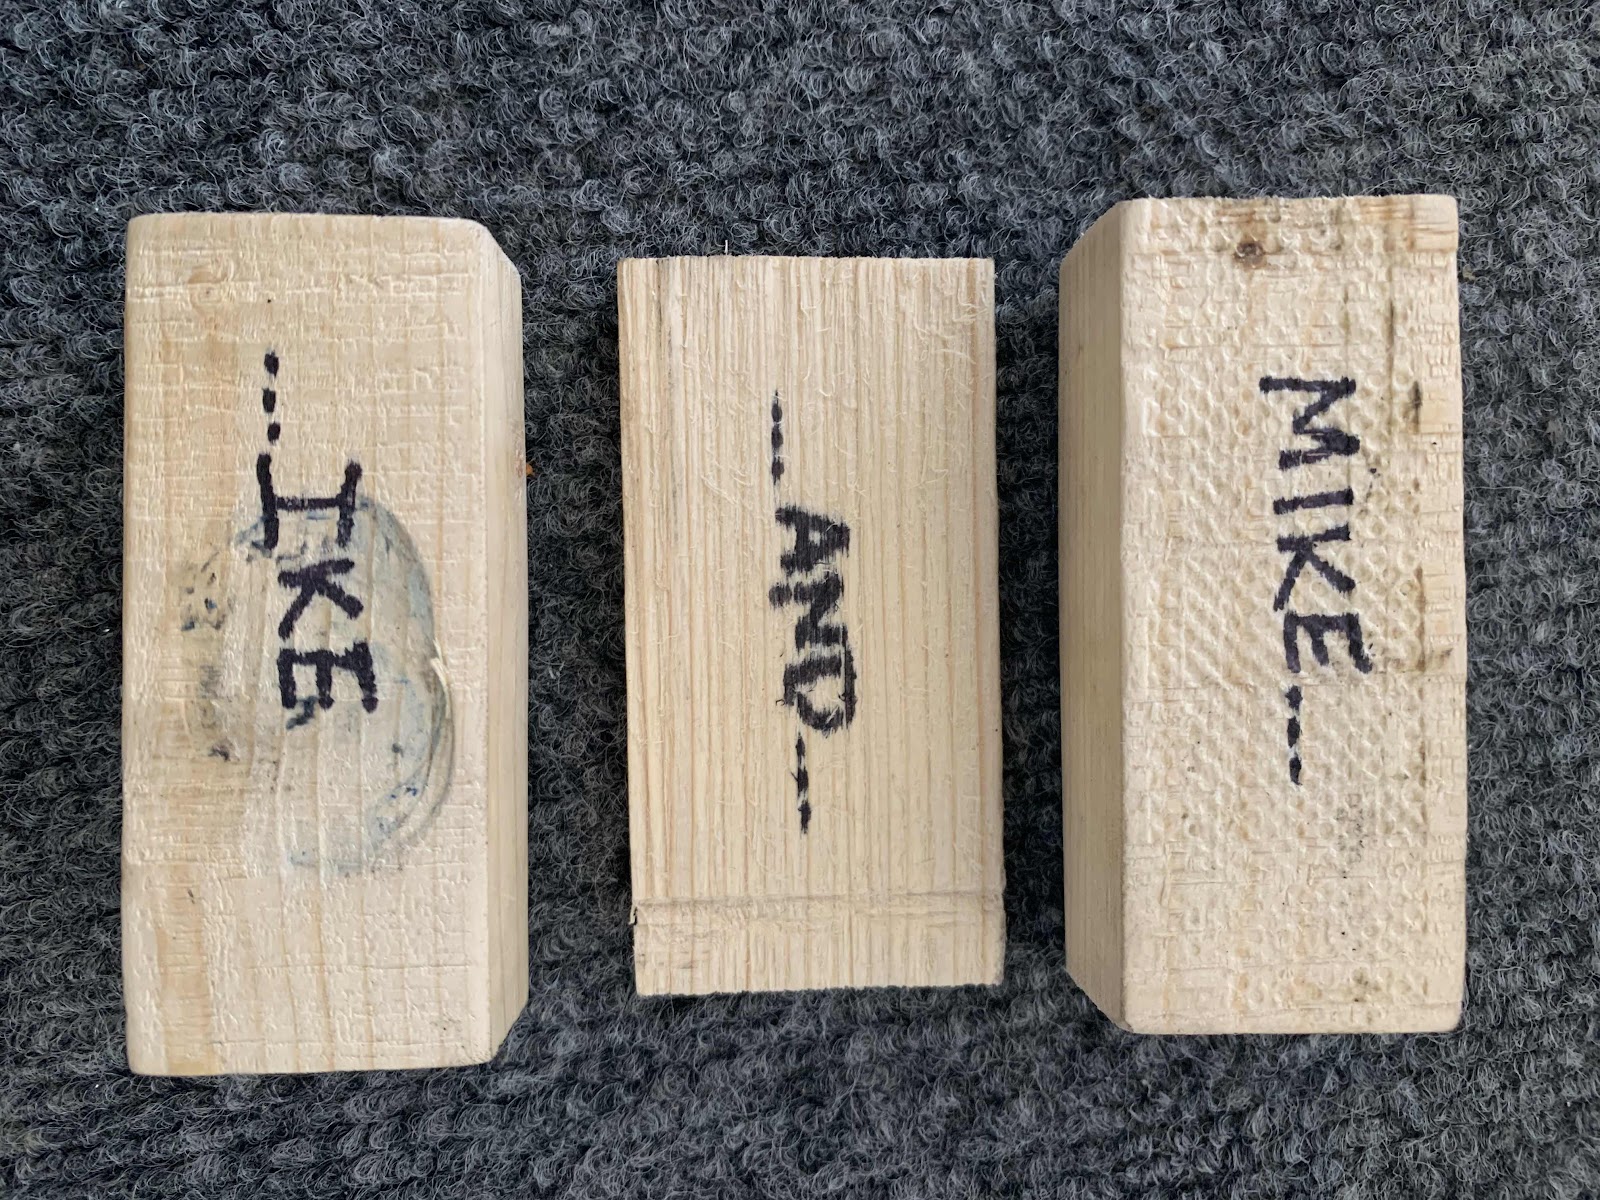
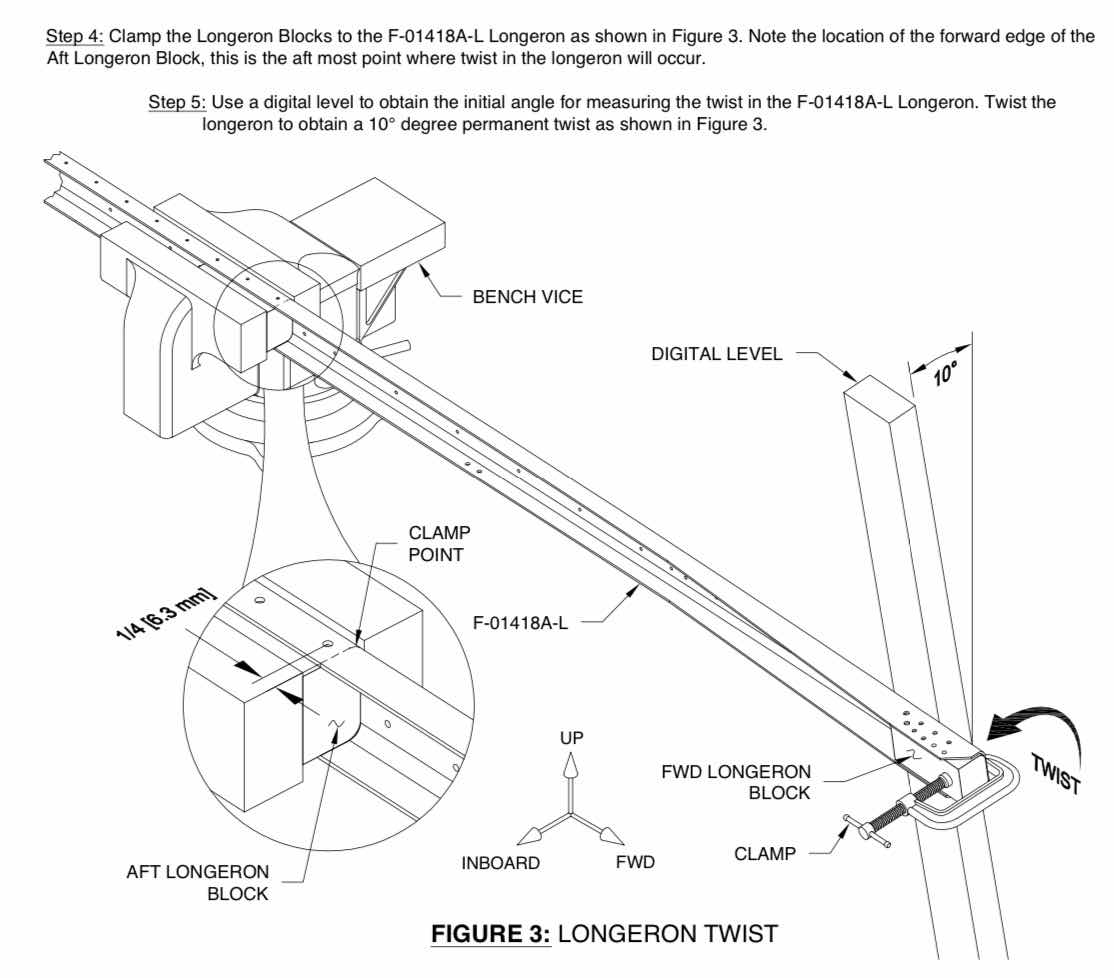
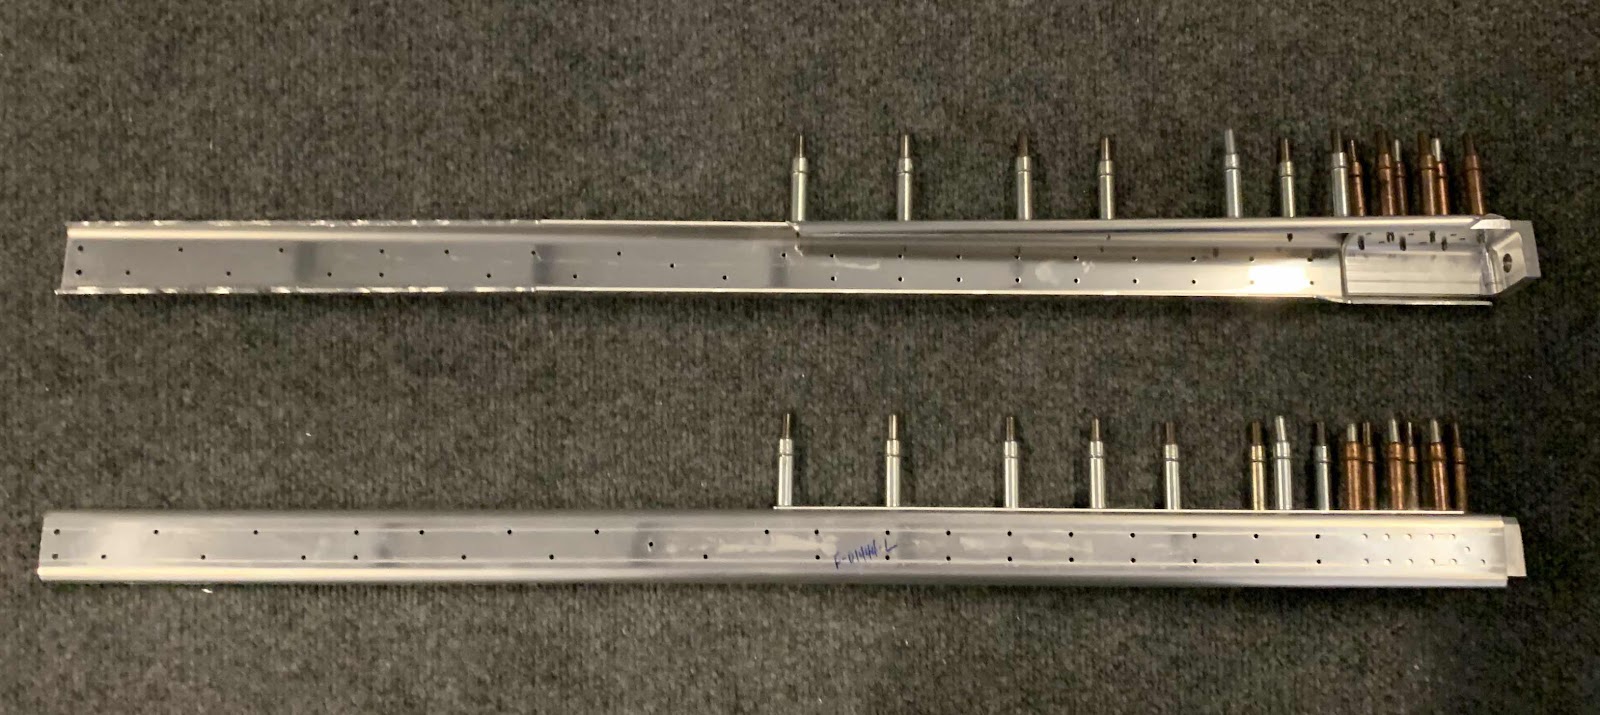
According to the plans, the F-01418A-L & -R Longerons get “twisted”.....and Mike and Ike are going to help!!!!!
Here is how the plans say to do it.....
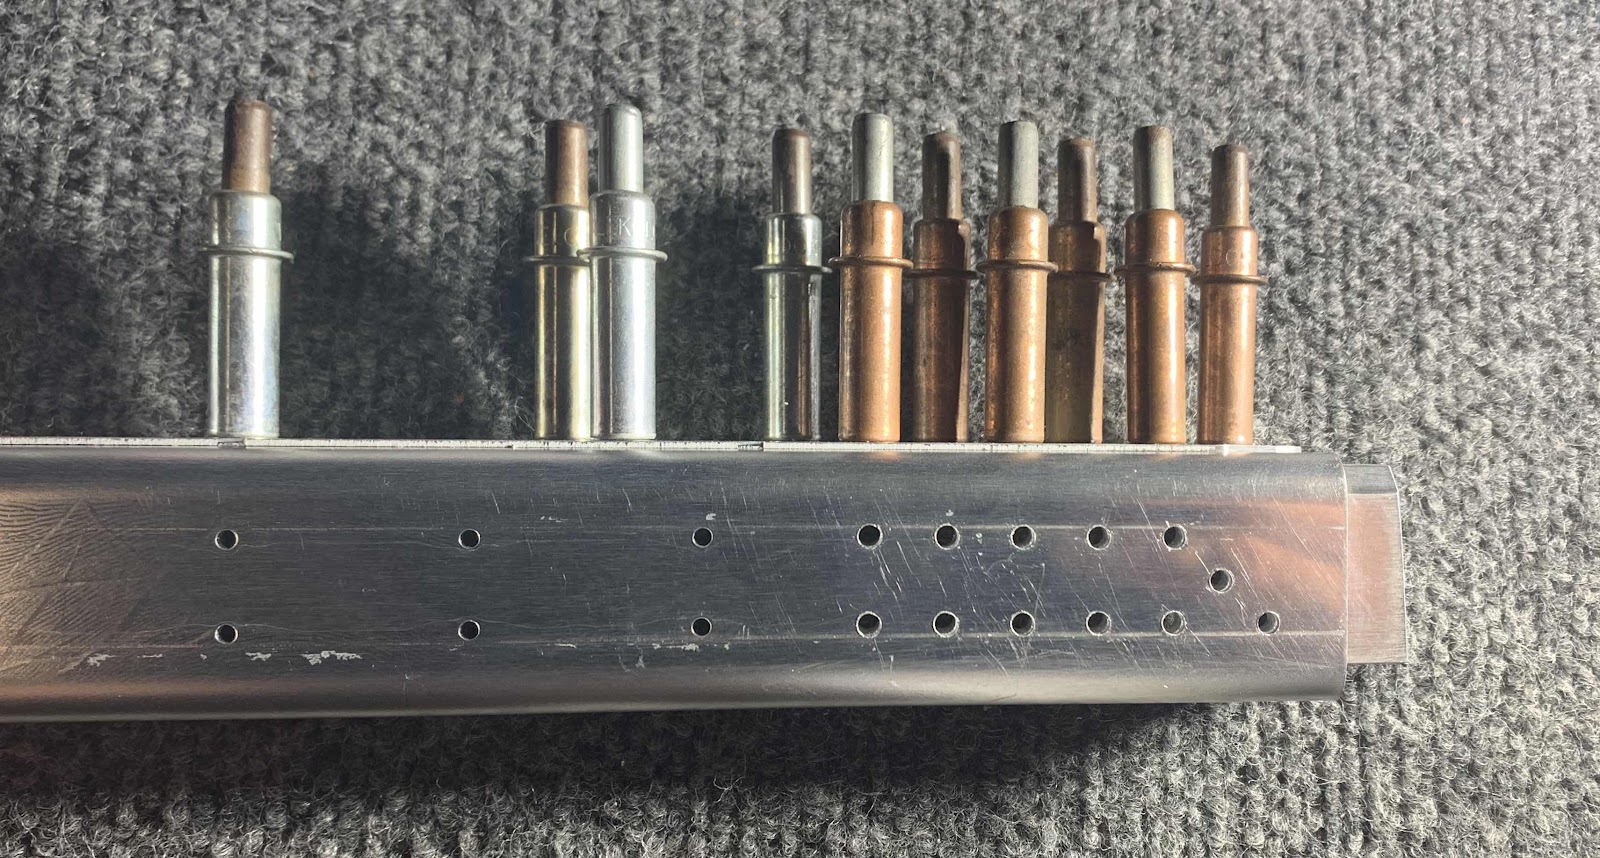
Here’s where Mike is going to go.....

.....and here is where Ike is gonna go!

They are positioned along the Longeron (both the right and left will be “bent” the same.....just in the opposite direction)!

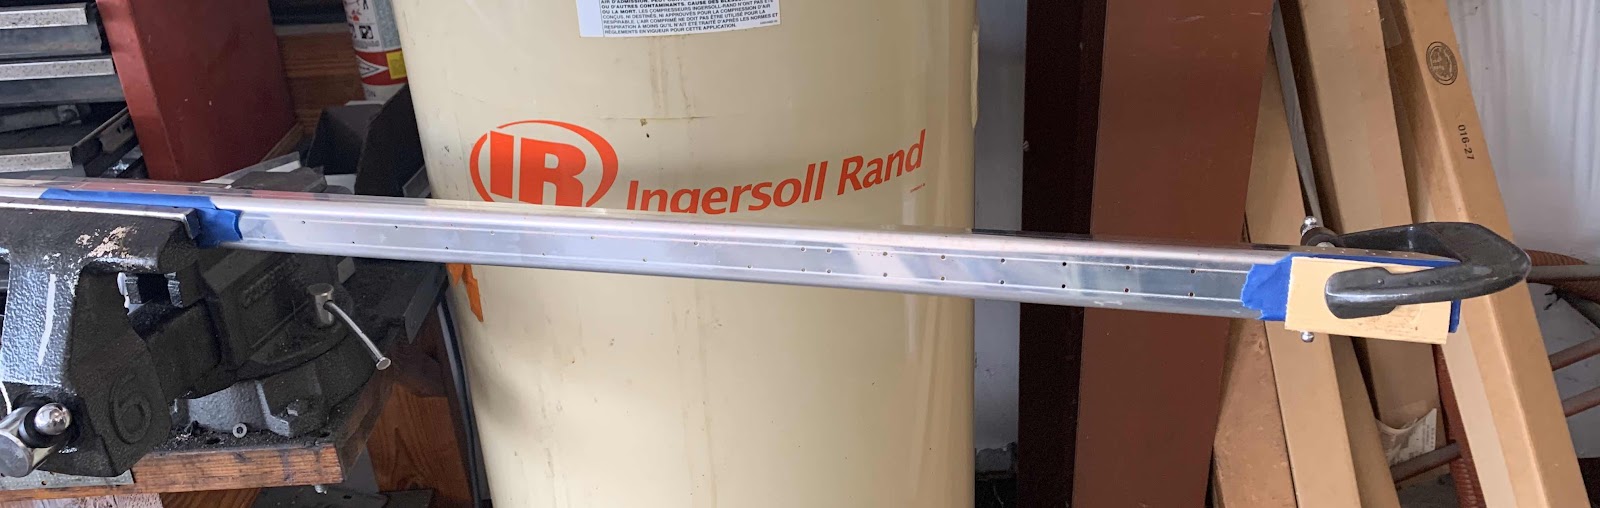
So, now for the “twist”.....I clamped the Longeron with Mike into the bench vice.....

.....and Ike with a shim of wood and a C-clamp.

Then, I used elbow grease to rotate the C-clamp in the appropriate direction to make a permanent 10 degree “twist” in the Longeron. To verify the 10 degree twist, I used a digital protractor. The final number for the left Longeron was 10.0 degrees and the final number for the right Longeron was 10.1 degrees.
- - - - - - - - - - - - - - - - - - - - - - - - - - - - - - - - - - - - - - - - - - - - - - - - - - - - - - - - - - - - - - - - - - - - - - - - - -
September 30, 2019 (Part 13)

- - - - - - - - - - - - - - - - - - - - - - - - - - - - - - - - - - - - - - - - - - - - - - - - - - - - - - - - - - - - - - - - - - - - - - - - - - - - - - - - - -
October 2, 2019 (Part 14)