
During the last session, I cut away the two Splice Strips from the Left and Right Fuel Tank Skins. Tonight, I completed the prep work on the them. First, I had to remove the remaining material (nubs) from where it was connected to the Skin. I used an angle grinder with a sanding disk to file the majority of the material away. I then used 220 grit sandpaper to smooth the edges. After doing this for both Splice Strips, all the edge work is now completed.
The next step was to Final-Drill #19 the #8 screw attach holes in all the nutplate locations, debur the holes and dimple them. As previously stated, the plans warn to make sure the #19 (#8 screw) holes were properly deburred prior to dimpling. Apparently, these sized holes have a tendacy to crack if not deburred properly.
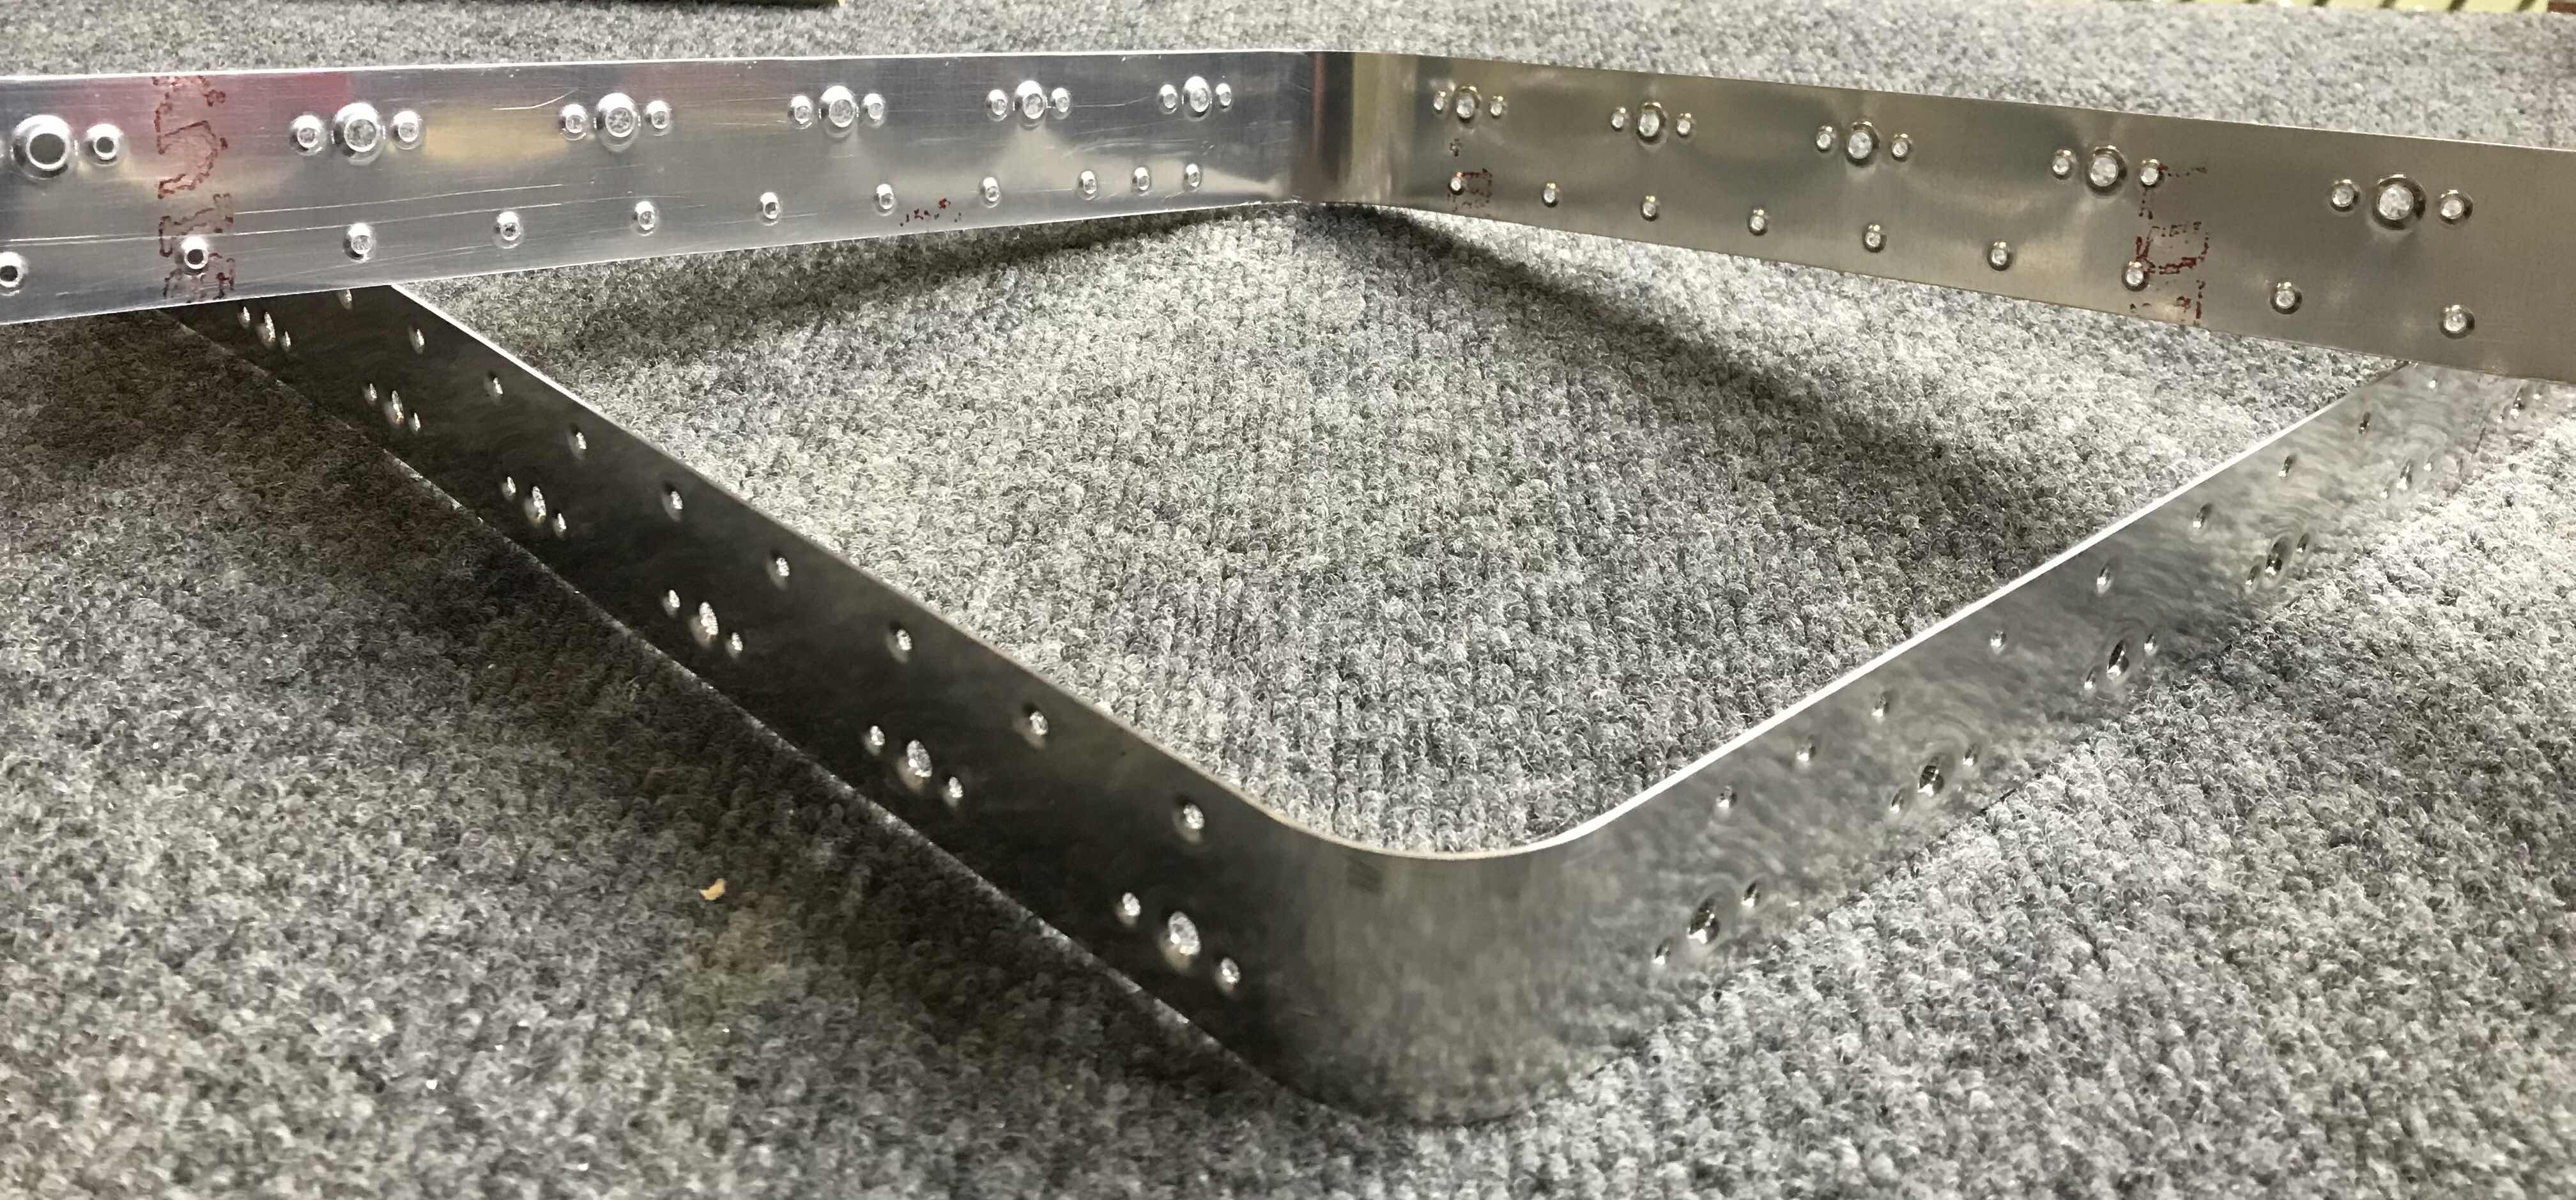
Next, the #40 holes had to be Final-Drilled (the plans didn’t call for this and went straight to dimpling), deburred and dimpled. Pictured below are the two Splice Strips (front and rear side) with all the completed work described above.
The first step in the plans for this section was to construct a pair of Leading Edge cradles.....they are finally getting some use. Pictured below is the Left Outboard Leading Edge Skin resting in the cradles. The cradles will hold the Leading Edge Skins (and Fuel Tank Skins in the next section) in place during this portion of the build.

I began clecoing the Ribs into place and here are the first three.
