The first step in this section is to install the rear baggage Window. I believe that will require two people to accomplish correctly and not damage the Window. My Stepdad and I are working out the details for him to come visit and help with the airplane. That is when I will plan to complete as much of the Window work as possible. So, until then.....
To start this session, I cleaned the edges and deburred the holes on the two C-01413 Inboard Hinge Intercoastals, two C-01414 Outboard Hinge Intercoastals and the two C-01412 Canopy Hinge Assemblies. They are ready to be treated with Alumiprep, Alodine and Akzo Primer.

This weird looking piece makes three parts.....the C-01404-L & R Support Flanges and C-01404A Support Flange Splice.

I used my rotary tool to separate the parts as shown below.

Here are the three parts all cleaned and prepared for Alumiprep, Alodine and Akzo Primer.

The next part to be prepared is the C-01406 Forward Canopy Rails. At first look, the part looks a little busy. So, I decided to use a sharpie to “connect the dots” on where I was supposed to cut. The top portion is how it came from Van’s and the bottom portion is with the traced lines....visually easier to follow.

I used my rotary tool and cut off wheel to separate the two parts as shown below.

After cleaning the two pieces up, here is what they look like.

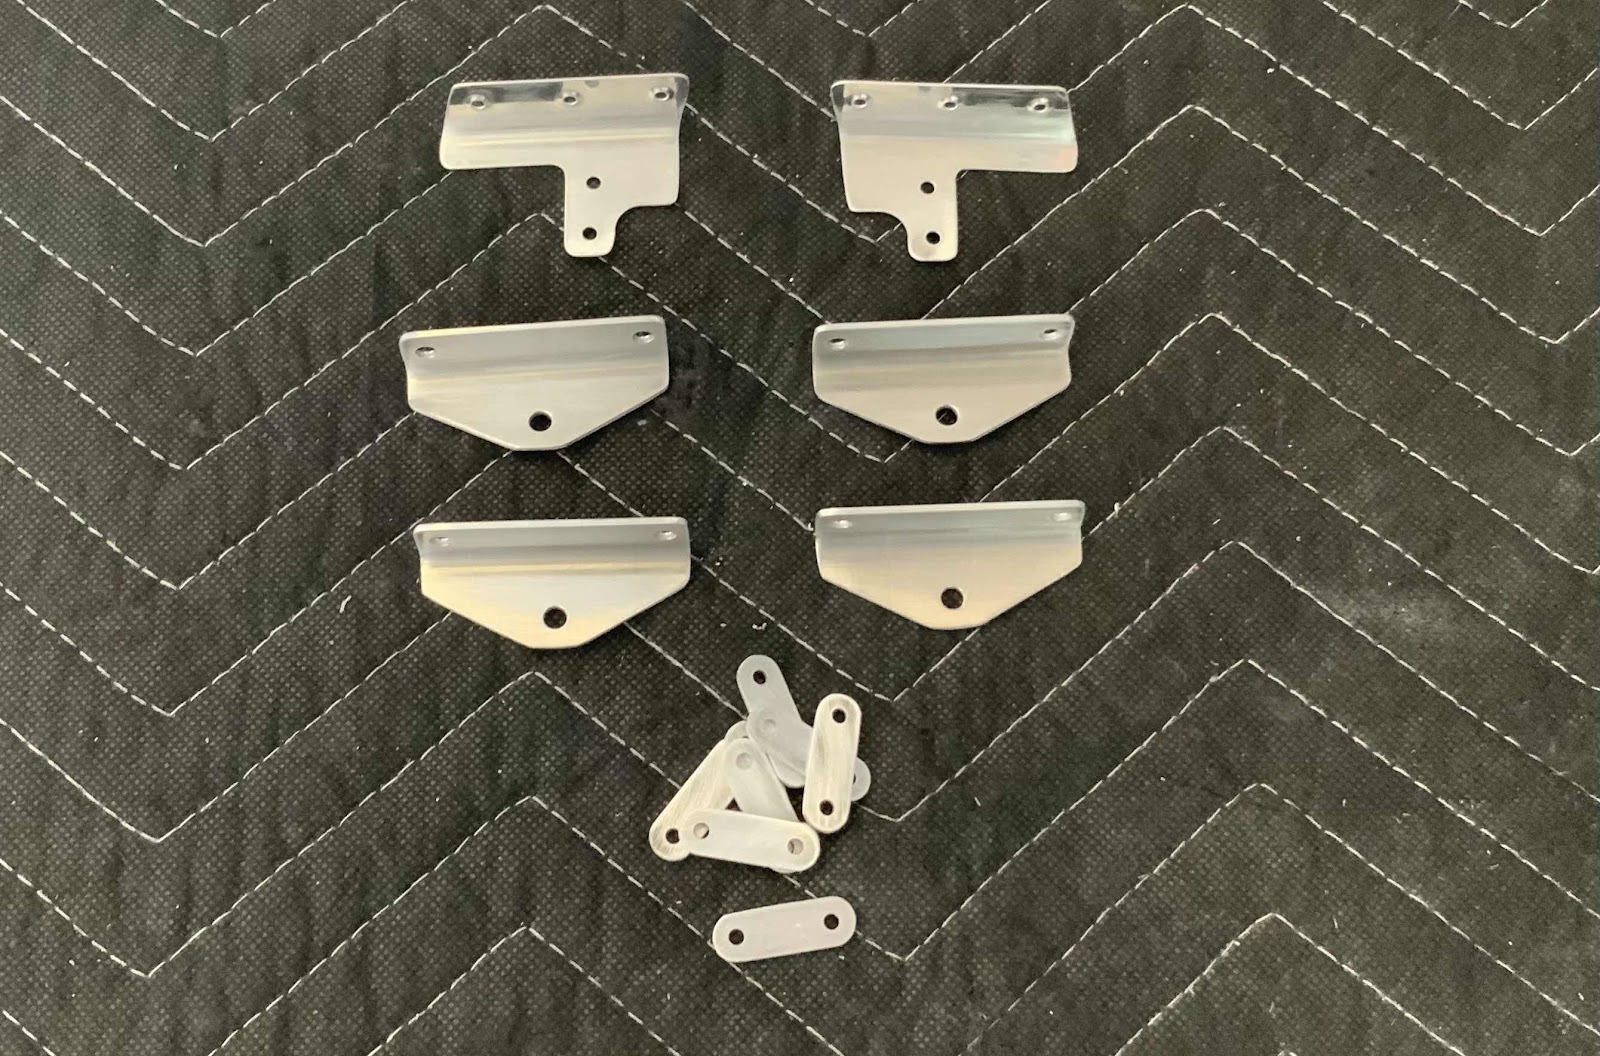
Lastly, for this session, we separated the C-01429 Latch Bellcrank Angles, C-01431 Latch Links, and F-01474A Stiffener Angles.

Here they are separated, cleaned and ready for Alumiprep, Alodine and Akzo Primer.