
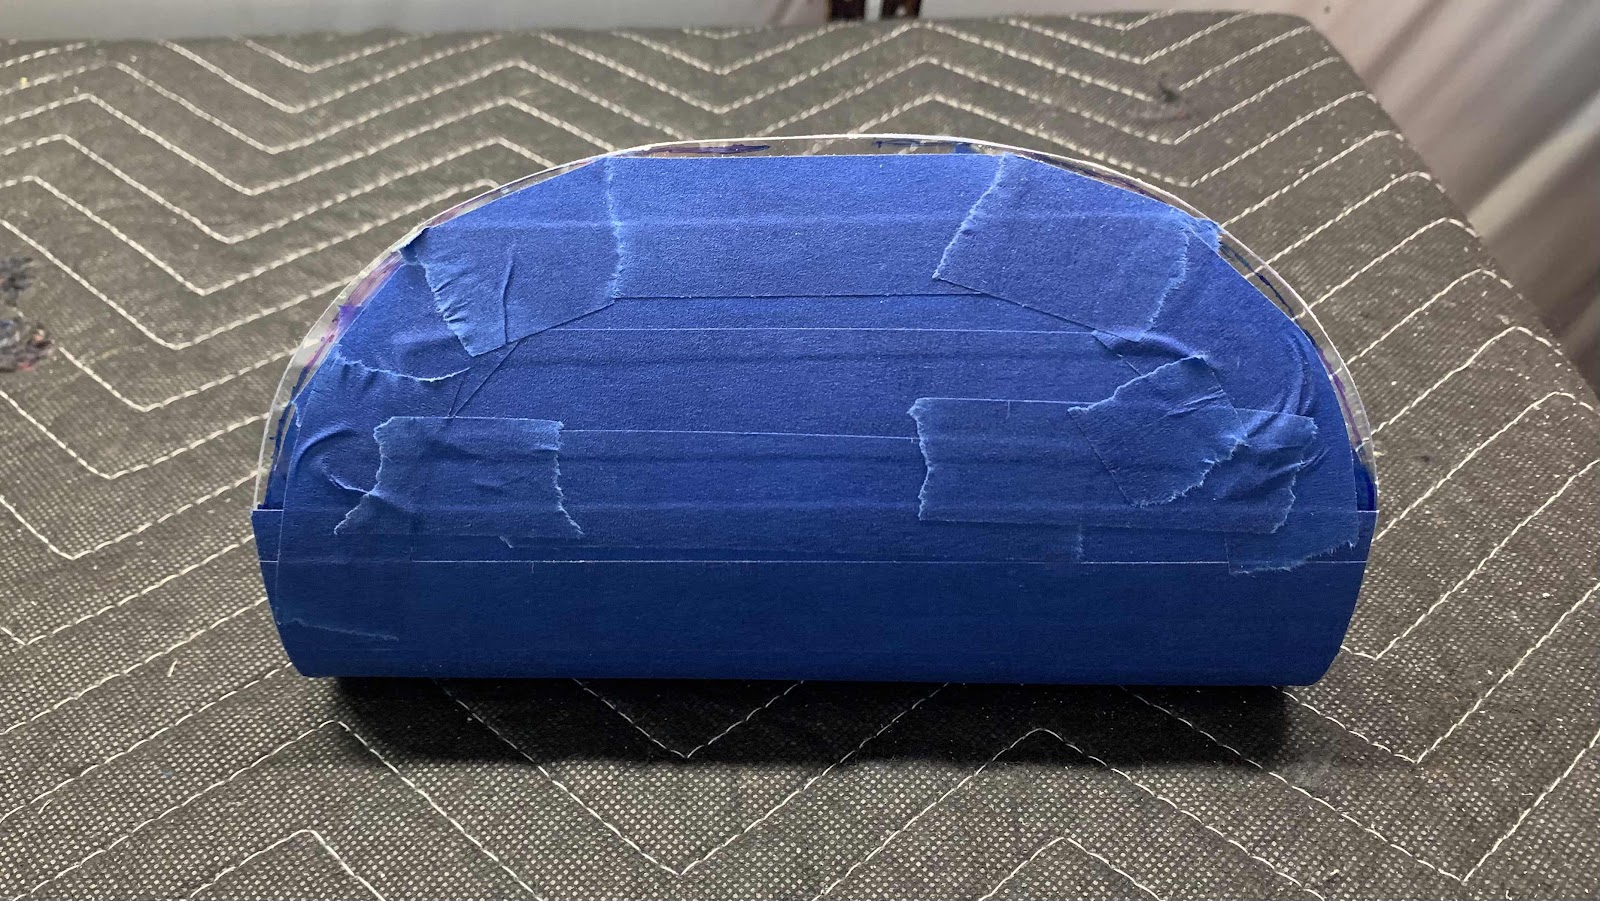
Seems like so long ago since we completed Parts 30 and 31.....May 17-18, 2018. Fast forward about 2 1/2 years and we’re back.....for the landing light Lenses. The first step was to place the Lens on the Leading Edge and mark a line approximately 3/4” [19.0 mm]. I used a ruler and made many little marks at 3/4” and then free handed the marks to make the line you see in the pictures below. This step is mostly necessary to remove a large portion of the edges so the Lens will fit into the opening in the Leading Edge. This is the top.....
.....and the bottom.

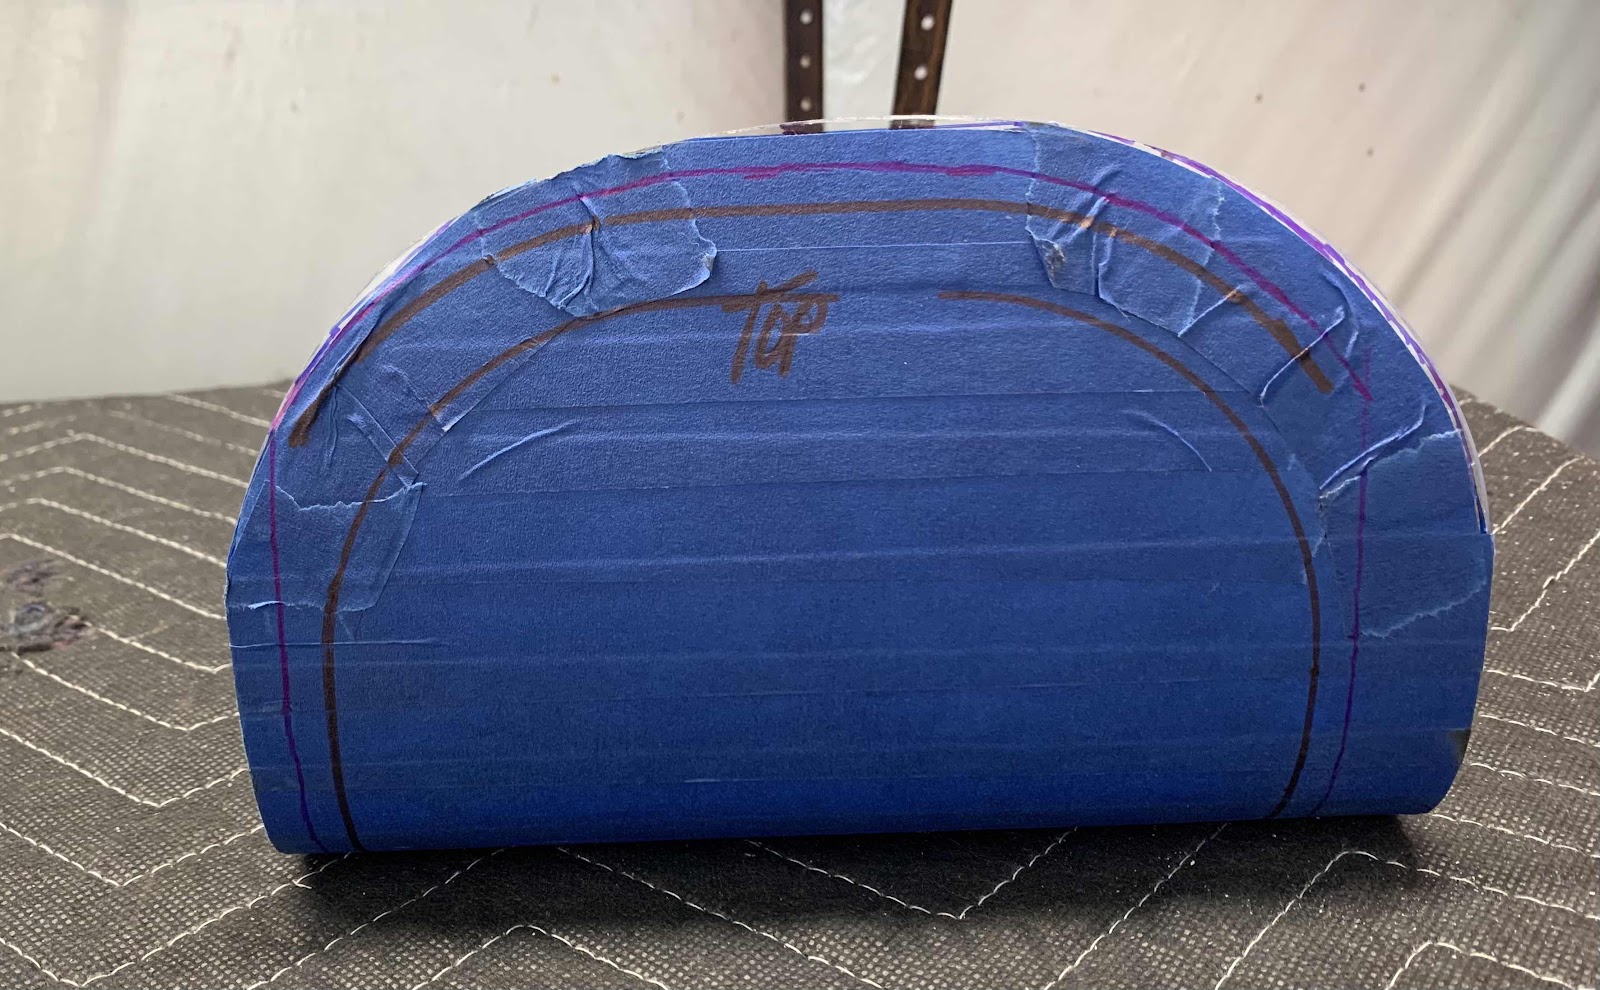
The areas “outside the lines” marked above was then removed. However, prior to completing this step, I covered the Lens with tape to protect it from damage. I then used a belt sander to remove the material.....slightly short of the lines marked above. Here is one side.....
.....and the other.

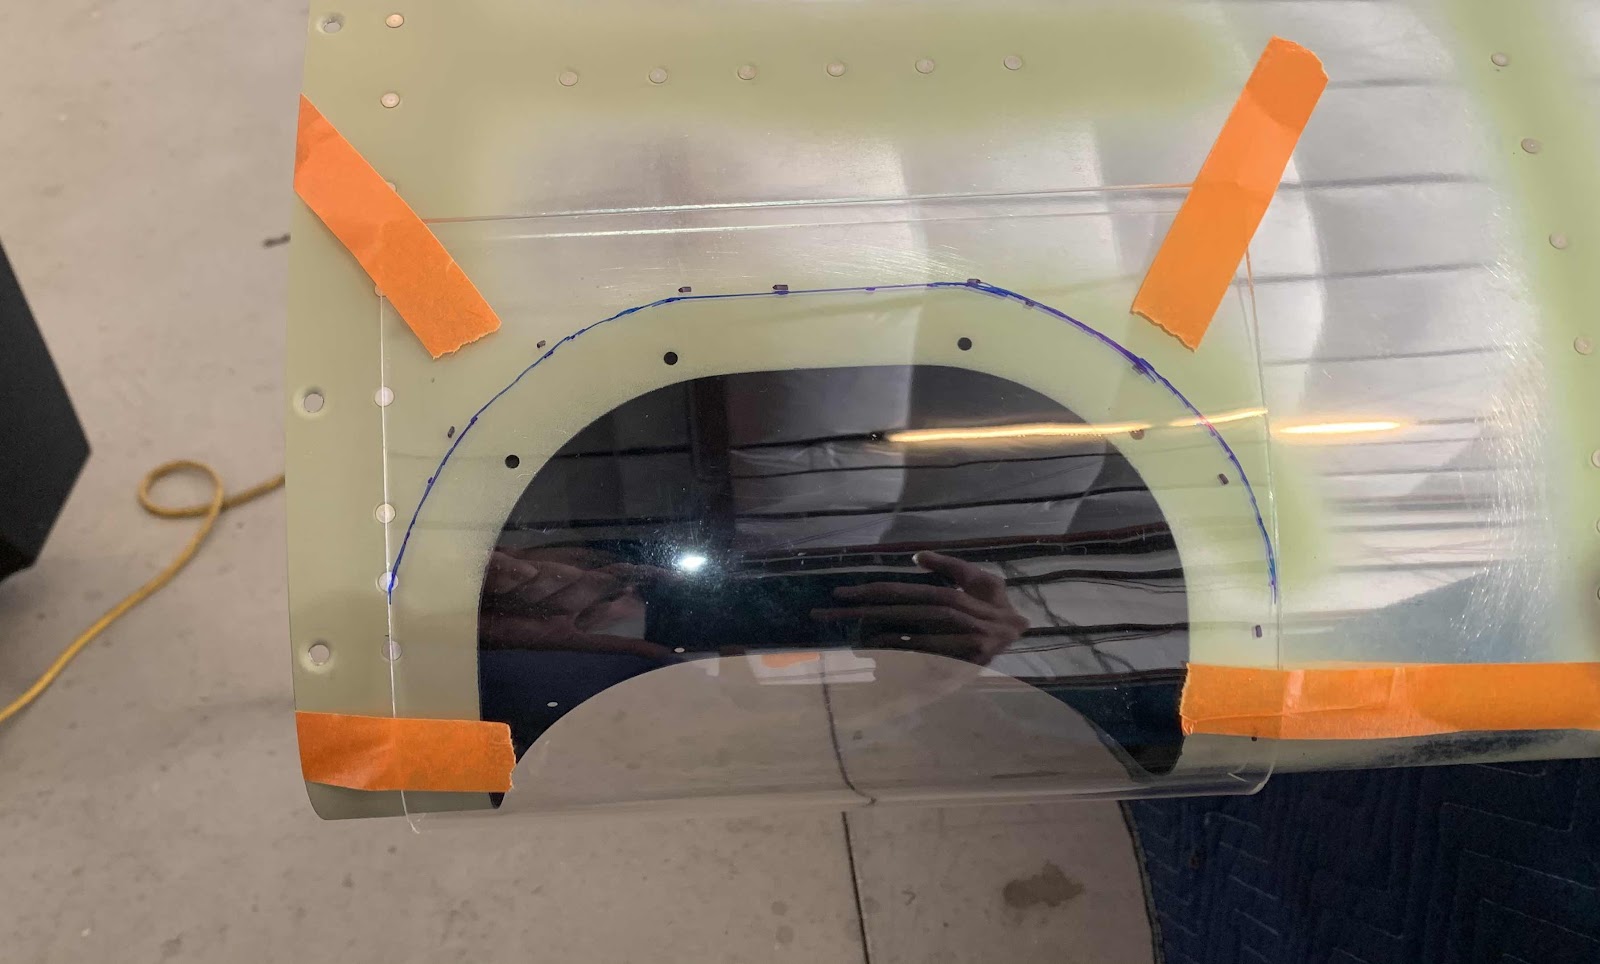
Once the appropriate amount of material was removed, it fit easily into the landing light opening on the leading edge of the Wing. The plans instruct you to use tape to make a “handle” to pull the Len snug against the inside of the Wing. If your working by yourself, this actually worked pretty well. If you have a helper, they can easily reach into the end of the wing and press it forward. Once pulled or pressed agains the inside of the Wing, the opening in the leading edge was traced onto the Lens. (Another good reason to tape the Lens so you don’t draw directly on the Lens).

Next, the W-0018 Backing Plates (prepared in Part 16) were clamped to the Lens as shown below. Then, a line was traced on the Lens along the upper end (or aft end) of the Plates.

Lastly, a final line was marked at 1/4” [6.3 mm] above the line created with the Backing Plates. This is the smaller blue line at the top. Here is the top (which actually looks a little skinny on the top left and right edges....I’ll confirm prior to sanding).....
.....and the bottom.

I’ll pick it up here during the next work session.