
I’ve continued working on the Right Wing each night since my last post on the 21st. However, I didn’t get around to posting anything. I figured I would wait until each of these steps were completed and submit one post encompassing all the work.
January 22, 2018
Each of the 14 Right Wing Ribs needed some minor work on the System Holes. For example, in the picture below, the two circled holes needed to be enlarged with a unibit to 1/2”. Additionally, one of the two holes on the left was not pre-punched from Van’s. The second hole had to be marked/drilled using measurements provided in the plans (6 3/8” from the end and 4 1/4” from the small pre-punched hole).
Since all 28 System Holes in the Right Wing receive SB500-6 Snap Bushings, all 28 holes were enlarged to 1/2” with a unibit. Wing Ribs 1 - 8 has the Systems Holes oriented as shown in the picture below......

.....and Wing Ribs 9 - 14 are oriented as shown below.

Drilling the Systems Holes was difficult, just took a little time. Once all the holes were enlarged, I used 220 grit sandpaper to make sure all/any burrs were removed.
January 23, 2018
Just like with the Ribs on the Left Wing, I have bins large enough to dip/submerge the Ribs in the appropriate chemical. Initially, each piece is submerged in Alumiprep 33 and then Alodine 1201. After the Alodine, the parts are hung up to dry on my “clothes line”. The orange tabs above each Rib is the numbering system I use to keep each Rib where it is supposed to be and re-installed correctly on the Main Spar after being fitted. Shown below are the 14 Wing Ribs, the parts that make up the Flap Hinge Brackets, and the parts that make up the Torque Tube Support Bracket Assembly.
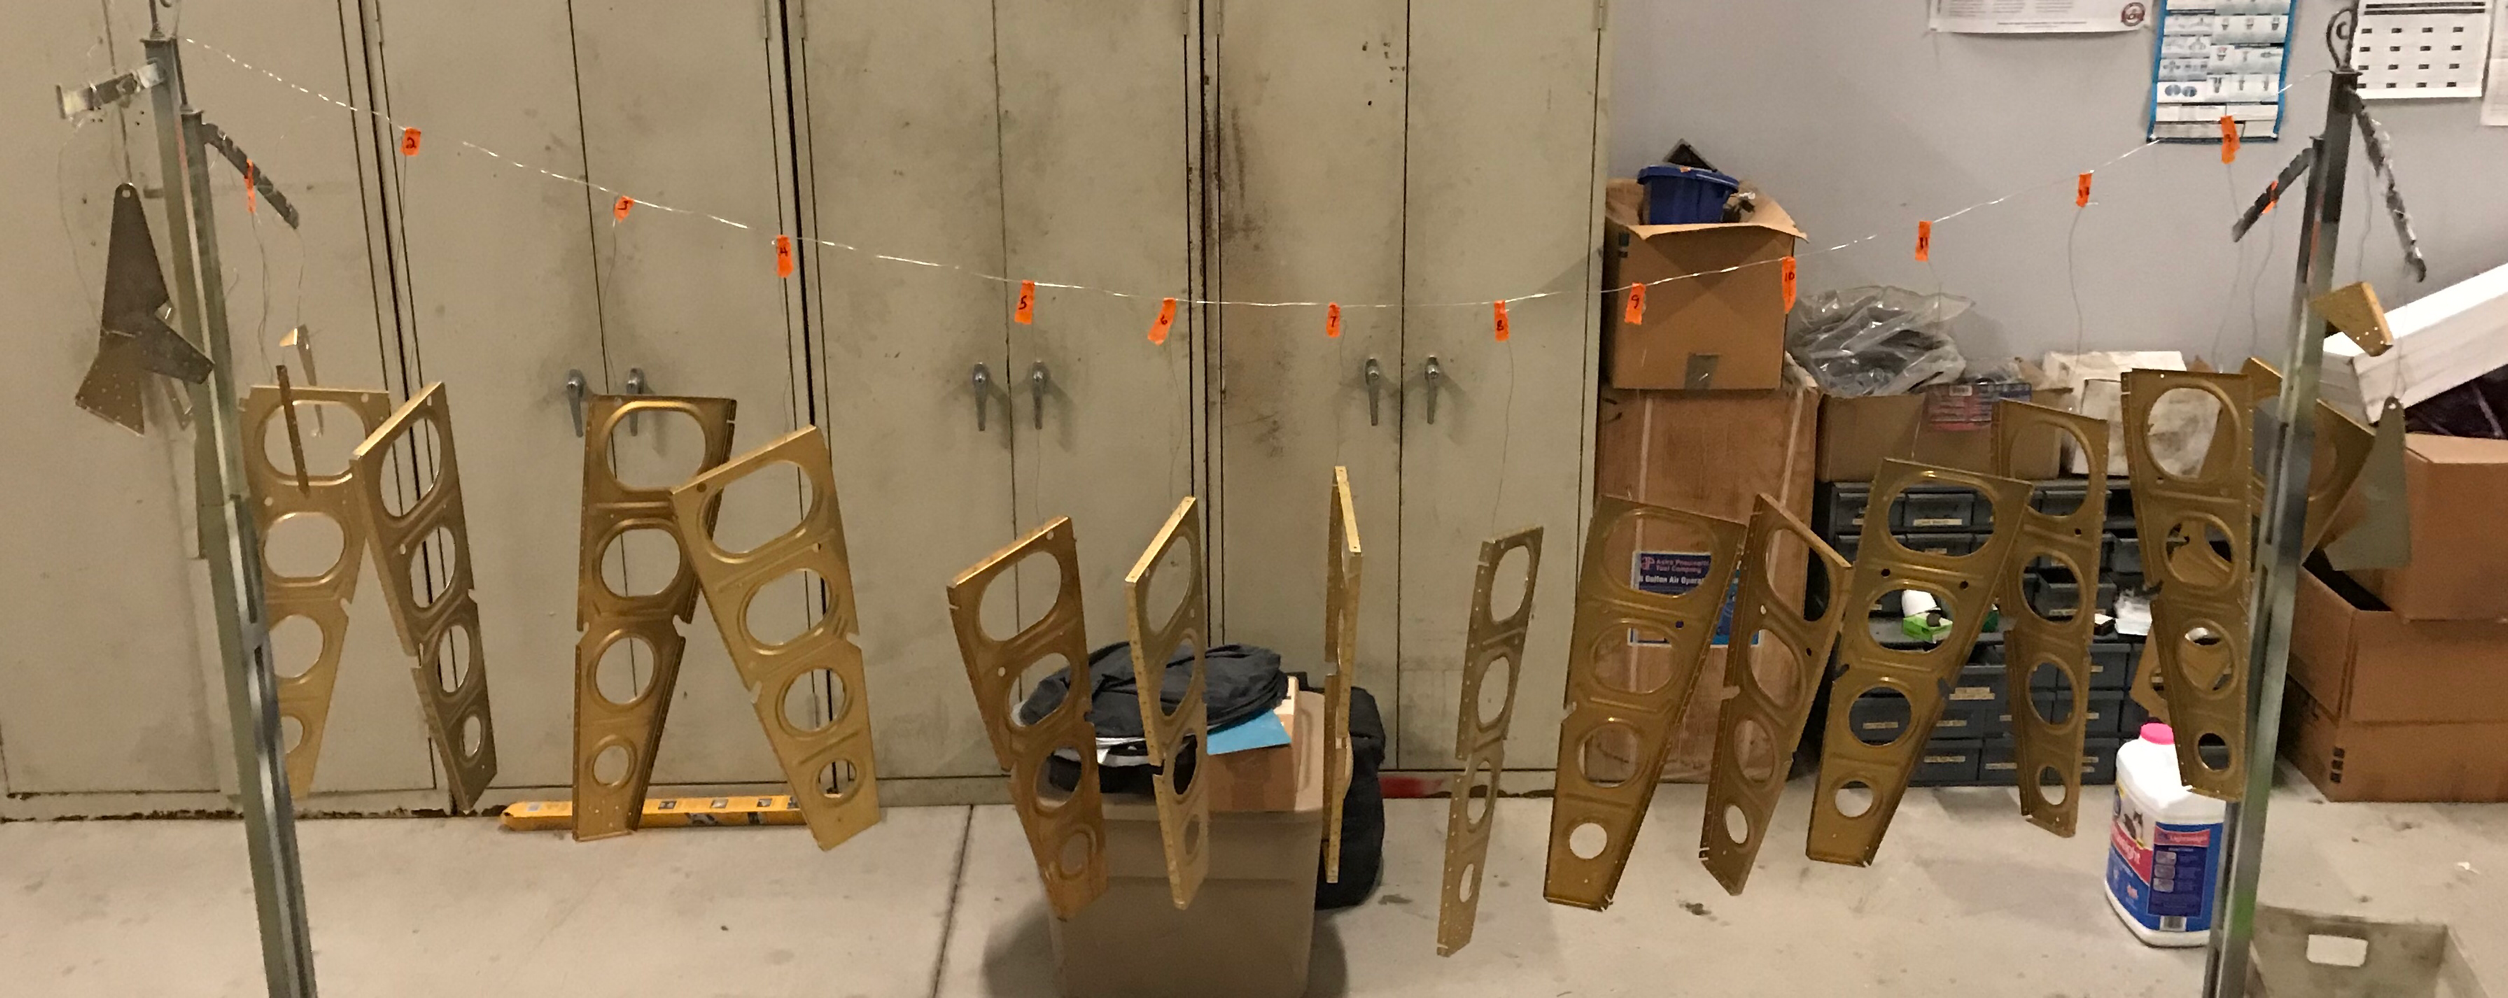
Today, January 24, 2018
I started today’s session by Akzo priming all the parts that were Alodined yesterday. Below are the parts hanging up to dry on my clothes line.

After letting the parts dry for a couple of hours, I started the initial riveting process. The first parts to get riveted were the Wing Rib #3 and #8, the Flap Hinge Bracket, and the Flap Hinge Rib. There were 16 AN470AD4-7 universal rivets installed on each Rib. The picture below shows each of the Ribs.....one showing the manufactured heads and the other showing the shop heads.

The next parts to be riveted together made up the Torque Tube Support Bracket Assembly. AN470AD4-5 and 4-6 universal rivets were used to complete the assembly.

Finally, per the plans, 12 of the 14 Wing Ribs were re-clecoed to the Righ Main Spar. As I found out on the Left Wing, Wing Ribs 1 and 2 are temporarily left off to aid in the rivet installation of Rib #3, and then Rib #2.

During the next session, I will begin riveting the Wing Ribs to the Right Main Spar.