
Now that I have all the Skins primed and ready for riveting, I took a few minutes and sprayed some touch up primer in the Wing Ribs (where I scratched it with the rivet gun or bucking bar) with my airbrush gun. After that was completed, I clecoed into position, for the final time, the Top Inboard Wing Skin.....

....and Top Outboard Wing Skin to the Left Main Spar, Wing Ribs, and Left Rear Spar. If you look at the left side of the picture above, you can see two rows of clecos running forward and aft. This is the location where the Top Inside and Top Outside Skins will overlap. The row on the right side will be riveted to the Wing Rib Flange underneath and the row on the left will just rivet the Skins together.

Here is a view of the whole Left Wing with both Skins clecoed into place.

I stood the Left Wing up on the Main Spar to make sure all the clecos were installed in the correct positions and in the right holes. On the right side, you can see the four Wing Ribs that make up the Wing Walk area.

This is the middle section of the Left Wing.....
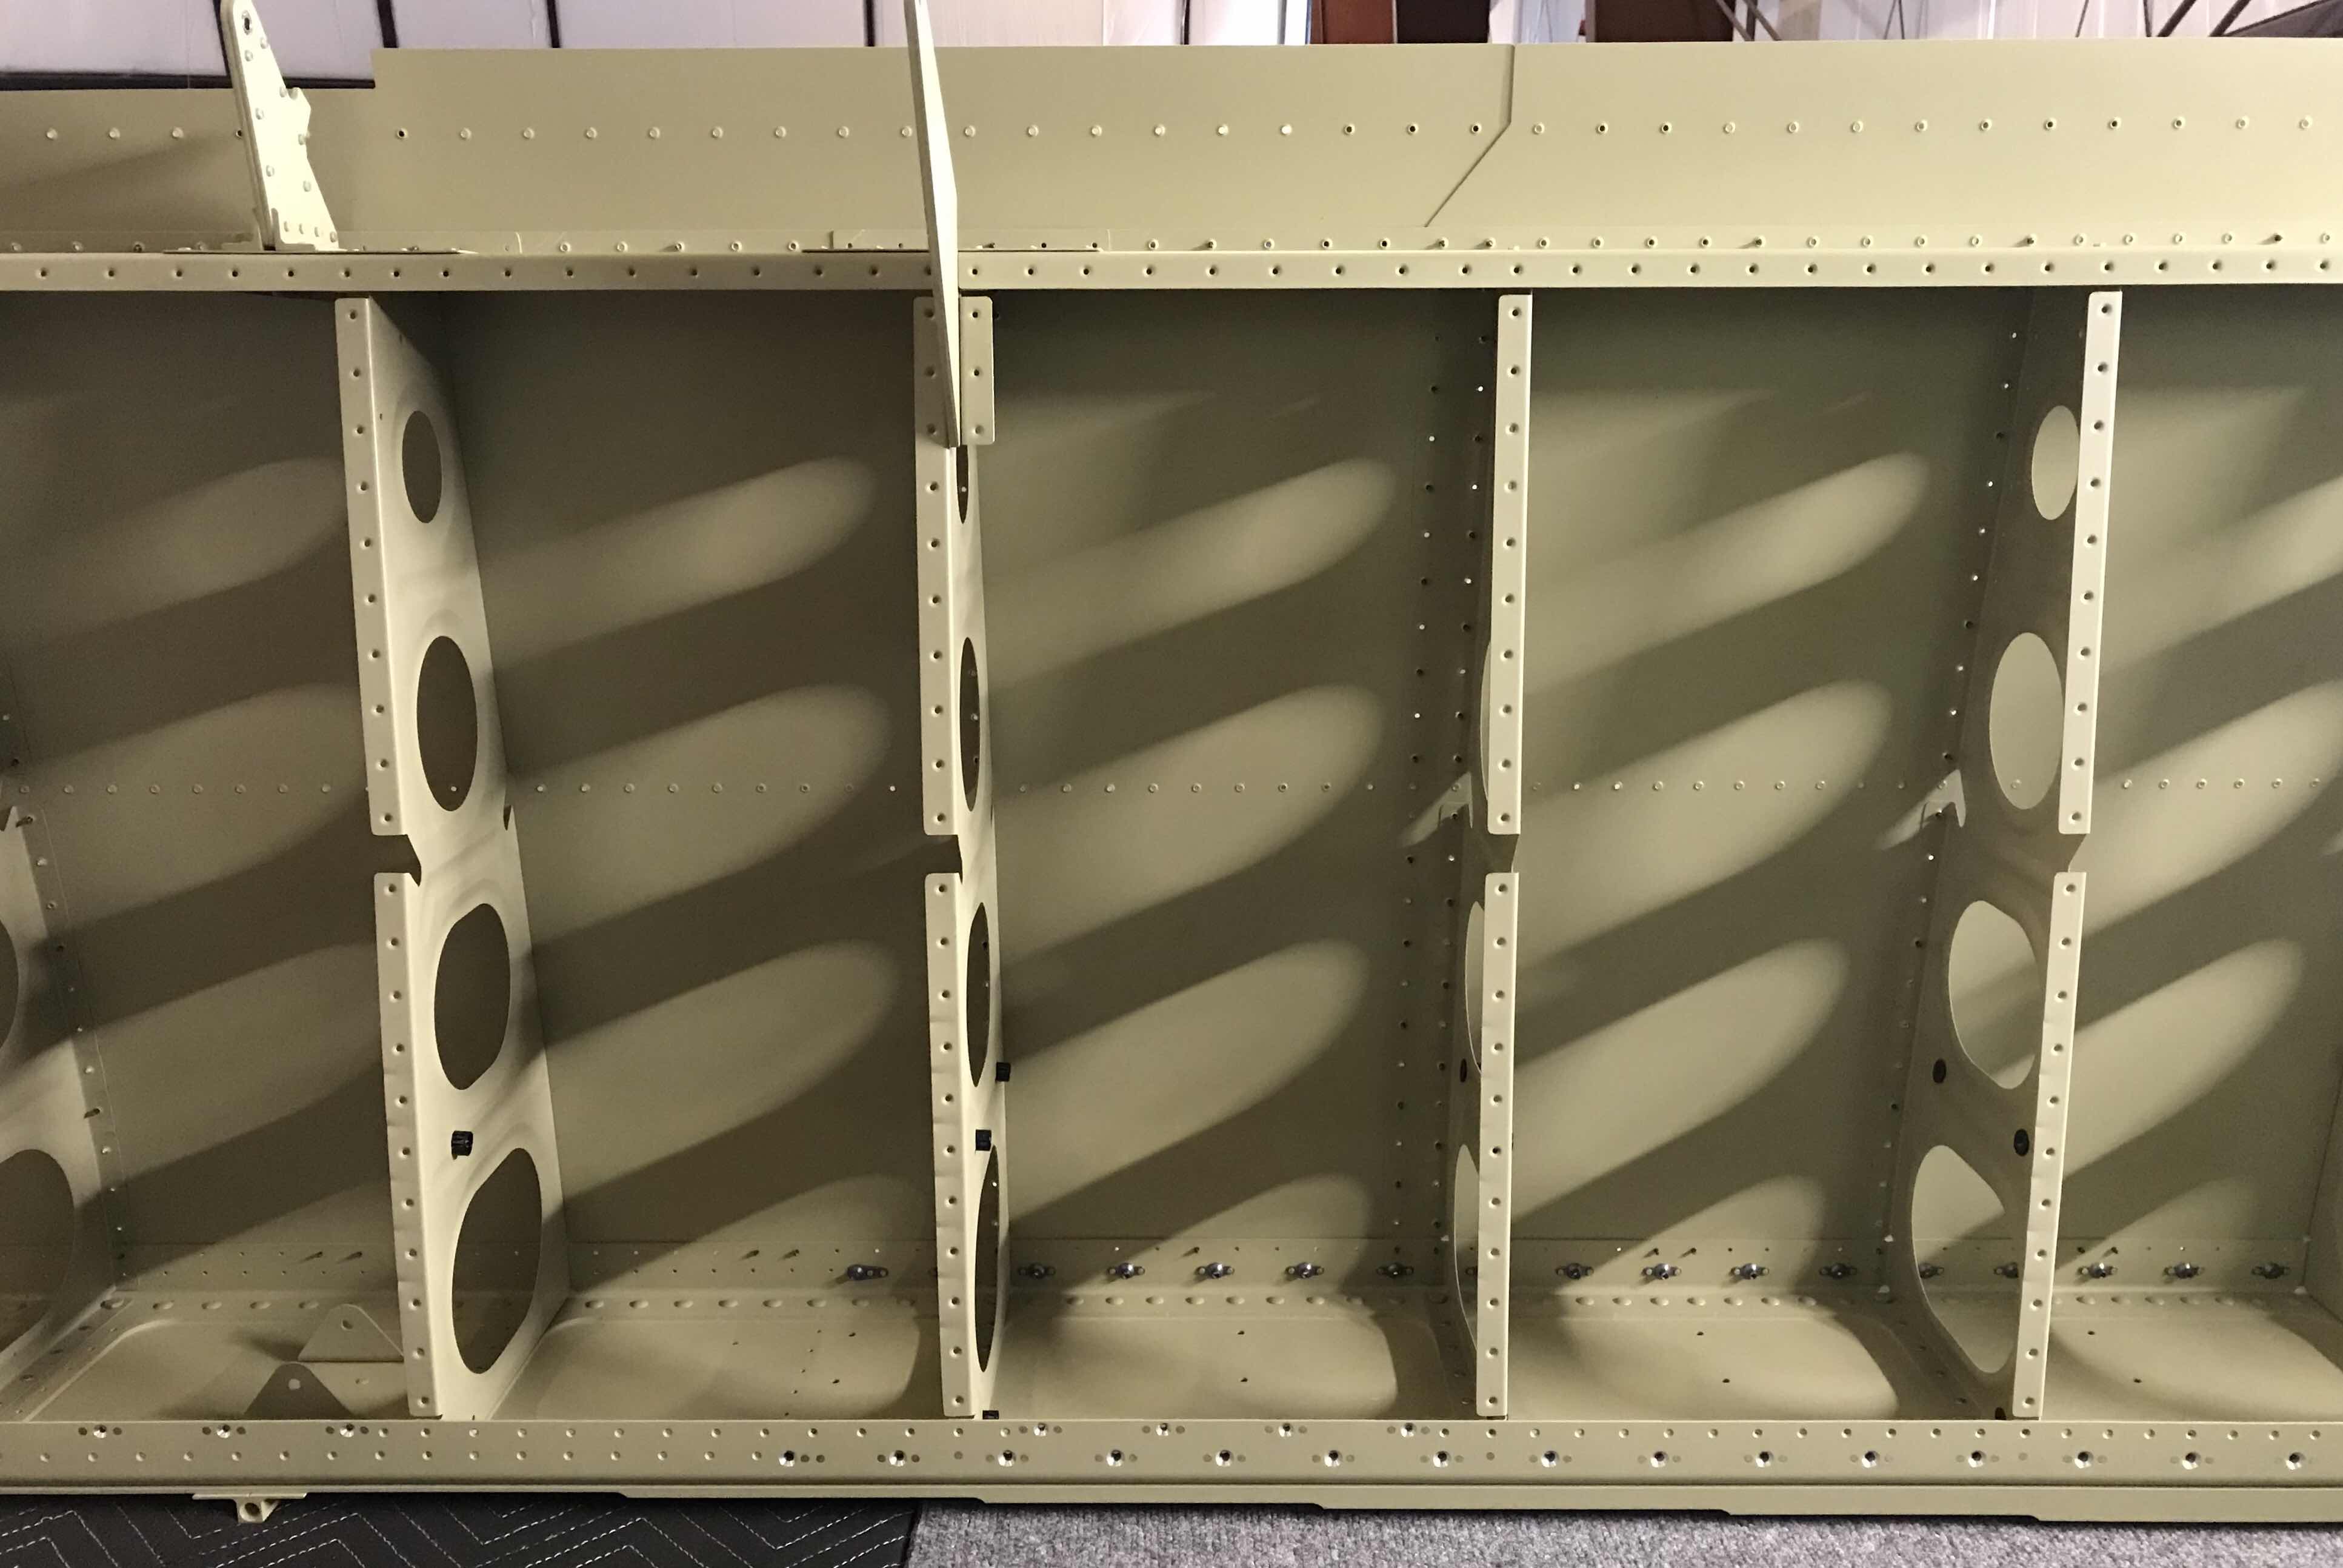
.....and the Outboard section.

And, of course, a view of the entire Left Wing.
