
In my previous post (Part #9), I completed the work on the Left Wing (for this section anyway).....minus installing the rivets. I have decided to wait on riveting the Inboard and Outboard Wing Skins on the Left Wing until the Right Wing is completed to the same point. Then, I can complete this section for both wings at the same time....so to speak.
The Top Inboard and Top Outboard Wing Skins on each Wing will receive 788 rivets. So, armed with this knowledge, I consulted myself and determined it was “better” to install all 1,576 rivets together. That’s ALOT of rivets! Anyway, moving on to the Right Wing.
SEE PARTS #1 & #2 FOR CORRESPONDING WORK ON THE LEFT WING
As with the Left Wing, the work on the Right Wing will start with the Top Inboard Wing Skin and the Wing Walk Doublers-FWD and AFT. I began by removing the blue protective plastic from the the Top Inboard Skin, Top Outboard Skin and the two Wing Walk Doublers. Next, I clecoed the Top Inboard Skin and Wing Walk Doublers to the Right Wing as shown in the picture below. (I also clecoed the Top Outboard Skin, more or less, to check the fit).
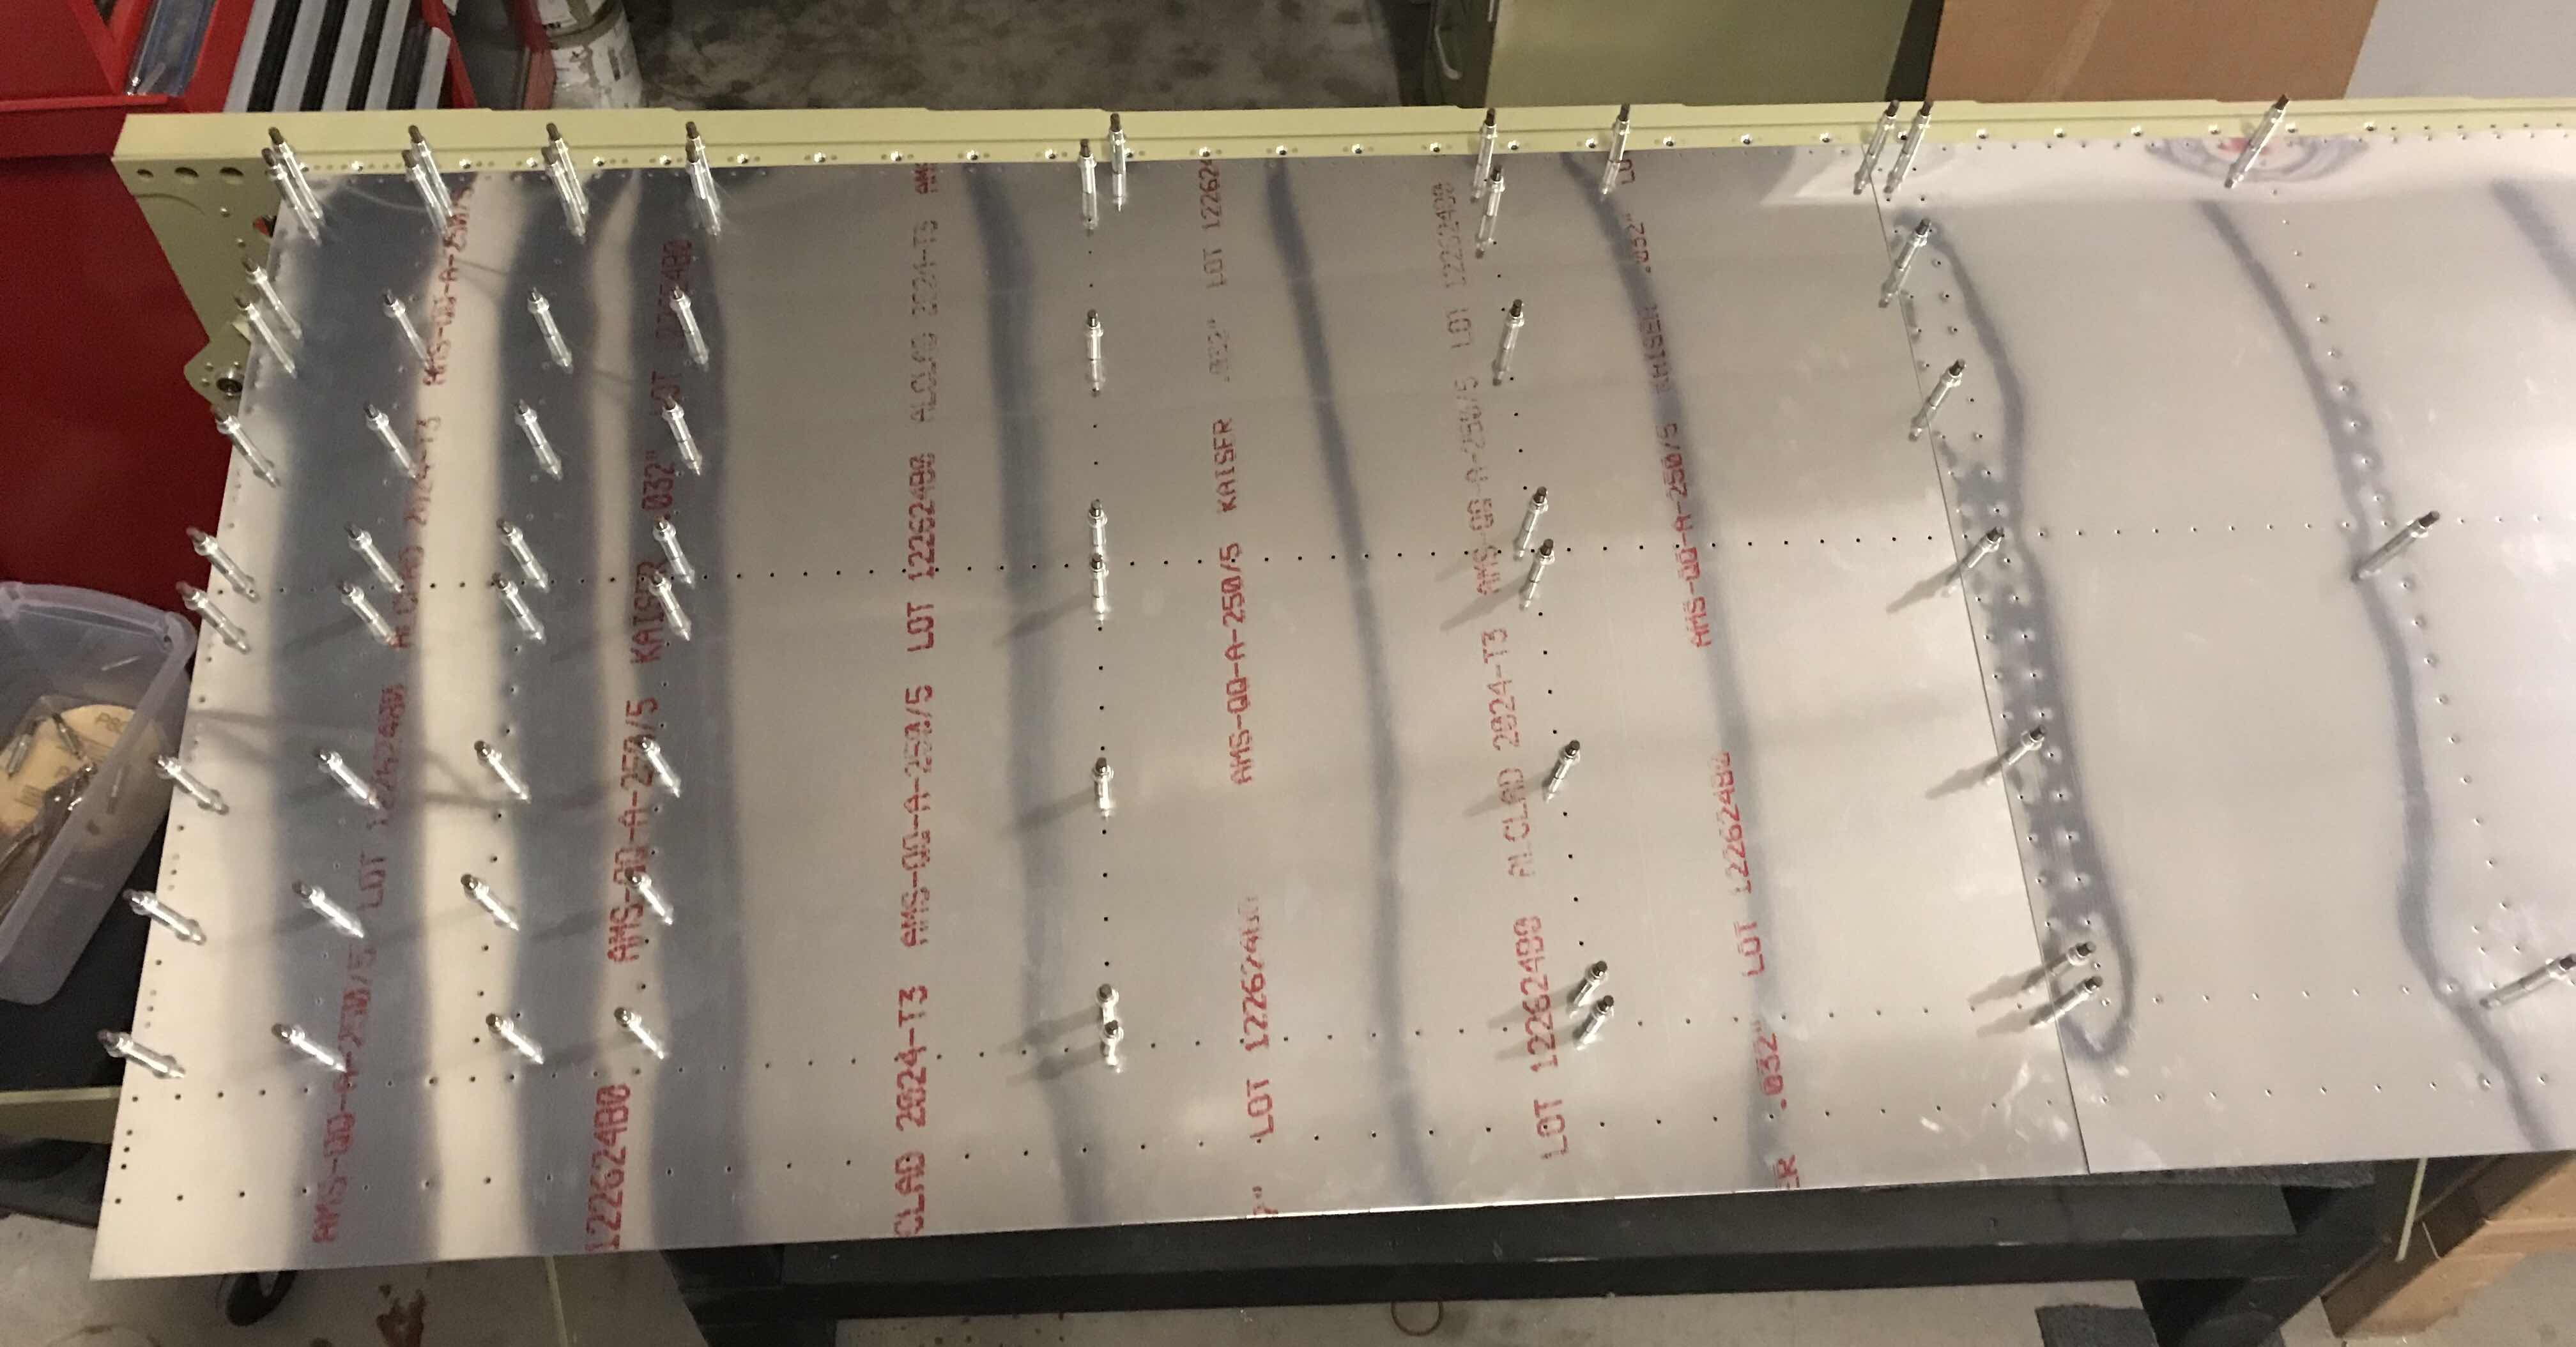
Once clecoed into place, all the common #40 holes to the Top Inboard Wing Skin and Doublers (FWD and AFT) were Final-Drilled.....which included the rivet attach holes for the nutplates.

The center nutplate holes were then Final-Drilled to #19. In the picture below, you can see where two of the nutplates will be installed. There will be a total of eight nutplates (just like on the Left Wing).
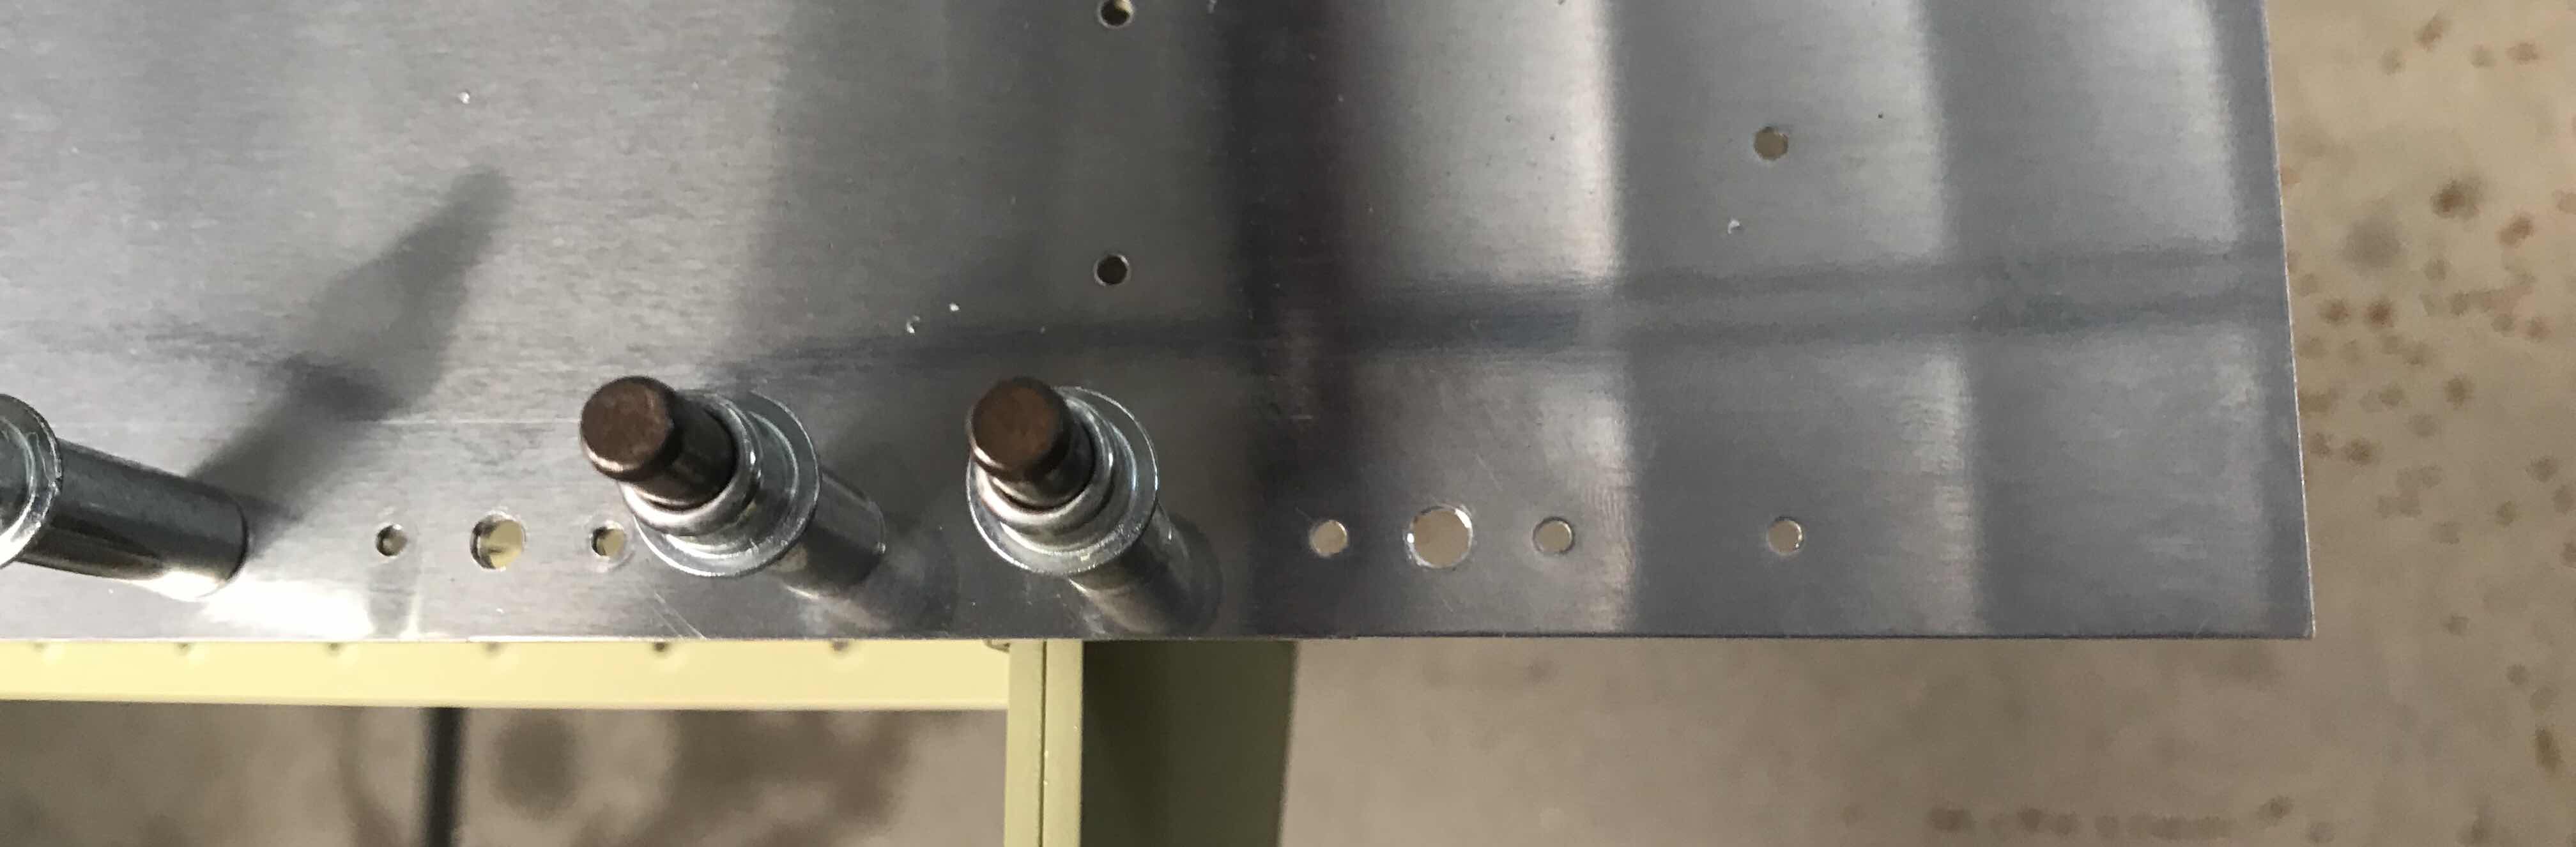
If you look closely below, you can see all eight nutplate locations.....look for the larger #19 center holes in the bottom row of clecos.
