
The work and pictures from this post are from November 11, 2022.
As the previous post mentioned, there are some modifications that need to be made to the stock parts in order for the RV Max Flap Actuator to work properly.
The PH Aviation website publishes installation instructions titled Installation of PH Aviation Flap Actuator in RV-14. These are the instructions that I followed for these modifications and installation.
The first page of the instructions says the F-01466-L & -R Flap Motor Brackets will need to be modified and that this should be done PRIOR to installing them as instructed in the build plans on page 32-07. Since I found out about the Actuator after I completed Section 32, I will have to remove the previously installed Flap Motor Brackets. As a result, I also decided to order two new Flap Motor Brackets from Van’s…..I just wanted new stuff since I had to drill out all the rivets in the original Brackets.
Now, the picture below shows the progress of the modifications starting at step #19 of the instructions. I didn’t feel the need to post all of the same fabrication pictures that are included in the instructions in step #1 through steps #18. The top two pieces are the modified stock Flap Motor Brackets from Van’s (the new ones I ordered). The middle two pieces are the 1” x 1” x 0.063” aluminum angles after being fabricated. The last two pictures are the 0.063” Shims after being fabricated.
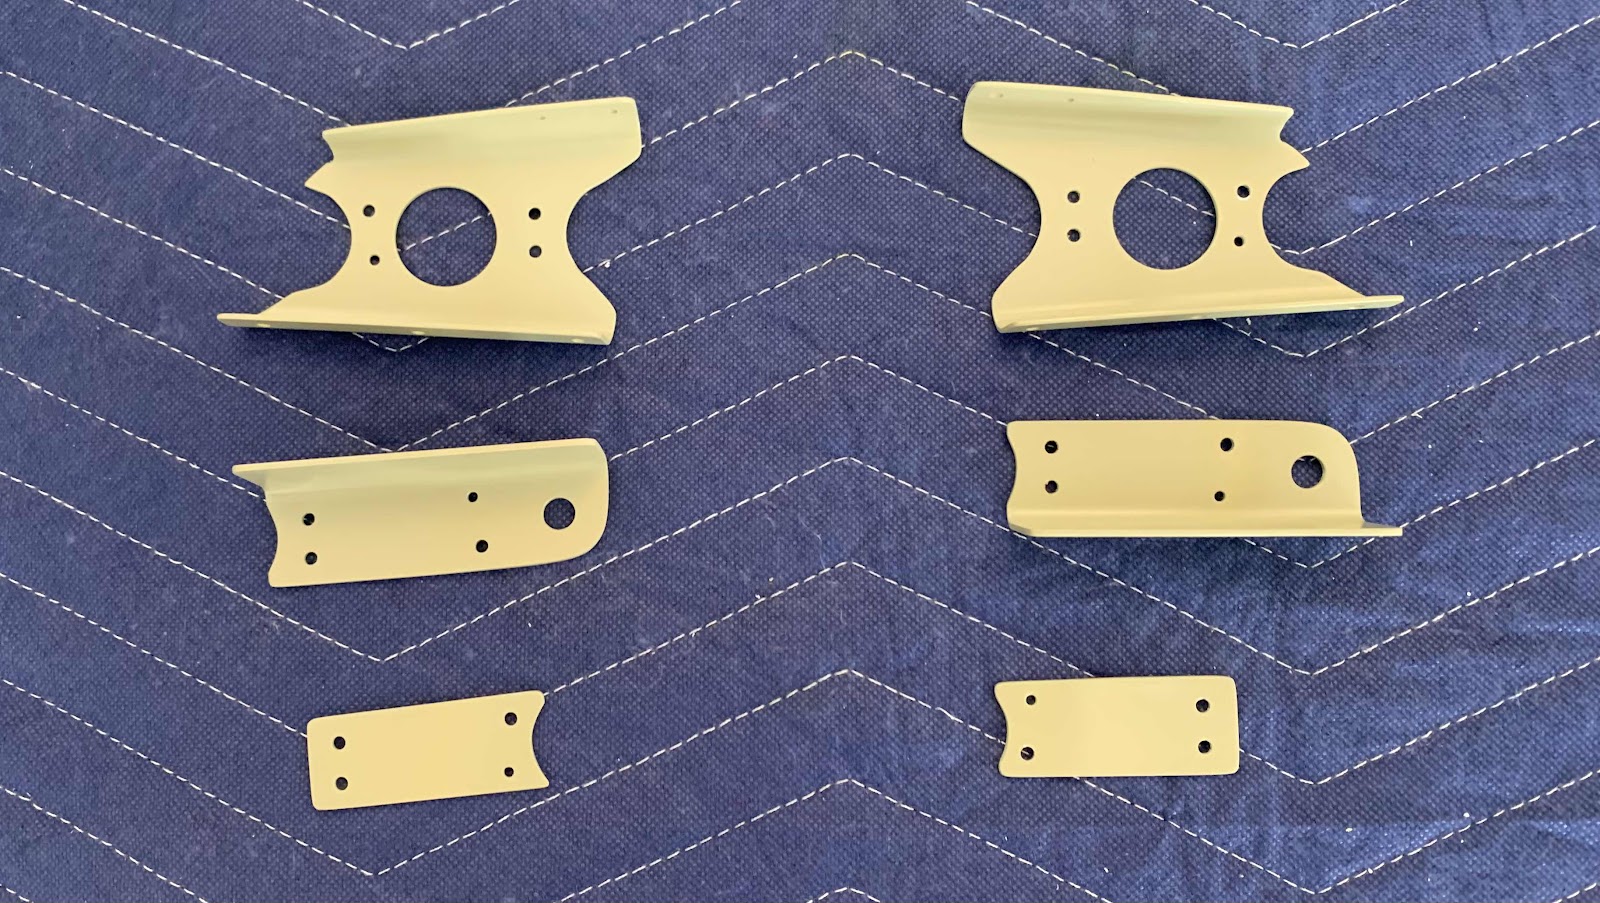
The Angles and Shims for each “side” were clecoed and riveted to the modified F-01466-L & -R Flap Motor Brackets using (3) AN470AD4-5 and (1) AN470AD3-5 rivets.
Next, the modified Flap Motor Brackets are riveted to the front to the F-01405F Mid Fuse Brace using (2) AN470AD4-4 and (2) AN426AD3-4 rivets.


The back of the modified Flap Motor Brackets are riveted to the F-01405G Flap Motor Channel using six CR3213-4-2 CherryMax rivets (two of the rivets are hidden behind the C-01438 Canopy Latch Torque Tube). The bottom two holes were used with the old, longer Brackets and will be left open for the new, shorter Brackets. You can see a little scraped paint on the Torque Tube from removing the previous rivets in the old Brackets…..

…..so, obviously, I had to clean that up and re-paint those areas. This is why I like using the SEM paint products…..look how nicely the new paint blends with the old paint.

I also cleaned up the re-painted the areas the front side.

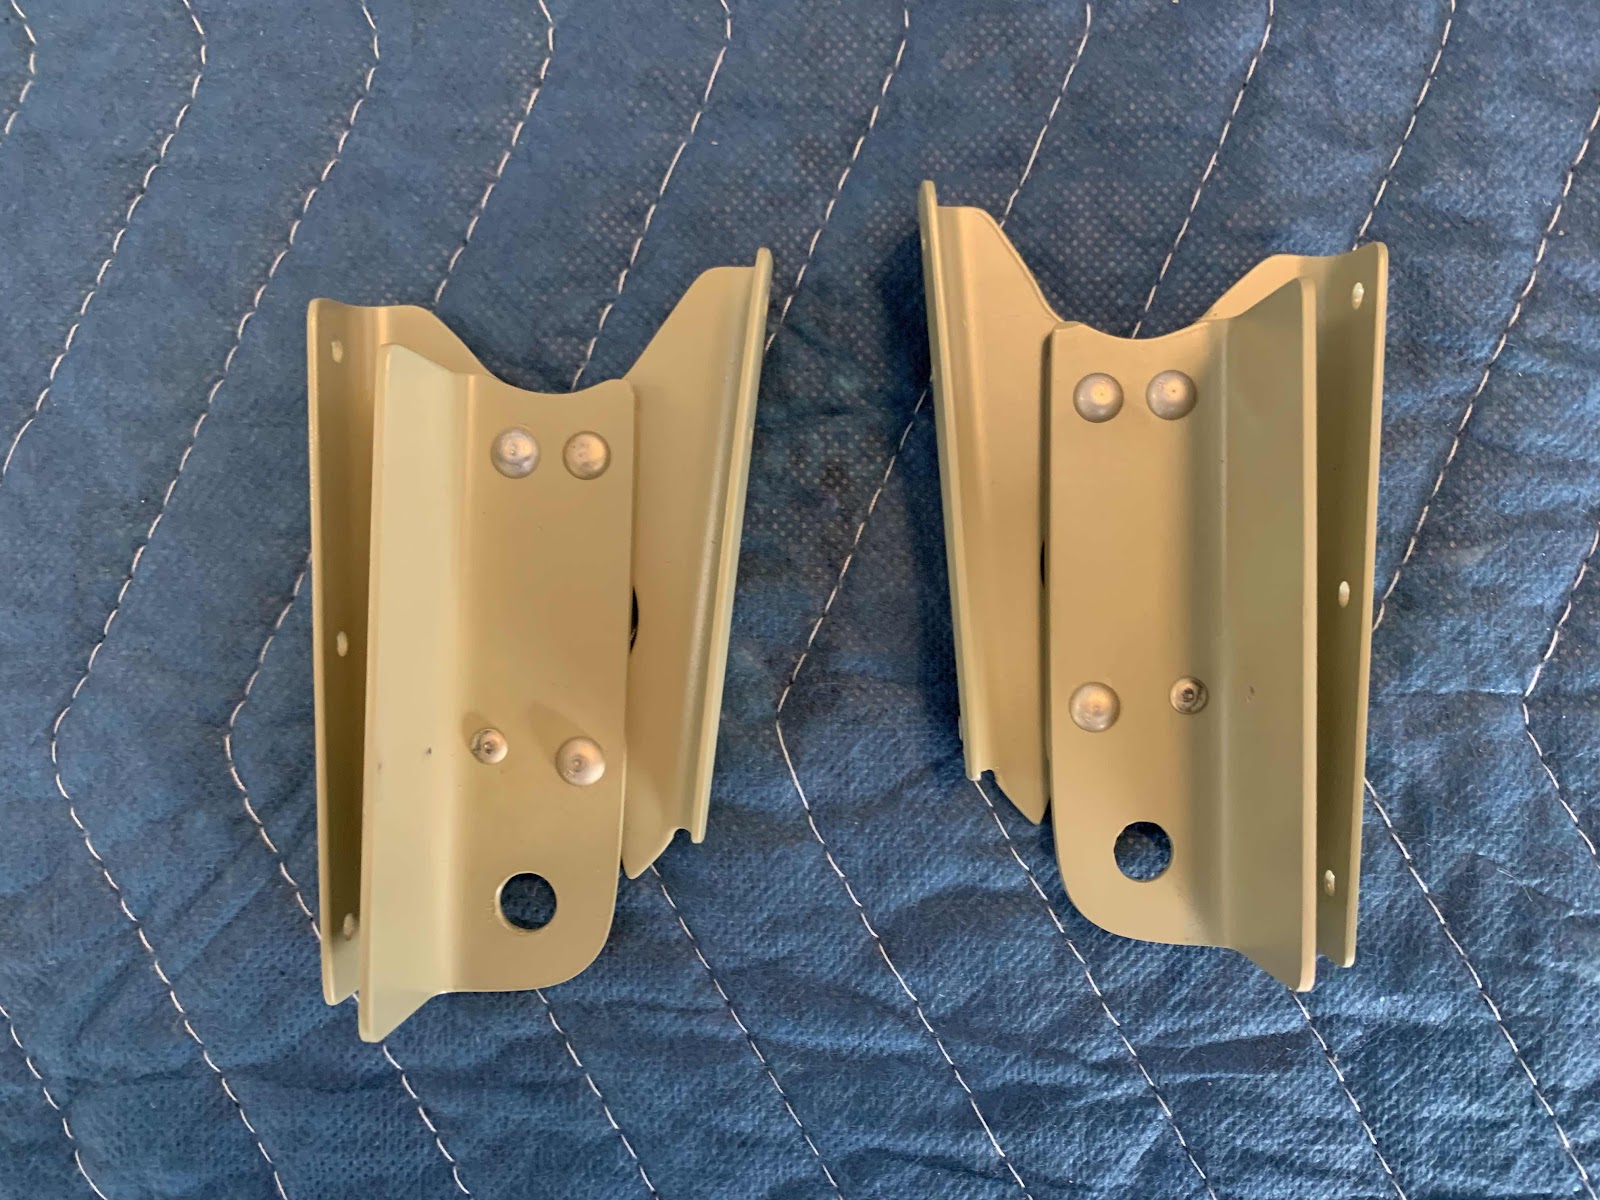
And that finishes the modifications to the plane for the new RV Max Flap Actuator. Here are a couple pictures showing the completed install.


I will install the Actuator during the next work session.