
As I said in my previous post, I continued countersinking the Trailing Edge “V-Channel”. To start, tried to complete the countersinking like I did in Part 7 for the Left Flap using a deburring bit in my cordless dril. Although I was happy with the results THEN, I was not so happy NOW. The holes were not really round and I didn’t like it at all. So, I thought of other ways to complete the countersinks. The obvious choice is a countersink cutter with cage. I tried that, but the pilot hole didn’t fit correctly in the hole. I could have enlarged the holes a little and used the cage, but I didn’t want to do that.
So, I decided on this solution. I continued to use the Countersink Jig for RV Trailing Edge Wedges, just “vertically”, along with my Avery Deburring Tool and two blocks of wood (one on either end) as shown below. This turned out to be the most time consuming (and hand cramp inducing) option, but I was MUCH, MUCH happier with the resulting countersinks. It took 100 rotations of the deburring tool (in case you were wondering) to make each countersink. The long portion of the Trailing Edge Wedge has 120 holes (60 per side for double flush rivets) x 100 rotations of the deburring tool = 12,000 rotations. This method SUCKED! However, the countersinks were very, very good and I’m very, very happy.....guess it was worth it!

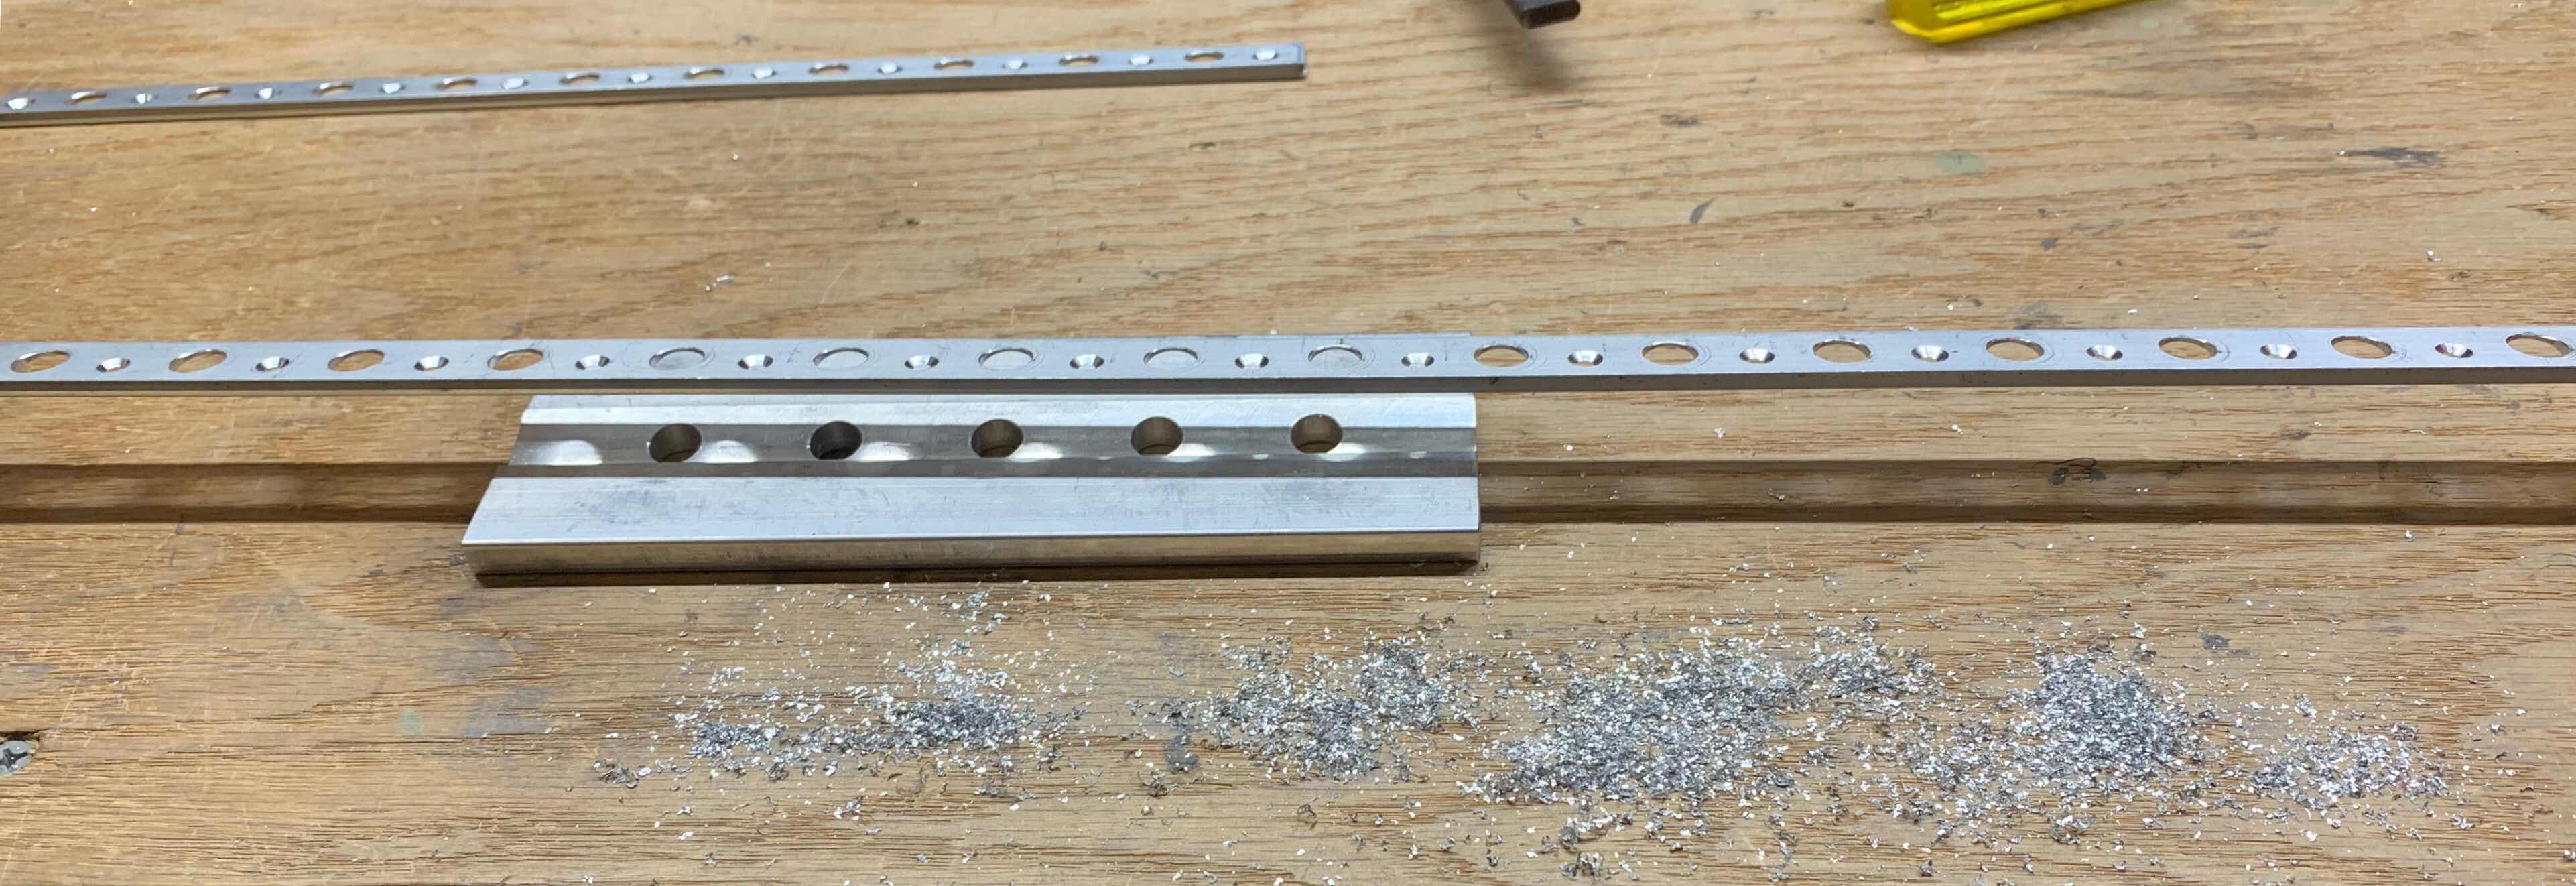
Here is kind of an after shot of the resulting shavings.....whatever!
I also used the same deburring method to countersink the 16 holes (eight for each pair) on the Hinge Brackets for double flush rivets.

Now that that was finished, it was time to move on to dimpling. I started with dimpling the #40 holes in the Nose Skin. To get to the rivet holes on the leading edge of the Skin, I used my 3/32 (#40) Close Quarters Die Set to dimple these holes. Mike from Cleaveland Aircraft Tool demonstrates how to use the Close Quarters Die in this video. The picture below shows the “inside” of the Skin.....
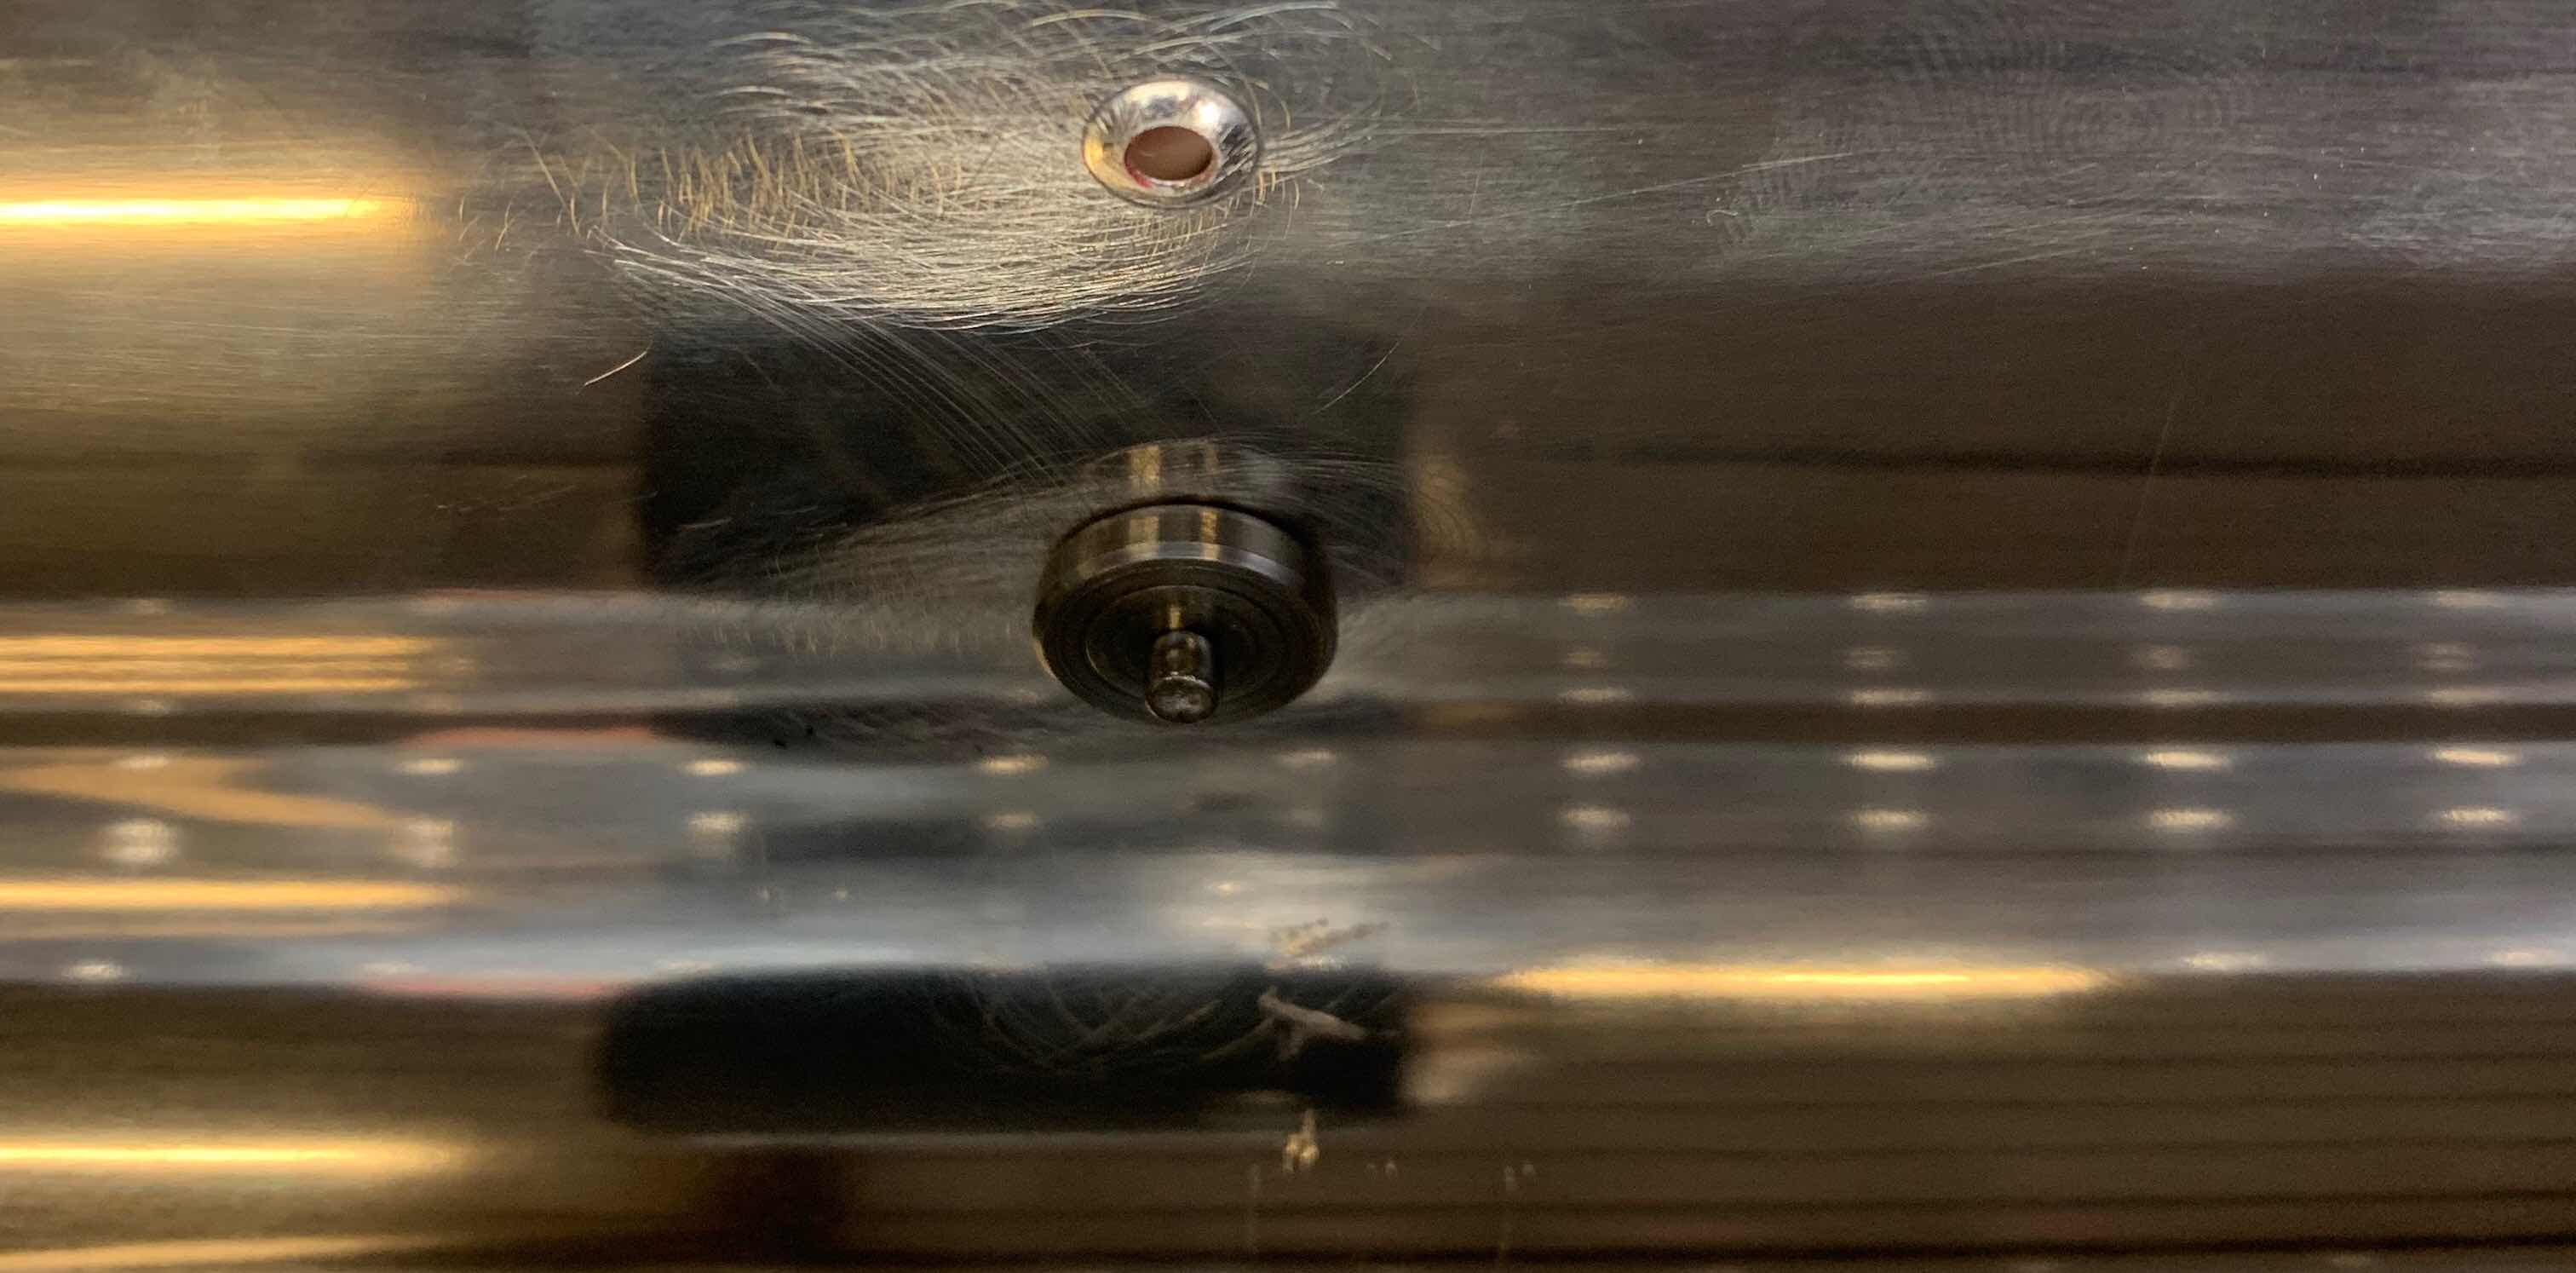
.....and this picture shows the “outside” of the Skin with the Die installed.

Here is the completed “long” and “short” Trailing Edge V-Channels and the Spar. I described the process I used to countersink the V-Channels above, but used my pneumatic squeezer to dimple the Spar.

Here are most of the guts of the Right Flap. All of these pieces that needed to be dimpled (the Ribs) I used my hand squeezer and the Close Quarters Dimple Die Set to get the holes near the aft end of the eight Main Ribs.

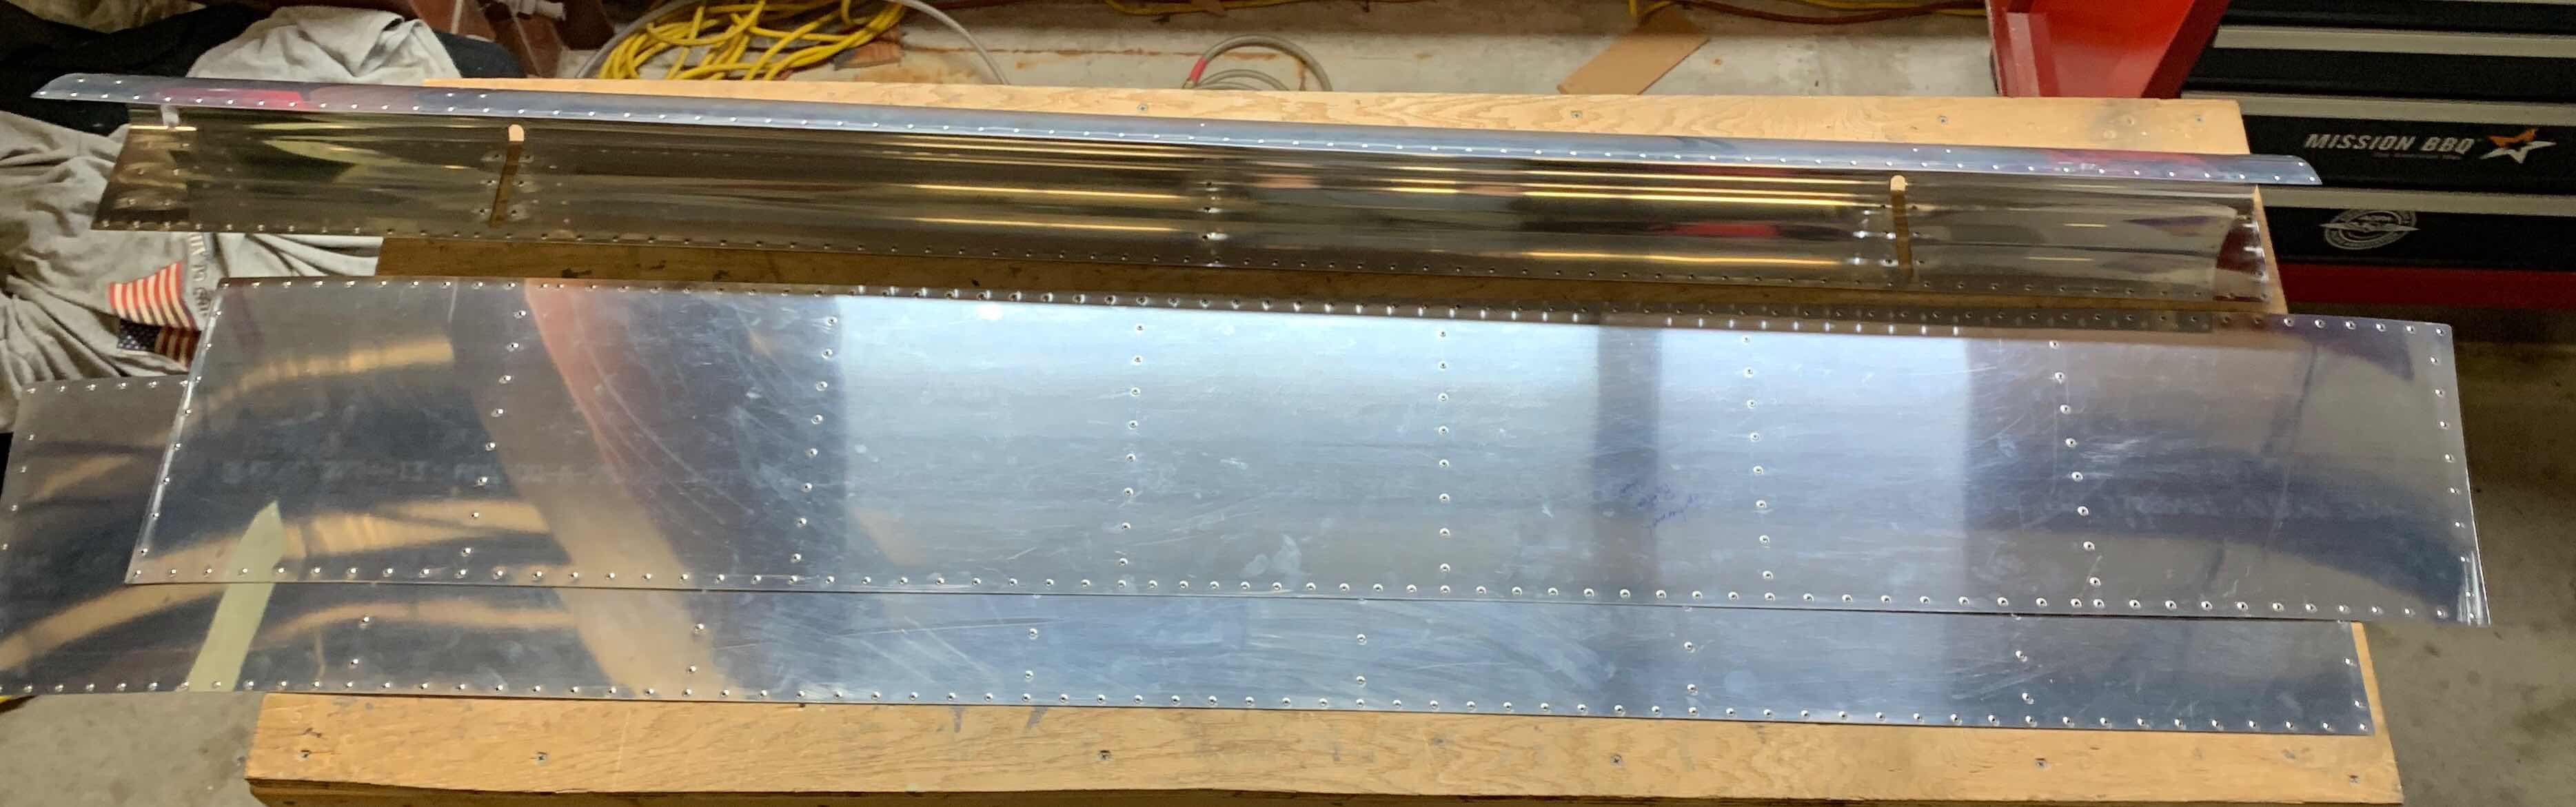
Here is the completed Top, Bottom, and Nose Skins. I used the DRDT-2 to dimple the Top and Bottom Skins and a combination of the DRDT-2, hand squeezer, and Close Quarters Die Set to complete the dimples on the Nose Skin.
All of the parts for the Right Flap are now completed and prepared. Next up.....Alumiprep, Alodine, Akzo prime and assembly!!!!