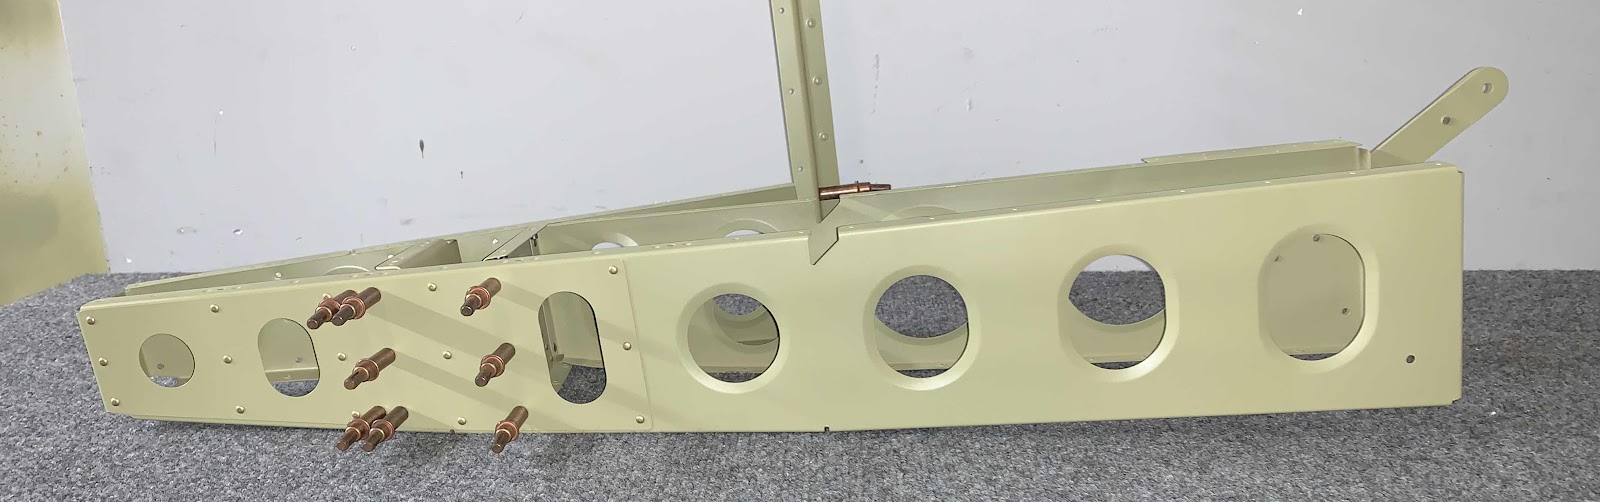
After priming the Step Attach Weldment’s during Part 25, I was now able to start some of the assembly. Here are the Step Attach Weldments riveted to the F-01423B-L & -R Outboard Baggage Rib. This is the first time that cherry rivets are used in the build. There are five rivet locations (circled below) for each Step Attach/Rib attachement The plans have you install CR3213-4-2 in the front two holes and either CR3213-4-2 cherry’s or AN470AD4-5’s in the other three locations. It looked a little difficult (not impossible) to install the solid rivets, so I decided to use the optional cherry rivets. The 10 rivets circled in the picture below are the “manufactured heads” (I guess) of the rivets.....
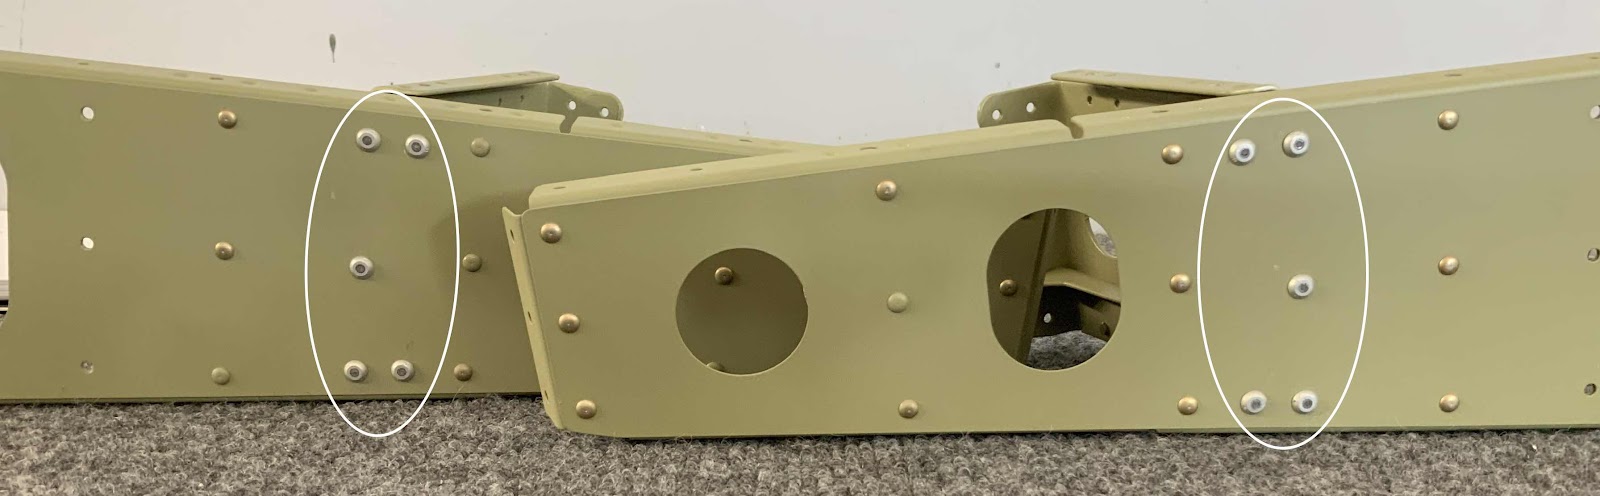
.....and here is the “shop head” side.

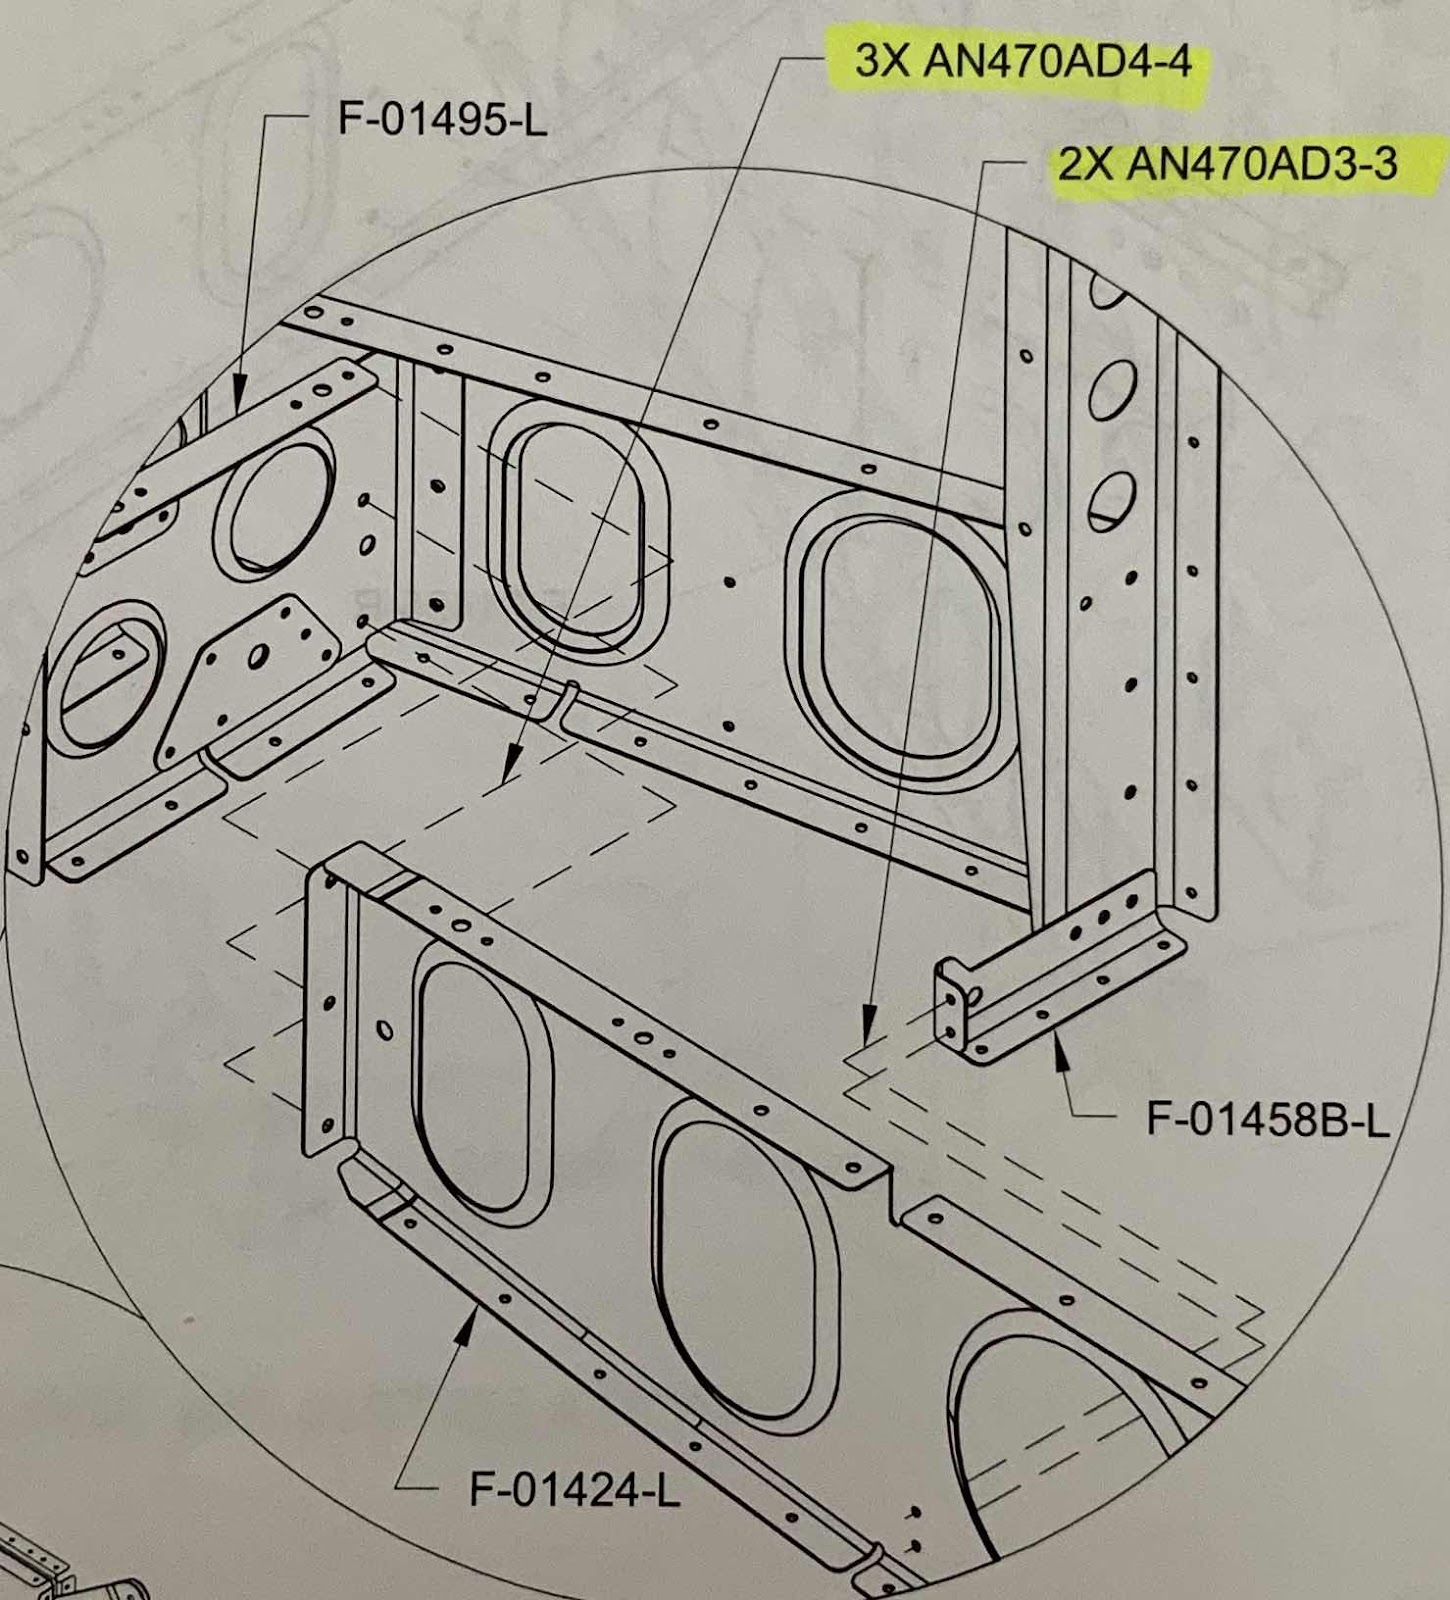
The next parts to get attached were the two Step Attach Ribs using AN470AD4-4 universal rivets. This picture shows the location of the Ribs on the assembly and the manufactured heads of the rivet locations.

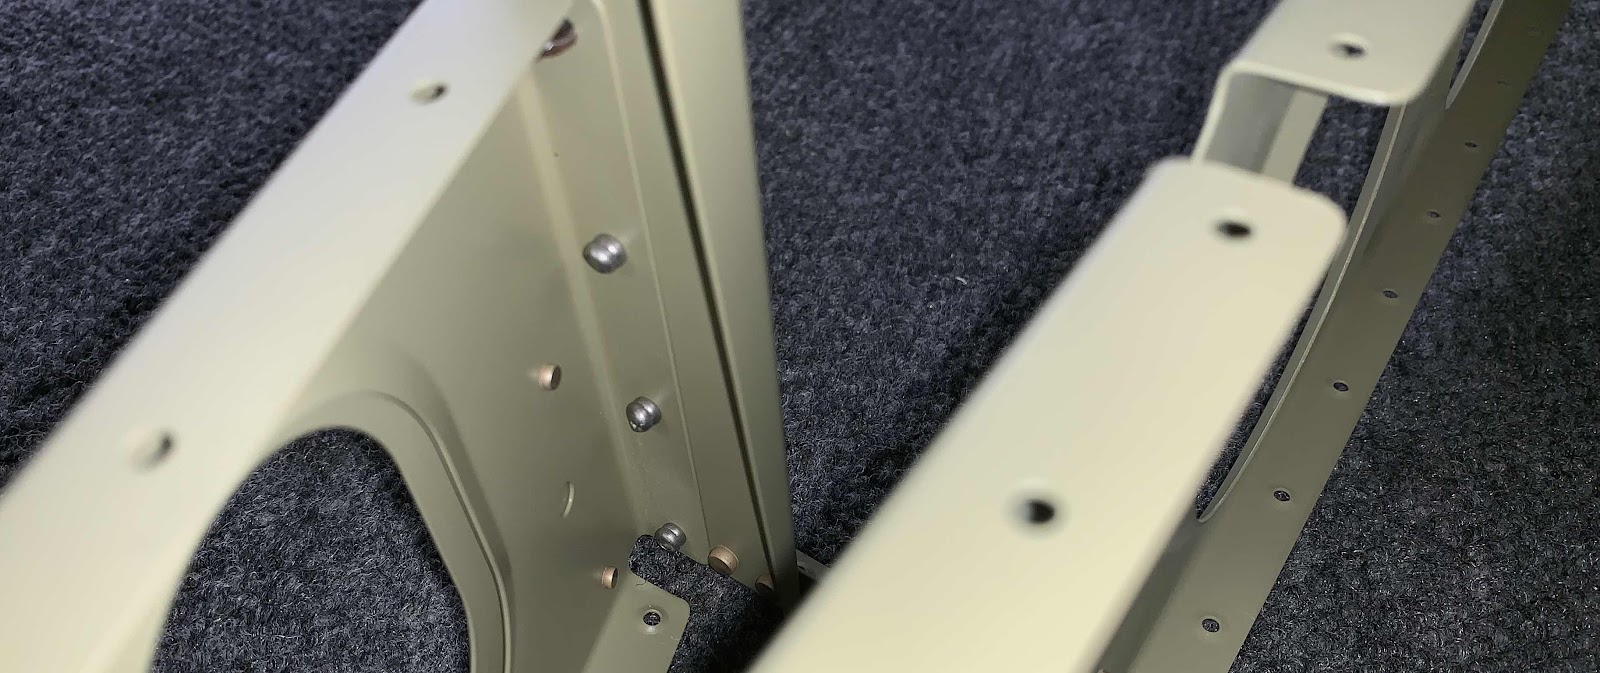
Here is the shop head side of the rivets. This area was a little tight to get your hand and bucking bar into, but not too difficult.

The F-01424-L & -R Baggage Ribs were the next parts to get riveted to the assembly. Here is how the plans show the pieces going together.....
The F-01424-L & -R Baggage Ribs were the next parts to get riveted to the assembly. Here is how the plans show the pieces going together.....
.....and here is where the Rib(s) and Bracket(s) were riveted to the assembly.

Here is the opposite (inside) side of the picture above showing the shop head sides of the rivets. (The three silver shop heads are from the LP4-3 blind rivets.
This is the F-01425-L Baggage Rib clecoed into place on the Step Attach Rib (three clecos) and Step Attach Weldments (5 clecos). These will get rivets during the next work session and the baggage area structure will continue.