
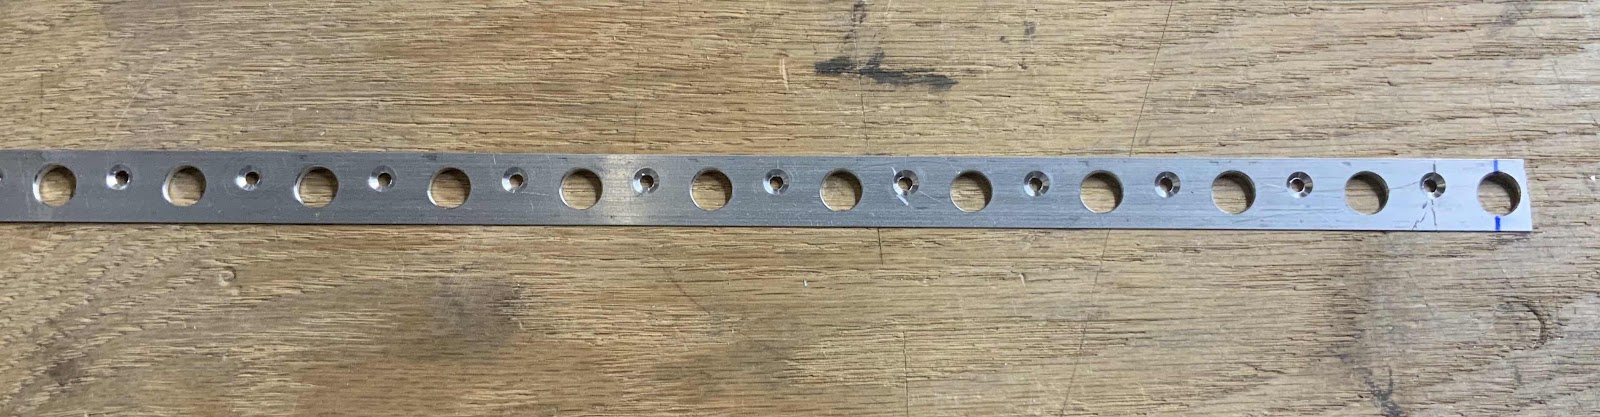
During yesterday’s session, I clecoed together the whole Right Aileron. The first step today was to verify there was no “bowing” in the Nose Skin. I did this the same way as I did for the Left Aileron (detailed in Part 16). There was a tiny little bit of “bowing”, but was easy to fix (the plans tell you how). The plans state as much as a 1/16th” of “bowing” is acceptable. Once I made the adjustments, there doesn’t appear to be any “bowing” on the Right Aileron Nose Skin. Once that was completed, I clecoed the V-Channel (shown below) to the aft ends of the Top and Bottom Skins and final-drilled all the holes #40. Lastly, I removed the V-Channel and countersunk each of the holes (both sides) to fit a dimpled #40 Skin. Here is a section of the completed V-Channel.
Once the V-Channel was taken care of, both Ailerons were completely disassembled. Below is the parts that make up the Left Aileron (minus the Spar and Nose Skin).....

.....and the Right Aileron (minus the Nose Skin).

After both Ailerons were disassembled, the left and right Nose Skins and Left Spar were treated with Alumiprep and Alodine. Not the best picture, but the three parts are shown hanging up to dry.

Tomorrow, these three pieces will get Akzo primed, the left and right Ailerons will get reassembled, and the riveting process will begin.