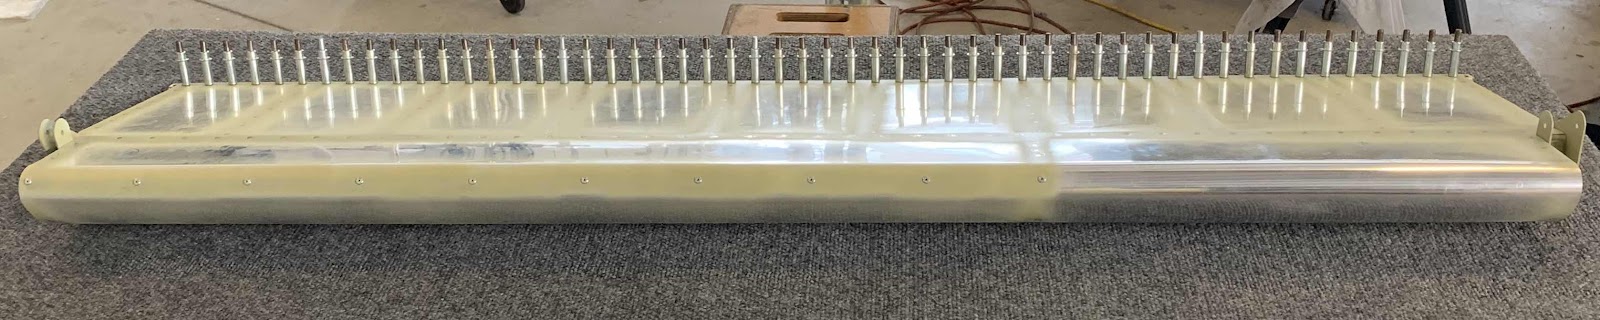
During today’s sessions, the Bottom Skin for the right Aileron was riveted to the Spar. First off, the Bottom Skin was clecoed into place so I could check for any twist (just like I described for the left Aileron in Part 25). Once that was complete, the riveting could begin. Just as with the left Aileron, the plans have you first rivet every 10th hole in the Bottom Skin assembly and then randomly the remaining holes.....for a total of 43 holes/rivets. The plans call for AN426AD3-3.5 rivets, but they measured a little short.....AN426AD3-4’s measured perfectly. So, I decided to use the -4’s instead. Shown below is the completed right Aileron Bottom Skin.
There was one hole in the assembly that was.....well, different. In the picture below you can see the hole I’m talking about. The hole itself is lower than the Nose Skin next to it and the Outboard Hinge Bracket will not let a standard 1” Mushroom Set or 3/4” Mushroom Set sit flush on the Bottom Skin and the rivet. So, I had to improvise.
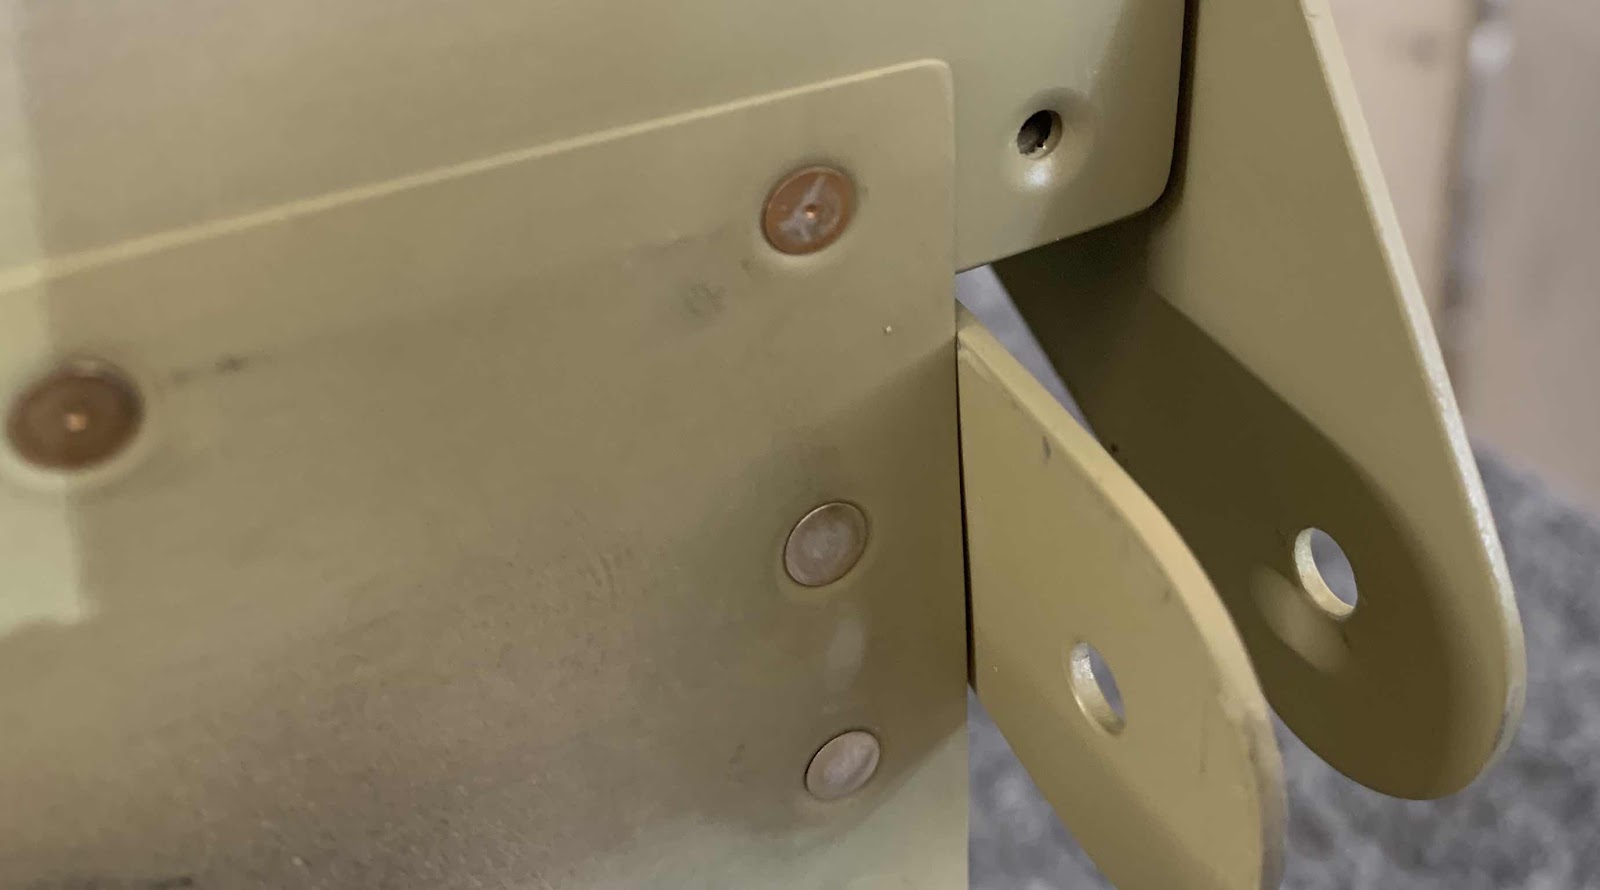
I just happened to have an OLD Nose Skin laying around that I jacked up a few months ago, so I cut a piece of the Nose Skin that would fit in the area over the rivet.....and taped it into place. This made the two surfaces flat and allowed me to use the 1” mushroom set to set the rivet.
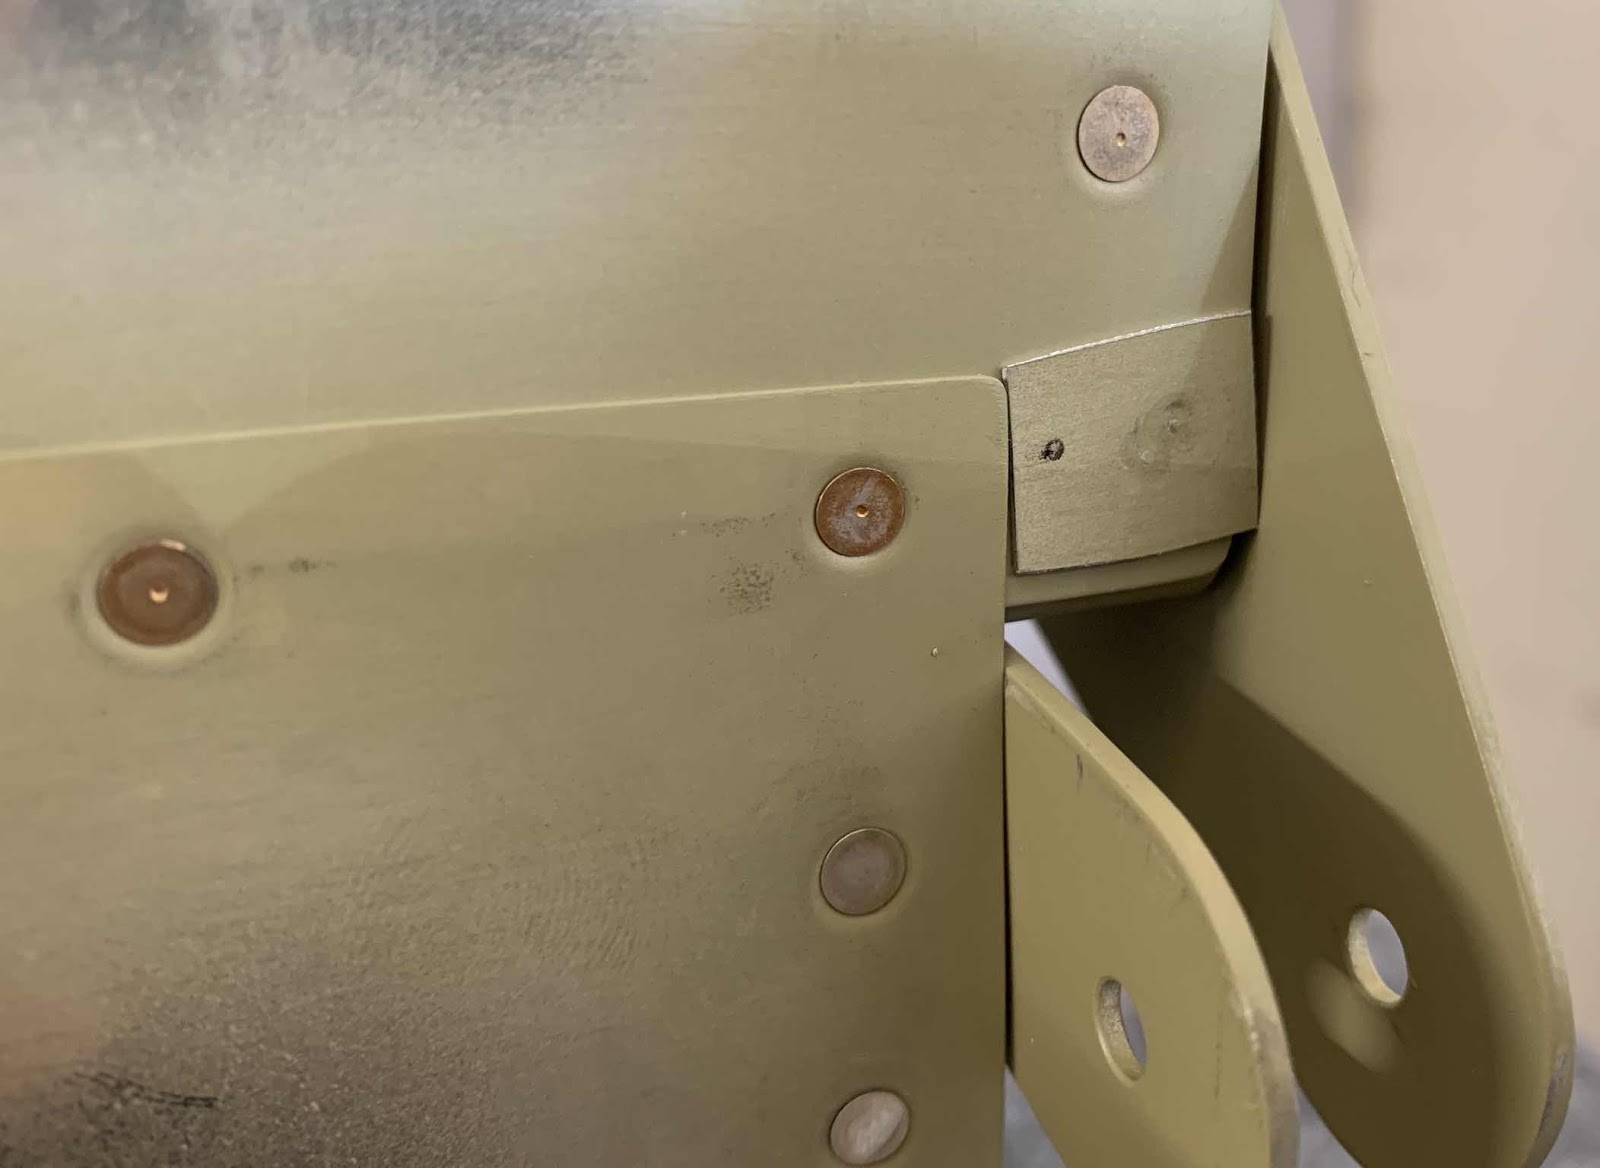
Here is what the rivet looked like after being set.

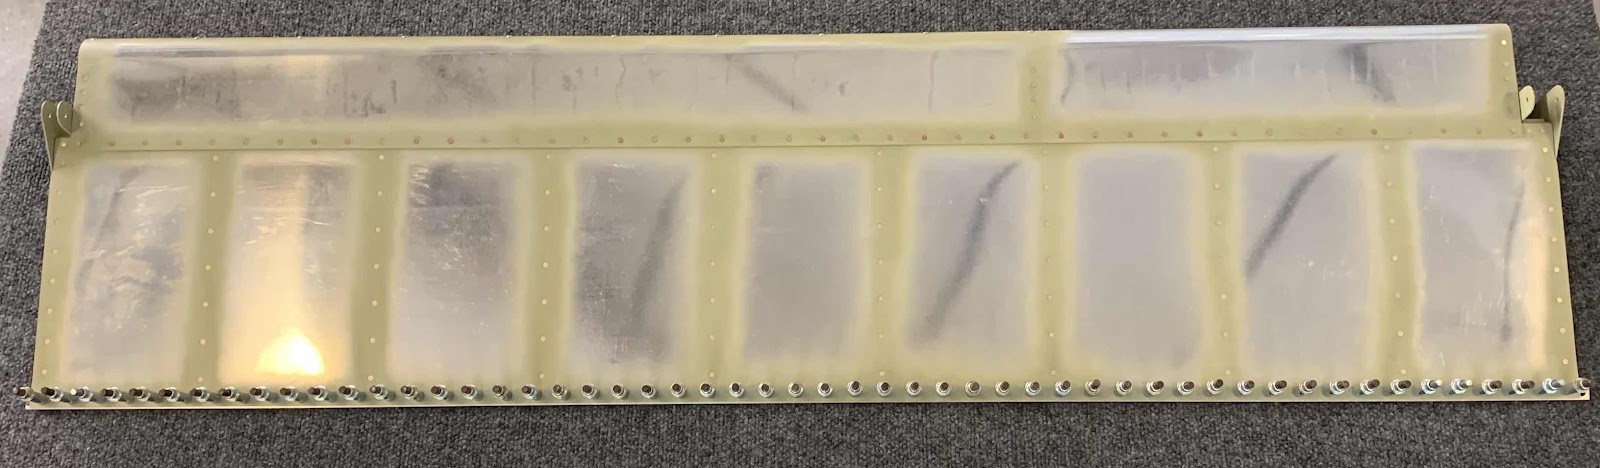
After the Bottom Skin was riveted to the Spar, the next step was to install the 20 (10 on each Aileron) LP4-3 Blind Rivets in the Nose Skin and Counterbalance. You have to look closely, but you can see the rivets in the leading edge:
This is the right Aileron.....

.....and the left Aileron.